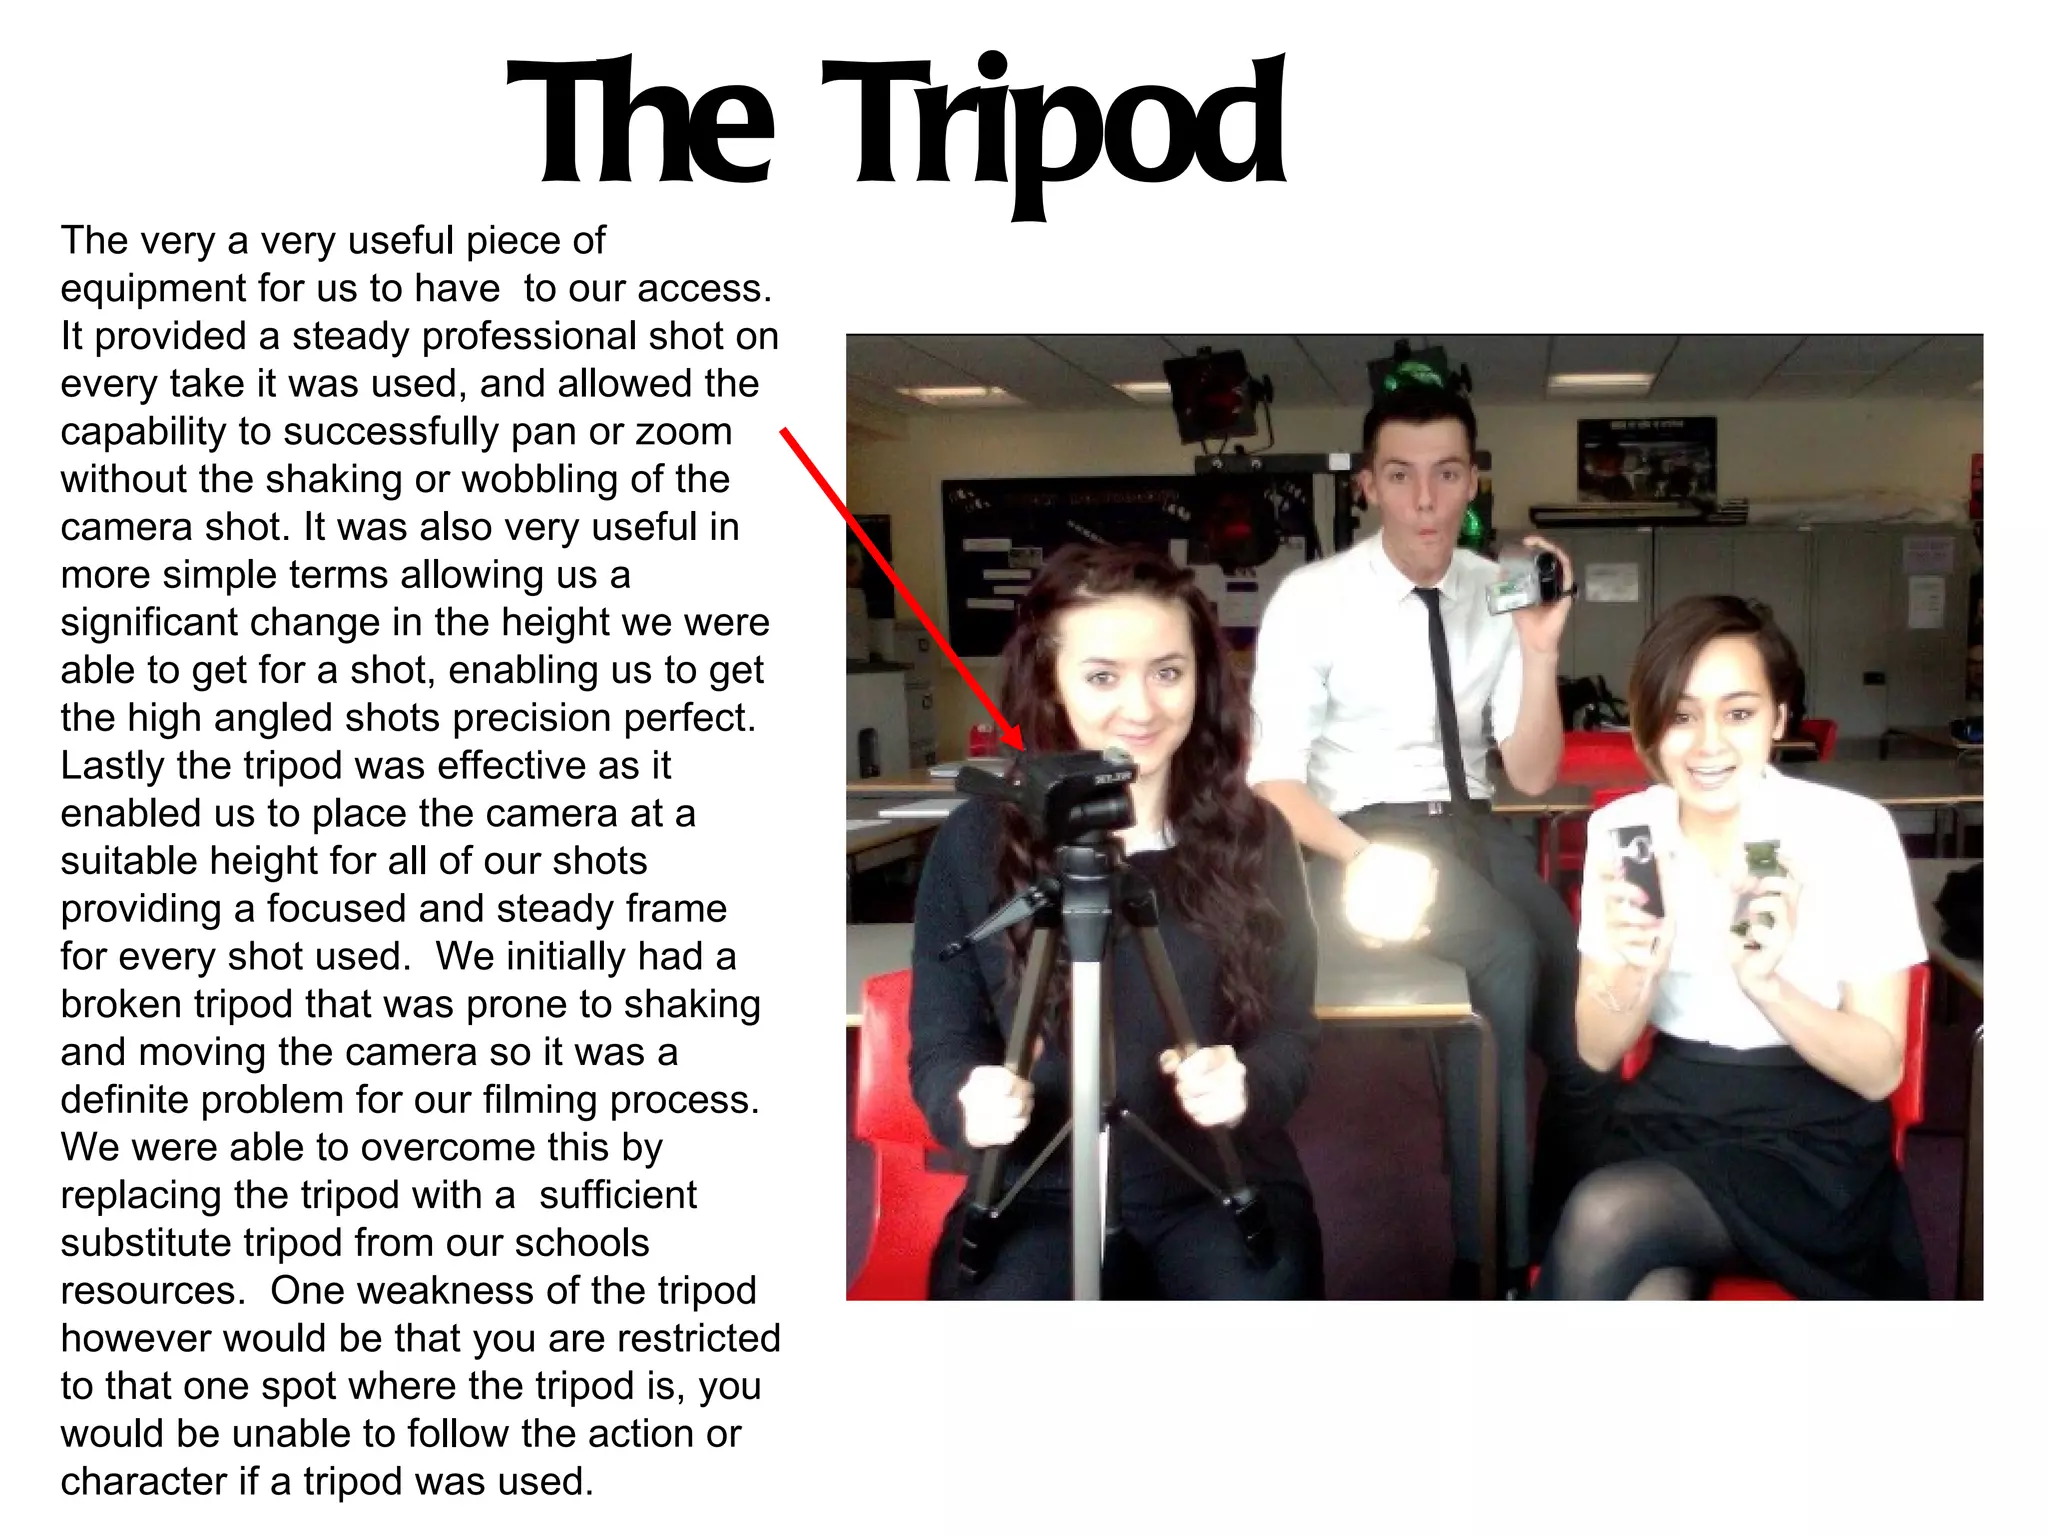
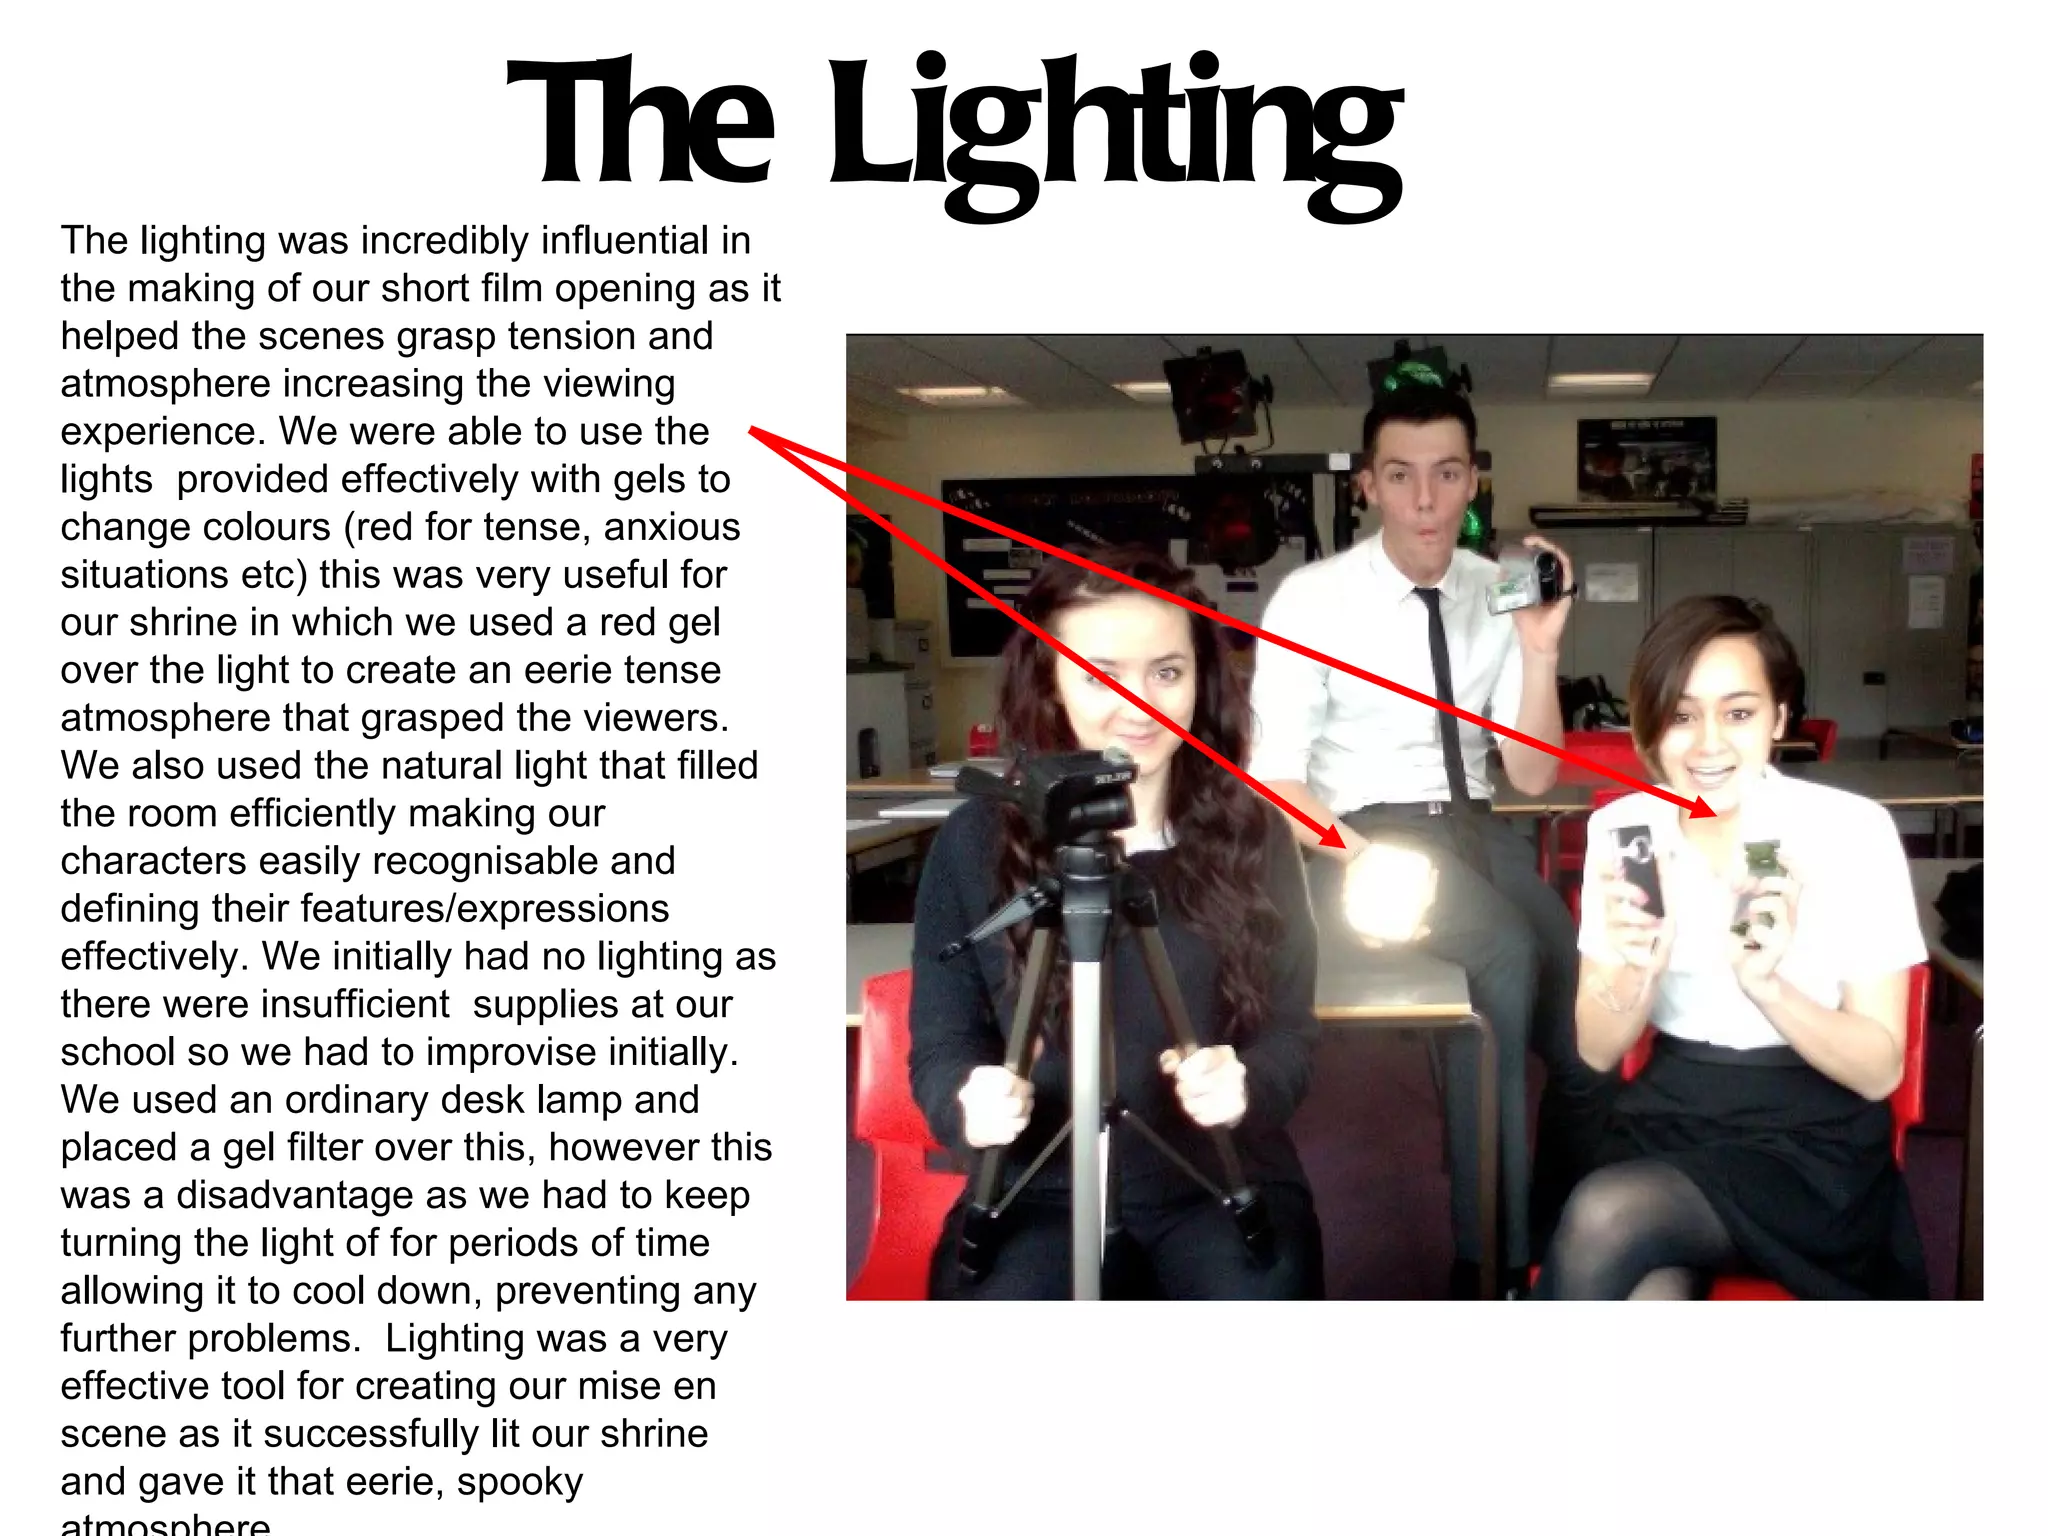
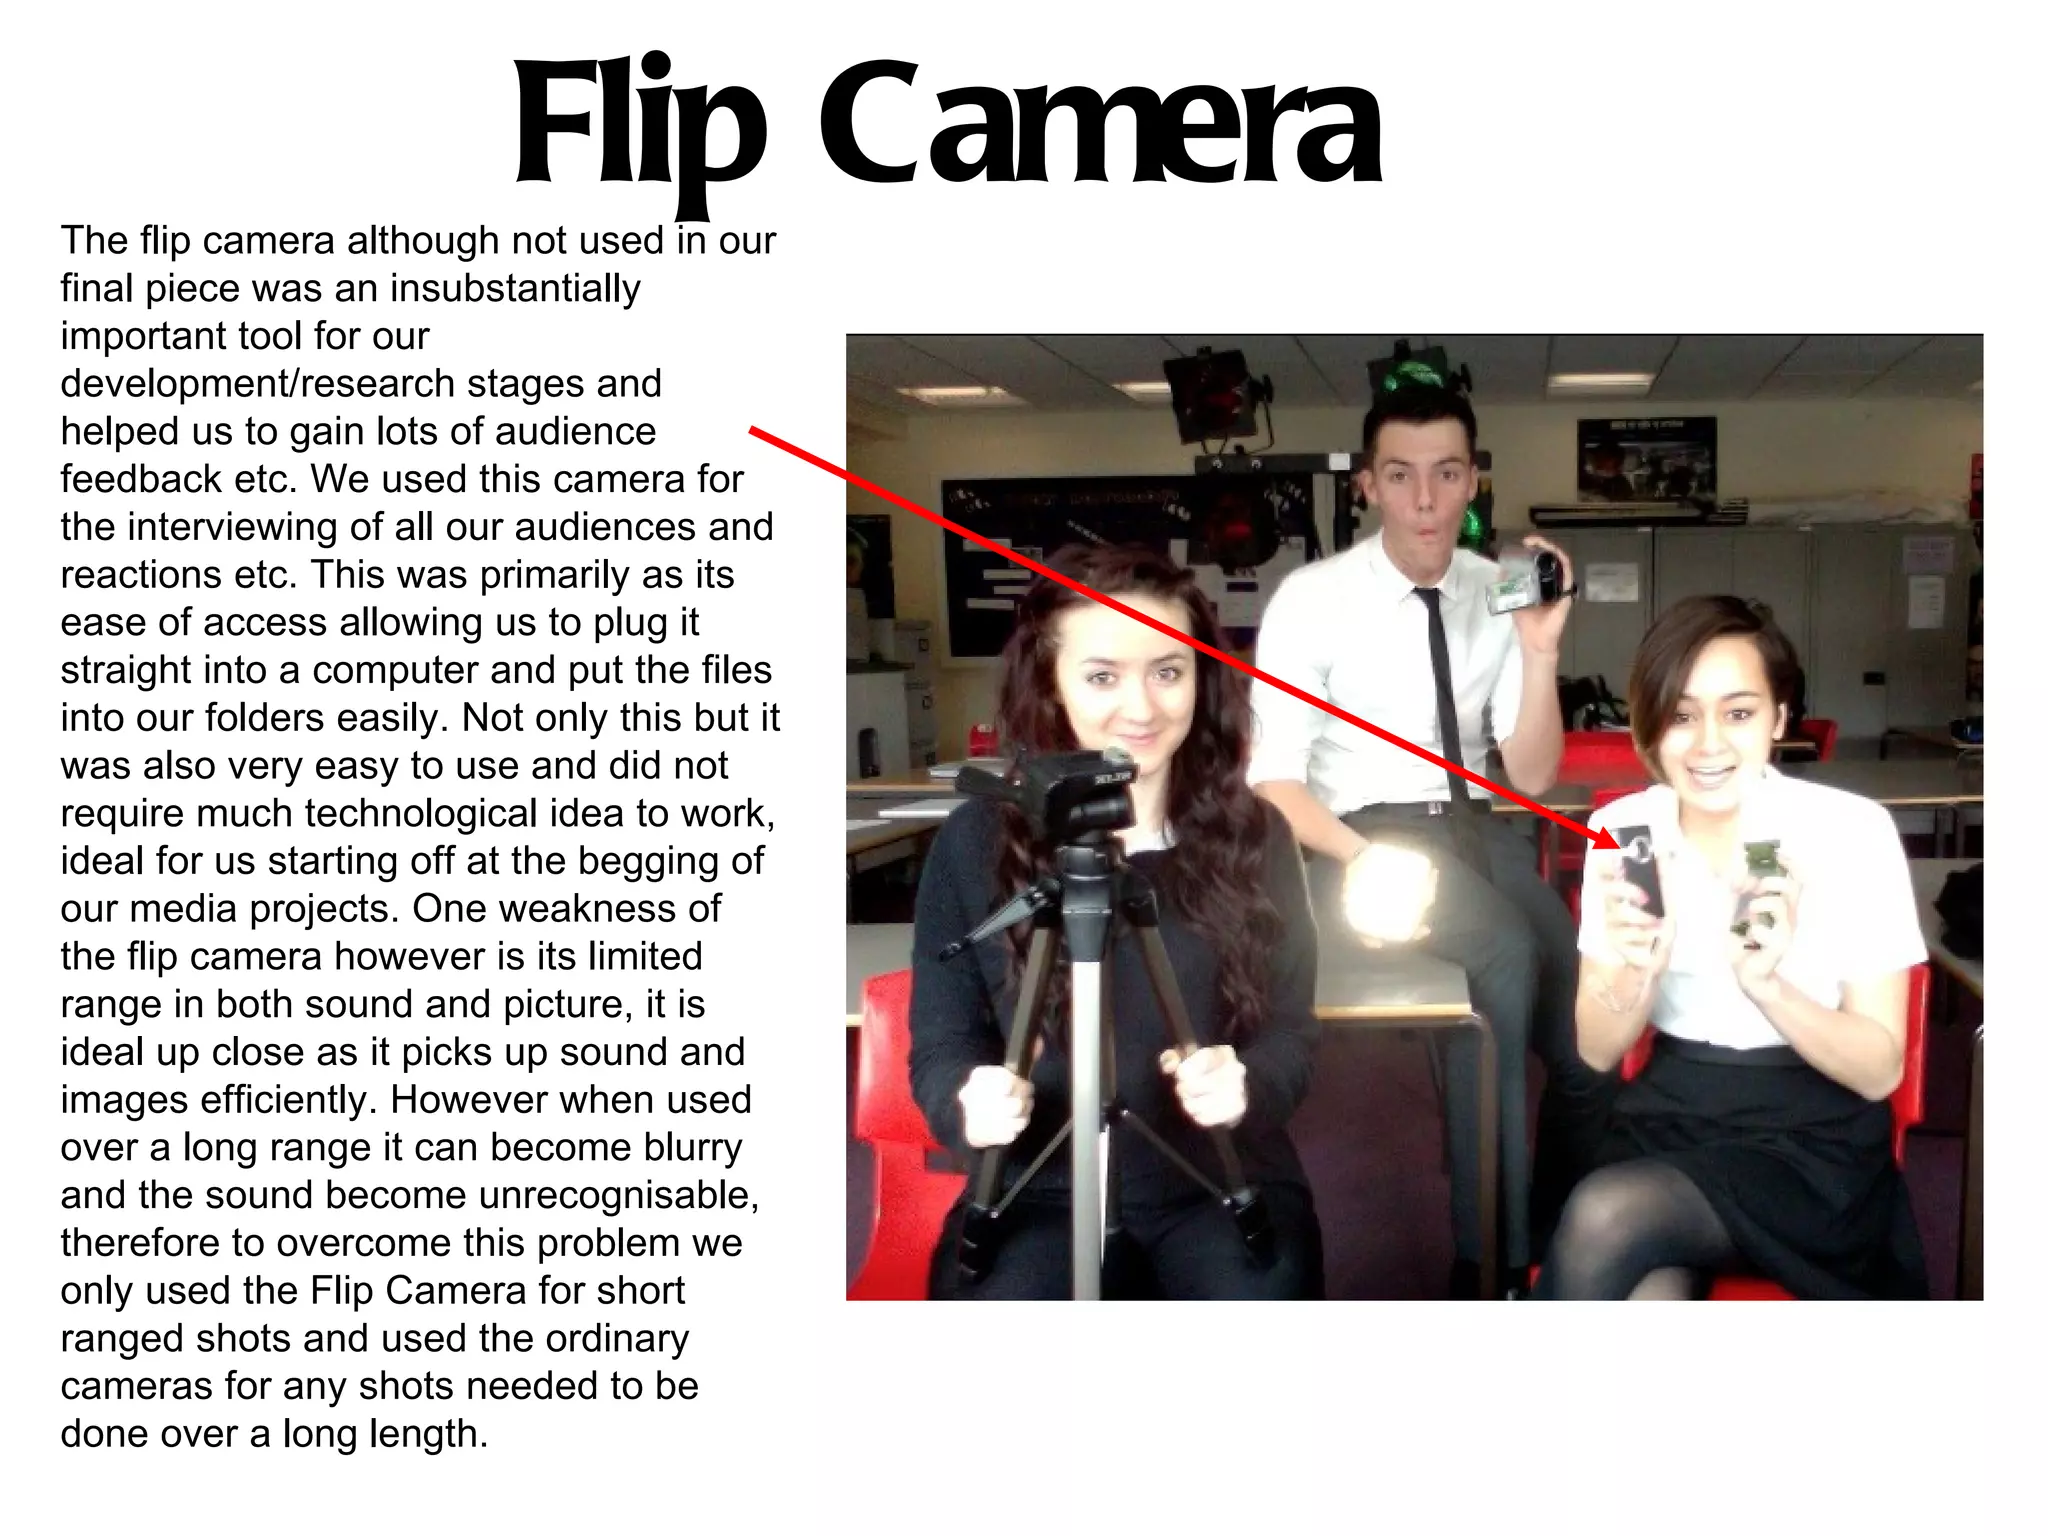
The Camera
                                T
This was the most vital part of our media “tool
kit” and was responsible for capturing of our
final video. We mainly used this on the final
project of the thriller opening and learnt its
capabilities through a preliminary introduction
task which is also loated on our blog. Through
creating this product we have become able to
use the video camera in several different ways
to how we would have firstly anticipated. We
advanced various camera techniques
throughout the final project that we had not
used as well in our preliminary task. For
example the addition of things such as
pannning in and out, the 180 degree rule or
match on action. Simple things that made a big
difference in the quality of our final piece. During
the preliminary task we learnt the basic formula
for the 180 degree rule which we used very
basicaly. We were then able to fully extend this
in our final task and use it to full effect. This was
much the same with panning, we did not use
this feature in our preliminary however with the
final task we had advanced our knowlegde and
were able to do this. One disadvantage of the
camera is it needed sufficient charge to perform
its full capabilities and needed to be charged at
various points in the filming process to keep the
battery alive. However we were able to
overcome this by making sure we had two fully
charged batteries and simply swaping them
over and charging the other when one died.
The Tripod
The very a very useful piece of
equipment for us to have to our access.
It provided a steady professional shot on
every take it was used, and allowed the
capability to successfully pan or zoom
without the shaking or wobbling of the
camera shot. It was also very useful in
more simple terms allowing us a
significant change in the height we were
able to get for a shot, enabling us to get
the high angled shots precision perfect.
Lastly the tripod was effective as it
enabled us to place the camera at a
suitable height for all of our shots
providing a focused and steady frame
for every shot used. We initially had a
broken tripod that was prone to shaking
and moving the camera so it was a
definite problem for our filming process.
We were able to overcome this by
replacing the tripod with a sufficient
substitute tripod from our schools
resources. One weakness of the tripod
however would be that you are restricted
to that one spot where the tripod is, you
would be unable to follow the action or
character if a tripod was used.
The Lighting
The lighting was incredibly influential in
the making of our short film opening as it
helped the scenes grasp tension and
atmosphere increasing the viewing
experience. We were able to use the
lights provided effectively with gels to
change colours (red for tense, anxious
situations etc) this was very useful for
our shrine in which we used a red gel
over the light to create an eerie tense
atmosphere that grasped the viewers.
We also used the natural light that filled
the room efficiently making our
characters easily recognisable and
defining their features/expressions
effectively. We initially had no lighting as
there were insufficient supplies at our
school so we had to improvise initially.
We used an ordinary desk lamp and
placed a gel filter over this, however this
was a disadvantage as we had to keep
turning the light of for periods of time
allowing it to cool down, preventing any
further problems. Lighting was a very
effective tool for creating our mise en
scene as it successfully lit our shrine
and gave it that eerie, spooky
Flip Camera
The flip camera although not used in our
final piece was an insubstantially
important tool for our
development/research stages and
helped us to gain lots of audience
feedback etc. We used this camera for
the interviewing of all our audiences and
reactions etc. This was primarily as its
ease of access allowing us to plug it
straight into a computer and put the files
into our folders easily. Not only this but it
was also very easy to use and did not
require much technological idea to work,
ideal for us starting off at the begging of
our media projects. One weakness of
the flip camera however is its limited
range in both sound and picture, it is
ideal up close as it picks up sound and
images efficiently. However when used
over a long range it can become blurry
and the sound become unrecognisable,
therefore to overcome this problem we
only used the Flip Camera for short
ranged shots and used the ordinary
cameras for any shots needed to be
done over a long length.
iMovie
This was again one of the most vital parts of our media
equipment. This was the software we used to actually create our
short film opening and was our only source of editing software.
We were able to develop our piece emphatically through the use
of this software as it gave us the ability to use all types of cuts
and also gave us the addition of things such as text or the
addition of music over our piece. Developing what we had done
in our preliminary task we were able to uncover various other
types of effects on this software to further enhance our final
piece. In particular was the addition of sound effects that we
could include in our piece to strengthen its impact on the
audience. For instance when the doorbell rings and the girl is on
the bed, a sound effect could have been added here to intensify
the noise. This software did have a few technical problems
however that disabled us from being able upload to our blogs for
some time. As the majority of iMac work was done from school
this is where we would have to upload to Youtube to enable the
work to be featured on our blogs, but there was a technical glitch
on school macs that did not allow us to do this. Therefor we had
to work with the schools computer technician to enable us to
access this feature and in the end we were sucessful and able to
load our work to youtube, and then onto our blogs.

Evaluation Question 6

  • 1.
    The Camera T This was the most vital part of our media “tool kit” and was responsible for capturing of our final video. We mainly used this on the final project of the thriller opening and learnt its capabilities through a preliminary introduction task which is also loated on our blog. Through creating this product we have become able to use the video camera in several different ways to how we would have firstly anticipated. We advanced various camera techniques throughout the final project that we had not used as well in our preliminary task. For example the addition of things such as pannning in and out, the 180 degree rule or match on action. Simple things that made a big difference in the quality of our final piece. During the preliminary task we learnt the basic formula for the 180 degree rule which we used very basicaly. We were then able to fully extend this in our final task and use it to full effect. This was much the same with panning, we did not use this feature in our preliminary however with the final task we had advanced our knowlegde and were able to do this. One disadvantage of the camera is it needed sufficient charge to perform its full capabilities and needed to be charged at various points in the filming process to keep the battery alive. However we were able to overcome this by making sure we had two fully charged batteries and simply swaping them over and charging the other when one died.
  • 2.
    The Tripod The verya very useful piece of equipment for us to have to our access. It provided a steady professional shot on every take it was used, and allowed the capability to successfully pan or zoom without the shaking or wobbling of the camera shot. It was also very useful in more simple terms allowing us a significant change in the height we were able to get for a shot, enabling us to get the high angled shots precision perfect. Lastly the tripod was effective as it enabled us to place the camera at a suitable height for all of our shots providing a focused and steady frame for every shot used. We initially had a broken tripod that was prone to shaking and moving the camera so it was a definite problem for our filming process. We were able to overcome this by replacing the tripod with a sufficient substitute tripod from our schools resources. One weakness of the tripod however would be that you are restricted to that one spot where the tripod is, you would be unable to follow the action or character if a tripod was used.
  • 3.
    The Lighting The lightingwas incredibly influential in the making of our short film opening as it helped the scenes grasp tension and atmosphere increasing the viewing experience. We were able to use the lights provided effectively with gels to change colours (red for tense, anxious situations etc) this was very useful for our shrine in which we used a red gel over the light to create an eerie tense atmosphere that grasped the viewers. We also used the natural light that filled the room efficiently making our characters easily recognisable and defining their features/expressions effectively. We initially had no lighting as there were insufficient supplies at our school so we had to improvise initially. We used an ordinary desk lamp and placed a gel filter over this, however this was a disadvantage as we had to keep turning the light of for periods of time allowing it to cool down, preventing any further problems. Lighting was a very effective tool for creating our mise en scene as it successfully lit our shrine and gave it that eerie, spooky
  • 4.
    Flip Camera The flipcamera although not used in our final piece was an insubstantially important tool for our development/research stages and helped us to gain lots of audience feedback etc. We used this camera for the interviewing of all our audiences and reactions etc. This was primarily as its ease of access allowing us to plug it straight into a computer and put the files into our folders easily. Not only this but it was also very easy to use and did not require much technological idea to work, ideal for us starting off at the begging of our media projects. One weakness of the flip camera however is its limited range in both sound and picture, it is ideal up close as it picks up sound and images efficiently. However when used over a long range it can become blurry and the sound become unrecognisable, therefore to overcome this problem we only used the Flip Camera for short ranged shots and used the ordinary cameras for any shots needed to be done over a long length.
  • 5.
    iMovie This was againone of the most vital parts of our media equipment. This was the software we used to actually create our short film opening and was our only source of editing software. We were able to develop our piece emphatically through the use of this software as it gave us the ability to use all types of cuts and also gave us the addition of things such as text or the addition of music over our piece. Developing what we had done in our preliminary task we were able to uncover various other types of effects on this software to further enhance our final piece. In particular was the addition of sound effects that we could include in our piece to strengthen its impact on the audience. For instance when the doorbell rings and the girl is on the bed, a sound effect could have been added here to intensify the noise. This software did have a few technical problems however that disabled us from being able upload to our blogs for some time. As the majority of iMac work was done from school this is where we would have to upload to Youtube to enable the work to be featured on our blogs, but there was a technical glitch on school macs that did not allow us to do this. Therefor we had to work with the schools computer technician to enable us to access this feature and in the end we were sucessful and able to load our work to youtube, and then onto our blogs.