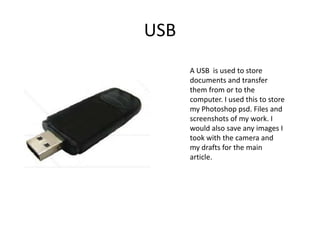
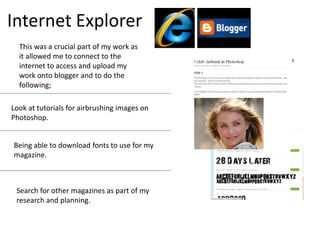
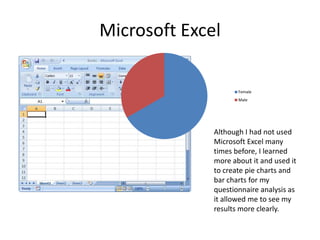
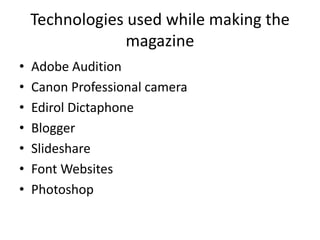
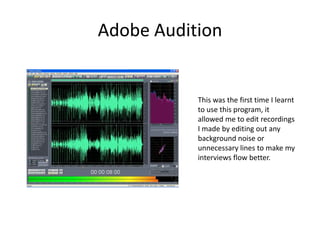
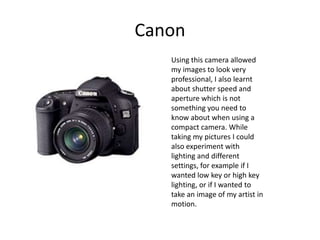
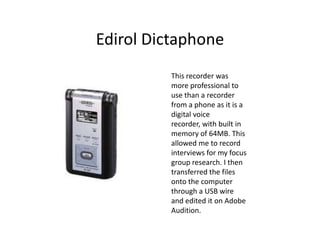
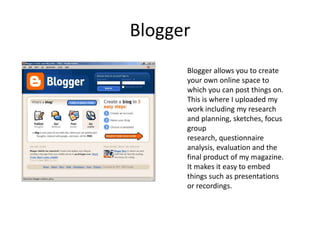
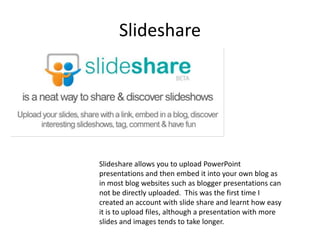
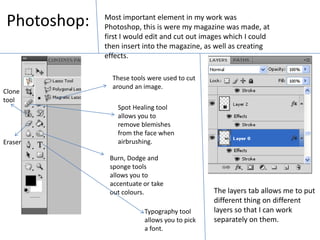
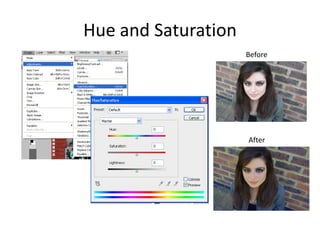
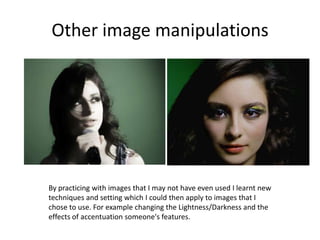
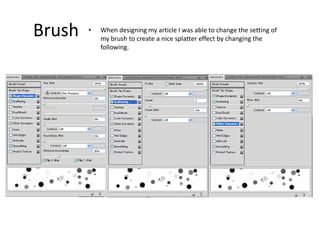
Evaluation Q6- What have you learnt about technologies from the process of constructing this product?
Technologies used previouslyUSBInternet ExplorerMicrosoft WordMicrosoft PowerPointMicrosoft ExcelScanner
USBA USB  is used to store documents and transfer them from or to the computer. I used this to store my Photoshop psd. Files and screenshots of my work. I would also save any images I took with the camera and my drafts for the main article.
Internet ExplorerThis was a crucial part of my work as it allowed me to connect to the internet to access and upload my work onto blogger and to do the following;Look at tutorials for airbrushing images on Photoshop.Being able to download fonts to use for my magazine.Search for other magazines as part of my research and planning.
Microsoft WordI had previous knowledge of using Microsoft, for developing my magazine I used this to complete most of my research and planning work. I also used it to write my main article, this made it easier as I was able to right click on words and use synonyms to use a variety of words, also the spell checker made it easier for me to correct mistakes.
Microsoft PowerPointI used this to complete most of my evaluation questions as it allows me to use images and makes it very easy to insert tables, I would then upload my PowerPoint questions on to slide share allowing me to embed it into my blog.
Microsoft ExcelAlthough I had not used Microsoft Excel many times before, I learned more about it and used it to create pie charts and bar charts for my questionnaire analysis as it allowed me to see my results more clearly.
ScannerThis allowed me to sketch my ideas of how I expected my magazine to turn out and upload it to the blog.
Technologies used while making the magazineAdobe AuditionCanon Professional cameraEdirol DictaphoneBloggerSlideshareFont WebsitesPhotoshop
Adobe AuditionThis was the first time I learnt to use this program, it allowed me to edit recordings I made by editing out any background noise or unnecessary lines to make my interviews flow better.
CanonUsing this camera allowed my images to look very professional, I also learnt about shutter speed and aperture which is not something you need to know about when using a compact camera. While taking my pictures I could also experiment with lighting and different settings, for example if I wanted low key or high key lighting, or if I wanted to take an image of my artist in motion.
Examples of images
Long Shot
Mid shot
Motion Picture
Two Shot
Edirol DictaphoneThis recorder was more professional to use than a recorder from a phone as it is a digital voice recorder, with built in memory of 64MB. This allowed me to record interviews for my focus group research. I then transferred the files onto the computer through a USB wire  and edited it on Adobe Audition.
BloggerBlogger allows you to create your own online space to which you can post things on. This is where I uploaded my work including my research and planning, sketches, focus group research, questionnaire analysis, evaluation and the final product of my magazine. It makes it easy to embed things such as presentations or recordings.
SlideshareSlideshare allows you to upload PowerPoint presentations and then embed it into your own blog as in most blog websites such as blogger presentations can not be directly uploaded.  This was the first time I created an account with slide share and learnt how easy it is to upload files, although a presentation with more slides and images tends to take longer.
Font WebsitesStep 3: Cut extracted file, go to start>control panel>Fonts and paste. Many times I felt that the fonts provided on Photoshop were not varied enough or fitting for my magazine, therefore I learnt that it was possible to download them as I have shown in the steps below.Step 1: Find FontStep 2: Download and Open containing folder, right click and press extract hereI am then able to use the font just like any other in the fonts category in Photoshop.
Photoshop:Most important element in my work was Photoshop, this is were my magazine was made, at first I would edit and cut out images which I could then insert into the magazine, as well as creating effects. These tools were used to cut around an image.Clone toolSpot Healing tool allows you to remove blemishes from the face when airbrushing.EraserBurn, Dodge and sponge tools allows you to accentuate or take out colours.The layers tab allows me to put different thing on different layers so that I can work separately on them.Typography tool allows you to pick a font.
Hue and SaturationBeforeAfter
Before and After: Image airbrushing and manipulationBeforeAfterHere while experimenting, I learnt to make my models skin look very smooth and yet add noise in order to make sure it does not look plastic. I also dimmed the image making it look more mysterious and serene. I was also able to change her eye colour using the dodge tool to make it lighter, making it the centre of focus. As my models nails were not a suited colour to the rest of the image I also learnt how to select it and change it into a more sophisticated colour.
Other image manipulationsBy practicing with images that I may not have even used I learnt new techniques and setting which I could then apply to images that I chose to use. For example changing the Lightness/Darkness and the effects of accentuation someone's features.
BrushWhen designing my article I was able to change the setting of my brush to create a nice splatter effect by changing the following.

Evaluation q6 what have you learnt about technologies

  • 1.
    Evaluation Q6- Whathave you learnt about technologies from the process of constructing this product?
  • 2.
    Technologies used previouslyUSBInternetExplorerMicrosoft WordMicrosoft PowerPointMicrosoft ExcelScanner
  • 3.
    USBA USB is used to store documents and transfer them from or to the computer. I used this to store my Photoshop psd. Files and screenshots of my work. I would also save any images I took with the camera and my drafts for the main article.
  • 4.
    Internet ExplorerThis wasa crucial part of my work as it allowed me to connect to the internet to access and upload my work onto blogger and to do the following;Look at tutorials for airbrushing images on Photoshop.Being able to download fonts to use for my magazine.Search for other magazines as part of my research and planning.
  • 5.
    Microsoft WordI hadprevious knowledge of using Microsoft, for developing my magazine I used this to complete most of my research and planning work. I also used it to write my main article, this made it easier as I was able to right click on words and use synonyms to use a variety of words, also the spell checker made it easier for me to correct mistakes.
  • 6.
    Microsoft PowerPointI usedthis to complete most of my evaluation questions as it allows me to use images and makes it very easy to insert tables, I would then upload my PowerPoint questions on to slide share allowing me to embed it into my blog.
  • 7.
    Microsoft ExcelAlthough Ihad not used Microsoft Excel many times before, I learned more about it and used it to create pie charts and bar charts for my questionnaire analysis as it allowed me to see my results more clearly.
  • 8.
    ScannerThis allowed meto sketch my ideas of how I expected my magazine to turn out and upload it to the blog.
  • 9.
    Technologies used whilemaking the magazineAdobe AuditionCanon Professional cameraEdirol DictaphoneBloggerSlideshareFont WebsitesPhotoshop
  • 10.
    Adobe AuditionThis wasthe first time I learnt to use this program, it allowed me to edit recordings I made by editing out any background noise or unnecessary lines to make my interviews flow better.
  • 11.
    CanonUsing this cameraallowed my images to look very professional, I also learnt about shutter speed and aperture which is not something you need to know about when using a compact camera. While taking my pictures I could also experiment with lighting and different settings, for example if I wanted low key or high key lighting, or if I wanted to take an image of my artist in motion.
  • 12.
  • 13.
  • 14.
  • 15.
  • 16.
  • 17.
    Edirol DictaphoneThis recorderwas more professional to use than a recorder from a phone as it is a digital voice recorder, with built in memory of 64MB. This allowed me to record interviews for my focus group research. I then transferred the files onto the computer through a USB wire and edited it on Adobe Audition.
  • 18.
    BloggerBlogger allows youto create your own online space to which you can post things on. This is where I uploaded my work including my research and planning, sketches, focus group research, questionnaire analysis, evaluation and the final product of my magazine. It makes it easy to embed things such as presentations or recordings.
  • 19.
    SlideshareSlideshare allows youto upload PowerPoint presentations and then embed it into your own blog as in most blog websites such as blogger presentations can not be directly uploaded. This was the first time I created an account with slide share and learnt how easy it is to upload files, although a presentation with more slides and images tends to take longer.
  • 20.
    Font WebsitesStep 3:Cut extracted file, go to start>control panel>Fonts and paste. Many times I felt that the fonts provided on Photoshop were not varied enough or fitting for my magazine, therefore I learnt that it was possible to download them as I have shown in the steps below.Step 1: Find FontStep 2: Download and Open containing folder, right click and press extract hereI am then able to use the font just like any other in the fonts category in Photoshop.
  • 21.
    Photoshop:Most important elementin my work was Photoshop, this is were my magazine was made, at first I would edit and cut out images which I could then insert into the magazine, as well as creating effects. These tools were used to cut around an image.Clone toolSpot Healing tool allows you to remove blemishes from the face when airbrushing.EraserBurn, Dodge and sponge tools allows you to accentuate or take out colours.The layers tab allows me to put different thing on different layers so that I can work separately on them.Typography tool allows you to pick a font.
  • 22.
  • 23.
    Before and After:Image airbrushing and manipulationBeforeAfterHere while experimenting, I learnt to make my models skin look very smooth and yet add noise in order to make sure it does not look plastic. I also dimmed the image making it look more mysterious and serene. I was also able to change her eye colour using the dodge tool to make it lighter, making it the centre of focus. As my models nails were not a suited colour to the rest of the image I also learnt how to select it and change it into a more sophisticated colour.
  • 24.
    Other image manipulationsBypracticing with images that I may not have even used I learnt new techniques and setting which I could then apply to images that I chose to use. For example changing the Lightness/Darkness and the effects of accentuation someone's features.
  • 25.
    BrushWhen designing myarticle I was able to change the setting of my brush to create a nice splatter effect by changing the following.