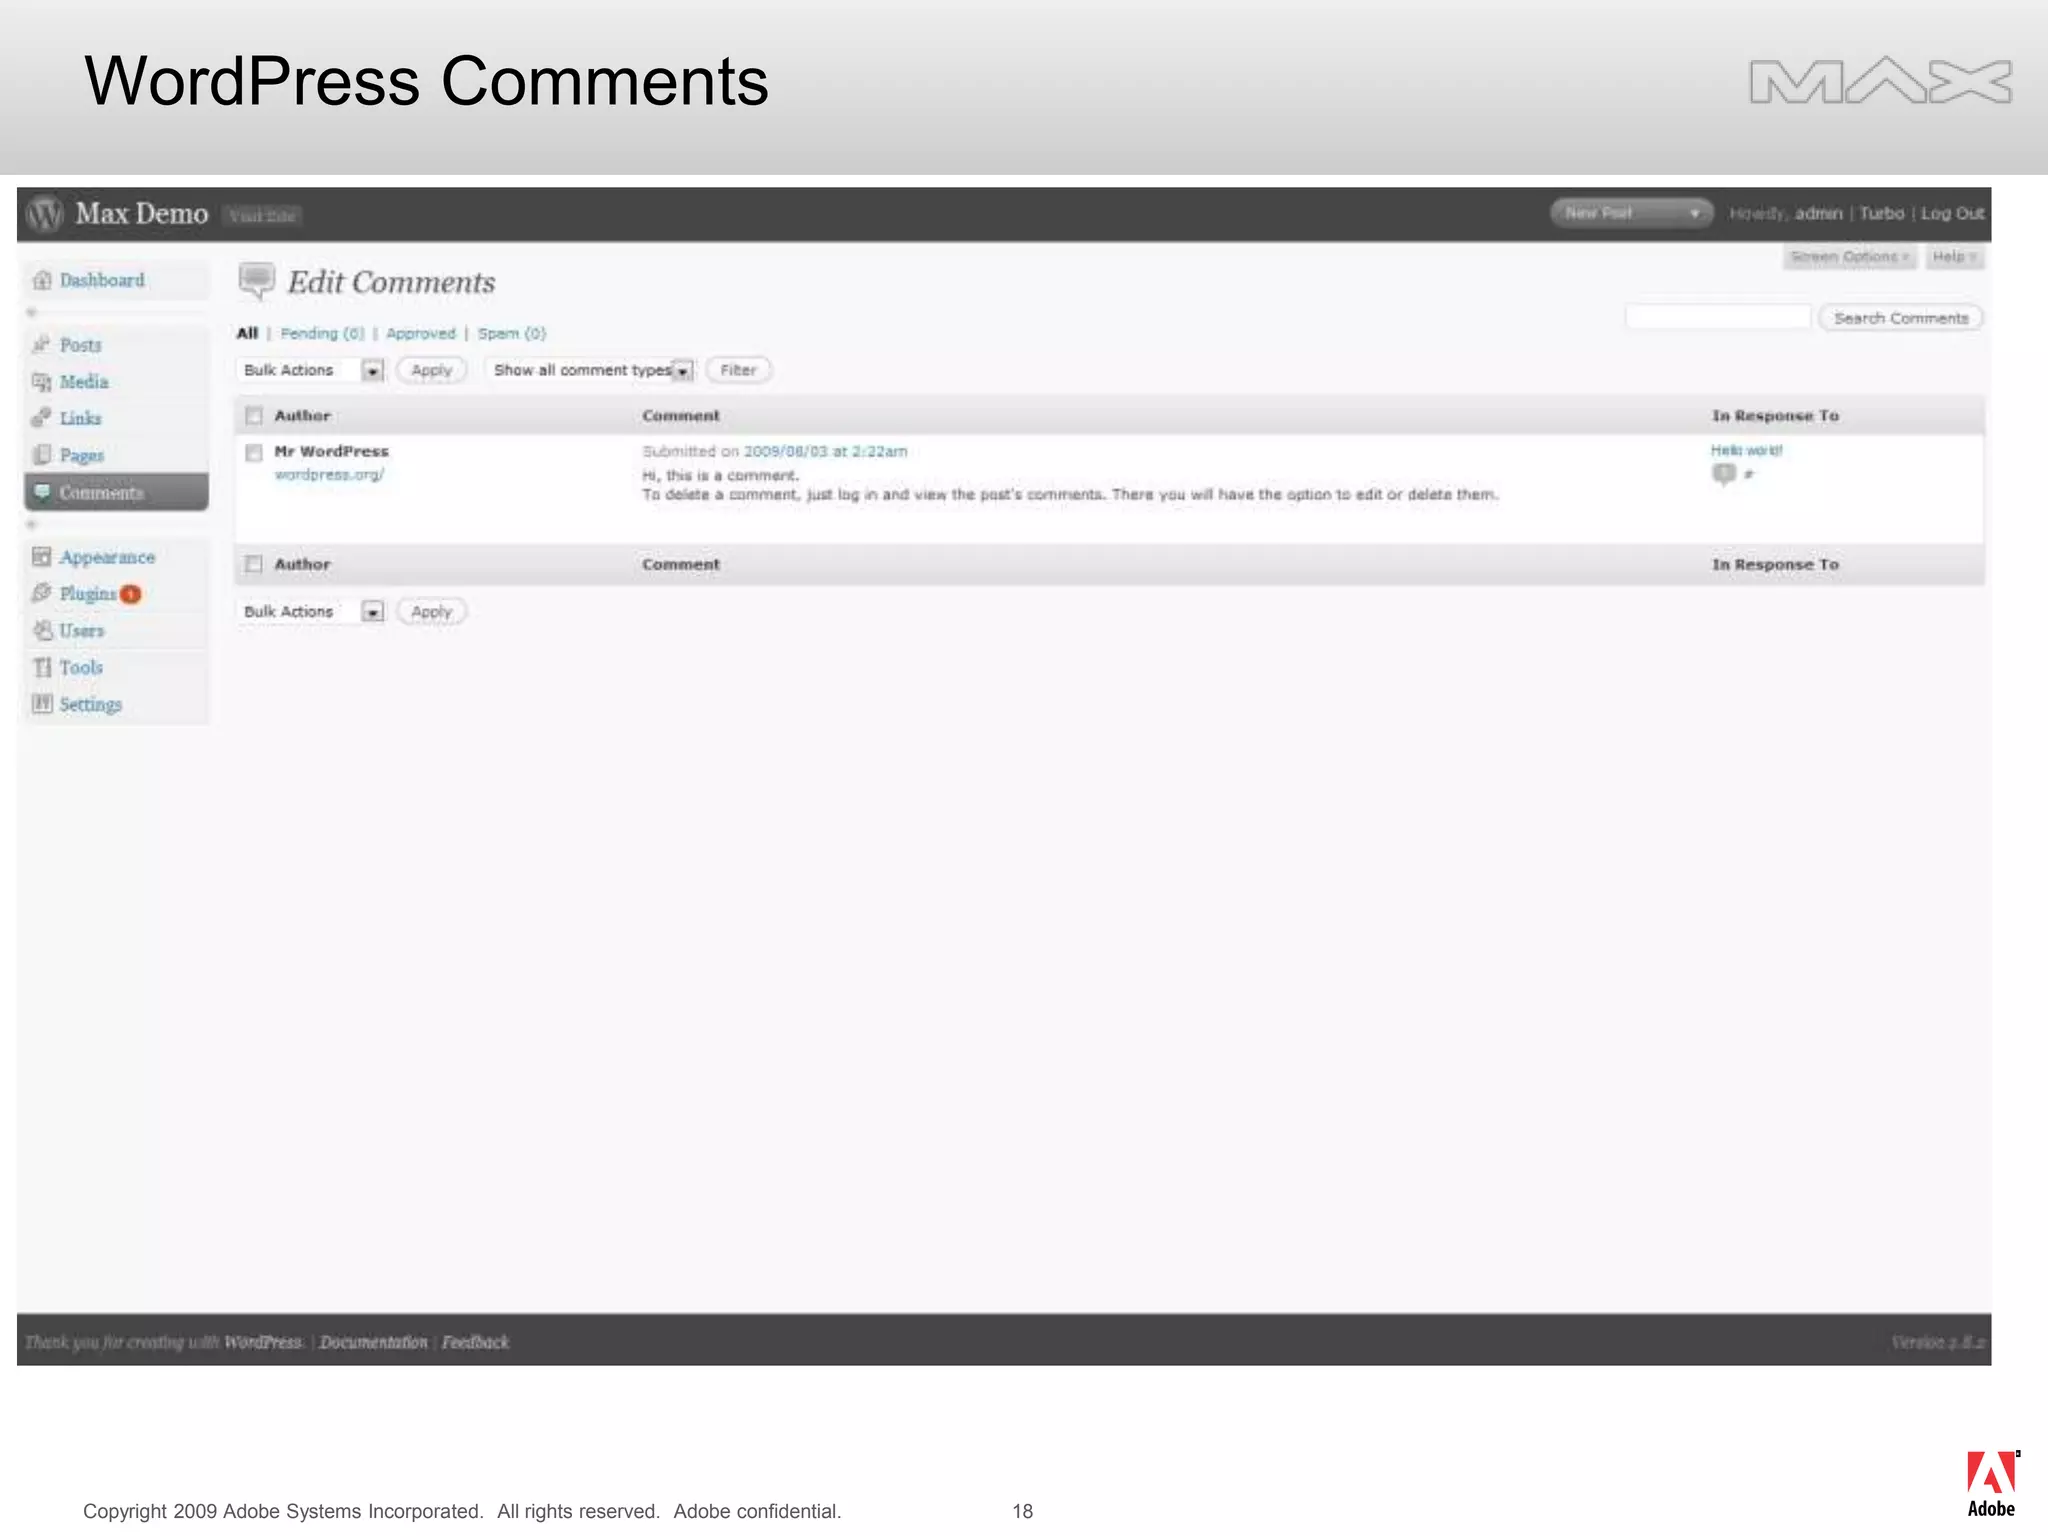
This document provides instructions for customizing a WordPress site using Dreamweaver. It discusses installing WordPress locally using MAMP/XAMPP, configuring the database, uploading WordPress files, installing themes and plugins, and customizing the site. The document demonstrates how to change styles and images, add widgets, install a contact form plugin, and add an image gallery to the site using NextGEN plugin. It emphasizes that WordPress is highly customizable and extensible using plugins and themes.


![Installing WordPress ThemesWhat is a Theme?Where to get themes?Unzip and install the themes supplied from /wordpress/themesUnzip the theme into [siteroot]/wp-content/themes/Unzip all four into the themes directoryGo back to the WordPress admin – http://localhost/wp-admin/](https://image.slidesharecdn.com/lukekilpatrickcustomizingwordpresswithdreamweaver-091026235709-phpapp01/75/Editing-Wordpress-in-Dreamweaver-20-2048.jpg)
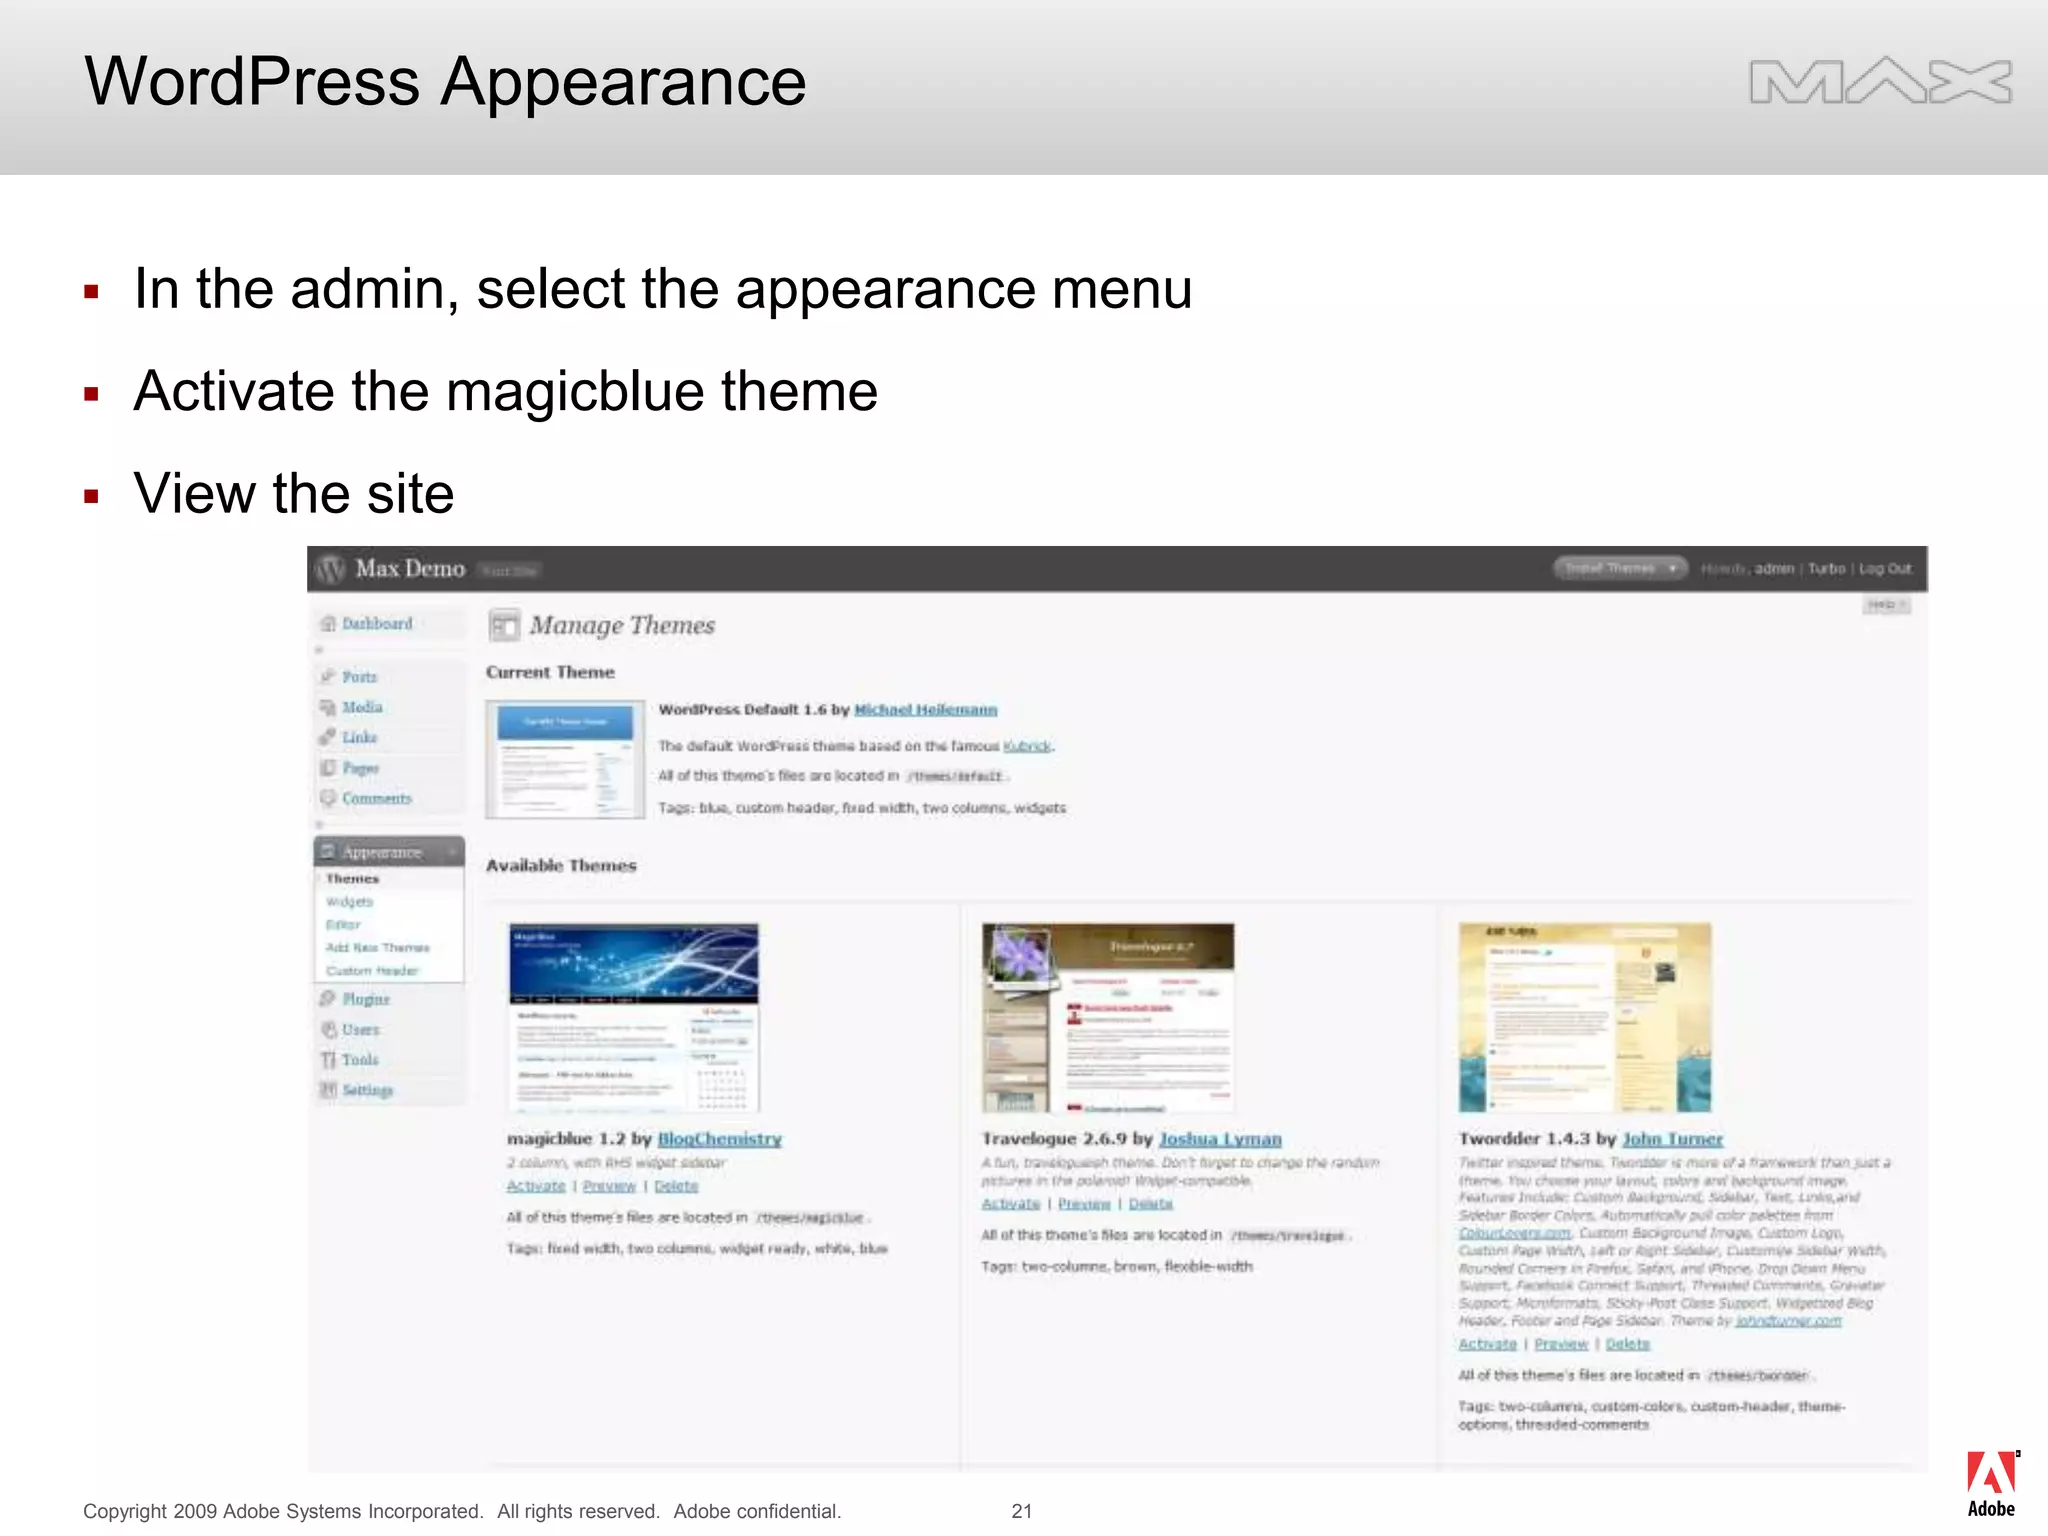
![Customizing a themeIn Dreamweaver, open up /wp-content/themes/magicblueLook for style.cssOpen style.css in DreamweaverOpen the site in a browser http://localhost/Change line 232 from background:black to background:blueRefresh the browser… Look at the menu barLocate headerbg.jpg in Dreamweaver – /wp-content/themes/magicblue/images/headerbg.jpgLocate headerbg.jpg on [cd]/wordpress/media/headerbg.jpgCopy headerbg.jpg from CD to /wp-content/themes/magicblue/images/Refresh the browser… Look at the top menu](https://image.slidesharecdn.com/lukekilpatrickcustomizingwordpresswithdreamweaver-091026235709-phpapp01/75/Editing-Wordpress-in-Dreamweaver-22-2048.jpg)

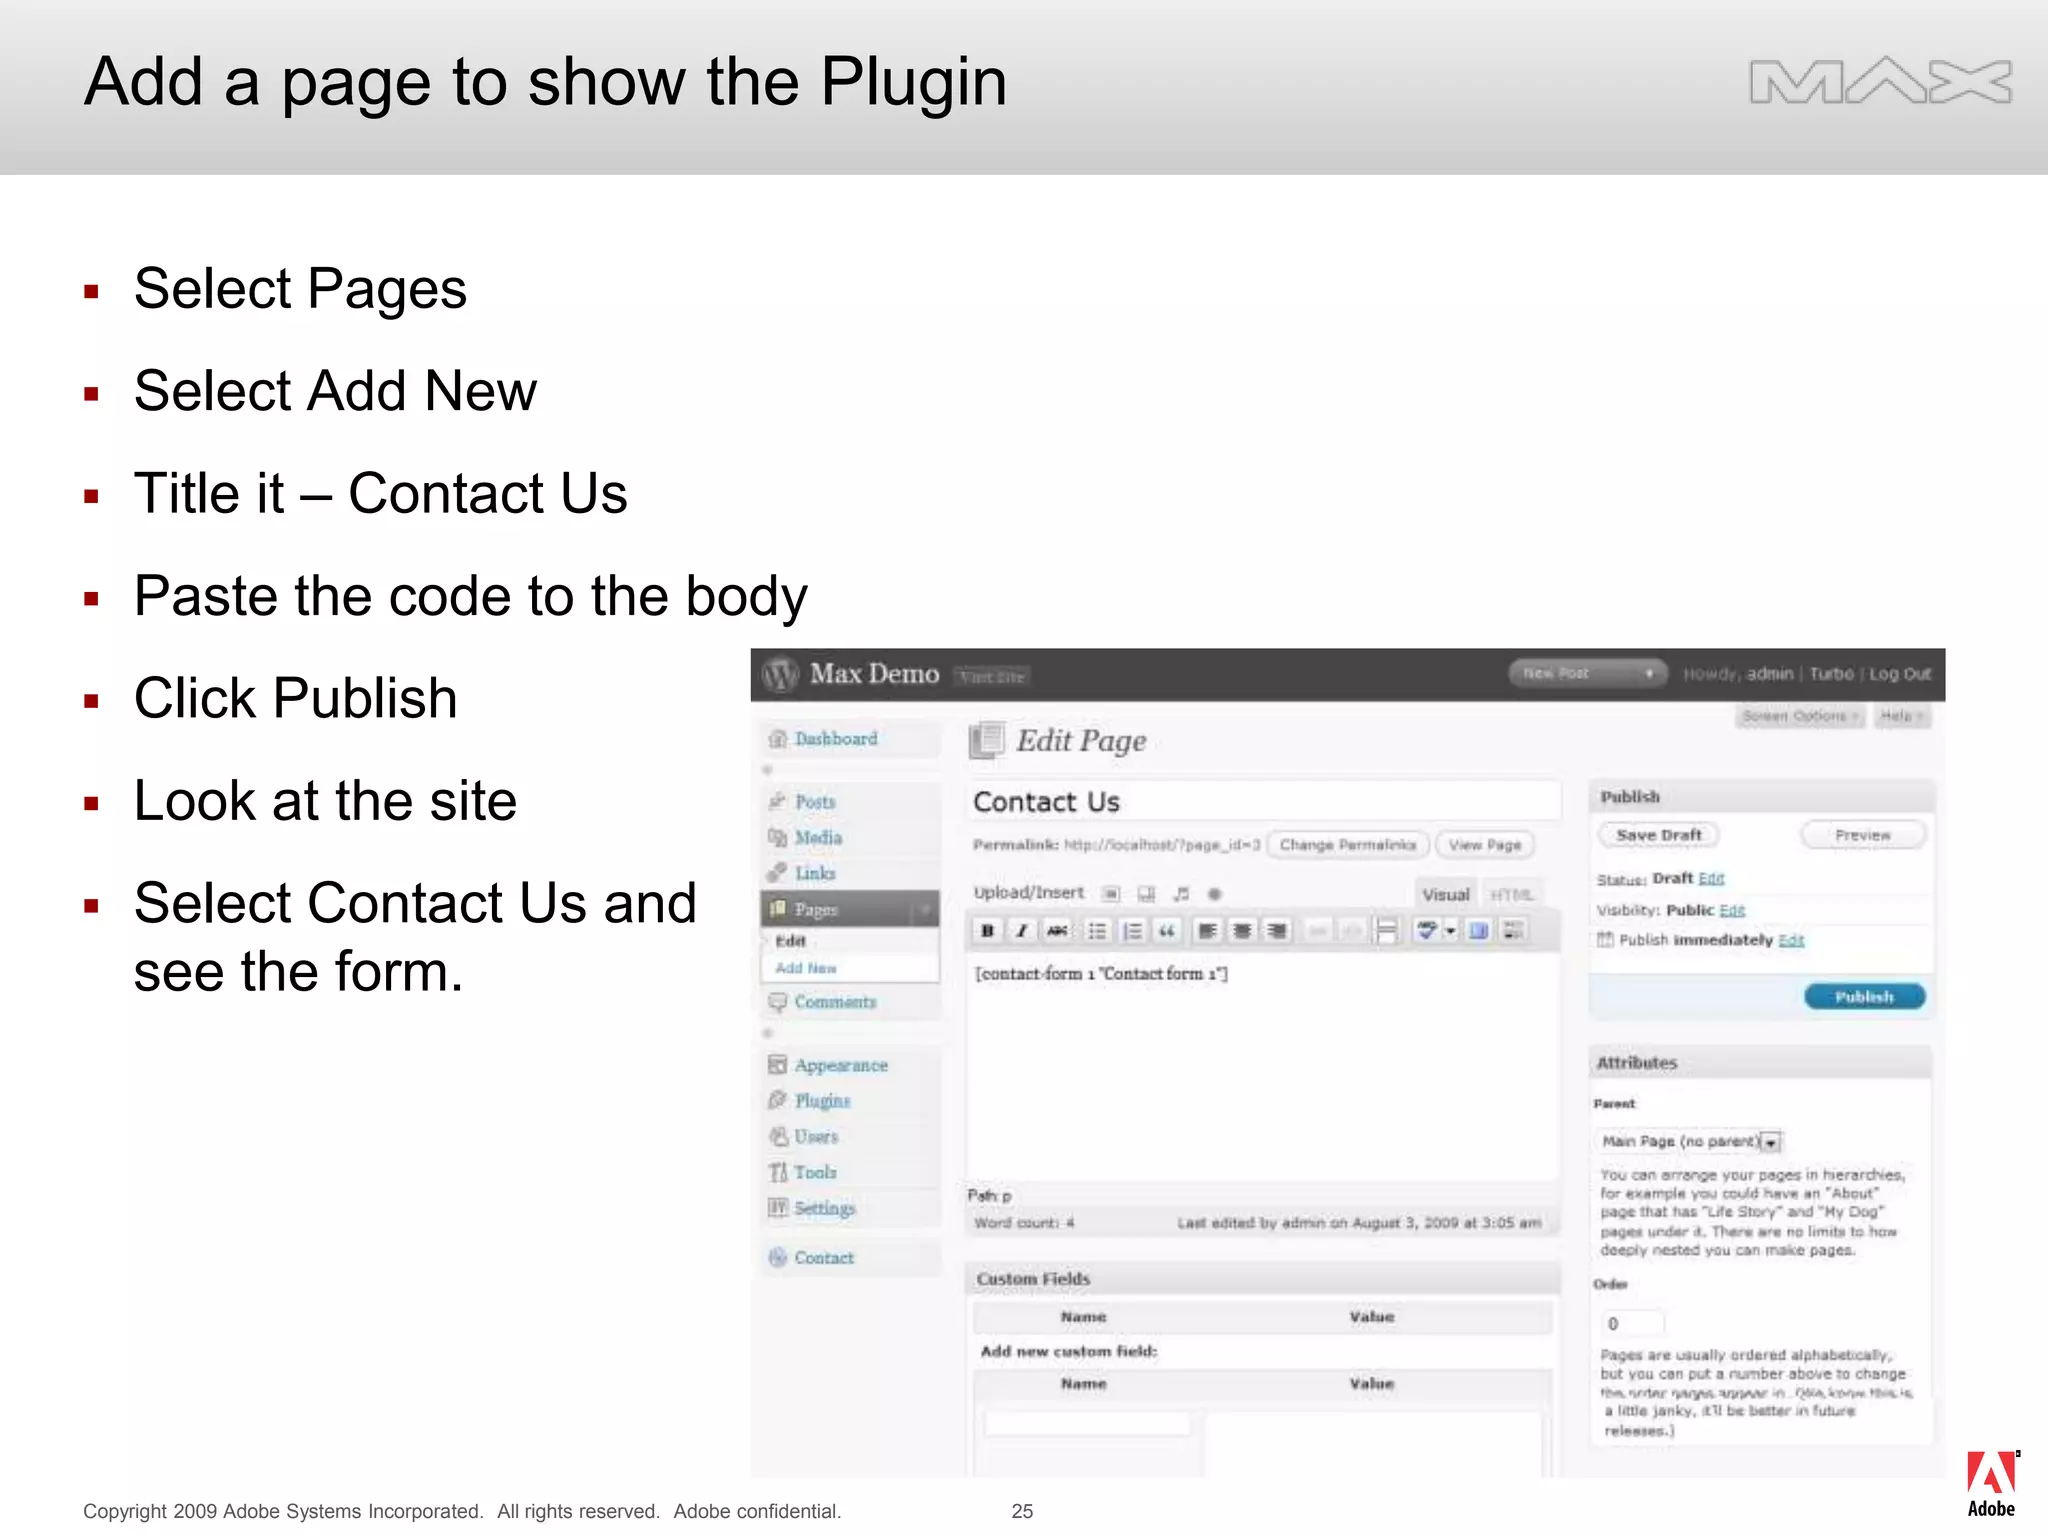
![Adding a Plugin to WordPressWhat is a Plugin?Installing a Plugin, much like installing a theme.Unzip and install the contact-form-7.2.0.1.zip on disc [CD]/wordpress/pluginsUnzip the theme into [siteroot]/wp-content/plugins/Go back to the WordPress admin – http://localhost/wp-admin/Select the Plugins from the side barActivate Contact Form 7Click on settingsCopy the code in brown](https://image.slidesharecdn.com/lukekilpatrickcustomizingwordpresswithdreamweaver-091026235709-phpapp01/75/Editing-Wordpress-in-Dreamweaver-24-2048.jpg)