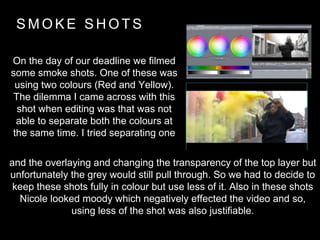
The document summarizes the editing process for a music video over the course of several days. Key points include:
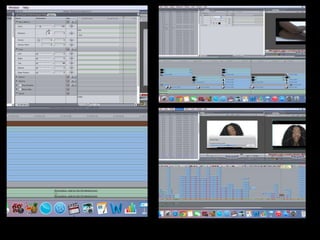
- Removing unflattering shots and those that were out of focus based on feedback.
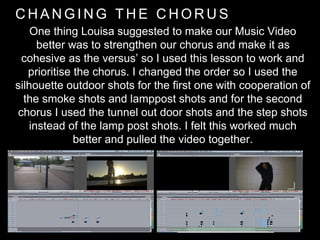
- Strengthening the chorus by changing the order of shots between the first and second choruses.
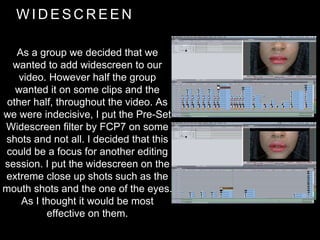
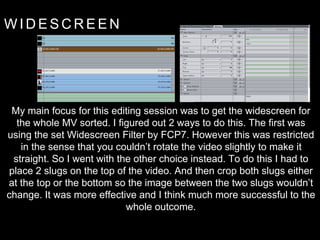
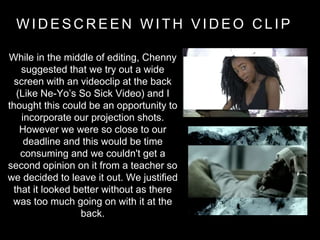
- Figuring out how to add a widescreen effect either through a preset filter or manually cropping and positioning slugs.
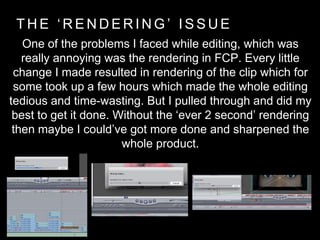
- Facing issues with long rendering times in the editing software slowing down progress.
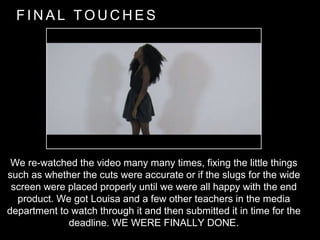
- Making last-minute decisions to leave out certain experimental shots due to time constraints and wanting additional opinions.