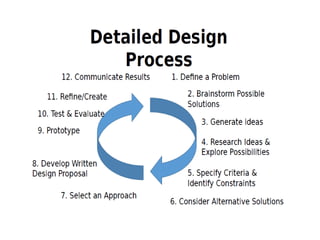
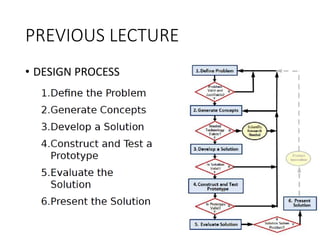
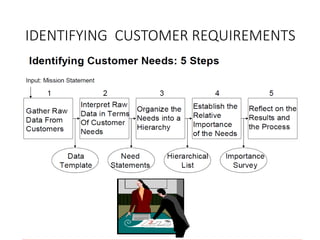
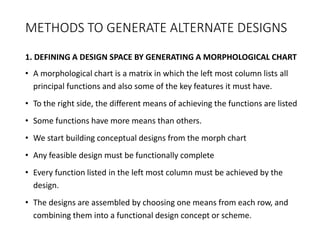
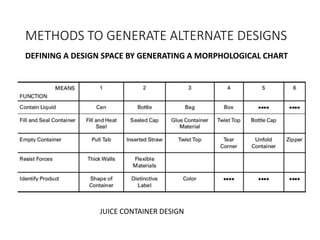
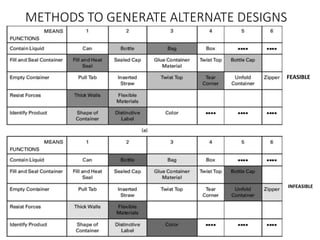
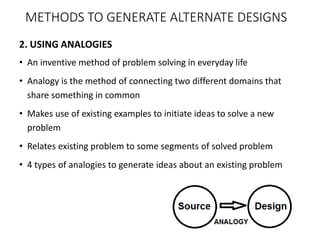
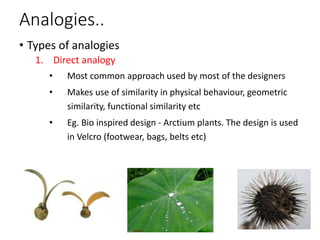
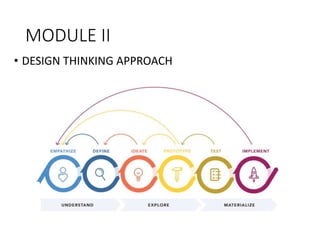
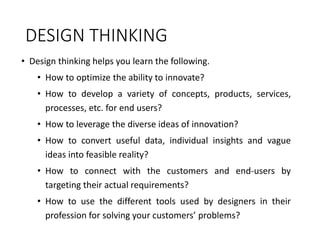
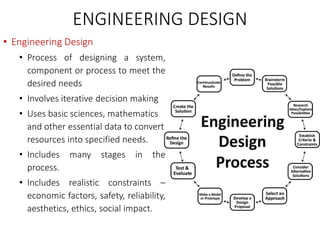
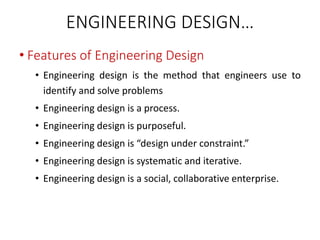
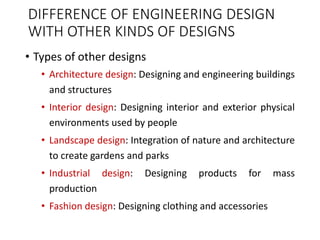
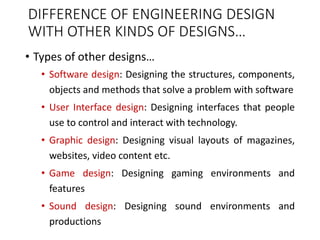
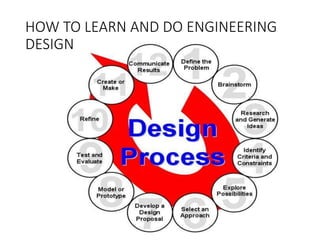
The document provides information about a course on design and engineering. It outlines the course objectives, which are to introduce students to fundamental design principles, the design process, and basic design tools. The course outcomes are for students to be able to explain design concepts and principles, apply design thinking, and develop innovative and sustainable designs. It then discusses various aspects of design such as what design is, engineering design principles, the differences between engineering design and other types of design. It also outlines the steps in the engineering design process.
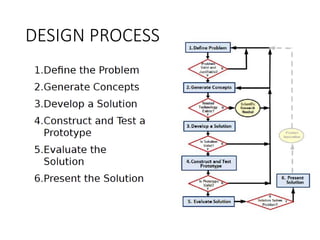
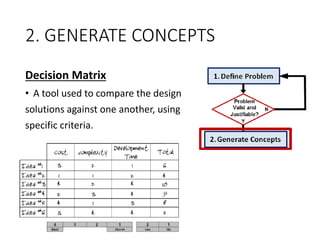

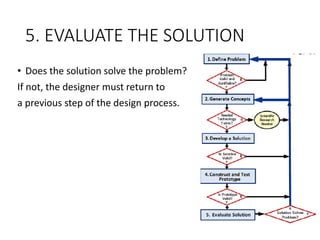
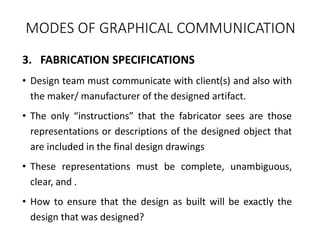
![5. EVALUATE THE SOLUTION
• Evaluate solution effectiveness
• Reflect on design
– Recommend improvements
• Optimize/Redesign the solution
– [Return to prior design process steps,
if necessary]
– Revise design documents
• Project Recommendations](https://image.slidesharecdn.com/designandengineering-231203185232-34194403/85/DESIGN-AND-ENGINEERING-pptx-33-320.jpg)