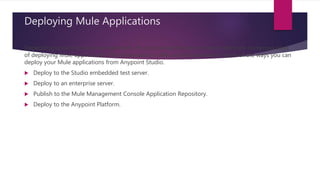
There are several ways to deploy Mule applications including:
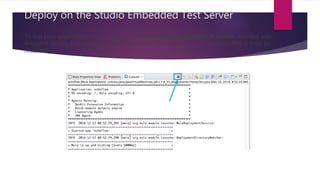
1) Deploying to the Studio embedded test server for local testing.
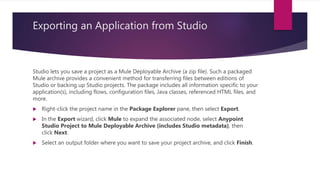
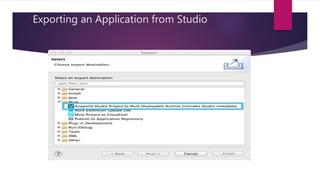
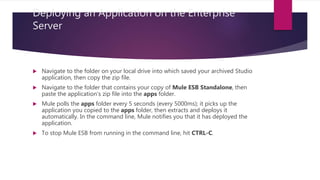
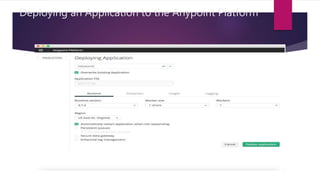
2) Exporting the application from Studio as a zip file and deploying it to an enterprise Mule server for production.
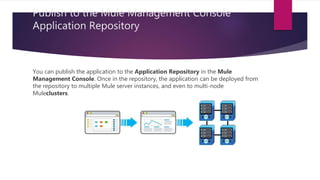
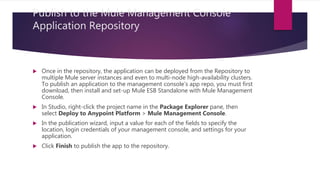
3) Deploying directly to the Mule Management Console Application Repository to make the application available for deployment to multiple servers.


![谷歌留痕技术教程[ 𝙩𝙤𝙥 𝟮𝟯𝟯. 𝙘 𝙤𝙢 ]](https://cdn.slidesharecdn.com/ss_thumbnails/top233-260130173900-2eb784f9-thumbnail.jpg?width=640&height=640&fit=bounds)


