Download to read offline
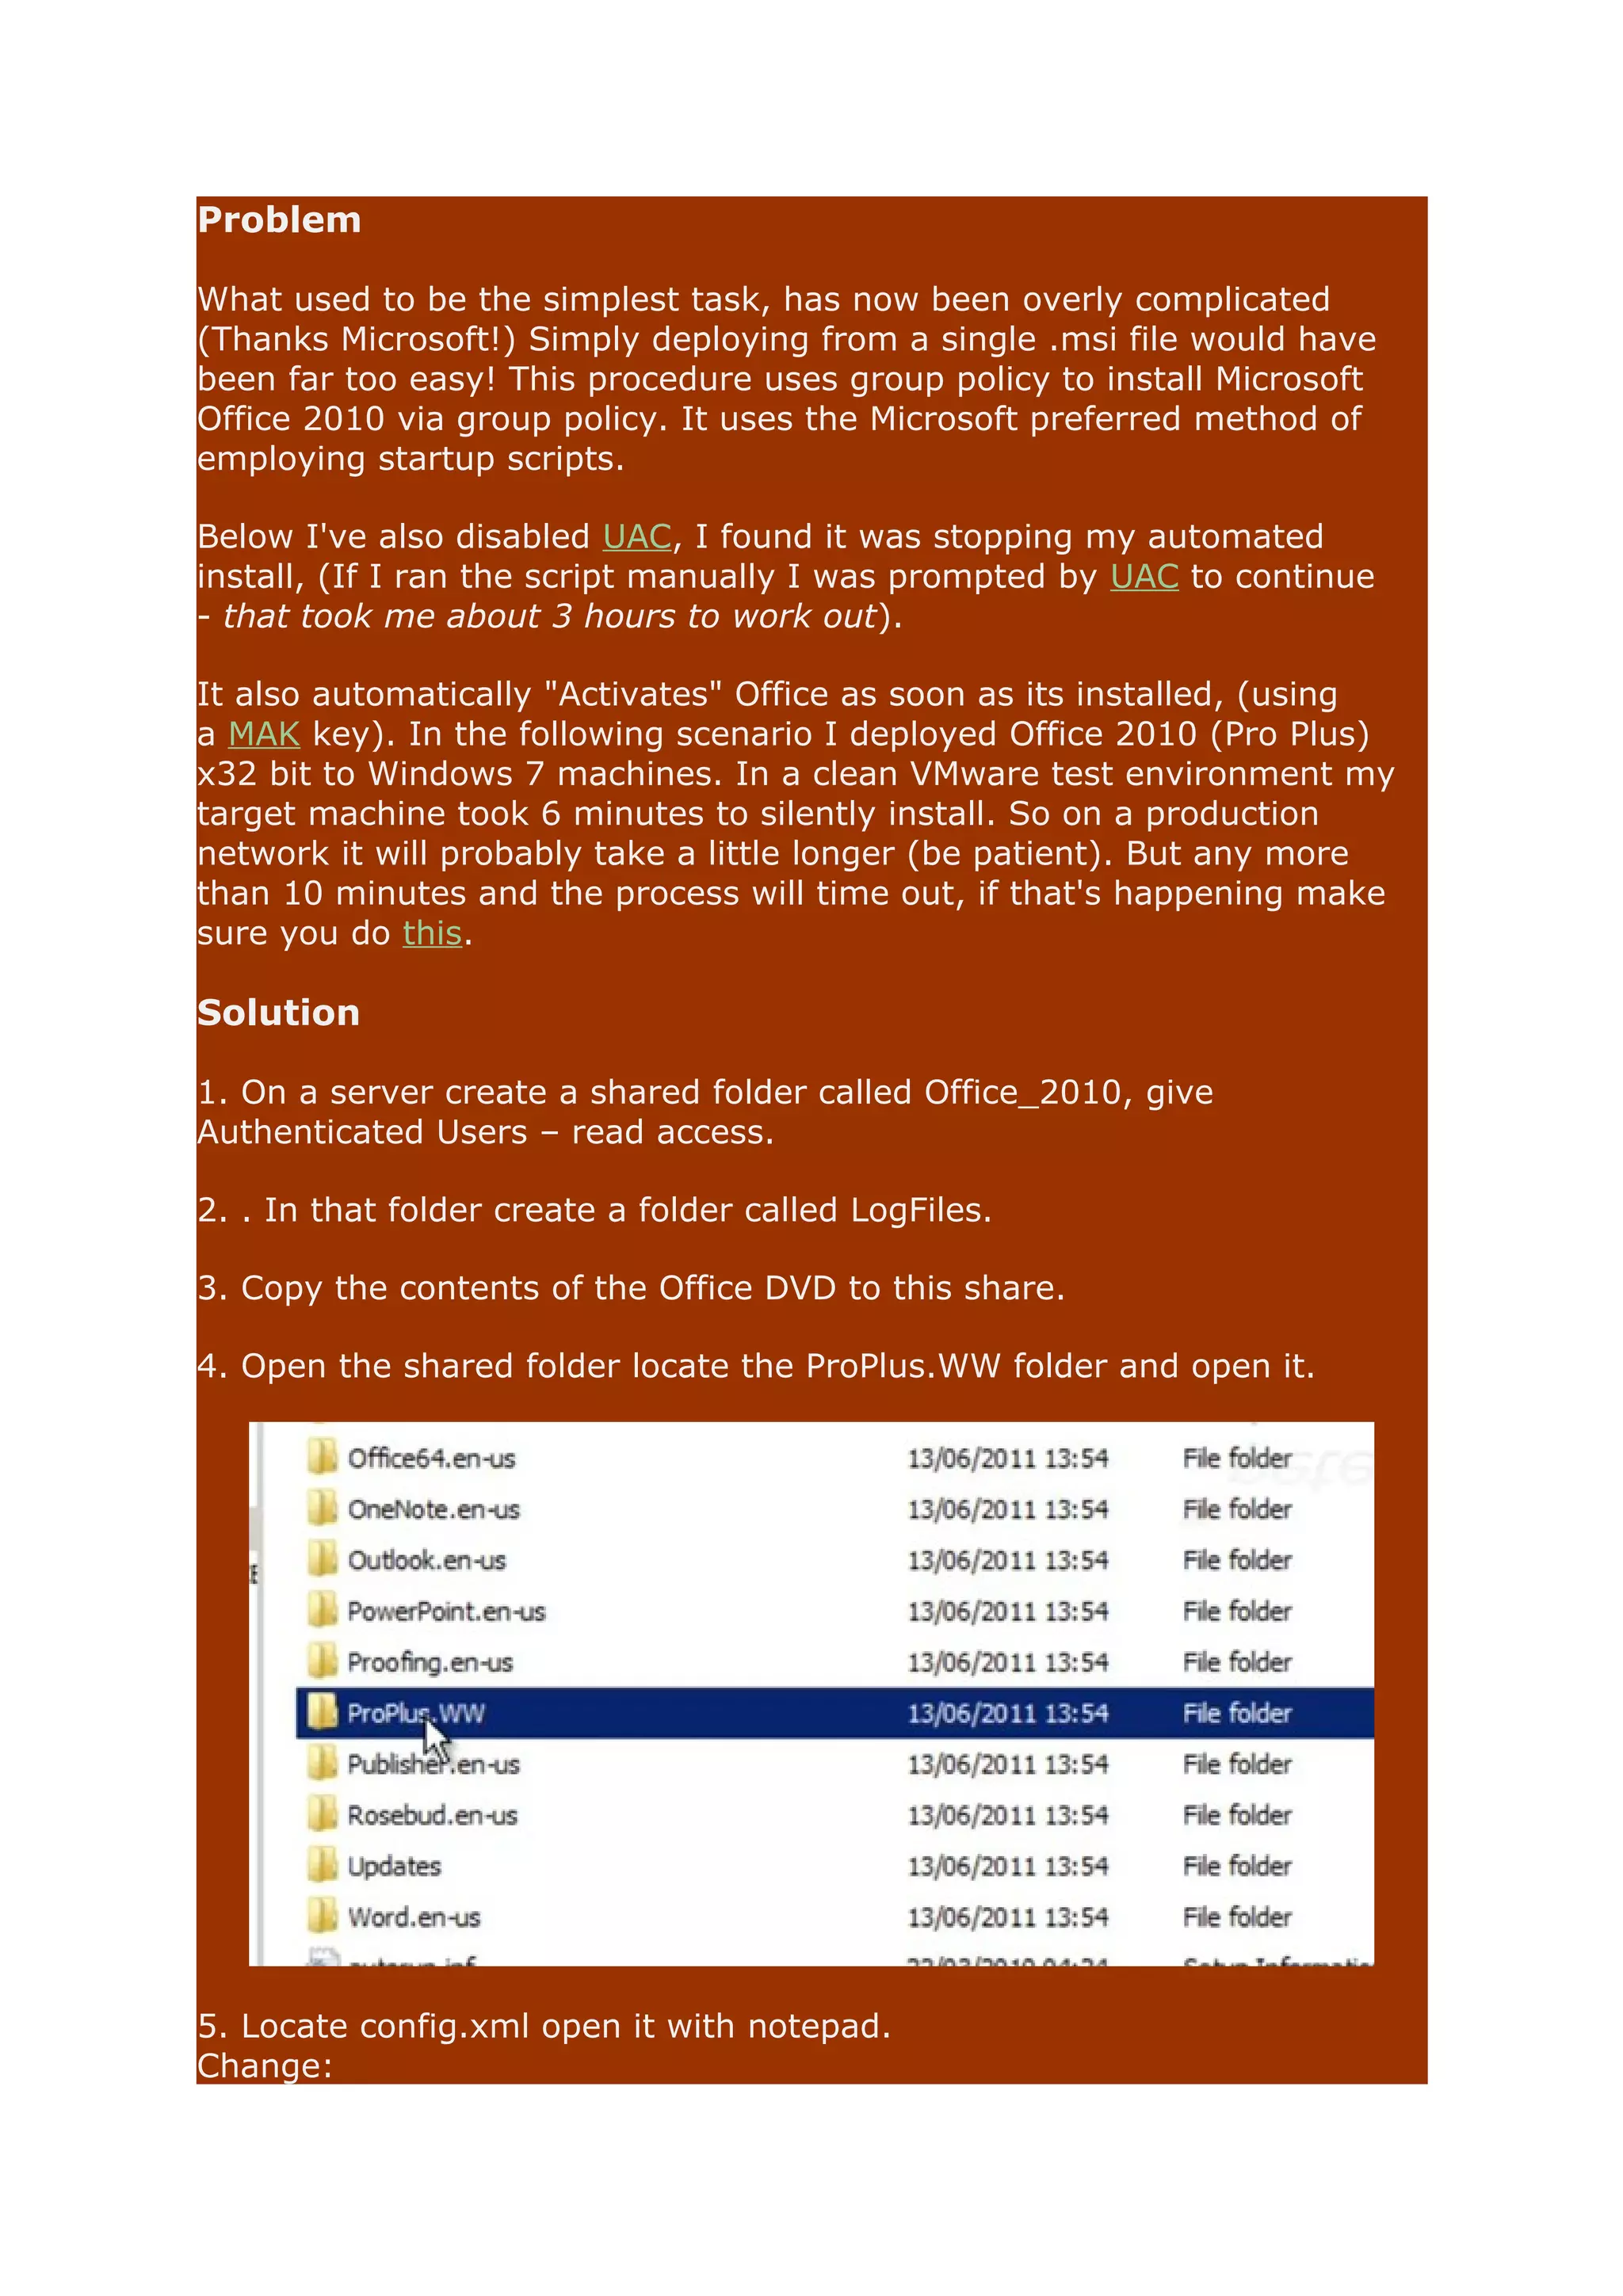
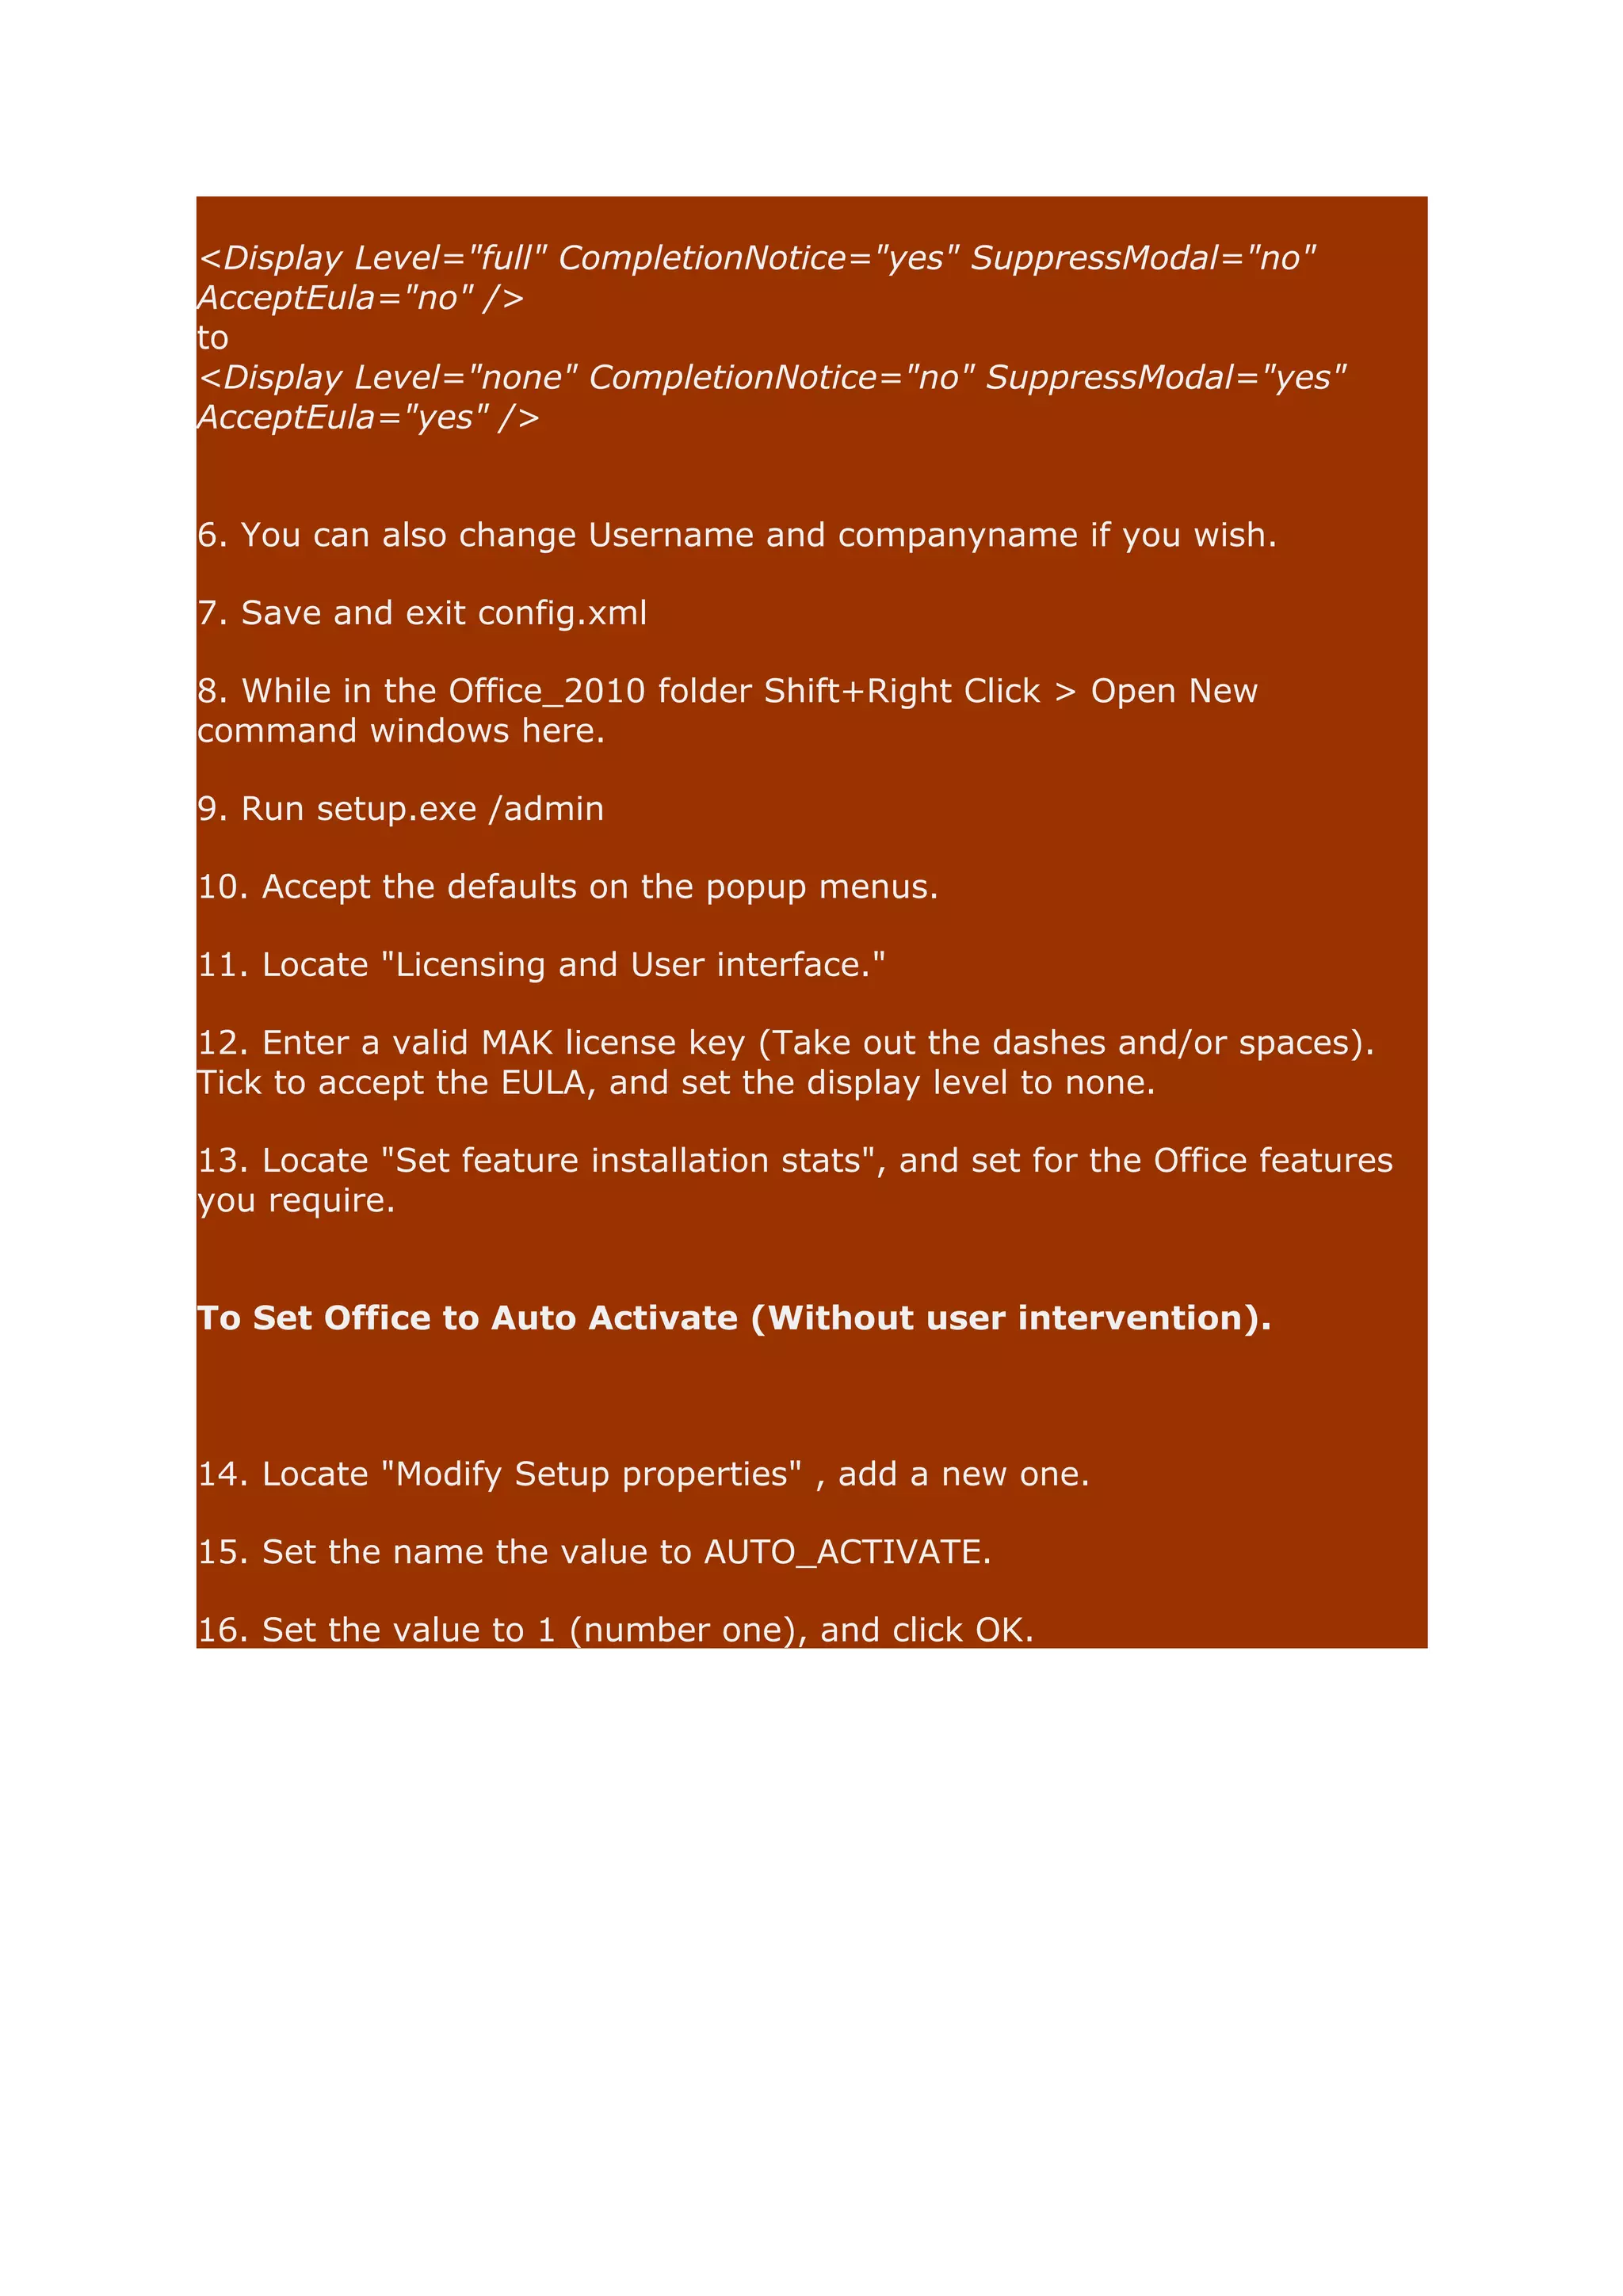

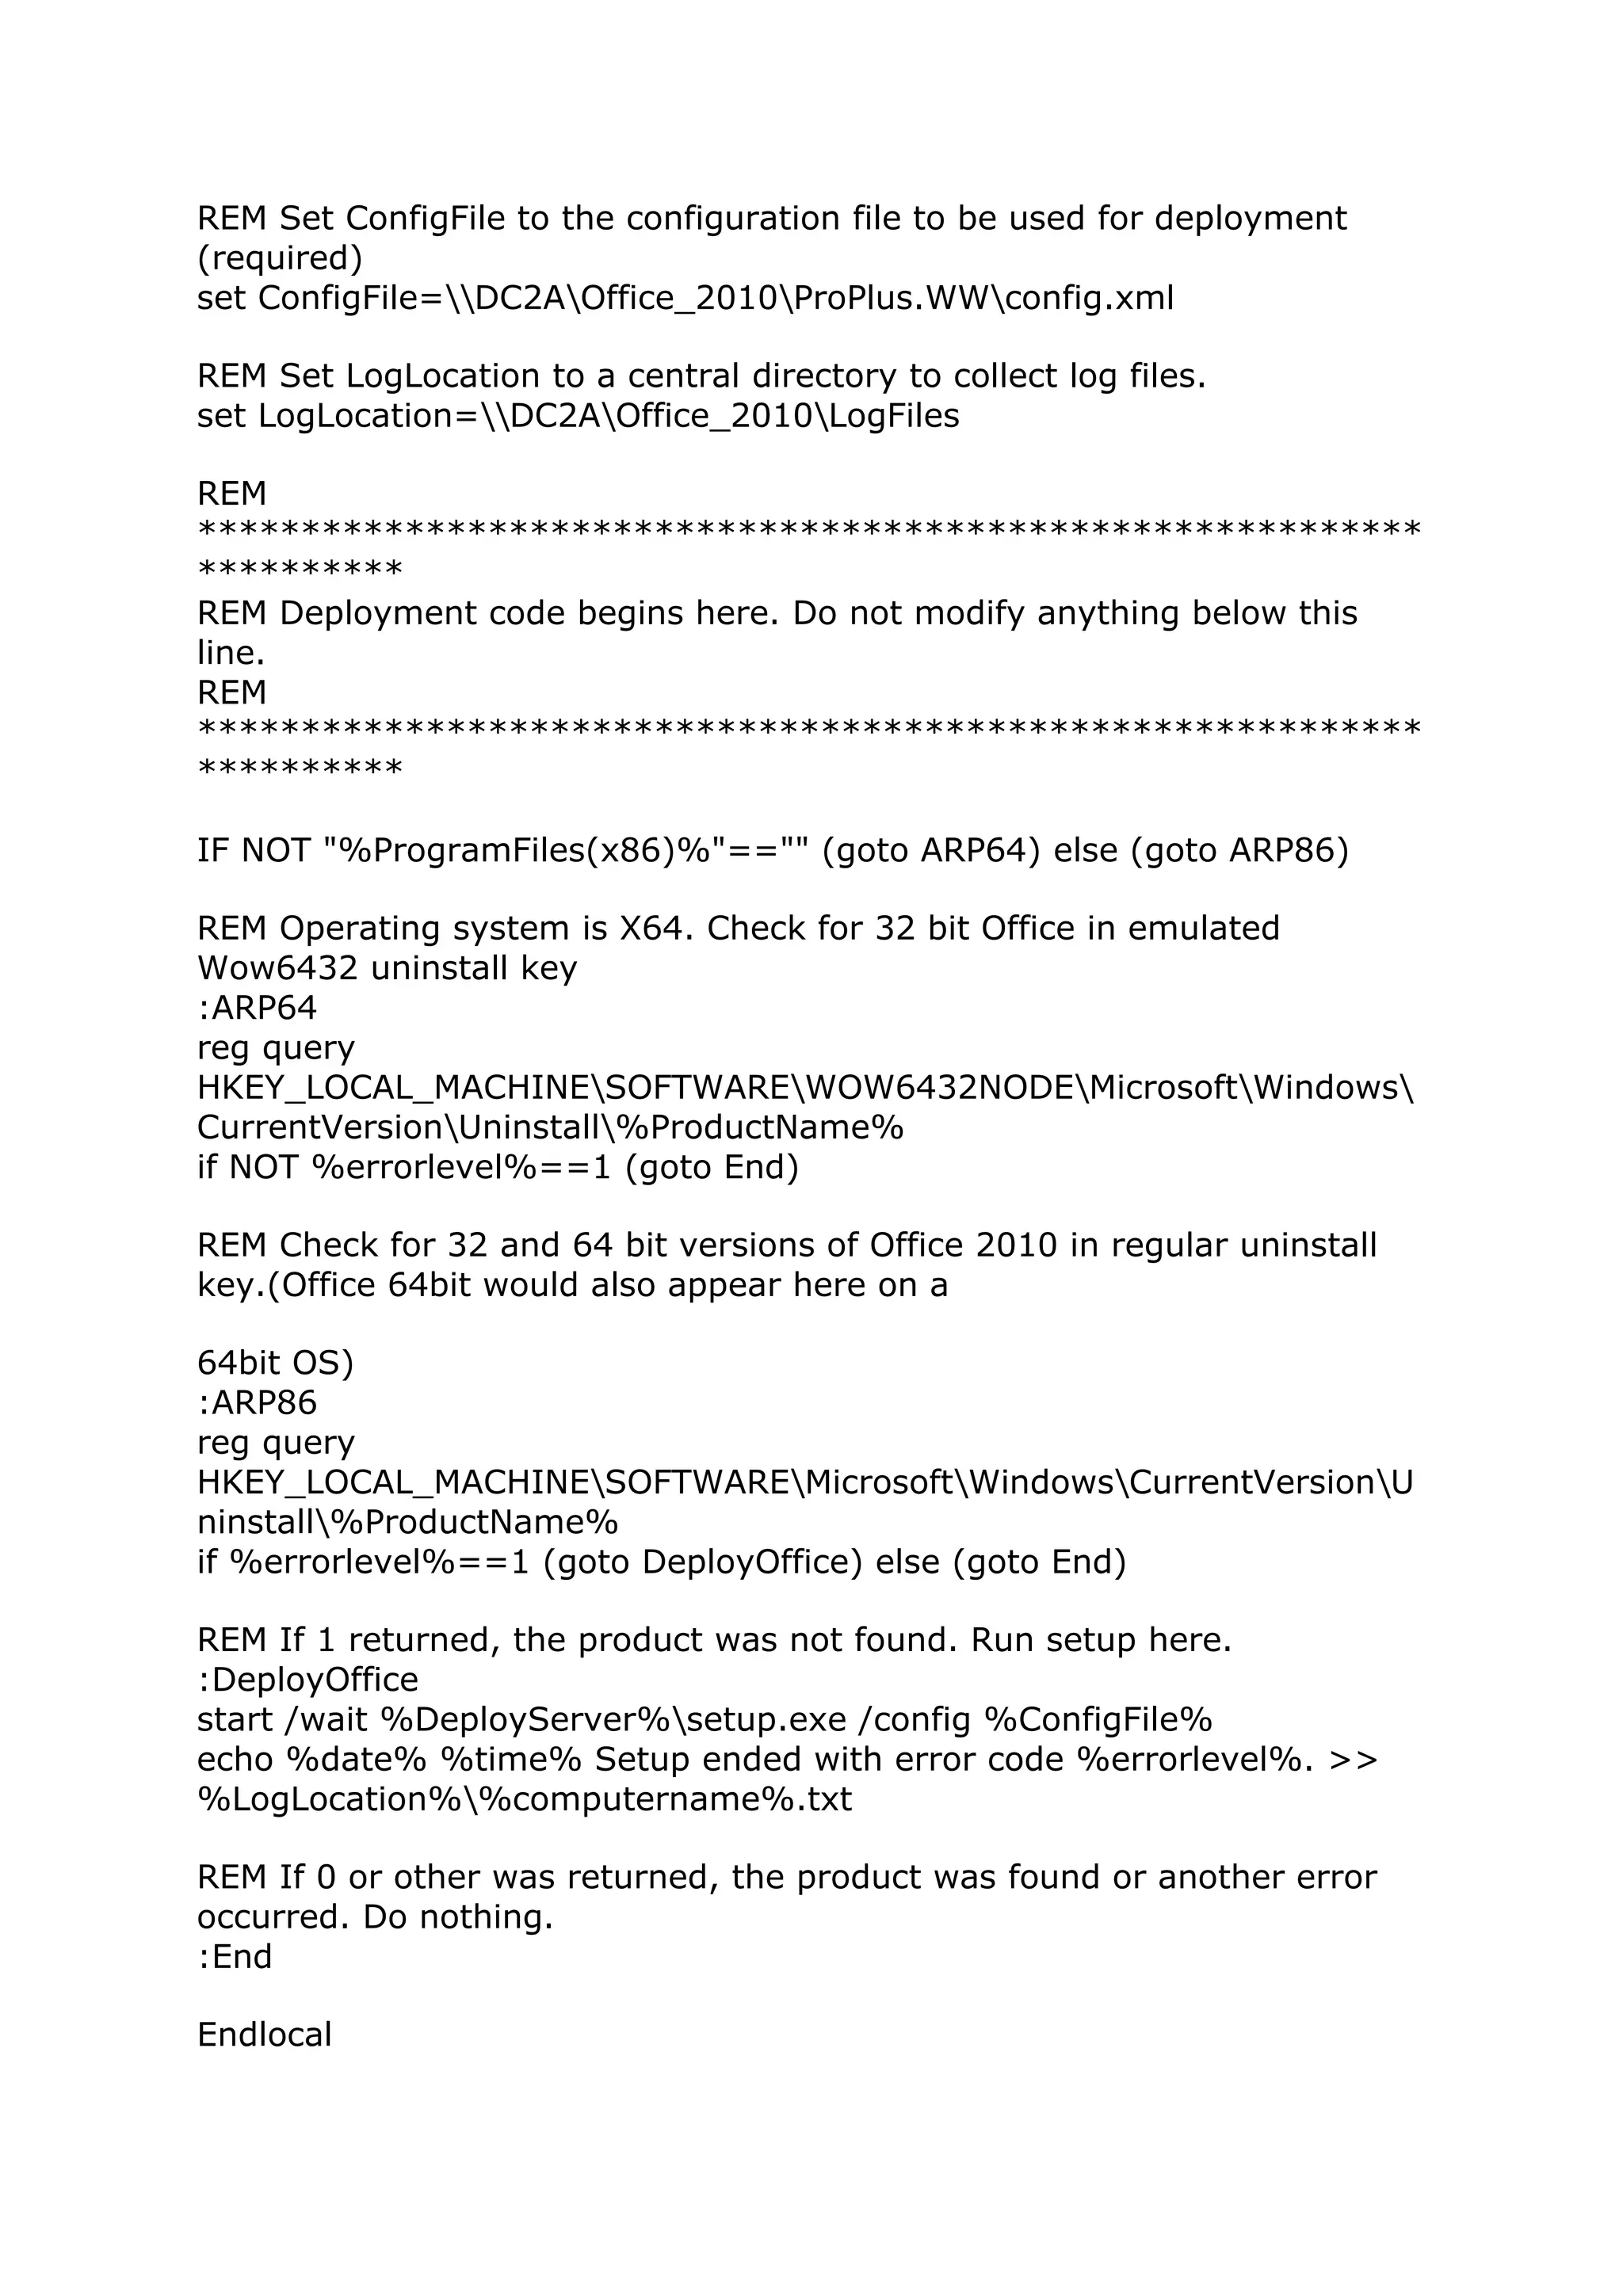

This document provides instructions for deploying Microsoft Office 2010 via group policy using startup scripts. It details setting up a shared folder with the Office installation files, modifying the config.xml file to automate the installation, creating a batch script to run the setup, and adding the batch script to the startup group policy to silently install Office on machines. It also includes steps to disable UAC and increase timeout settings to ensure a successful automated deployment.