Download to read offline


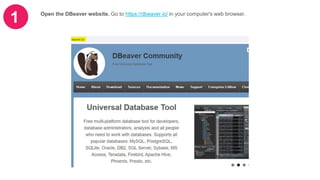

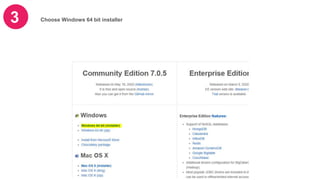
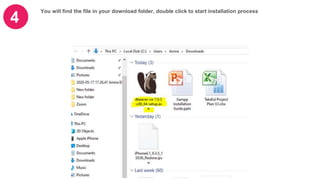

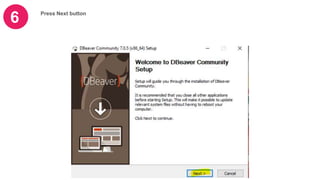
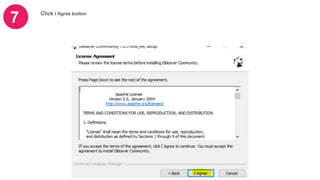
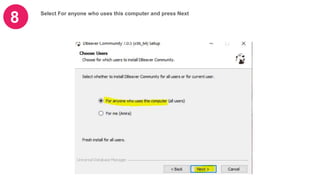
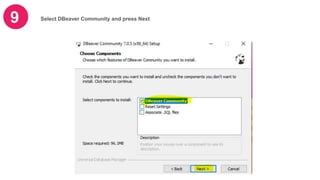
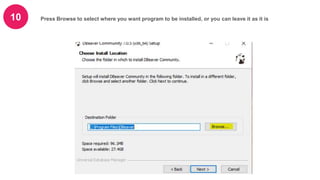
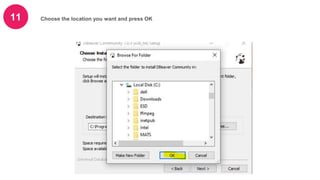
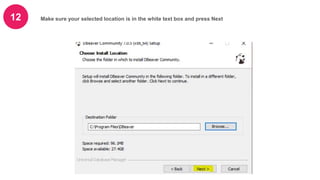
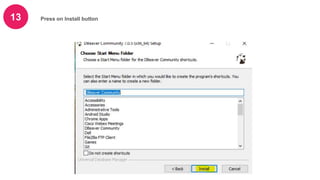


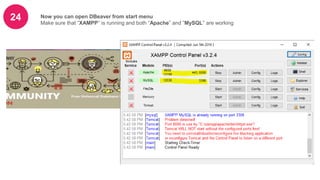
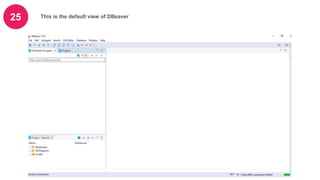
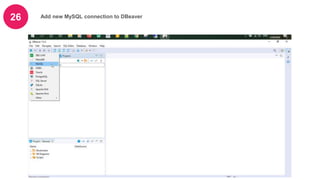
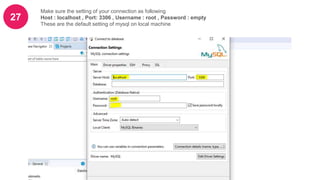
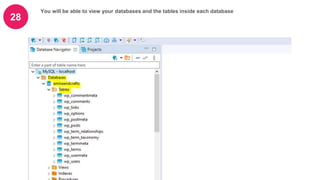
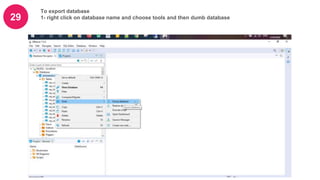
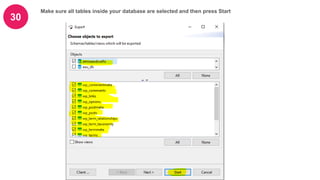
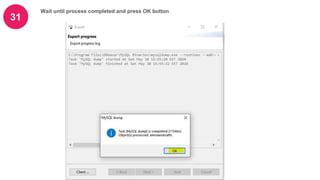
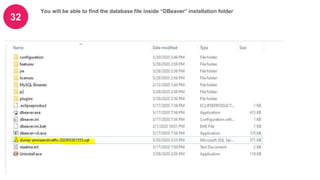

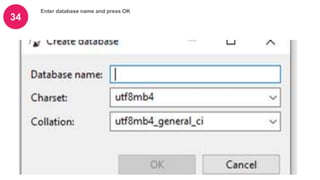
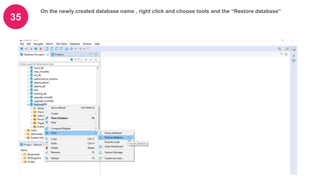

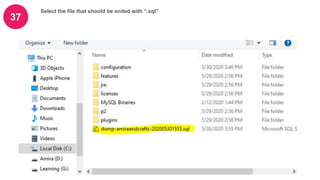

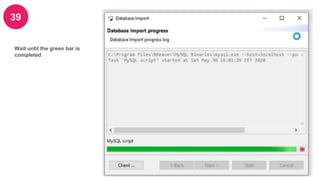
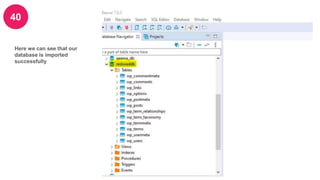


DBeaver is a free multi-platform database tool that supports popular databases like MySQL, PostgreSQL, SQLite, Oracle, and SQL Server. The document provides step-by-step instructions on how to install DBeaver on Windows, add a MySQL database connection, and export and import databases to backup and restore data. It guides the user through downloading and installing DBeaver, configuring the MySQL binaries path, connecting to a database, exporting a database to an .sql file, and importing that file to restore the database.


![Data Structures - Lecture 3 [Arrays]](https://cdn.slidesharecdn.com/ss_thumbnails/lecture-3arrays-141224100714-conversion-gate01-thumbnail.jpg?width=640&height=640&fit=bounds)