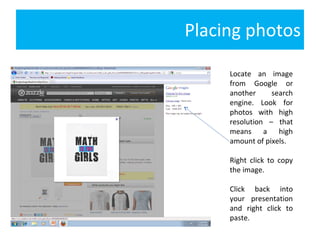
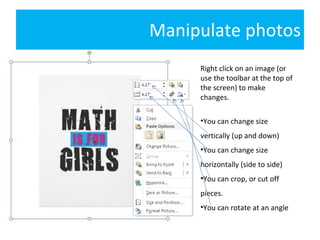
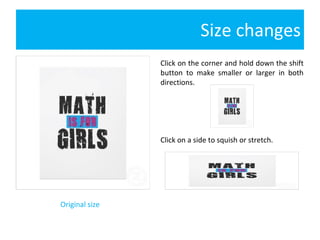
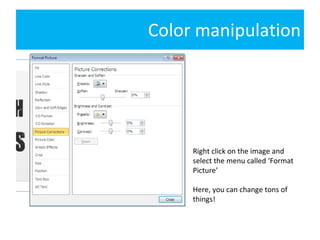
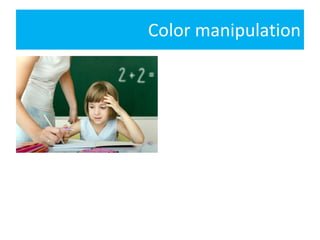
Creating a photo essay Some steps to success
Placing photos Locate an image from Google or another search engine. Look for photos with high resolution – that means a high amount of pixels. Right click to copy the image.  Click back into your presentation and right click to paste.
Manipulate photos Right click on an image (or use the toolbar at the top of the screen) to make changes. You can change size vertically (up and down) You can change size horizontally (side to side) You can crop, or cut off pieces. You can rotate at an angle
Size changes Click on the corner and hold down the shift button to make smaller or larger in both directions. Click on a side to squish or stretch. Original size
Cropping Use the crop tool to ‘cut off’ part of an image. Pull from the identified black sides or corners to ‘cut off’ from there. Gray will overlap the part of the image you plan to cut off. Double click to have your cuts take effect.
Rotation Use the green circle as a ‘handle’ for the image and rotate by dragging the mouse.  You can also choose to use the standard rotation options, which turns images by 90 degrees at a time in either direction.  Use the ‘flip’ button to have your picture mirrored in the opposite way.
Color manipulation Right click on the image and select the menu called ‘Format Picture’ Here, you can change tons of things!
Color manipulation

Creating a photo essay

  • 1.
    Creating a photoessay Some steps to success
  • 2.
    Placing photos Locatean image from Google or another search engine. Look for photos with high resolution – that means a high amount of pixels. Right click to copy the image. Click back into your presentation and right click to paste.
  • 3.
    Manipulate photos Rightclick on an image (or use the toolbar at the top of the screen) to make changes. You can change size vertically (up and down) You can change size horizontally (side to side) You can crop, or cut off pieces. You can rotate at an angle
  • 4.
    Size changes Clickon the corner and hold down the shift button to make smaller or larger in both directions. Click on a side to squish or stretch. Original size
  • 5.
    Cropping Use thecrop tool to ‘cut off’ part of an image. Pull from the identified black sides or corners to ‘cut off’ from there. Gray will overlap the part of the image you plan to cut off. Double click to have your cuts take effect.
  • 6.
    Rotation Use thegreen circle as a ‘handle’ for the image and rotate by dragging the mouse. You can also choose to use the standard rotation options, which turns images by 90 degrees at a time in either direction. Use the ‘flip’ button to have your picture mirrored in the opposite way.
  • 7.
    Color manipulation Rightclick on the image and select the menu called ‘Format Picture’ Here, you can change tons of things!
  • 8.