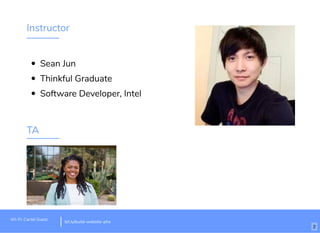
This document provides an overview of an introductory workshop on building a website with HTML/CSS. The workshop was held by Thinkful, an online bootcamp, and was led by an instructor with assistance from TAs.
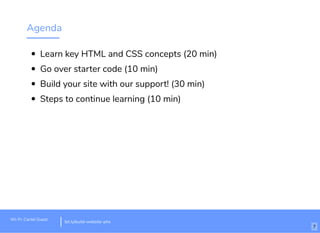
The agenda included introducing key HTML and CSS concepts, reviewing starter code, building individual websites with support from instructors, and discussing next steps for continuing to learn. Attendees worked on their own websites after the concepts were explained. Real-world examples and troubleshooting using online resources like Google were emphasized. Support from instructors and encouragement to ask questions were provided throughout.