Lab Objectives
• Learnto navigate Blender’s interface.
• Manipulate basic objects.
• Create and render a simple 3D scene.
3.
Part 1 –Launch Blender &
Interface
• Open Blender to see the default cube, camera,
and light.
• Identify interface areas: 3D Viewport, Outliner,
Properties Editor, Timeline.
4.
Part 2 –Basic Navigation Controls
• Rotate View: Middle Mouse Button (MMB)
drag.
• Pan View: Shift + MMB drag.
• Zoom: Scroll wheel or Ctrl + MMB drag.
• Focus on Object: Numpad . (period).
5.
Part 3 –Object Selection &
Transformation
• Select: Left-click (Blender 2.8+).
• Move: G key (lock axis with X/Y/Z).
• Rotate: R key (lock axis with X/Y/Z).
• Scale: S key (lock axis with X/Y/Z).
6.
Part 4 –Edit Mode & Simple
Modeling
• Switch to Edit Mode (Tab key).
• Select a face (press 3 or face select icon).
• Extrude: E key to pull out faces.
• Loop Cut: Ctrl + R to add cuts.
• Practice: make a table, chair, or house.
7.
Part 5 –Adding New Objects
• Press Shift + A → Mesh → Sphere, Cylinder,
Cone, etc.
• Move, rotate, and scale the new object.
8.
Part 6 –Materials & Colors
• Select object → Material Properties (red
sphere icon).
• Click New → change Base Color.
• Switch to Material Preview mode to see the
color.
9.
Part 7 –Lighting & Camera
• Move/rotate the light to change lighting
direction.
• Select camera → Numpad 0 for camera view.
• Adjust camera to frame the scene.
10.
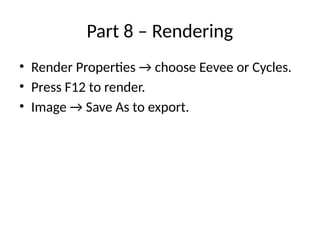
Part 8 –Rendering
• Render Properties → choose Eevee or Cycles.
• Press F12 to render.
• Image → Save As to export.
11.
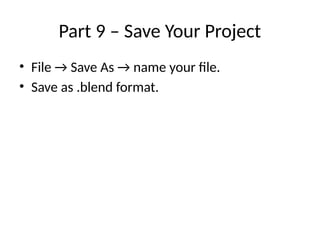
Part 9 –Save Your Project
• File → Save As → name your file.
• Save as .blend format.
12.
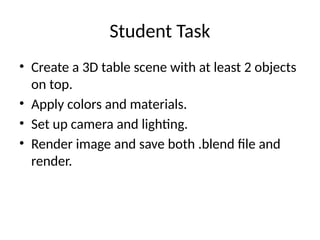
Student Task
• Createa 3D table scene with at least 2 objects
on top.
• Apply colors and materials.
• Set up camera and lighting.
• Render image and save both .blend file and
render.
![Blender Laboratory Activity
Guide
Lab 1 – Basic Setup, Navigation, and
First 3D Scene
Presented by: [Your Name]](https://image.slidesharecdn.com/blenderlabguide-260113234342-9d08176a/85/Blender_Modeling-animation-Laboratory_Guide-pptx-1-320.jpg)