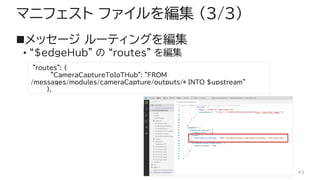
cameraCapture の main.pyを編集 (2/6)
# Copyright (c) Microsoft. All rights reserved.
# Licensed under the MIT license. See LICENSE file in the project root for
# full license information.
import time
import sys
import os
import requests
import json
from azure.iot.device import IoTHubModuleClient, Message
# global counters
SENT_IMAGES = 0
# global client
CLIENT = None
33
34.
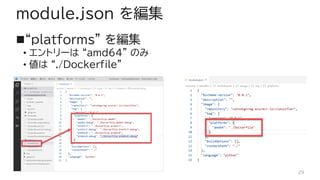
cameraCapture の main.pyを編集 (3/6)
# Send a message to IoT Hub
# Route output1 to $upstream in deployment.template.json
def send_to_hub(imagePath, strMessage):
message = Message(bytearray(strMessage, 'utf8'))
CLIENT.send_message_to_output(message, "output1")
global SENT_IMAGES
SENT_IMAGES += 1
print("imagePath: " + imagePath)
print("Total images sent: {}".format(SENT_IMAGES))
34
35.
cameraCapture の main.pyを編集 (4/6)
# Send an image to the image classifying server
# Return the JSON response from the server with the prediction result
def sendFrameForProcessing(imagePath, imageProcessingEndpoint):
headers = {'Content-Type': 'application/octet-stream'}
with open(imagePath, mode="rb") as test_image:
try:
response = requests.post(imageProcessingEndpoint, headers = headers, data =
test_image)
print("Response from classification service: (" + str(response.status_code) + ") " +
json.dumps(response.json()) + "¥n")
except Exception as e:
print(e)
print("No response from classification service")
return None
return json.dumps(response.json())
35
36.
cameraCapture の main.pyを編集 (5/6)
def main(imageProcessingEndpoint):
try:
print ( "Simulated camera module for Azure IoT Edge. Press Ctrl-C to exit." )
try:
global CLIENT
CLIENT = IoTHubModuleClient.create_from_edge_environment()
except Exception as iothub_error:
print ( "Unexpected error {} from IoTHub".format(iothub_error) )
return
print ( "The sample is now sending images for processing and will indefinitely.")
imageIndex = -1
while True:
imageIndex = (imageIndex + 1) % 6
imagePath = "test_image_" + str(imageIndex) + ".jpg"
classification = sendFrameForProcessing(imagePath, imageProcessingEndpoint)
if classification:
send_to_hub(imagePath, classification)
time.sleep(10)
except KeyboardInterrupt:
print ( "IoT Edge module sample stopped" )
36
37.
cameraCapture の main.pyを編集 (6/6)
if __name__ == '__main__':
try:
# Retrieve the image location and image classifying server endpoint from container
environment
# IMAGE_PATH = os.getenv('IMAGE_PATH', "")
IMAGE_PROCESSING_ENDPOINT = os.getenv('IMAGE_PROCESSING_ENDPOINT', "")
except ValueError as error:
print ( error )
sys.exit(1)
# if ((IMAGE_PATH and IMAGE_PROCESSING_ENDPOINT) != ""):
if (IMAGE_PROCESSING_ENDPOINT != ""):
main(IMAGE_PROCESSING_ENDPOINT)
else:
print ( "Error: Image path or image-processing endpoint missing" )
37
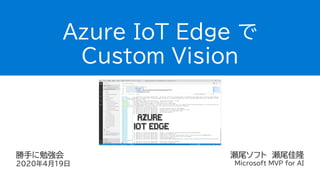
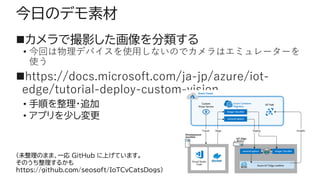

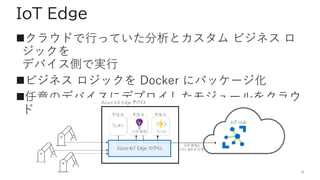

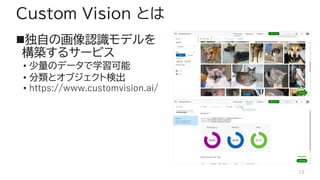
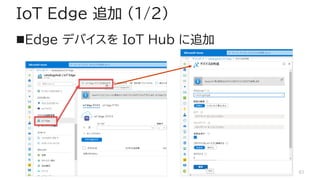
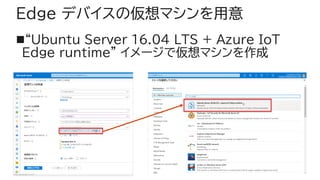
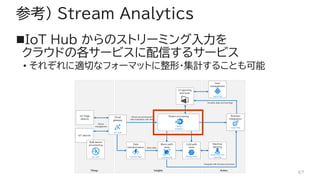
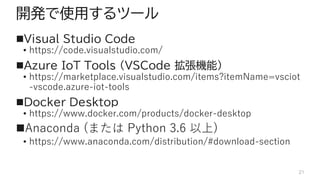
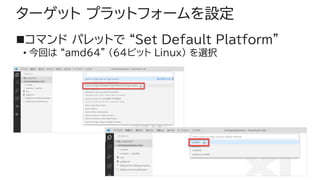
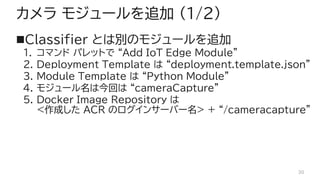
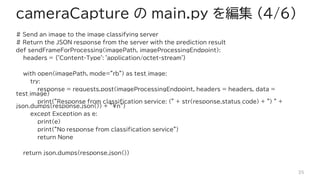
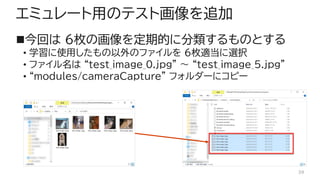
![Custom Vision 操作 (3/6)
◼ラベル付きで画像アップロード
◼[Train] で学習
16
今回は “Kaggle” の “Dogs & Cats Image” を使用
(犬・猫の画像をそれぞれ 30枚)
https://www.kaggle.com/chetankv/dogs-cats-images](https://image.slidesharecdn.com/customvisiononazureiotedge-200419042313/85/Azure-IoT-Edge-Custom-Vision-16-320.jpg)
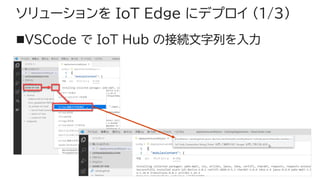
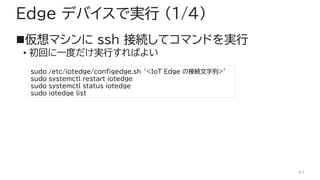
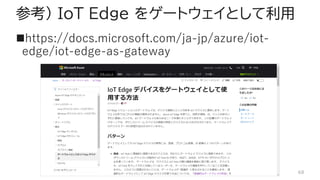
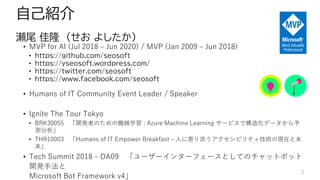
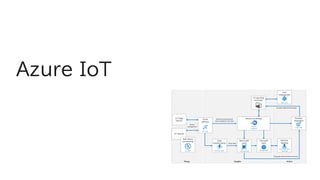
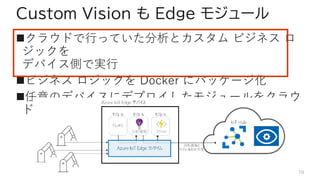
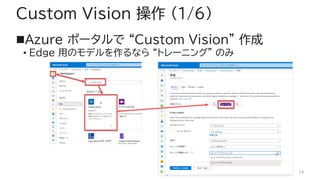
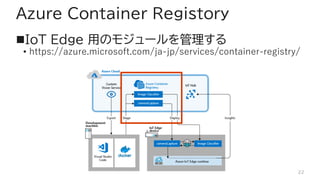
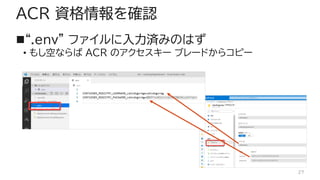
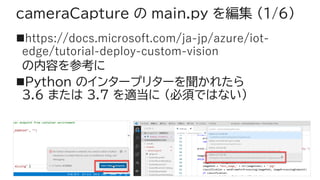
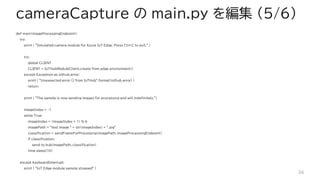
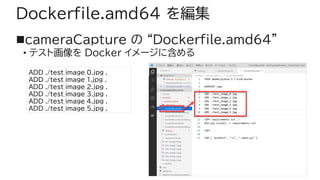
![Custom Vision 操作 (4/6)
◼[Train] ボタンで学習
◼スコアを確認
• “Compact” モデルは
少し品質が低くなる
17今回は “衝撃に結末” が・・・ (あとのお楽しみ)](https://image.slidesharecdn.com/customvisiononazureiotedge-200419042313/85/Azure-IoT-Edge-Custom-Vision-17-320.jpg)

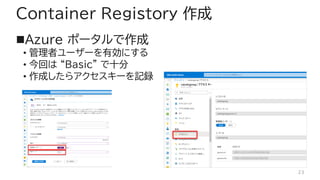

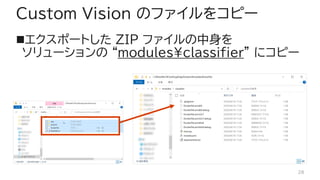


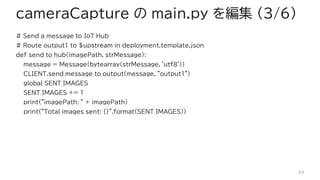
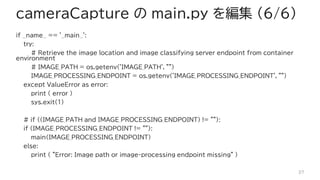
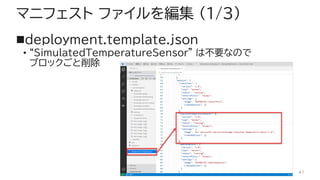
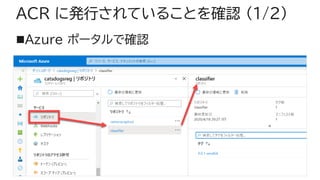
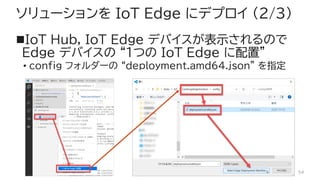
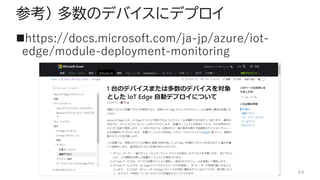
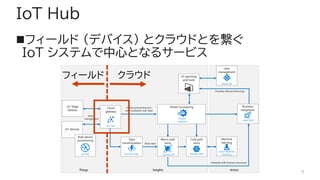
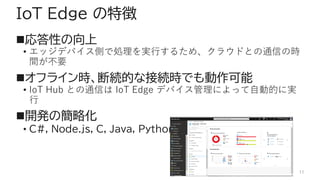
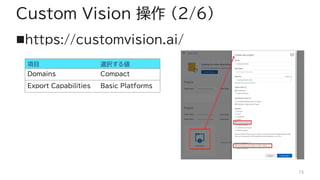
![マニフェスト ファイルを編集 (2/3)
◼cameraCapture/settings/createOptions を
編集
42
"createOptions":
"{¥"Env¥":[¥"IMAGE_PROCESSING_ENDPOINT=http://classifier/image¥"]}"](https://image.slidesharecdn.com/customvisiononazureiotedge-200419042313/85/Azure-IoT-Edge-Custom-Vision-42-320.jpg)