Download to read offline

![Organization of This Manual How to Use this Guide
iv Director Guide
Organization of This Manual
This manual contains the following:
̈ Chapter 1 contains an overview of DataStage®
and its component
parts.
̈ Chapter 2 describes the DataStage Director and how to use it.
̈ Chapter 3 covers how to validate, run, delete, schedule, and
administer DataStage server jobs.
̈ Chapter 4 describes job batches.
̈ Chapter 5 describes how to monitor a running server job.
̈ Chapter 6 describes the job log file and the Job Log view.
̈ The Glossary defines terms that have specific meaning in
DataStage.
Documentation Conventions
This manual uses the following conventions:
Convention Usage
Bold In syntax, bold indicates commands, function names, keywords,
and options that must be input exactly as shown. In text, bold
indicates keys to press, function names, and menu selections.
UPPERCASE In syntax, uppercase indicates BASIC statements and functions
and SQL statements and keywords.
Italic In syntax, italic indicates information that you supply. In text,
italic also indicates UNIX commands and options, file names,
and pathnames.
Plain In text, plain indicates Windows commands and options, file
names, and path names.
Lucida
Typewriter
The Lucida Typewriter font indicates examples of source code
and system output.
Lucida
Typewriter
In examples, Lucida Typewriter bold indicates characters that
the user types or keys the user presses (for example,
<Return>).
[ ] Brackets enclose optional items. Do not type the brackets unless
indicated.
{ } Braces enclose nonoptional items from which you must select
at least one. Do not type the braces.](https://image.slidesharecdn.com/ascentialdatastagedirectorguide-230806134101-8d3b4481/85/Ascential-DataStage-Director-Guide-4-320.jpg)
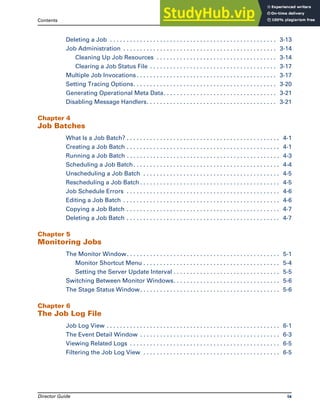

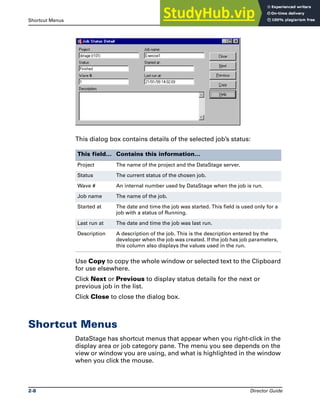
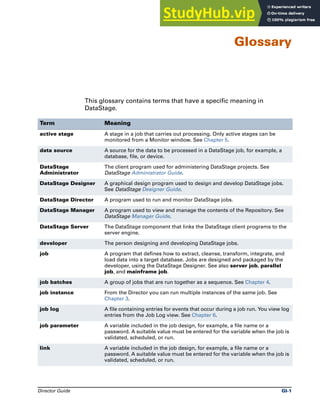
![Filtering the Job Status or Job Schedule View The DataStage Director
2-12 Director Guide
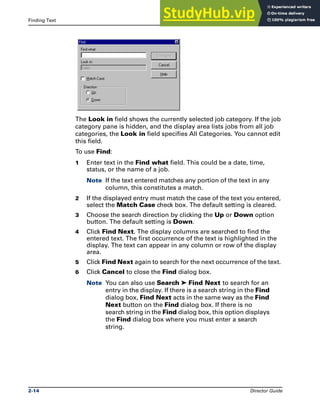
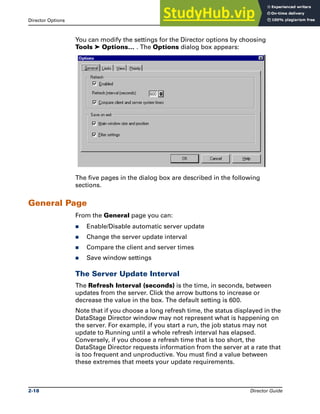
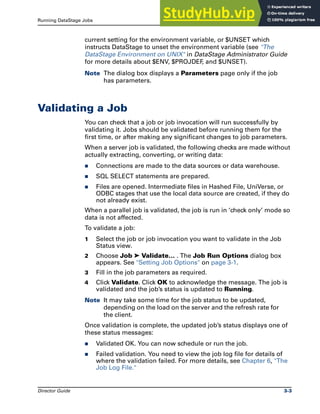
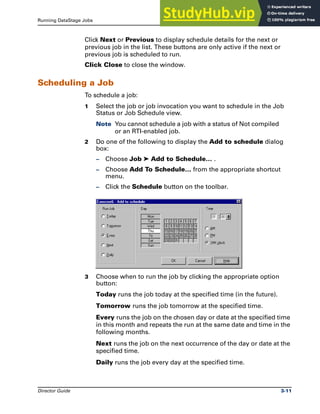
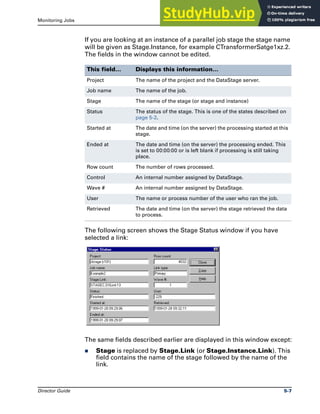
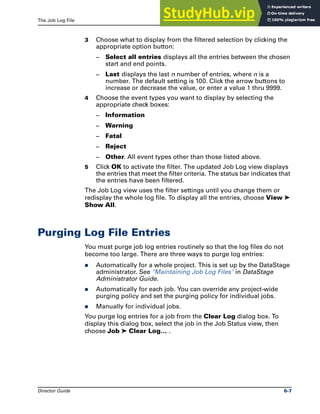
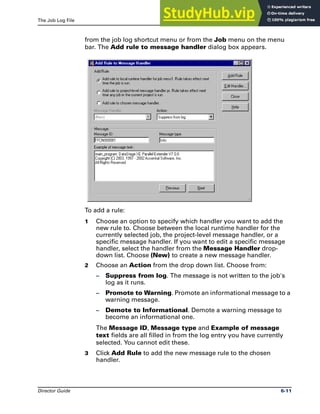
4 Choose which jobs to exclude from the view by clicking either the
No jobs or Jobs matching option button in the Include area. If
you select Jobs matching, enter a string in the Jobs matching
field. Only jobs that match this string will be excluded. The string
definition is the same as in step 3.
5 Specify the status of the jobs you want to display by clicking an
option button in the Job status area.
– All lists jobs that have any status.
– All, except “Not compiled” lists jobs with any status except
Not compiled.
– Terminated normally lists jobs with a status of Finished,
Validated, Compiled, or Has been reset.
– Terminated abnormally lists jobs with a status of Aborted,
Stopped, Failed validation, Finished (see log), or Validated (see
log).
6 If you want to restrict the display to released jobs, select the
Include only released jobs check box in the Released jobs
area.
7 Click OK to activate the filter. The updated view displays the jobs
that meet the filter criteria. The status bar indicates that the entries
have been filtered.
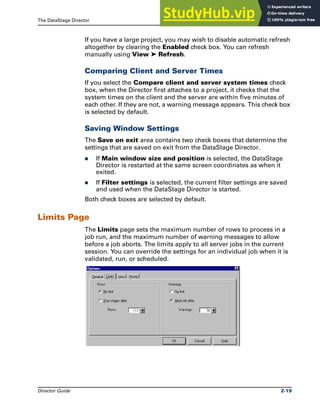
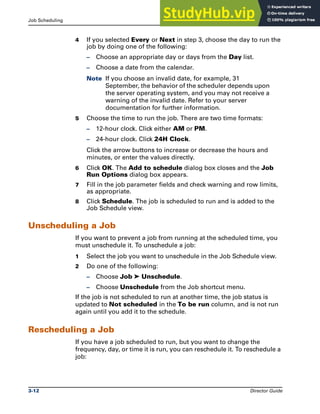
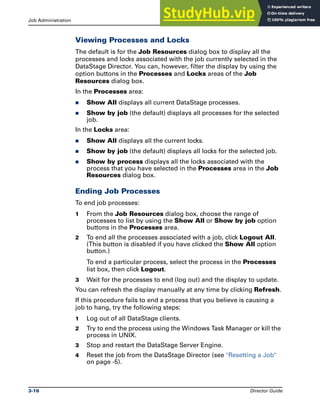
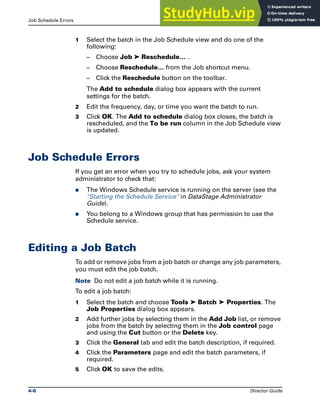
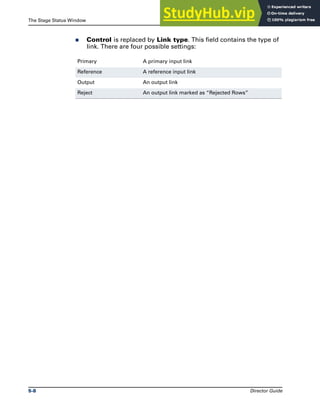
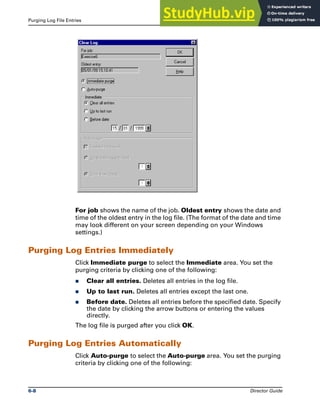
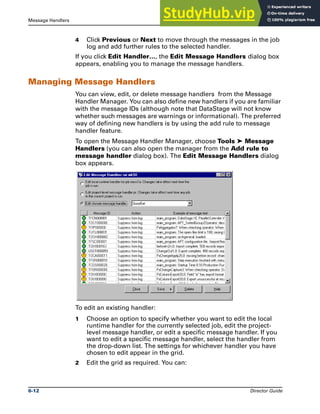
Examples of Filtering by Job Name
The following examples show how to use the Jobs Matching field in
the Filter Jobs dialog box to filter the Job Status view or the Job
Schedule view.
# Matches a single digit.
[charlist] Matches any single character in charlist.
[!charlist] Matches any single character not in charlist.
[a–z] Matches any single character in the range a–z.
Wildcard/Pattern Description](https://image.slidesharecdn.com/ascentialdatastagedirectorguide-230806134101-8d3b4481/85/Ascential-DataStage-Director-Guide-26-320.jpg)
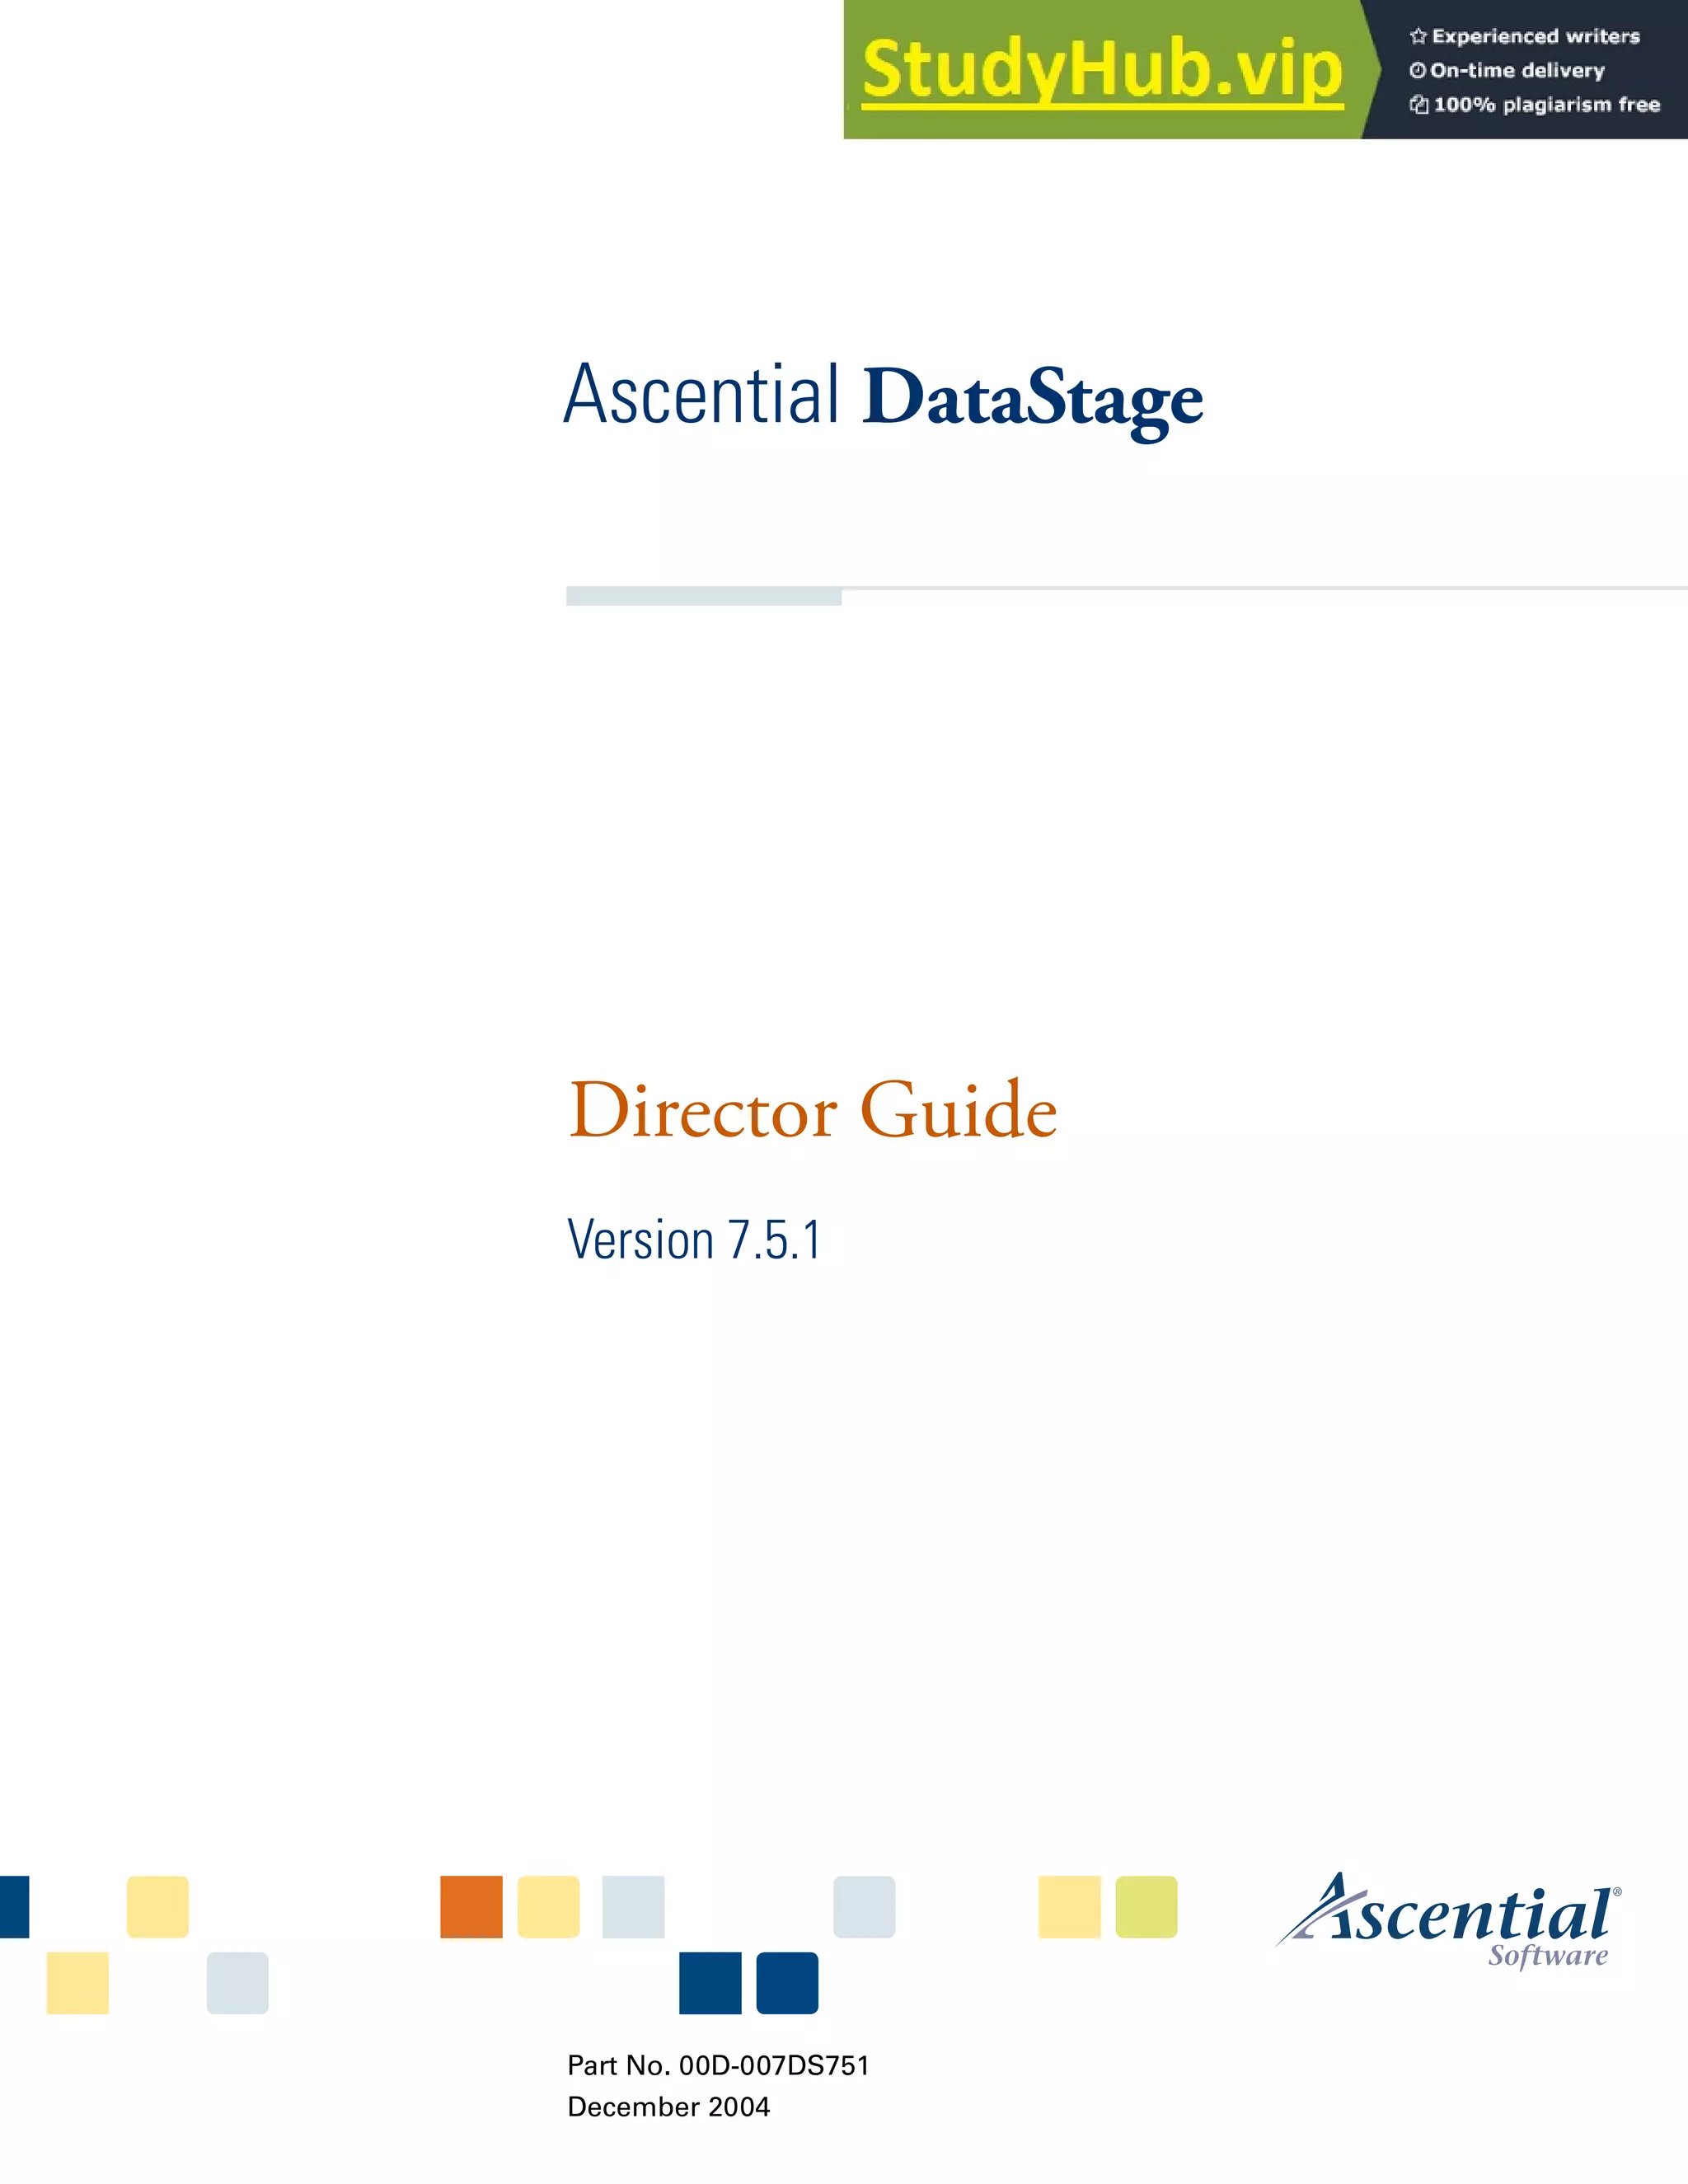
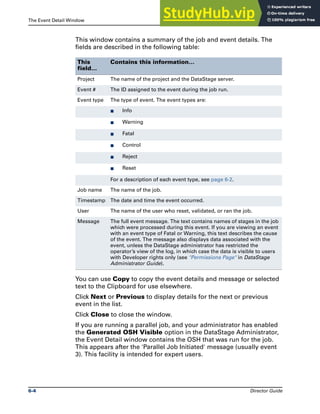
![The DataStage Director Finding Text
Director Guide 2-13
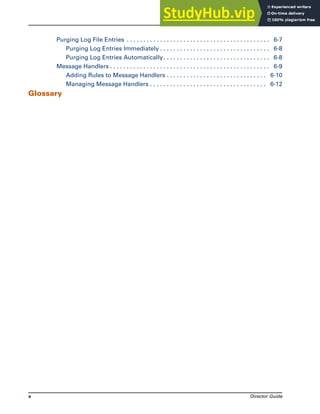
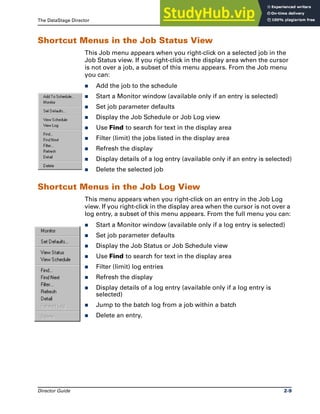
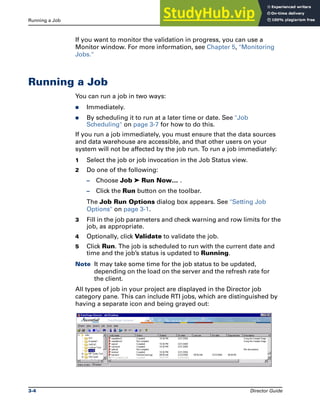
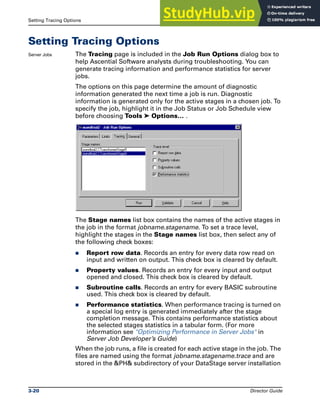
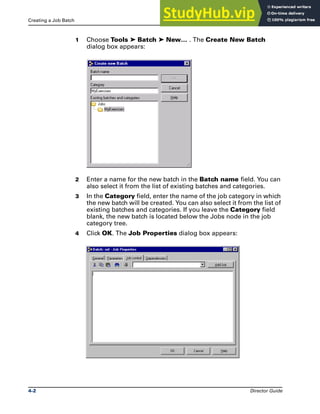
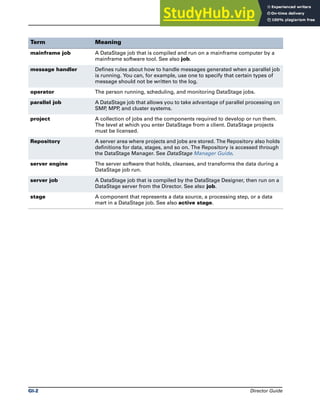
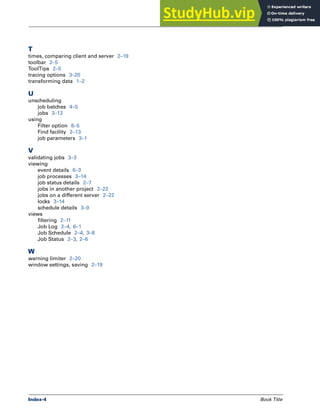
Example 1
Example 2
Continuing Example 1, if you also specify *input as an “Exclude”
filter, the Job Status view shows only job2output.
Example 3
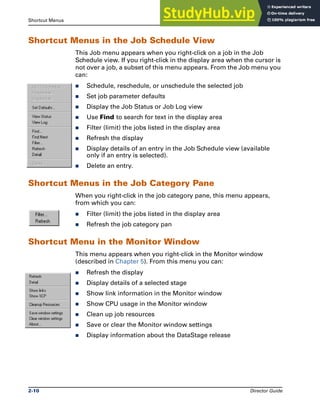
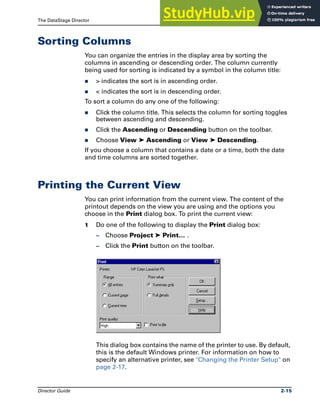
Finding Text
If there are many entries in the display area, you can use Find to
search for a particular job or event. You start Find in one of three
ways:
̈ Choose Search ➤ Find… .
̈ Choose Find… from the shortcut menu.
̈ Click the Find button on the toolbar.
The Find dialog box appears:
Job Names “Include” Filter Job View
job2input job2* job2input
job2output job2output
job3input
job3output
Job Names “Include” Filter Job View
A3tires [A-E]3* A3tires
A3valves A3valves
B3tires B3tires
B3valves B3valves
F3tires
F3valves](https://image.slidesharecdn.com/ascentialdatastagedirectorguide-230806134101-8d3b4481/85/Ascential-DataStage-Director-Guide-27-320.jpg)


This document describes how to use the Ascential DataStage Director Guide. The guide provides information about using the DataStage Director to validate, schedule, run, and monitor DataStage server jobs. It also summarizes the other DataStage documentation available and conventions used in the manuals.