Download to read offline


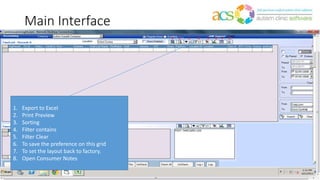
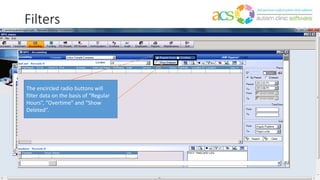
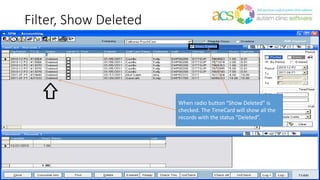

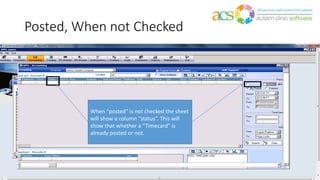
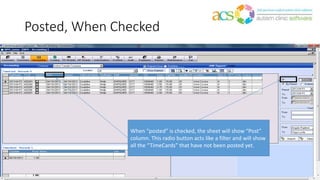

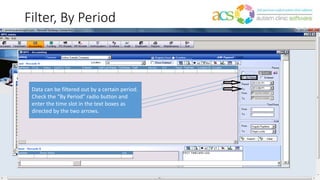
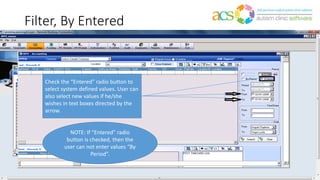


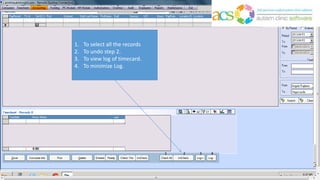

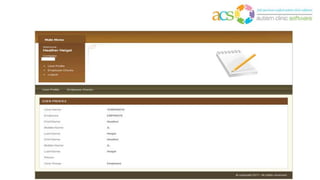


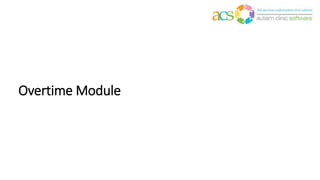
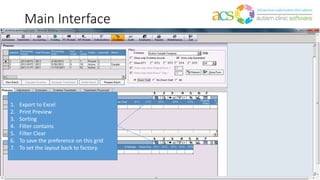
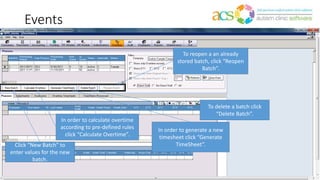
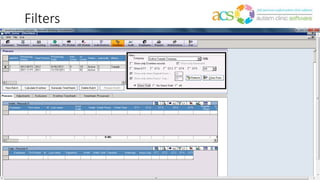

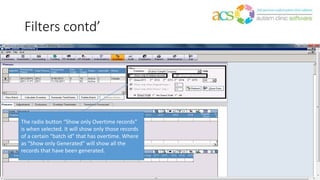


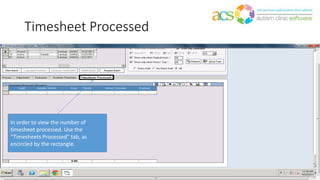


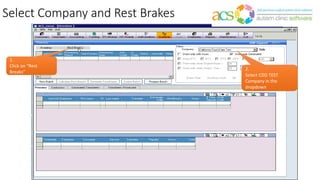
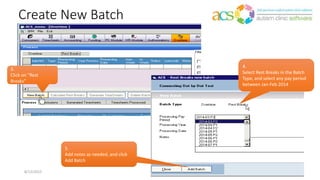
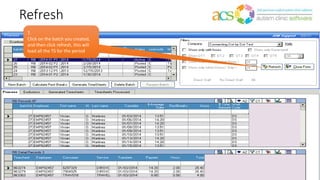

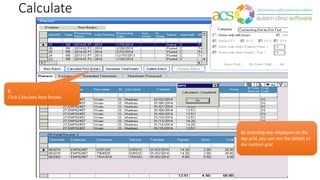
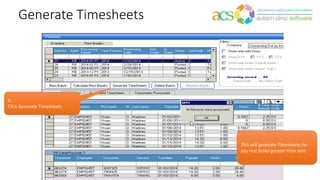
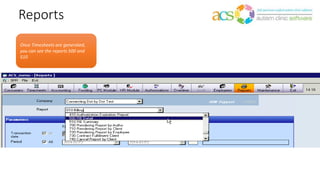
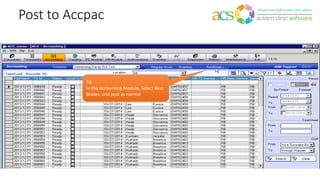

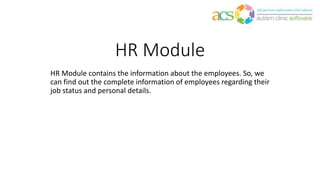
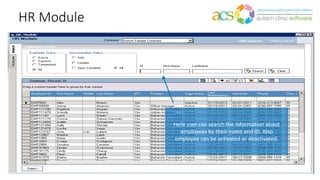
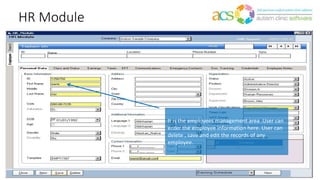
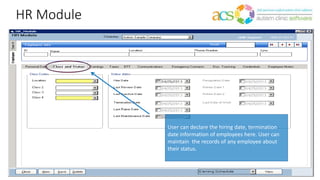

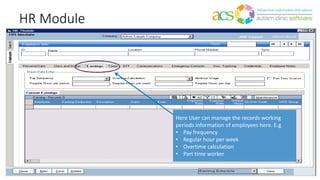
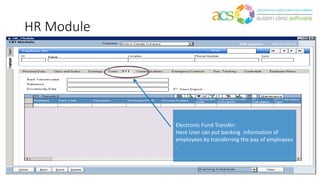
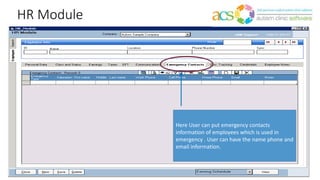
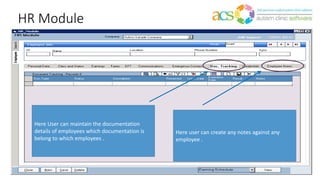

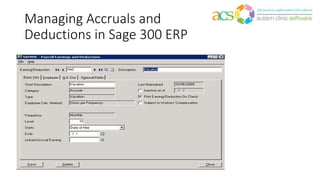


The document provides an overview of the Autism Clinic Software (ACS) modules, including accounting, payroll, and human resources management features. It describes functionalities such as timecard management, payroll processing, overtime calculation, and employee information management. Additionally, it illustrates how to filter data, manage accruals, and generate reports within the ACS system.


