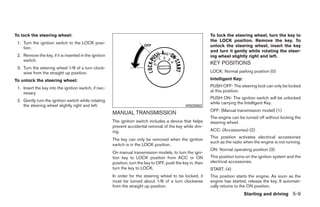
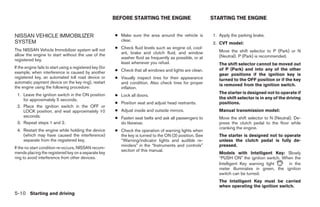
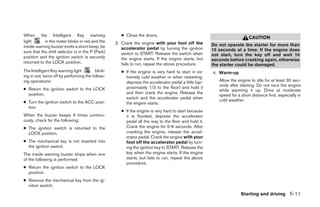
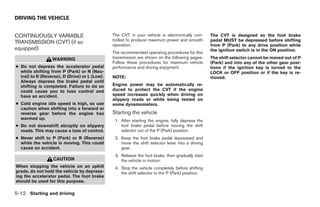
Download as PDF, PPTX


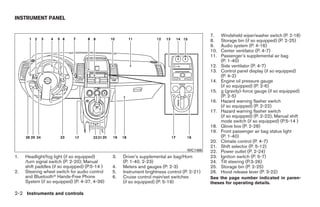
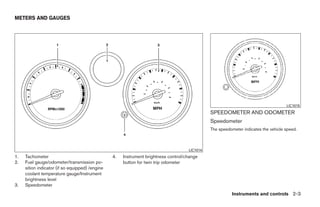
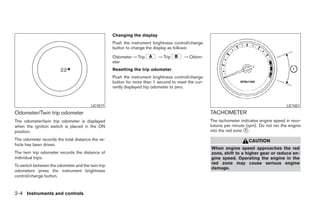

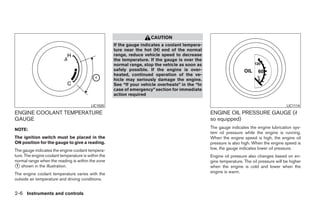


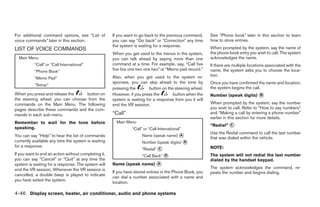
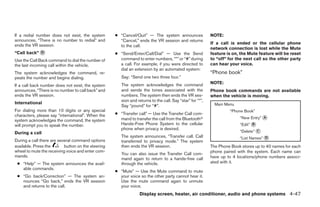
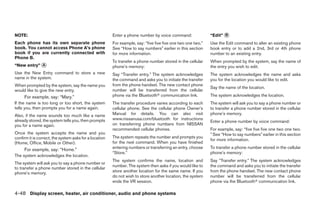


The document is the owner's manual for the 2009 Nissan Sentra, which provides essential information on operating and maintaining the vehicle safely. It includes warnings about modifications, driving rules, warranty details, and safety features, alongside instructions for specific vehicle operations. Additionally, it emphasizes the importance of familiarizing oneself with the manual before driving and offers guidance on contacting customer care for further assistance.


