More Related Content

PDF

PDF

PDF

PPTX

PPTX

ODP

PDF
BHyVe: The BSD Hypervisor 
PDF
What's hot

KEY

PDF
WSL2+docker+JupyterとVS Codeリモート環境の構築 
PDF
openSUSEで最強仮想環境をつくろう - ゲーミングから仮想通貨まで - OSC名古屋2017セミナー資料 
PPTX

PDF
2014/11/08 第3回 一撃サーバー構築シェルスクリプト勉強会(懇親会もあるよ!) 発表資料 
PDF
Wocker 秒速で WordPress 開発環境を構築する 
PDF
XenServerとZFSストレージでサーバ仮想化 - OSC2011 Tokyo/Spring 自宅SAN友の会(後半) 
PDF

PDF

PDF
Docker+CoreOS+GCEで自動スケール分散レイトレ 
PPTX

PDF

KEY
軽快なPlan 9 Update - Illumos KVM上陸 - 
PDF
Ansible 2.0を使って組む kubernetesクラスタ vol.1 
PDF

PPTX
FreeBSD VPSでLive Migration 
PDF
こんてなぐらし!〜FreeBSD VPSでライブマイグレーション〜 
PDF
Okinawa Open Days 2015 Handson - Ansible 
PDF
COMSTARでiSCSI - OpenSolaris勉強会 2011.08 
PPTX
Similar to 勉強会0614 vagrant

PDF

ODP
"Up" with vagrant and docker 
PDF
"Up" with vagrant and docker 
PDF

ODP

PPTX
Vagrant×Rails セットアップ講習会資料 
PDF

PPTX

PDF

PDF

PDF
Vagrant - 最近流行ってるらしいけど何者? 
PDF
Vagrant+virtualboxを使ってみよう 
PPTX

PPTX

PPTX
仮想マシンとVagrant + Vagrant 1.5 
PDF

PDF

PDF

PPTX
3分間 開発環境クッキング 2012.07 #pyfes 
PDF
More from Yu Ito

PPTX

PPTX

PPTX

PPTX

PPTX
徳島OSS勉強会第四回 シラサギハンズオン 0925 
PPTX

PPTX

PDF
勉強会0614 vagrant
- 1.
- 2.
- 3.
- 4.
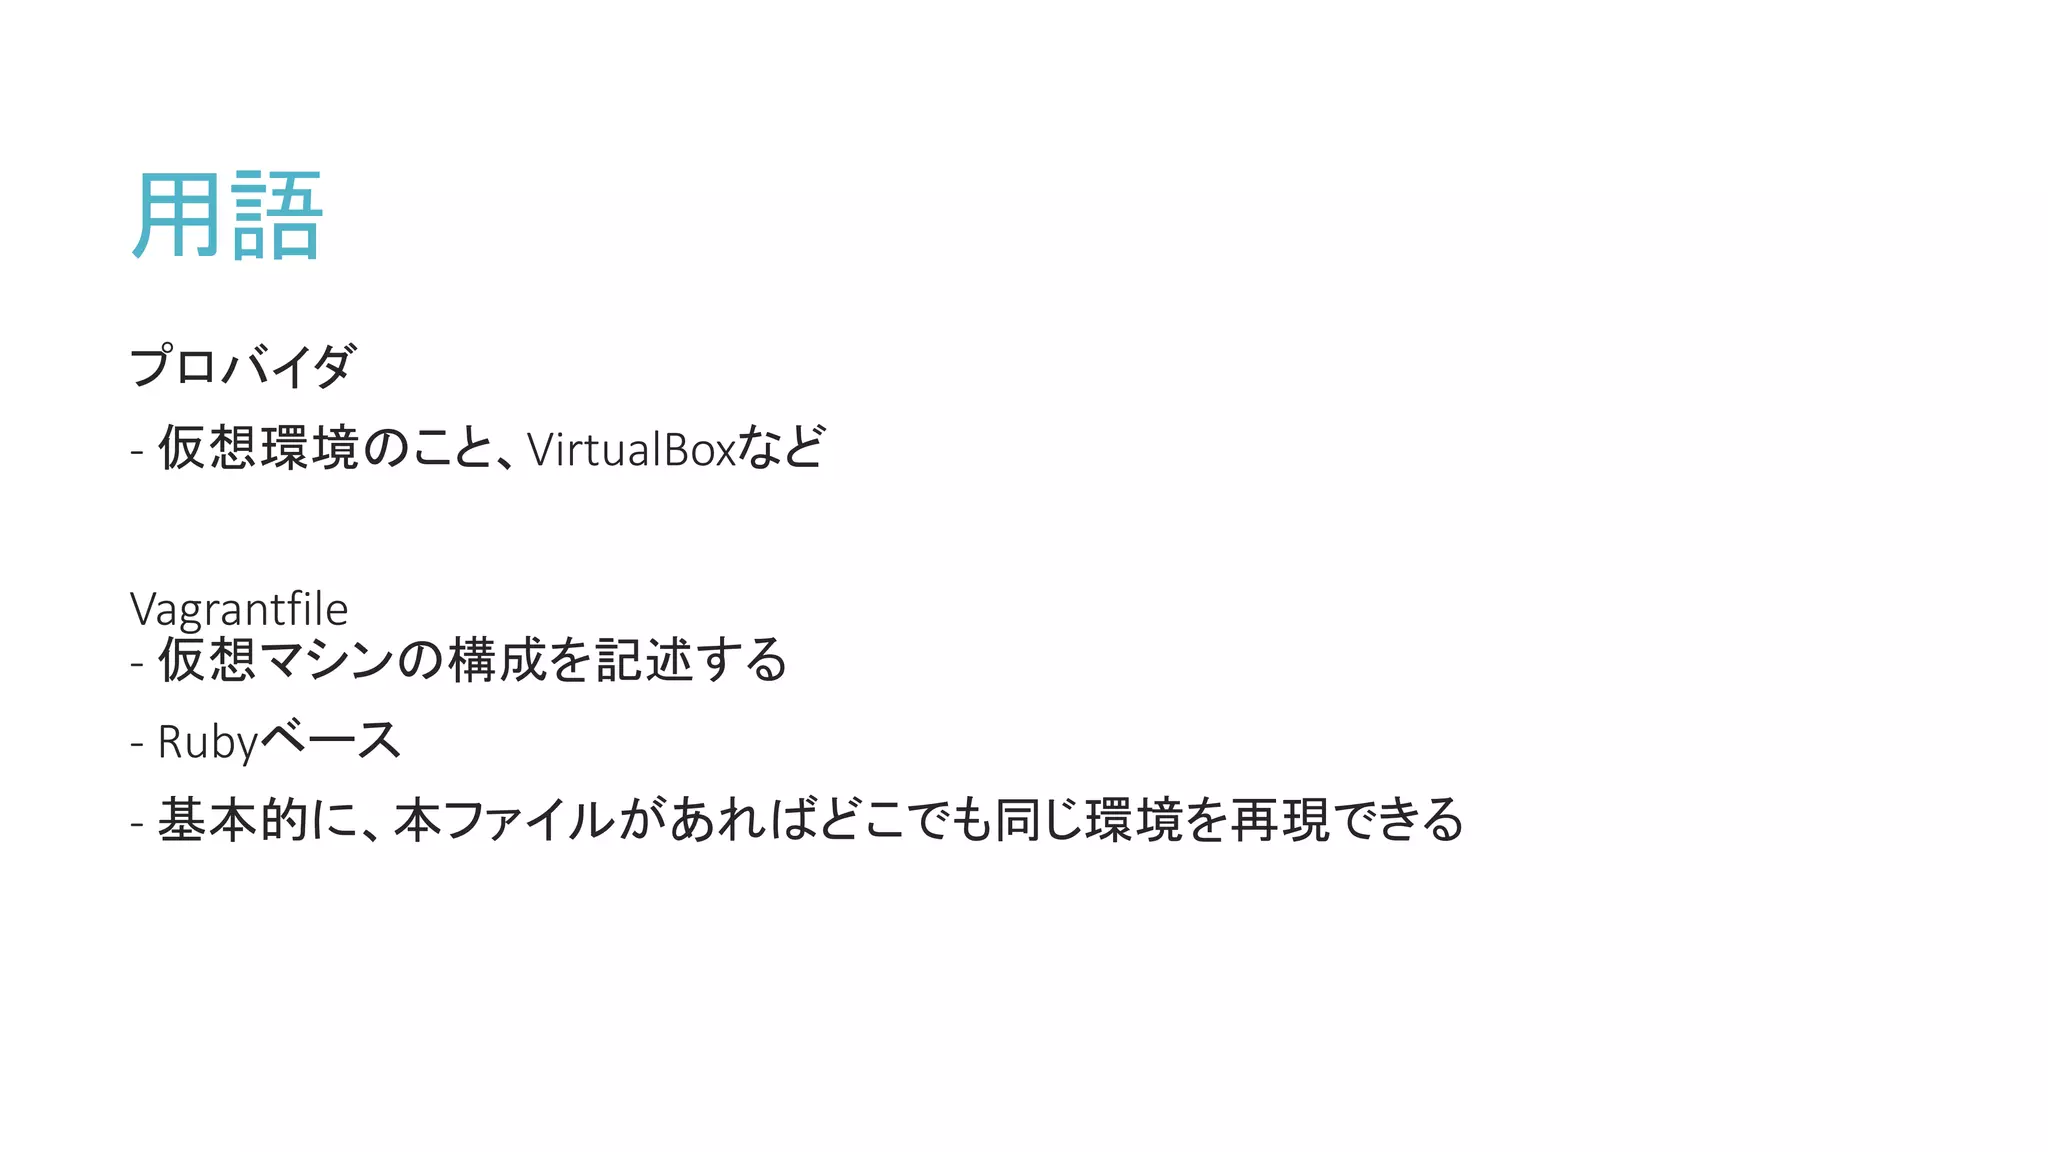
用語
プロビジョニング
- vagrant upをした後に実行される一連の処理のこと
-シェルスクリプト、Chef(chef-solo, chef-client)、Puppetなどが使えます
Boxファイル
- 仮想マシン起動の際にベースとなるテンプレートファイル
- ISOファイルではありません
- 仮想環境別に必要、通常はOSイメージから作成する
- Vagrant利用の上で最低限必要な設定(ユーザの作成、sshdの起動、プロビジョニング
ツールのインストール)のみを行っておく
- 5.
- 6.
vagrant file
vagrant init
Vagrant.configure(2)do |config|
config.vm.box = "base"
# config.vm.box_check_update = false
# Create a forwarded port mapping
# config.vm.network "forwarded_port", guest: 80, host: 8080
# Create a private network
# config.vm.network "private_network", ip: "192.168.33.10"
# Create a public network, which generally matched to bridged network.
# config.vm.network "public_network"
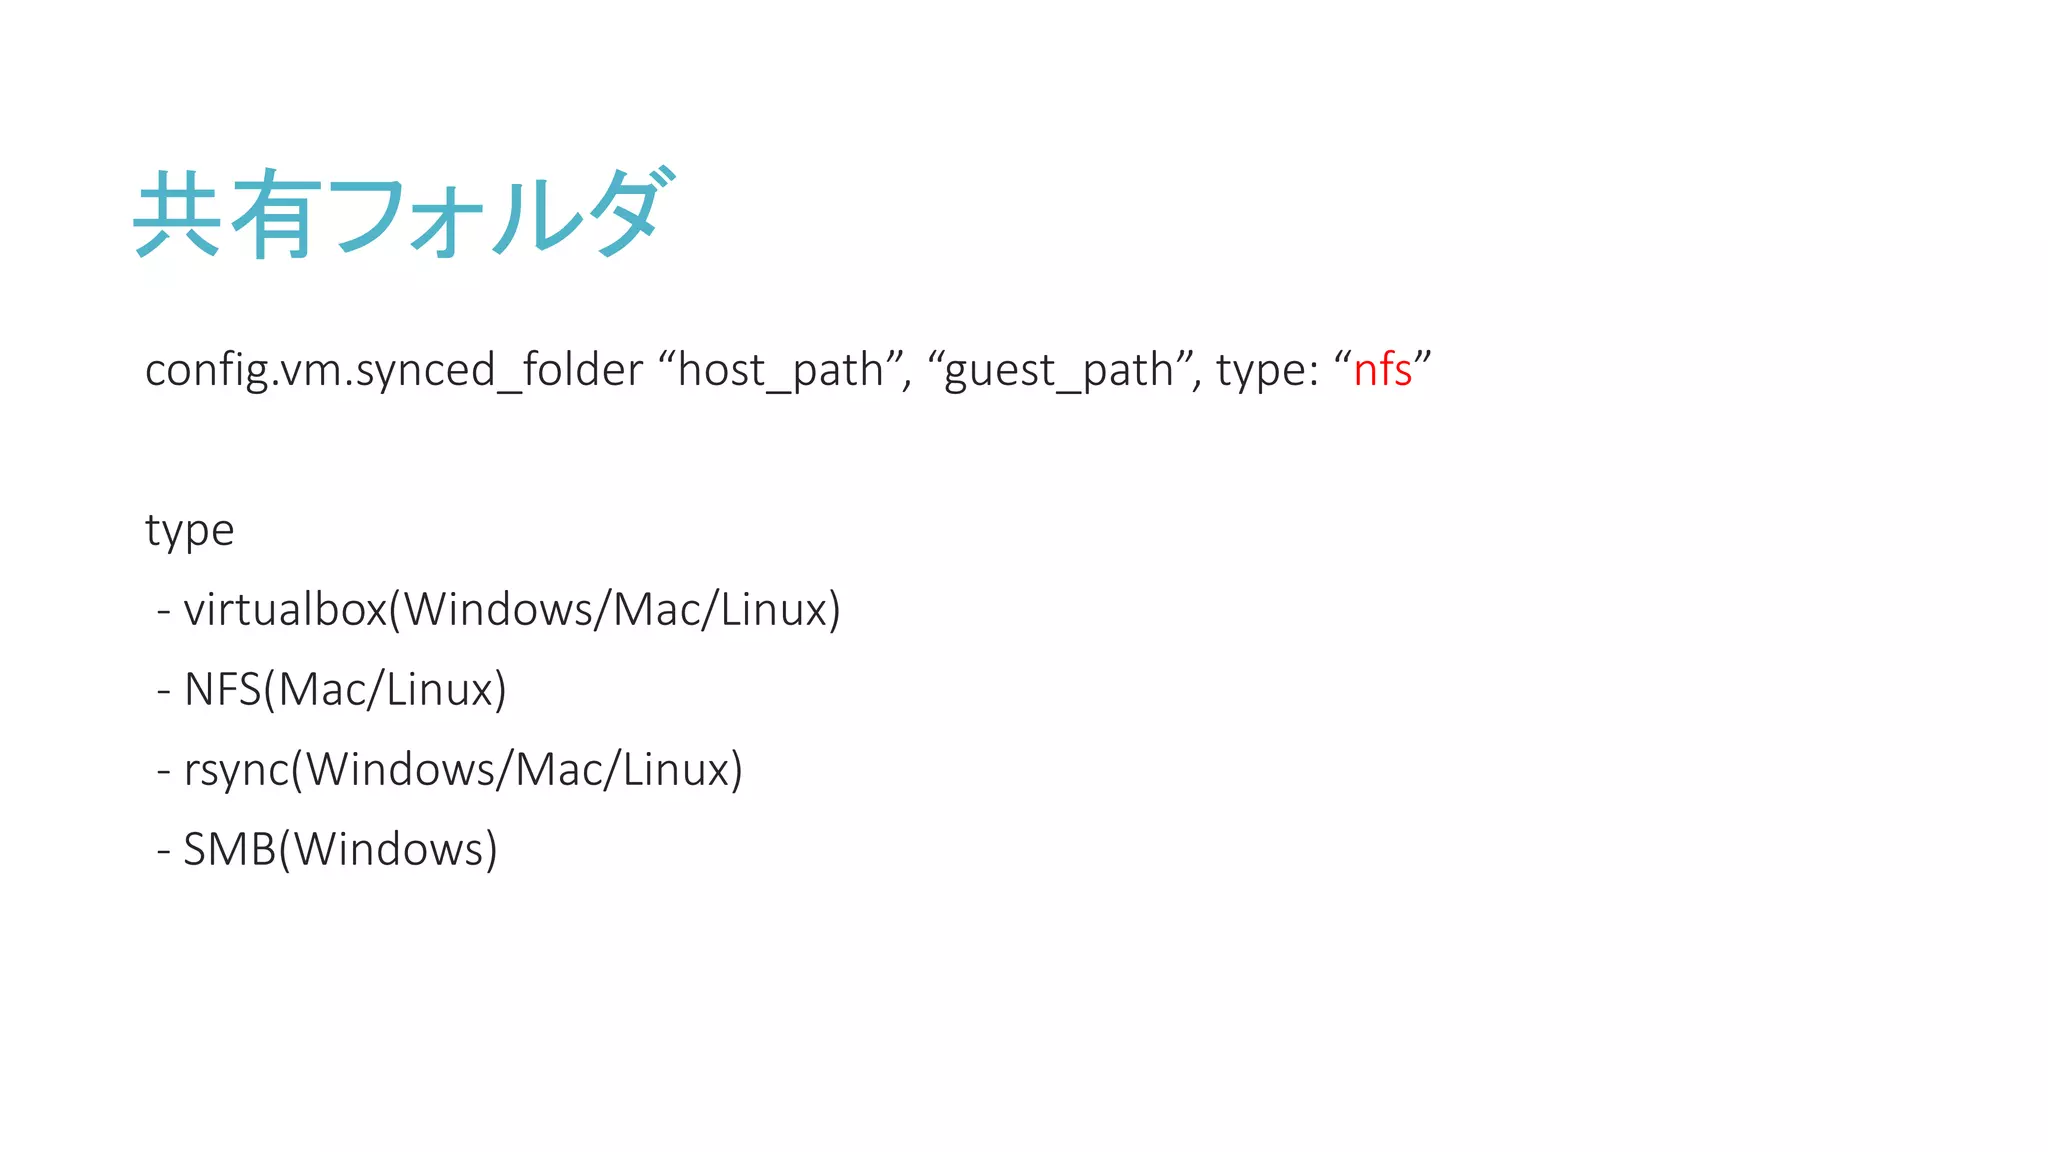
# Share an additional folder to the guest VM.
# config.vm.synced_folder "../data", "/vagrant_data"
# config.vm.provider "virtualbox" do |vb|
# # Display the VirtualBox GUI when booting the machine
# vb.gui = true
# # Customize the amount of memory on the VM:
# vb.memory = "1024"
# end
# config.vm.provision "shell", inline: <<-SHELL
# sudo apt-get update
# sudo apt-get install -y apache2
# SHELL
end
- 7.
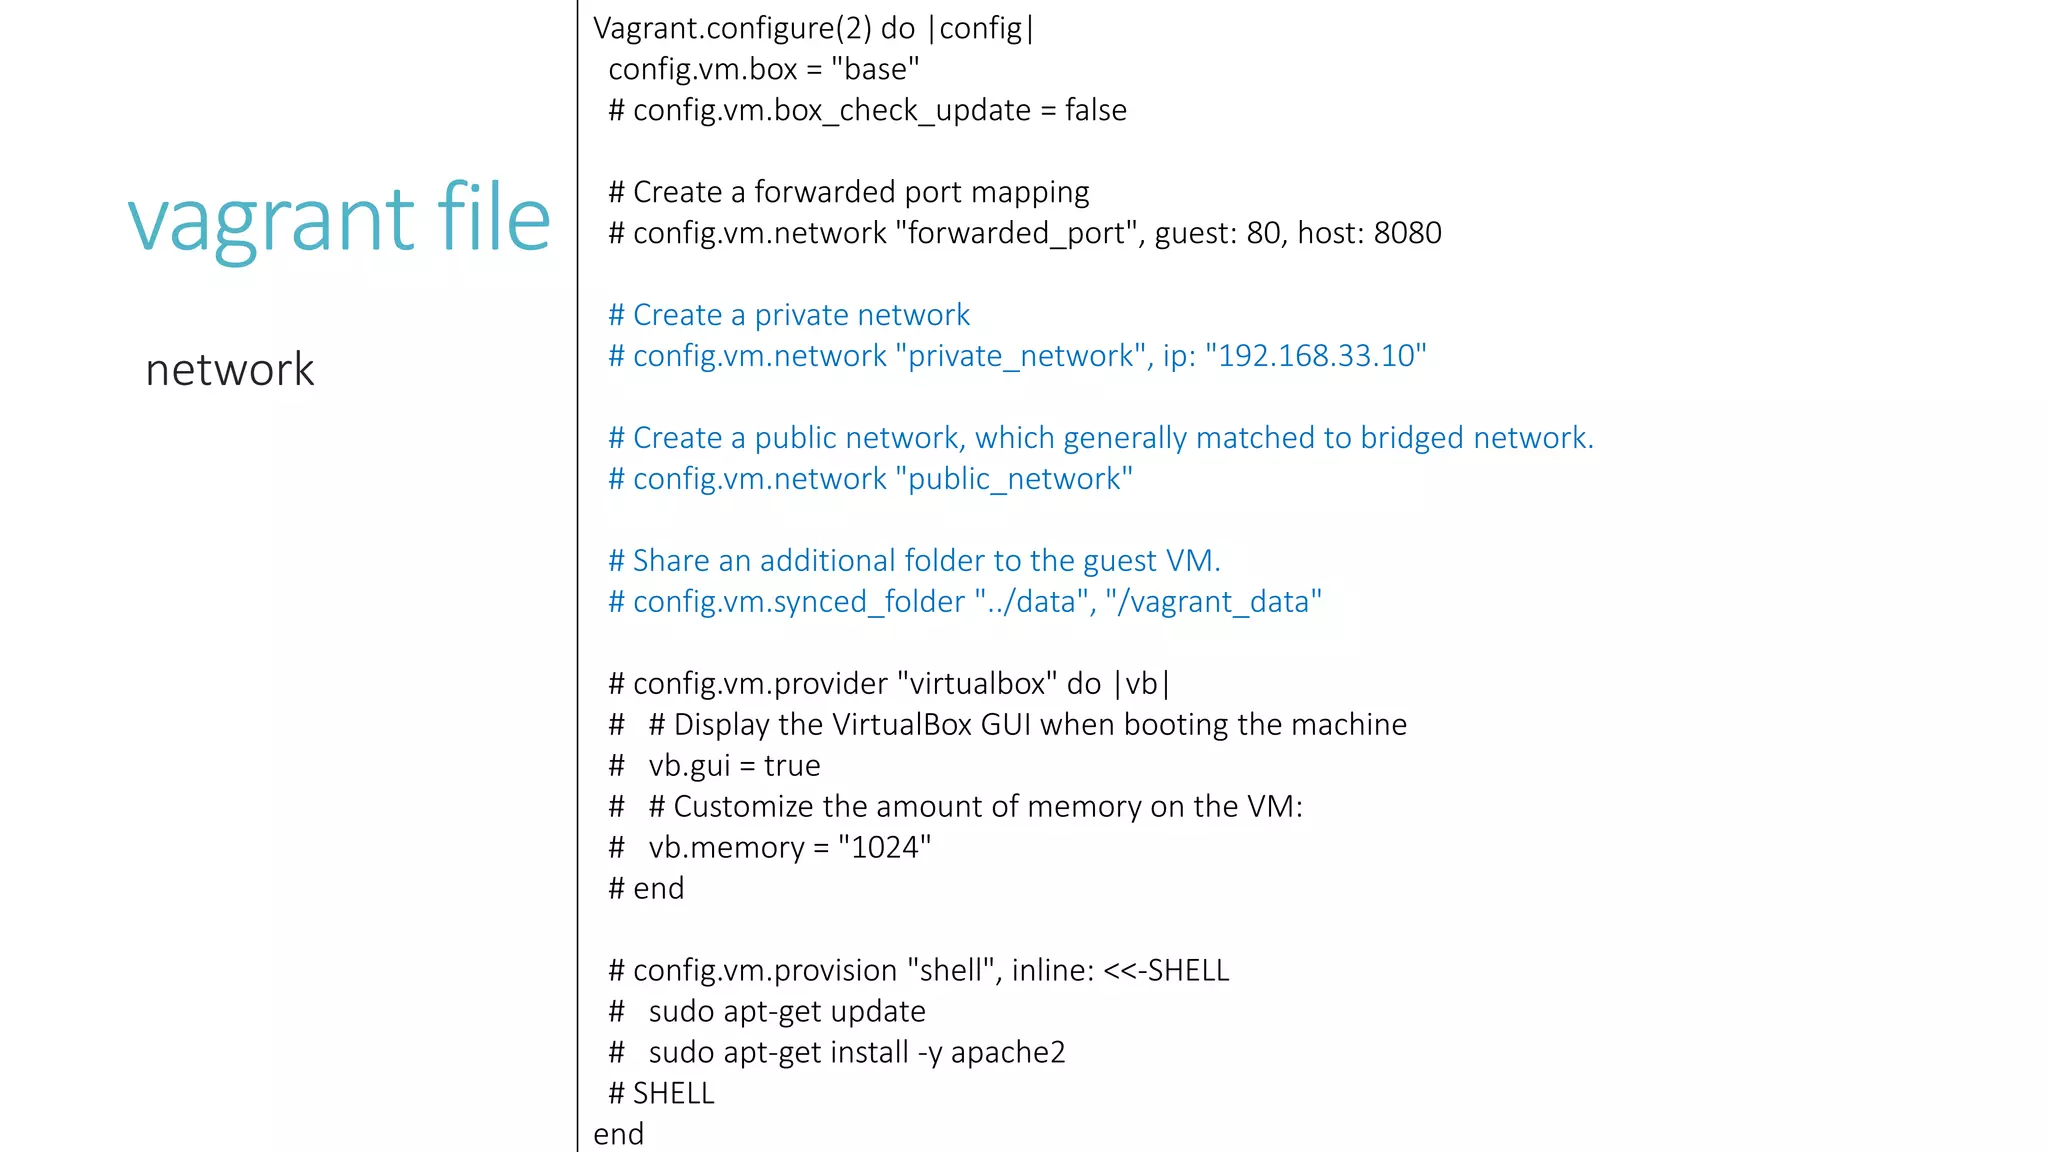
vagrant file
network
Vagrant.configure(2) do|config|
config.vm.box = "base"
# config.vm.box_check_update = false
# Create a forwarded port mapping
# config.vm.network "forwarded_port", guest: 80, host: 8080
# Create a private network
# config.vm.network "private_network", ip: "192.168.33.10"
# Create a public network, which generally matched to bridged network.
# config.vm.network "public_network"
# Share an additional folder to the guest VM.
# config.vm.synced_folder "../data", "/vagrant_data"
# config.vm.provider "virtualbox" do |vb|
# # Display the VirtualBox GUI when booting the machine
# vb.gui = true
# # Customize the amount of memory on the VM:
# vb.memory = "1024"
# end
# config.vm.provision "shell", inline: <<-SHELL
# sudo apt-get update
# sudo apt-get install -y apache2
# SHELL
end
- 8.
vagrant file
provisioning
Vagrant.configure(2) do|config|
config.vm.box = "base"
# config.vm.box_check_update = false
# Create a forwarded port mapping
# config.vm.network "forwarded_port", guest: 80, host: 8080
# Create a private network
# config.vm.network "private_network", ip: "192.168.33.10"
# Create a public network, which generally matched to bridged network.
# config.vm.network "public_network"
# Share an additional folder to the guest VM.
# config.vm.synced_folder "../data", "/vagrant_data"
# config.vm.provider "virtualbox" do |vb|
# # Display the VirtualBox GUI when booting the machine
# vb.gui = true
# # Customize the amount of memory on the VM:
# vb.memory = "1024"
# end
# config.vm.provision "shell", inline: <<-SHELL
# sudo apt-get update
# sudo apt-get install -y apache2
# SHELL
end
- 9.
vagrant コマンド
vagrant boxadd [box-name] [box-url]
vagrant box list
Vagrant box remove [box-name]
vagrant up 立ち上げ
vagrant halt 停止、シャットダウン
vagrant suspend 中断
vagrant resume 復帰
vagrant destroy 仮想マシン削除(Boxの削除ではない)
- 10.
- 11.
- 12.
- 13.
- 14.
- 15.
ss-vagrant
Vagrant.configure(2) do |config|
config.vm.box= "ss-vagrant-v1.2.0"
config.vm.box_url = https://github.com/shirasagi/ss-vagrant/releases/download/v1.2.0/ss-vagrant-virtualbox-
x86_64.box
config.vm.network :forwarded_port, guest: 3000, host: 3000
config.vm.network "private_network", ip: "192.168.33.10“
config.vm.provider :virtualbox do |vb|
# IPv6 と DNS でのネットワーク遅延対策で追記
vb.customize ["modifyvm", :id, "--natdnsproxy1", "off"]
vb.customize ["modifyvm", :id, "--natdnshostresolver1", "off"]
end
end
- 16.
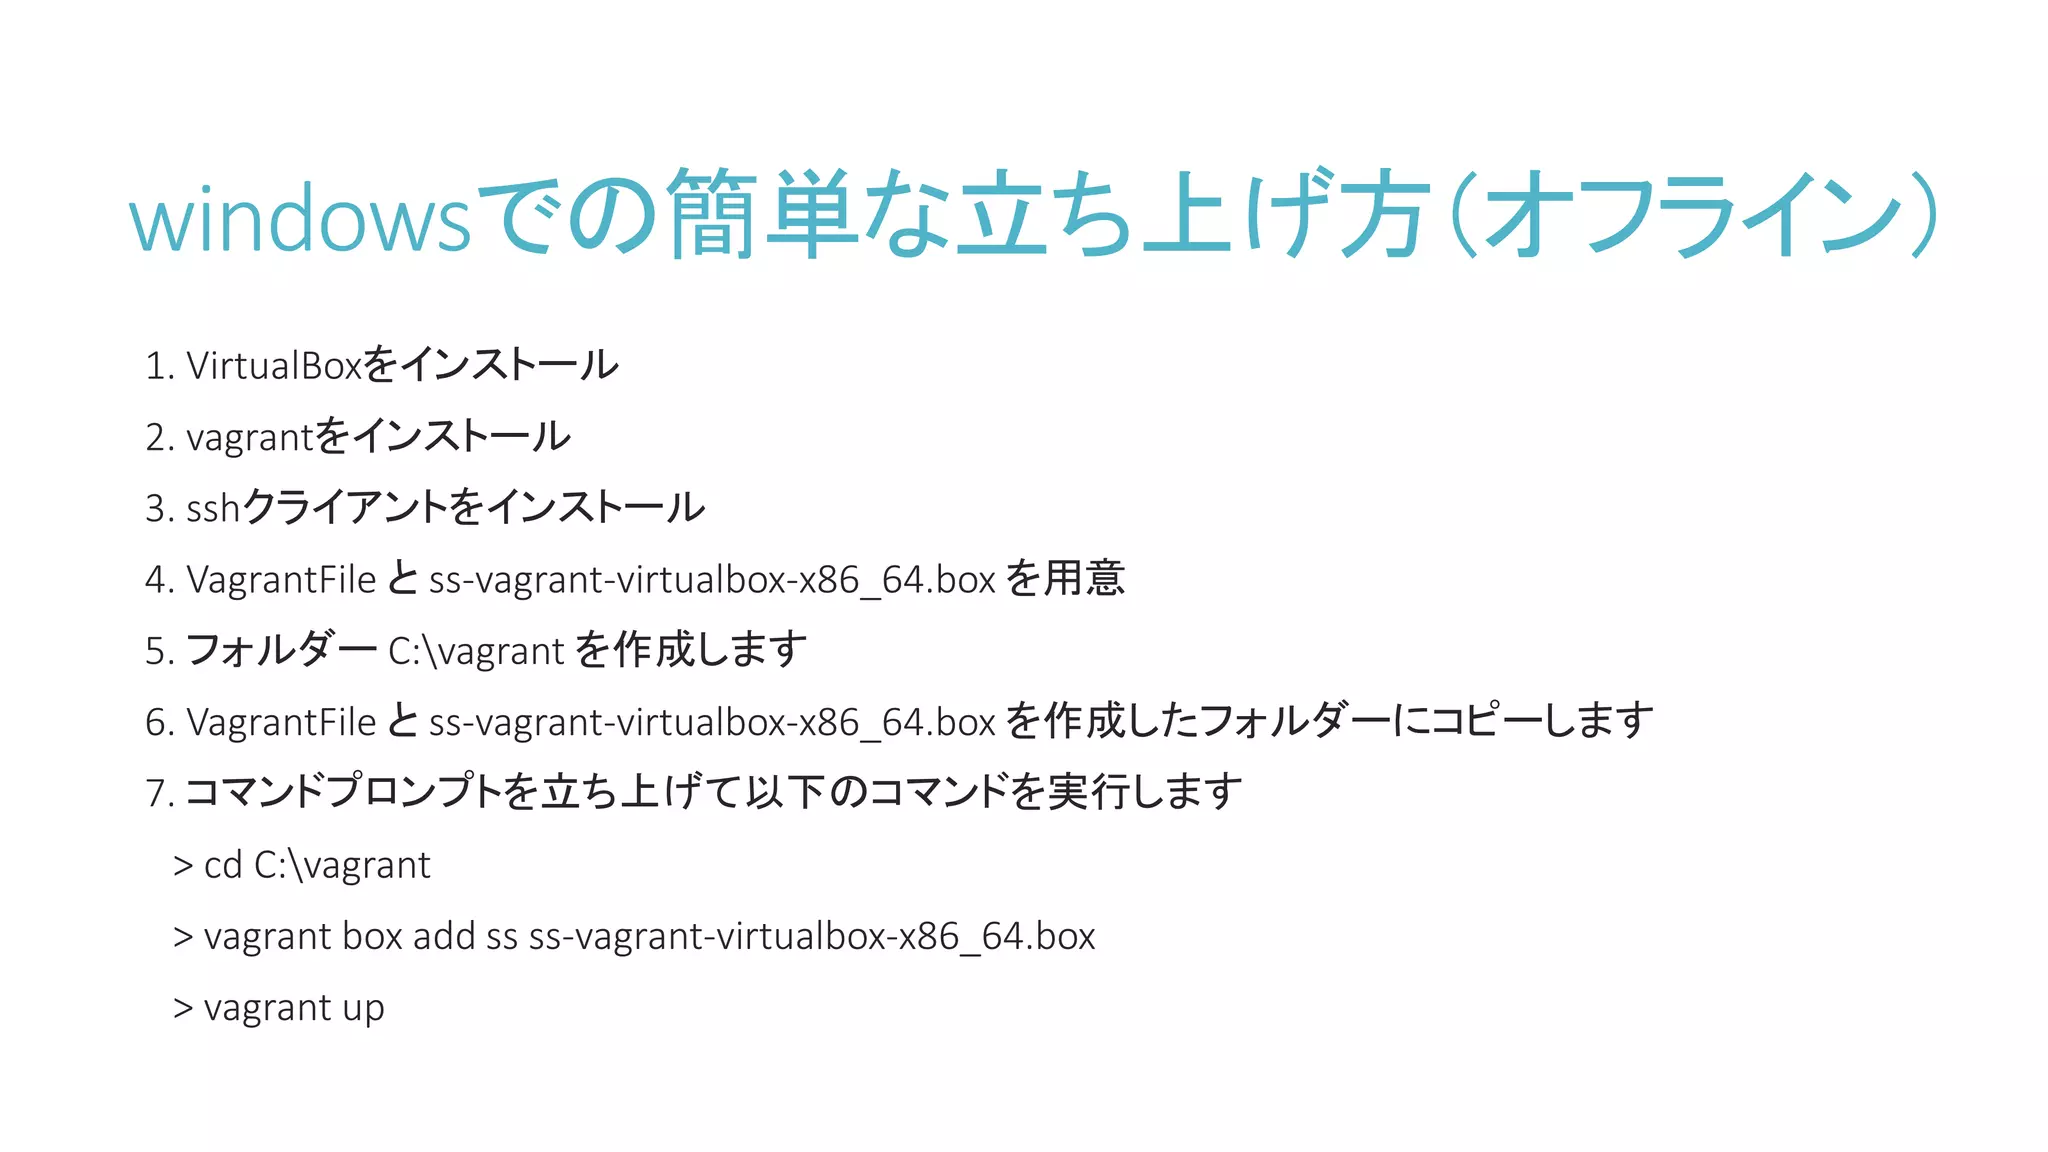
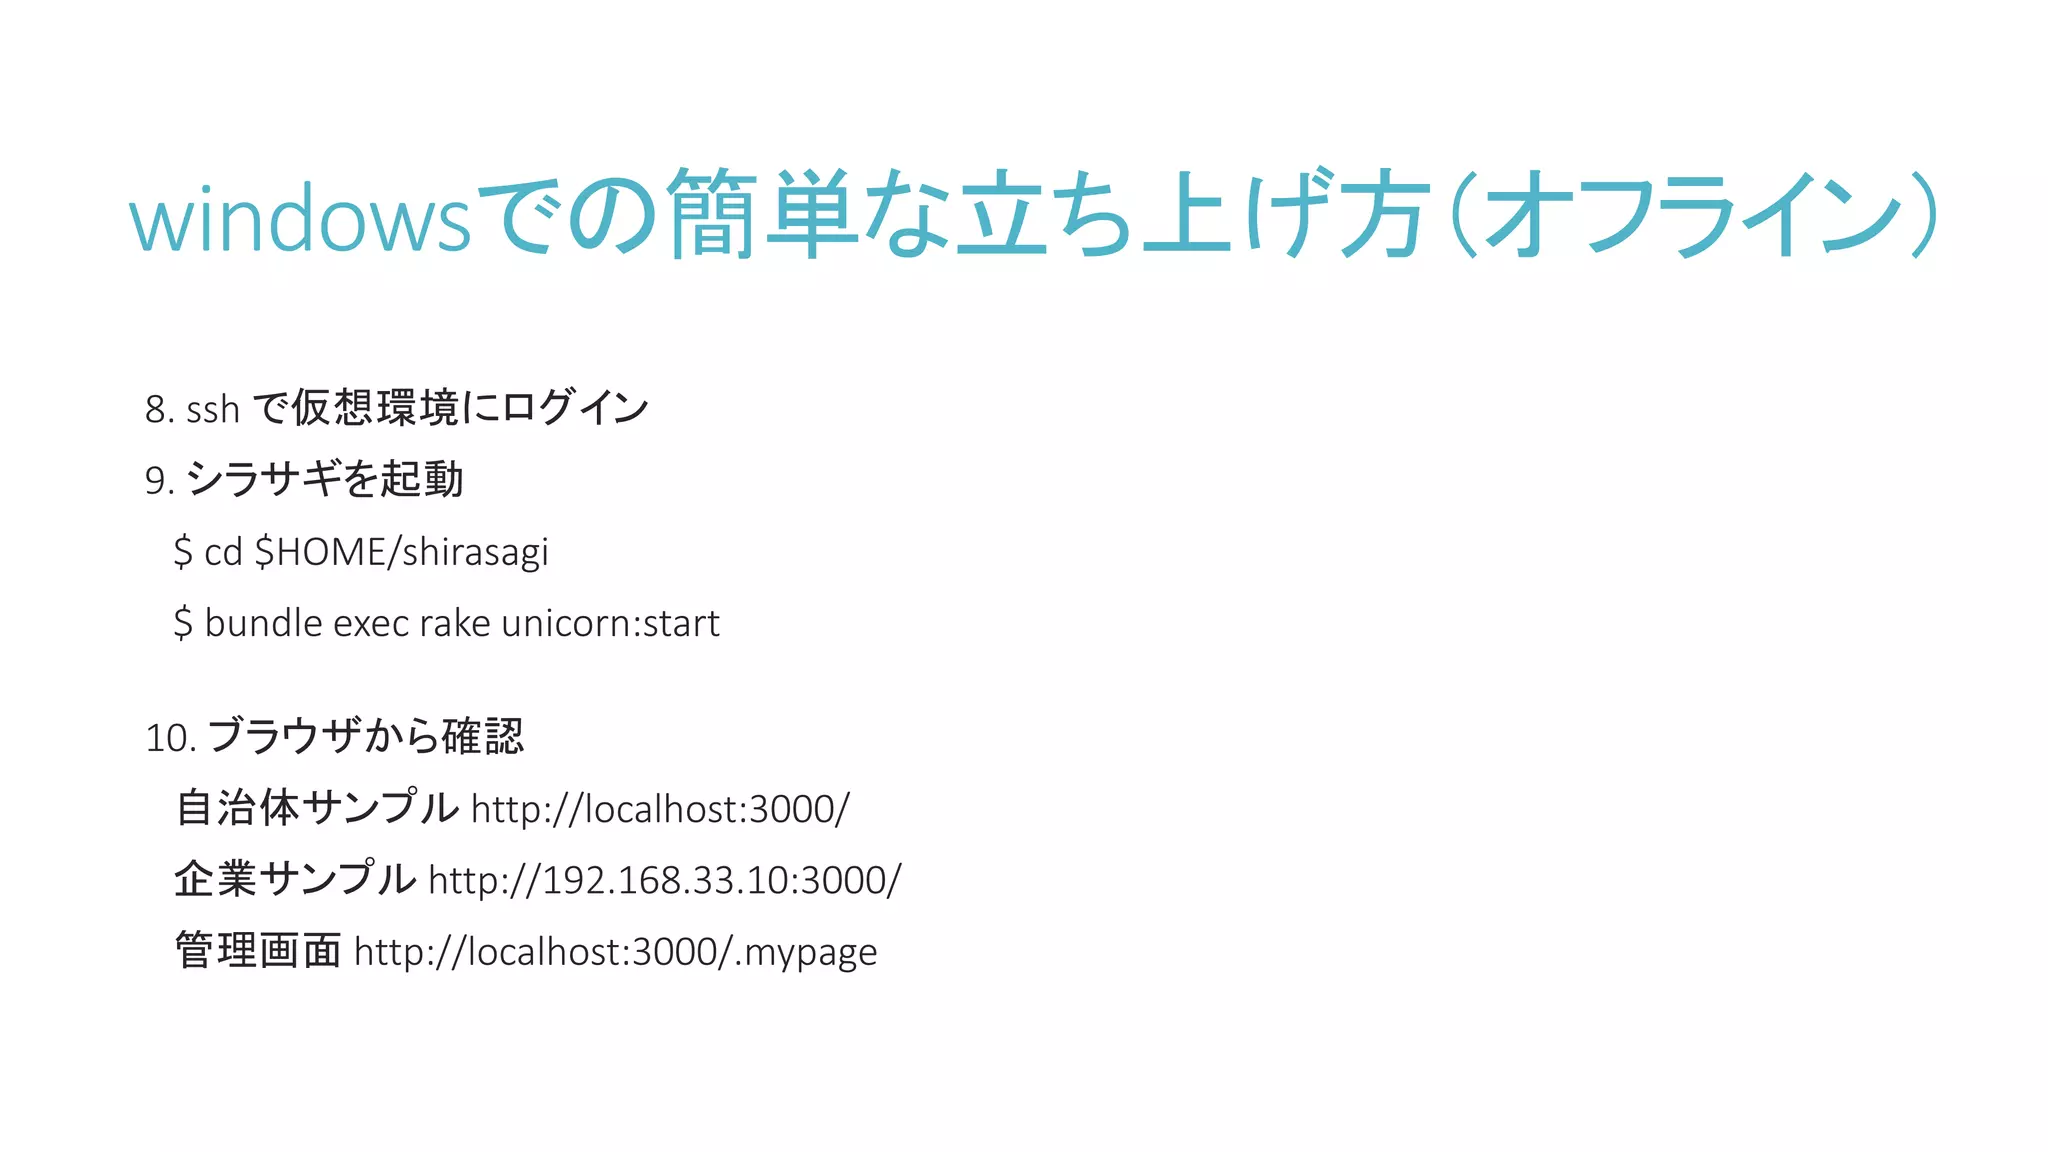
windowsでの簡単な立ち上げ方(オフライン)
1. VirtualBoxをインストール
2. vagrantをインストール
3.sshクライアントをインストール
4. VagrantFile と ss-vagrant-virtualbox-x86_64.box を用意
5. フォルダー C:vagrant を作成します
6. VagrantFile と ss-vagrant-virtualbox-x86_64.box を作成したフォルダーにコピーします
7. コマンドプロンプトを立ち上げて以下のコマンドを実行します
> cd C:vagrant
> vagrant box add ss ss-vagrant-virtualbox-x86_64.box
> vagrant up
- 17.
- 18.
Vagrant Box build
仮想環境上でvagrant package
packer を使う
- https://www.packer.io/downloads.html
- template.jsonを元にBoxを作成
packer build [template.json]
- centos用テンプレート: https://github.com/boxcutter/centos
- 19.
Vagrant plugin
vagrant plugininstall [plugin-name]
sahara
- サンドボックスモードを有効にするプラグイン
- ロールバック機能で実行前の状態に戻すことができます
vagrant-hostmanager
- HOST名の書き換え(host OS含む)


![vagrant up
1. 必要なツールをインストールする
https://www.vagrantup.com/
https://www.virtualbox.org/
2. vagrant box を取得する
http://www.vagrantbox.es/
vagrant box add [url]
3. 仮想マシンの初期化
vagrant init [box-name]
4. 仮想マシンの立ち上げ
vagrant up](https://image.slidesharecdn.com/0614vagrant-160701005843/75/0614-vagrant-5-2048.jpg)


![vagrant コマンド
vagrant box add [box-name] [box-url]
vagrant box list
Vagrant box remove [box-name]
vagrant up 立ち上げ
vagrant halt 停止、シャットダウン
vagrant suspend 中断
vagrant resume 復帰
vagrant destroy 仮想マシン削除(Boxの削除ではない)](https://image.slidesharecdn.com/0614vagrant-160701005843/75/0614-vagrant-9-2048.jpg)


![ss-vagrant
Vagrant.configure(2) do |config|
config.vm.box = "ss-vagrant-v1.2.0"
config.vm.box_url = https://github.com/shirasagi/ss-vagrant/releases/download/v1.2.0/ss-vagrant-virtualbox-
x86_64.box
config.vm.network :forwarded_port, guest: 3000, host: 3000
config.vm.network "private_network", ip: "192.168.33.10“
config.vm.provider :virtualbox do |vb|
# IPv6 と DNS でのネットワーク遅延対策で追記
vb.customize ["modifyvm", :id, "--natdnsproxy1", "off"]
vb.customize ["modifyvm", :id, "--natdnshostresolver1", "off"]
end
end](https://image.slidesharecdn.com/0614vagrant-160701005843/75/0614-vagrant-15-2048.jpg)
![Vagrant Box build
仮想環境上で vagrant package
packer を使う
- https://www.packer.io/downloads.html
- template.jsonを元にBoxを作成
packer build [template.json]
- centos用テンプレート: https://github.com/boxcutter/centos](https://image.slidesharecdn.com/0614vagrant-160701005843/75/0614-vagrant-18-2048.jpg)
![Vagrant plugin
vagrant plugin install [plugin-name]
sahara
- サンドボックスモードを有効にするプラグイン
- ロールバック機能で実行前の状態に戻すことができます
vagrant-hostmanager
- HOST名の書き換え(host OS含む)](https://image.slidesharecdn.com/0614vagrant-160701005843/75/0614-vagrant-19-2048.jpg)