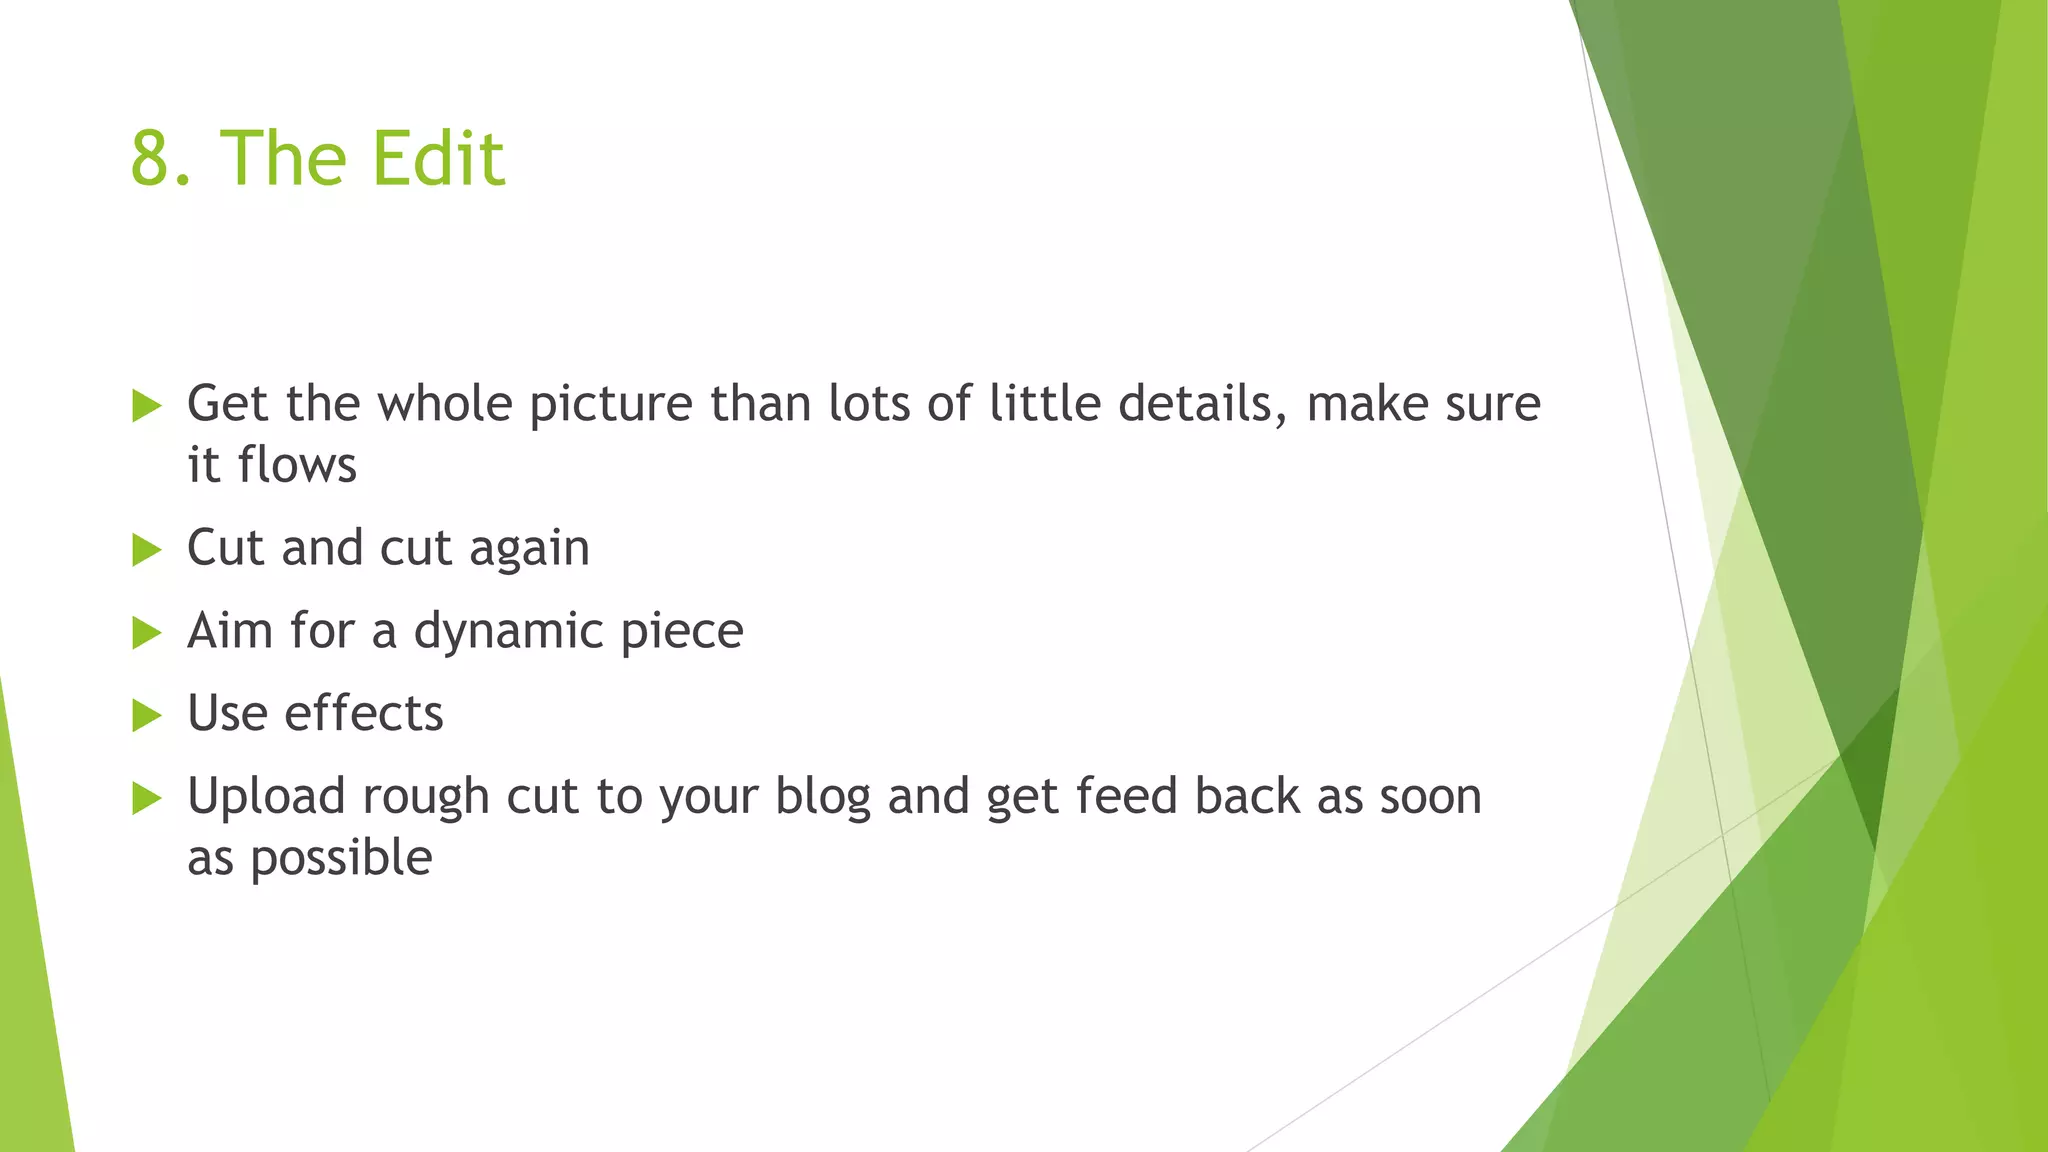
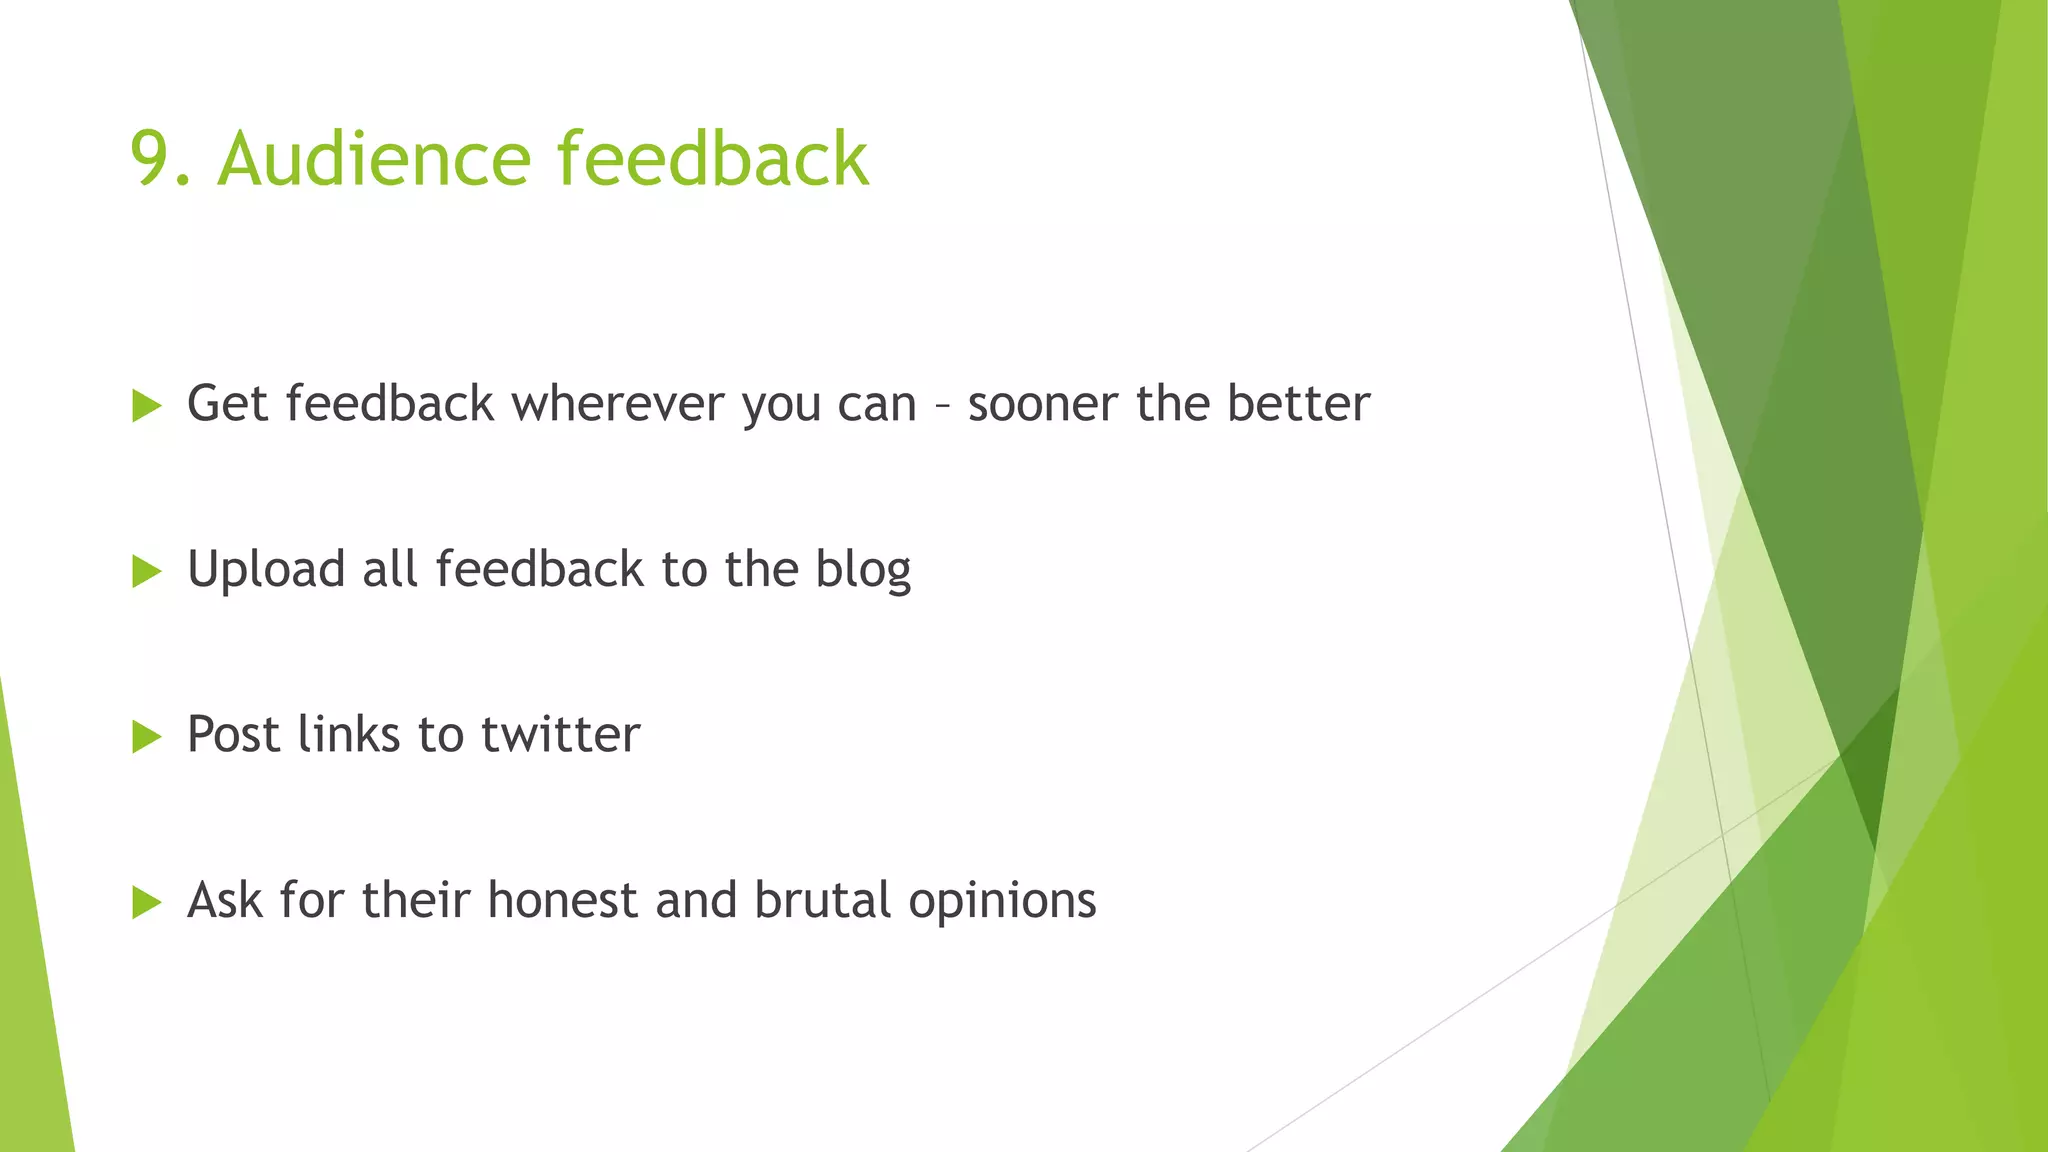
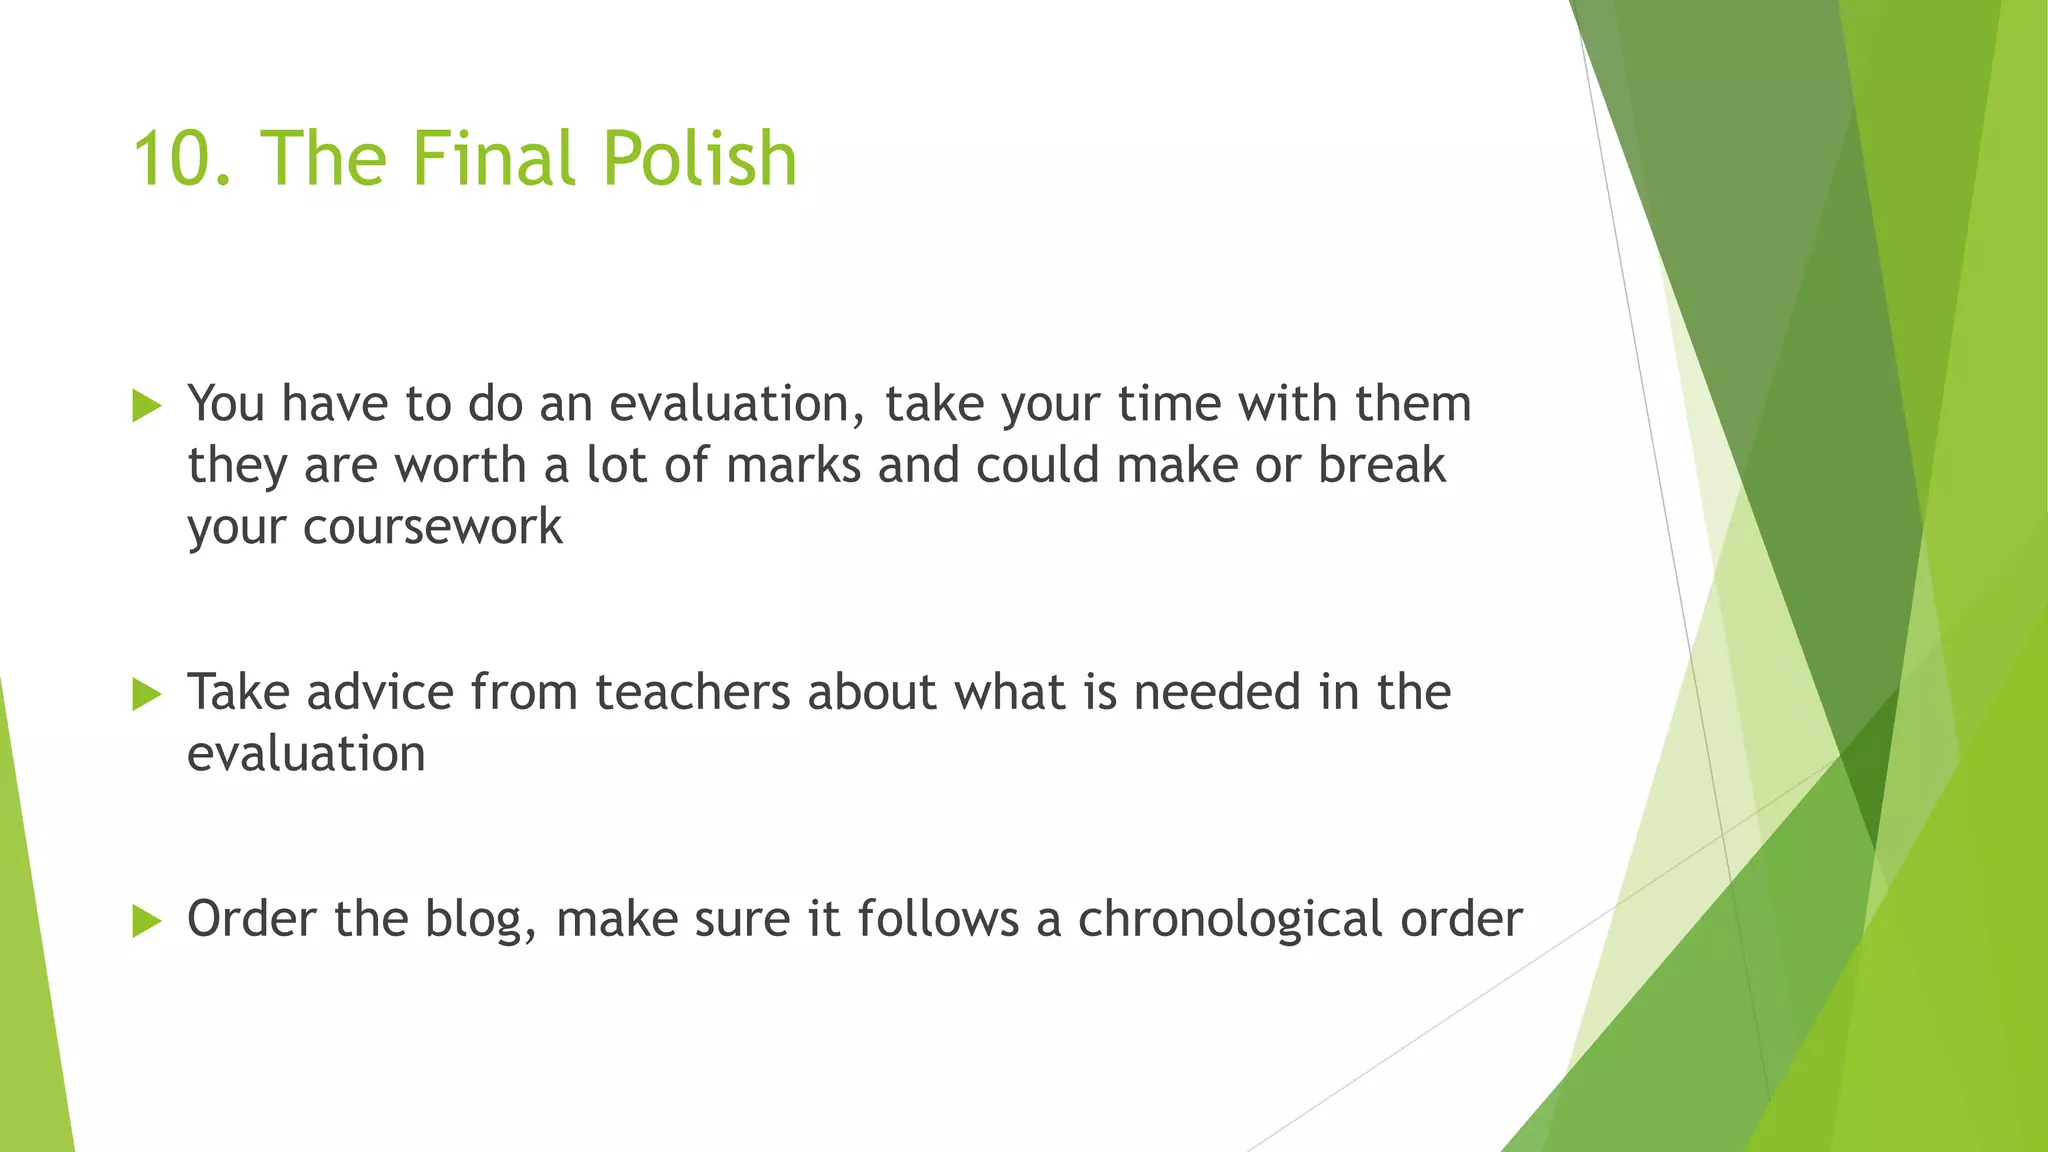
Peter Fraser’s 10 Step Guide for
A2 Media
1. Warm Up
 Film some test footage, experimenting with different
camera techniques
 Learn to lip sync with a song
 Watch some videos in the same genre – take notes
 Test around and practice using effects
 Check your camera if it has special effects, try use and
test with them
 Make sure you have a tri-pod
 Can you access the song whilst on set?
2. Choose the Right Track
 Don’t go for your favourite track, they will get annoying
 Make it short, 3 minutes 30 seconds
 Choose a track which stimulates visuals
 Make sure the group agrees on a track
 Be prepared to listen to the song a lot
3. Plan of Action
 Pitch for material, strong simple idea
 Clear concept that can be filmed and will work
 Be realistic
 Be original, don’t use other students ideas
 Be prepared to compromise with the rest of the group
 Film pitch for the blog
 Get a sense of what the conventions are. Break them
down and see how they work? How do they use verses and
chorus’. How do they beat/rhythm?
4. Plan for Everything
 Storyboard – always shoot extra
 Plan people, props and costumes
 Aim to shoot video early, not near the end of the deadline
 Make sure performers have rehearsed
 Remember basics – tripod, cameras, storage etc
 Work around others commitments
 Plan for the worst
5. Use Blog Properly
 Use it to show videos that influence you
 Use it to link your ideas together
 Post photos that give you ideas
 Do an animatic of the storyboard
 Be media rich
 Do at least 100 posts
6. The Shot
 Shoot performance four or five times with different set ups and angles
 Plenty of cutaways to objects
 Experiment with extra angles and lighting changes
 LOTS OF CLOSE UPS
 Enthuse the performers
 Shoot more than you need
 Check weather report
 Health and safety
 Locations, choice of clothes and correct props in the right places
7. The Raw Footage
 Organise it so it is easy to find on computer
 Don’t capture what you don’t need]
 Break it into manageable chunks
 Upload the first cut as soon as possible
 Be critical of your work, strive for the best possible
product
8. The Edit
 Get the whole picture than lots of little details, make sure
it flows
 Cut and cut again
 Aim for a dynamic piece
 Use effects
 Upload rough cut to your blog and get feed back as soon
as possible
9. Audience feedback
 Get feedback wherever you can – sooner the better
 Upload all feedback to the blog
 Post links to twitter
 Ask for their honest and brutal opinions
10. The Final Polish
 You have to do an evaluation, take your time with them
they are worth a lot of marks and could make or break
your coursework
 Take advice from teachers about what is needed in the
evaluation
 Order the blog, make sure it follows a chronological order

Peter fraser 10 step guide for a2 media

  • 1.
    Peter Fraser’s 10Step Guide for A2 Media
  • 2.
    1. Warm Up Film some test footage, experimenting with different camera techniques  Learn to lip sync with a song  Watch some videos in the same genre – take notes  Test around and practice using effects  Check your camera if it has special effects, try use and test with them  Make sure you have a tri-pod  Can you access the song whilst on set?
  • 3.
    2. Choose theRight Track  Don’t go for your favourite track, they will get annoying  Make it short, 3 minutes 30 seconds  Choose a track which stimulates visuals  Make sure the group agrees on a track  Be prepared to listen to the song a lot
  • 4.
    3. Plan ofAction  Pitch for material, strong simple idea  Clear concept that can be filmed and will work  Be realistic  Be original, don’t use other students ideas  Be prepared to compromise with the rest of the group  Film pitch for the blog  Get a sense of what the conventions are. Break them down and see how they work? How do they use verses and chorus’. How do they beat/rhythm?
  • 5.
    4. Plan forEverything  Storyboard – always shoot extra  Plan people, props and costumes  Aim to shoot video early, not near the end of the deadline  Make sure performers have rehearsed  Remember basics – tripod, cameras, storage etc  Work around others commitments  Plan for the worst
  • 6.
    5. Use BlogProperly  Use it to show videos that influence you  Use it to link your ideas together  Post photos that give you ideas  Do an animatic of the storyboard  Be media rich  Do at least 100 posts
  • 7.
    6. The Shot Shoot performance four or five times with different set ups and angles  Plenty of cutaways to objects  Experiment with extra angles and lighting changes  LOTS OF CLOSE UPS  Enthuse the performers  Shoot more than you need  Check weather report  Health and safety  Locations, choice of clothes and correct props in the right places
  • 8.
    7. The RawFootage  Organise it so it is easy to find on computer  Don’t capture what you don’t need]  Break it into manageable chunks  Upload the first cut as soon as possible  Be critical of your work, strive for the best possible product
  • 9.
    8. The Edit Get the whole picture than lots of little details, make sure it flows  Cut and cut again  Aim for a dynamic piece  Use effects  Upload rough cut to your blog and get feed back as soon as possible
  • 10.
    9. Audience feedback Get feedback wherever you can – sooner the better  Upload all feedback to the blog  Post links to twitter  Ask for their honest and brutal opinions
  • 11.
    10. The FinalPolish  You have to do an evaluation, take your time with them they are worth a lot of marks and could make or break your coursework  Take advice from teachers about what is needed in the evaluation  Order the blog, make sure it follows a chronological order