An close industrial approach to look into Pre-cast mode of construction
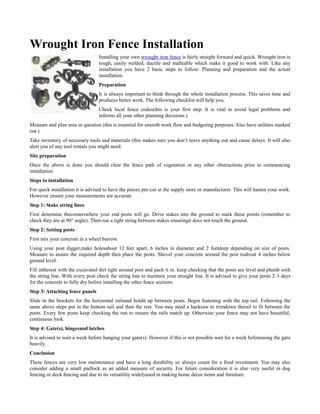
Wrought iron fence installation
1. Wrought Iron Fence Installation
Installing your own wrought iron fence is fairly straight forward and quick. Wrought iron is
tough, easily welded, ductile and malleable which make it good to work with. Like any
installation you have 2 basic steps to follow: Planning and preparation and the actual
installation.
Preparation
It is always important to think through the whole installation process. This saves time and
produces better work. The following checklist will help you.
Check local fence codes(this is your first step. It is vital to avoid legal problems and
informs all your other planning decisions.)
Measure and plan area in question (this is essential for smooth work flow and budgeting purposes. Also have utilities marked
out.)
Take inventory of necessary tools and materials (this makes sure you don’t leave anything out and cause delays. It will also
alert you of any tool rentals you might need.
Site preparation
Once the above is done you should clear the fence path of vegetation or any other obstructions prior to commencing
installation
Steps to installation
For quick installation it is advised to have the pieces pre-cut at the supply store or manufacturer. This will hasten your work.
However ensure your measurements are accurate
Step 1: Stake string lines
First determine thecornerswhere your end posts will go. Drive stakes into the ground to mark these points (remember to
check they are at 90° angle). Then run a tight string between stakes ensuringit does not touch the ground.
Step 2: Setting posts
First mix your concrete in a wheel barrow.
Using your post digger,make holesabout 12 feet apart, 6 inches in diameter and 2 feetdeep depending on size of posts.
Measure to assure the required depth then place the posts. Shovel your concrete around the post toabout 4 inches below
ground level.
Fill intherest with the excavated dirt tight around post and pack it in. keep checking that the posts are level and plumb with
the string line. With every post check the string line to maintain your straight line. It is advised to give your posts 2-3 days
for the concrete to fully dry before installing the other fence sections
Step 3: Attaching fence panels
Slide in the brackets for the horizontal railsand holdit up between posts. Begin fastening with the top rail. Following the
same above steps put in the bottom rail and then the rest. You may need a hacksaw to trimdown therail to fit between the
posts. Every few posts keep checking the run to ensure the rails match up. Otherwise your fence may not have beautiful,
continuous look.
Step 4: Gate(s), hingesand latches
It is advised to wait a week before hanging your gate(s). However if this is not possible wait for a week beforeusing the gate
heavily.
Conclusion
These fences are very low maintenance and have a long durability so always count for a food investment. You may also
consider adding a small padlock as an added measure of security. For future consideration it is also very useful in dog
fencing or deck fencing and due to its versatility widelyused in making home décor items and furniture.