Download as PDF, PPTX


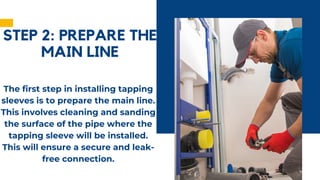
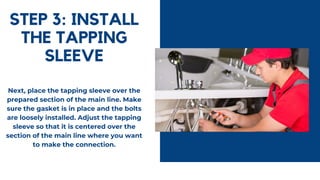


Installing tapping sleeves is essential for pipeline infrastructure, allowing for maintenance and new connections. The process involves gathering materials, preparing the main line, installing the sleeve, tightening bolts, making the connection, and testing for leaks. Proper execution of these steps ensures a secure, leak-free connection while prioritizing safety.


