
Recommended
More Related Content
Viewers also liked
Similar to Design concept
Similar to Design concept (20)
Recently uploaded
Recently uploaded (20)
Design concept
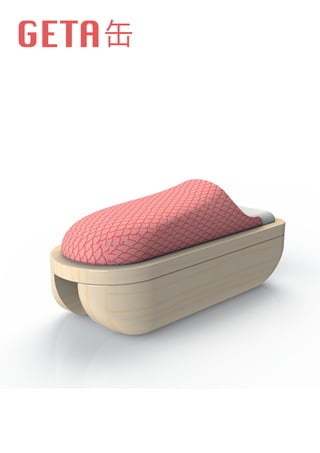
- 1. GETA缶
- 9. In current times we have ergonomic shoes to get us around. The traditional geta is very unstable and unpractical for our fast paced, modern society. It is no longer a desired form of footwear. The precariously high‘teeth’make them dangerous and exclude the older generation from wearing them. However the geta’s new simple design allows the shoe to be quickly and easily put on. We have redesigned the shoe to be safer and more practical for the elderly. Changing the ‘teeth’from a horizontal orientation to vertical creates a much more stable base. The fabric upper is more comforable than the hanao between the toes and allows the shoe to stay on more easily. The new design is ideal for nipping into the garden or down to the local shop. The geta is not indended to be worn for long distance, it is more of a convenience shoe for short journeys. Currently the majority of footwear is sold online, however, elderly generations do not use the internet as much as younger people. The shoes would be sold in retail locations as these are the places where elderly people are most likely to buy their shoes from. The Geta will be promoted online through social media for those who want to buy the Geta for themselves, elderly friends or family. The geta will also be featured in advertisement campaigns in magazines that use the elderly as their target market. Large and small specialised retailers Chain stores Festivals where promotion of the geta is possible Clothing stores with Geta in their product range Department stores PROMOTION USE DISTRIBUTION DISPOSALThe Geta is designed to be used by generations and passed down through family and friends. The wooden base is durable and will withstand the test of time. The upper fabric can be changed without needing to throw away the whole wooden base. This allows each user to personalise their geta by choosing their own fabric.
- 10. Glue the two wooden teeth to the wooden sole. Attach the the shoe cover flap to the underside of the padding (sew or glue). Glue the padding and cover to the wooden sole. INSTRUCTIONS ASSEMBLY Make the sole and teeth using the technical drawings provided by cutting and shaping the wood. Cut and shape the padding out of blue foam. Sand to shape the corners and circular indent. Choose a fabric with a japanese pattern of your choice. Cut out the cover template and use it as a stencil to draw around and cut out the fabric. Stitch the red sides together to create the 3D form PARTS 1 2 3 1 2 3