Download to read offline

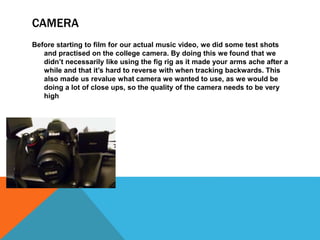


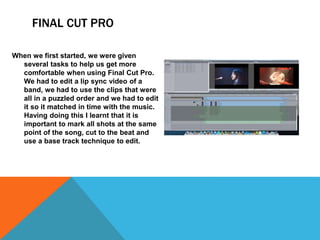


The student used various media technologies in the planning, filming, and editing stages of creating a music video. They tested different cameras and decided to use a Nikon D5100 due to its lighter weight and better image quality compared to a JVC camera. They shot footage from various angles and distances using techniques like tracking and tripods. Final Cut Pro was used to edit the video, applying effects like slow motion and filters. Footage was matched to the beat of the music. The student's phone was also utilized to take behind-the-scenes photos and videos, and check weather conditions. YouTube, music blogs and websites provided inspiration and helped develop their style. Blogger hosted research and planning


