Downloaded 344 times
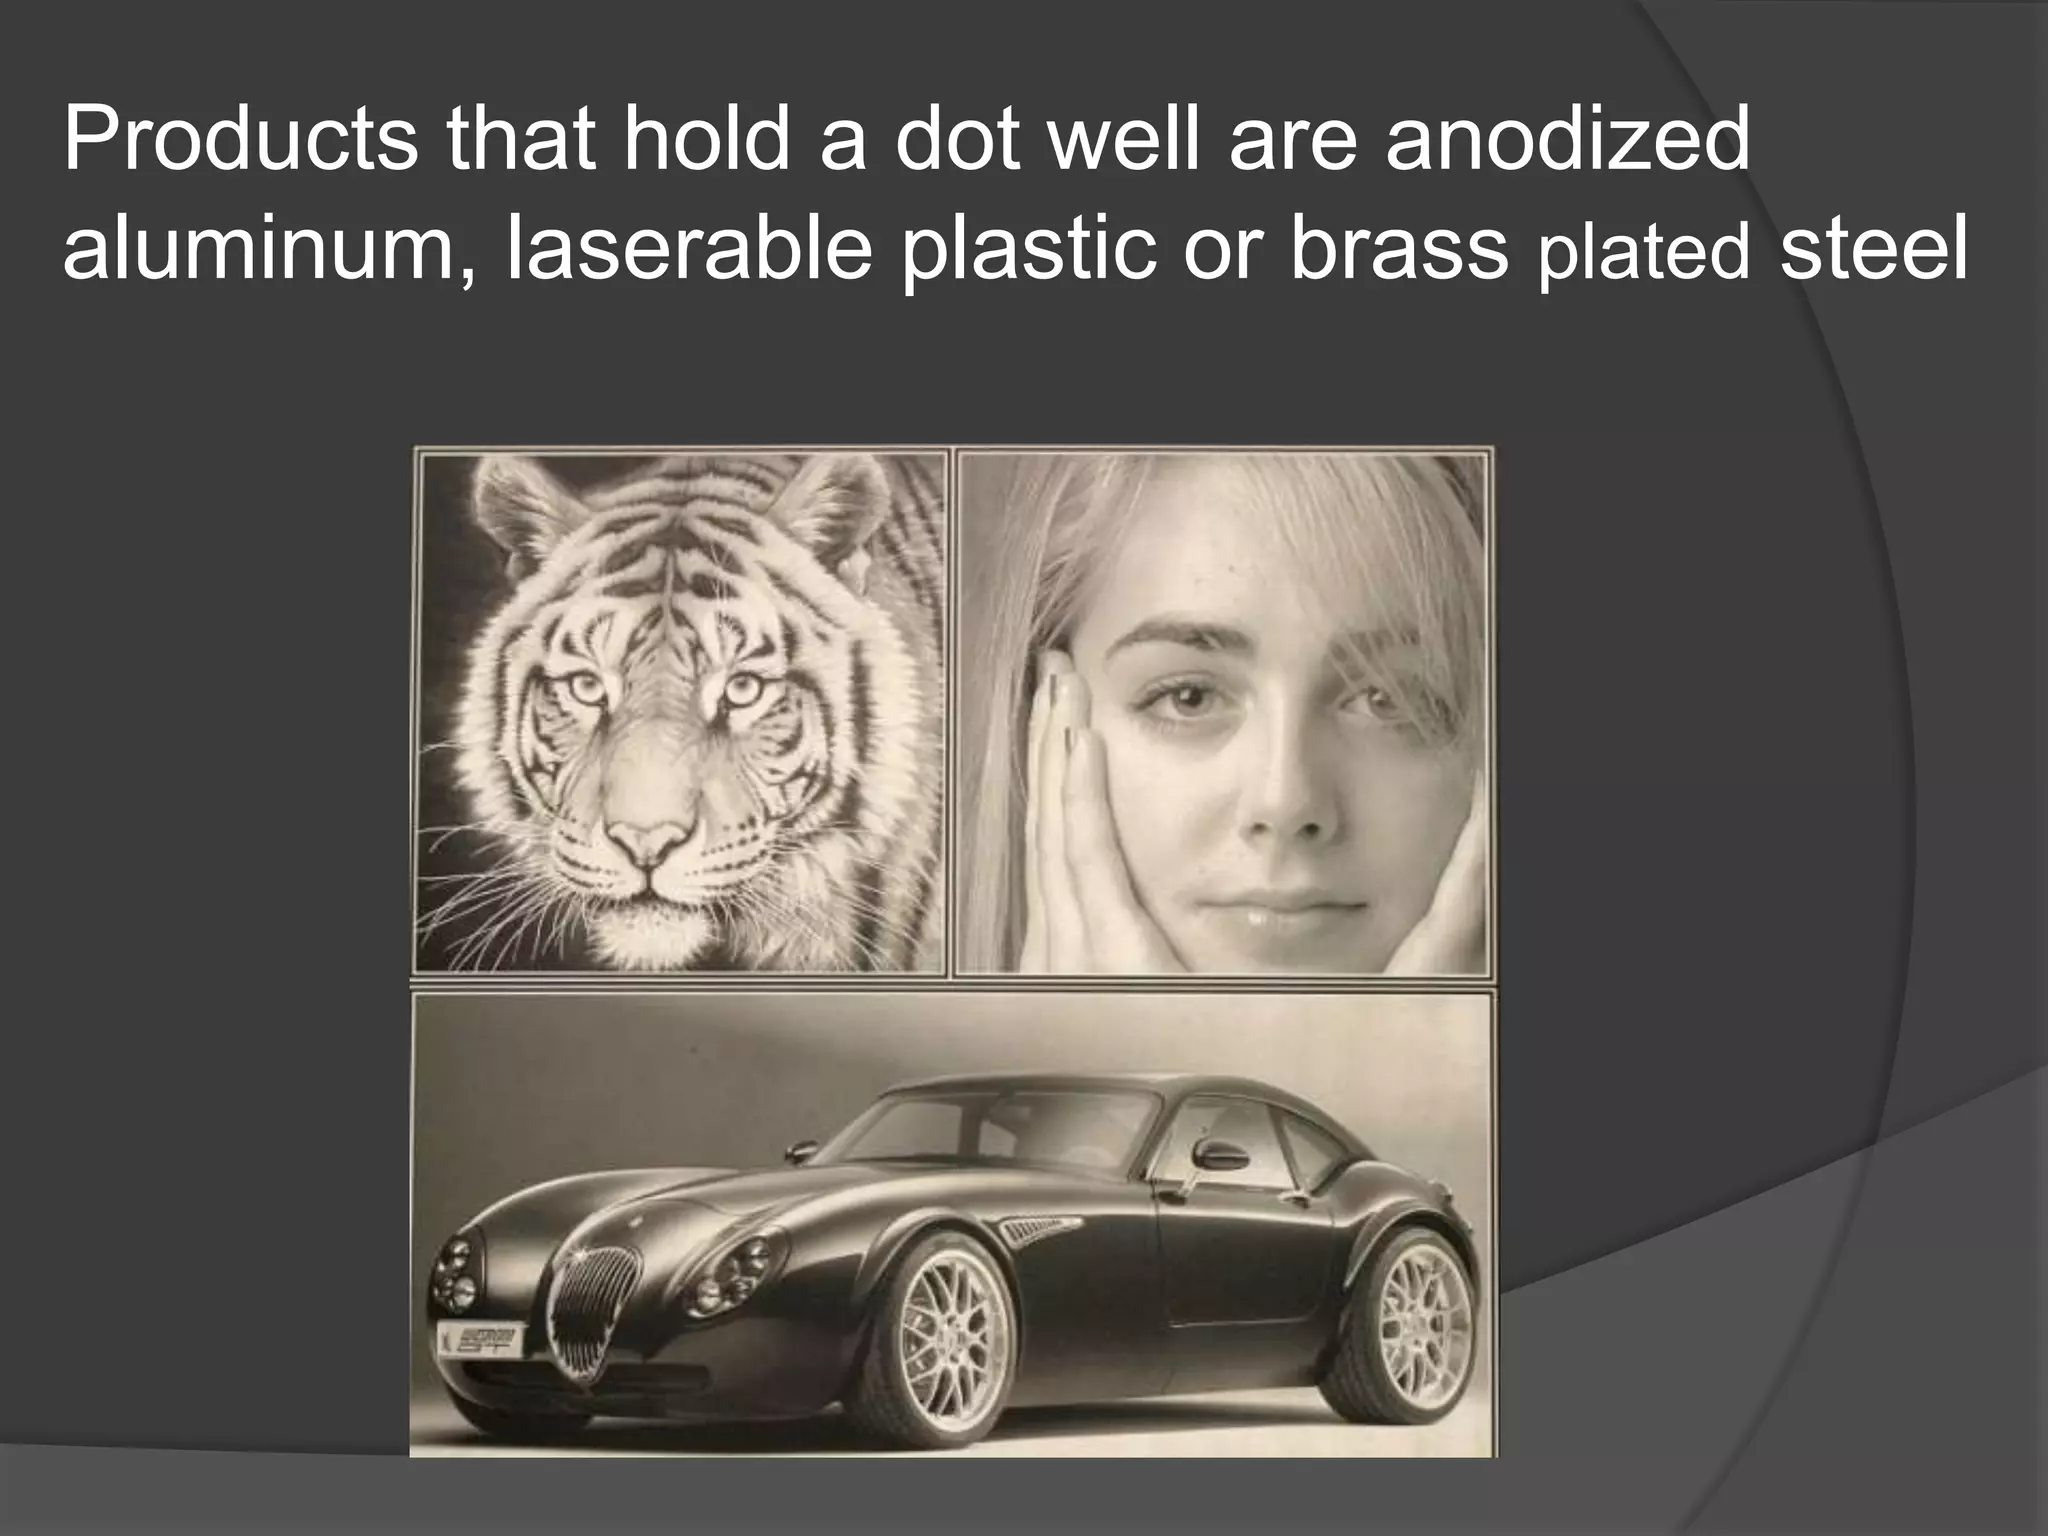
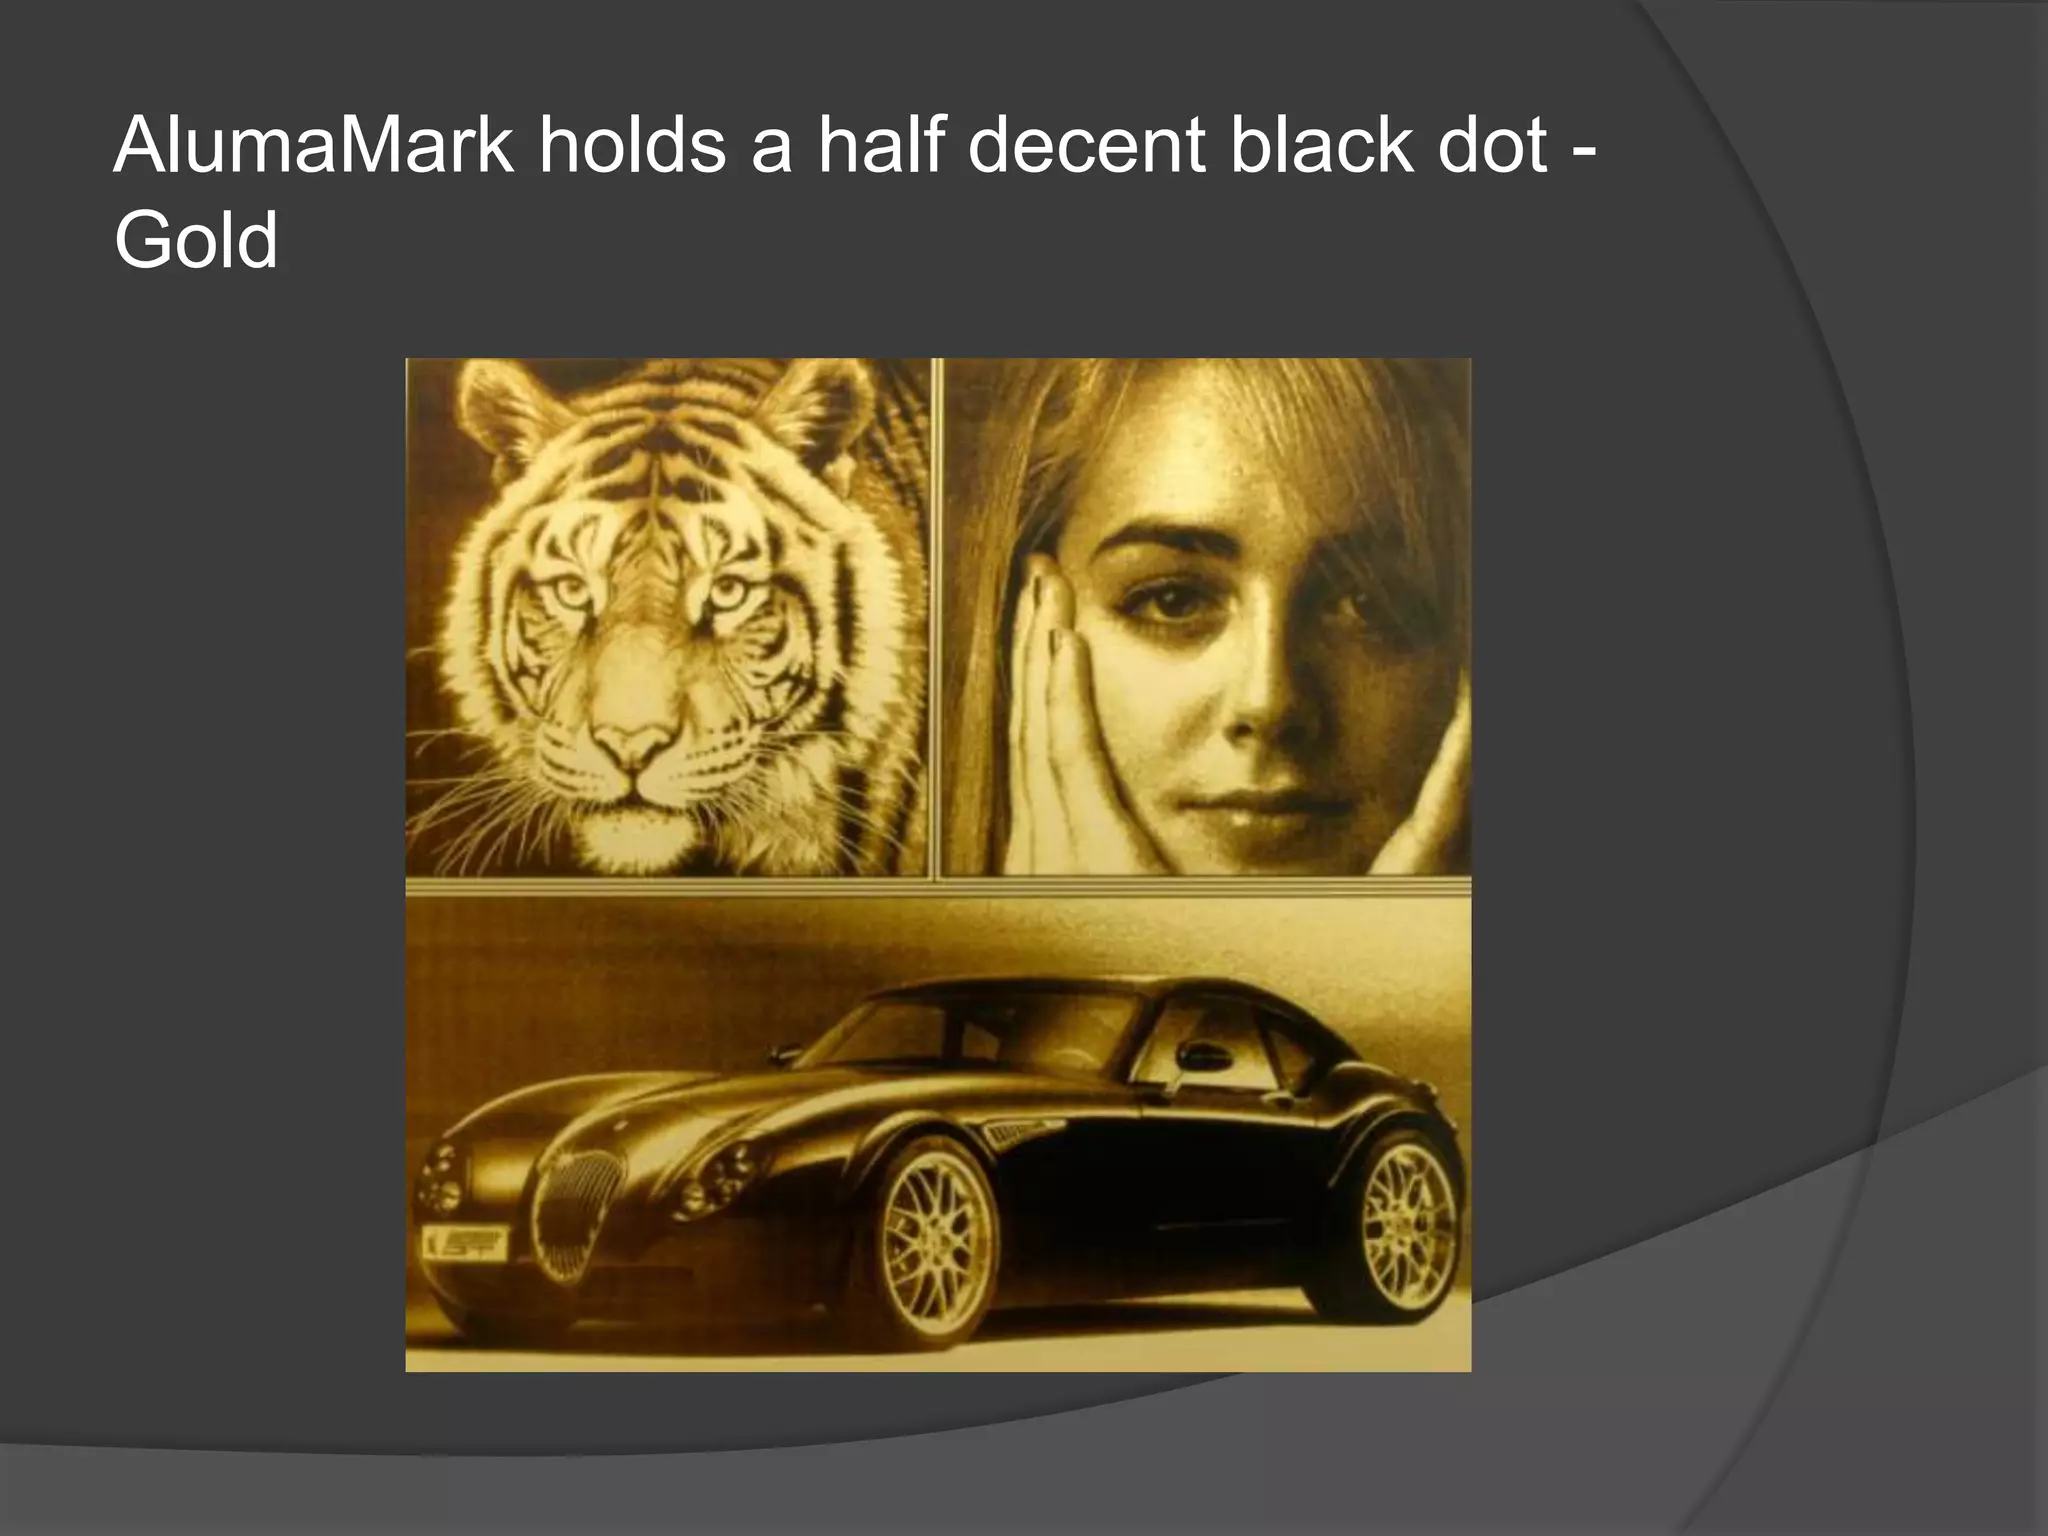
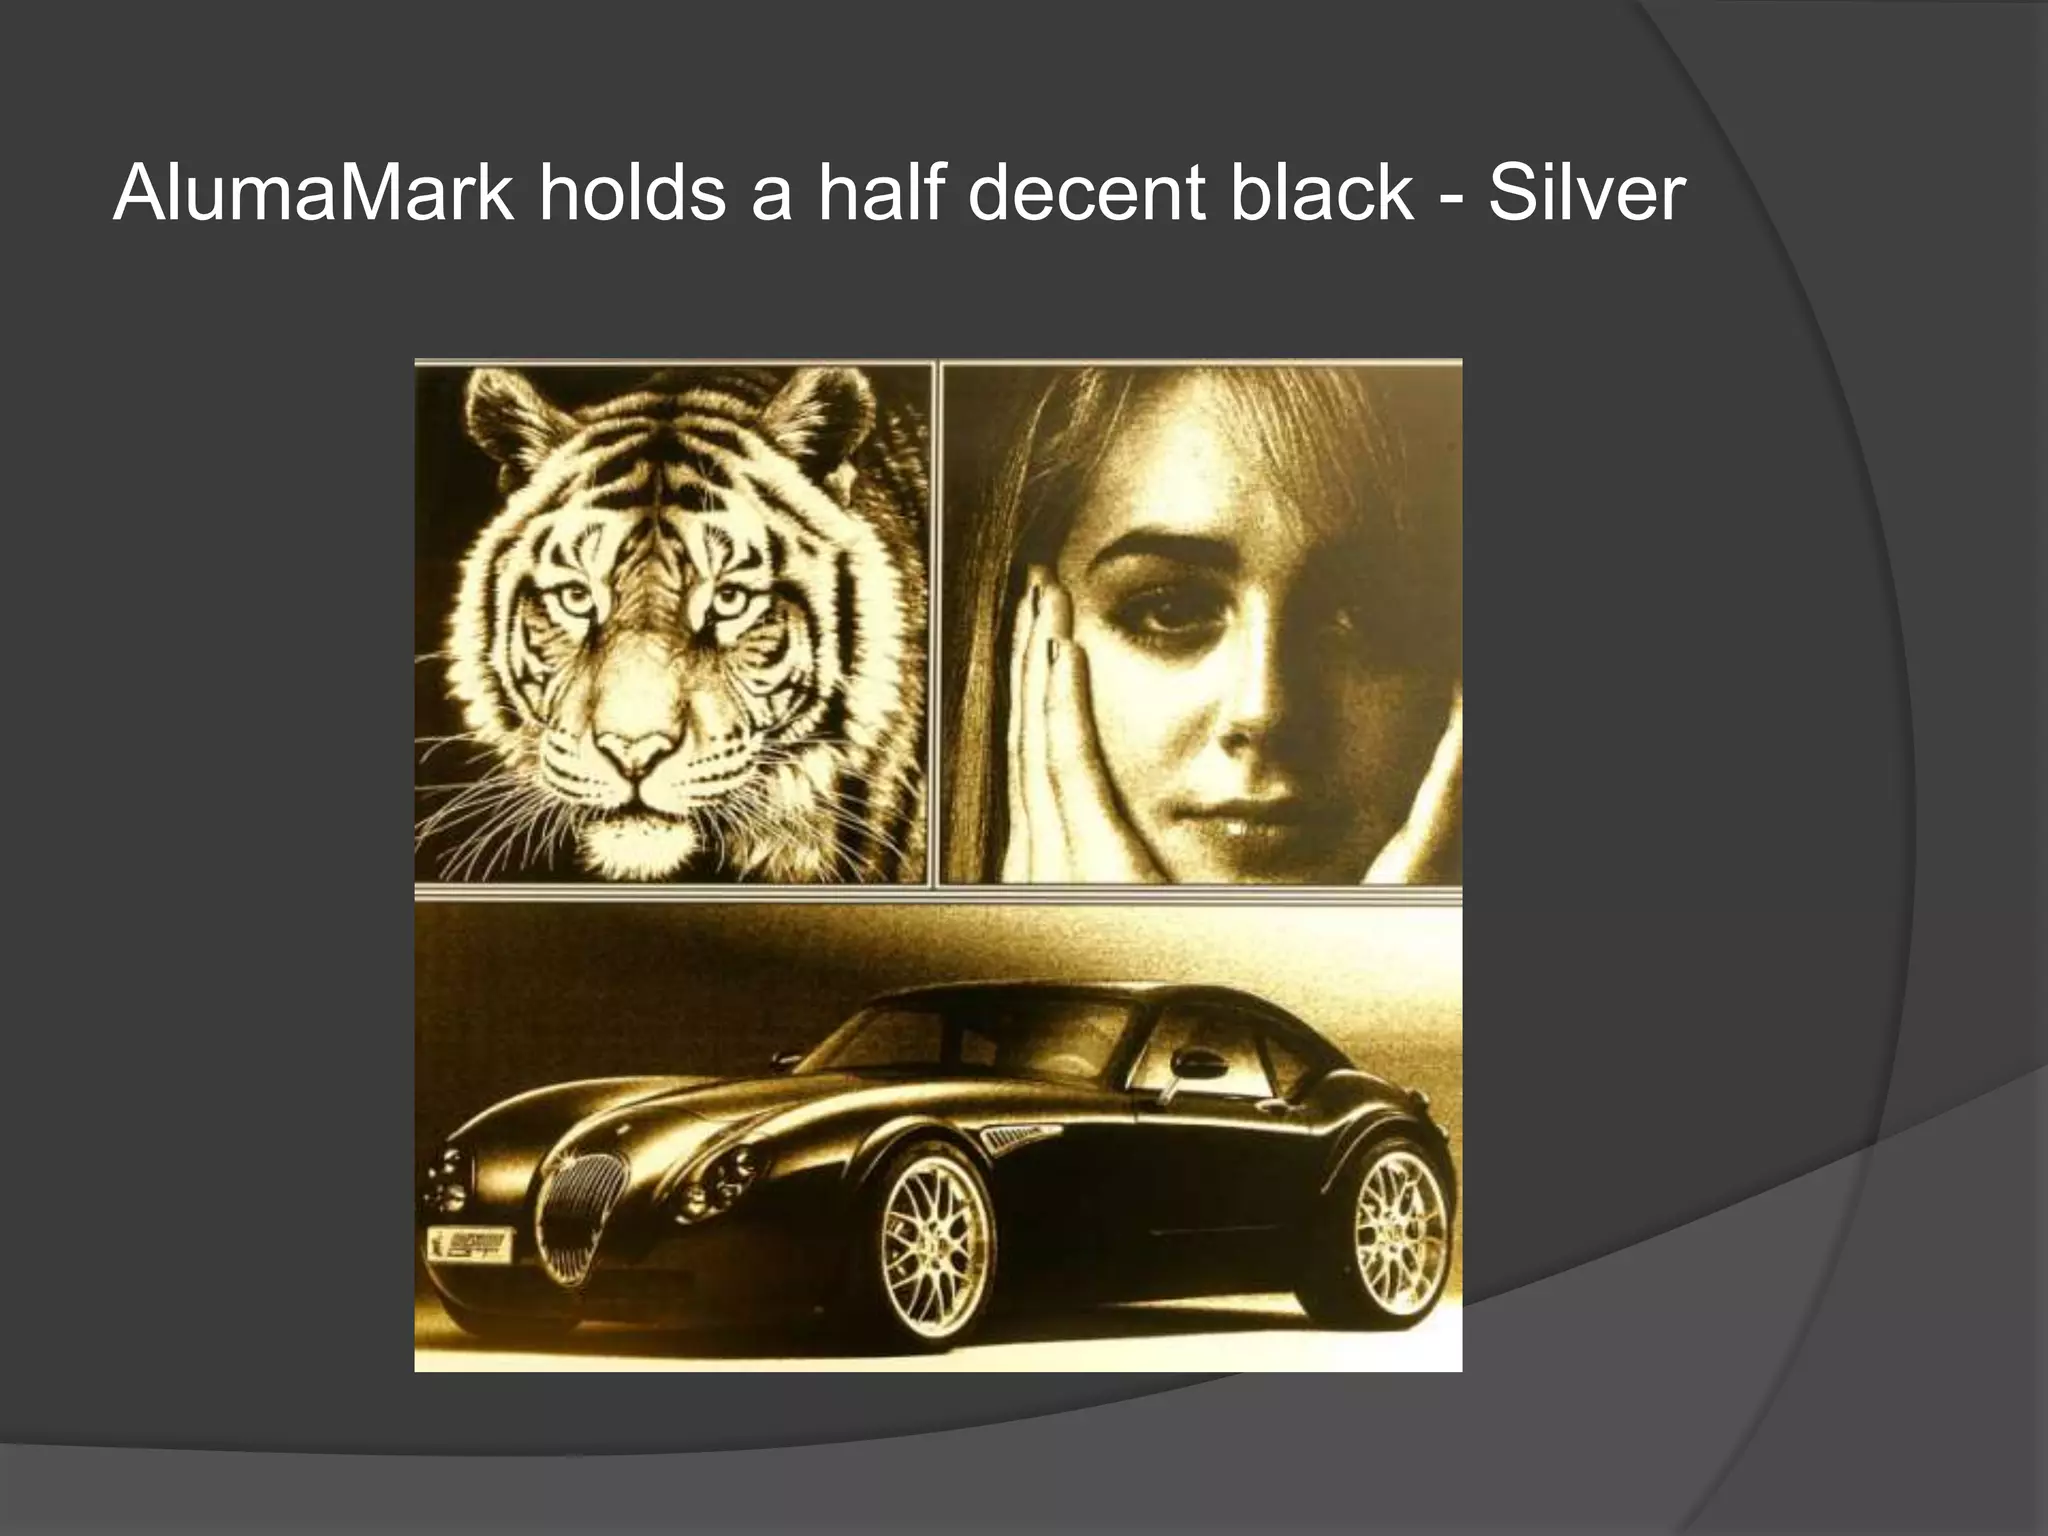
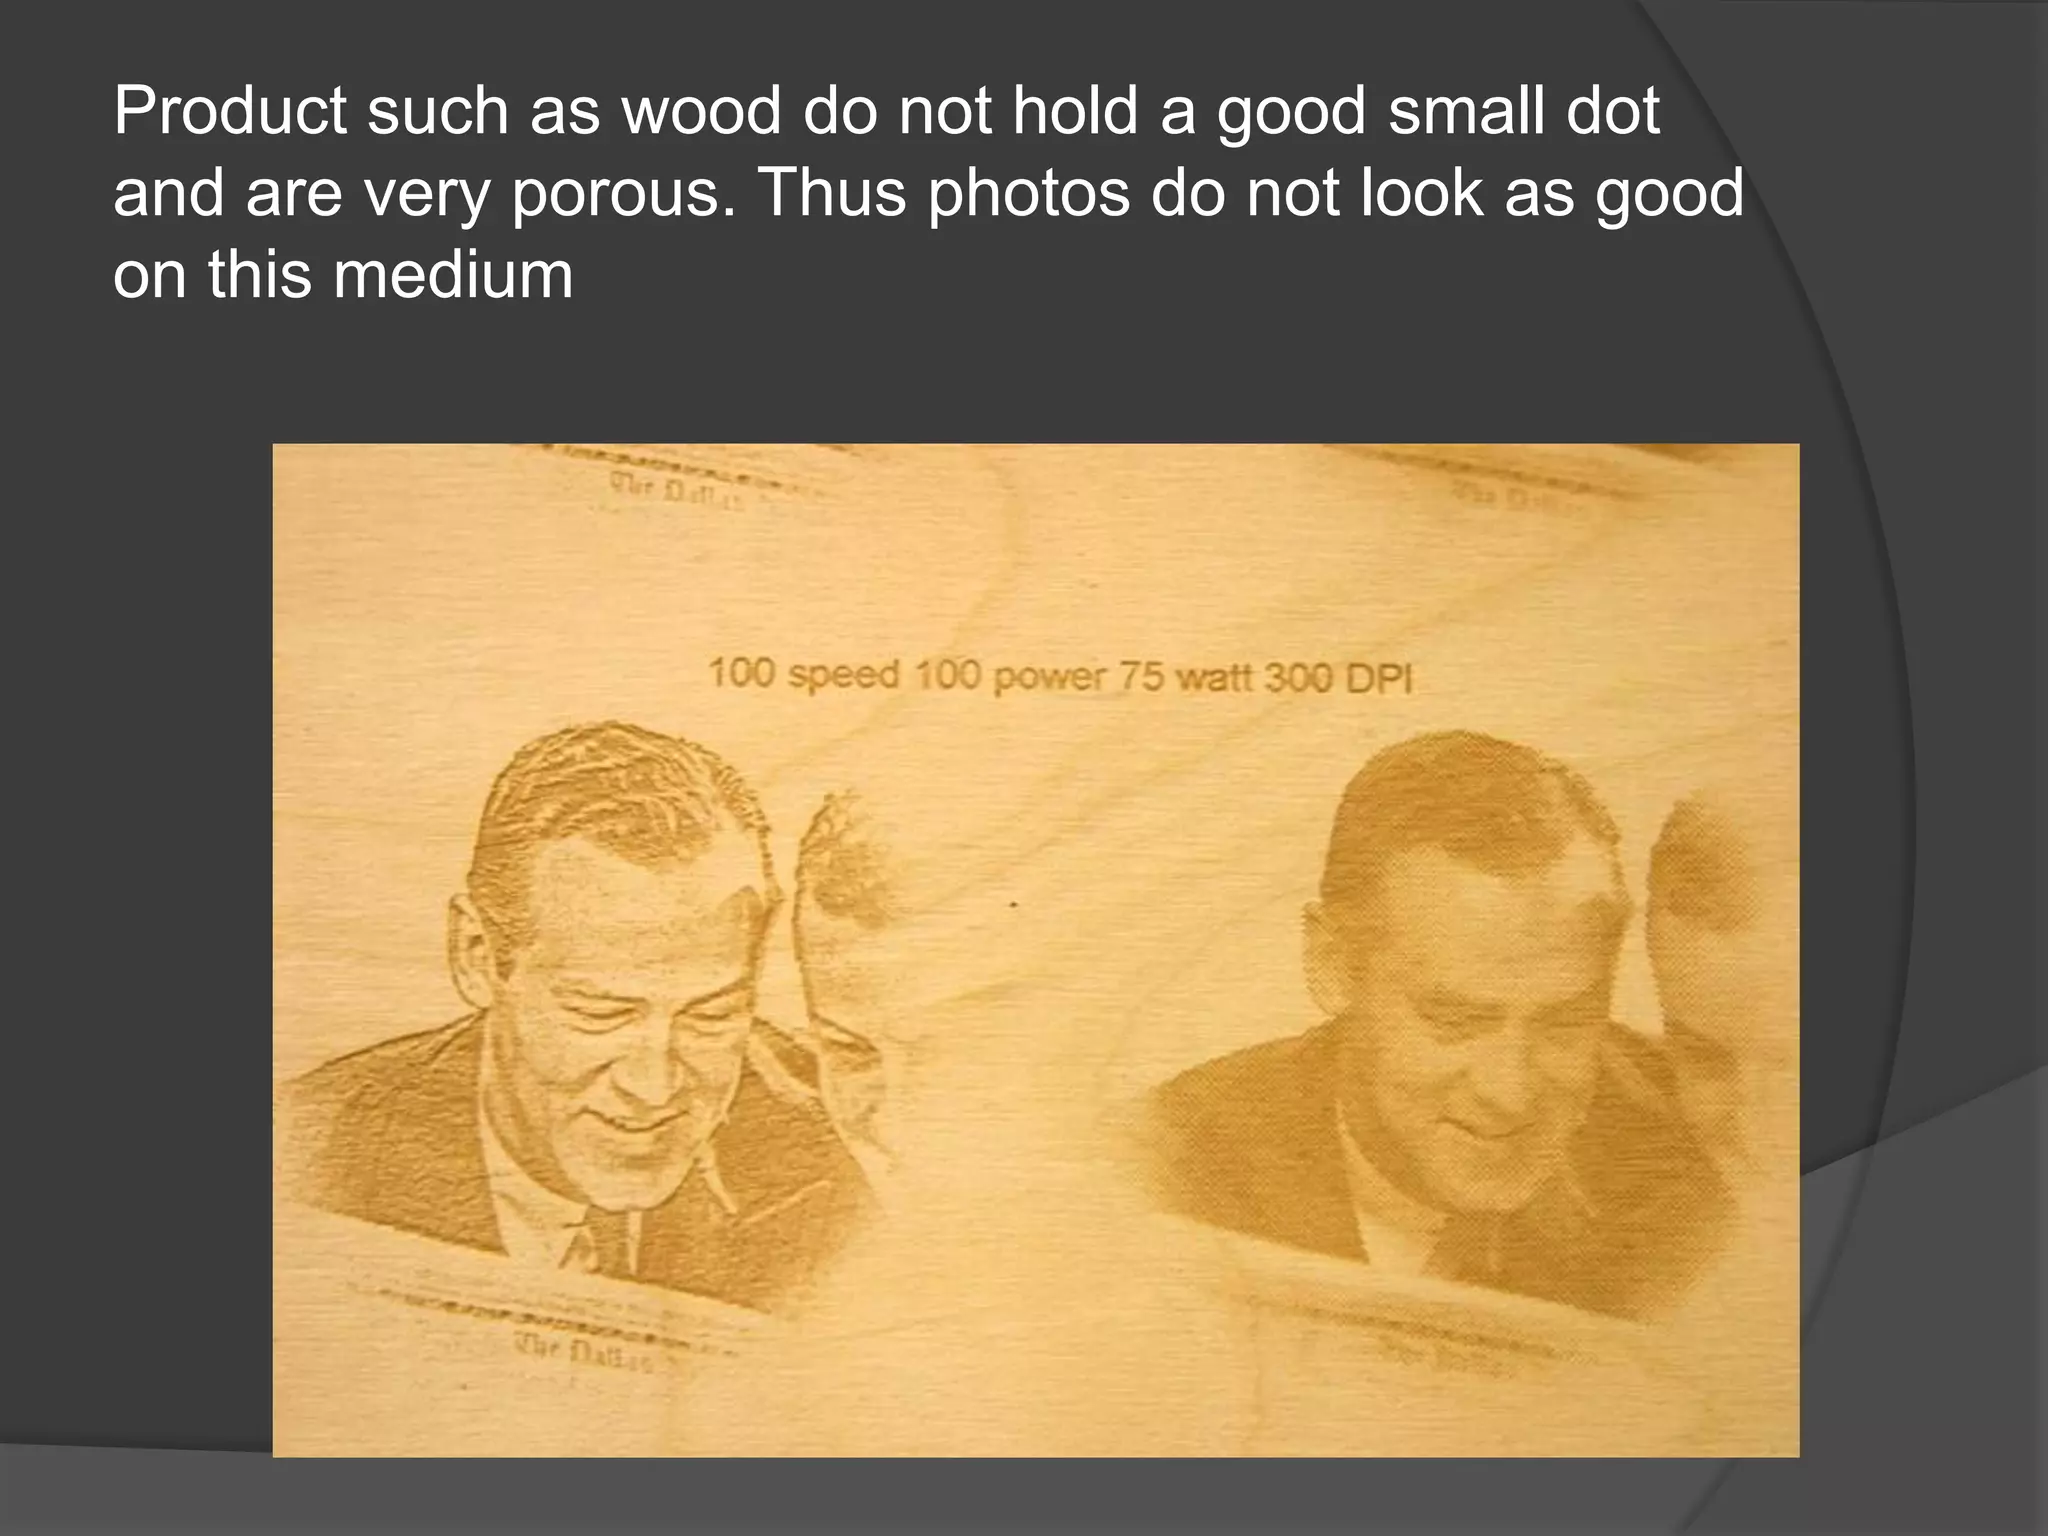
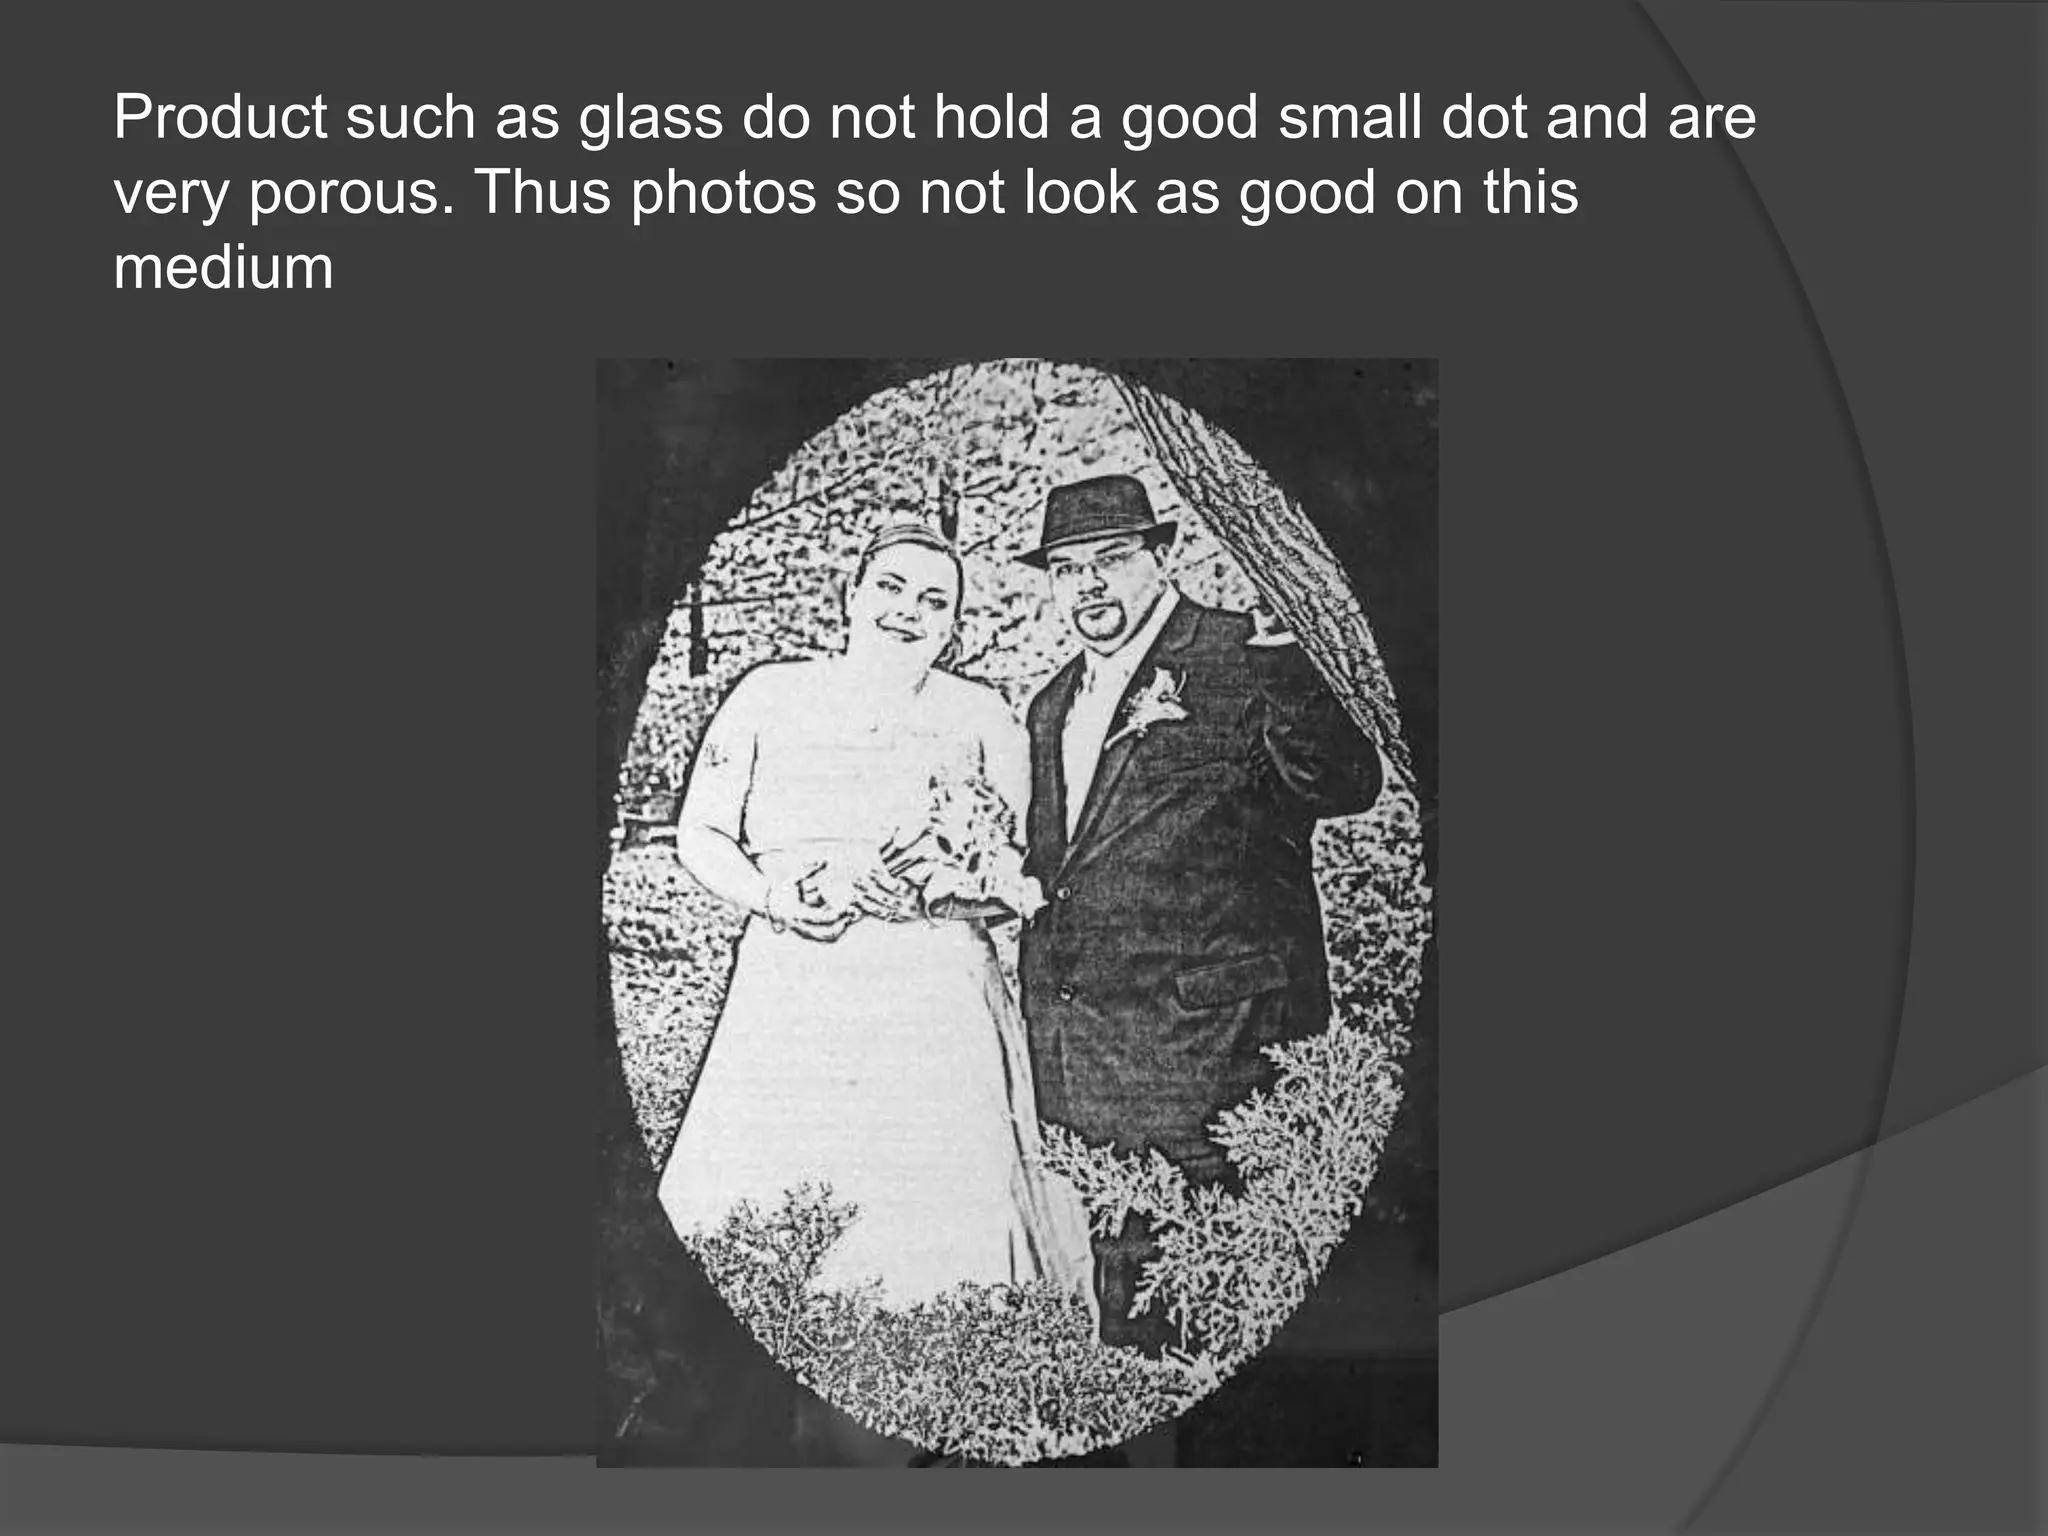
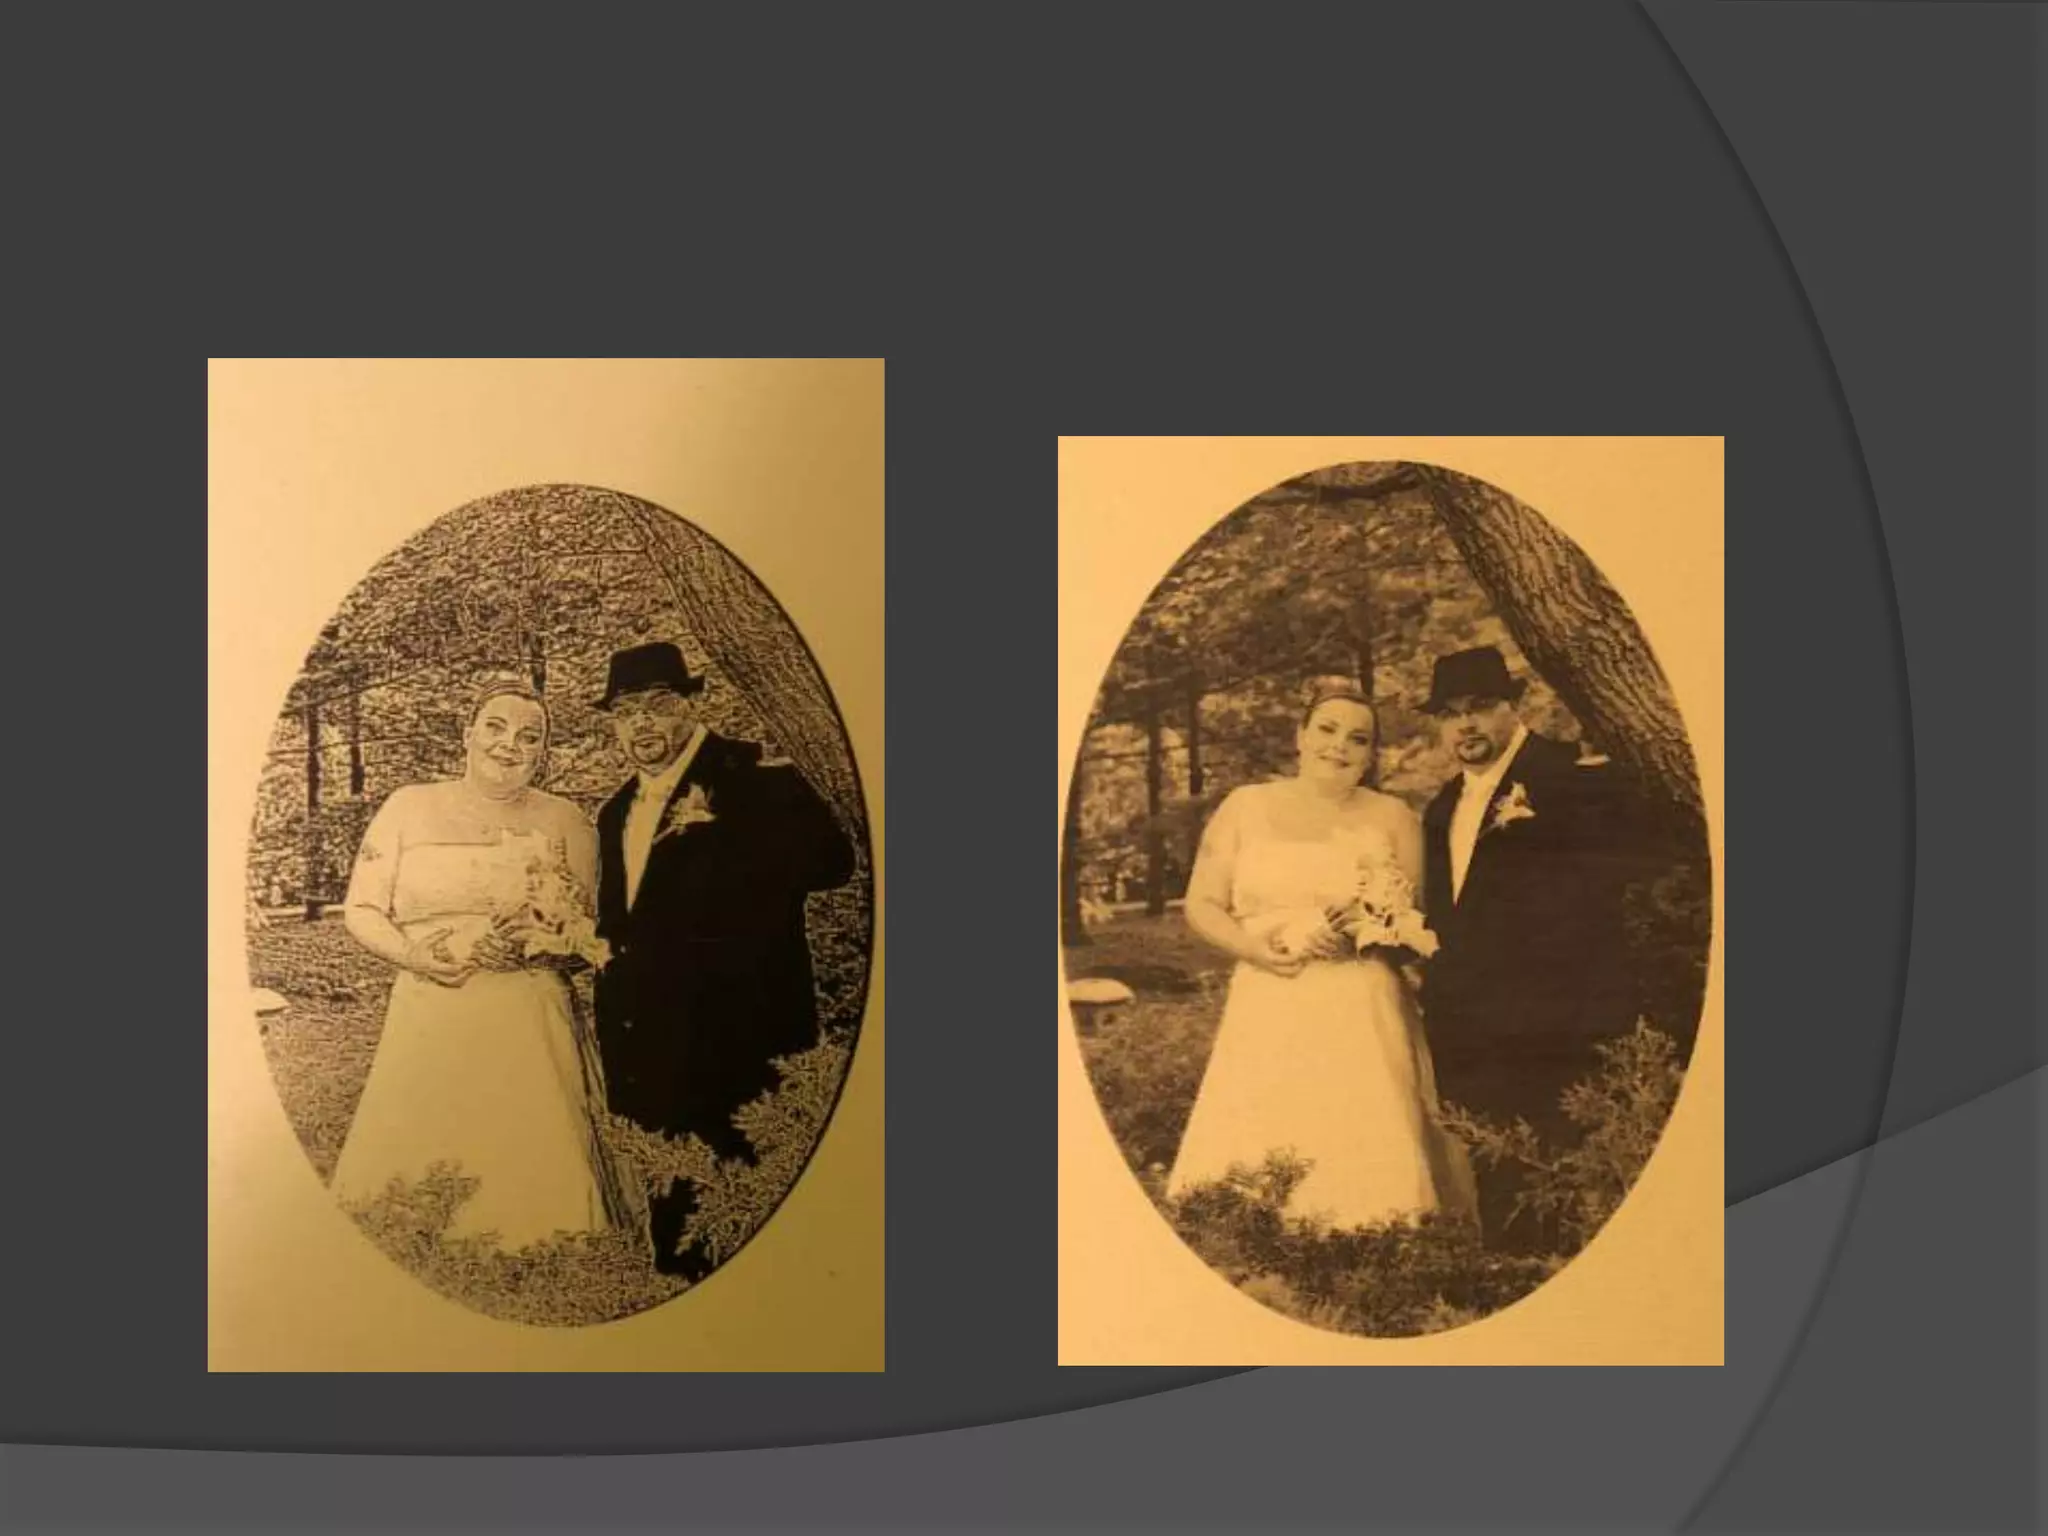
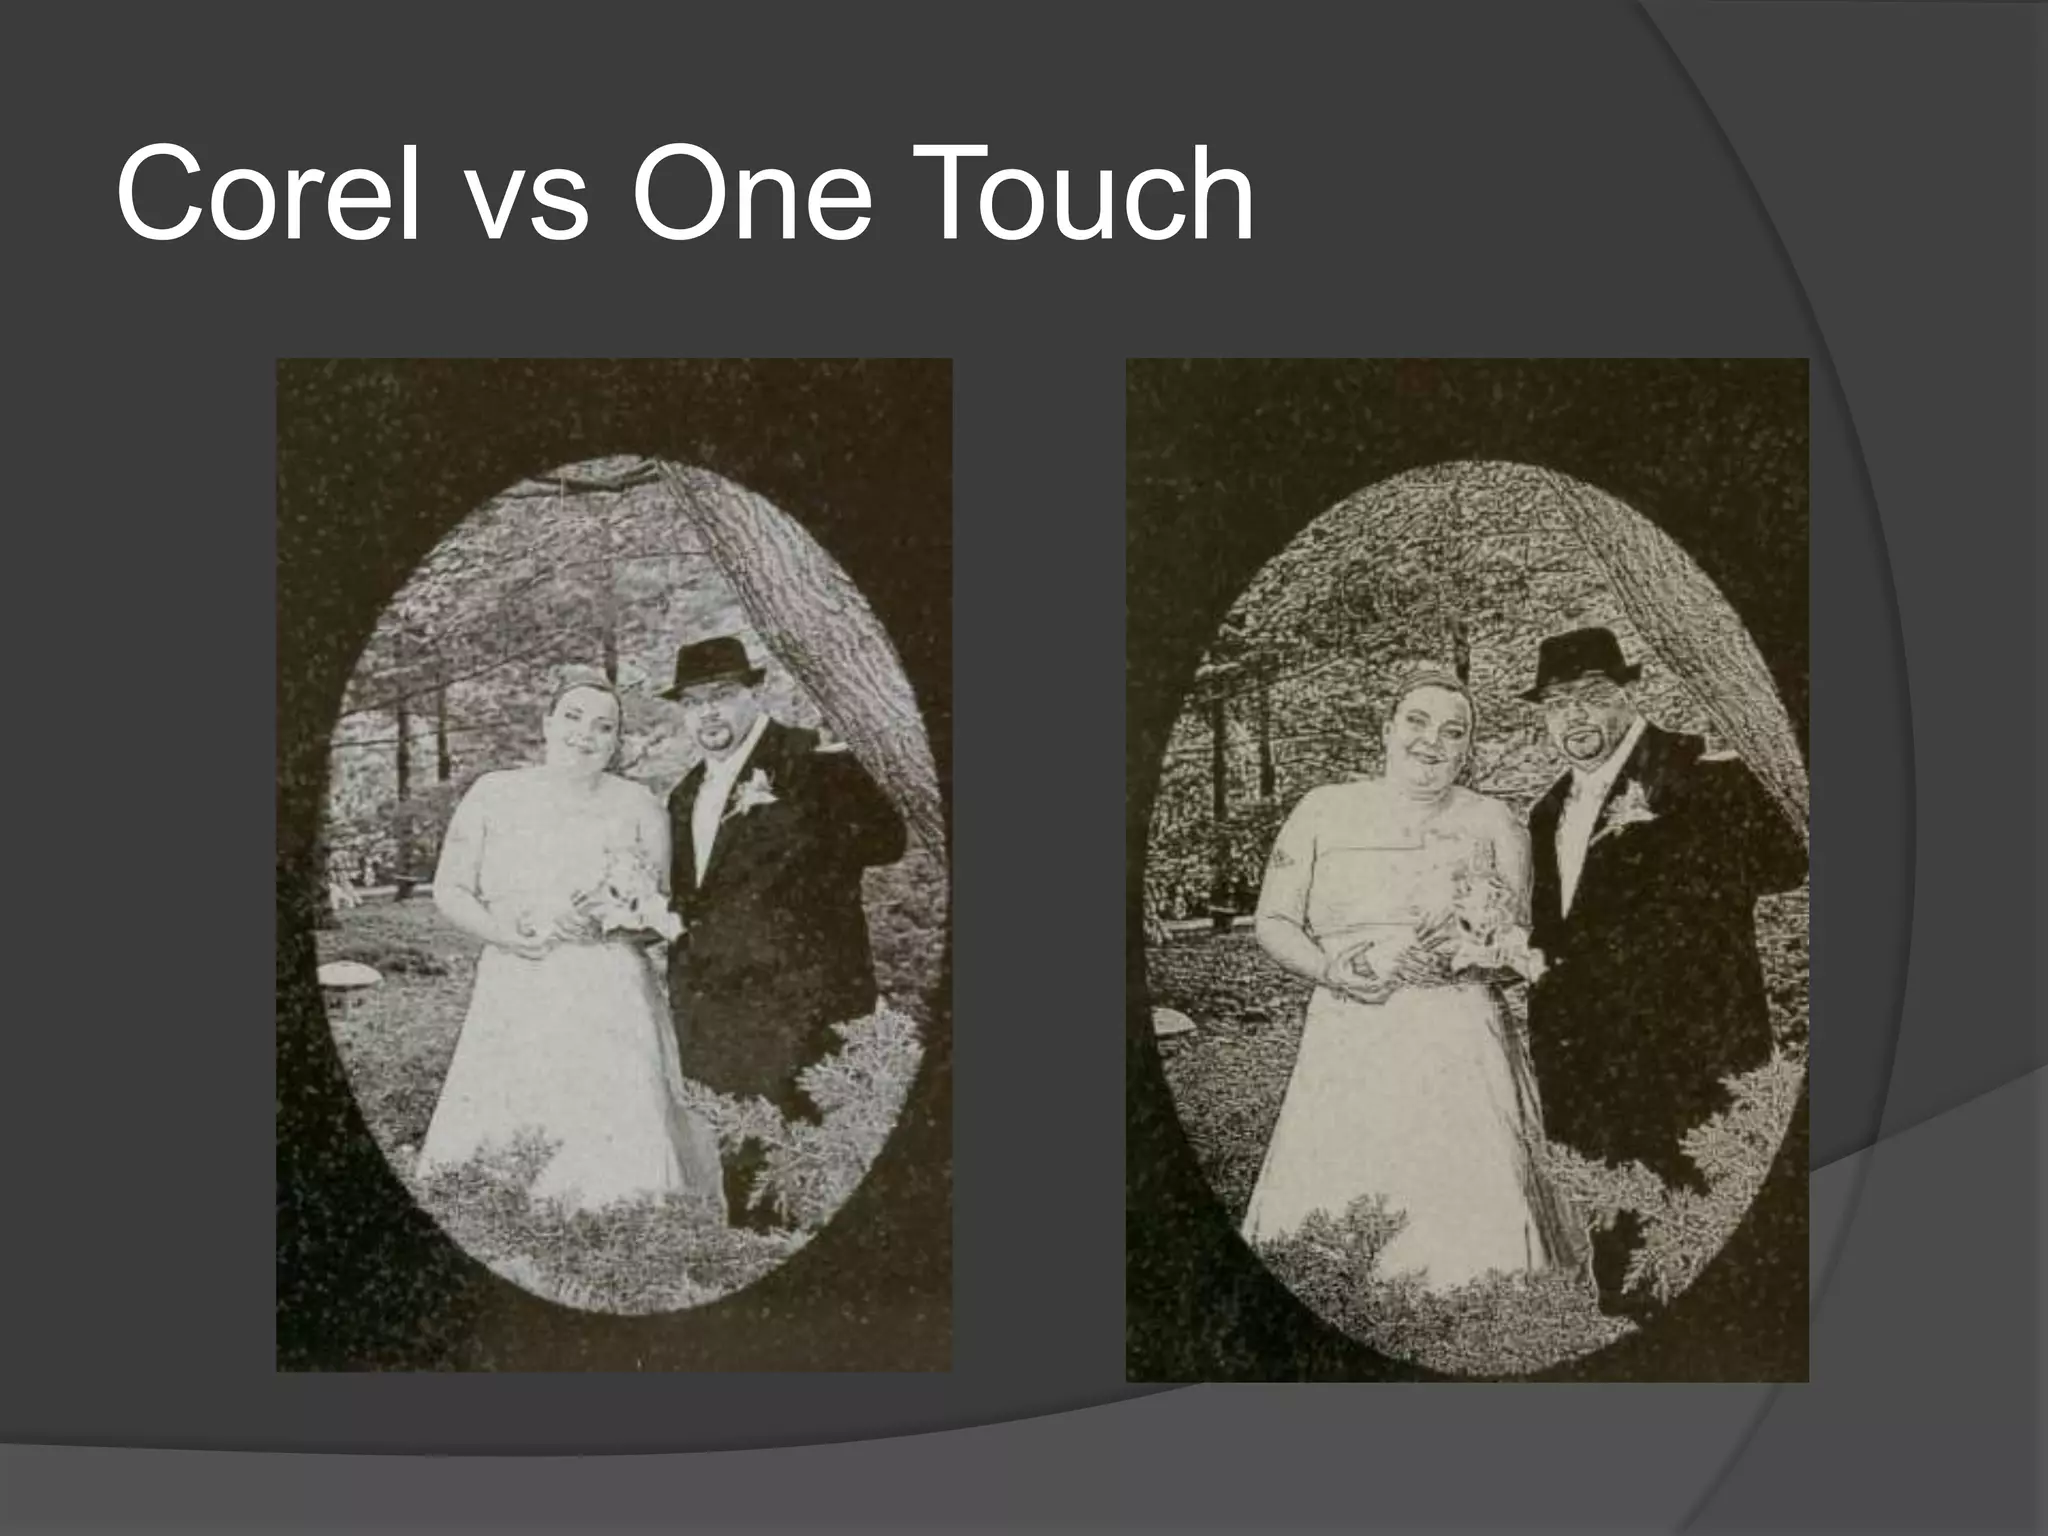

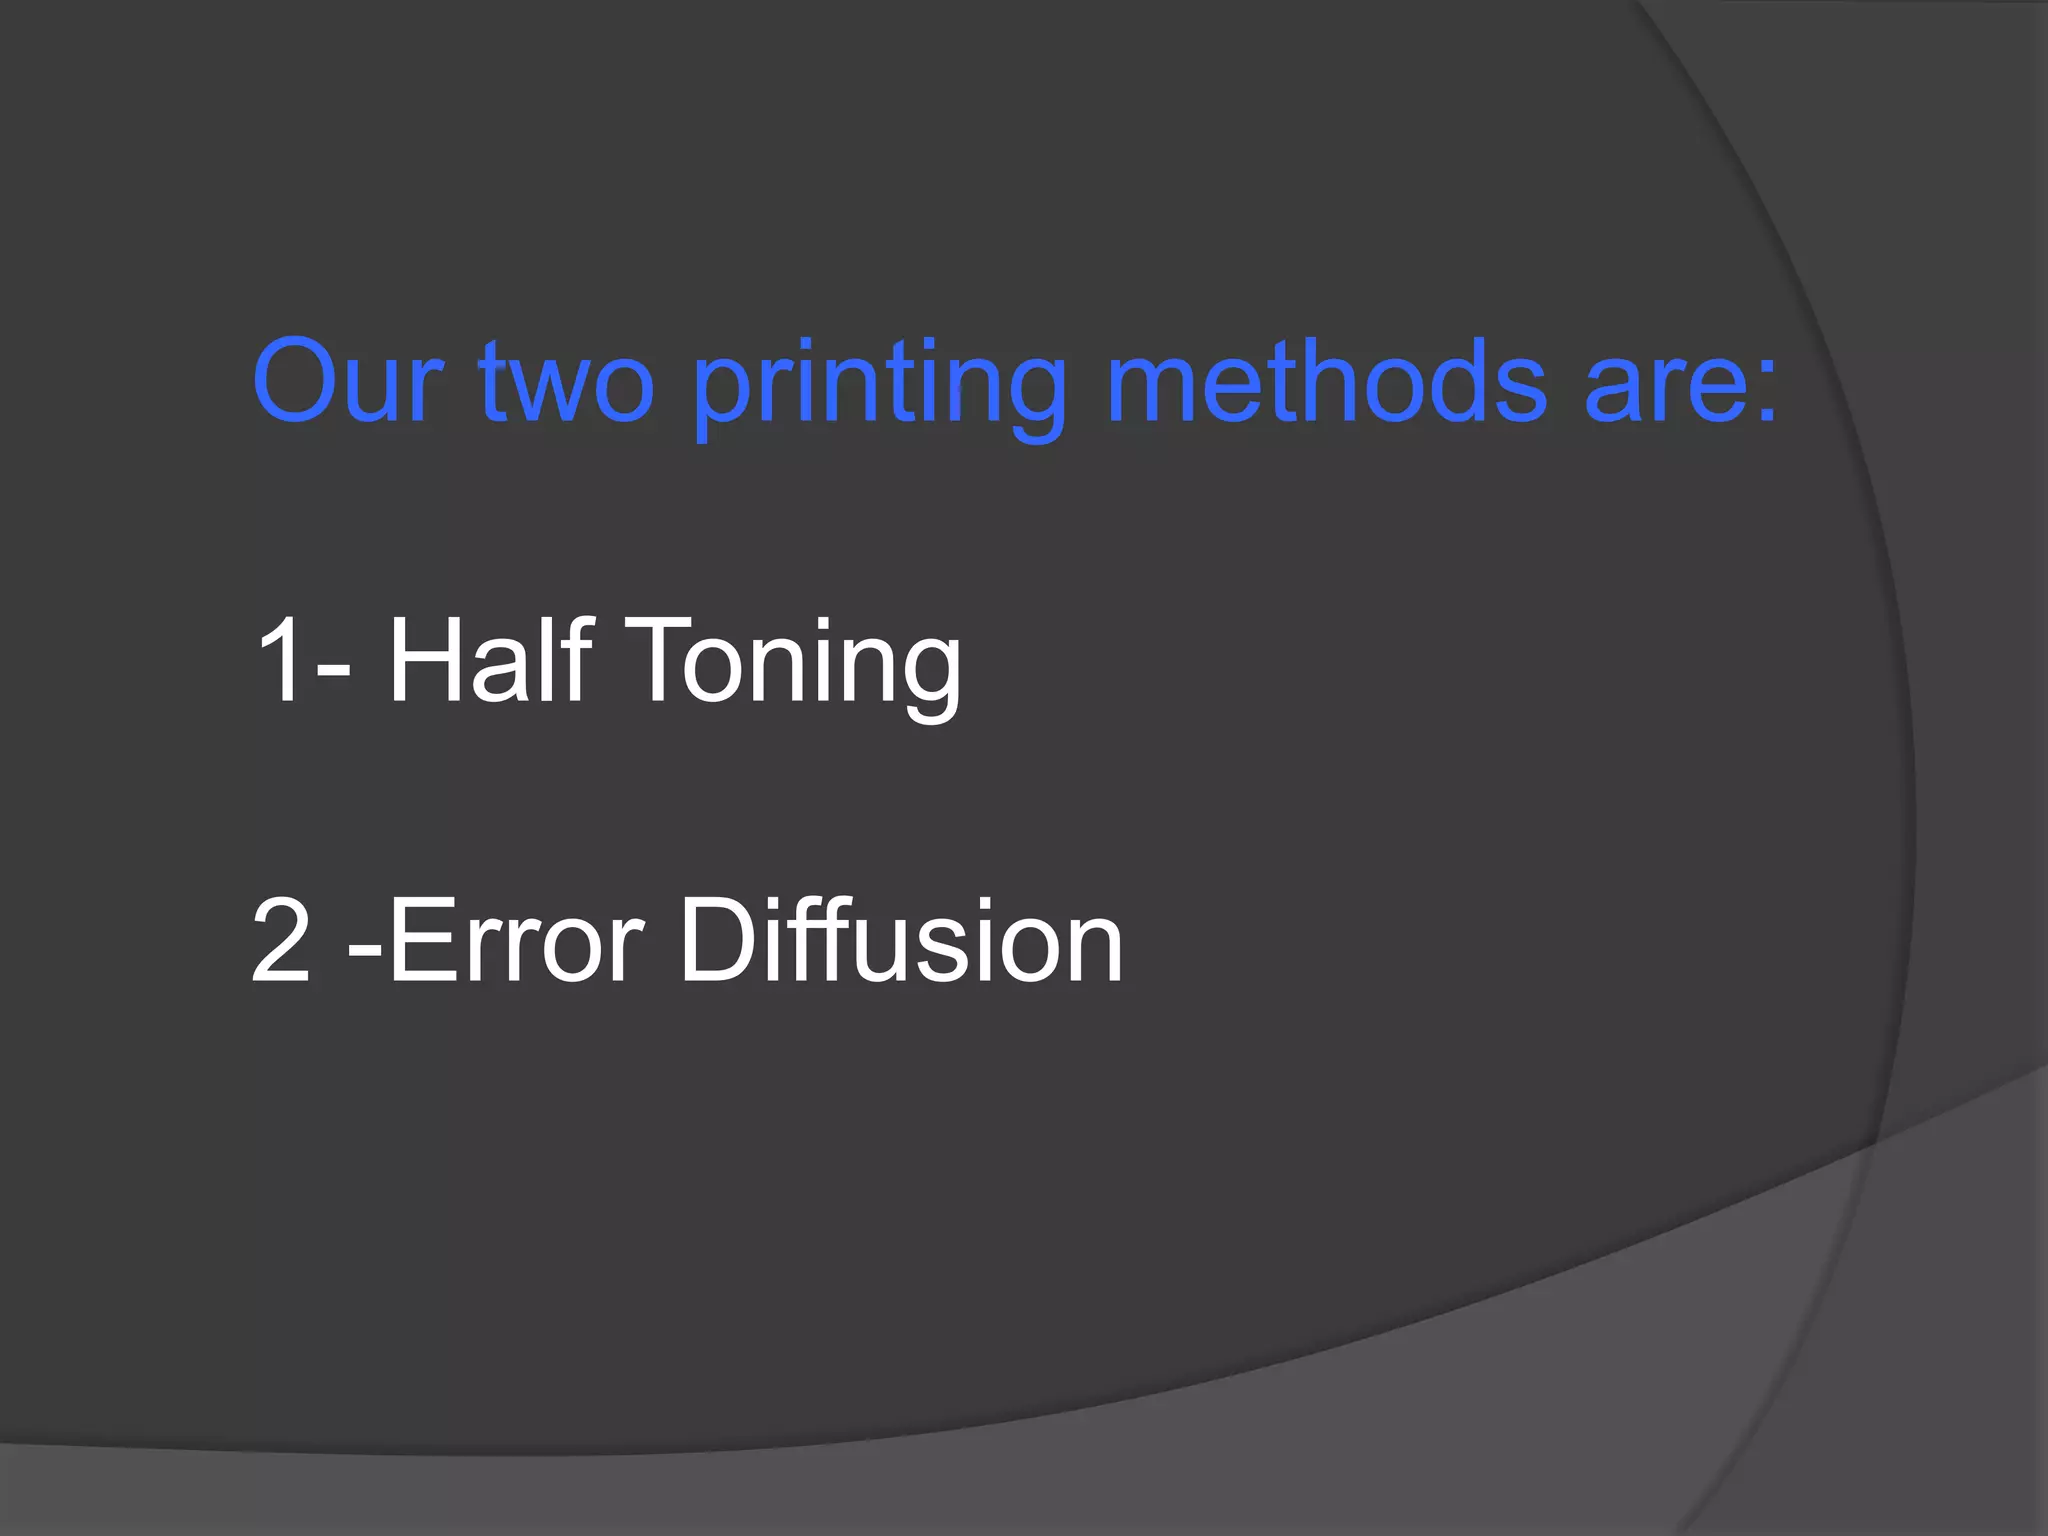
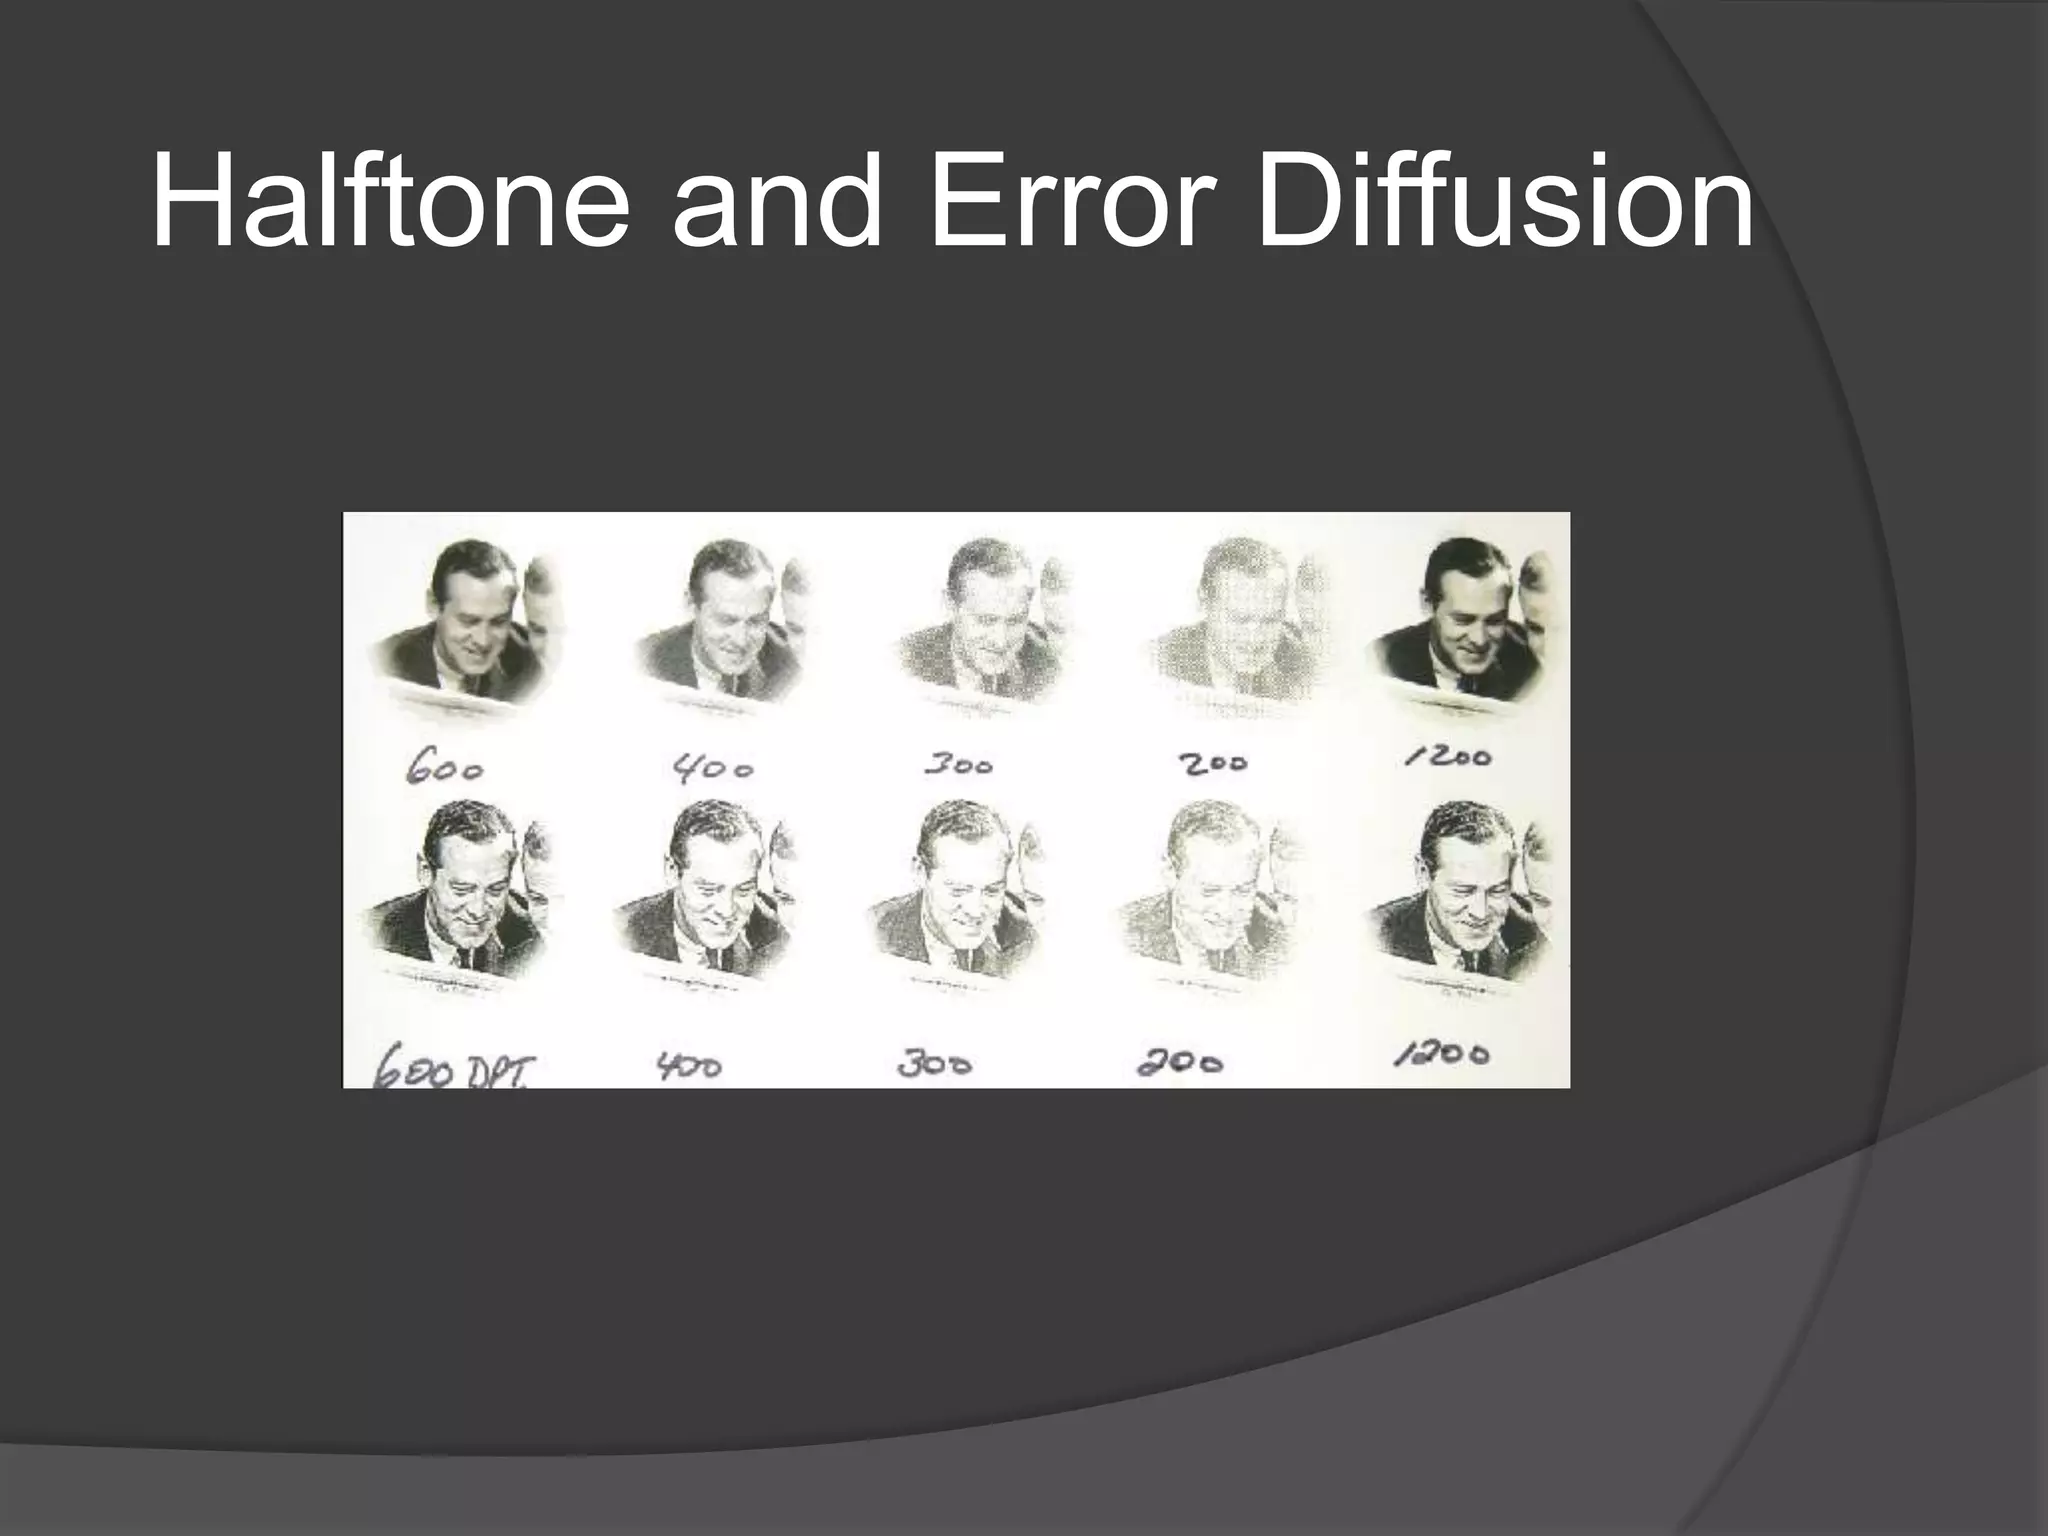
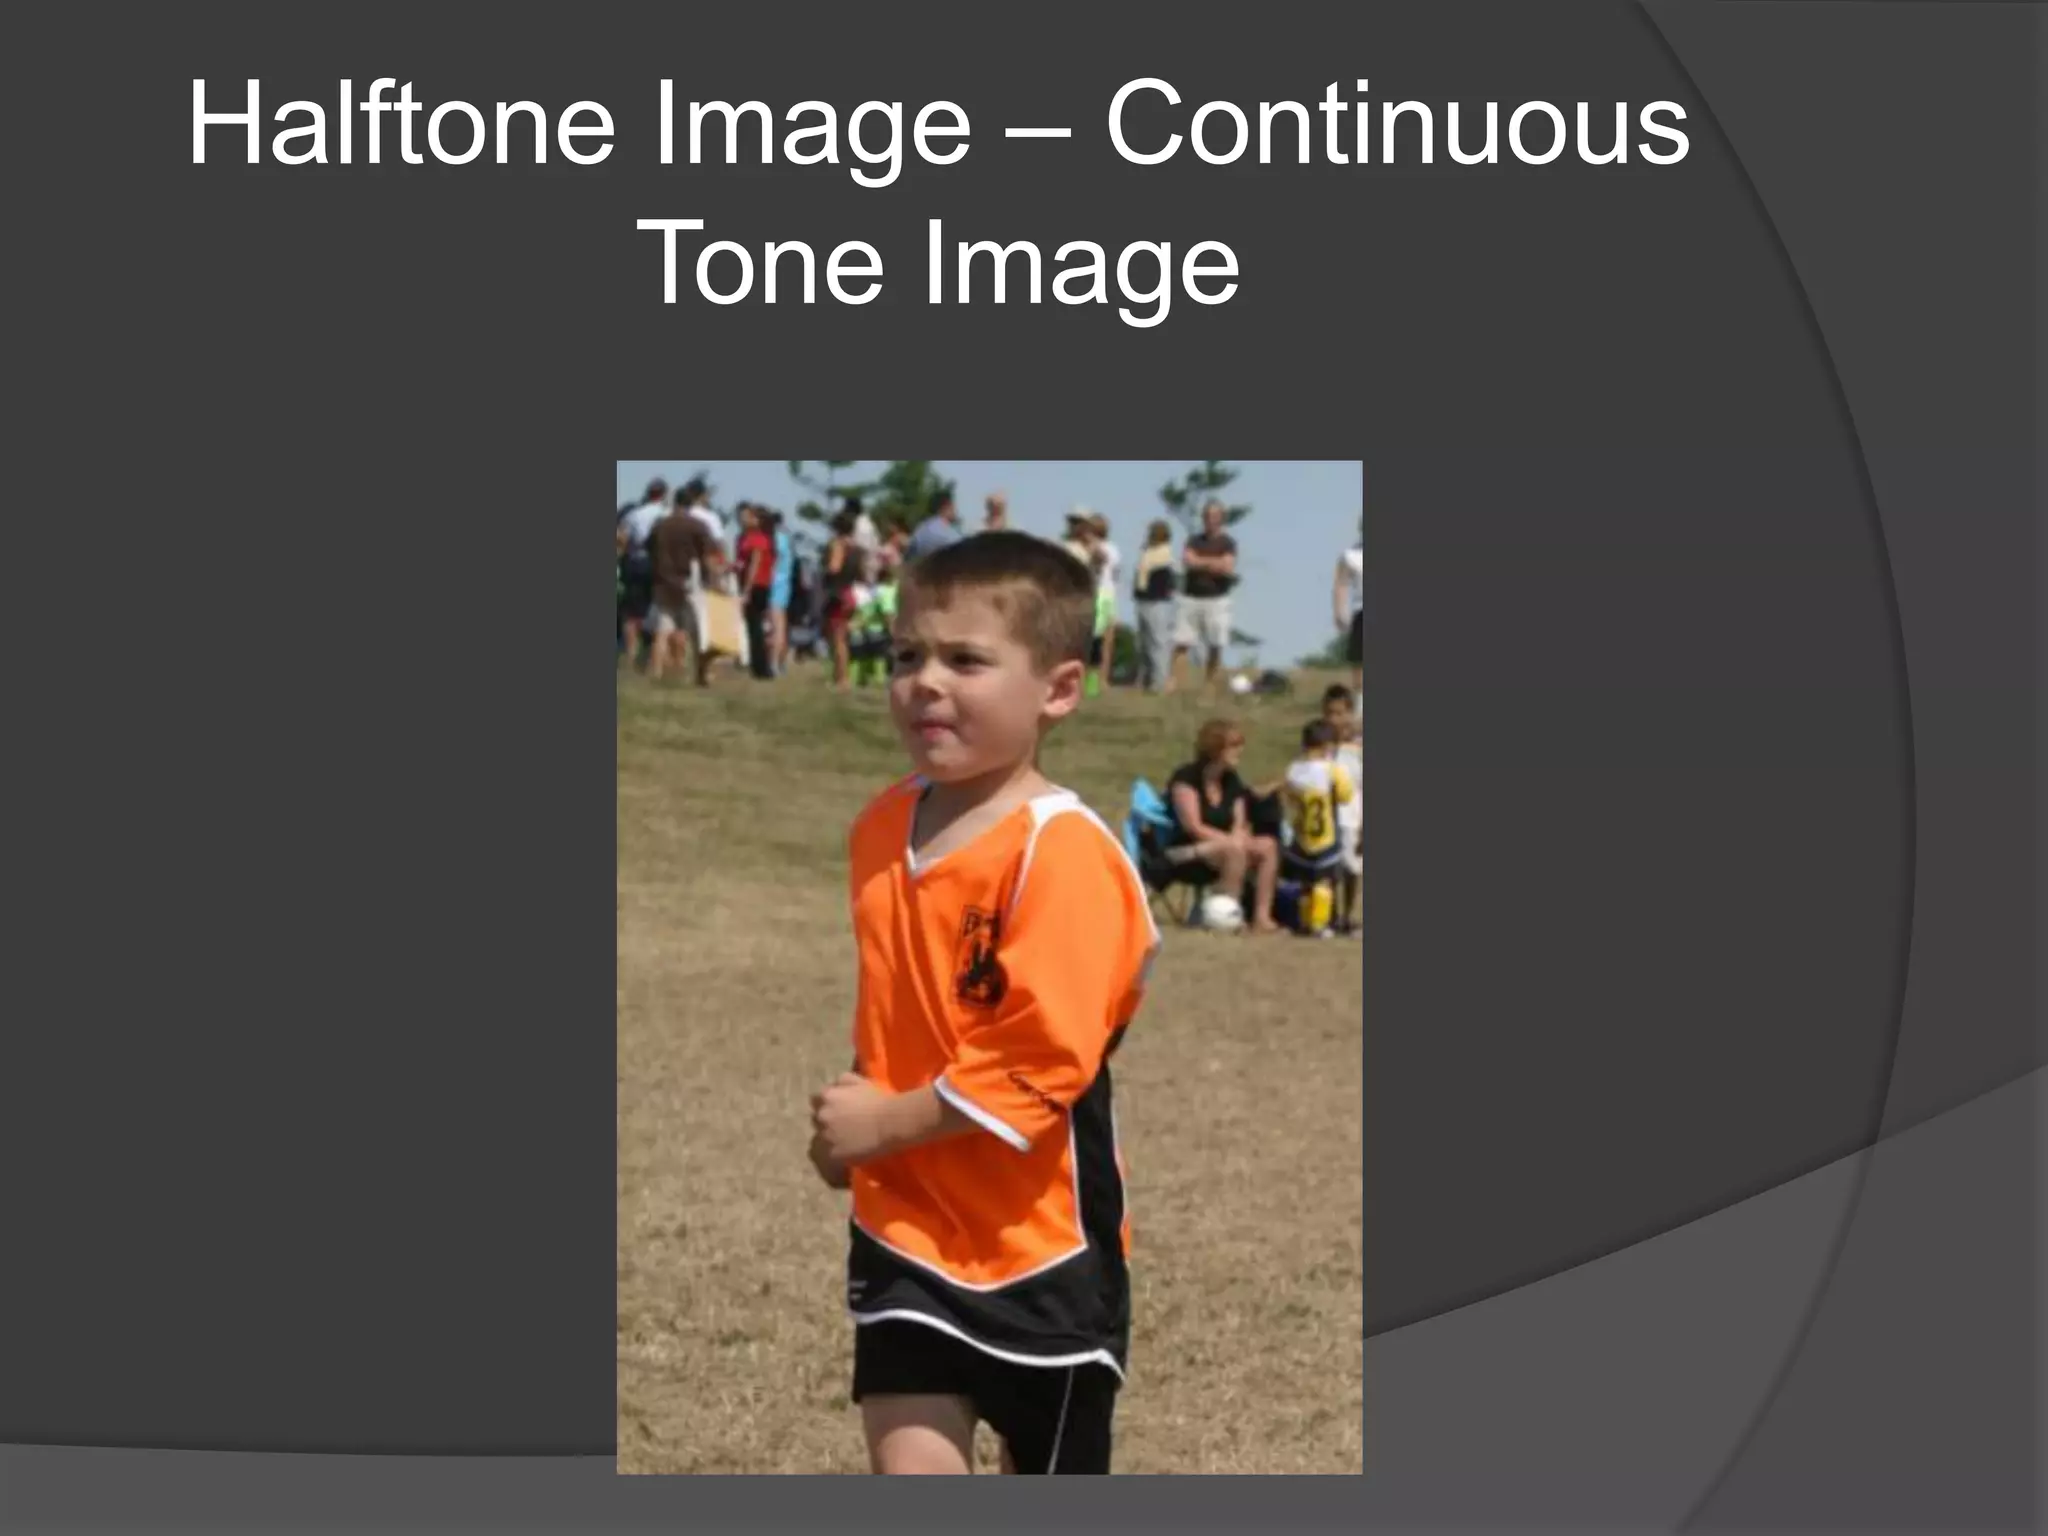
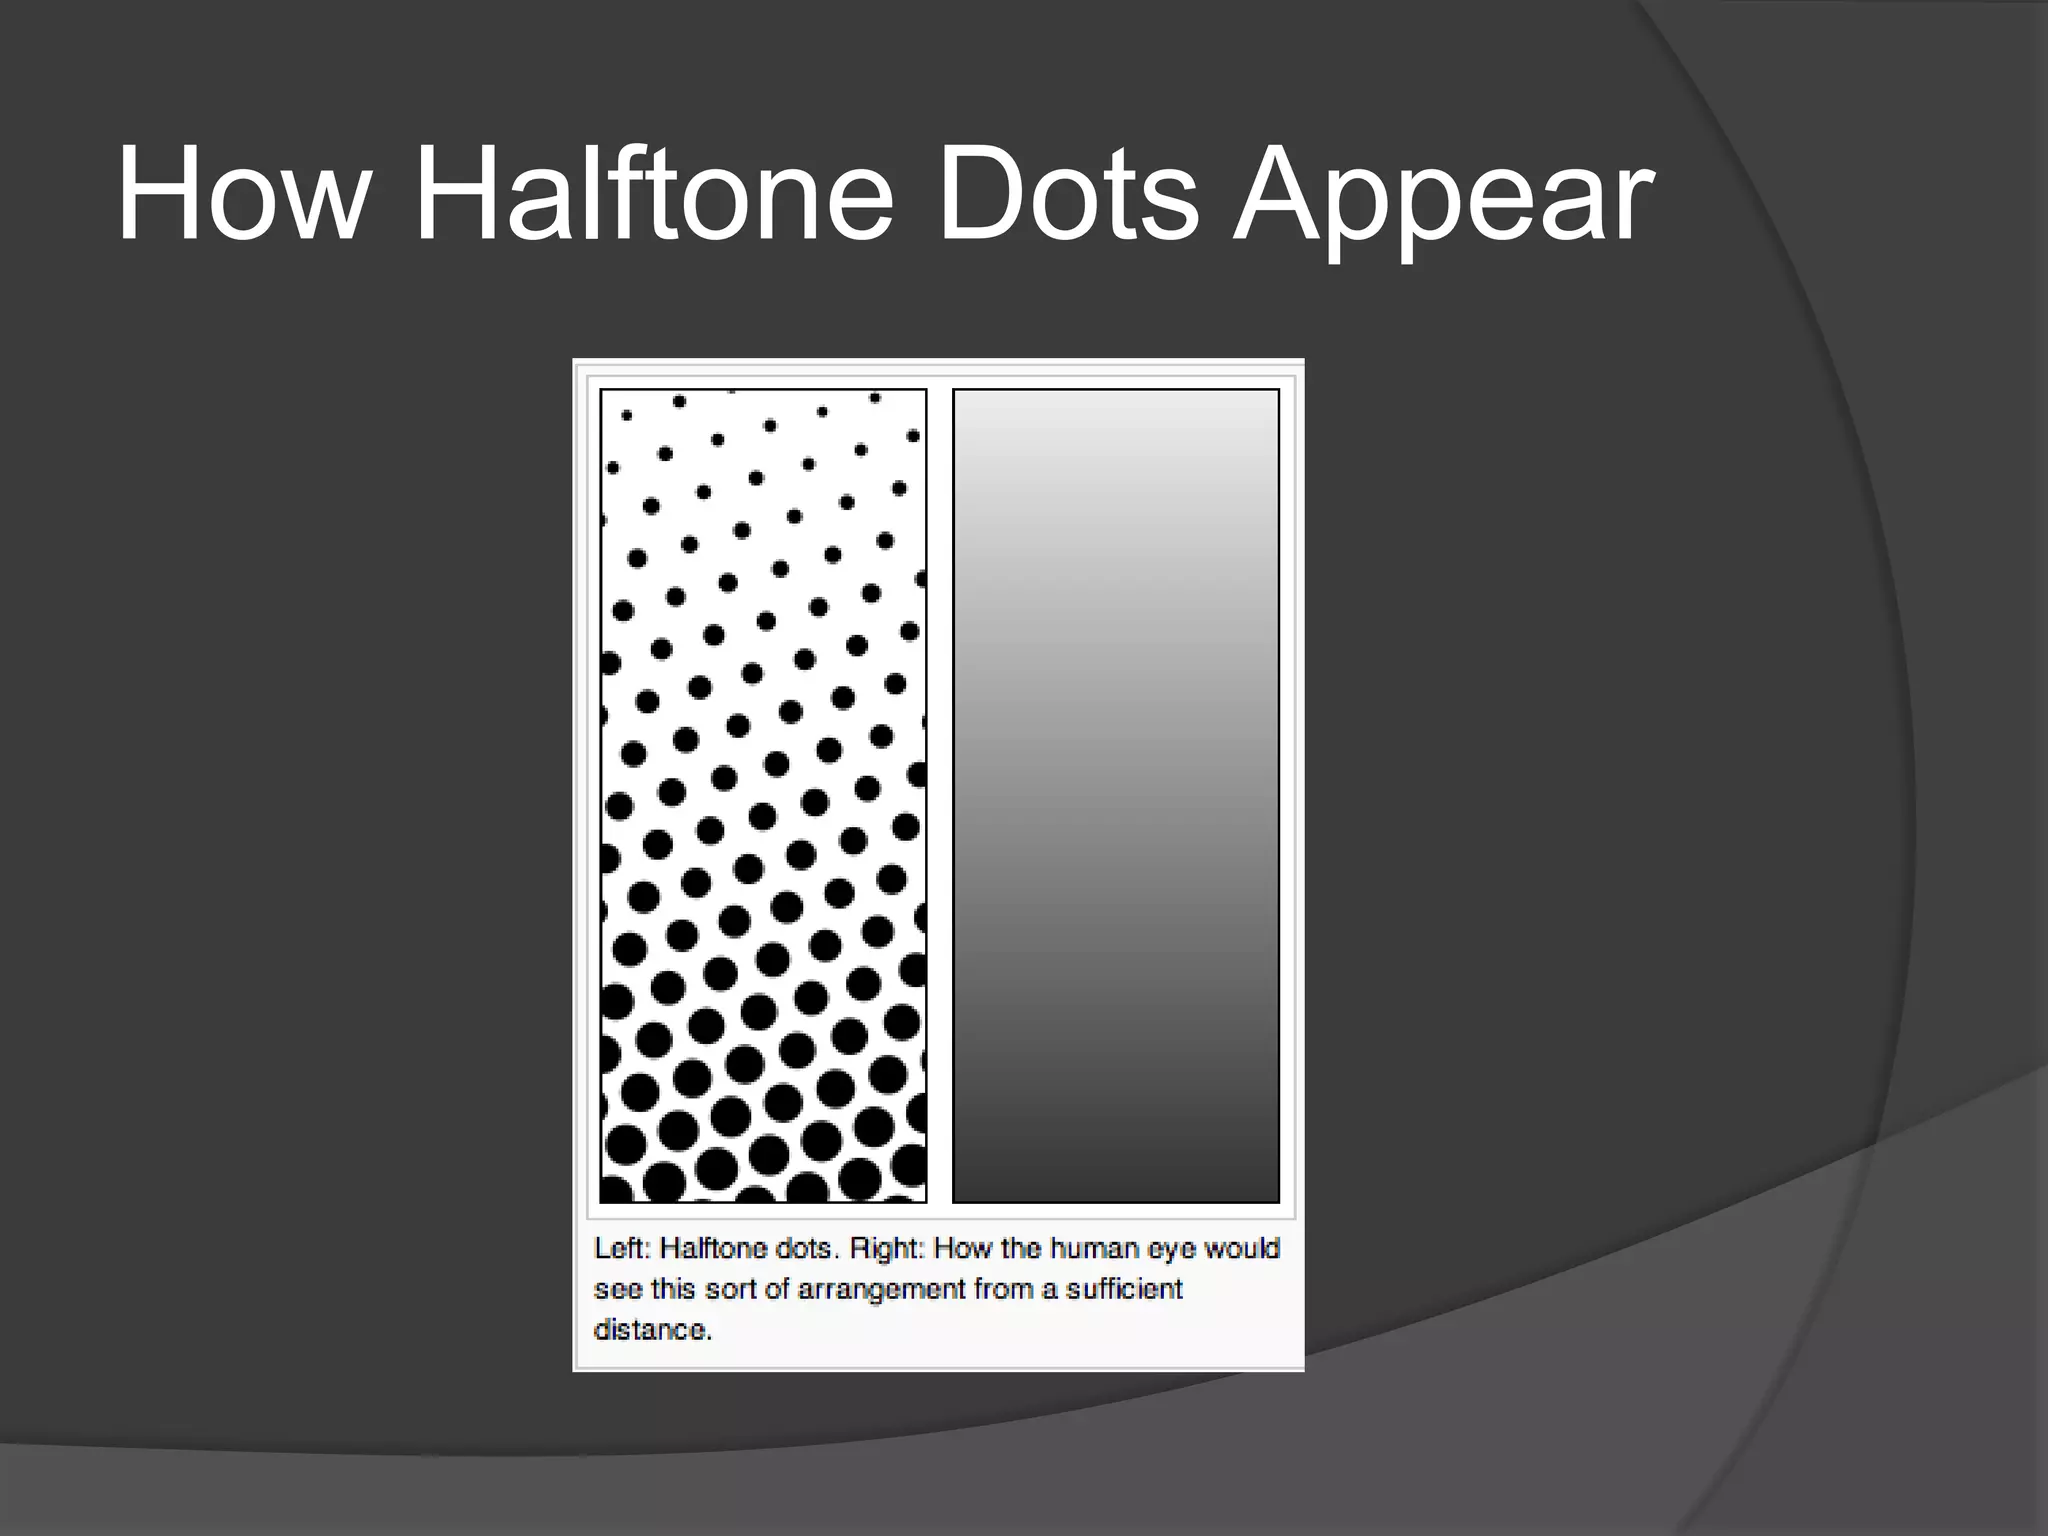
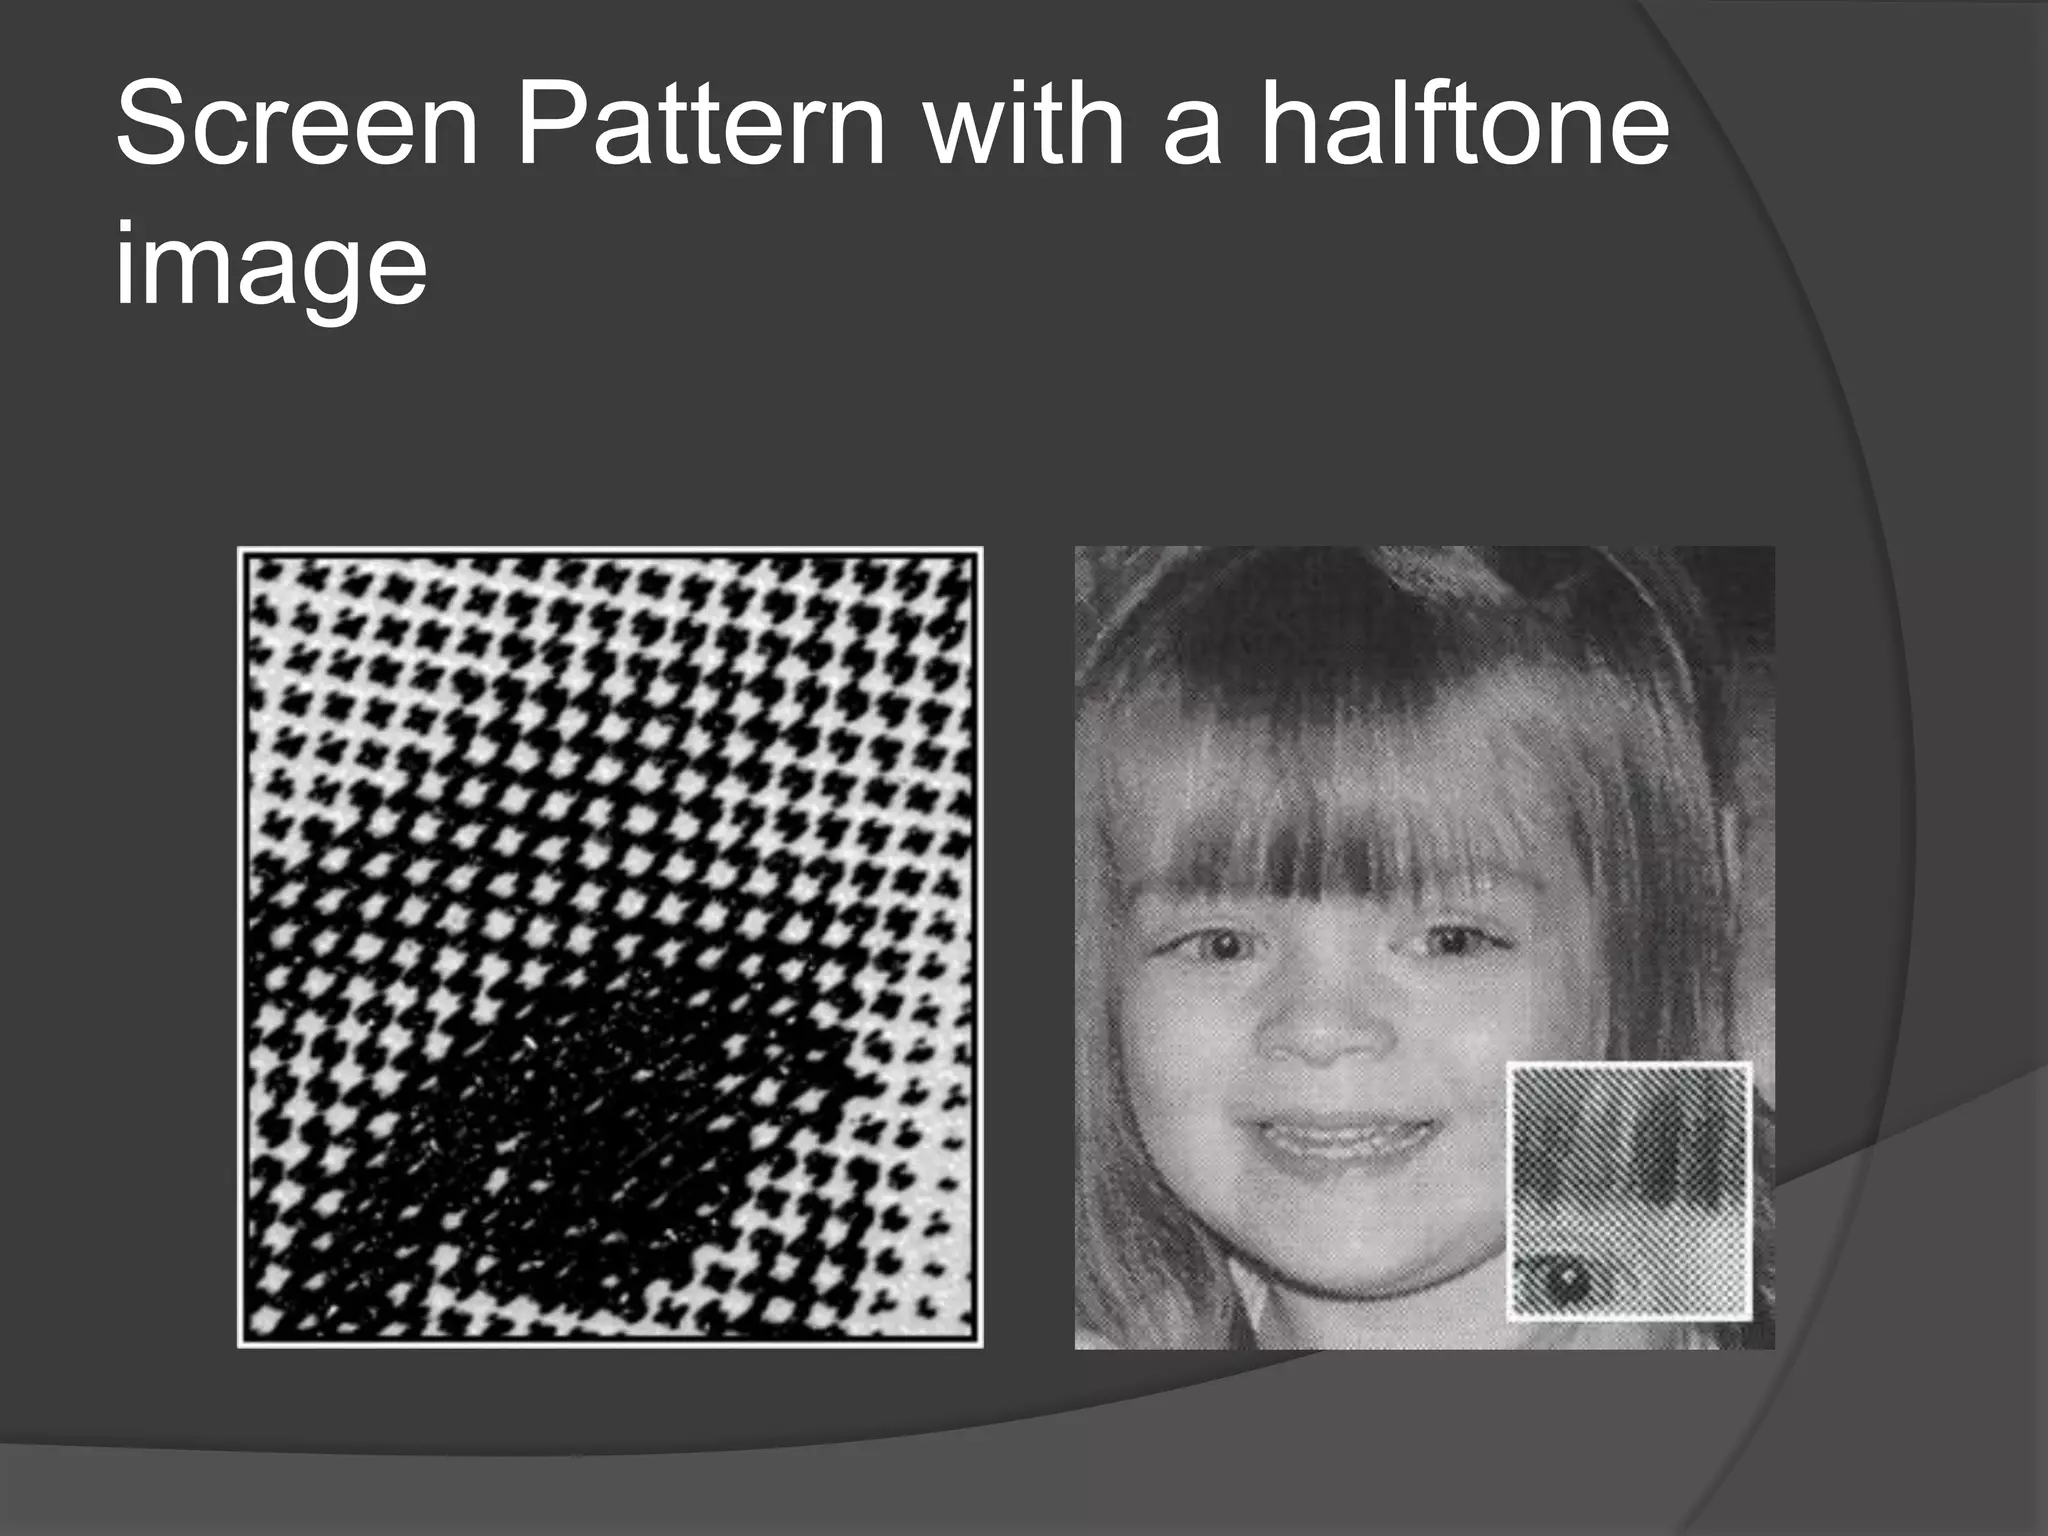
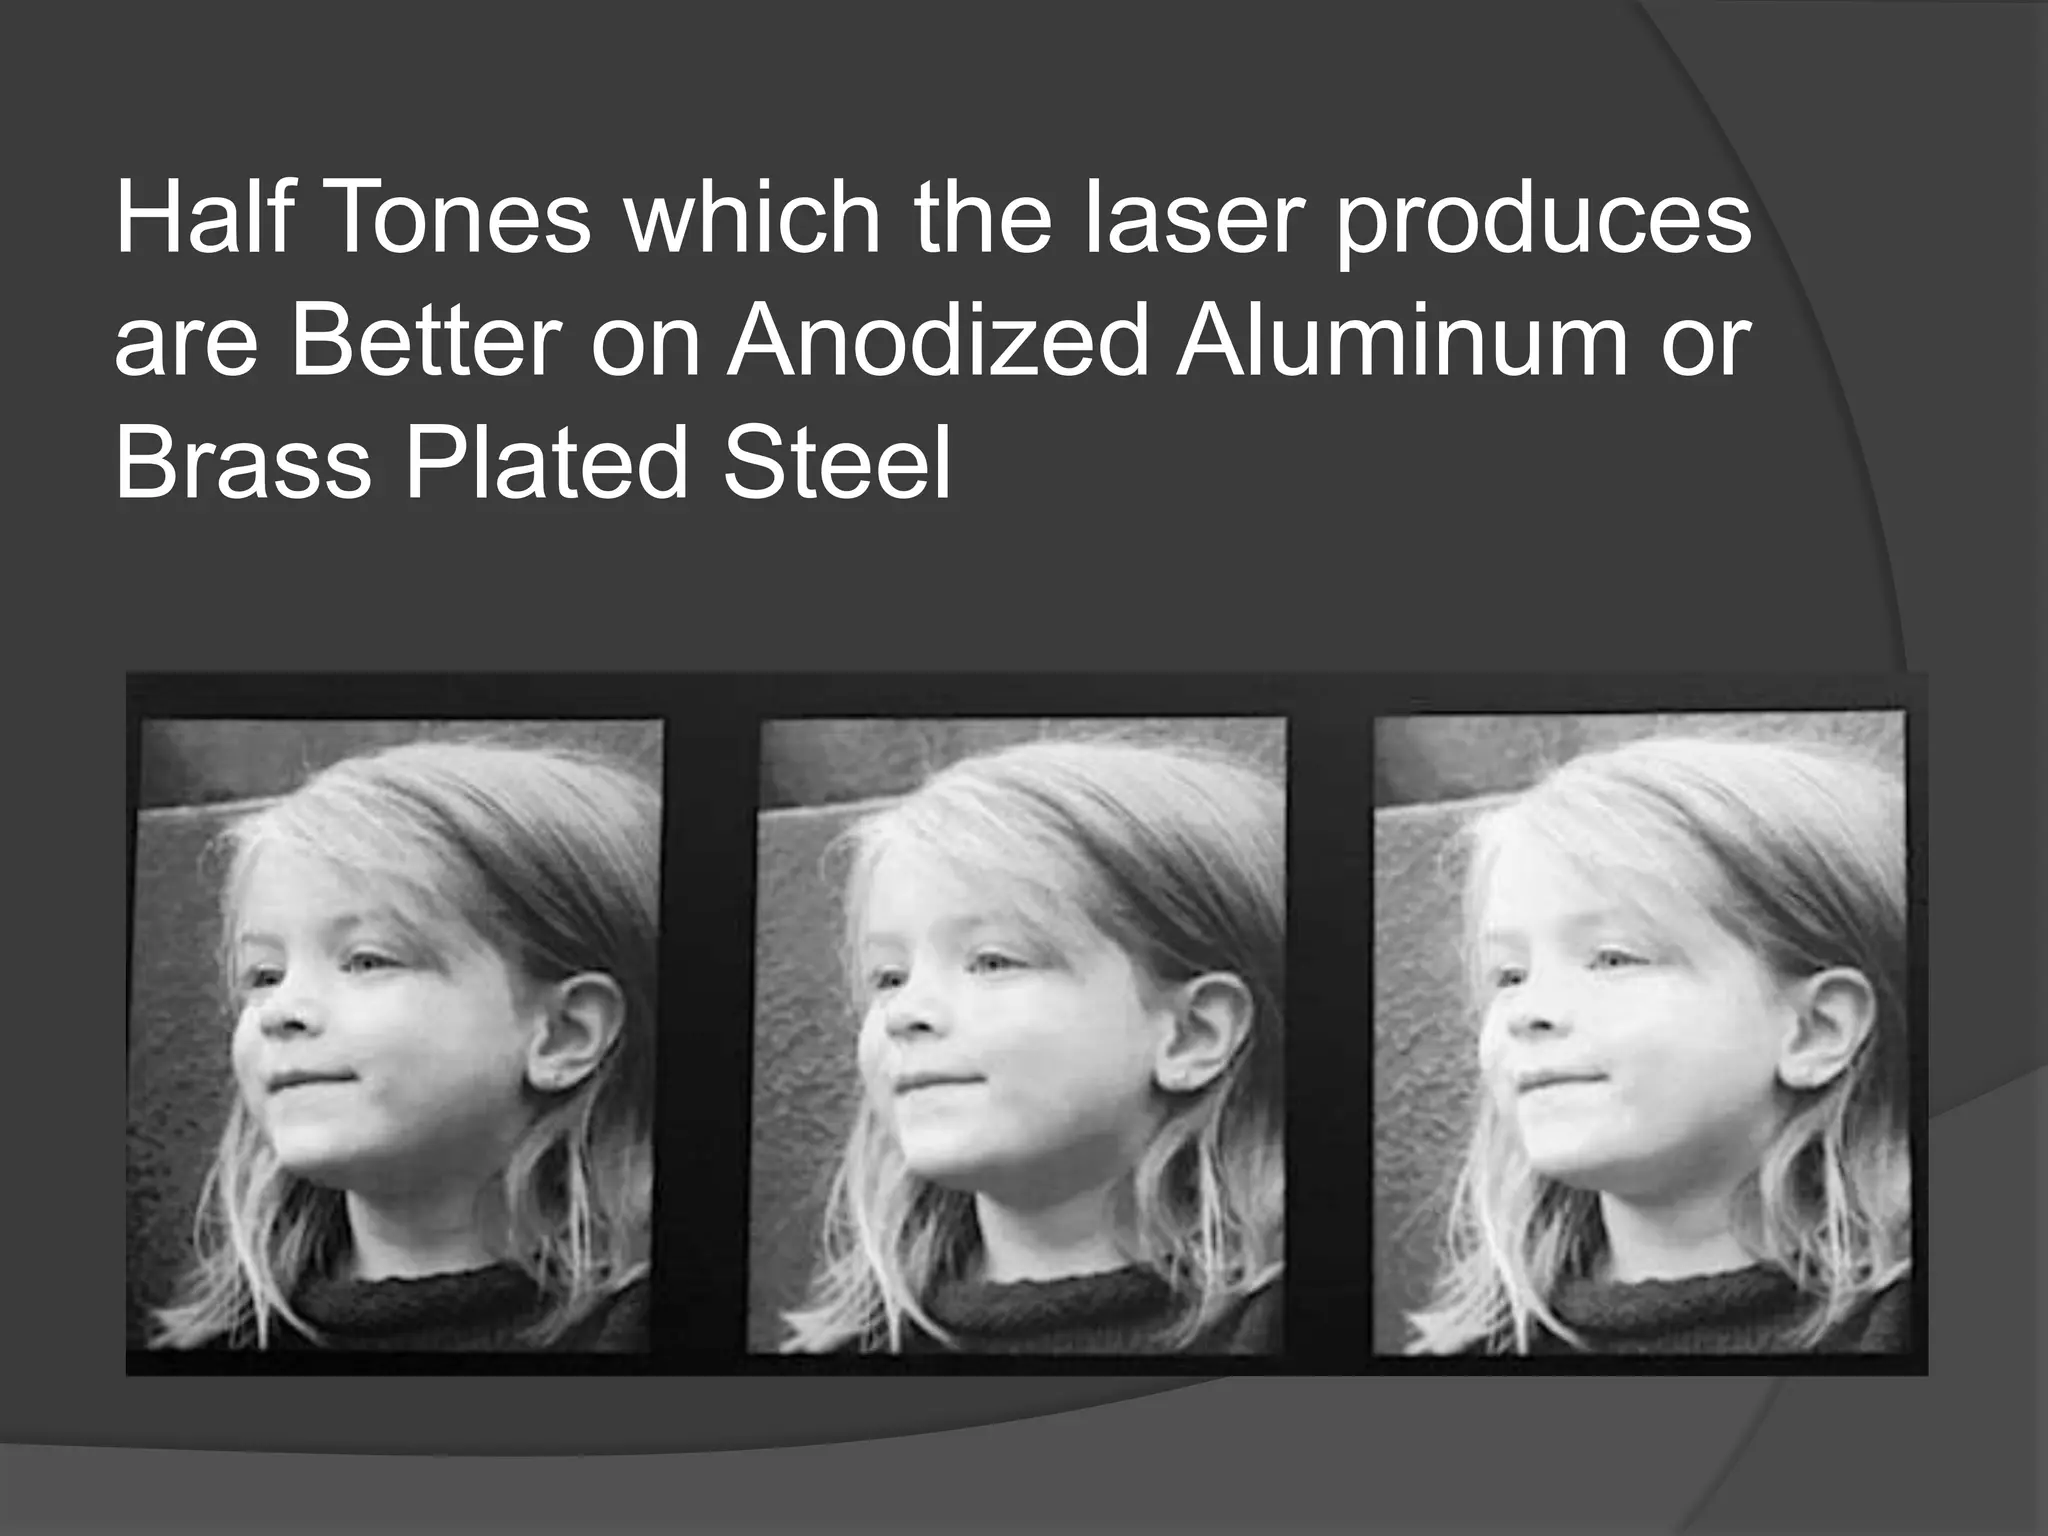

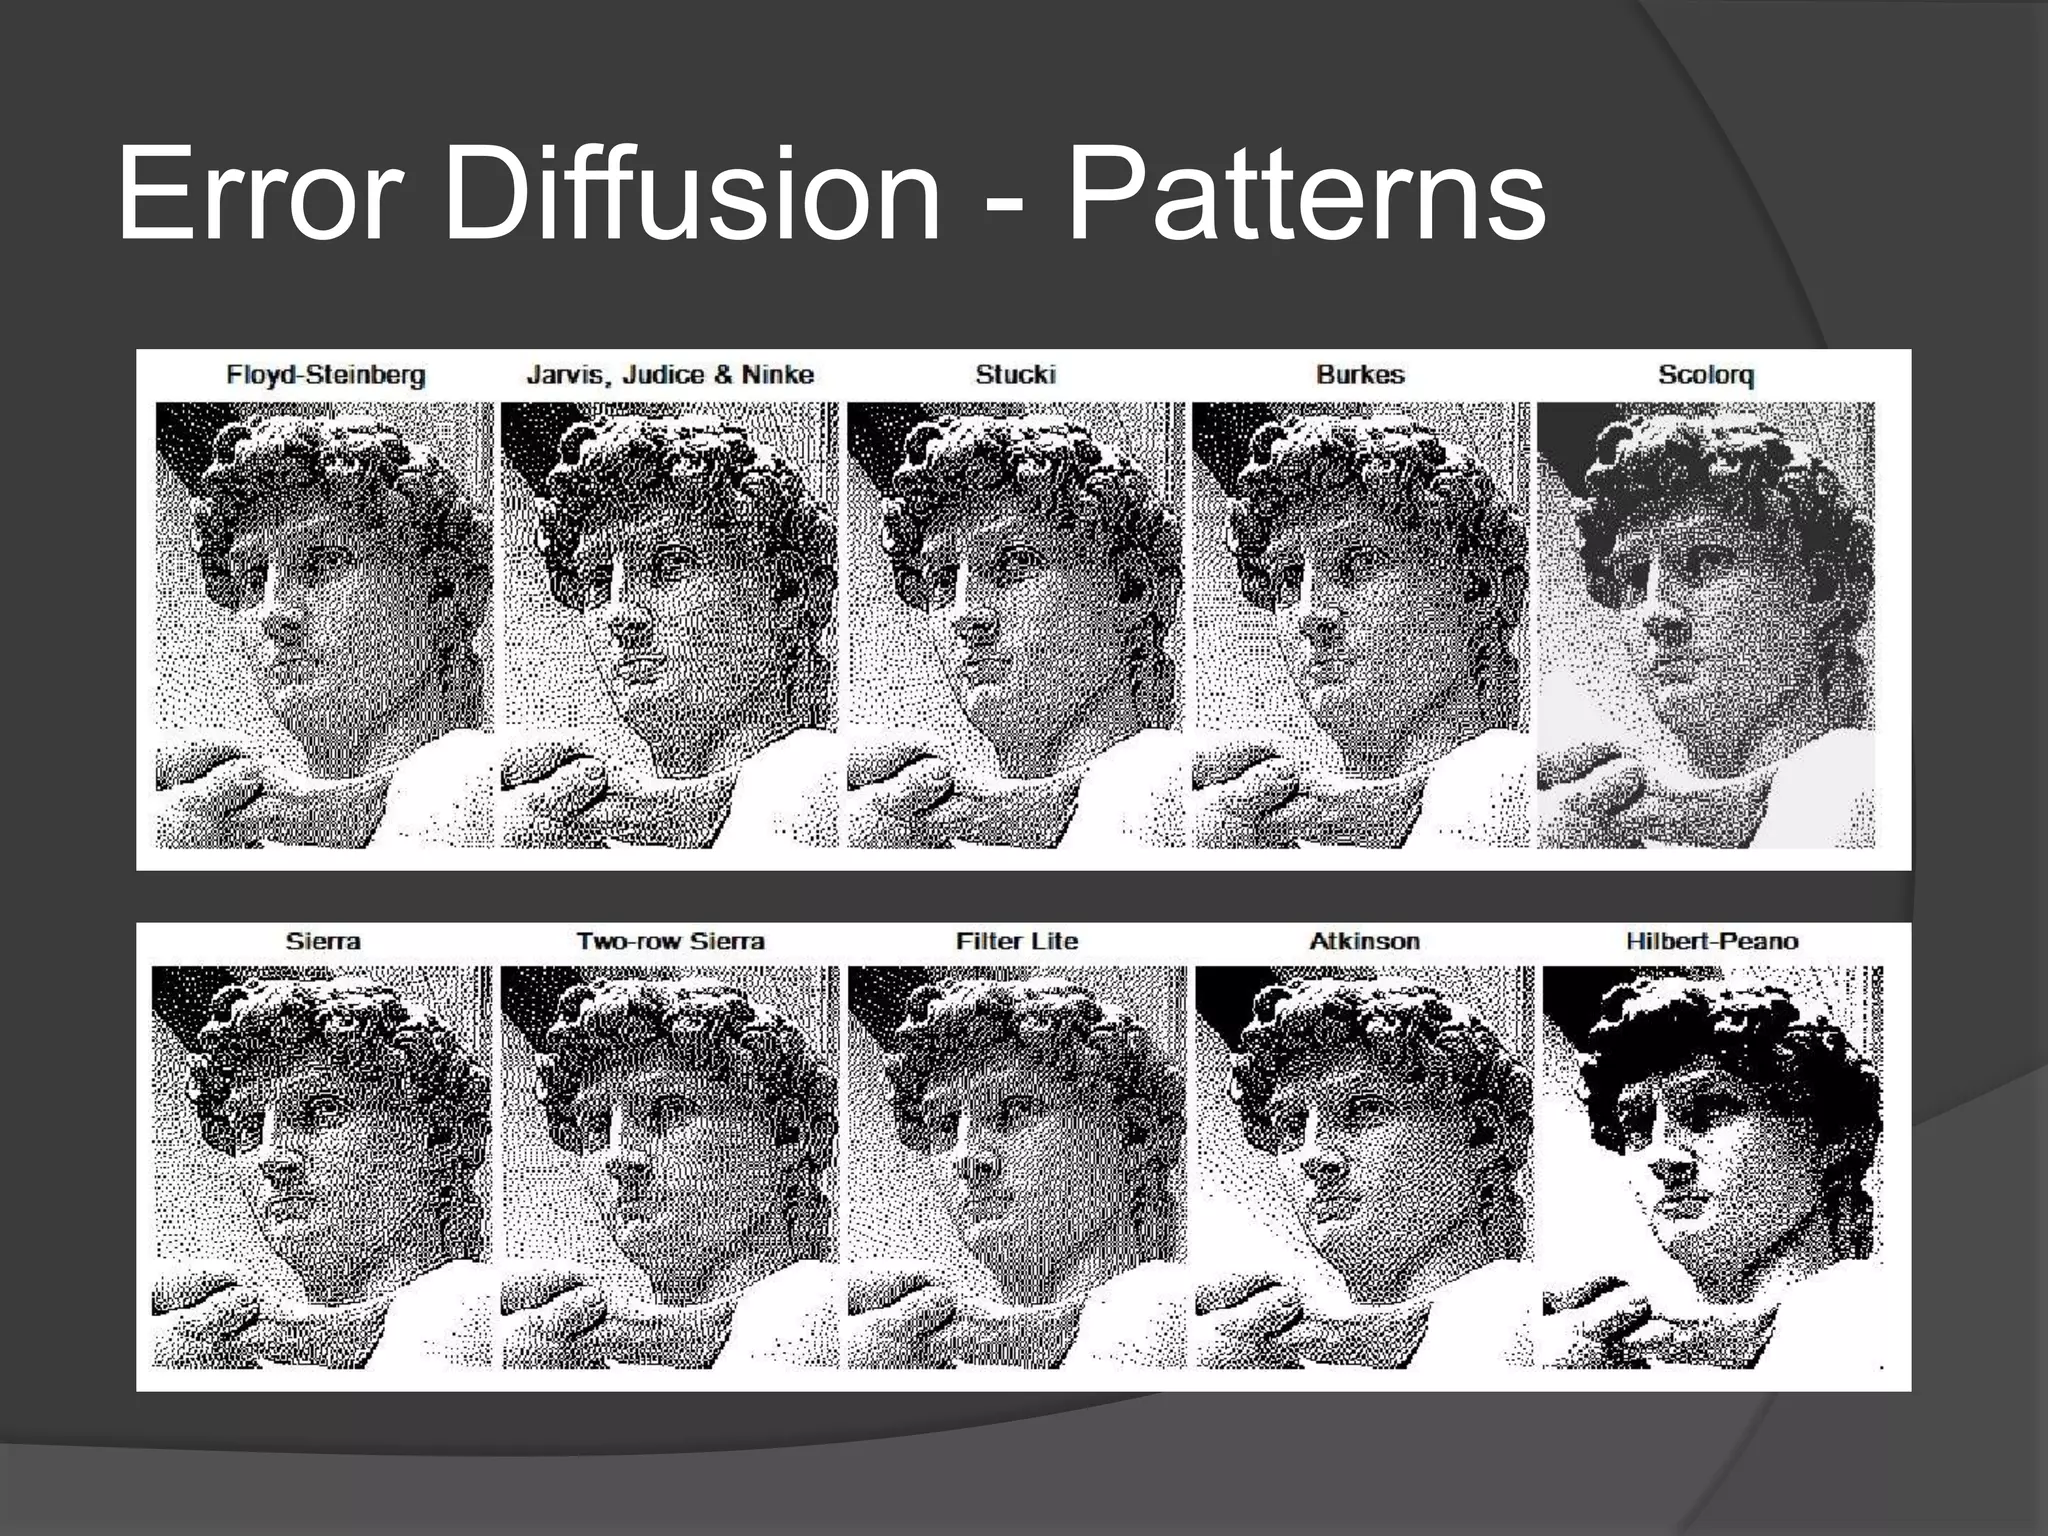

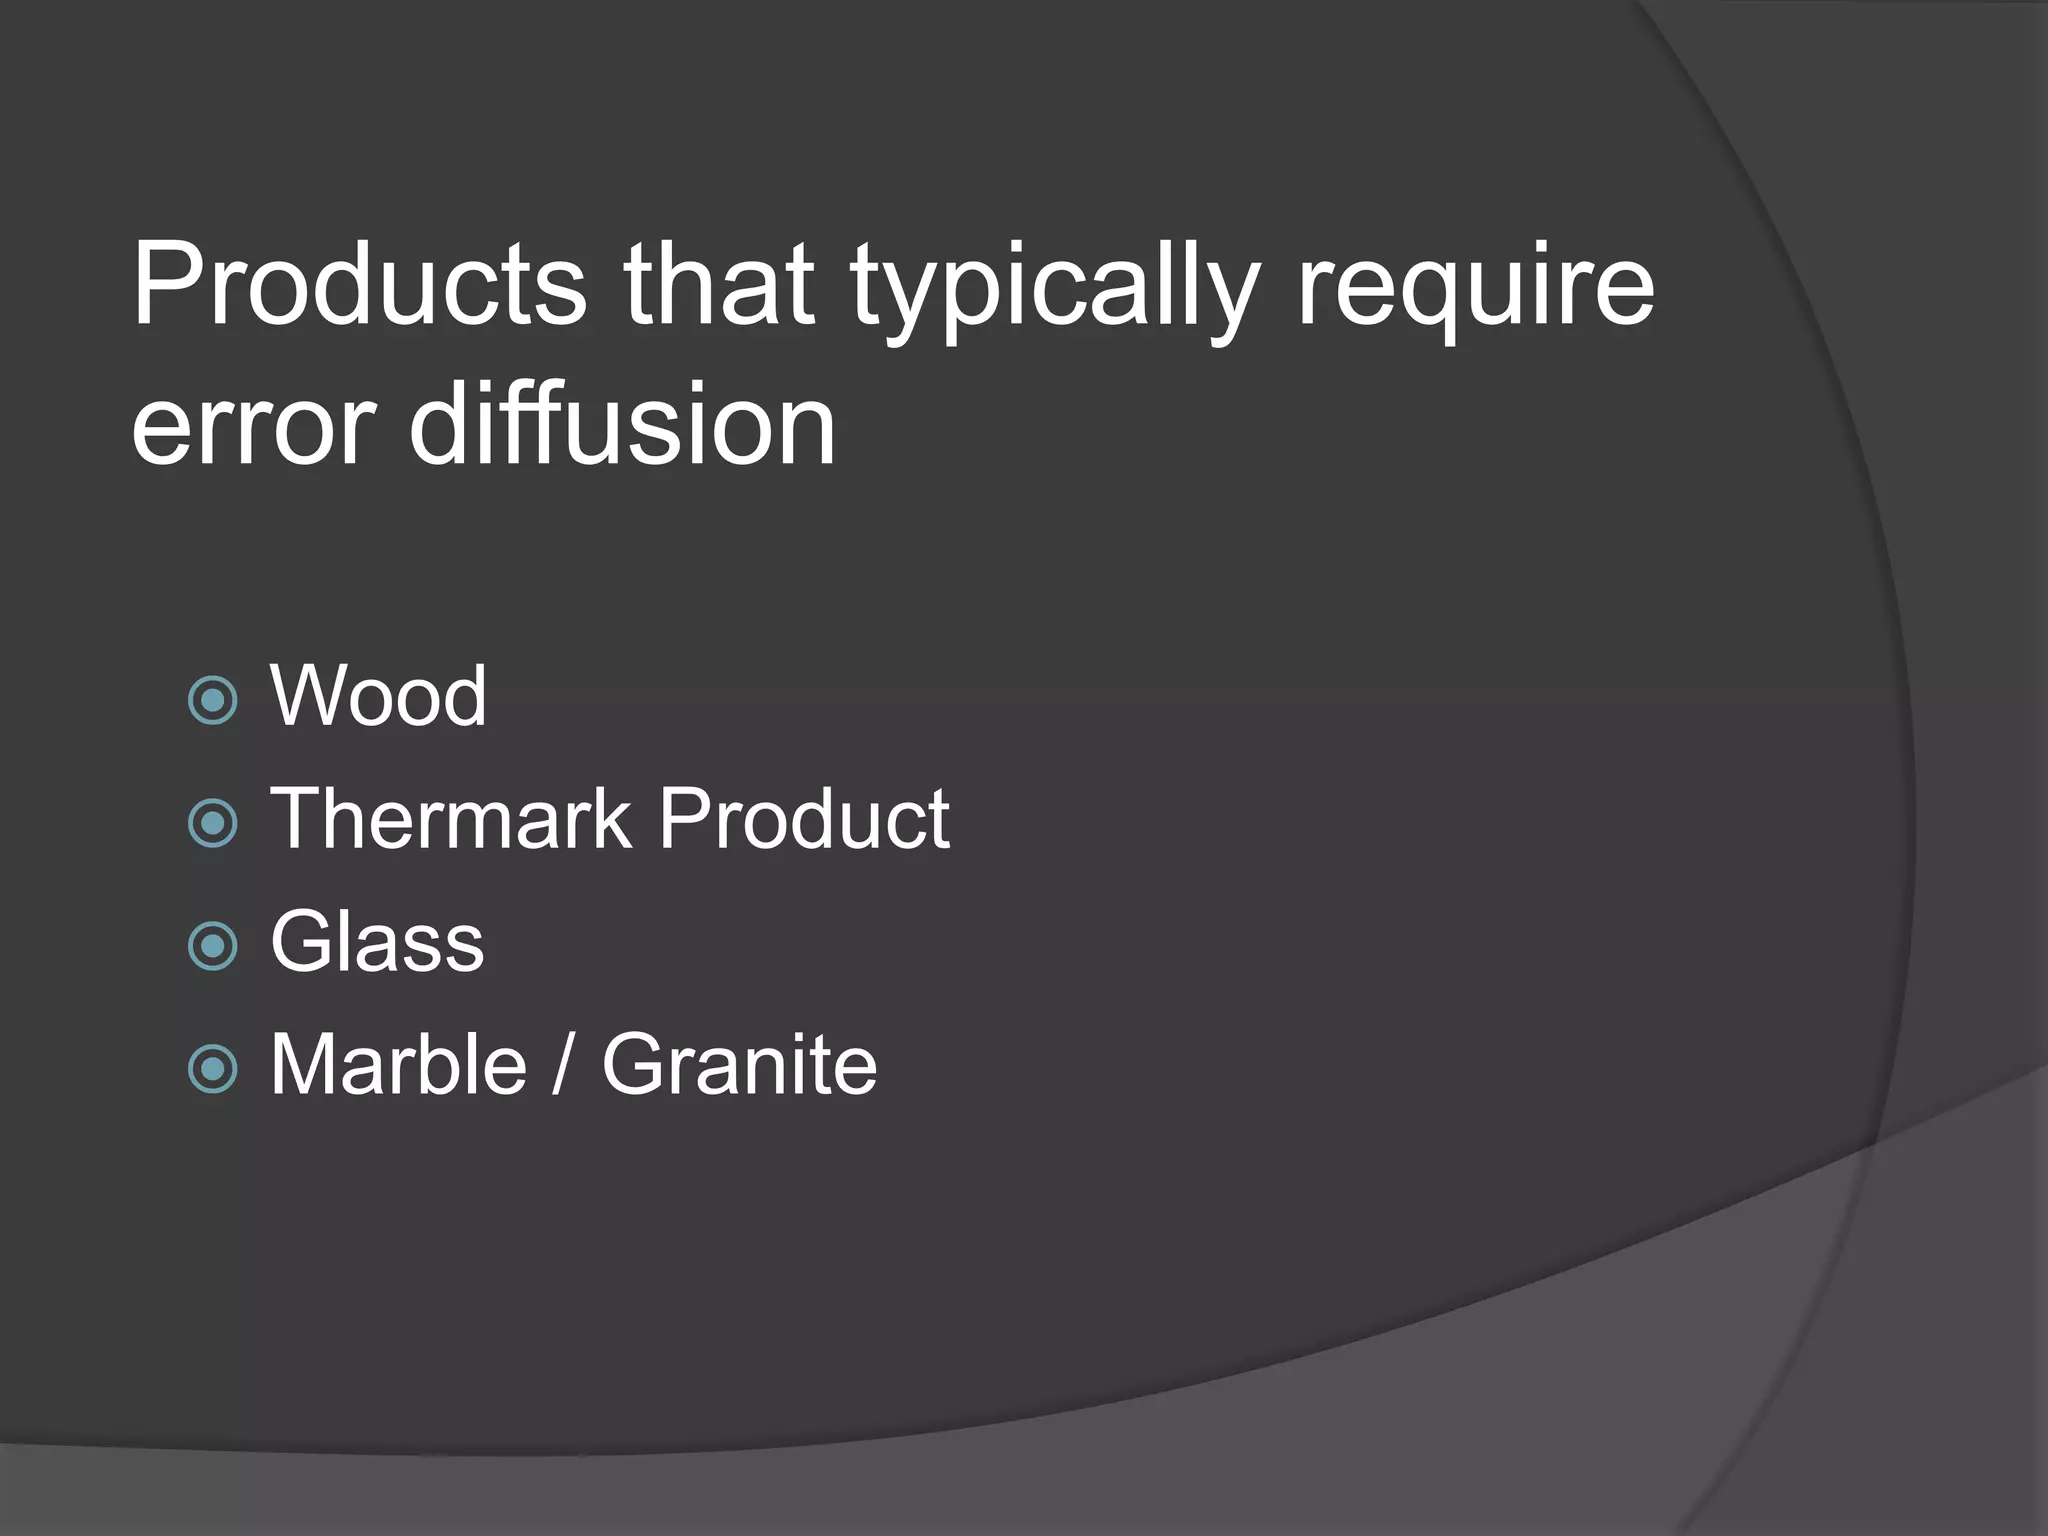
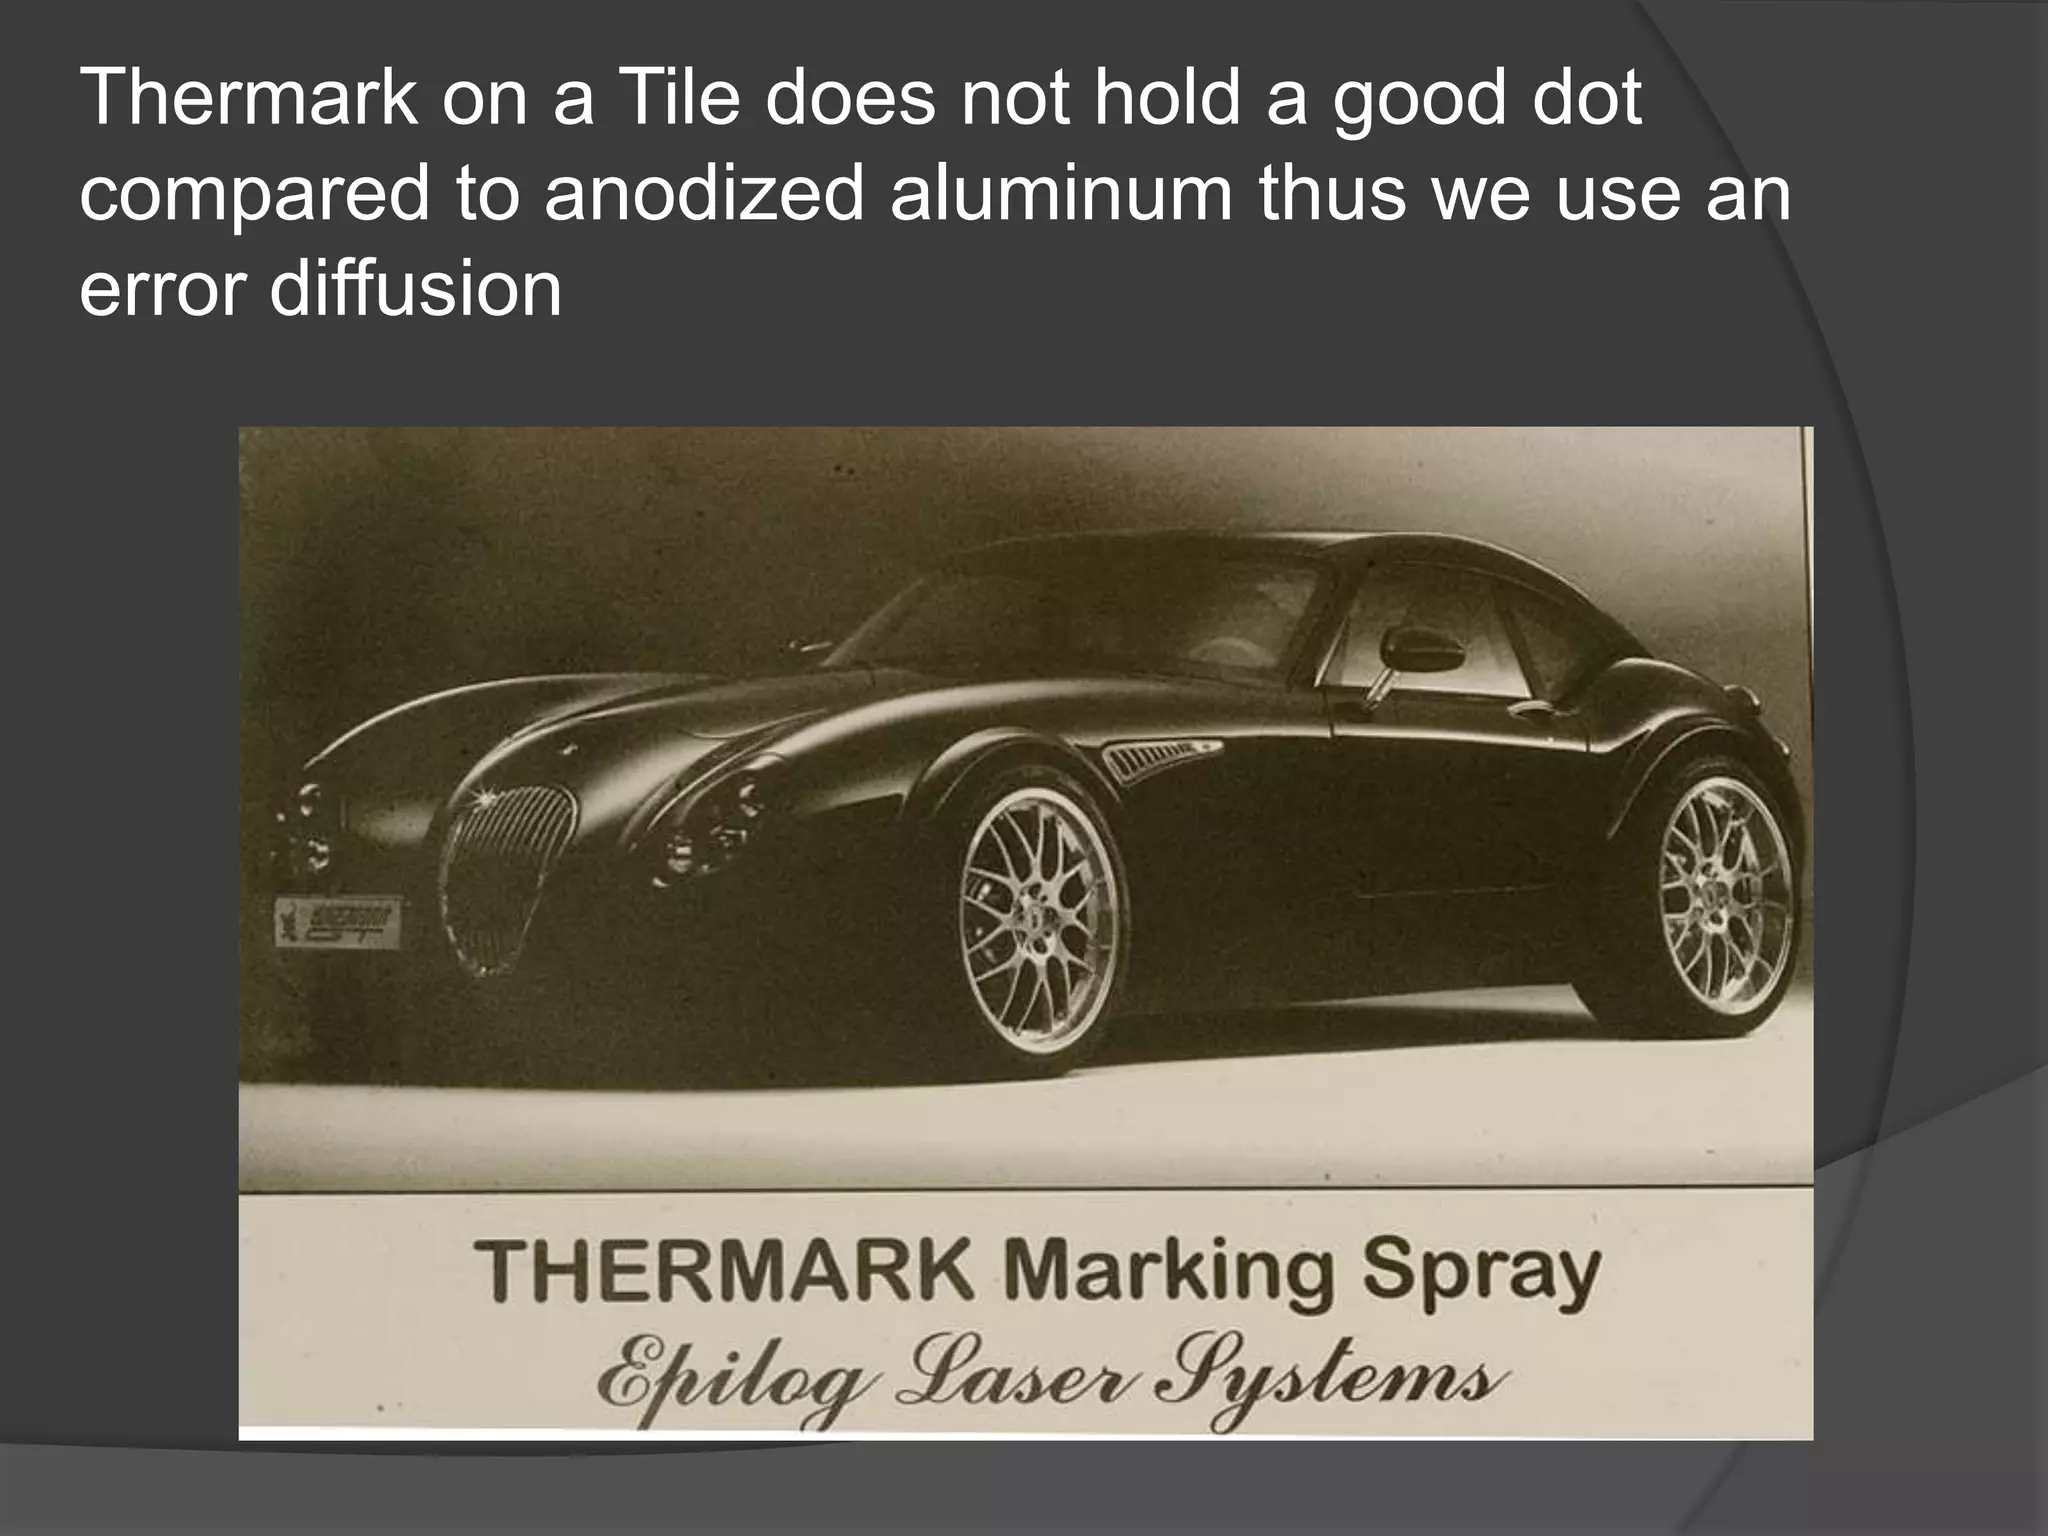
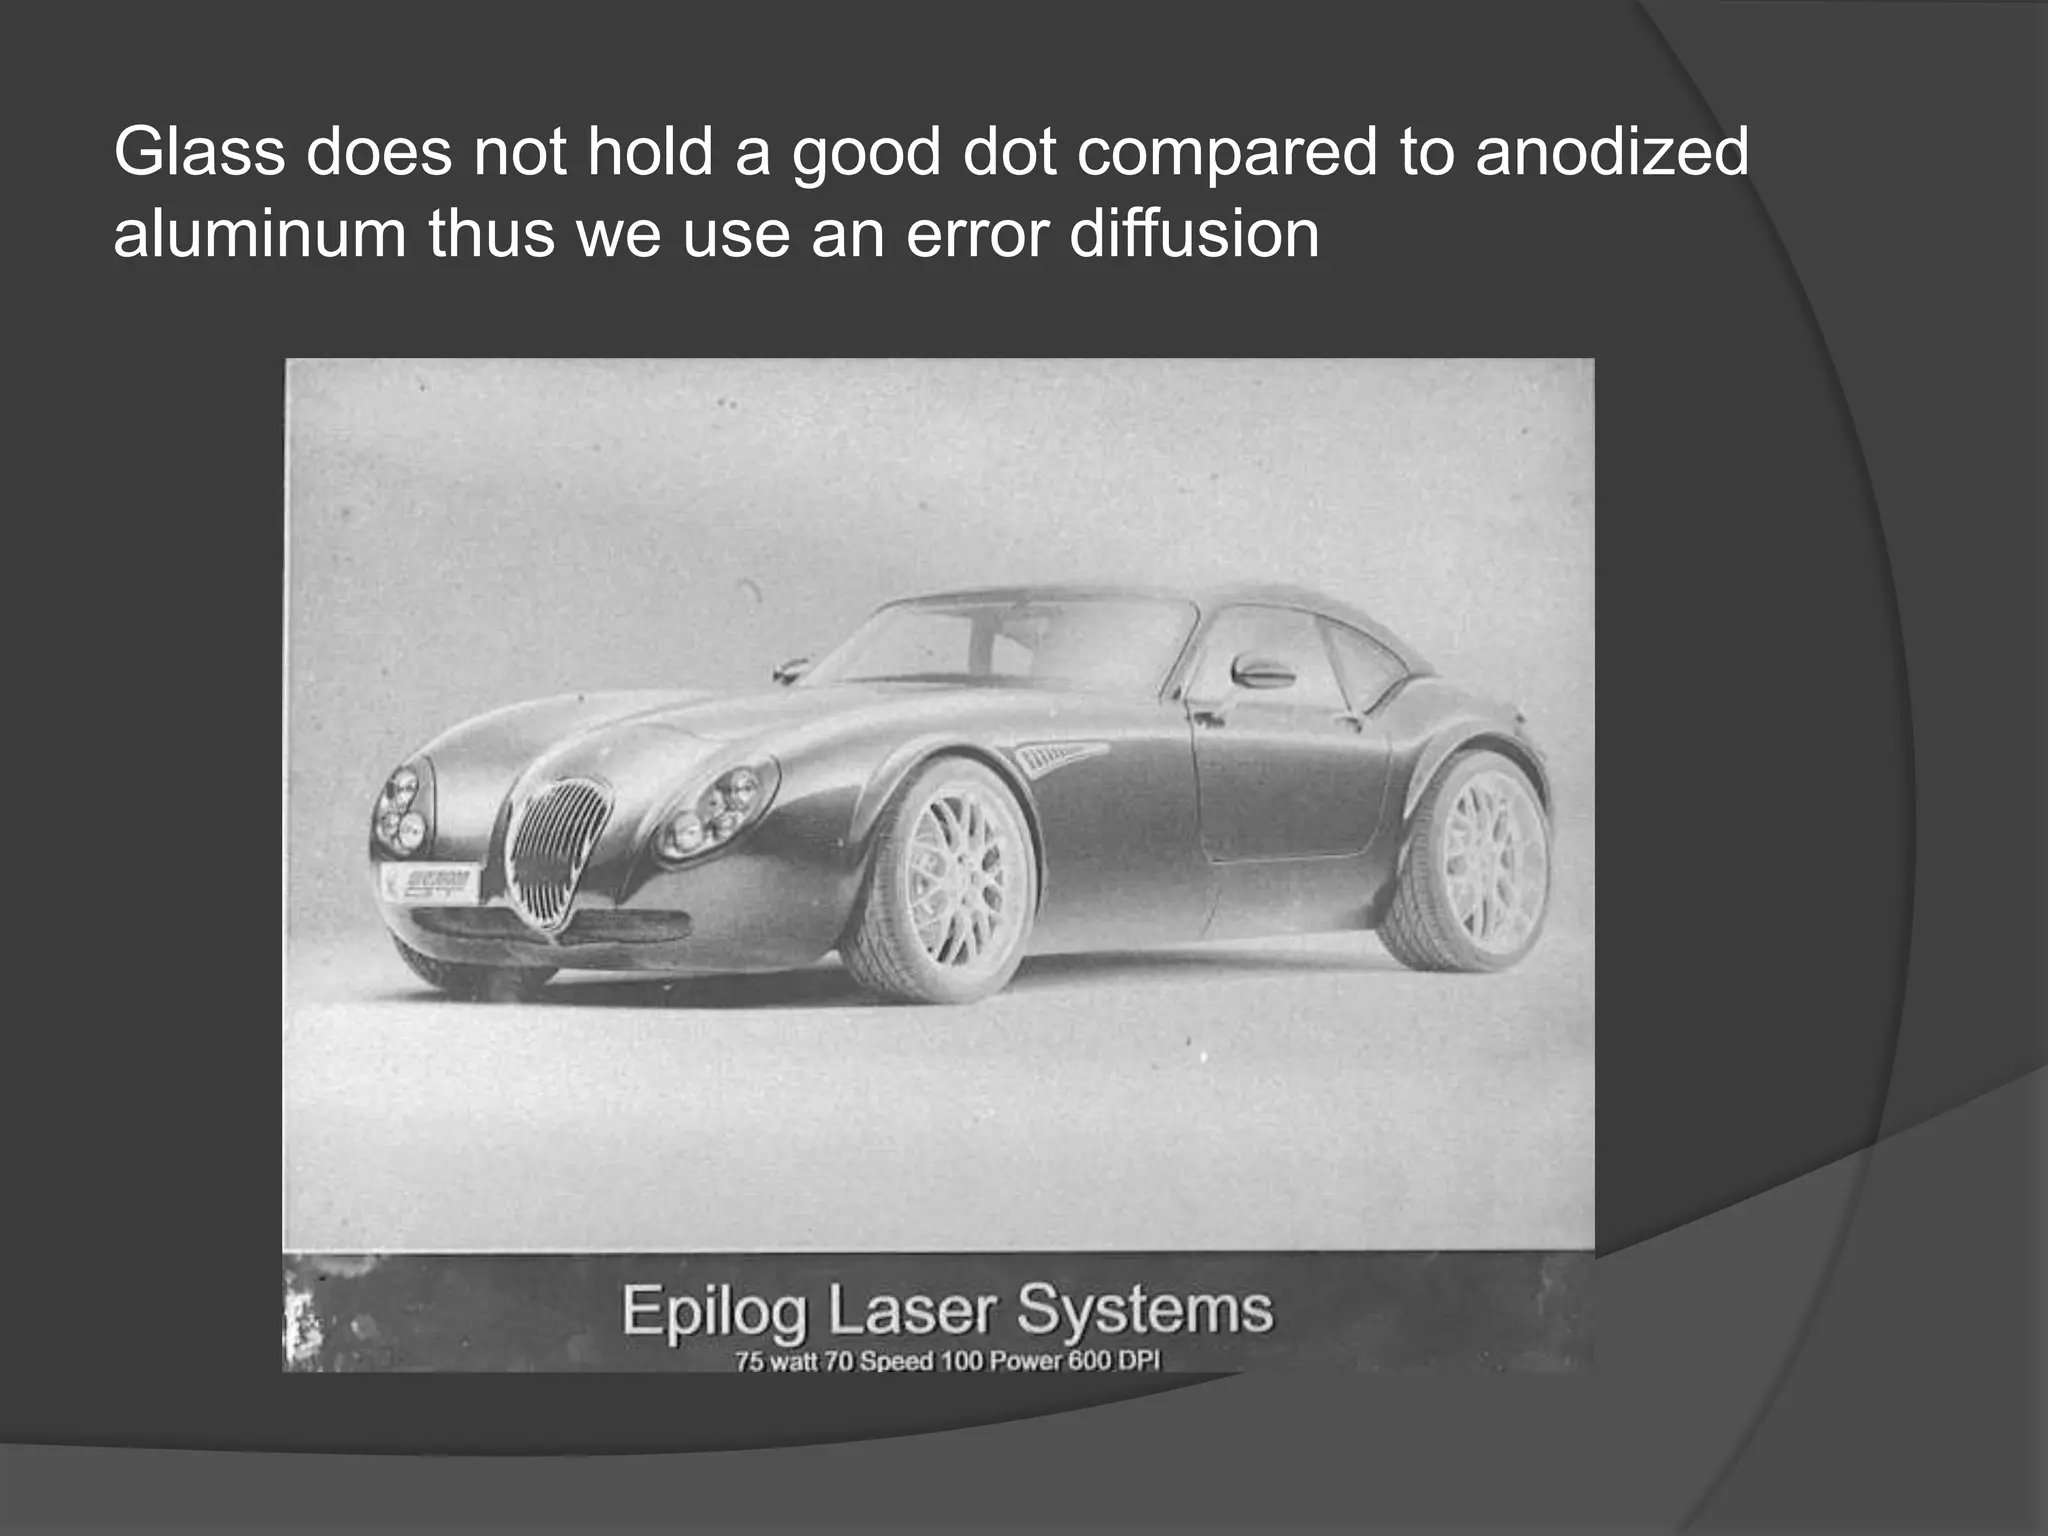

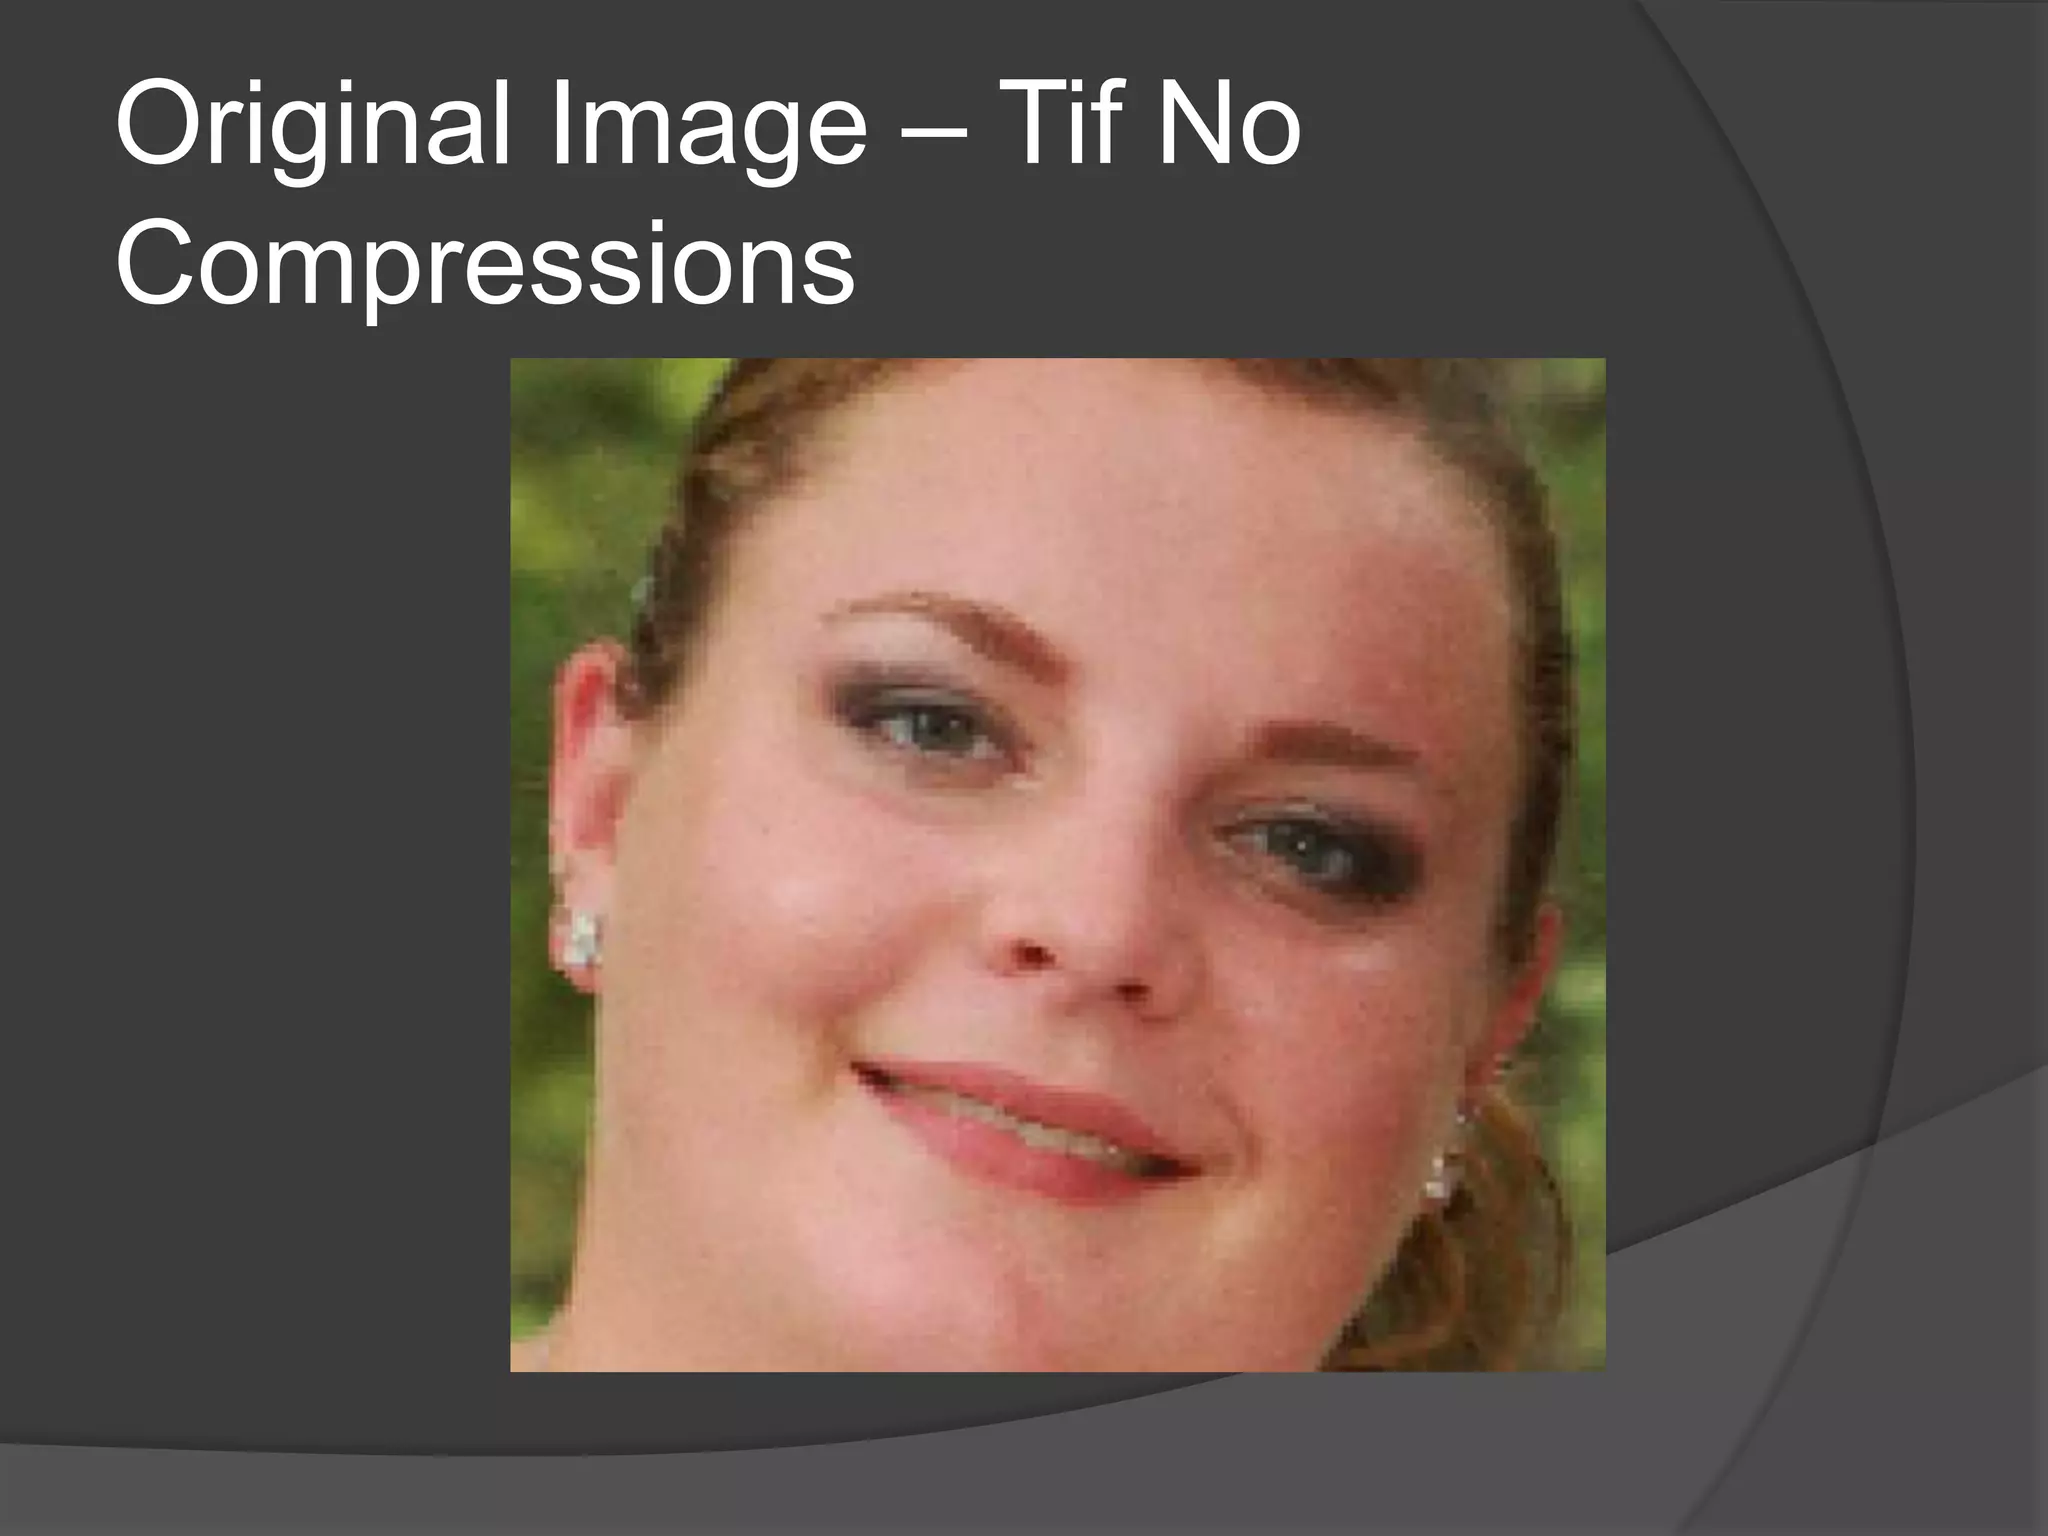
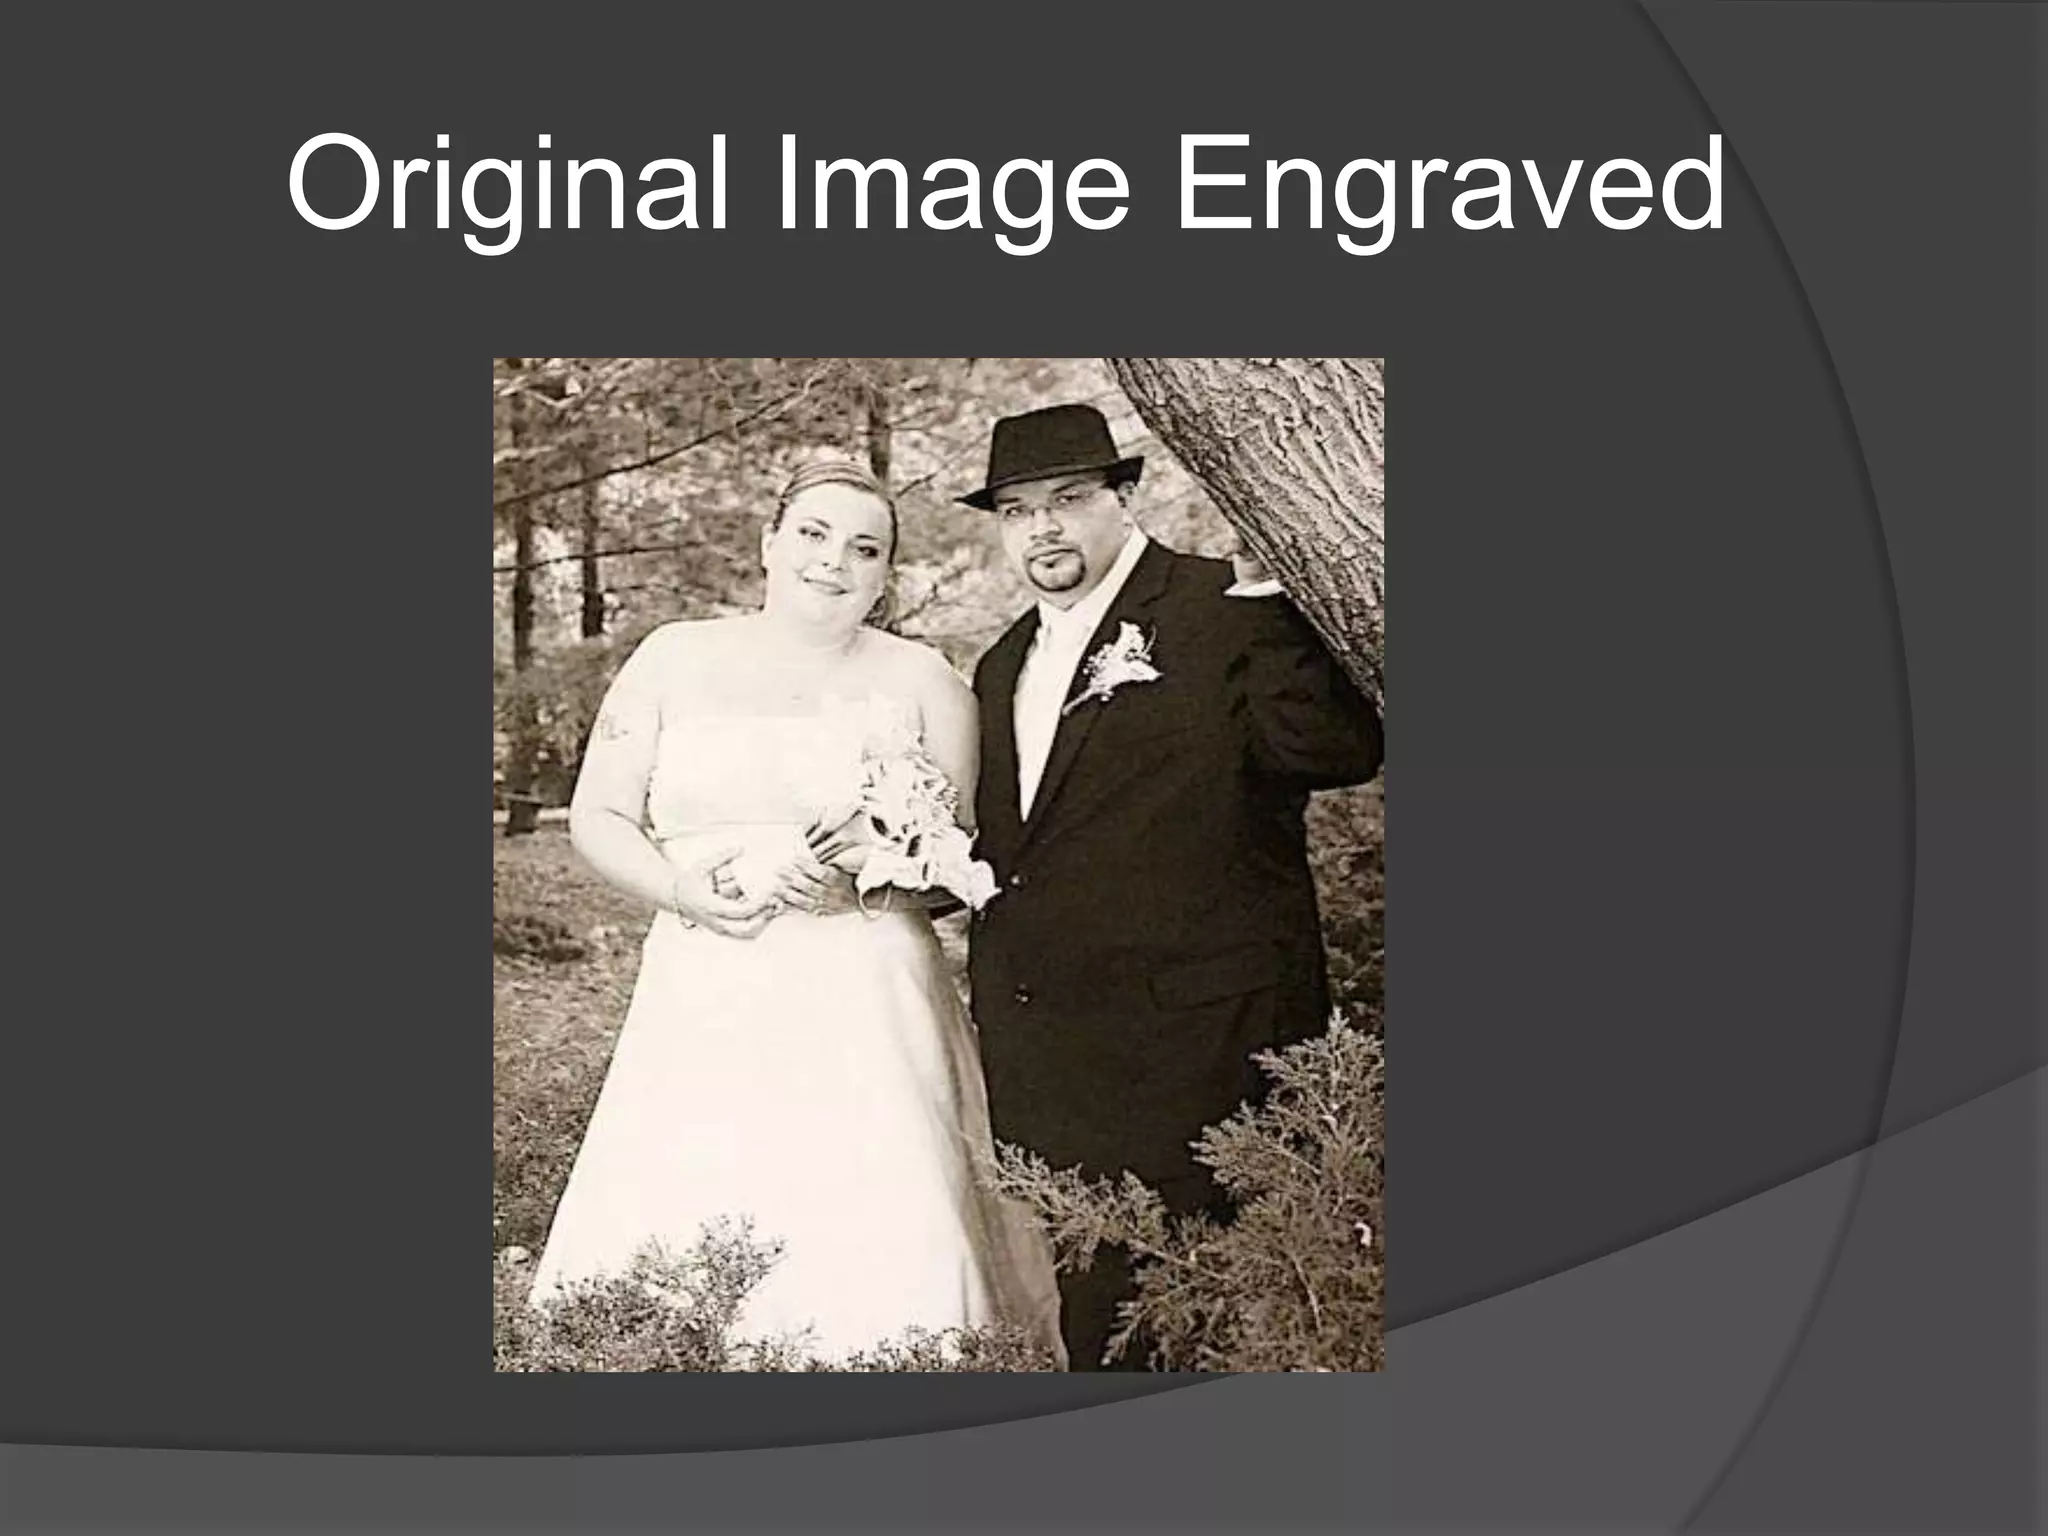
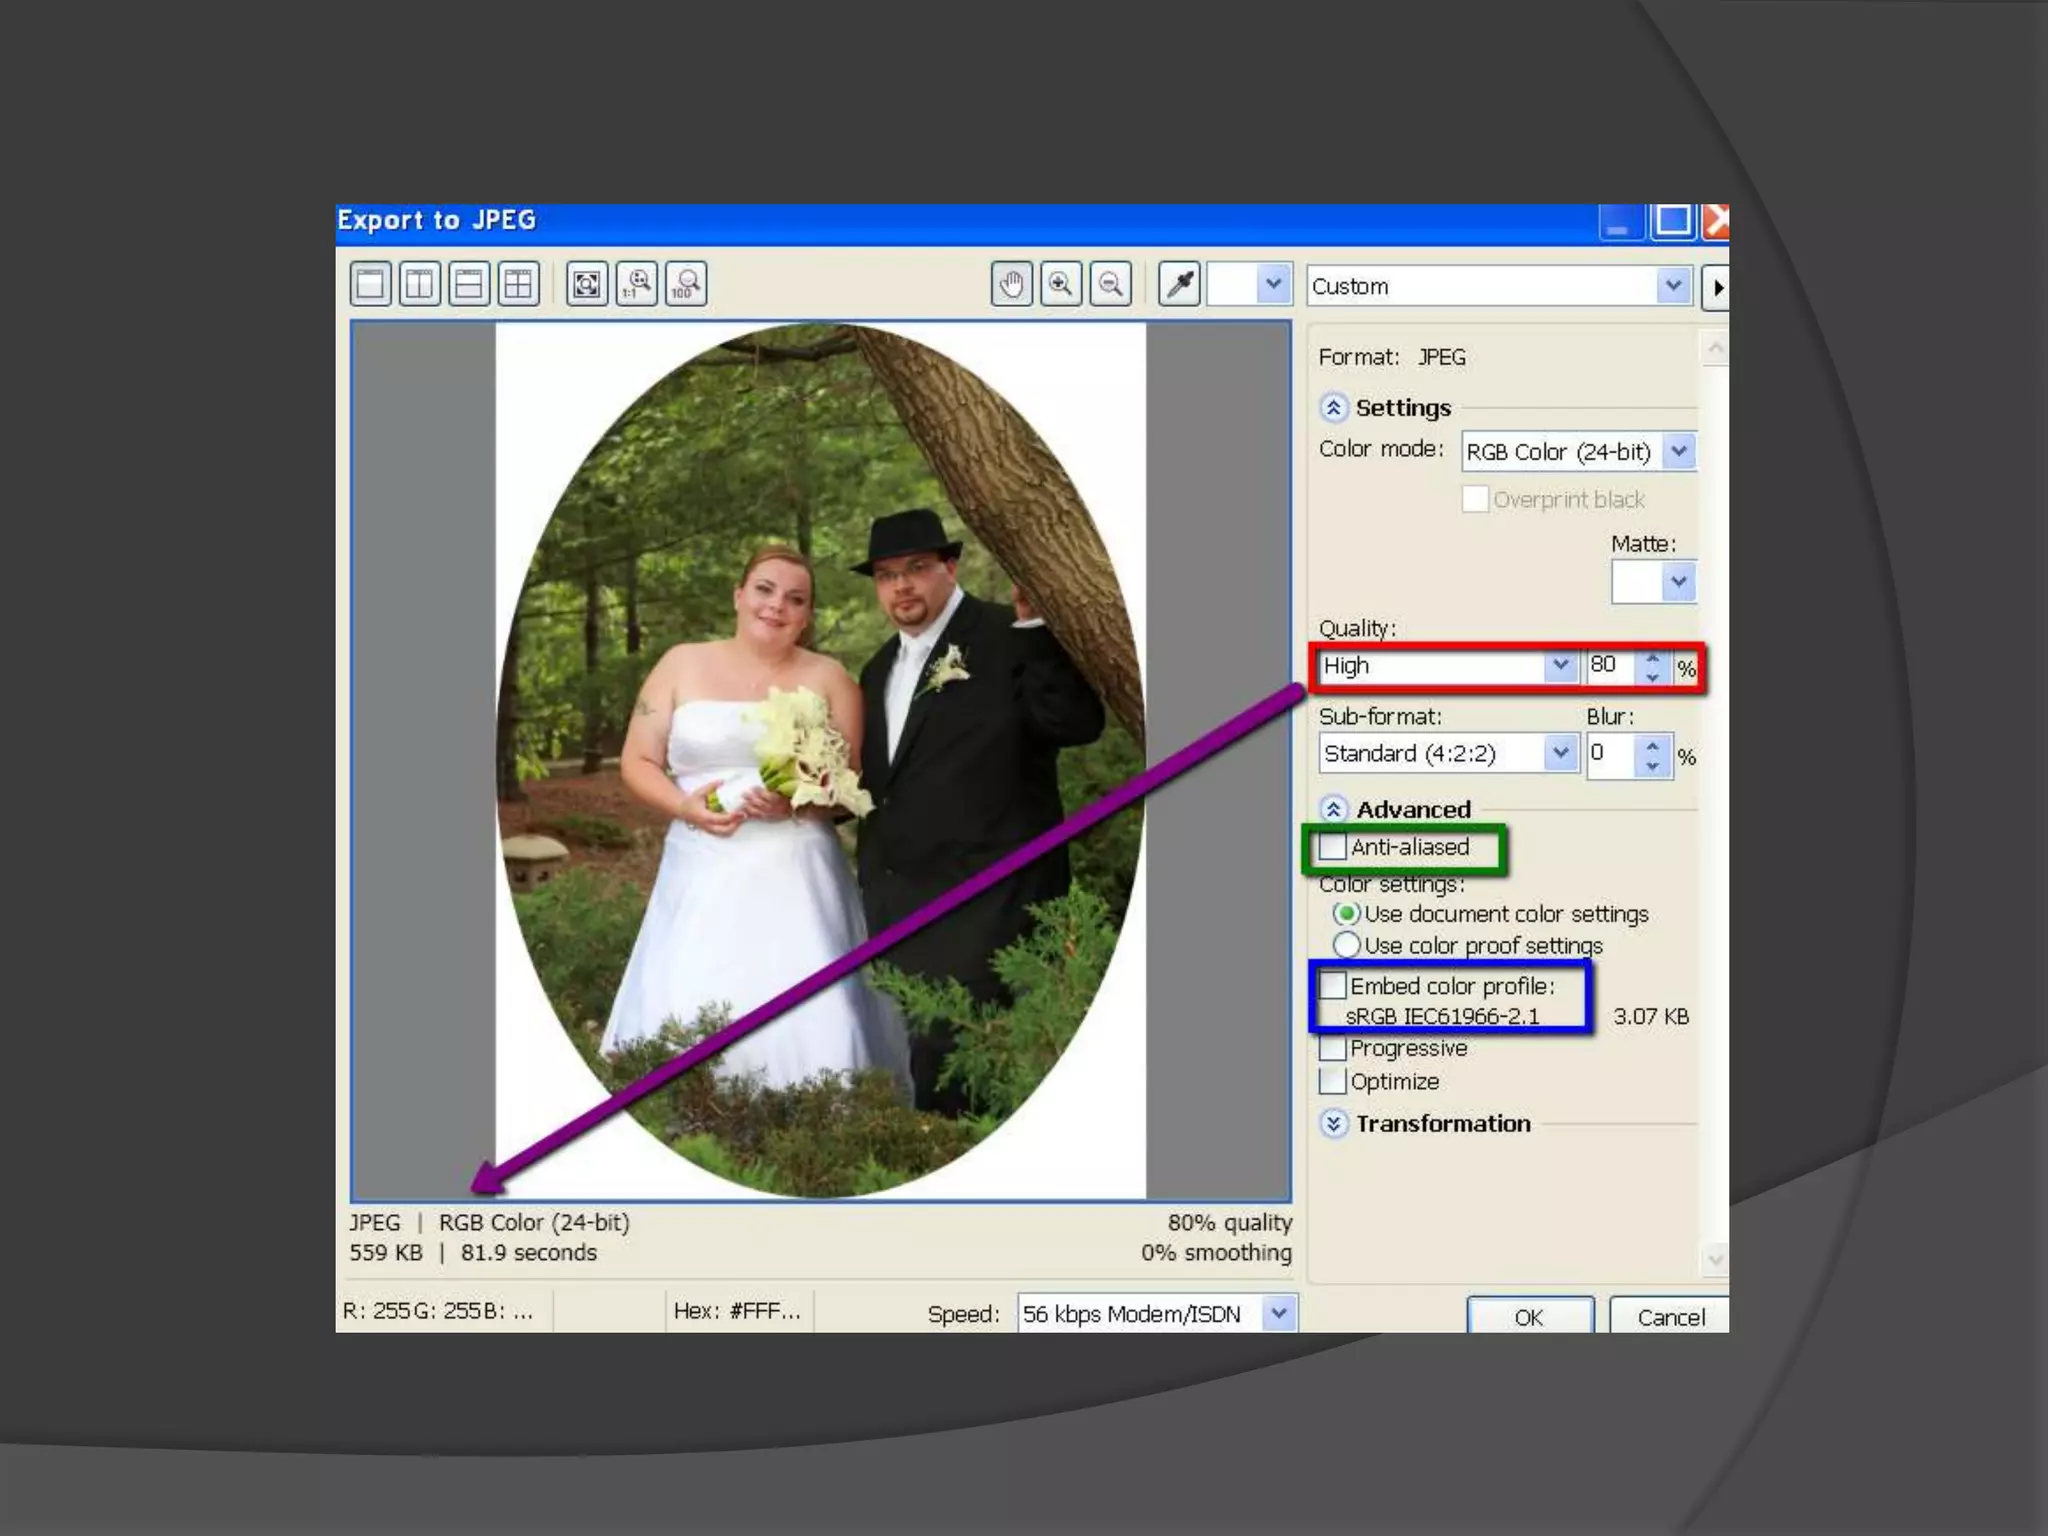
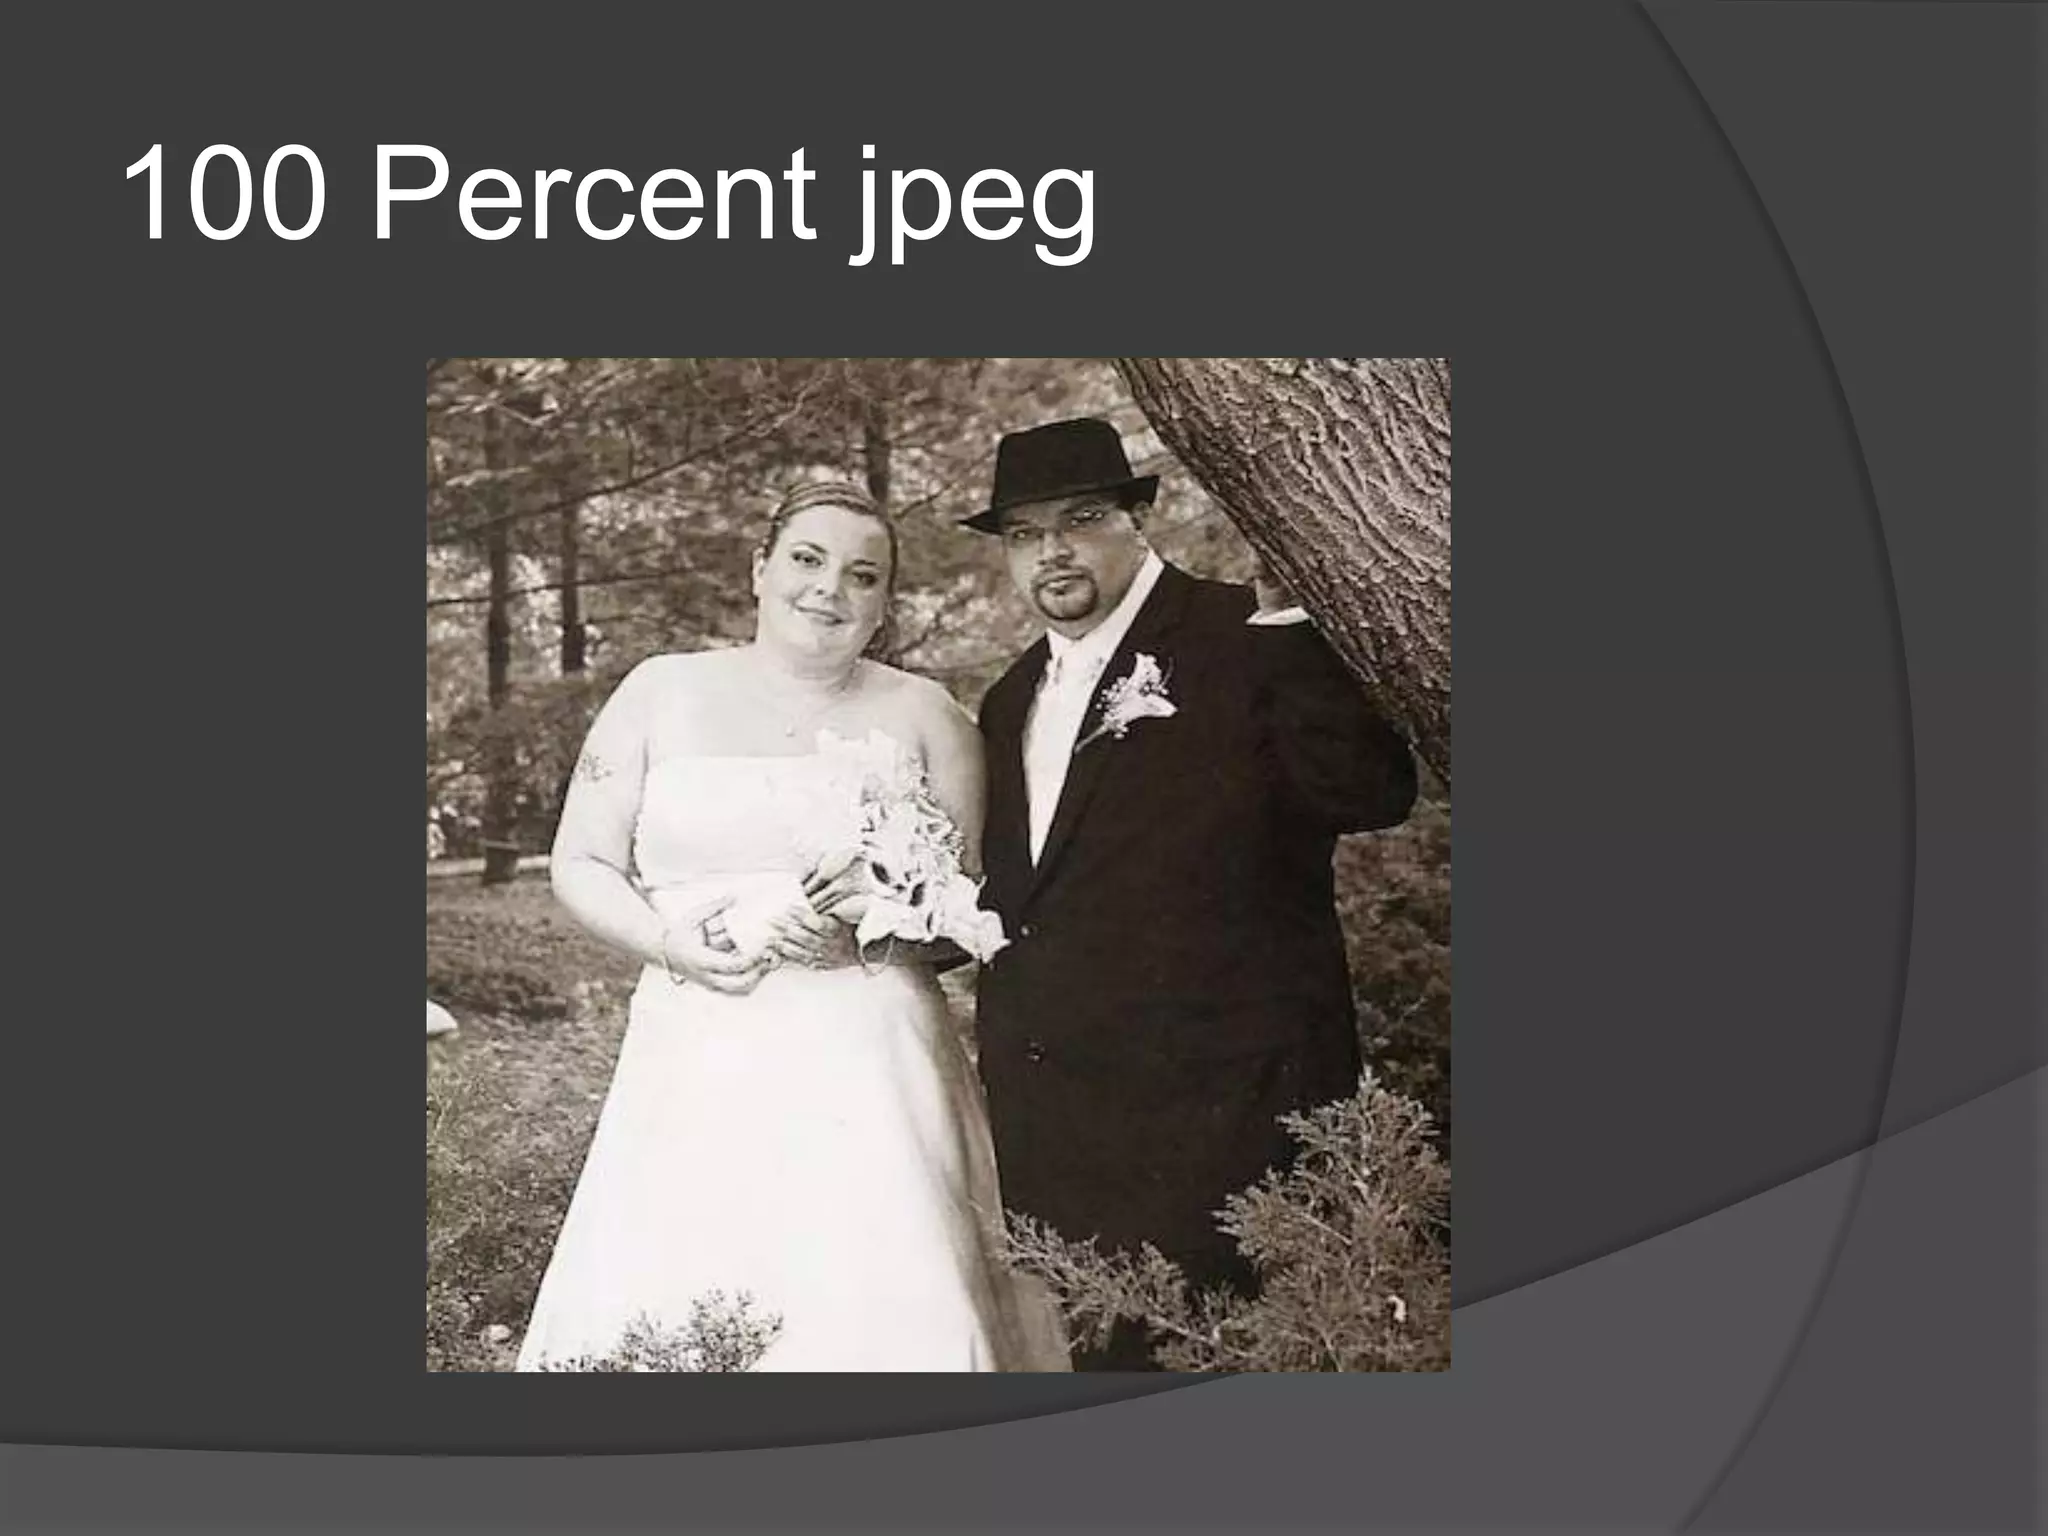
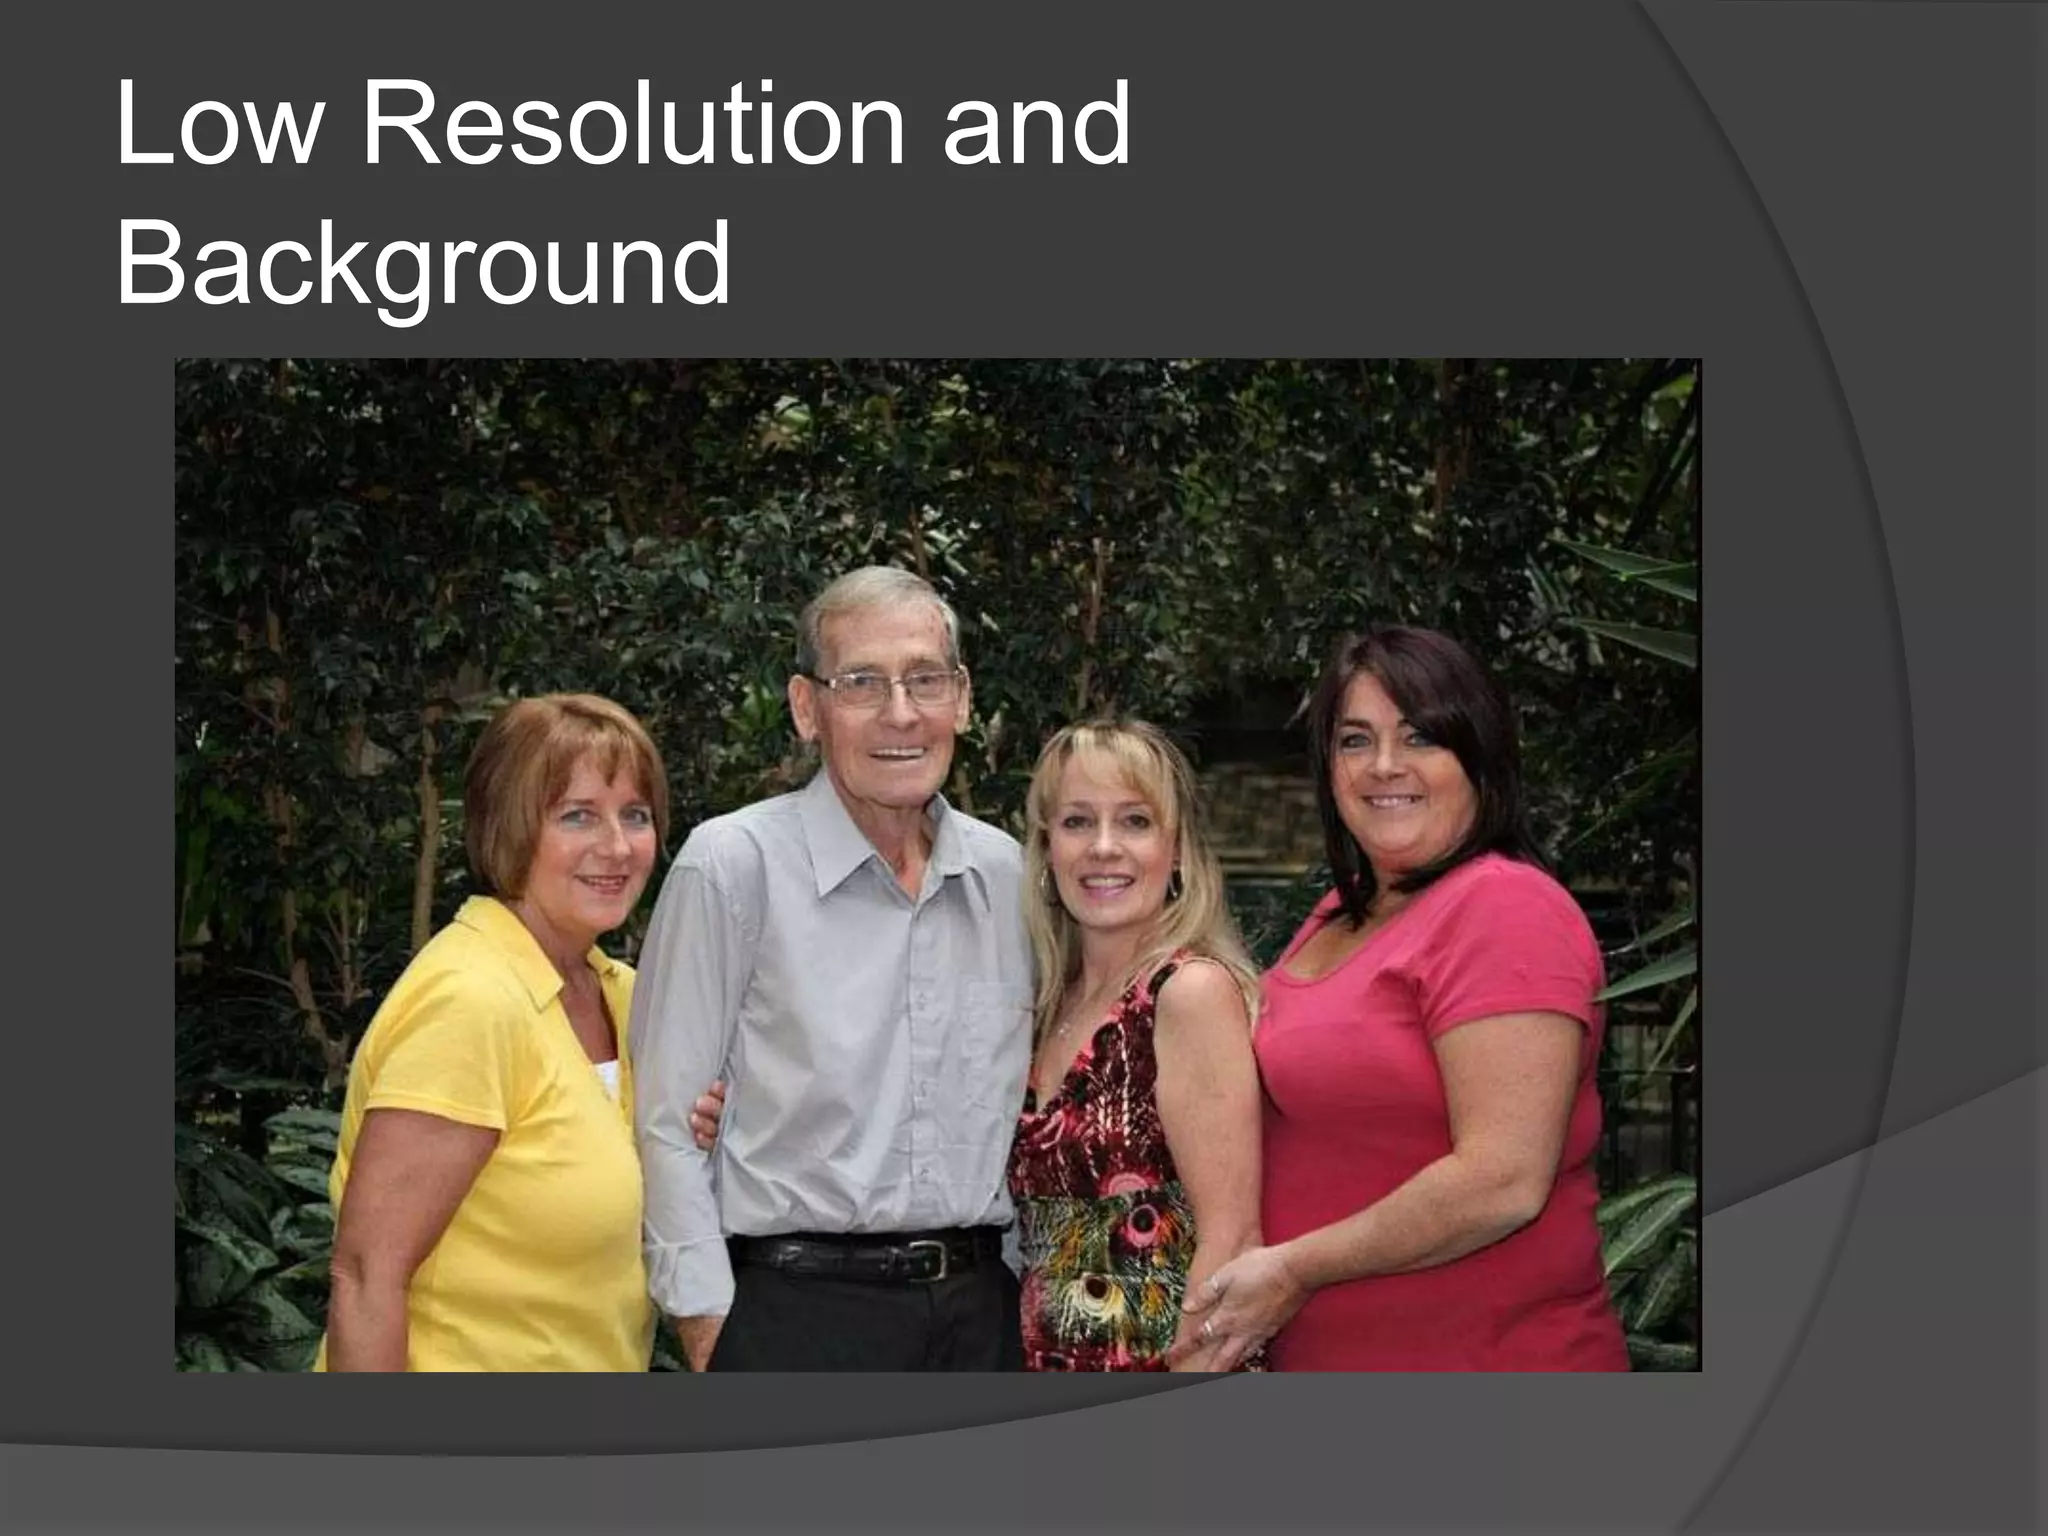

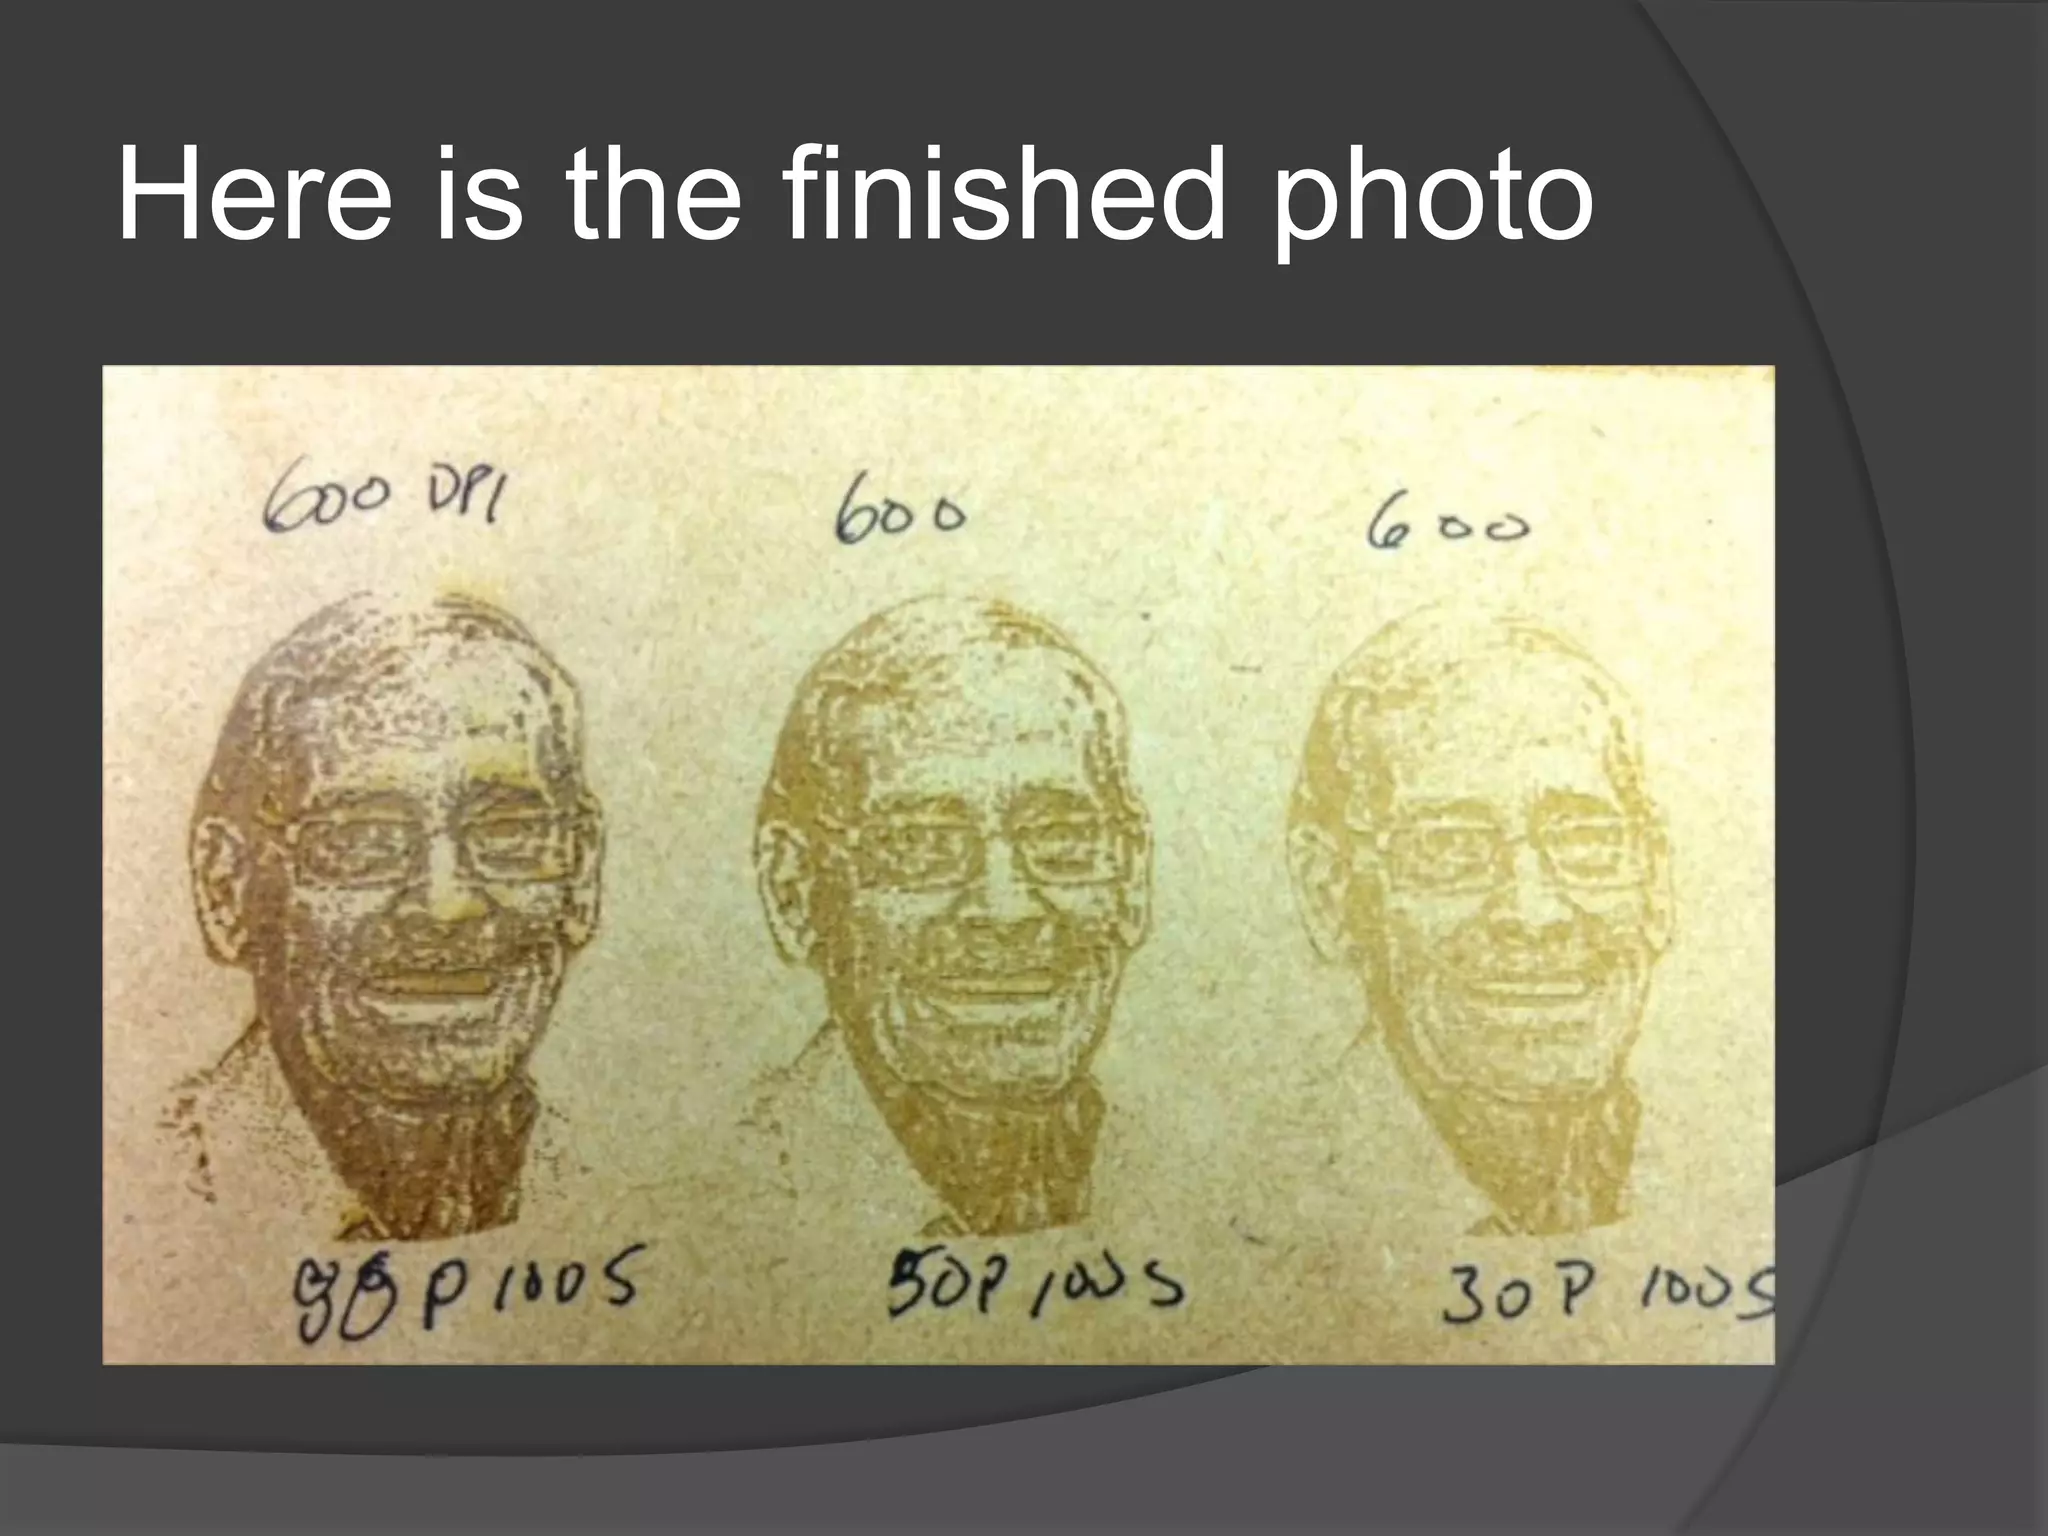
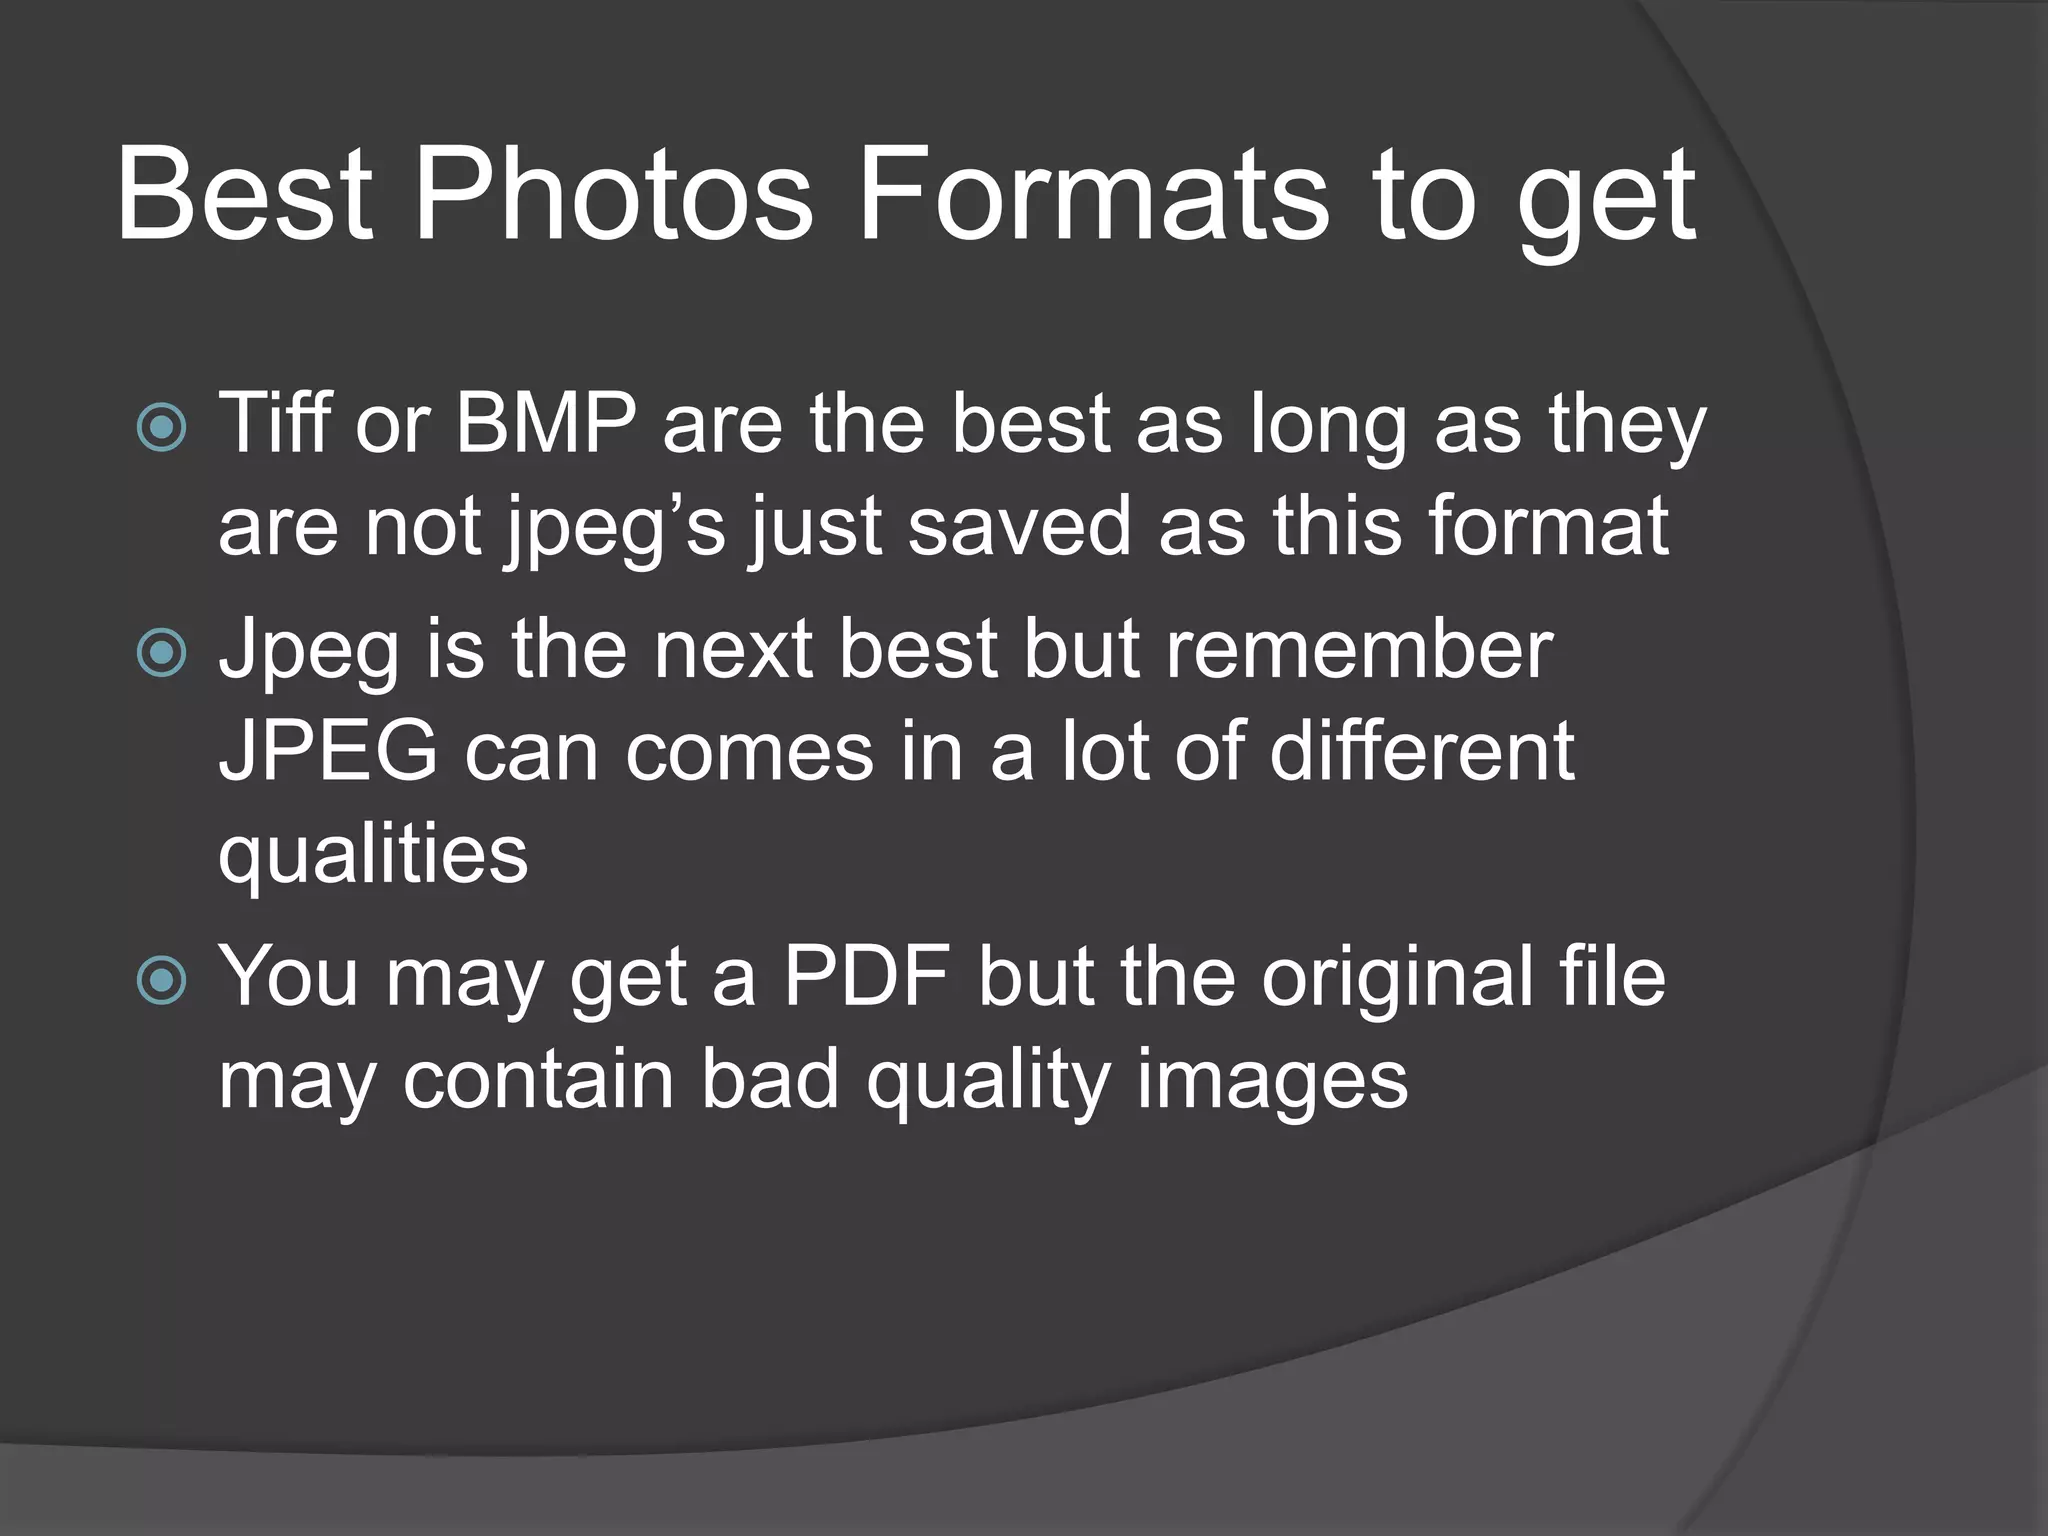
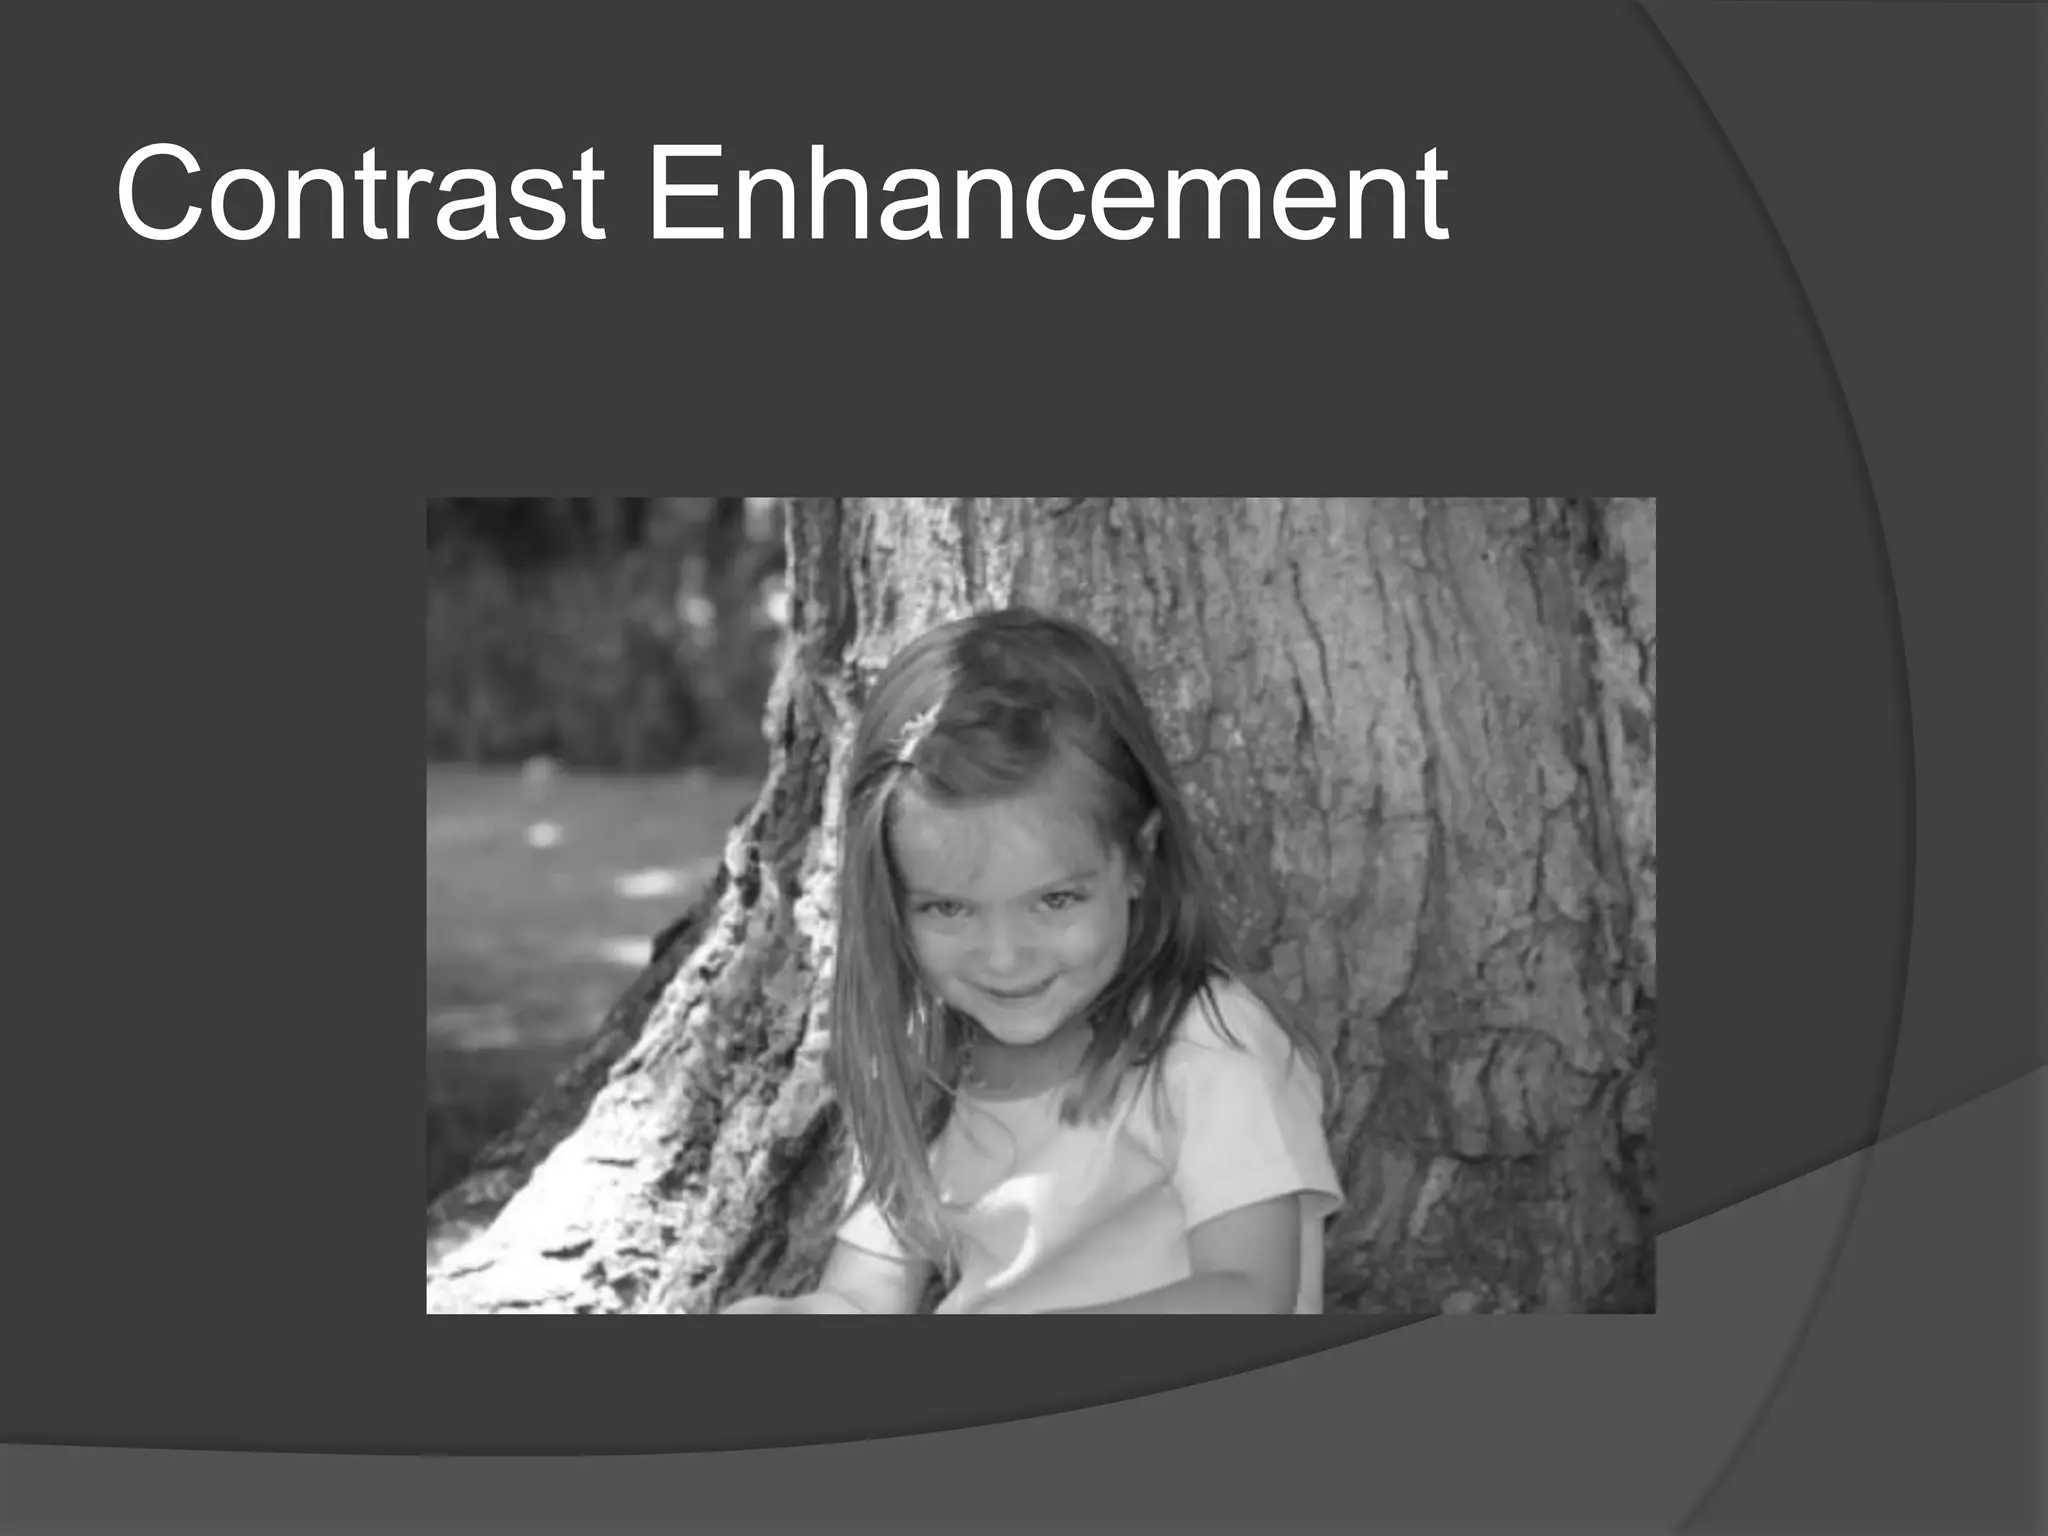
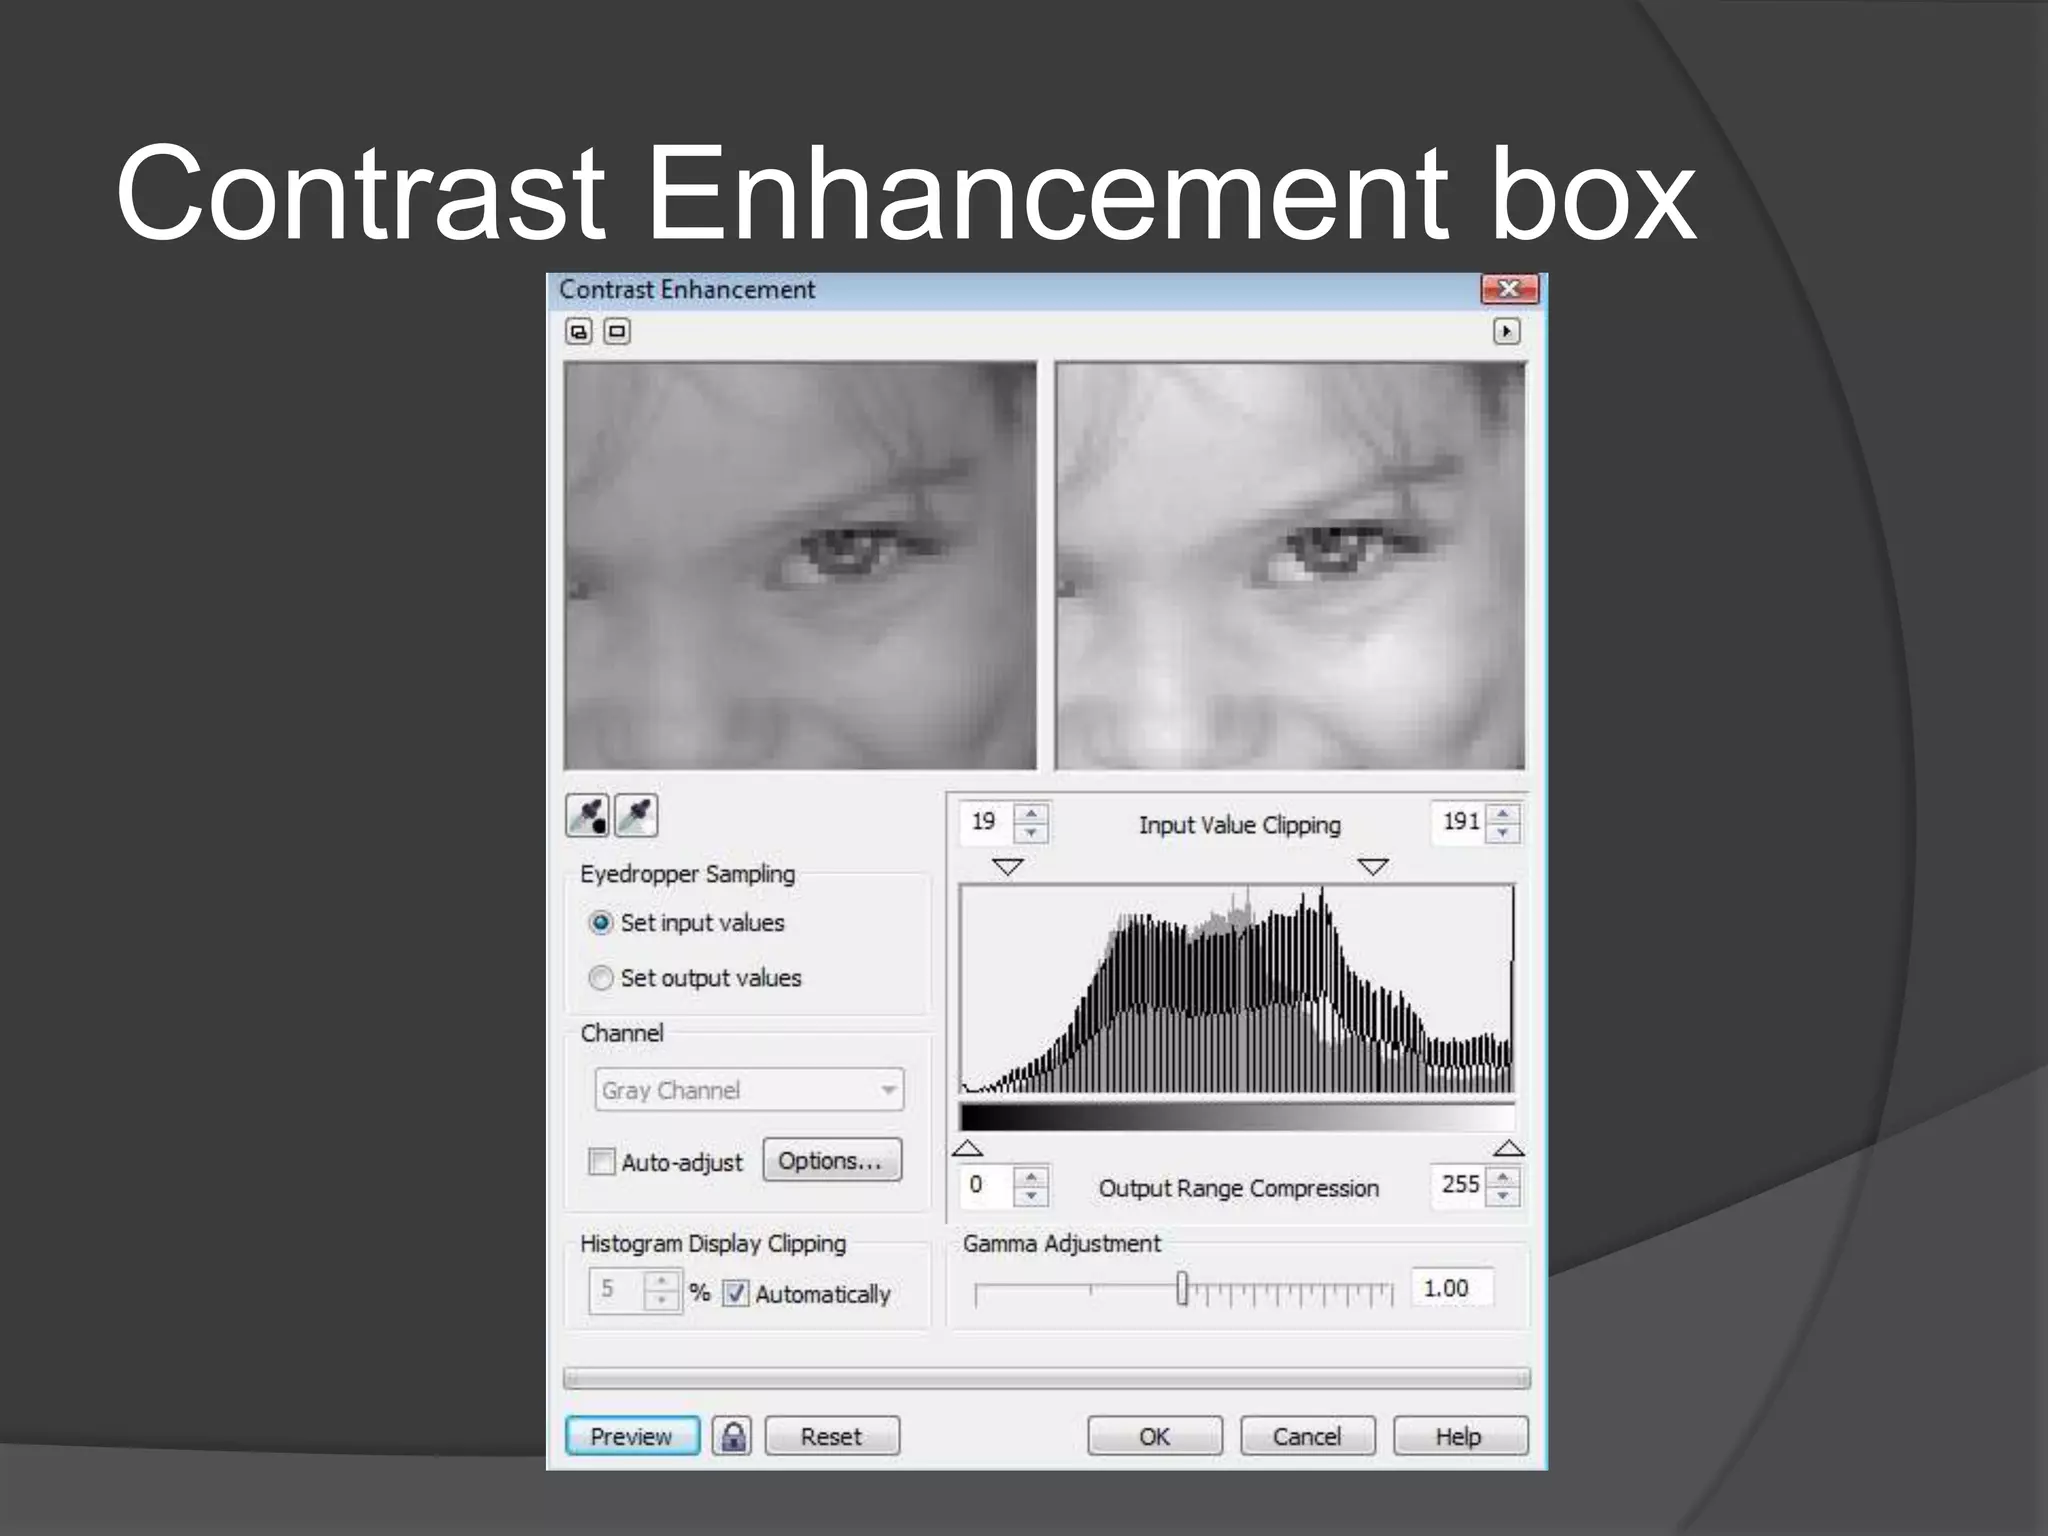
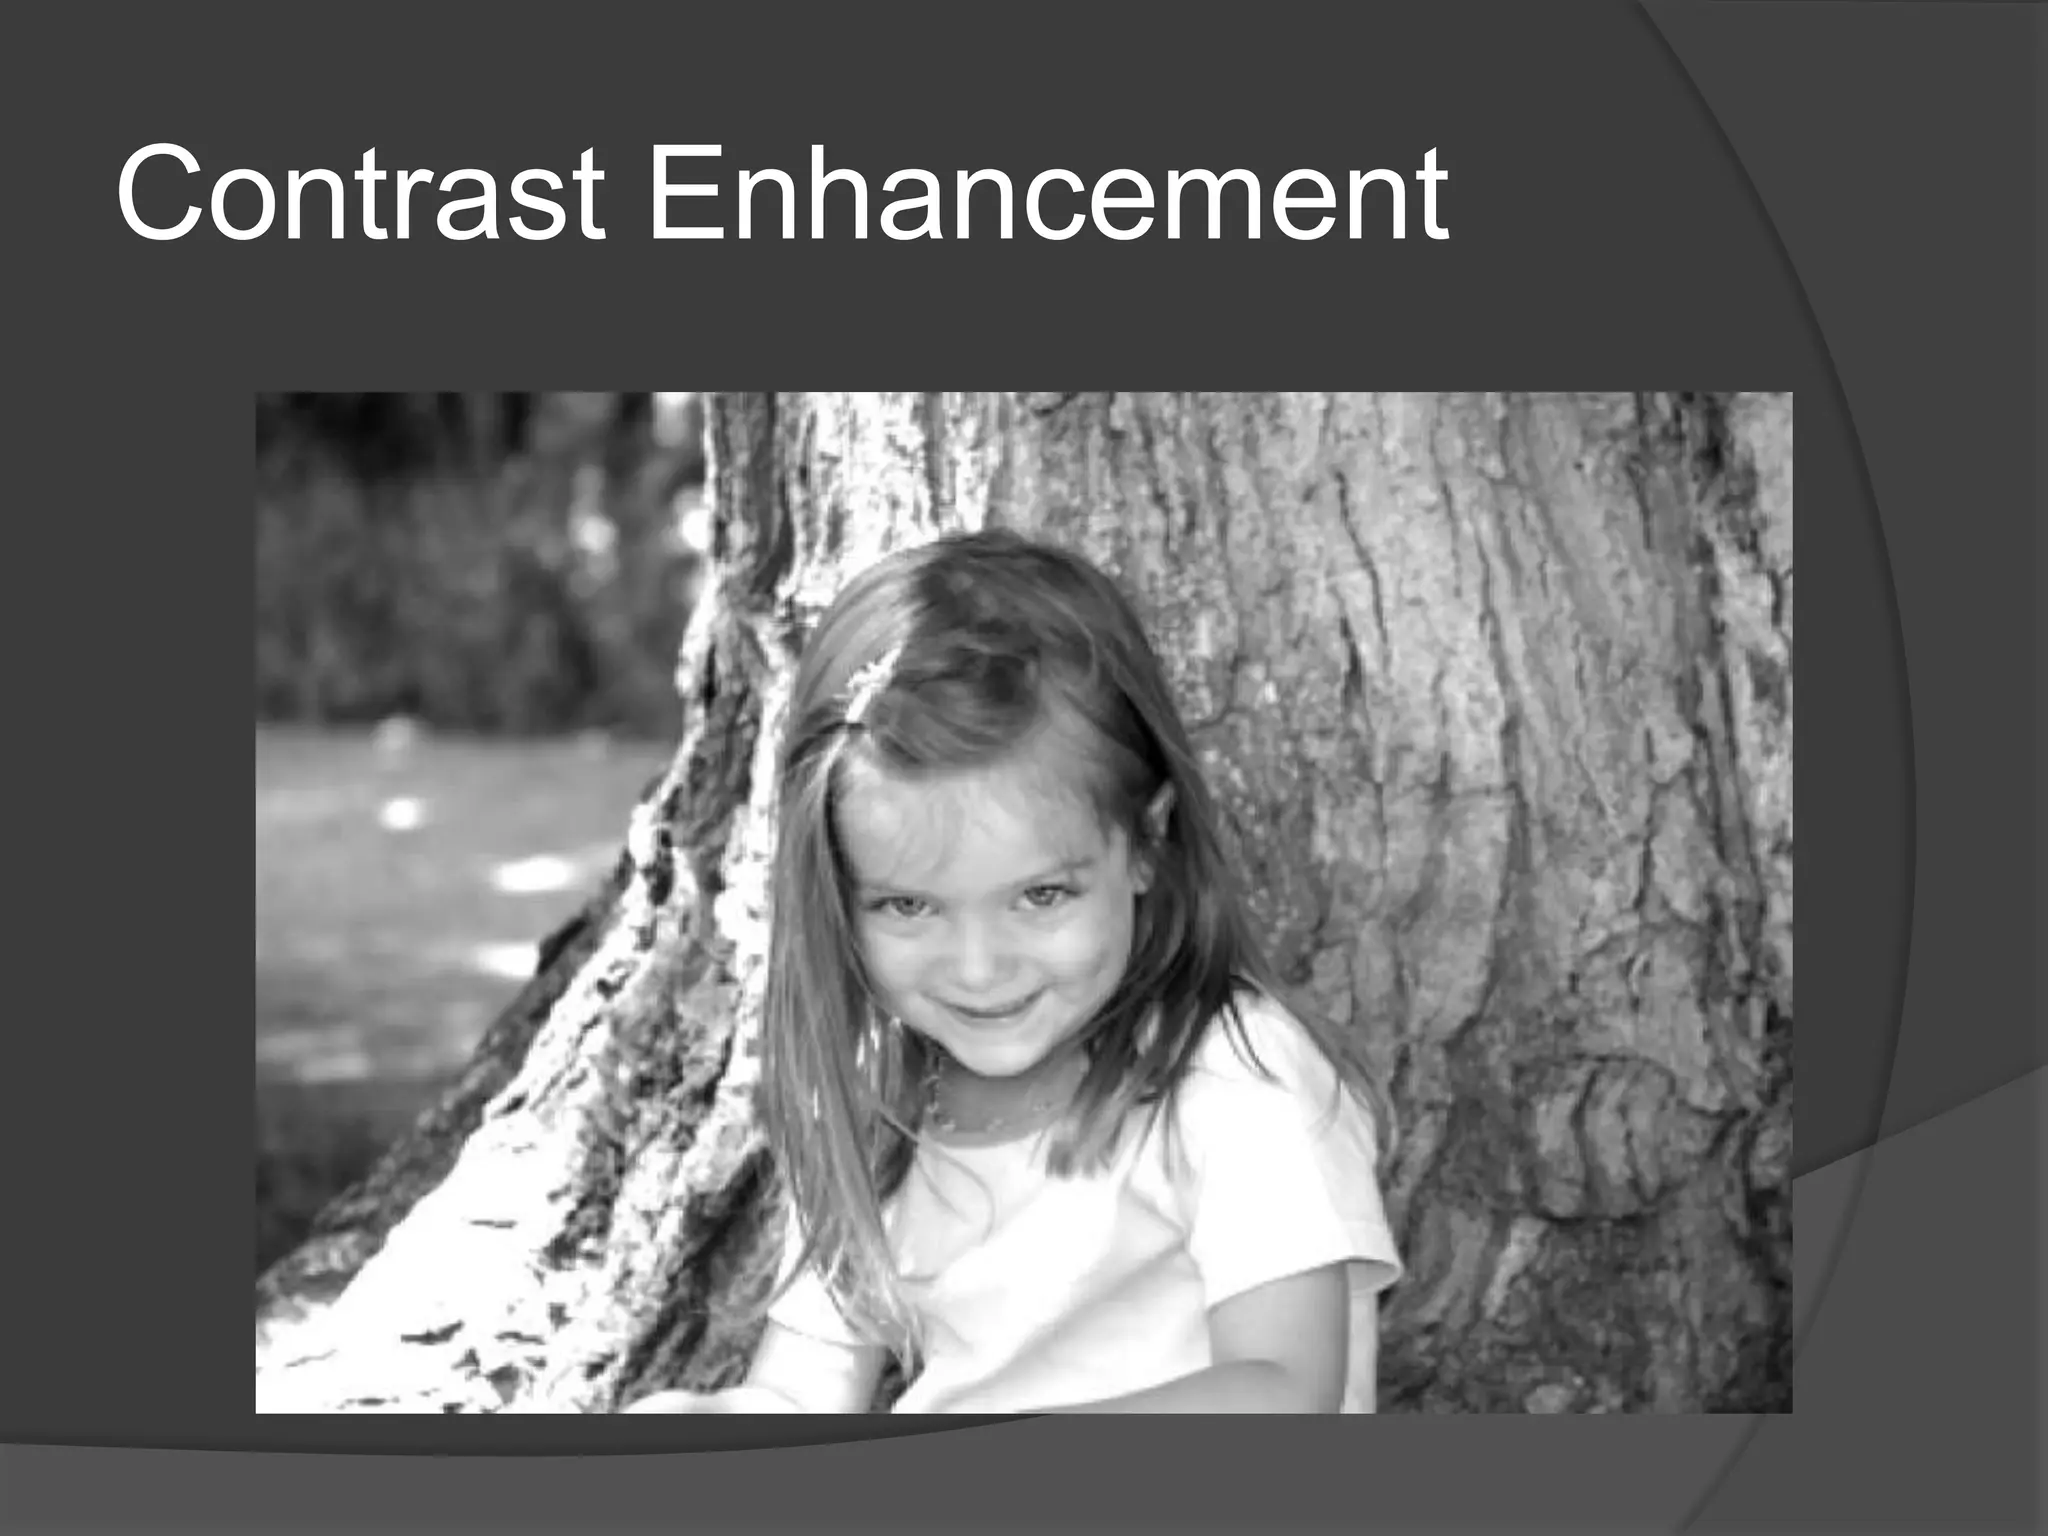
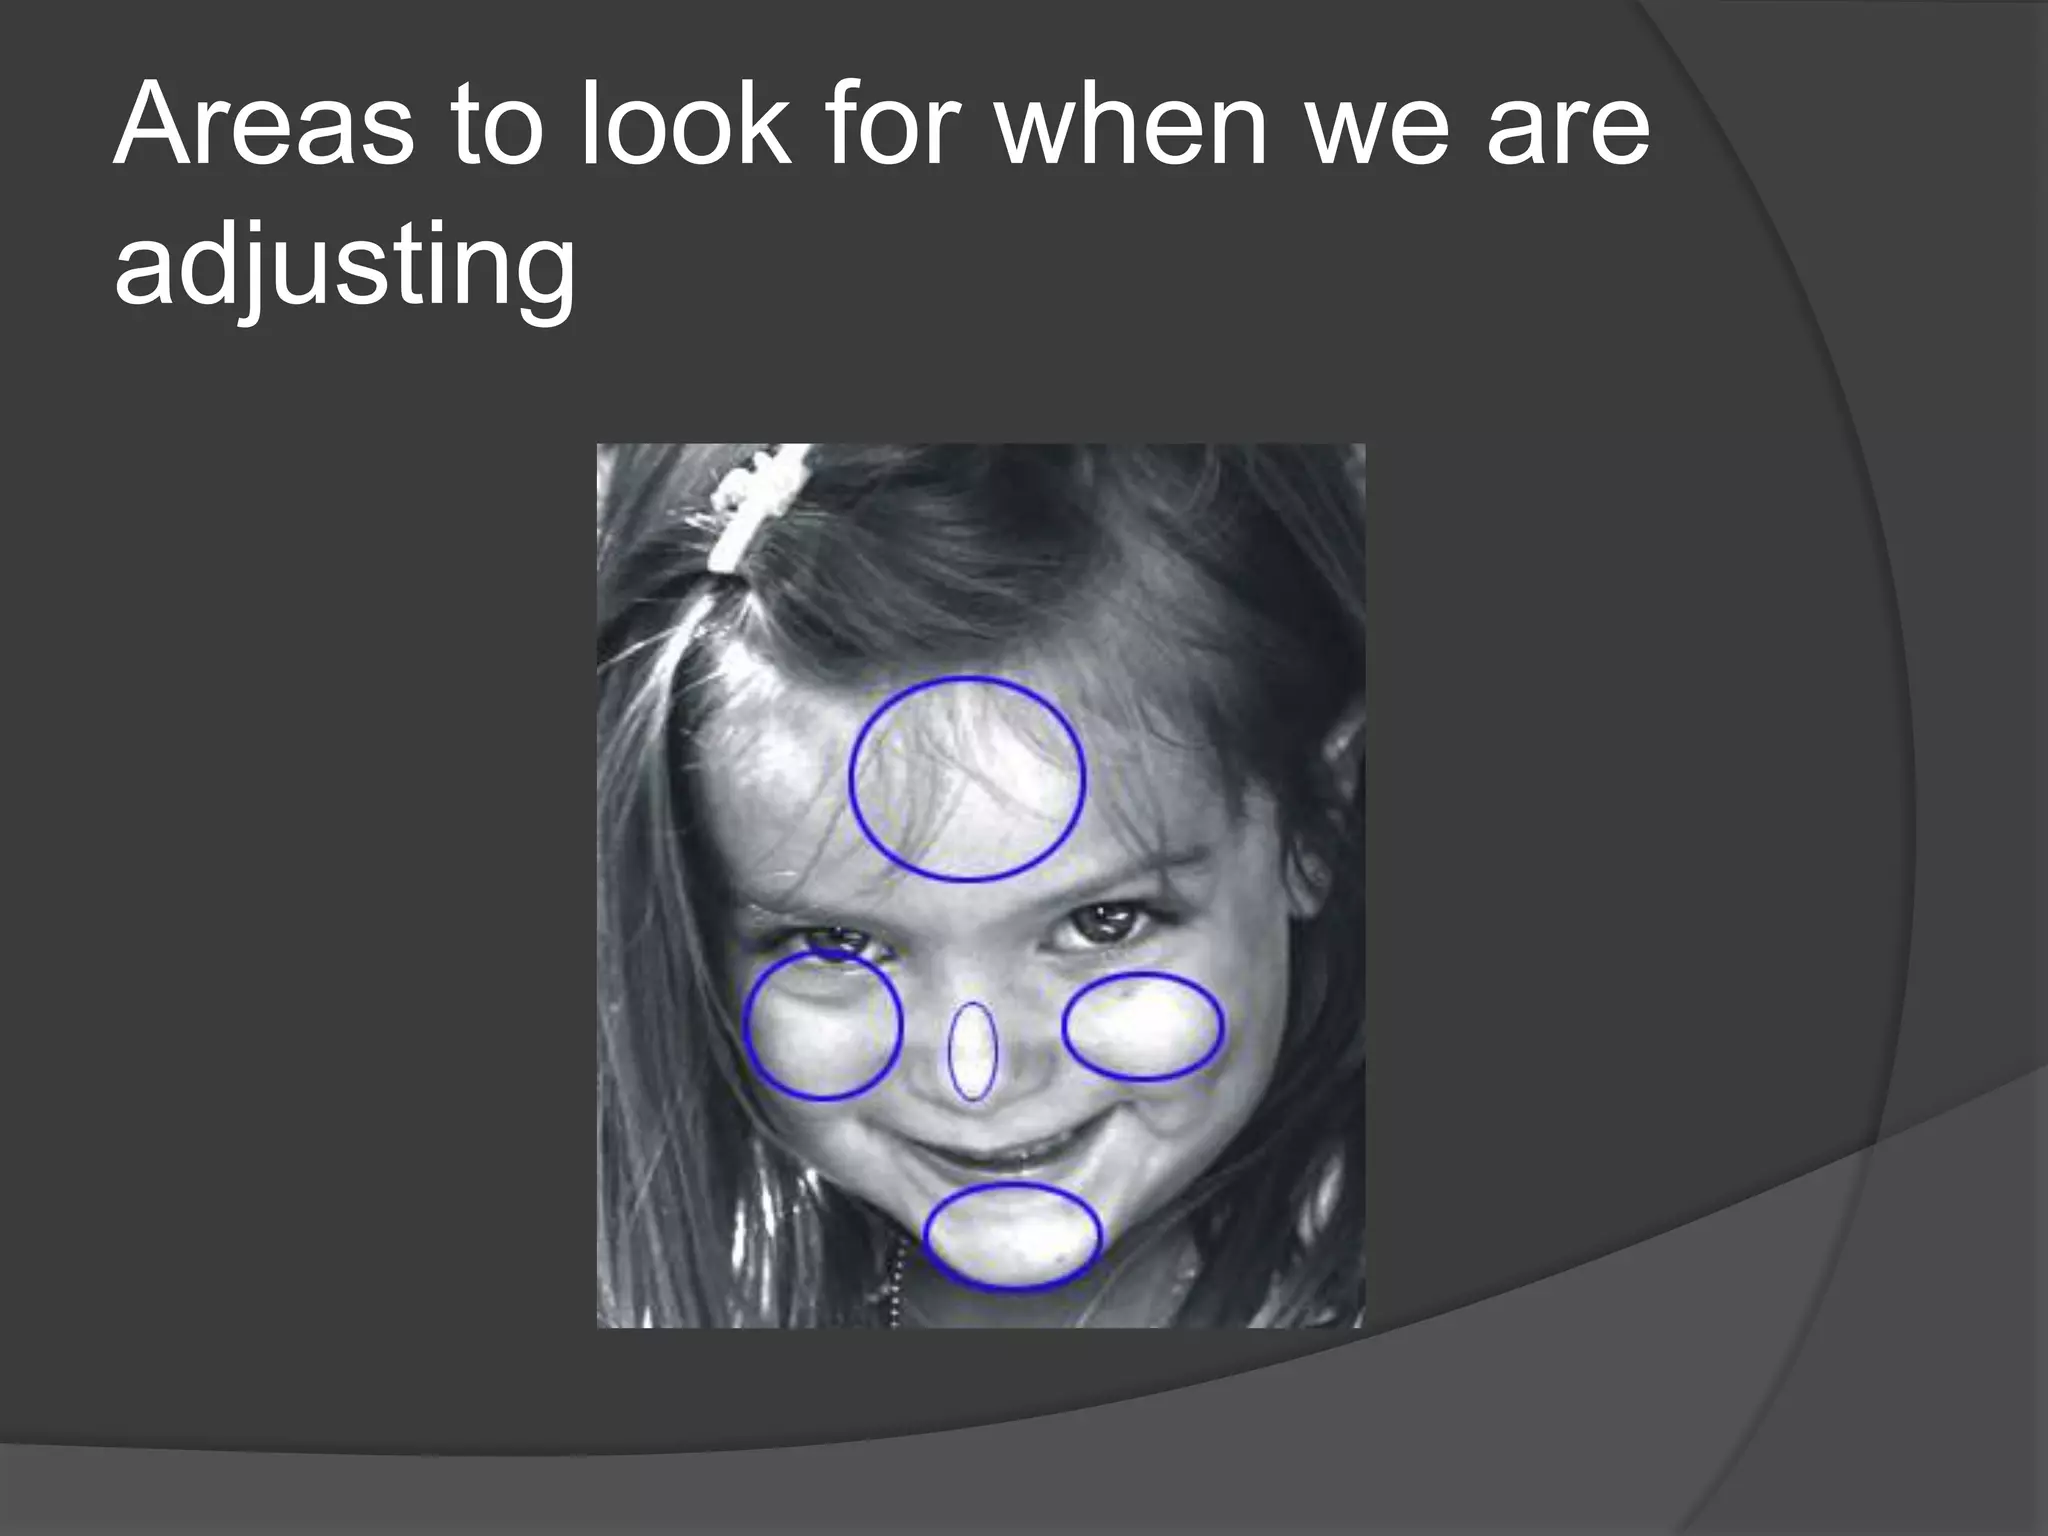

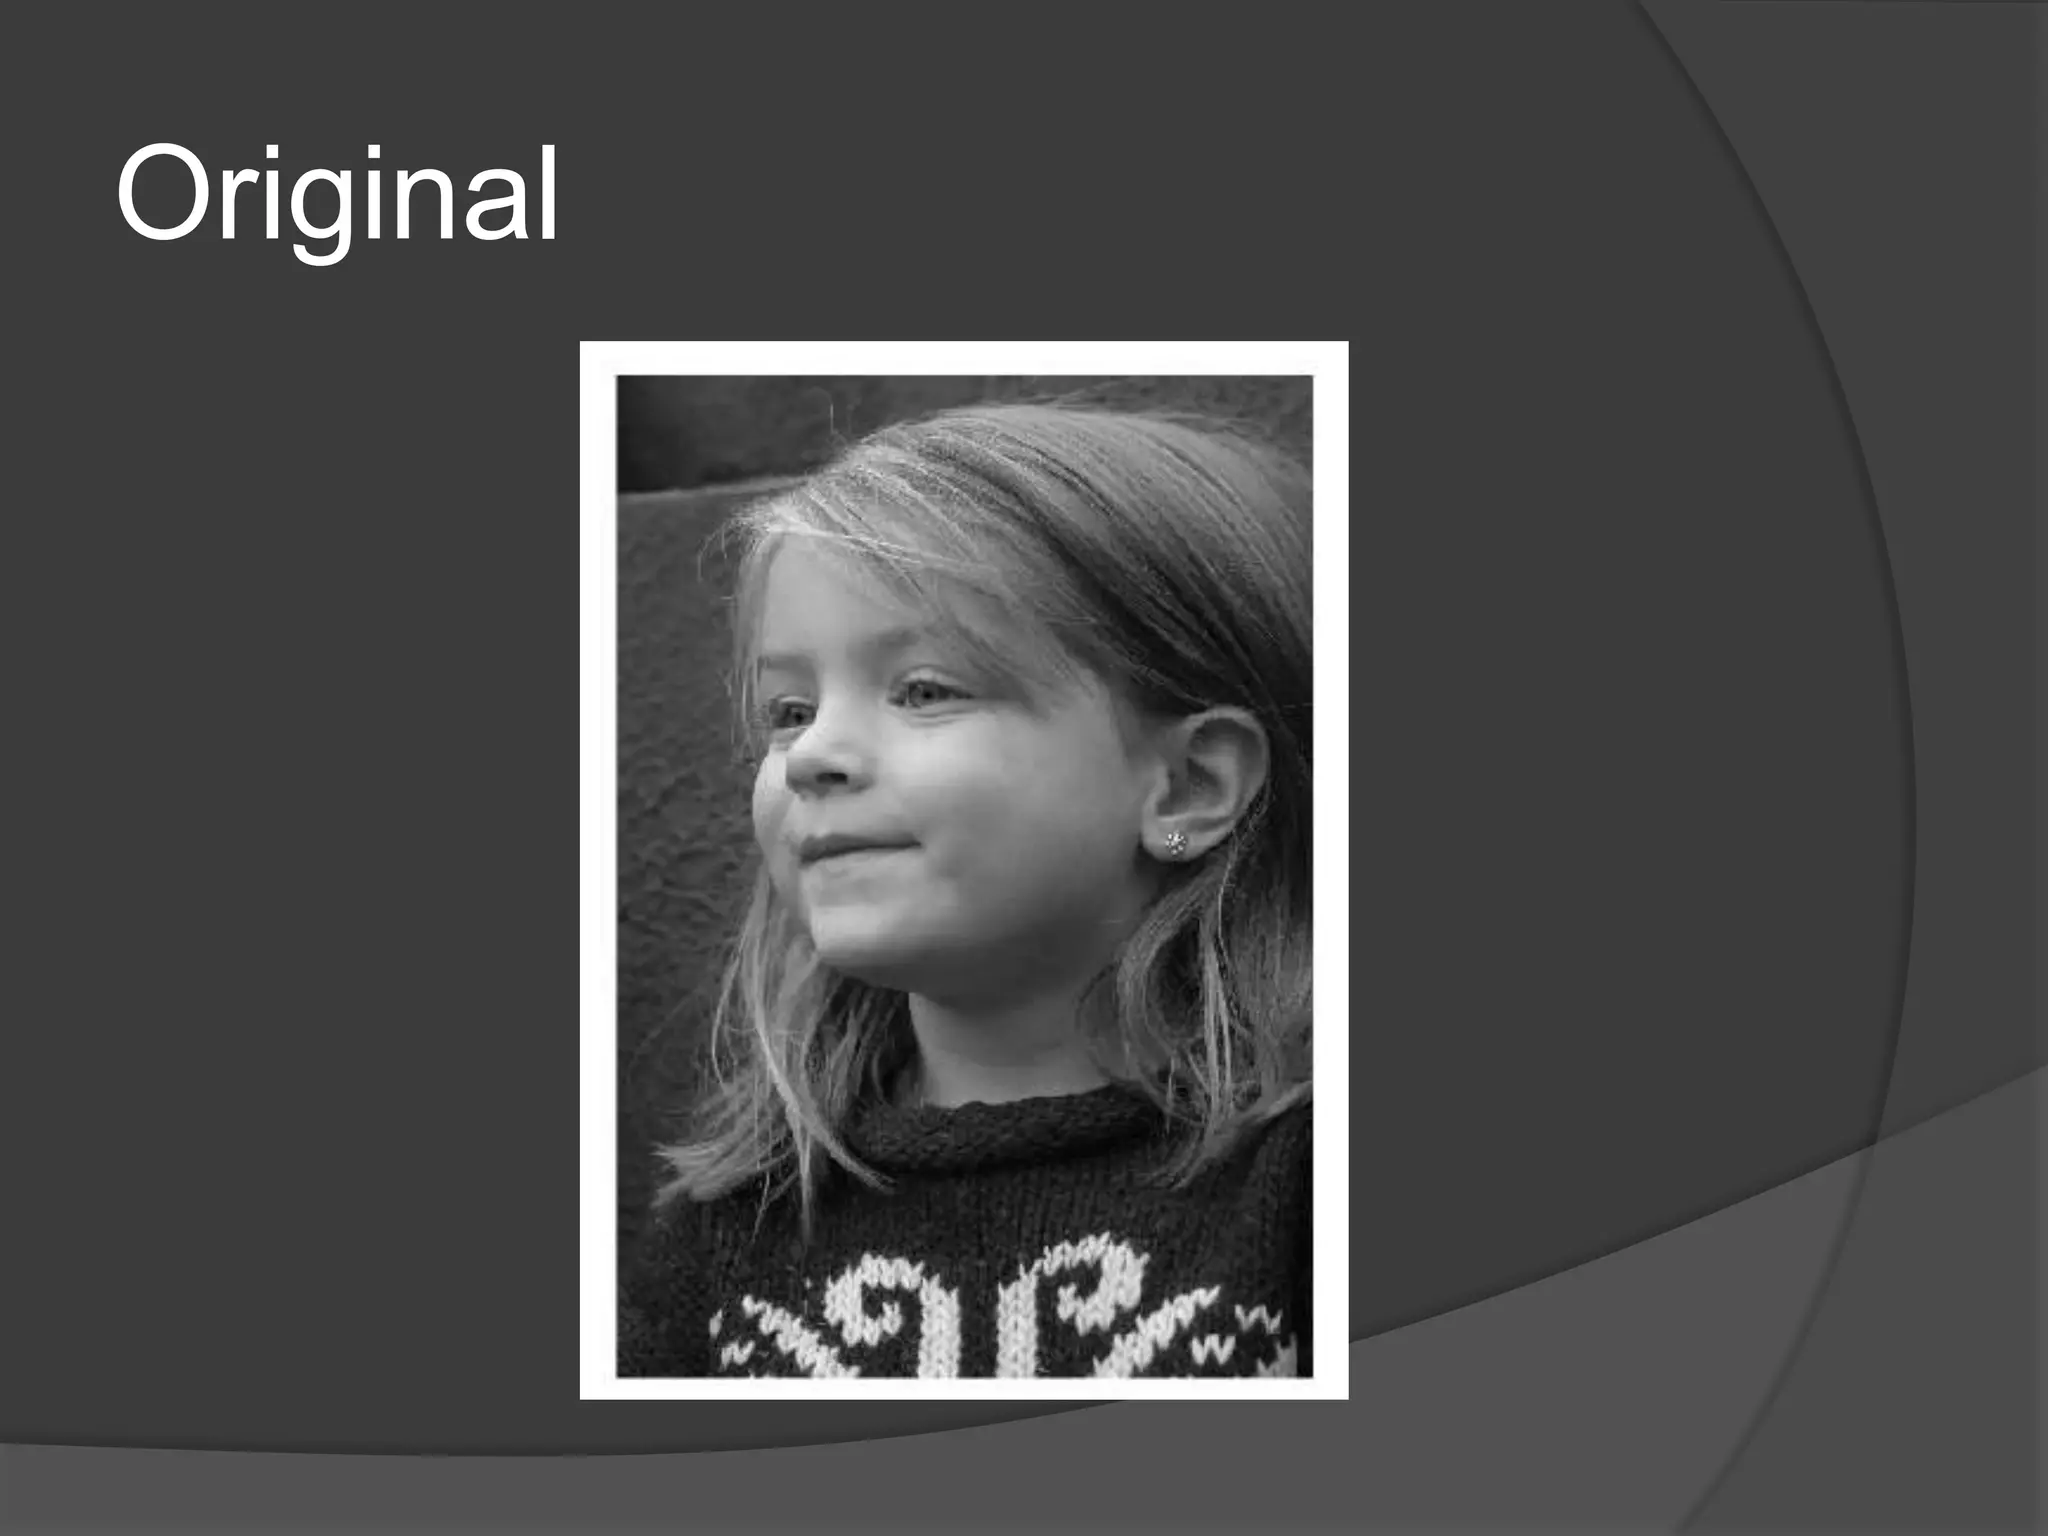
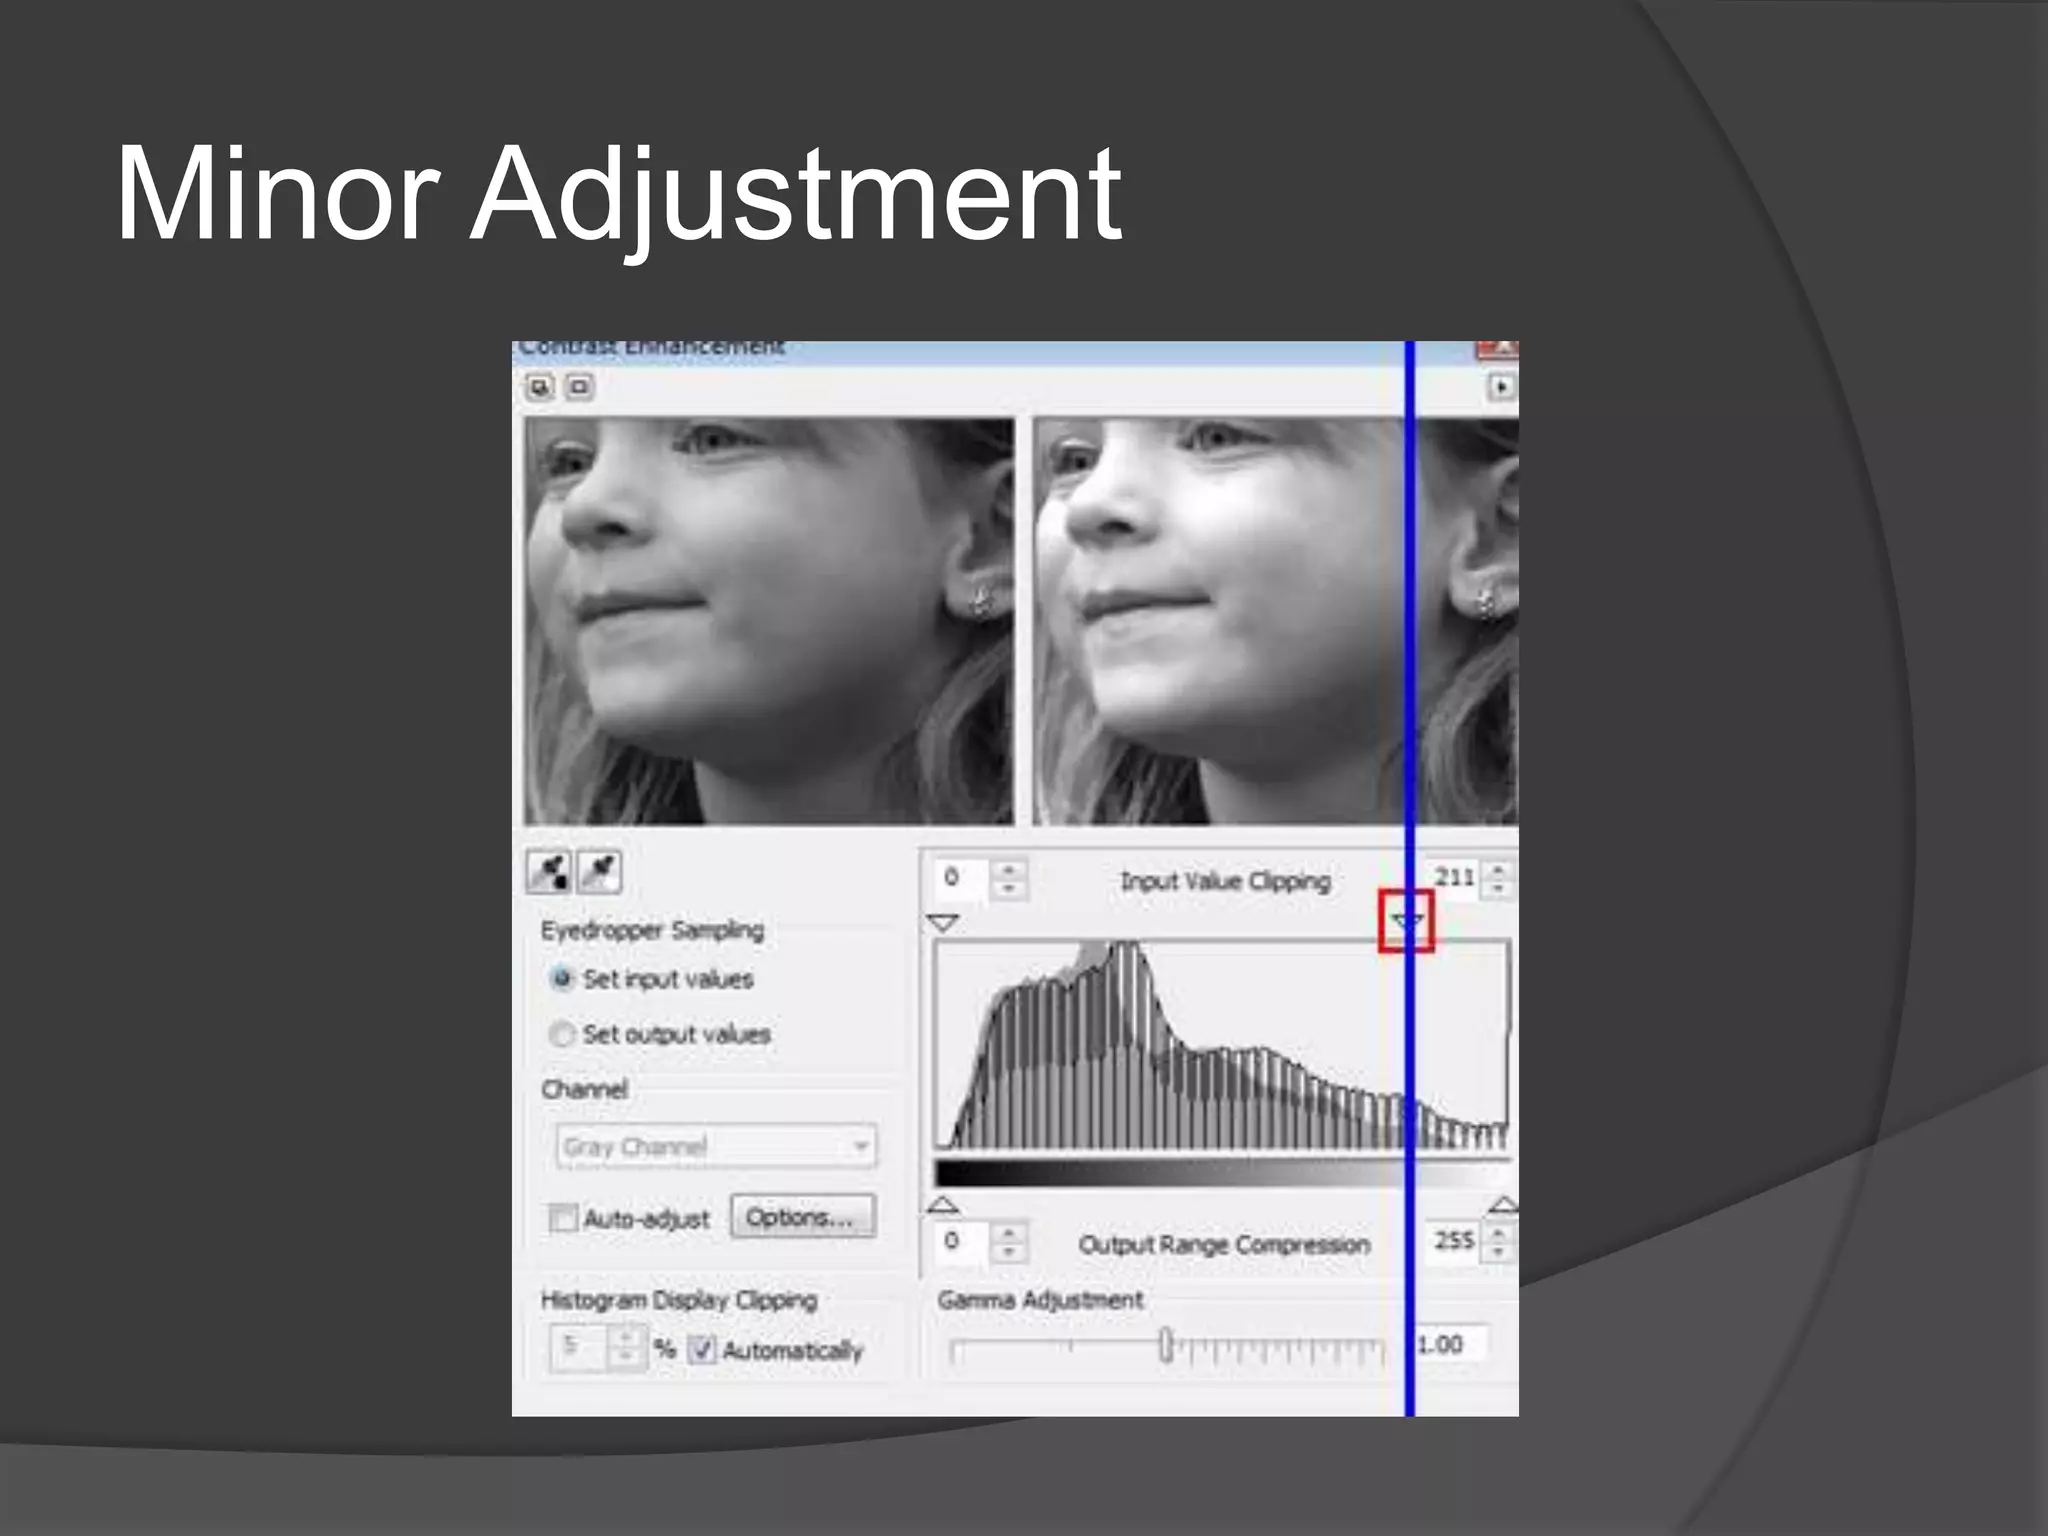
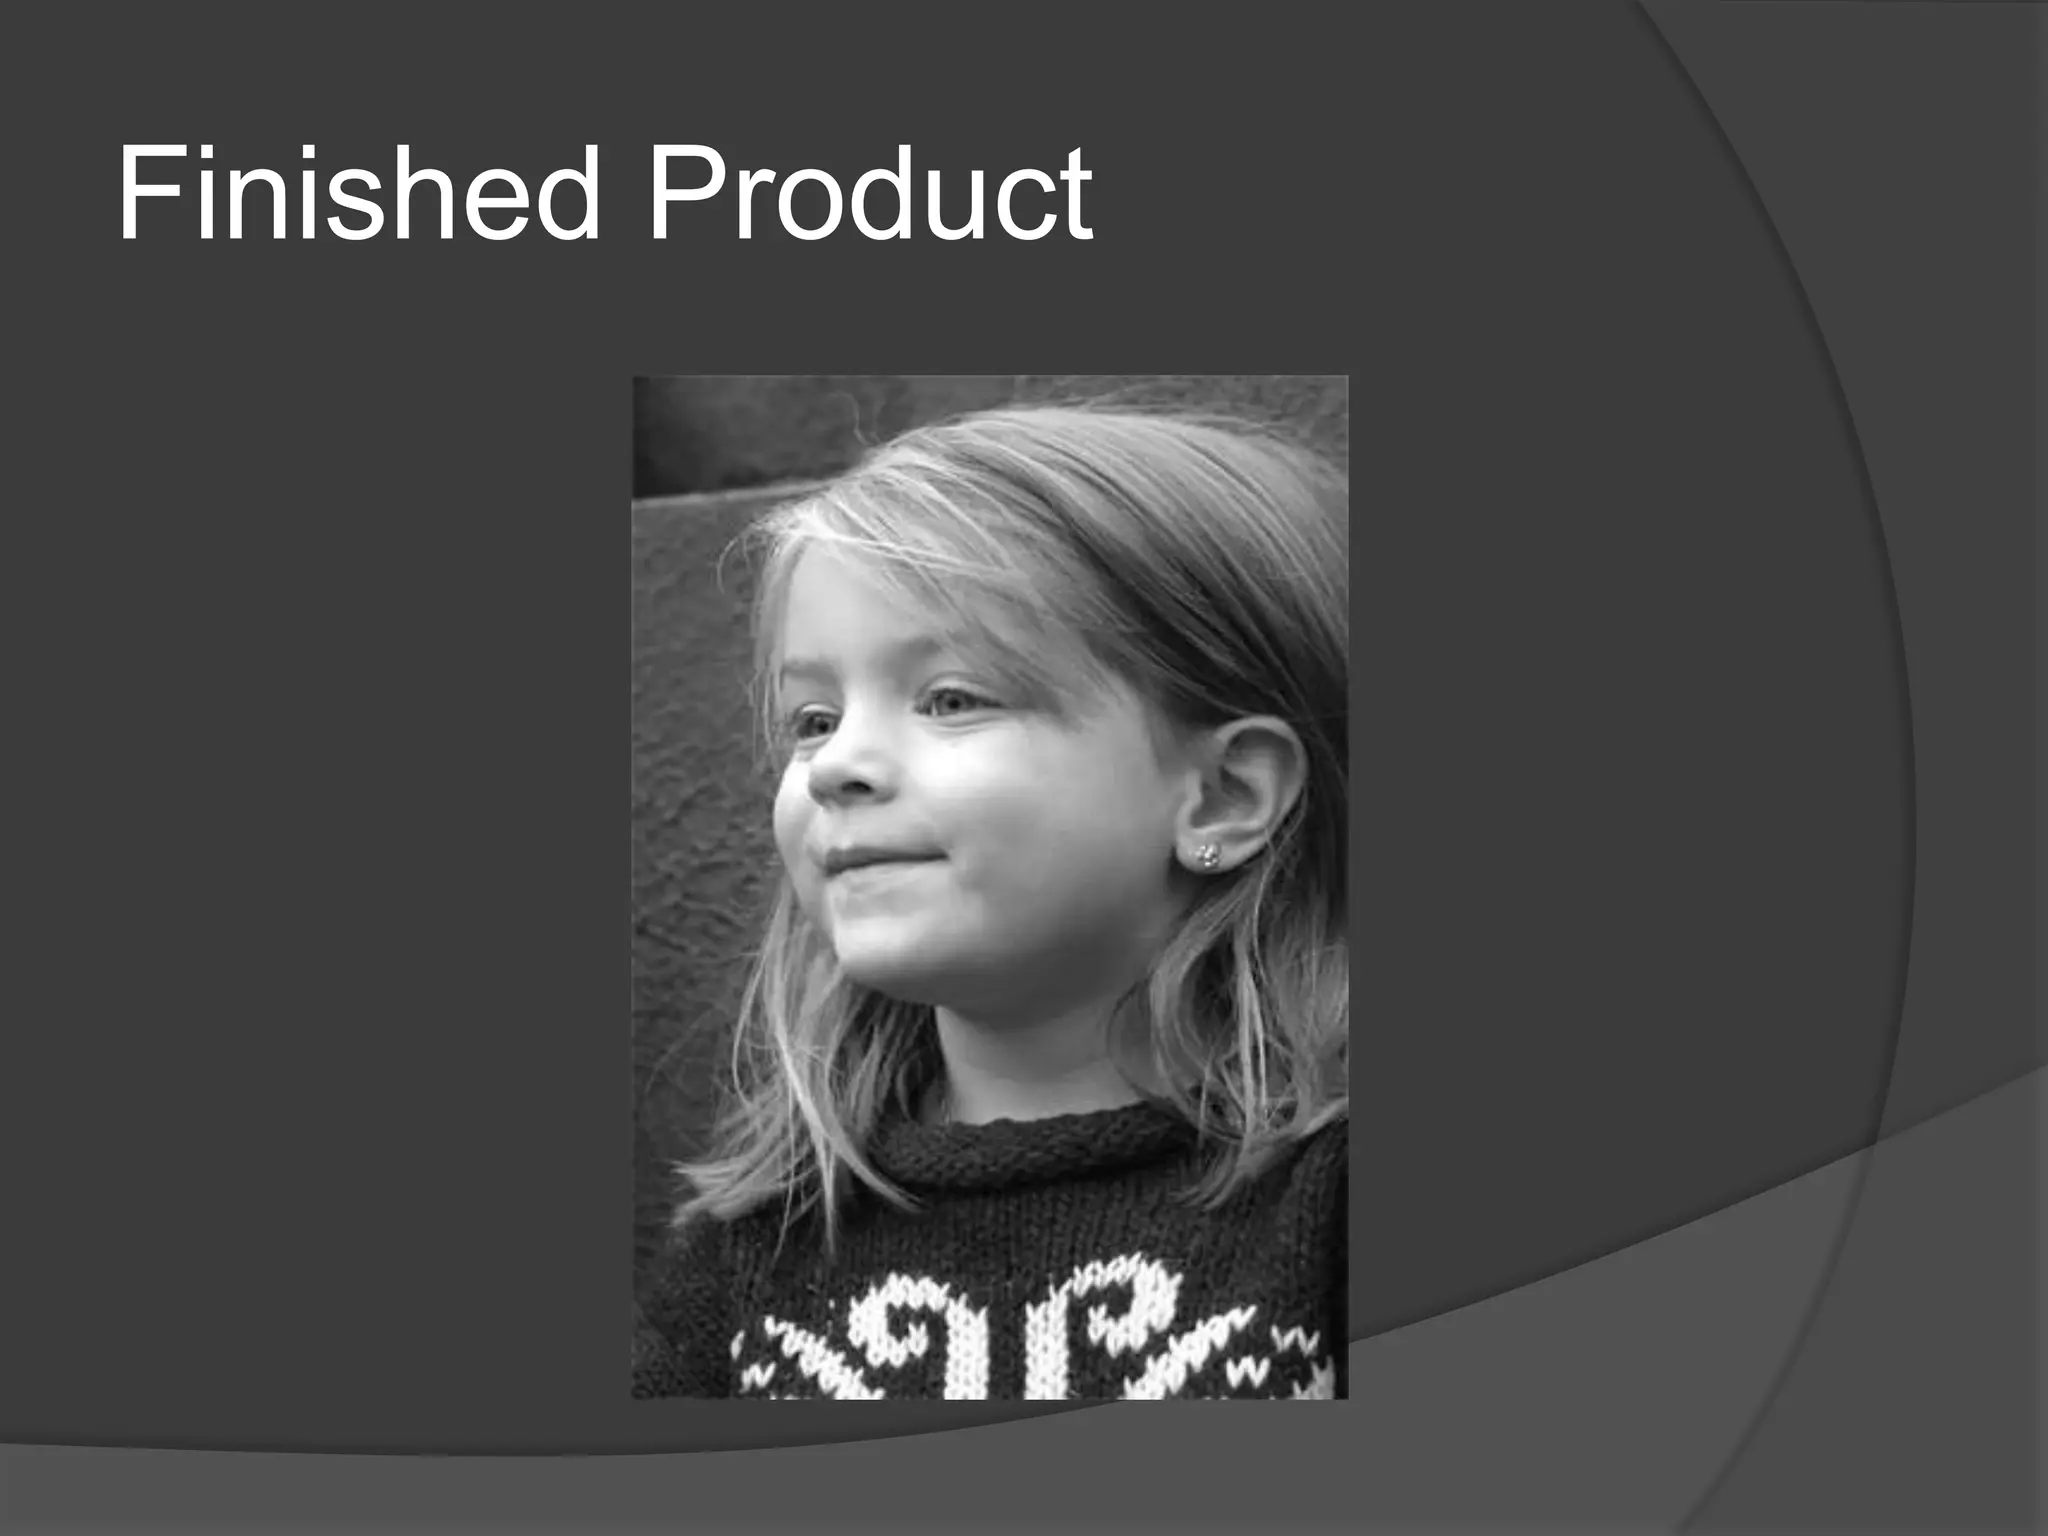
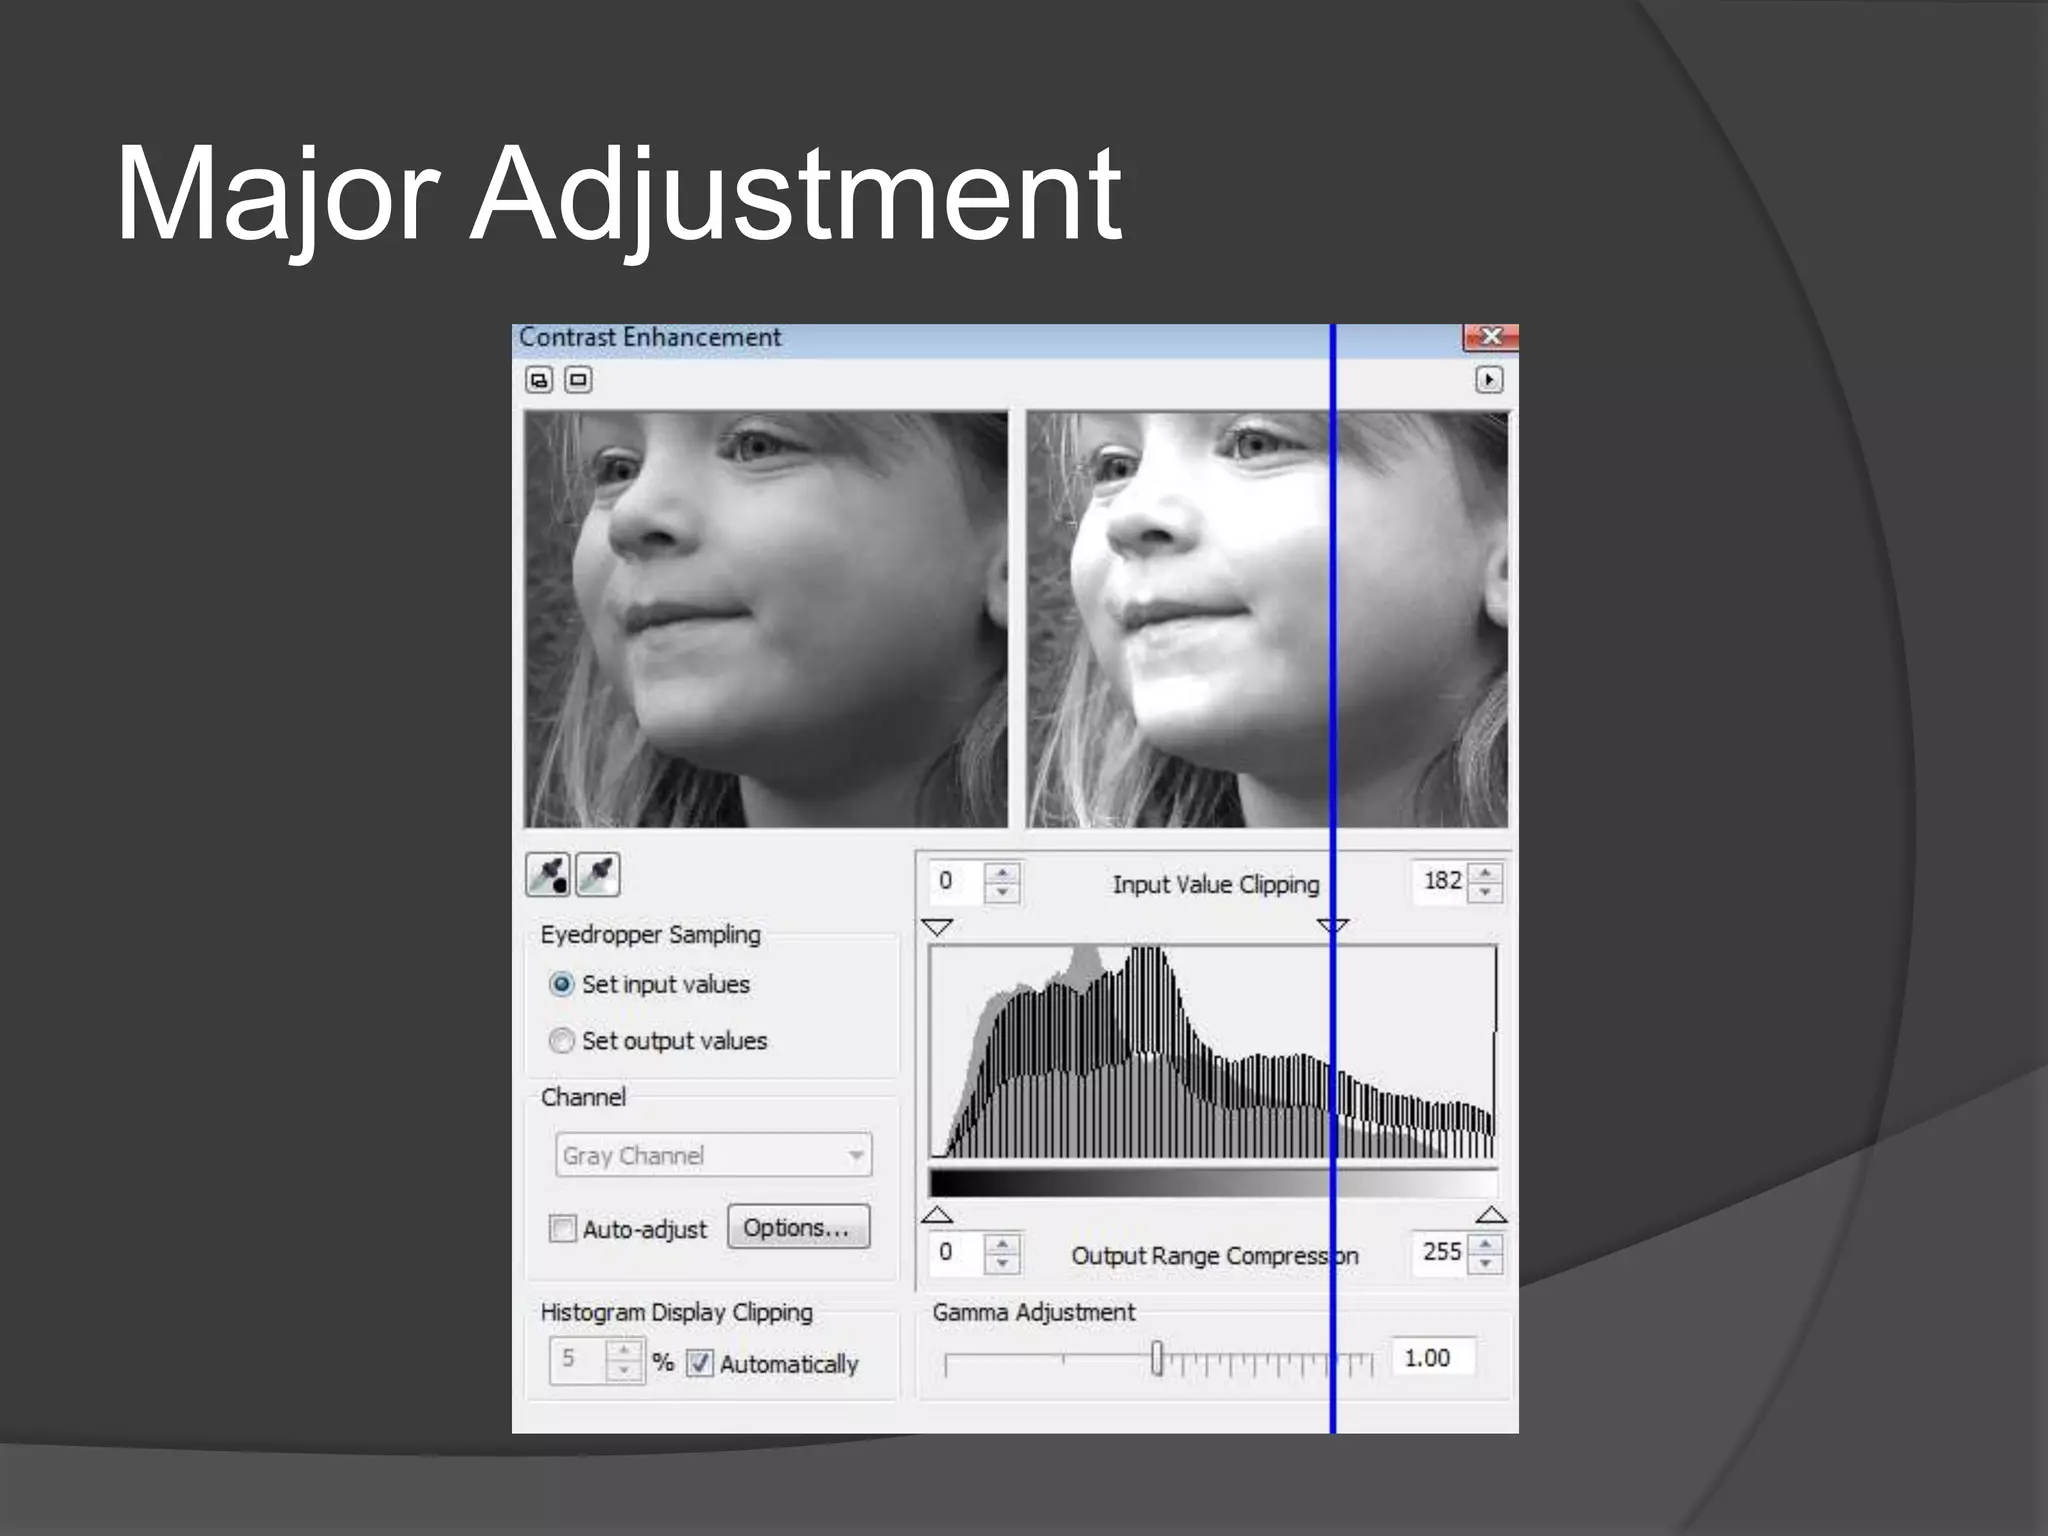
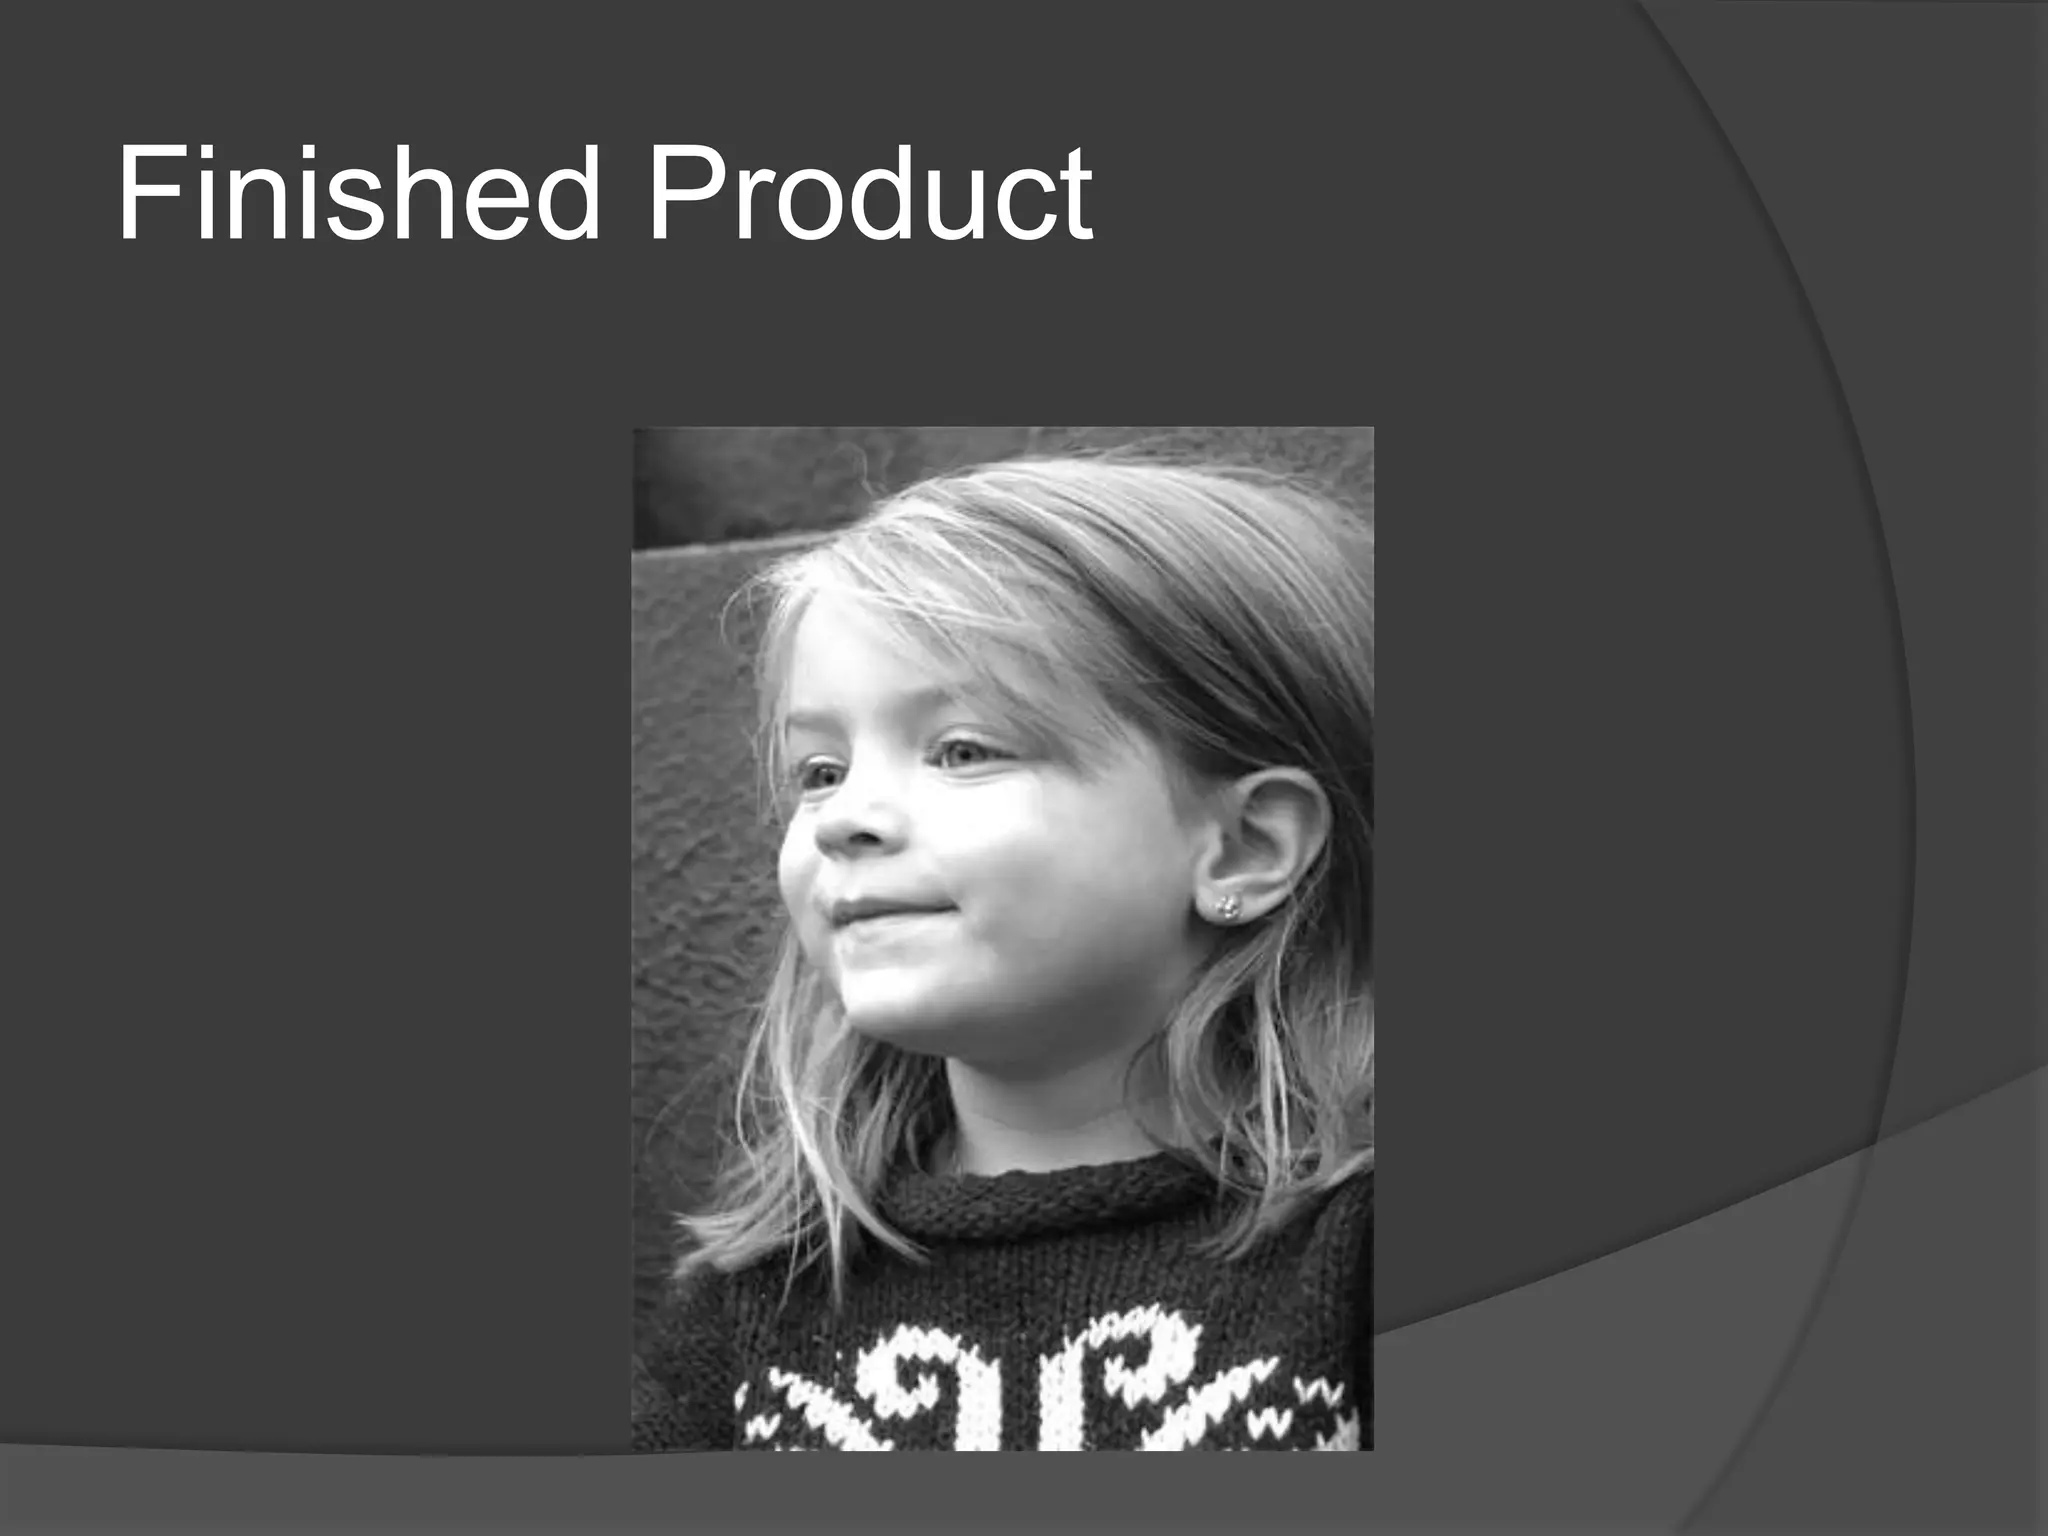
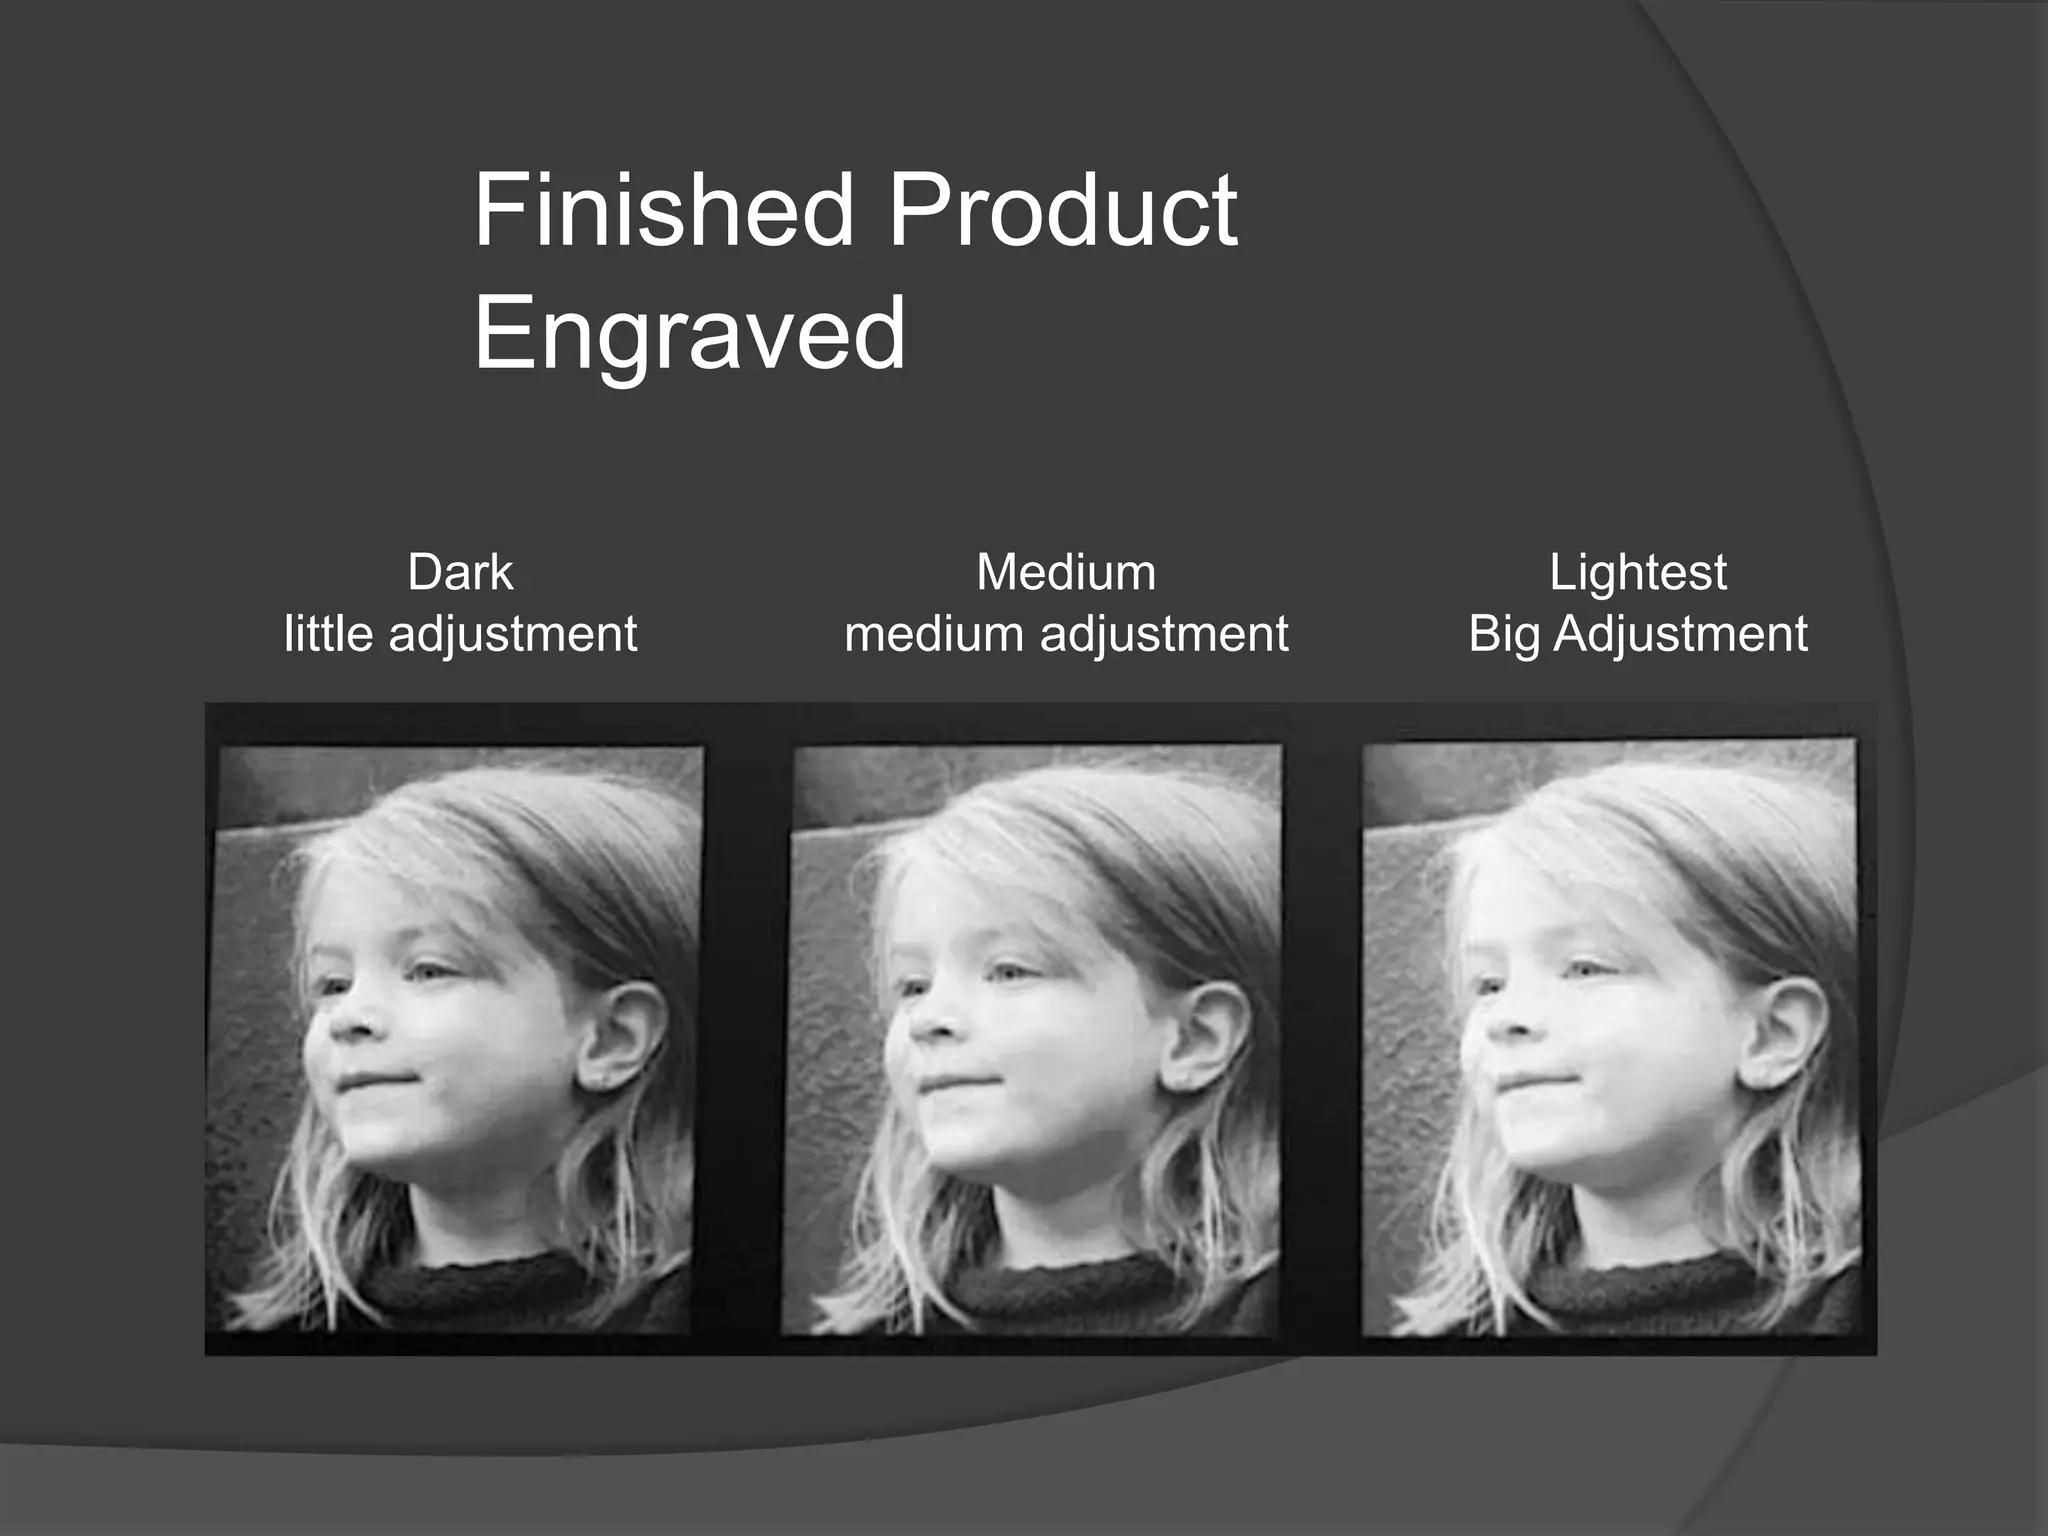
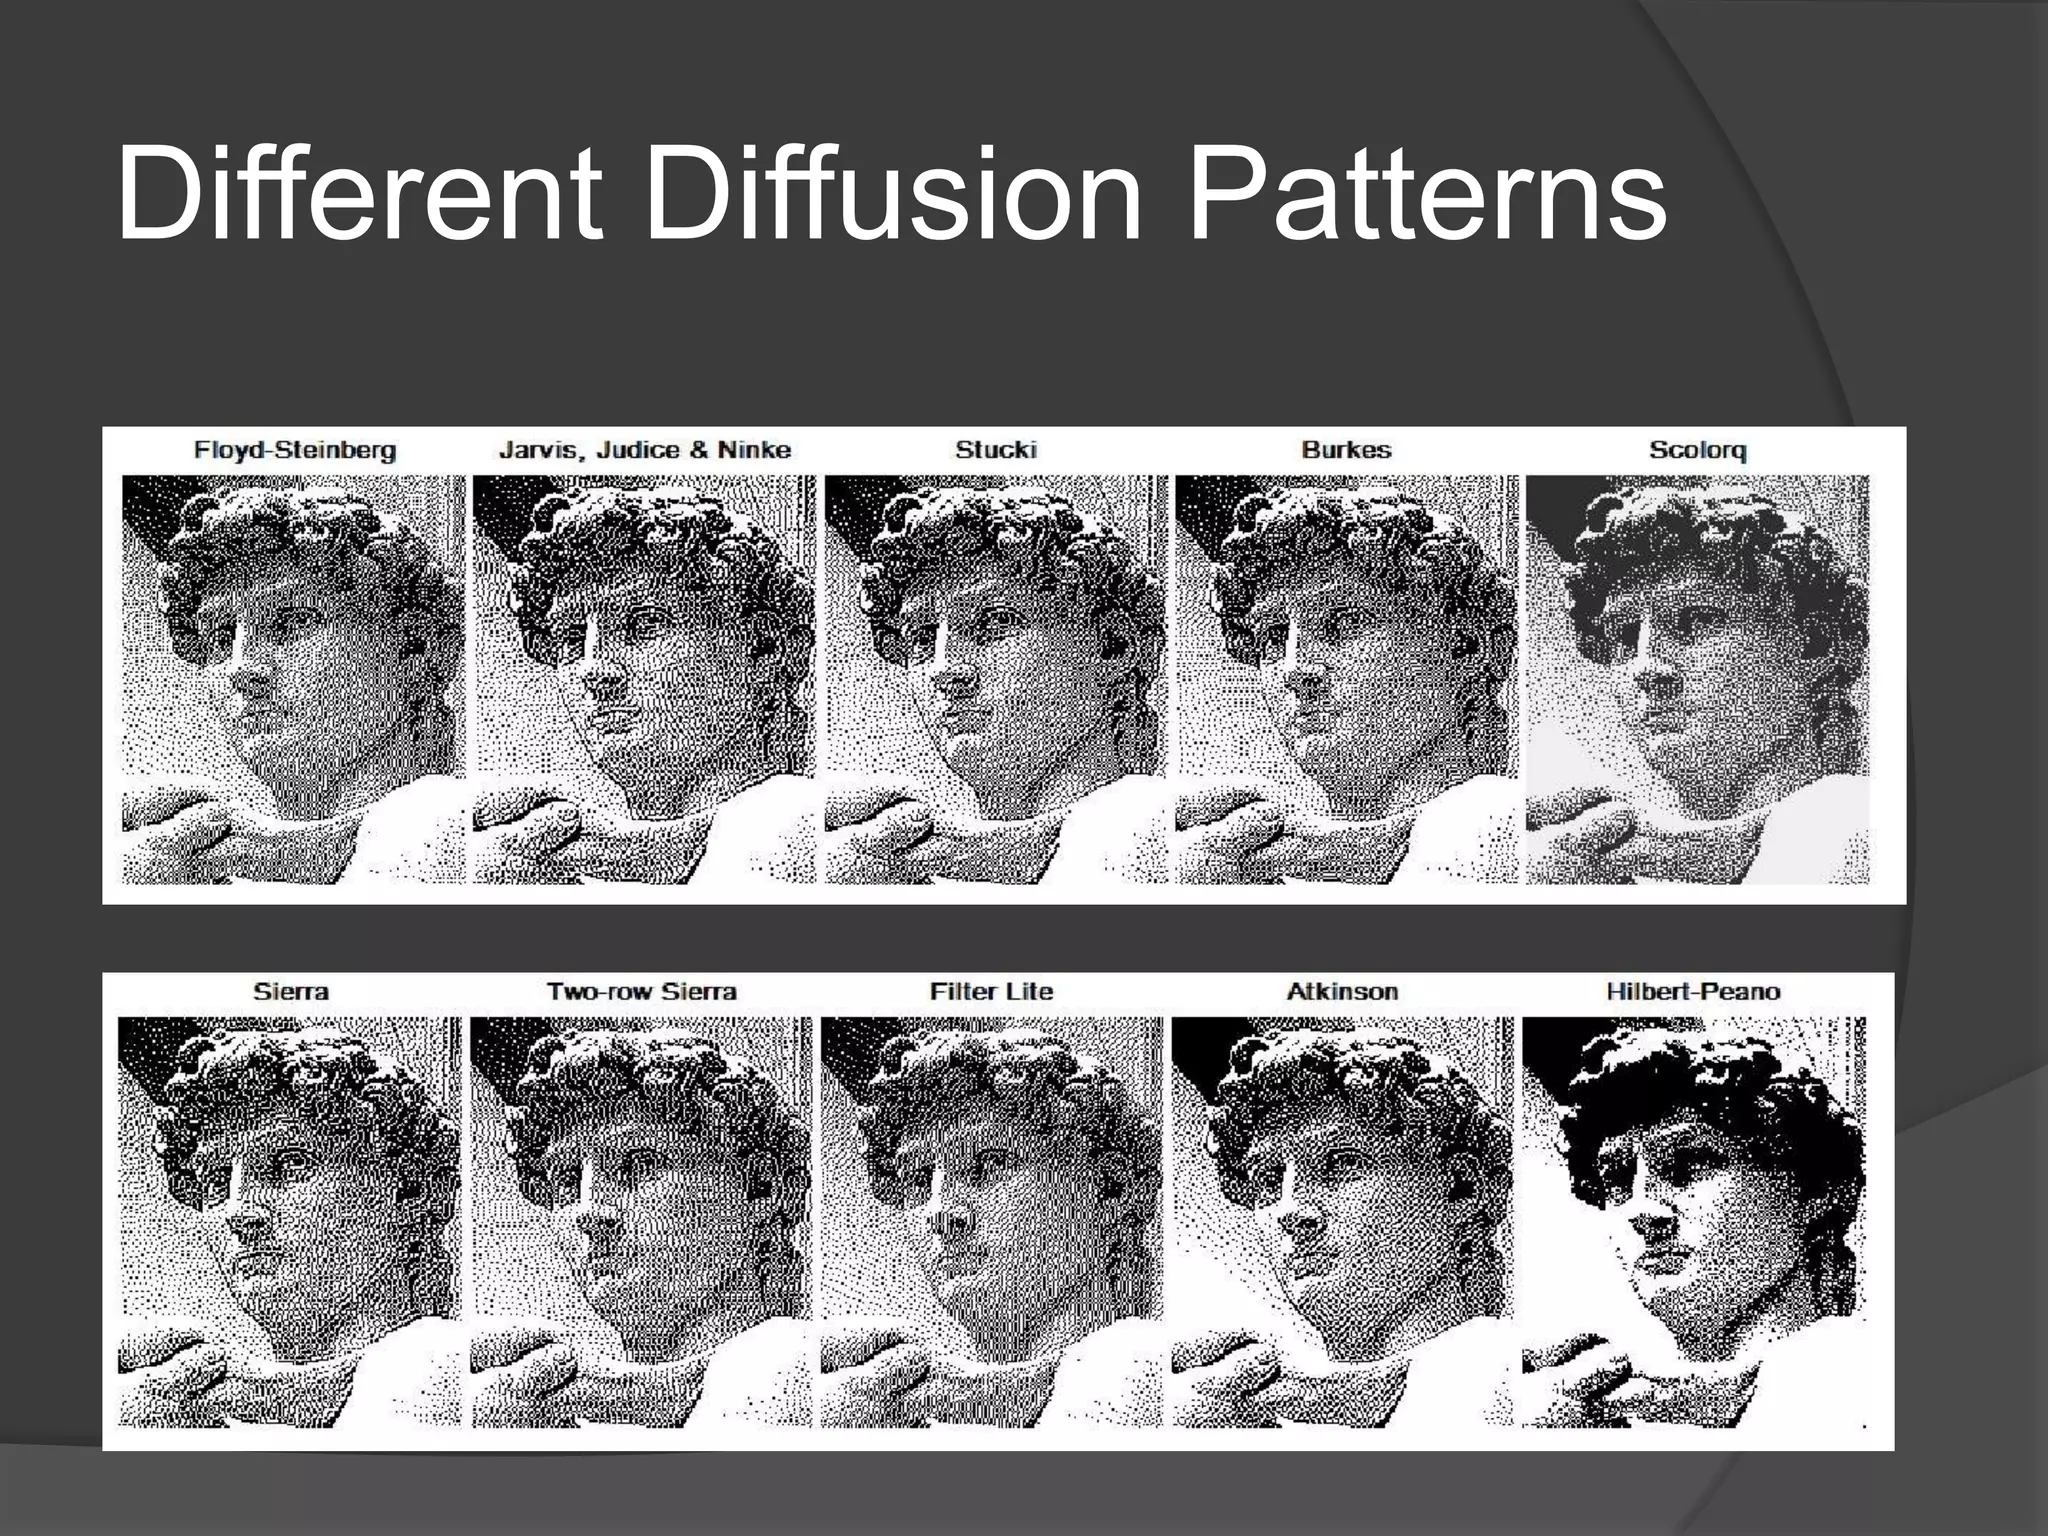
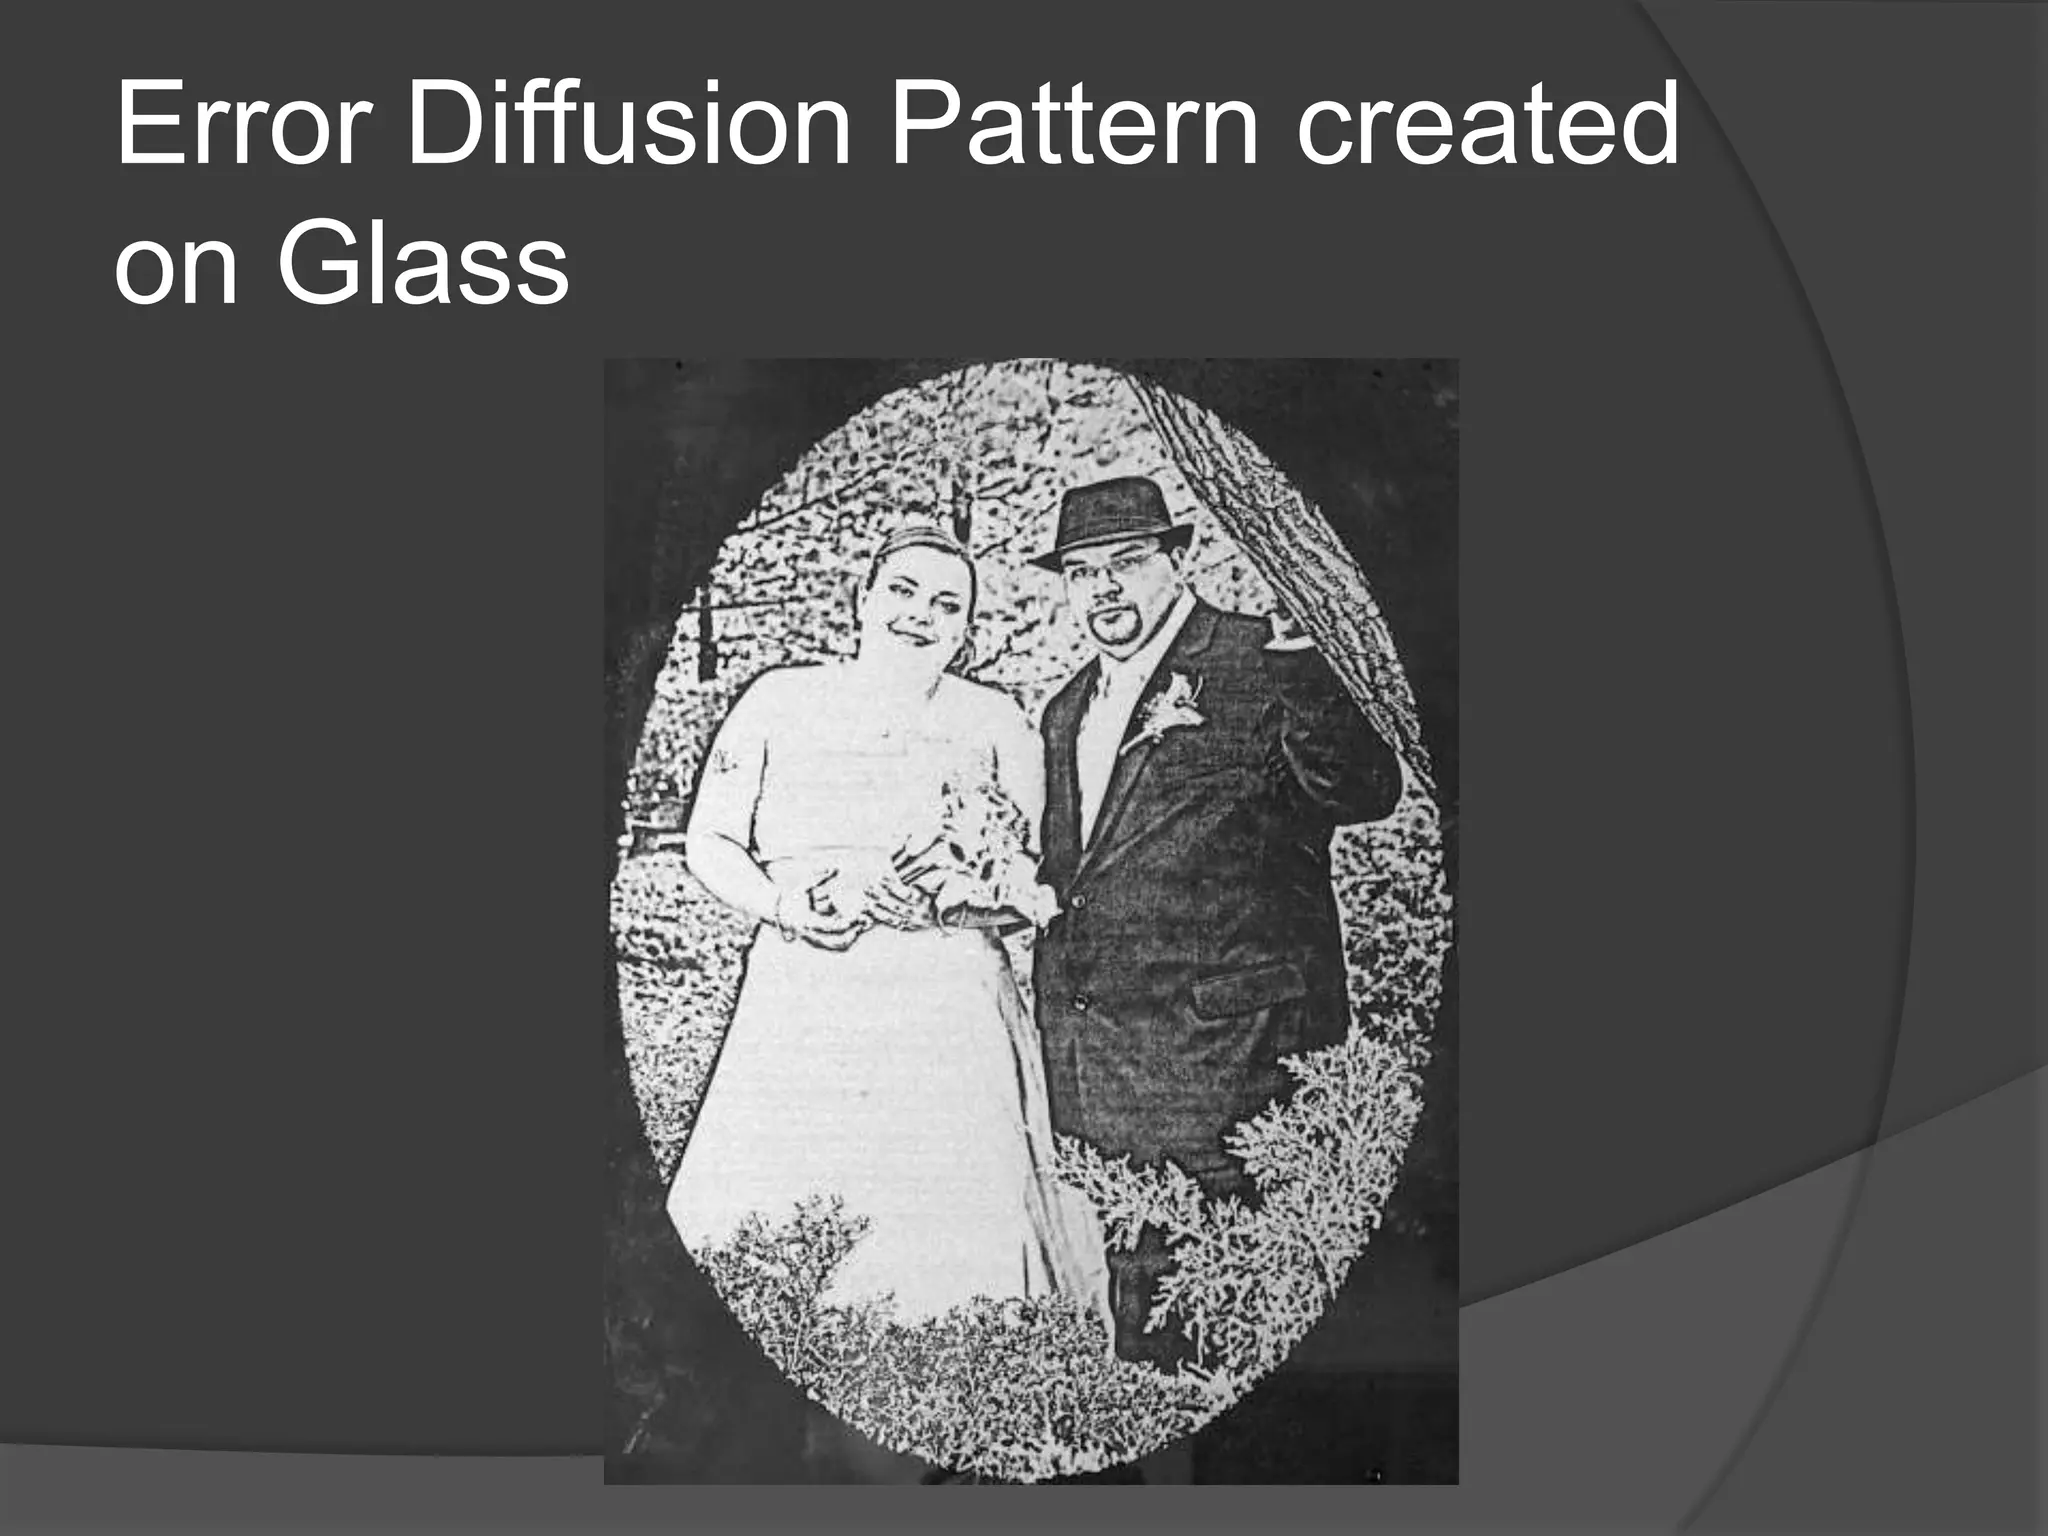
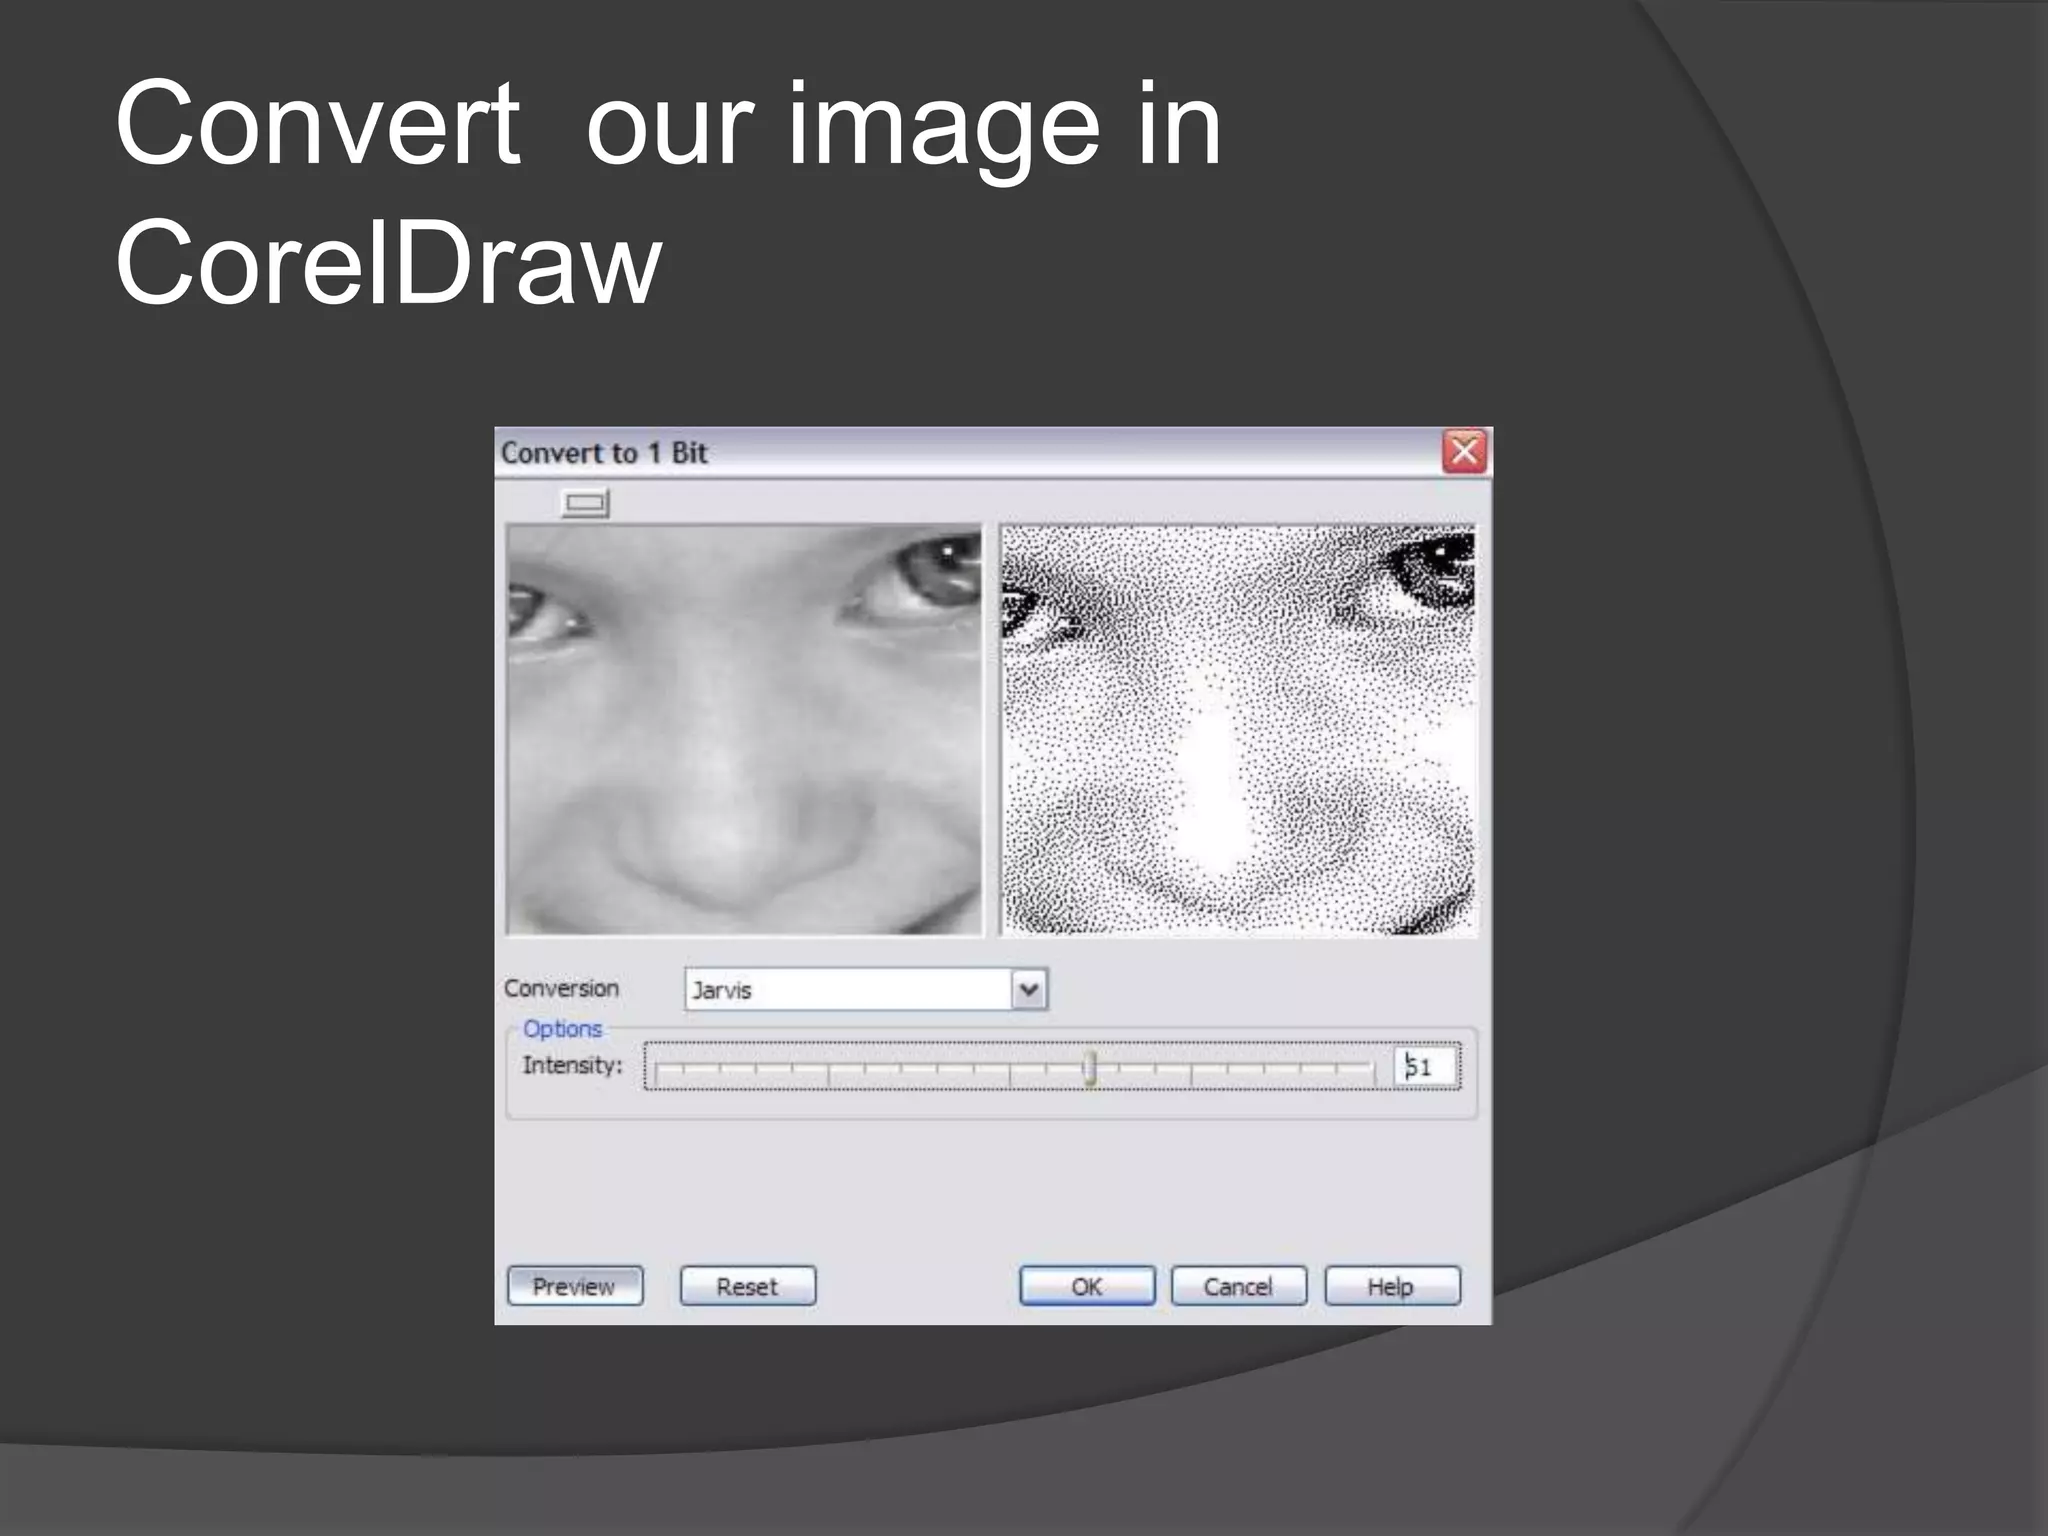
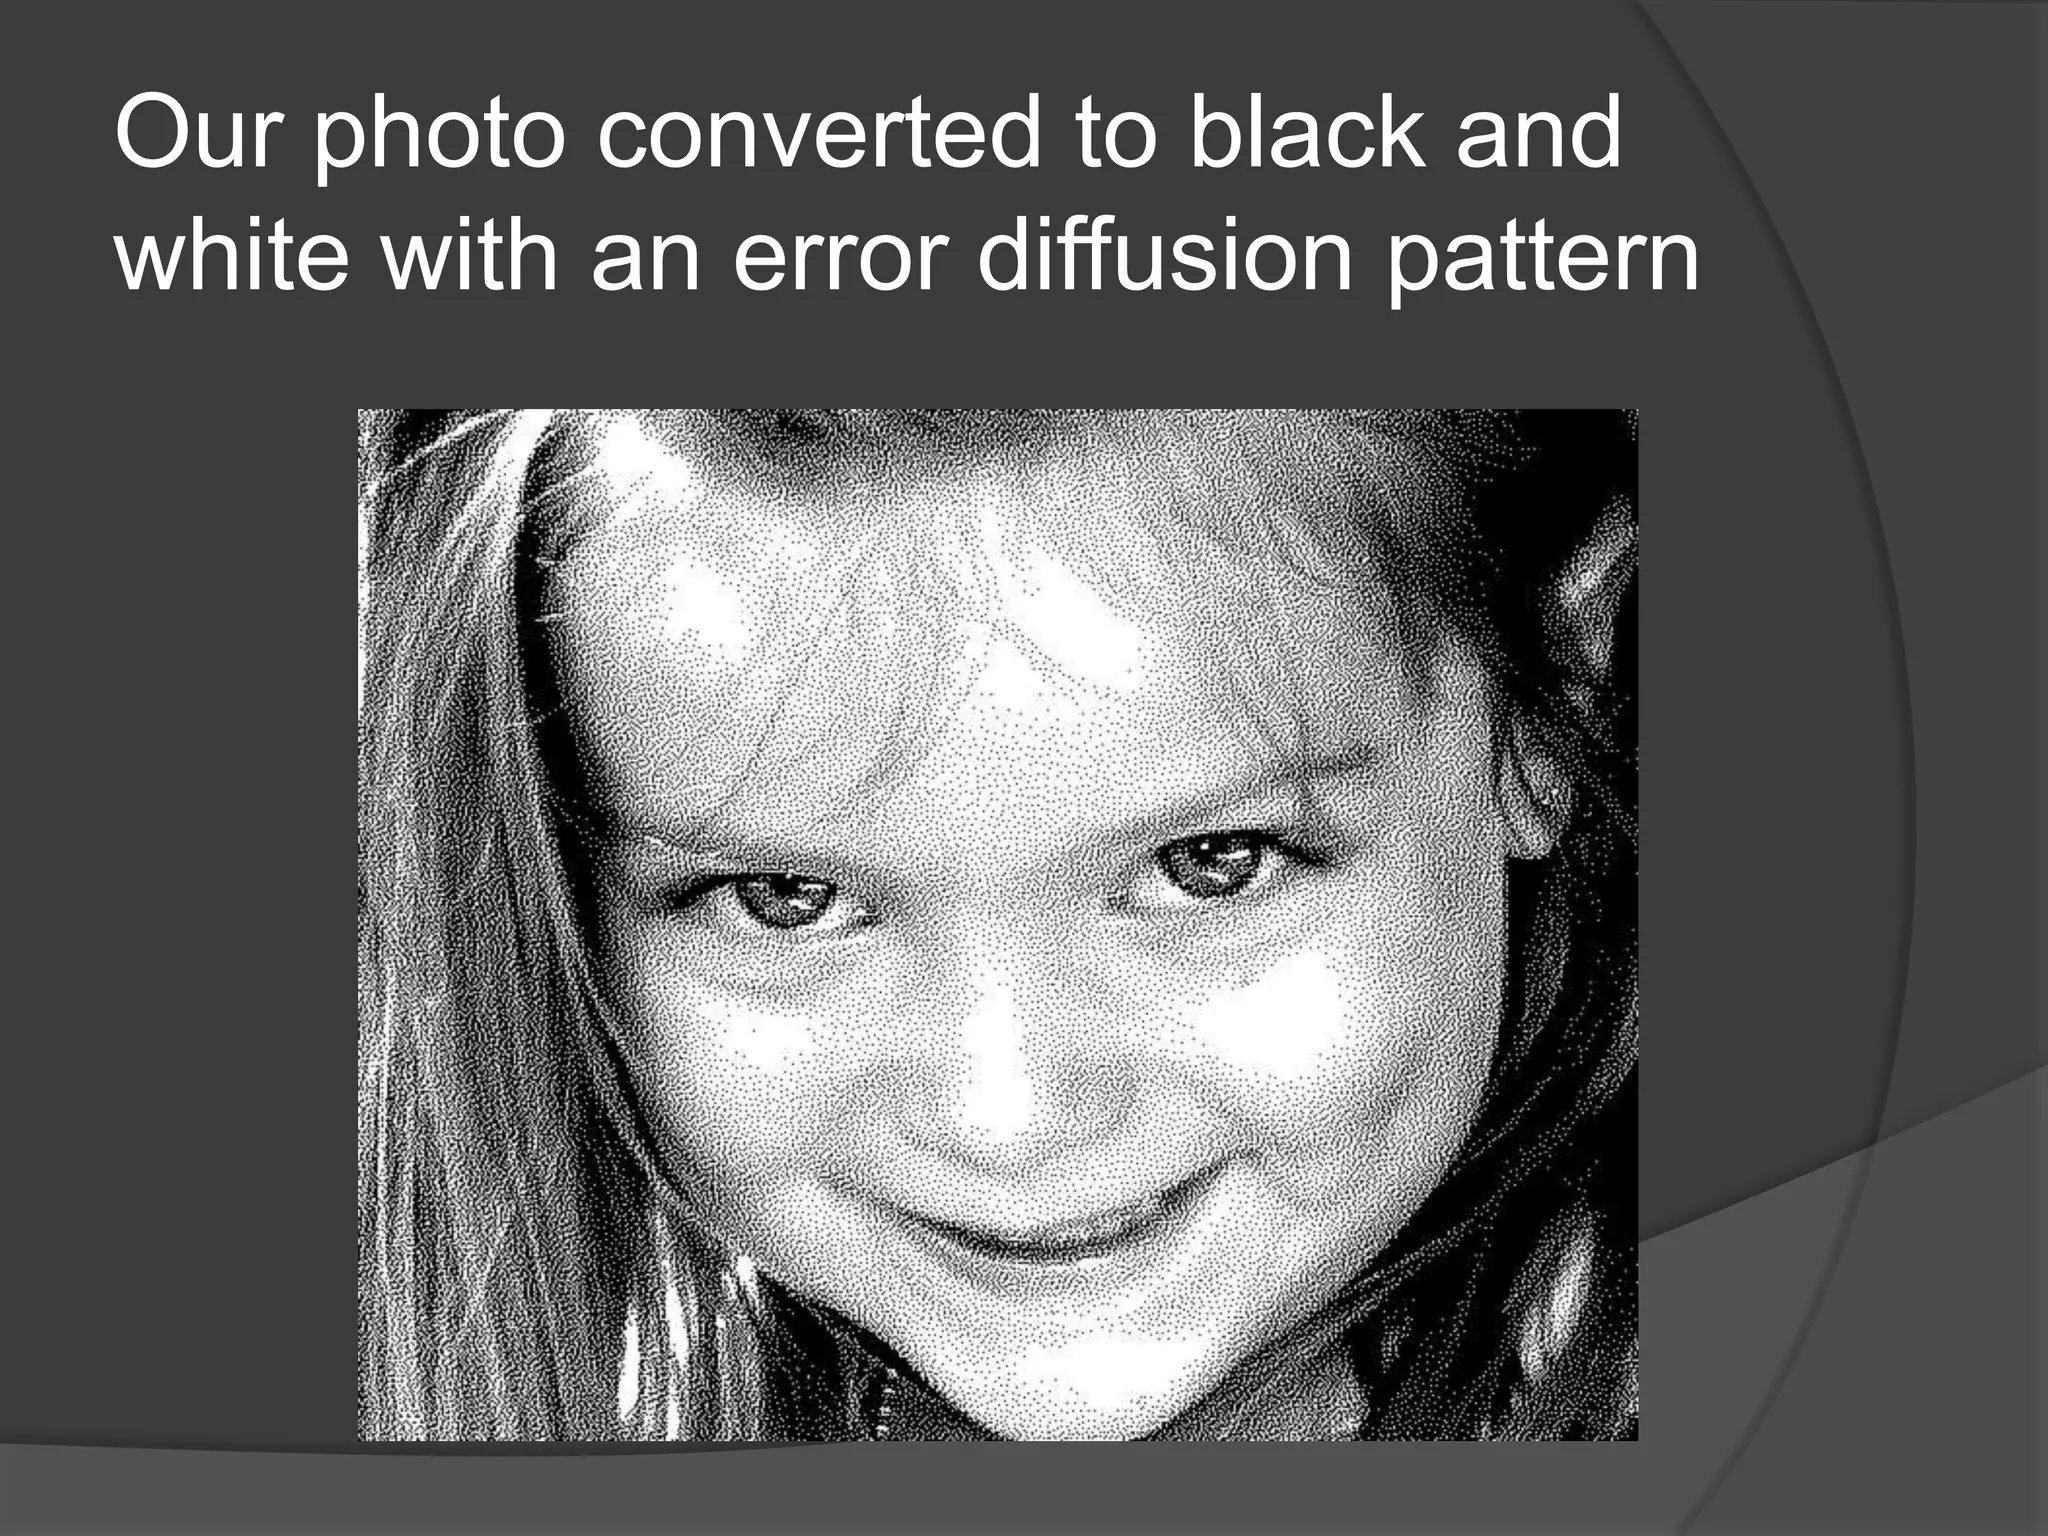
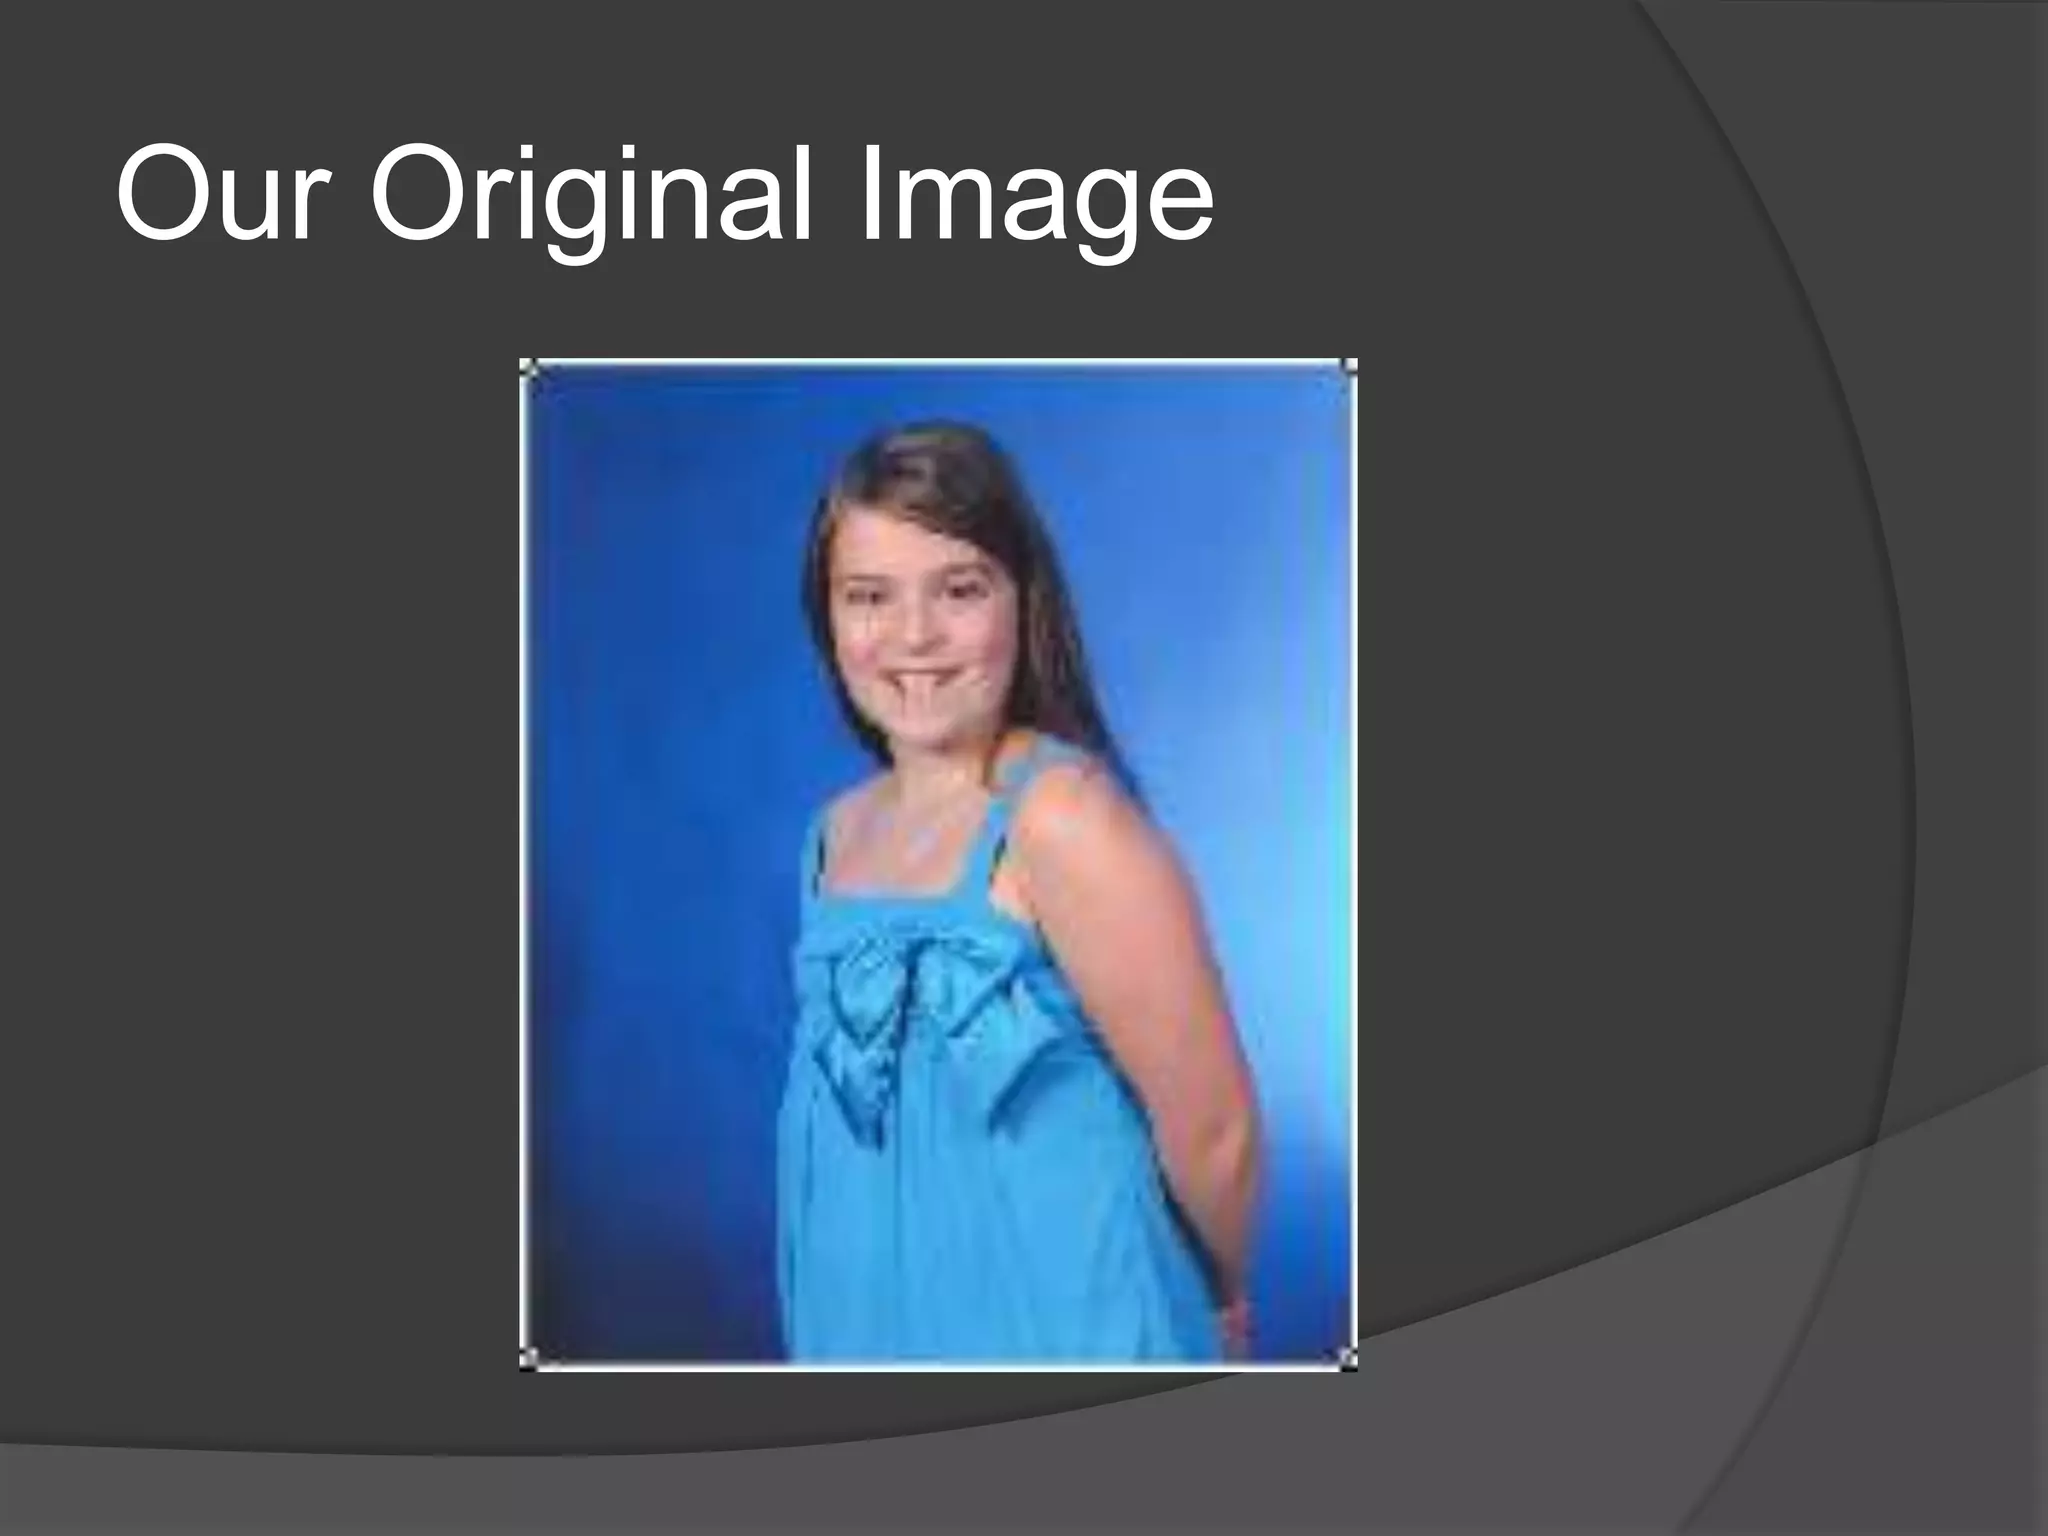
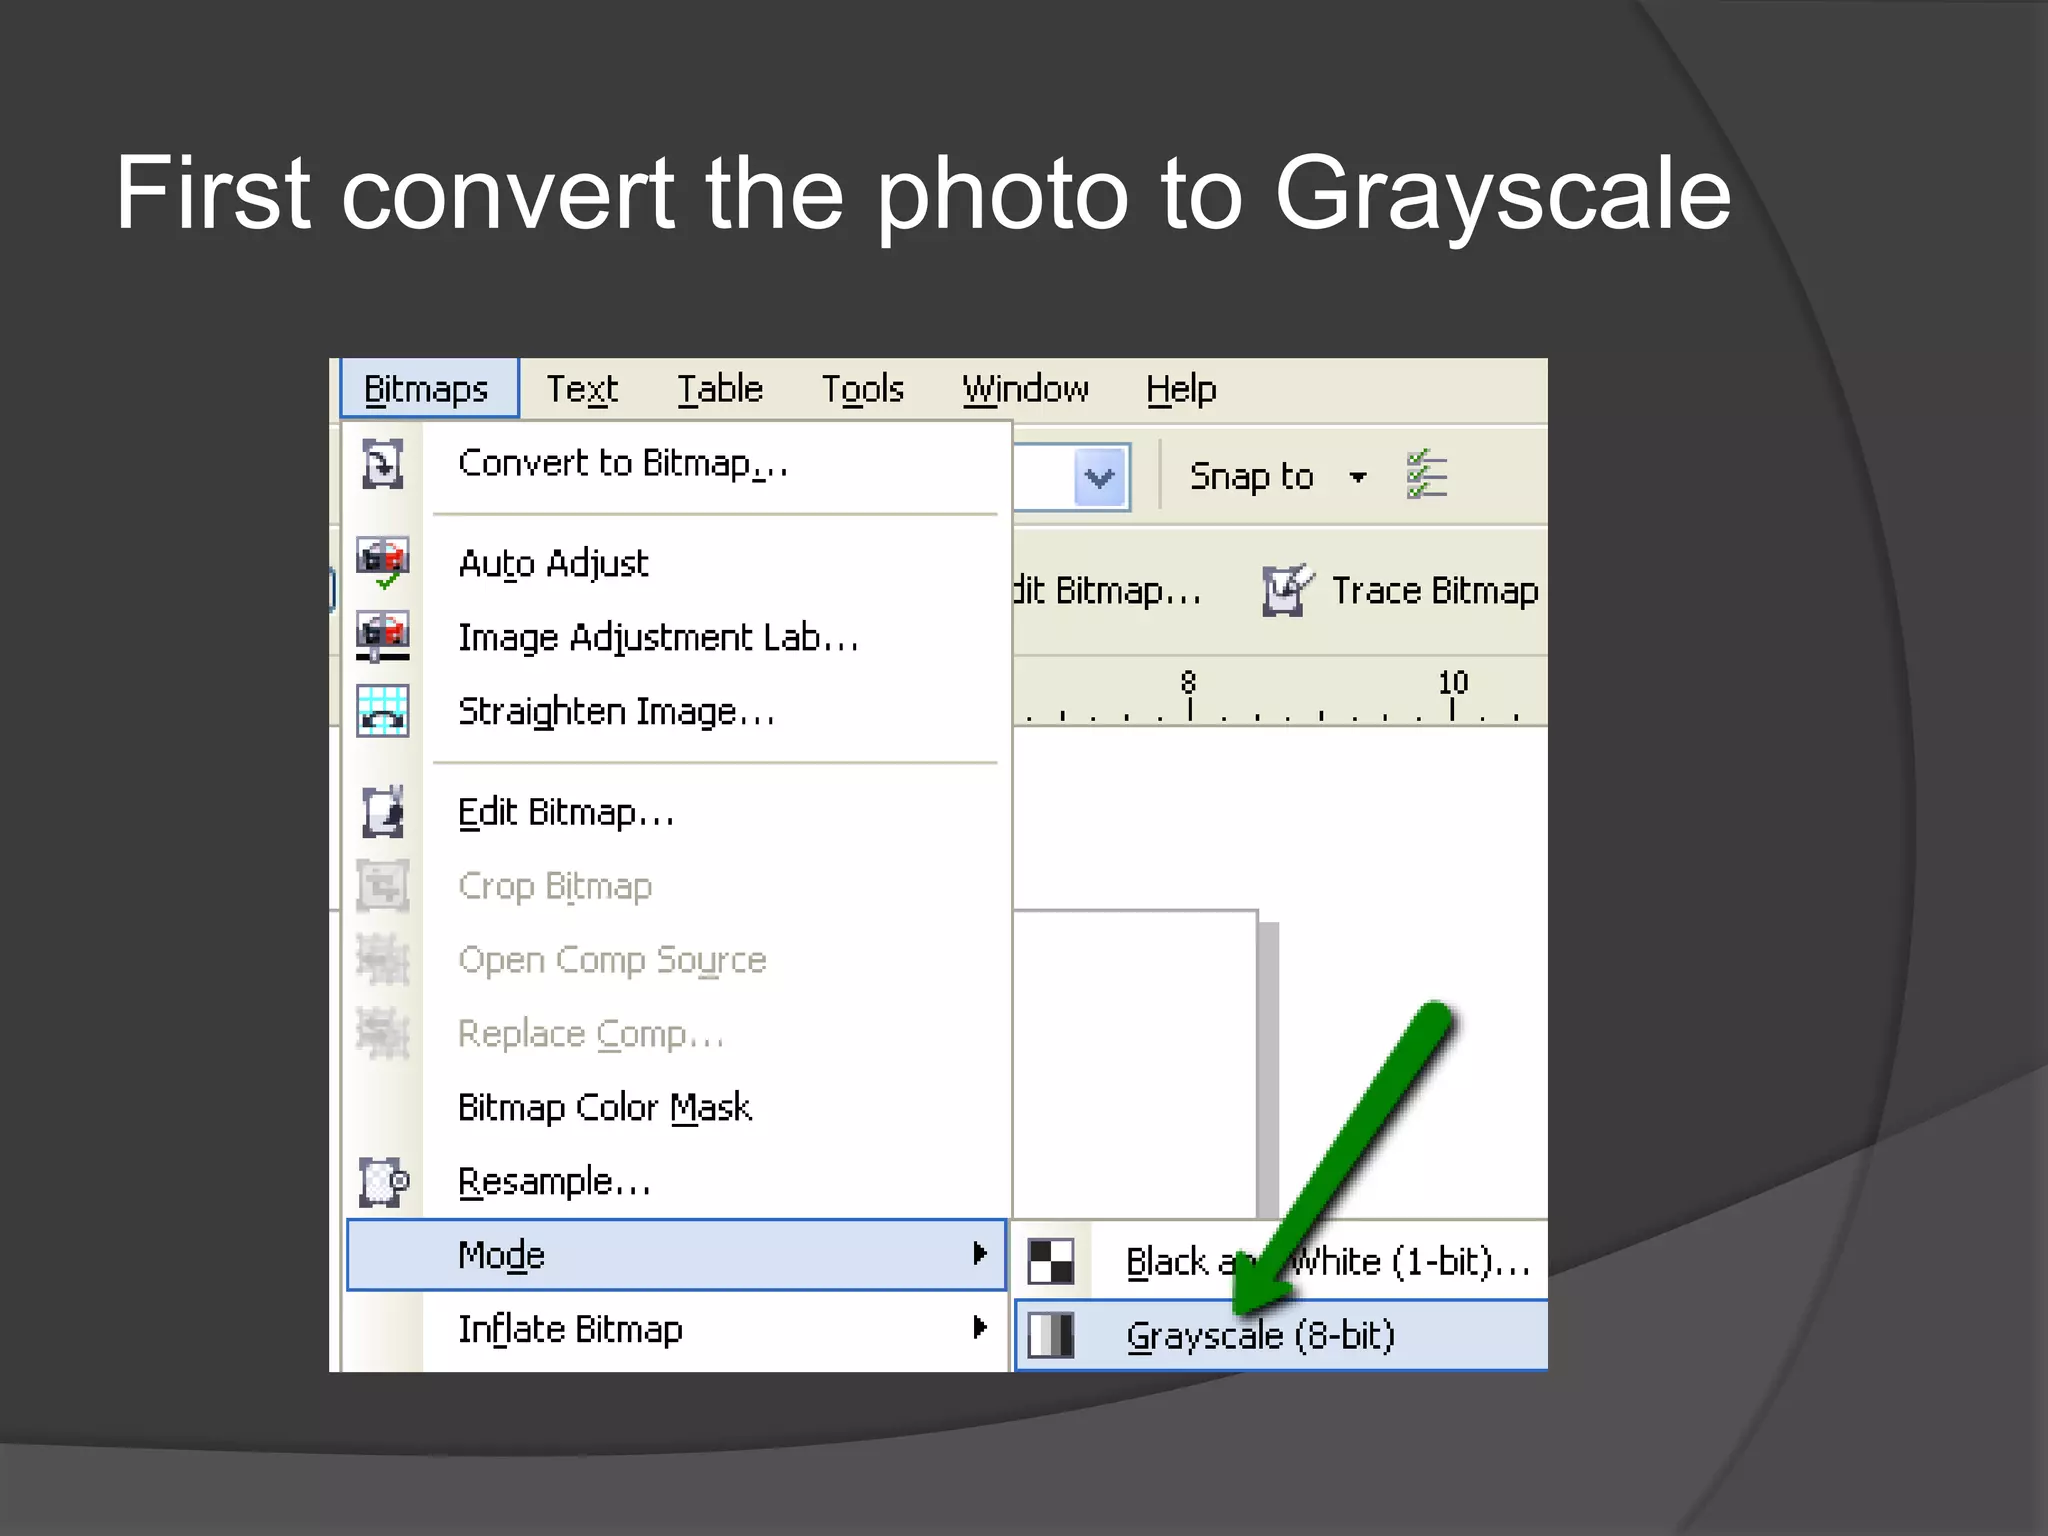
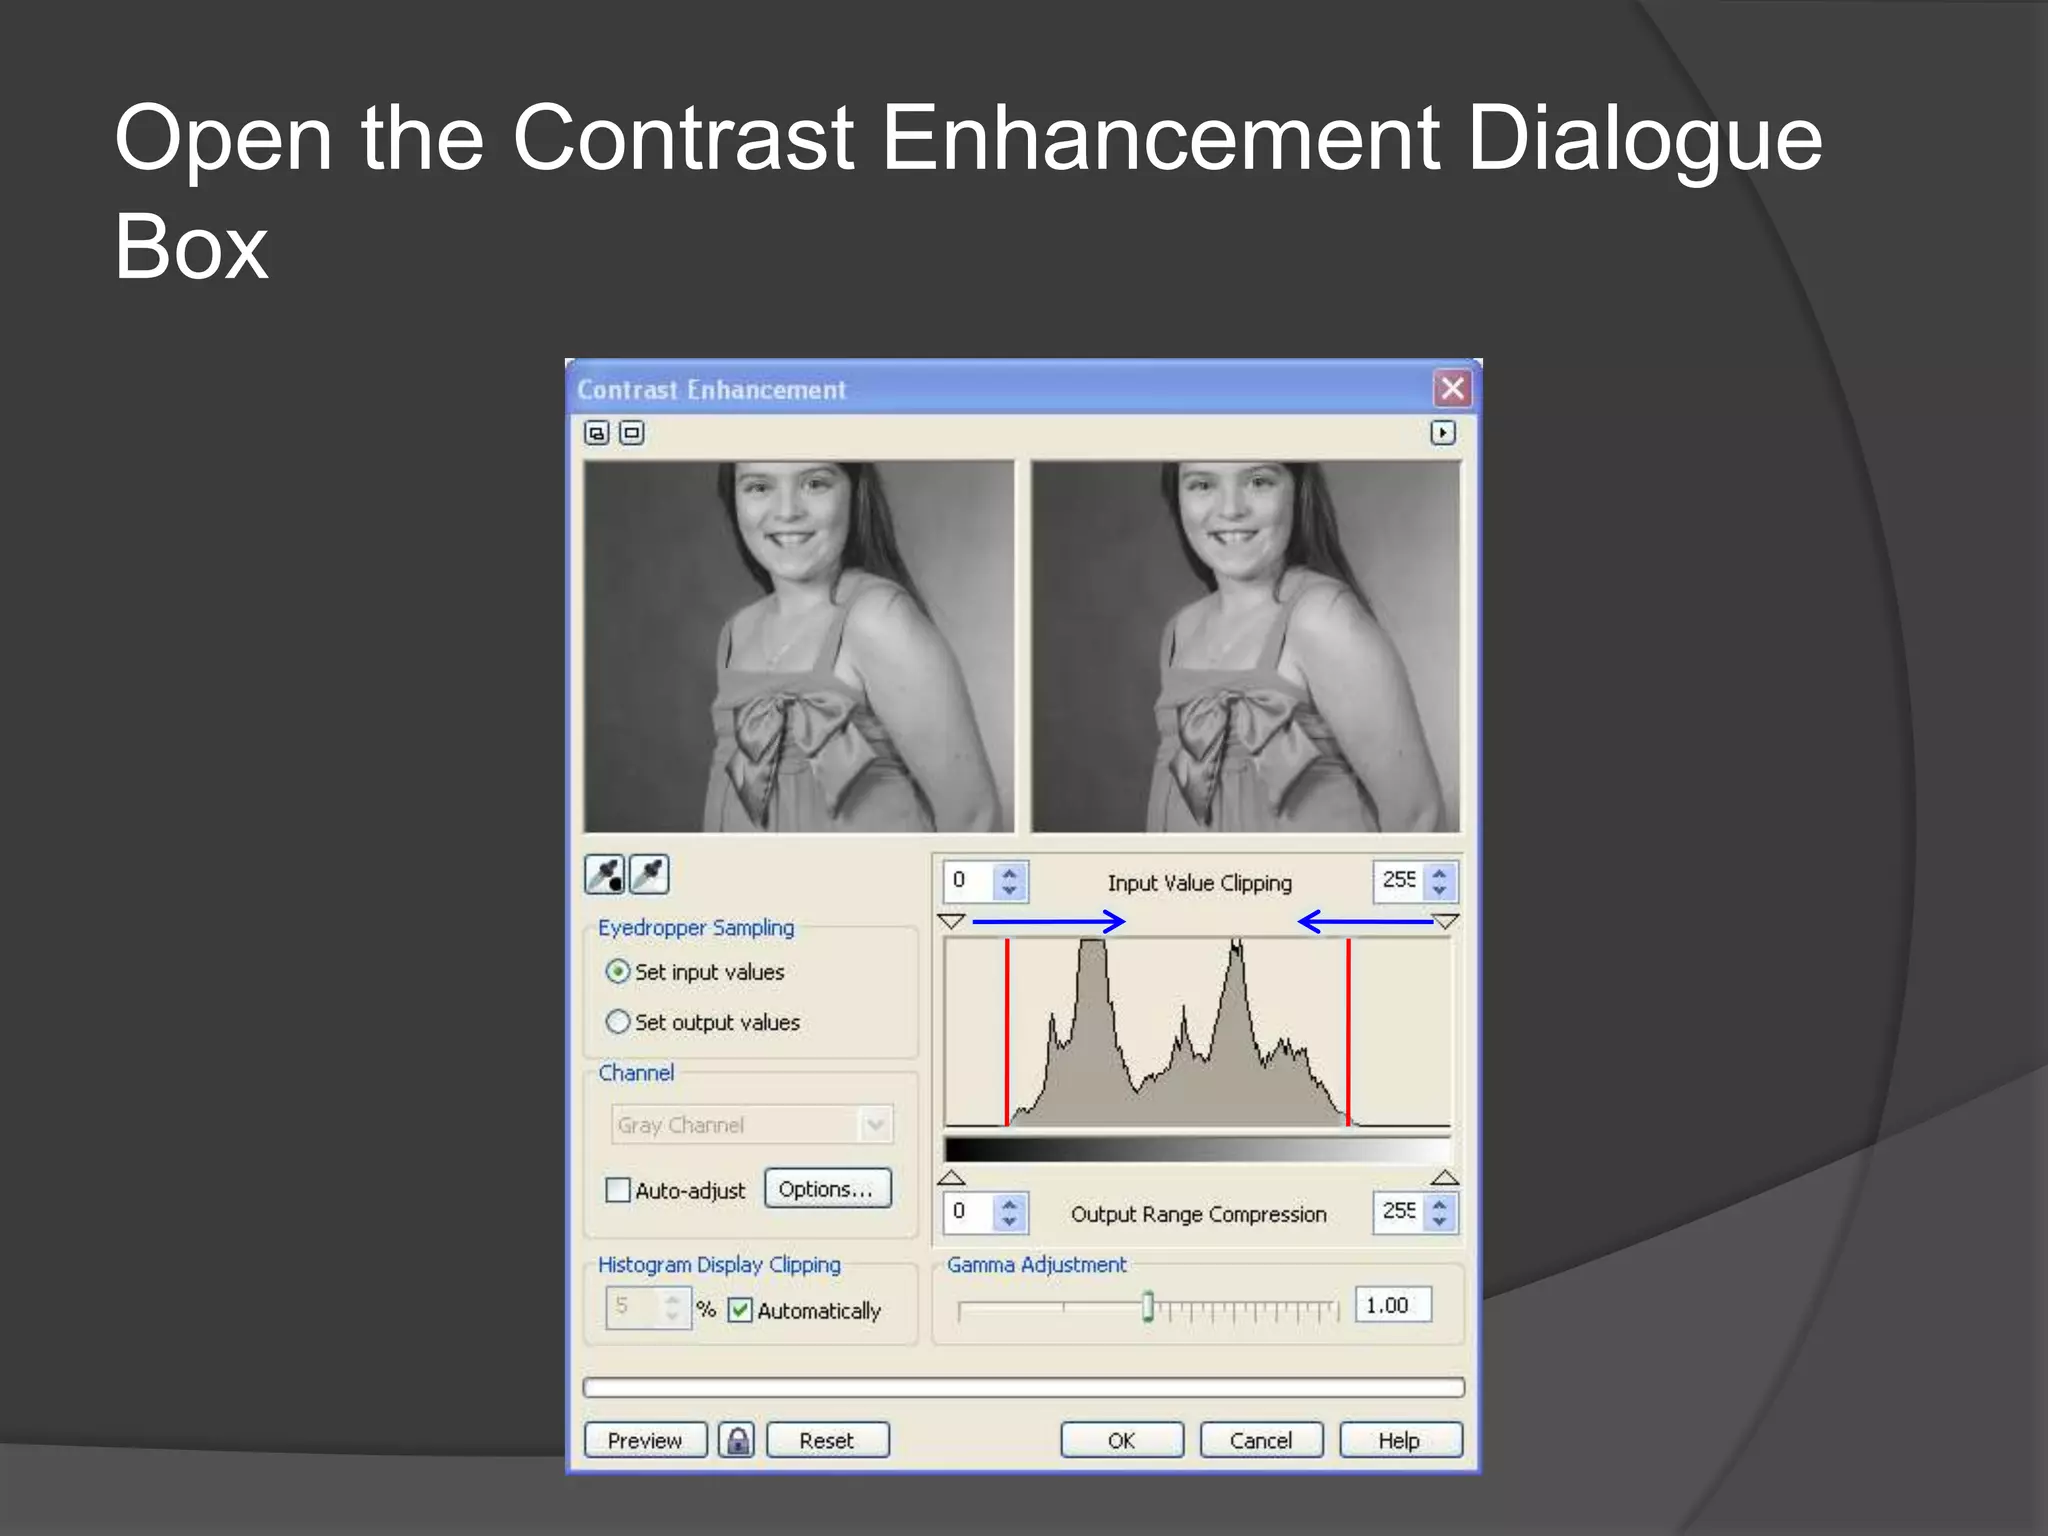
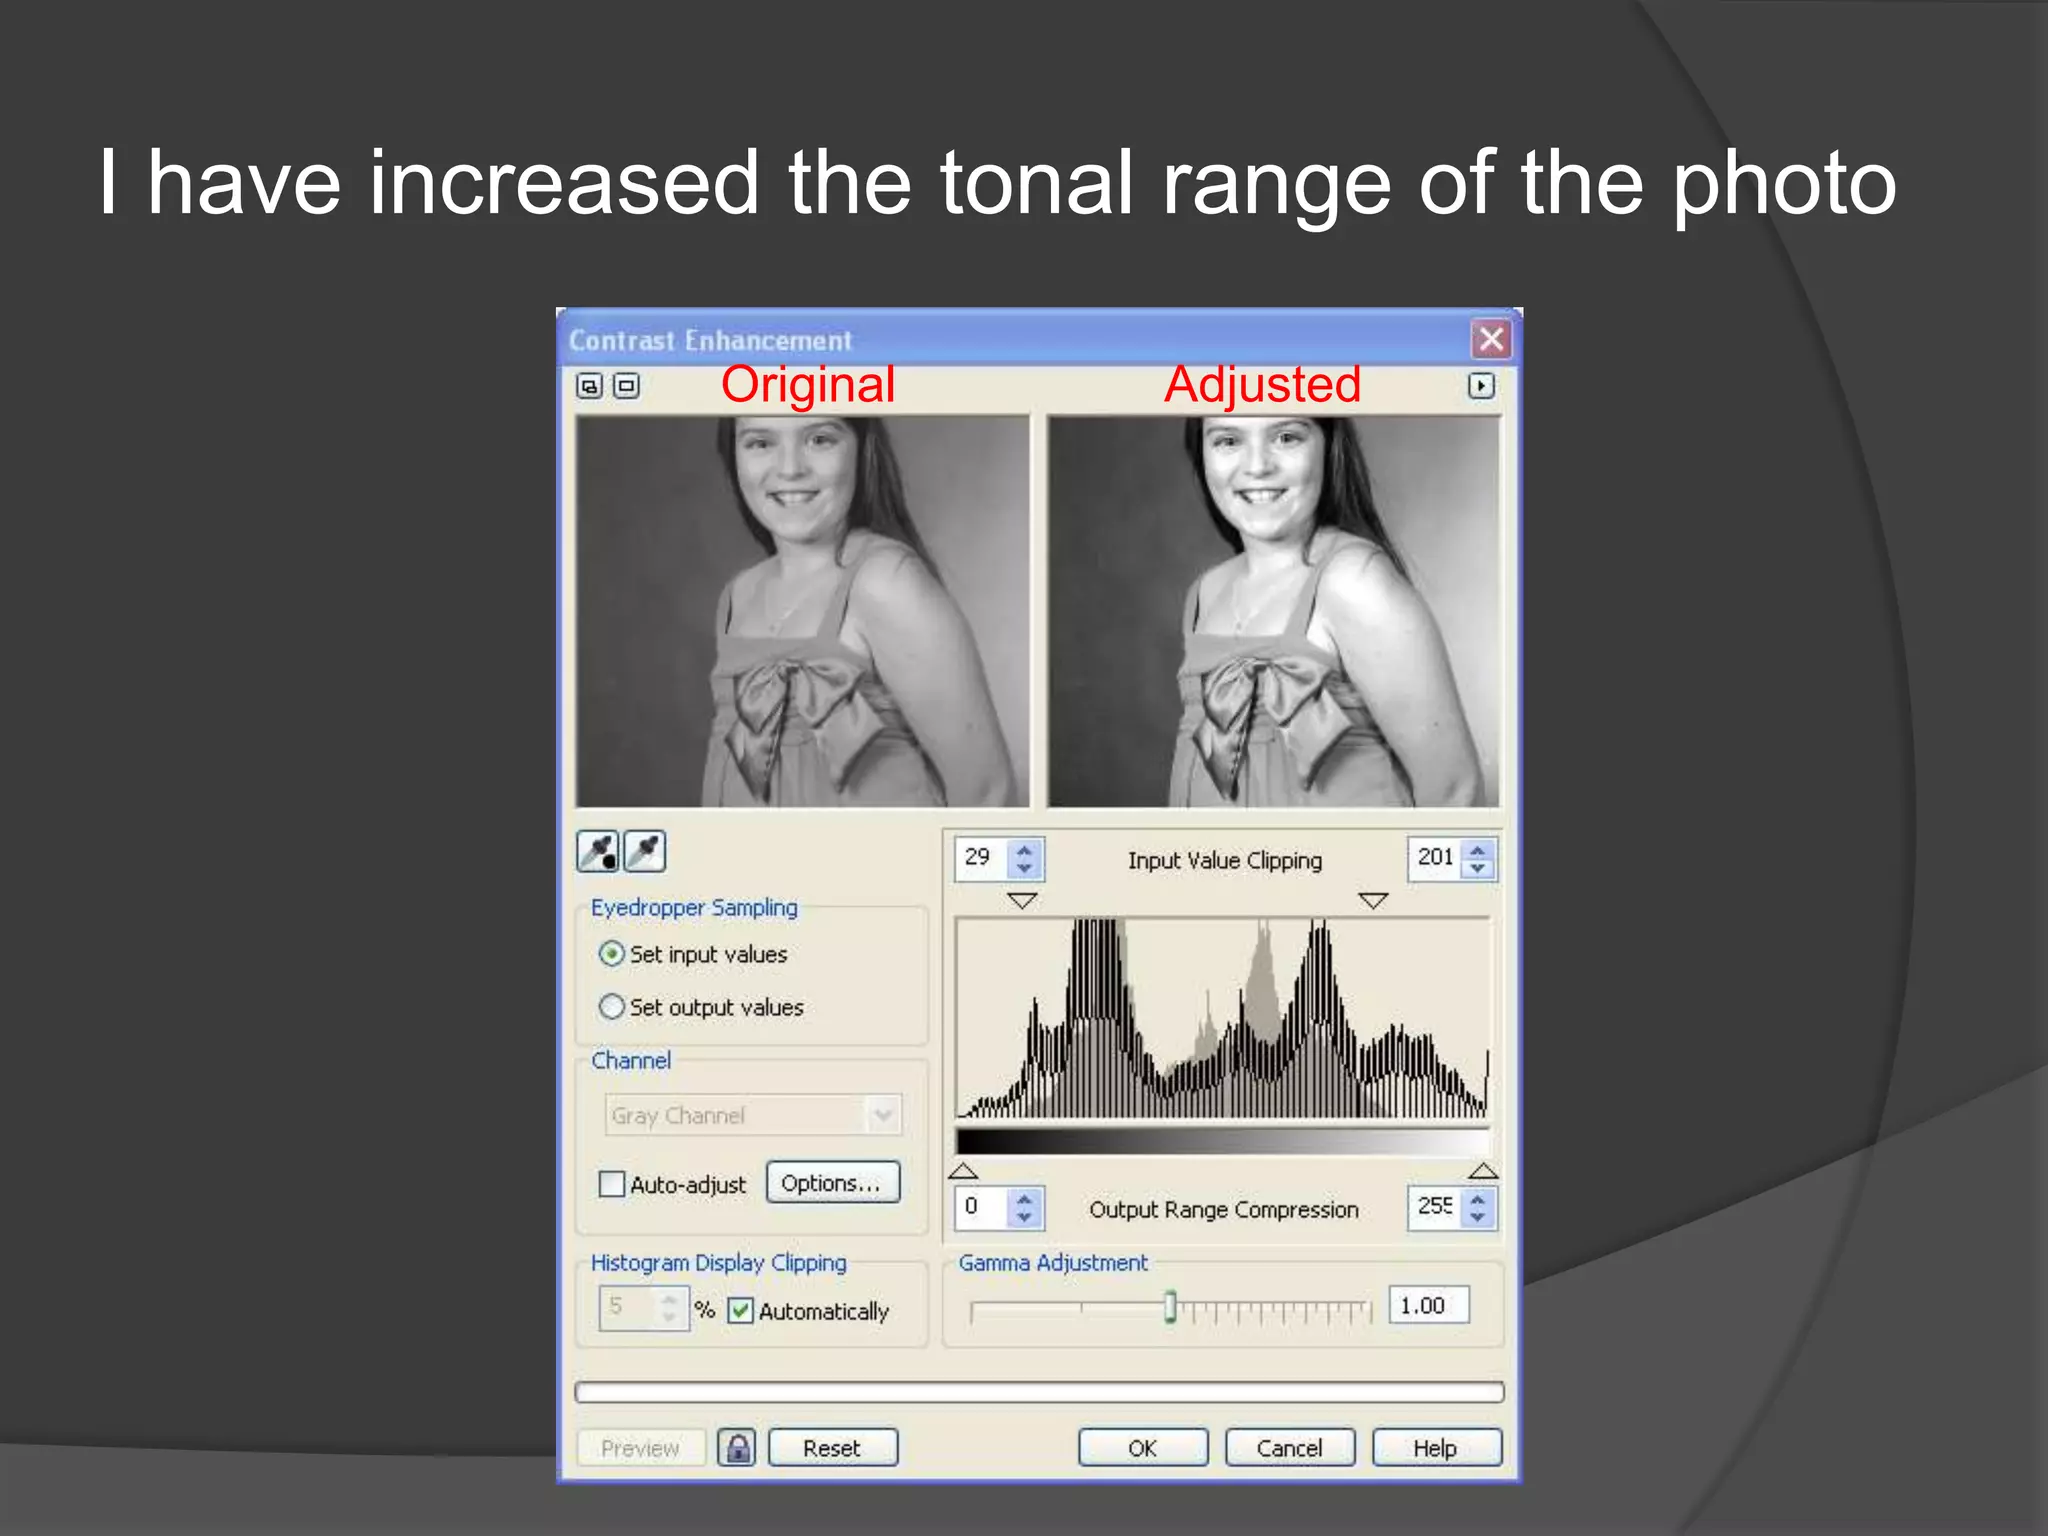
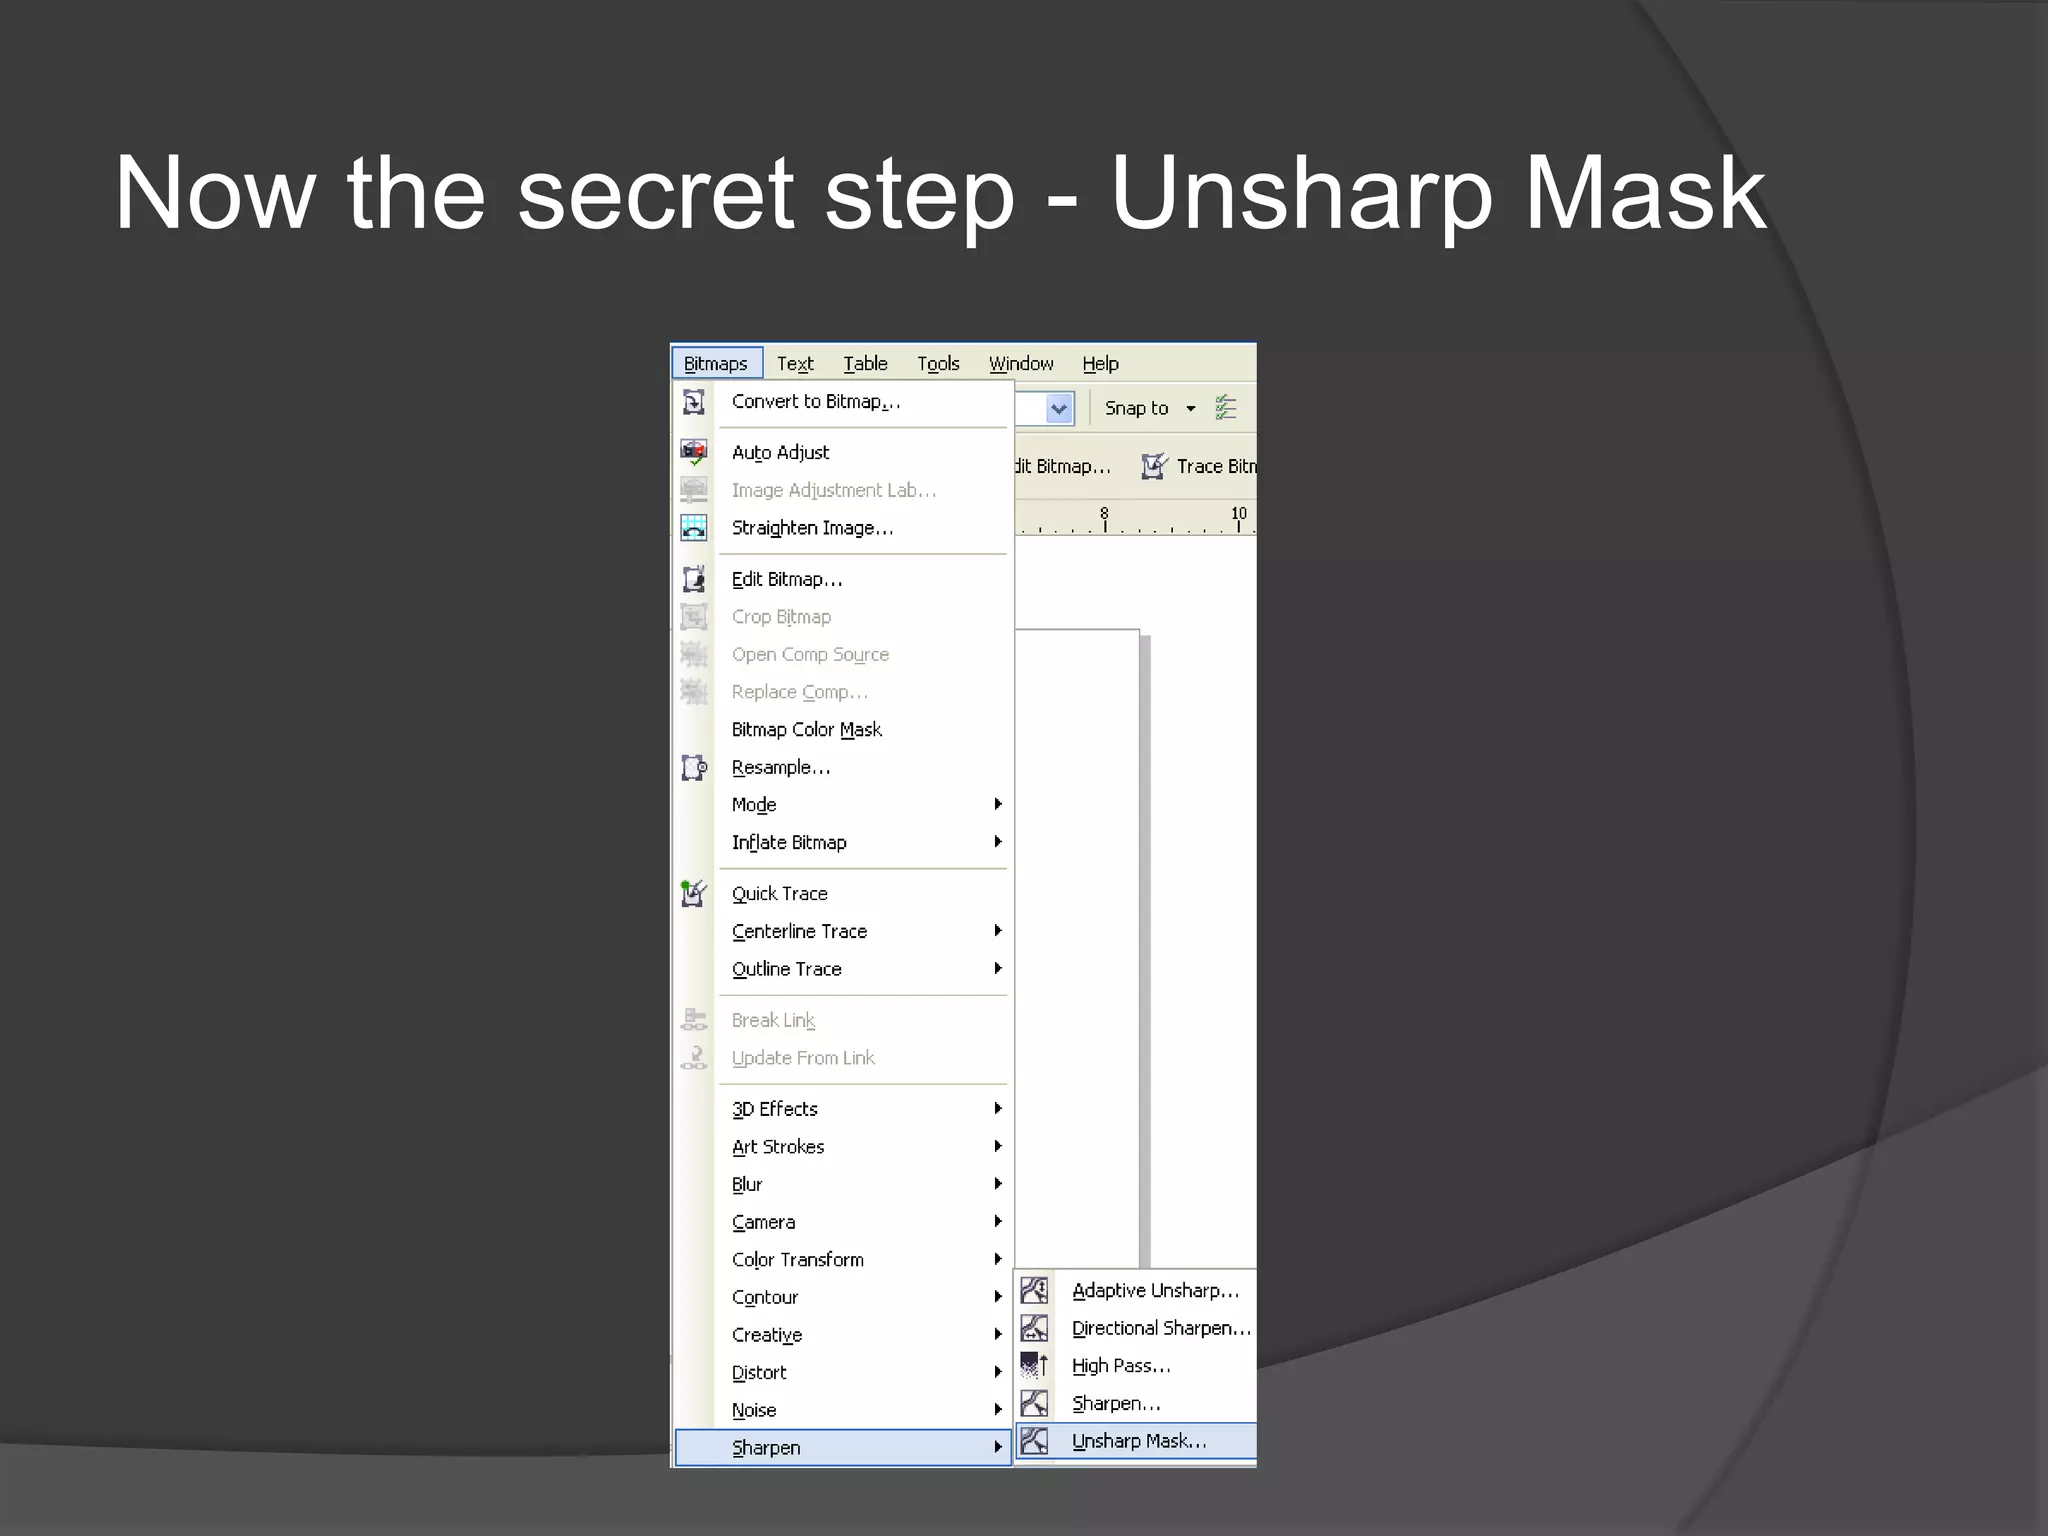


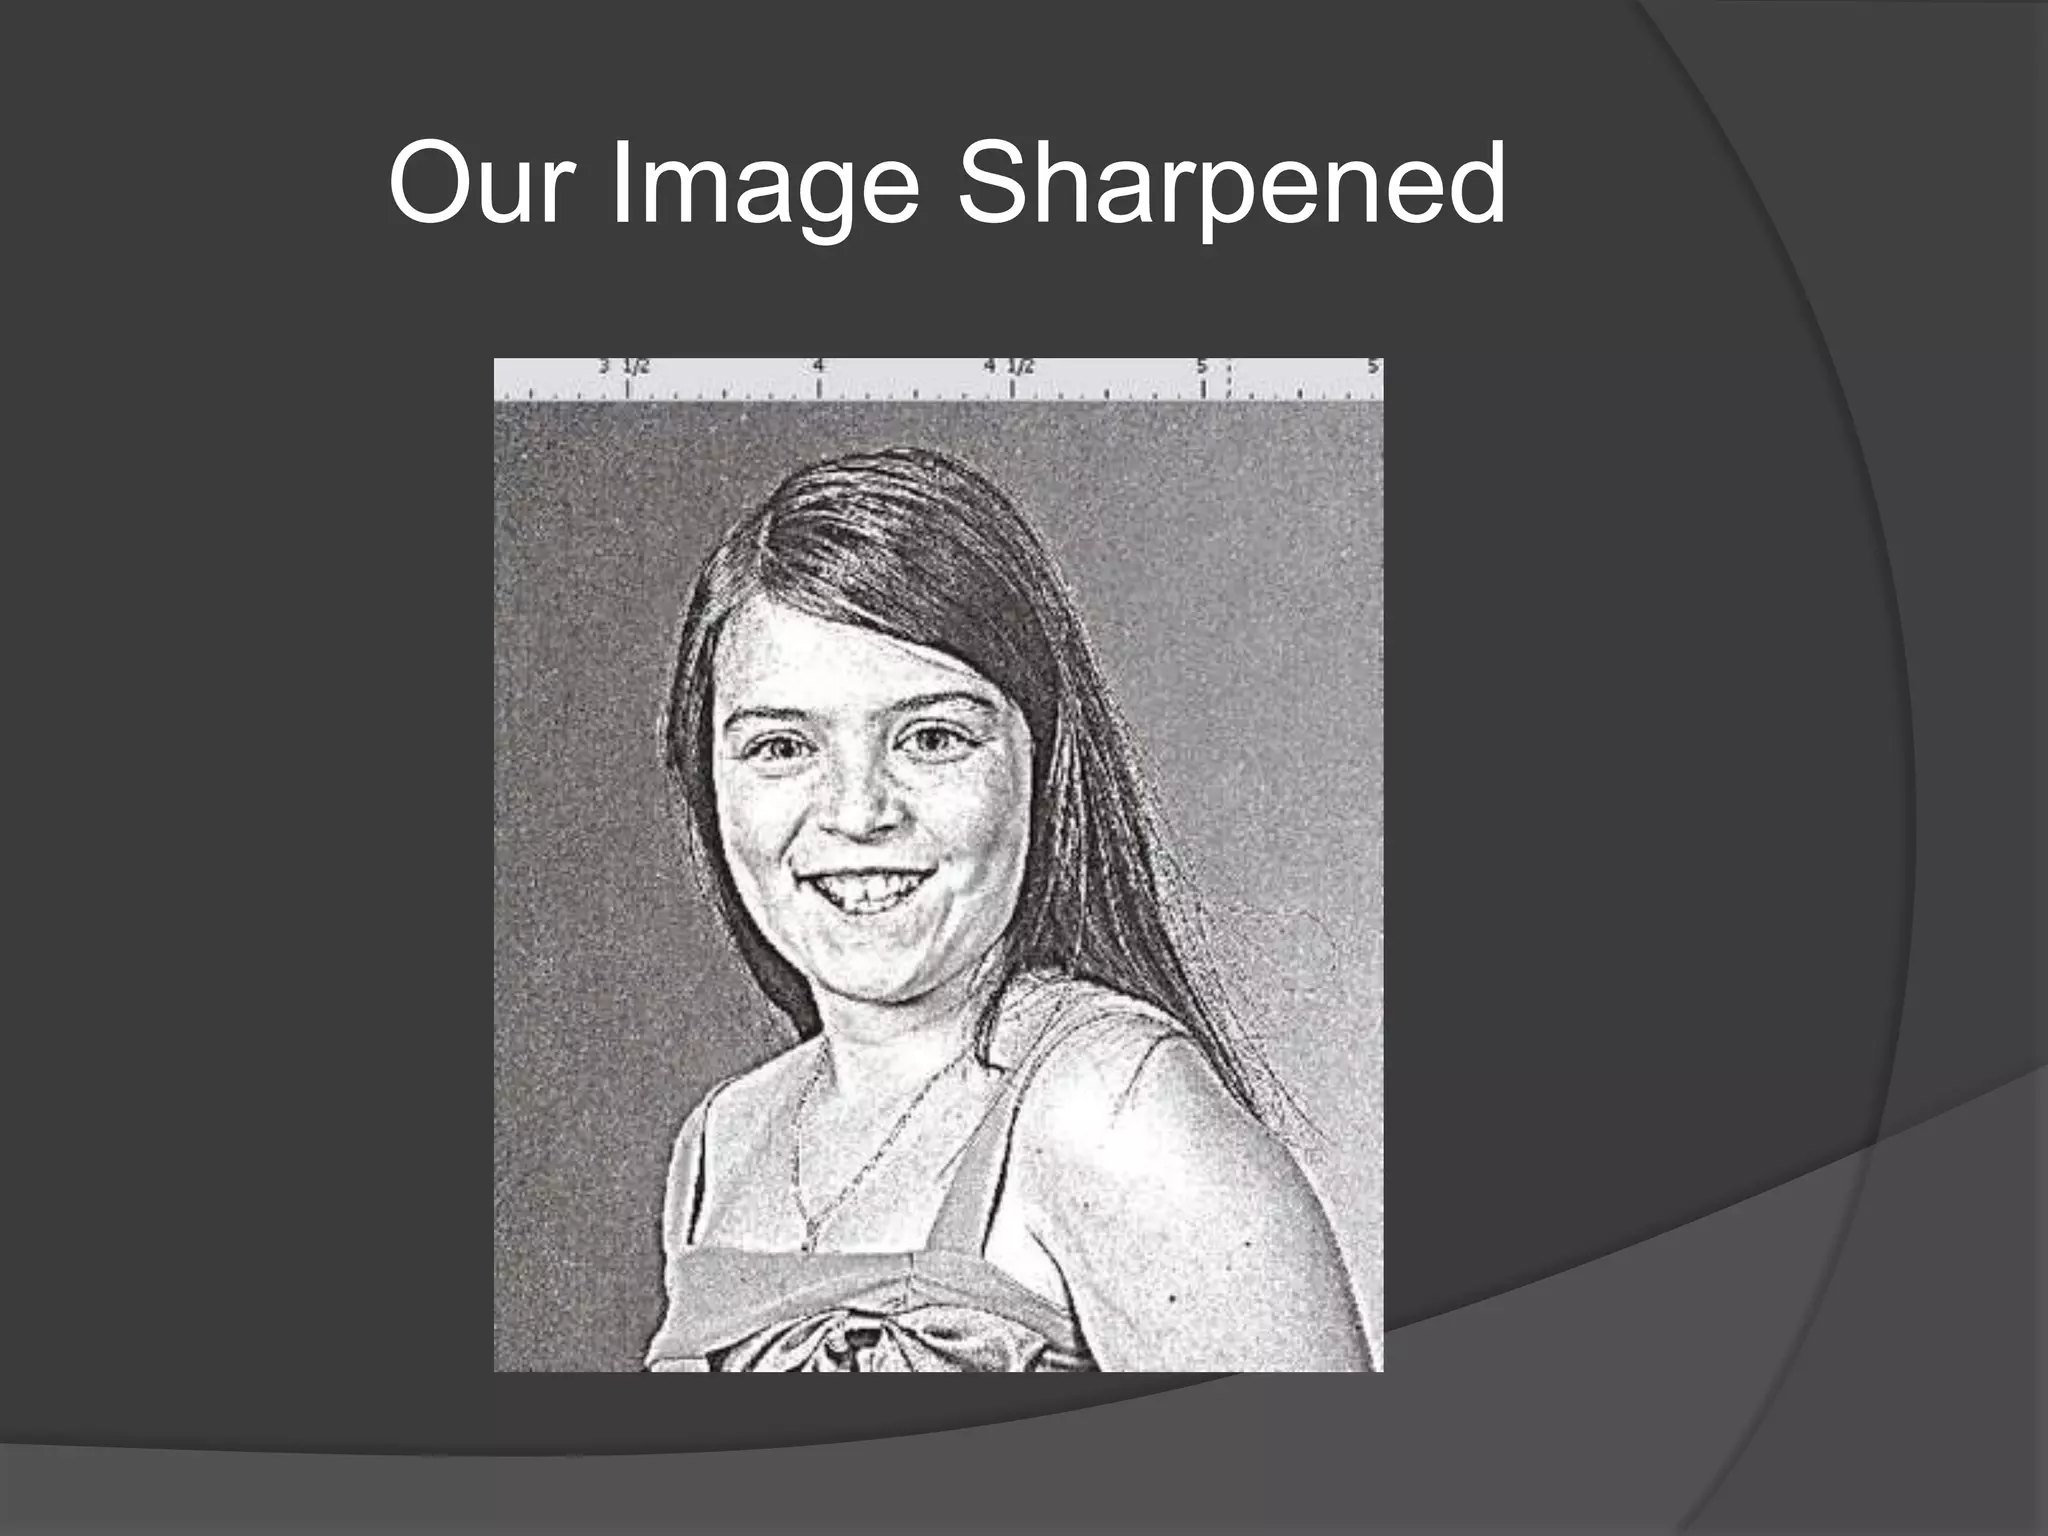
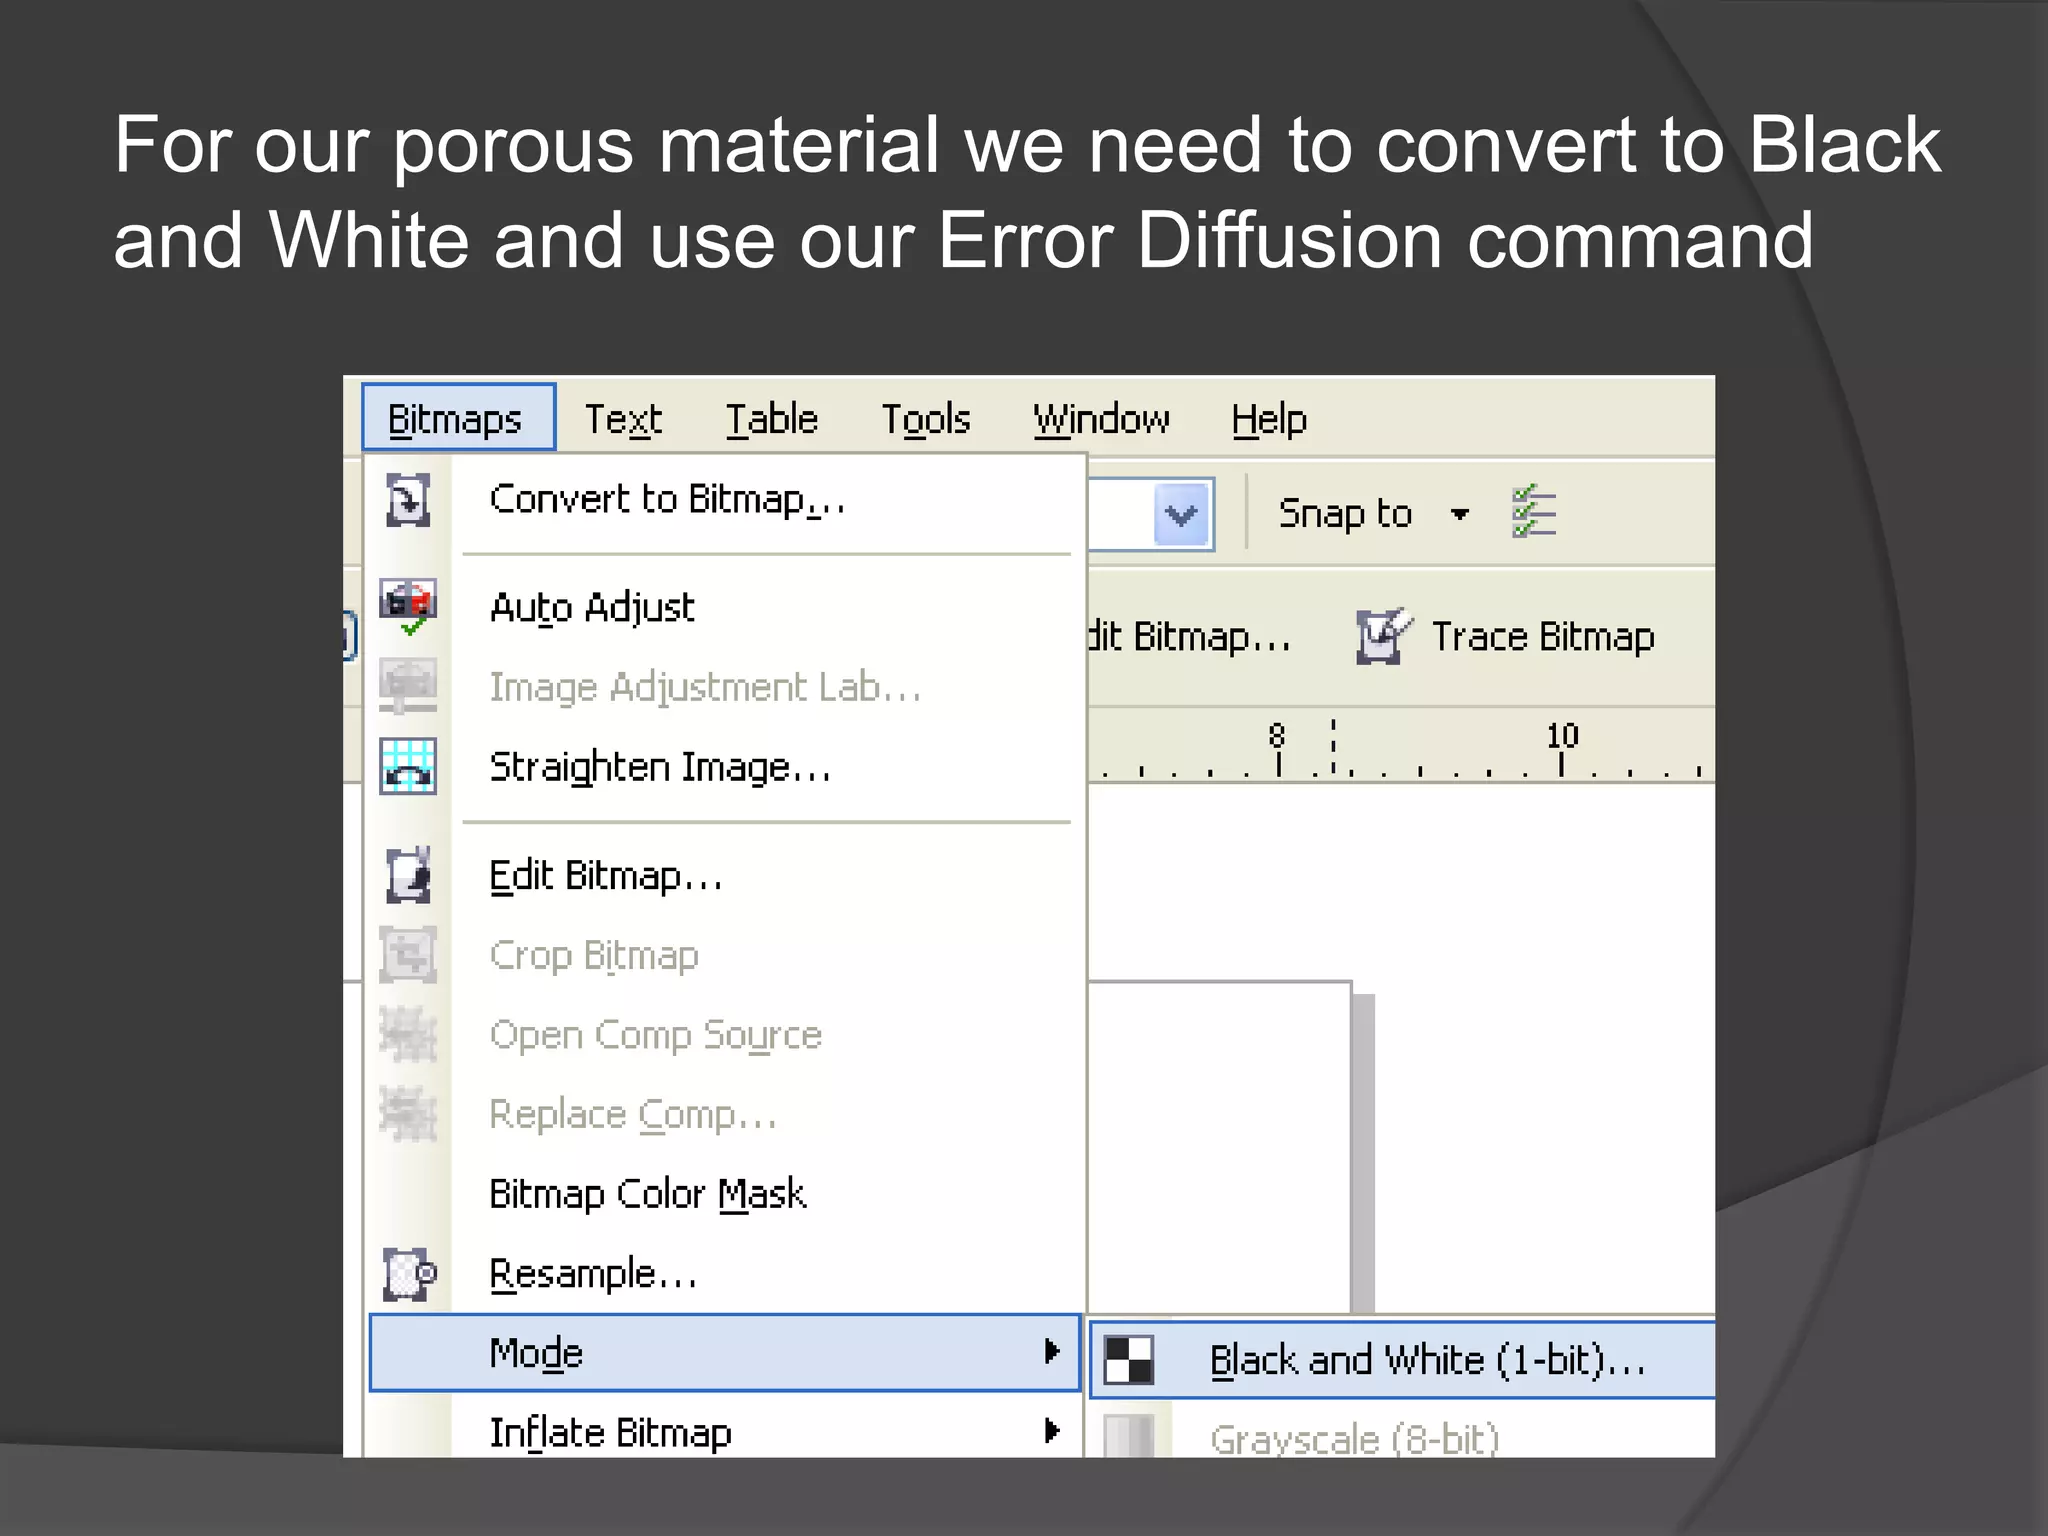
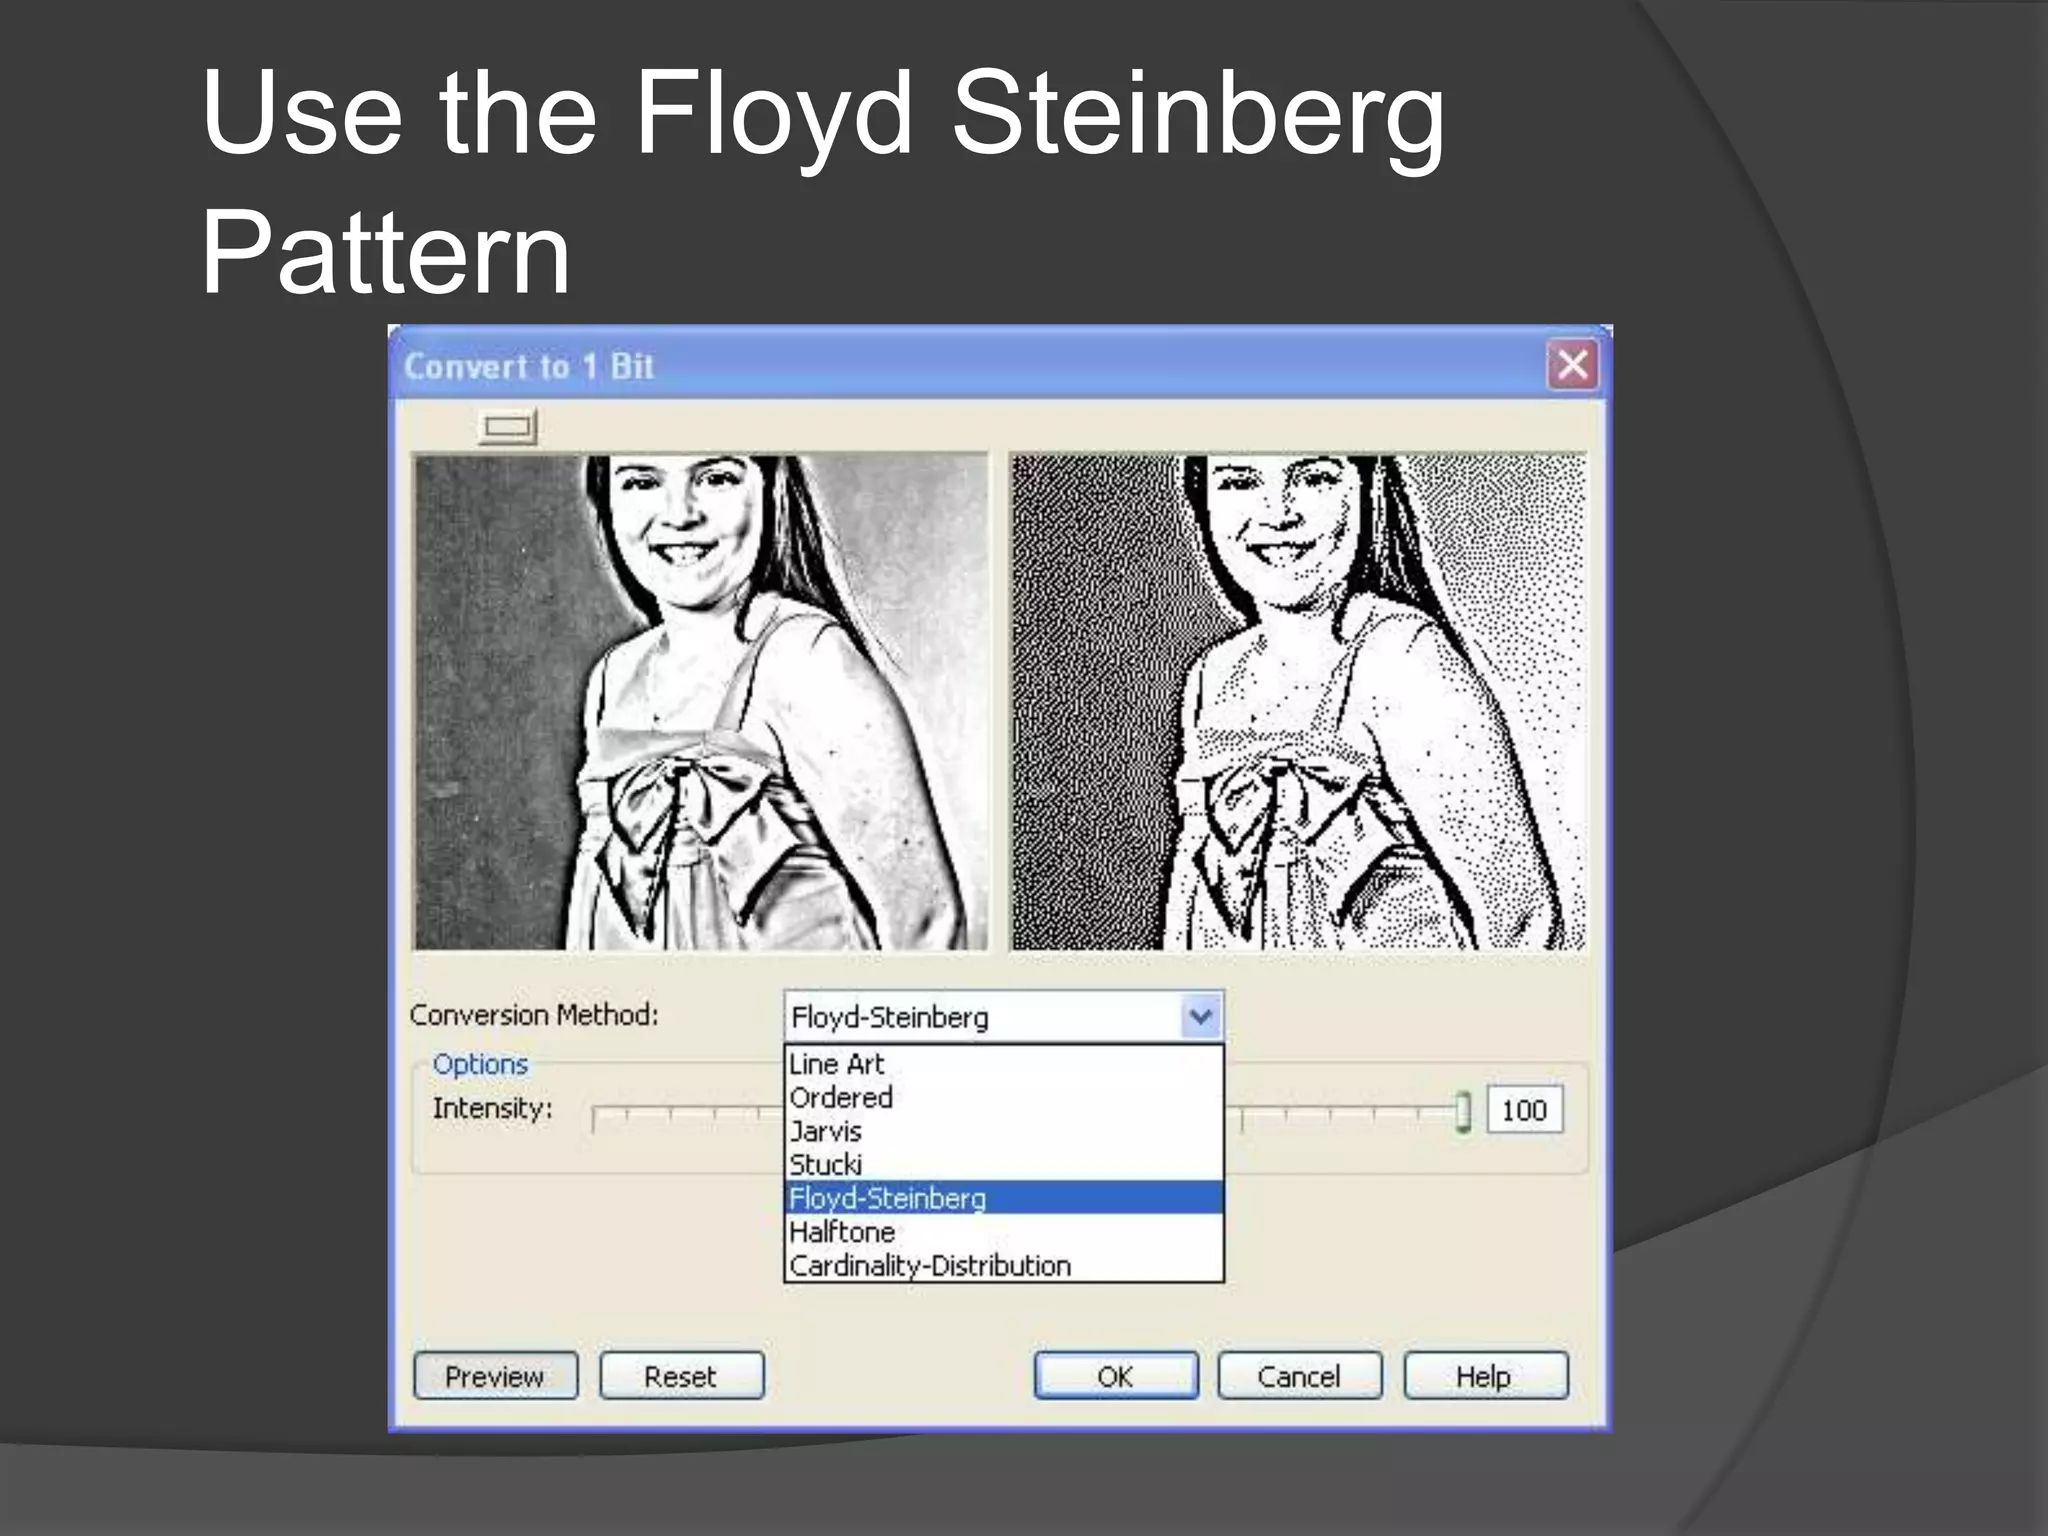
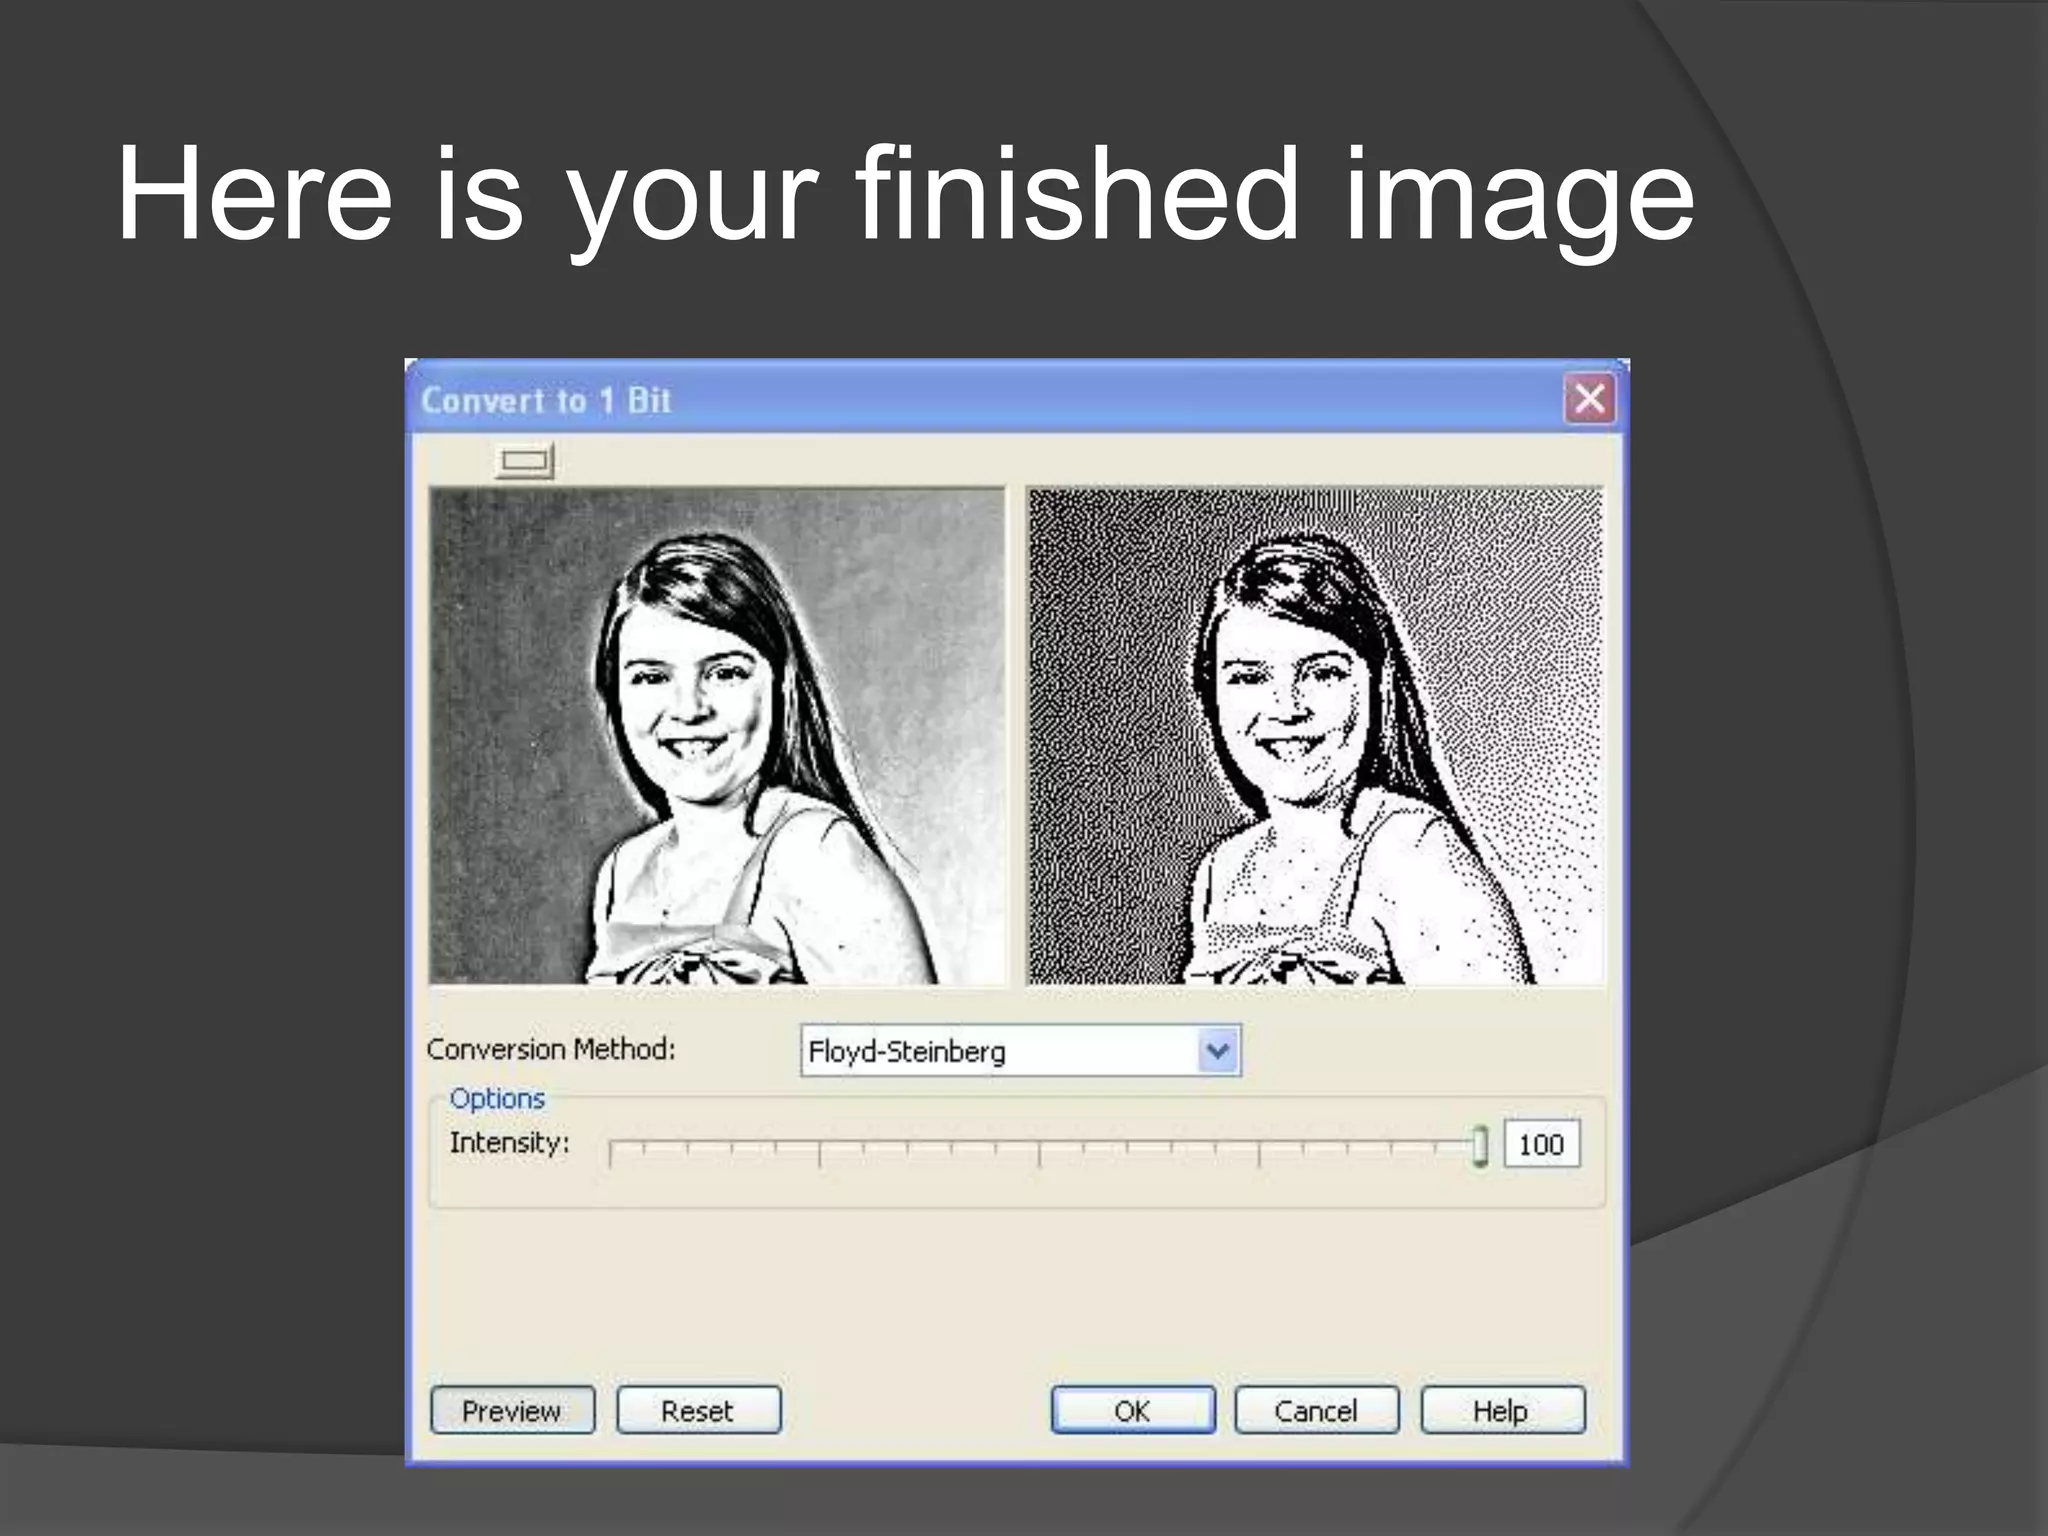
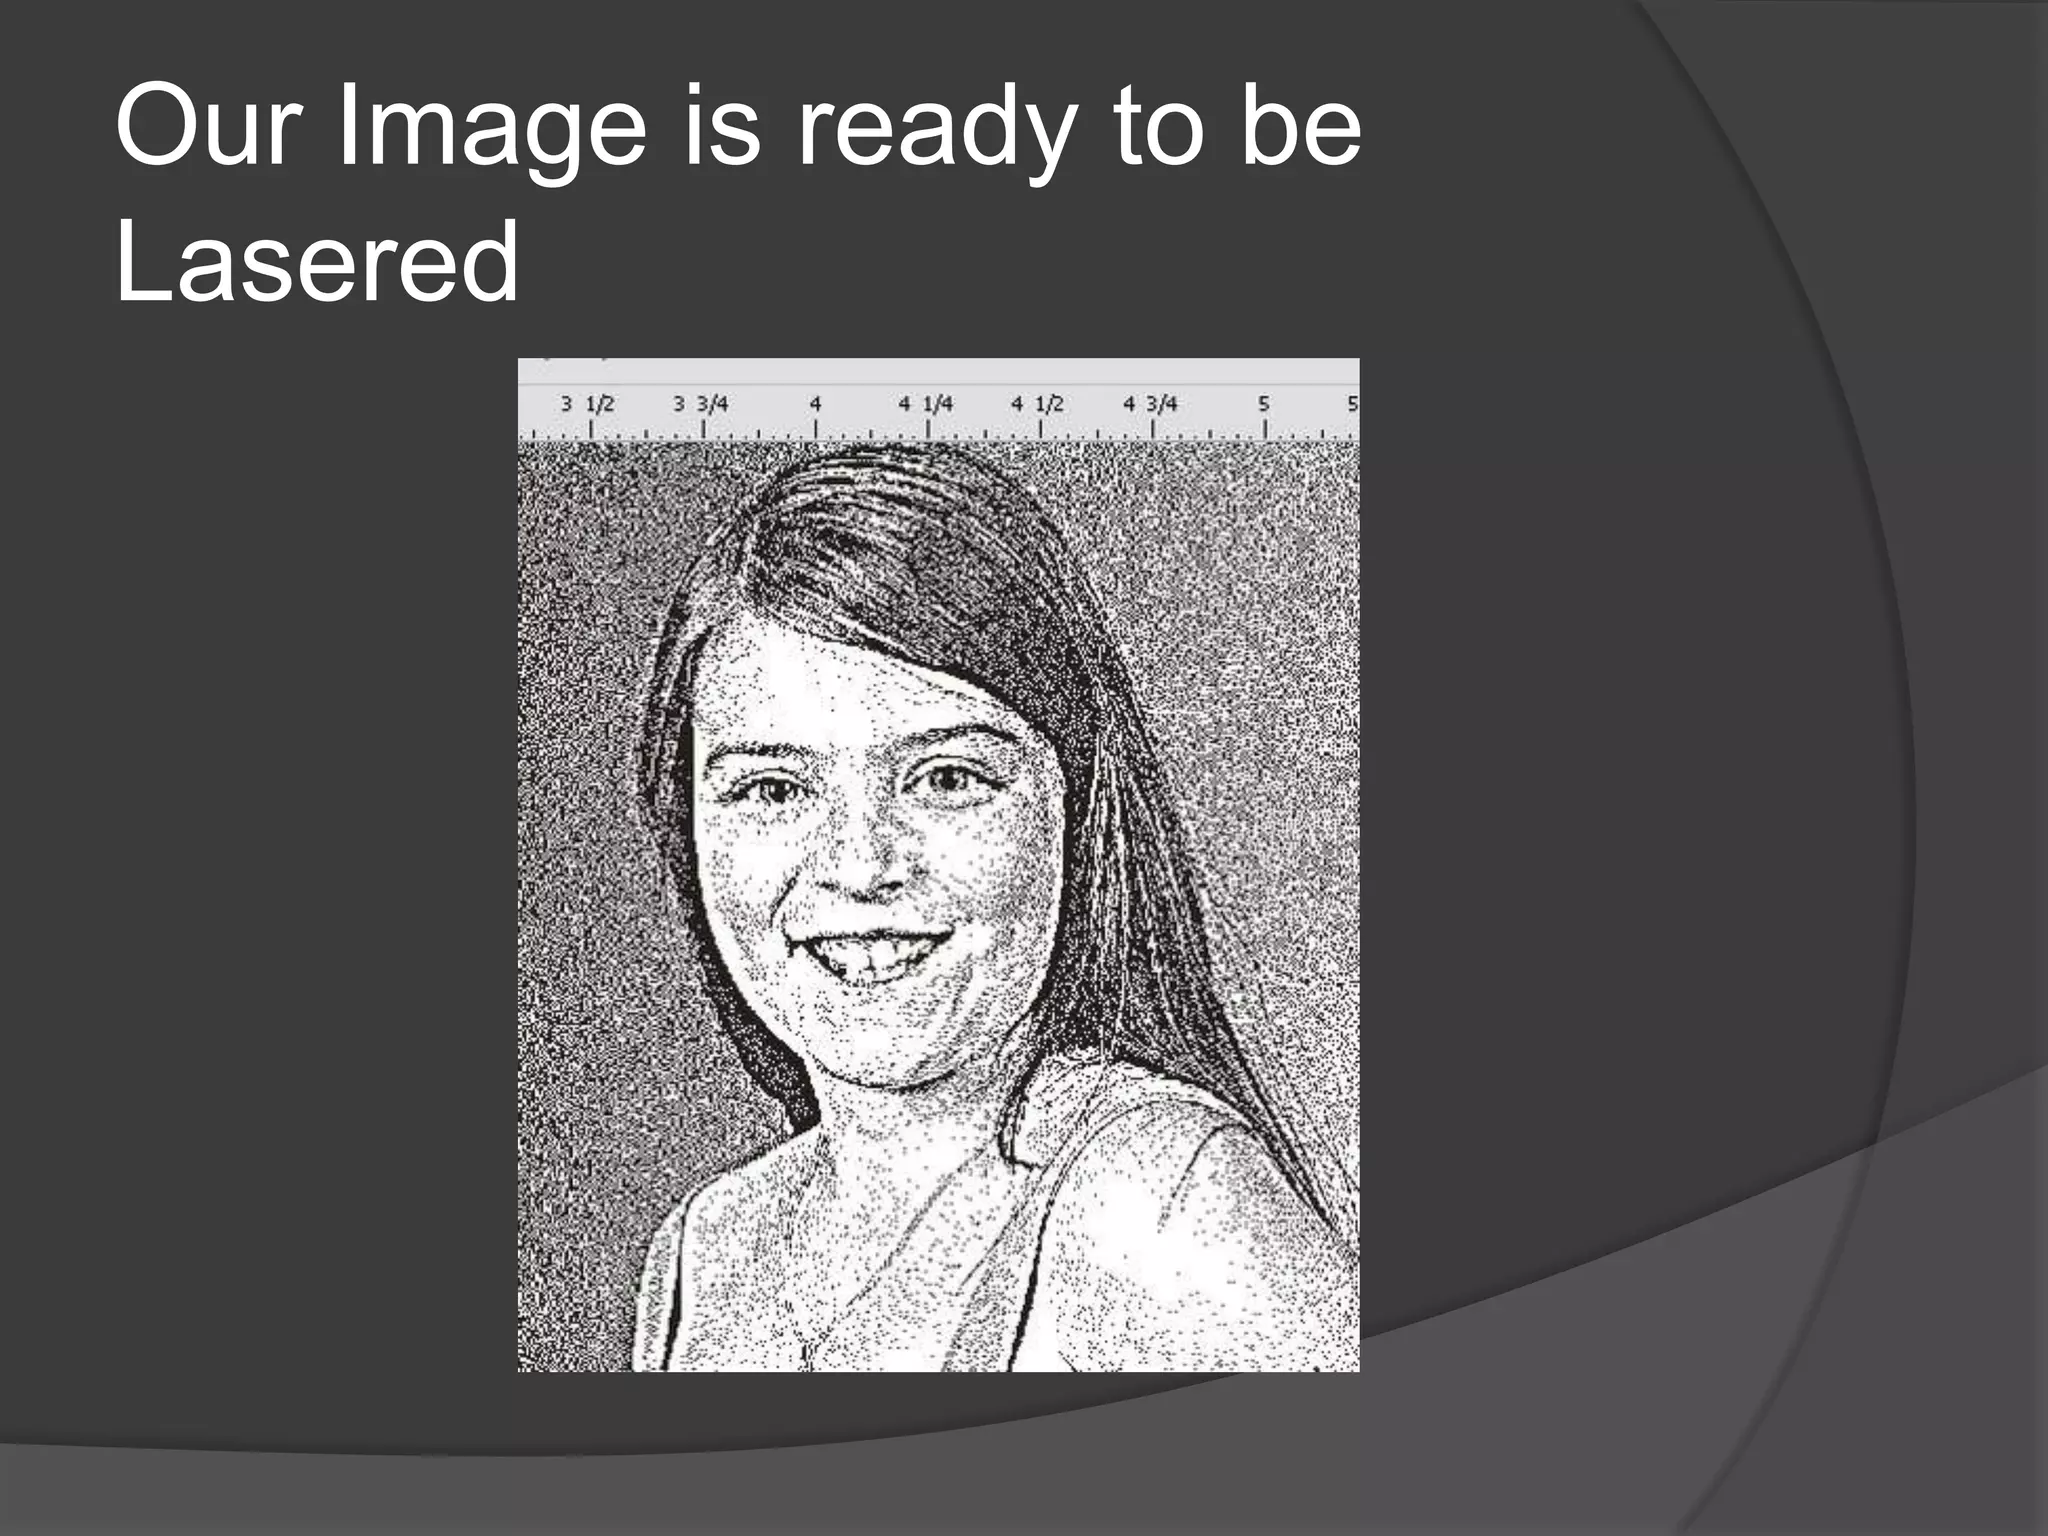
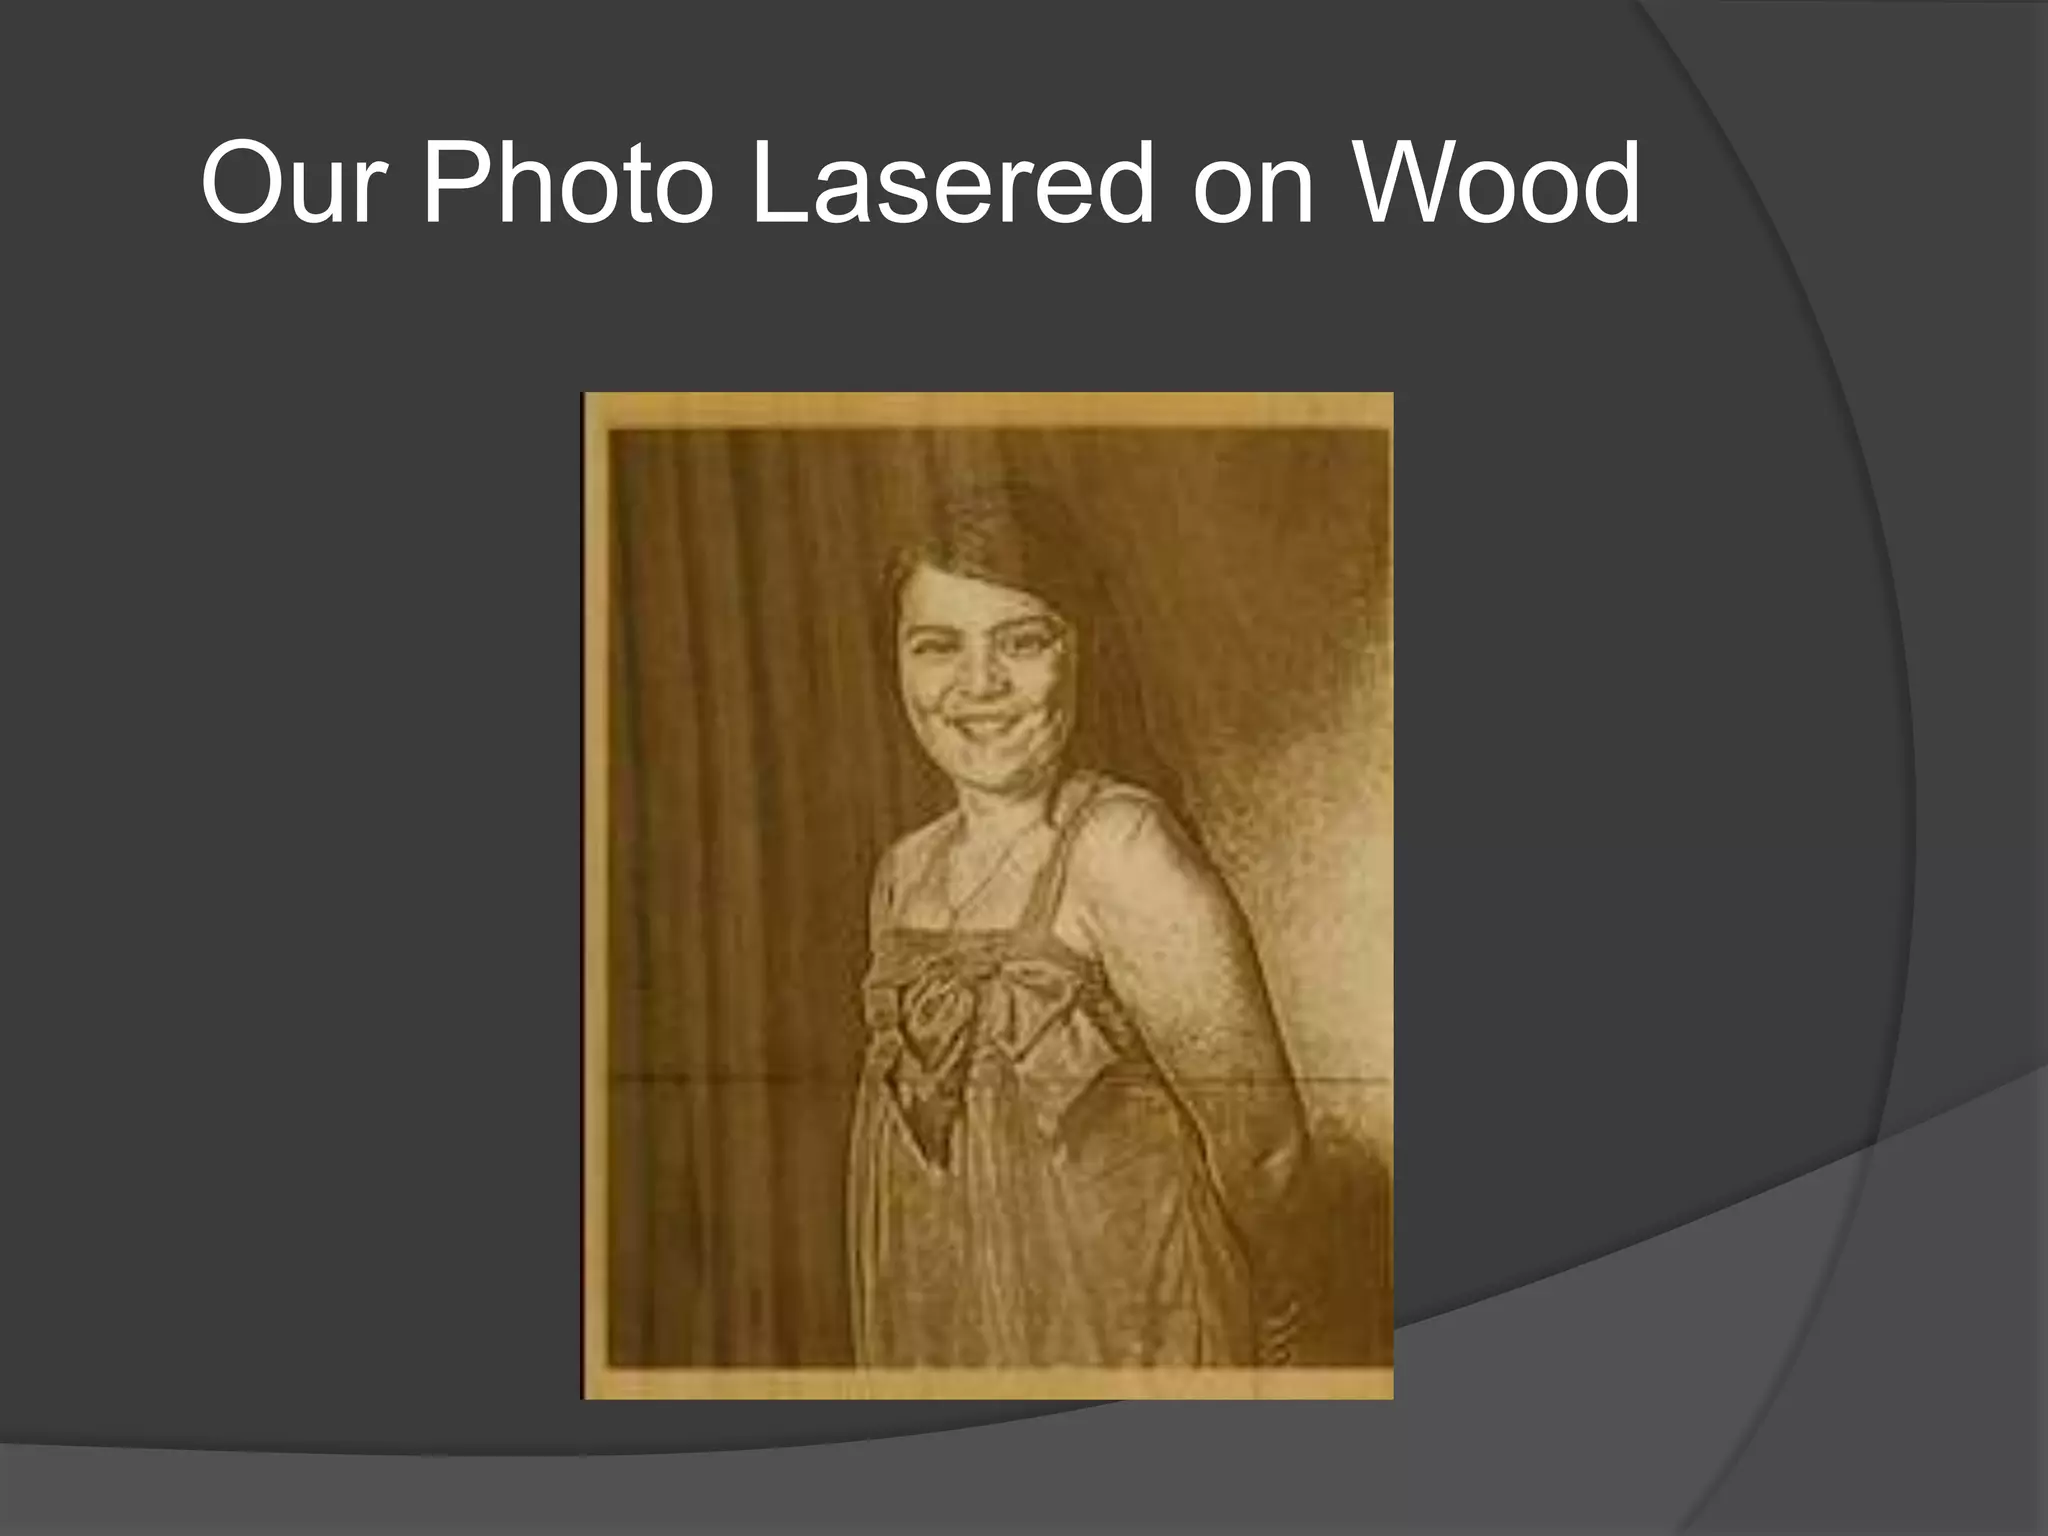

The document discusses best practices for laser engraving photos onto different materials. It explains that materials need to hold small dots well to look good, and lists anodized aluminum and laserable plastic as good options. Photos work best in grayscale or black and white. For fine materials that hold dots, like metal, half-toning is best to simulate continuous tone. For coarse materials like wood, error diffusion patterns are better. Good photos are high resolution with no compression. Contrast enhancement and unsharp masking can prepare photos for different materials by increasing or decreasing detail as needed. Converting to black and white with an error diffusion pattern is the final step for coarse materials.


![[Workshop] cnc router ver 0.4](https://cdn.slidesharecdn.com/ss_thumbnails/workshopcncrouterver0-160830113607-thumbnail.jpg?width=640&height=640&fit=bounds)


