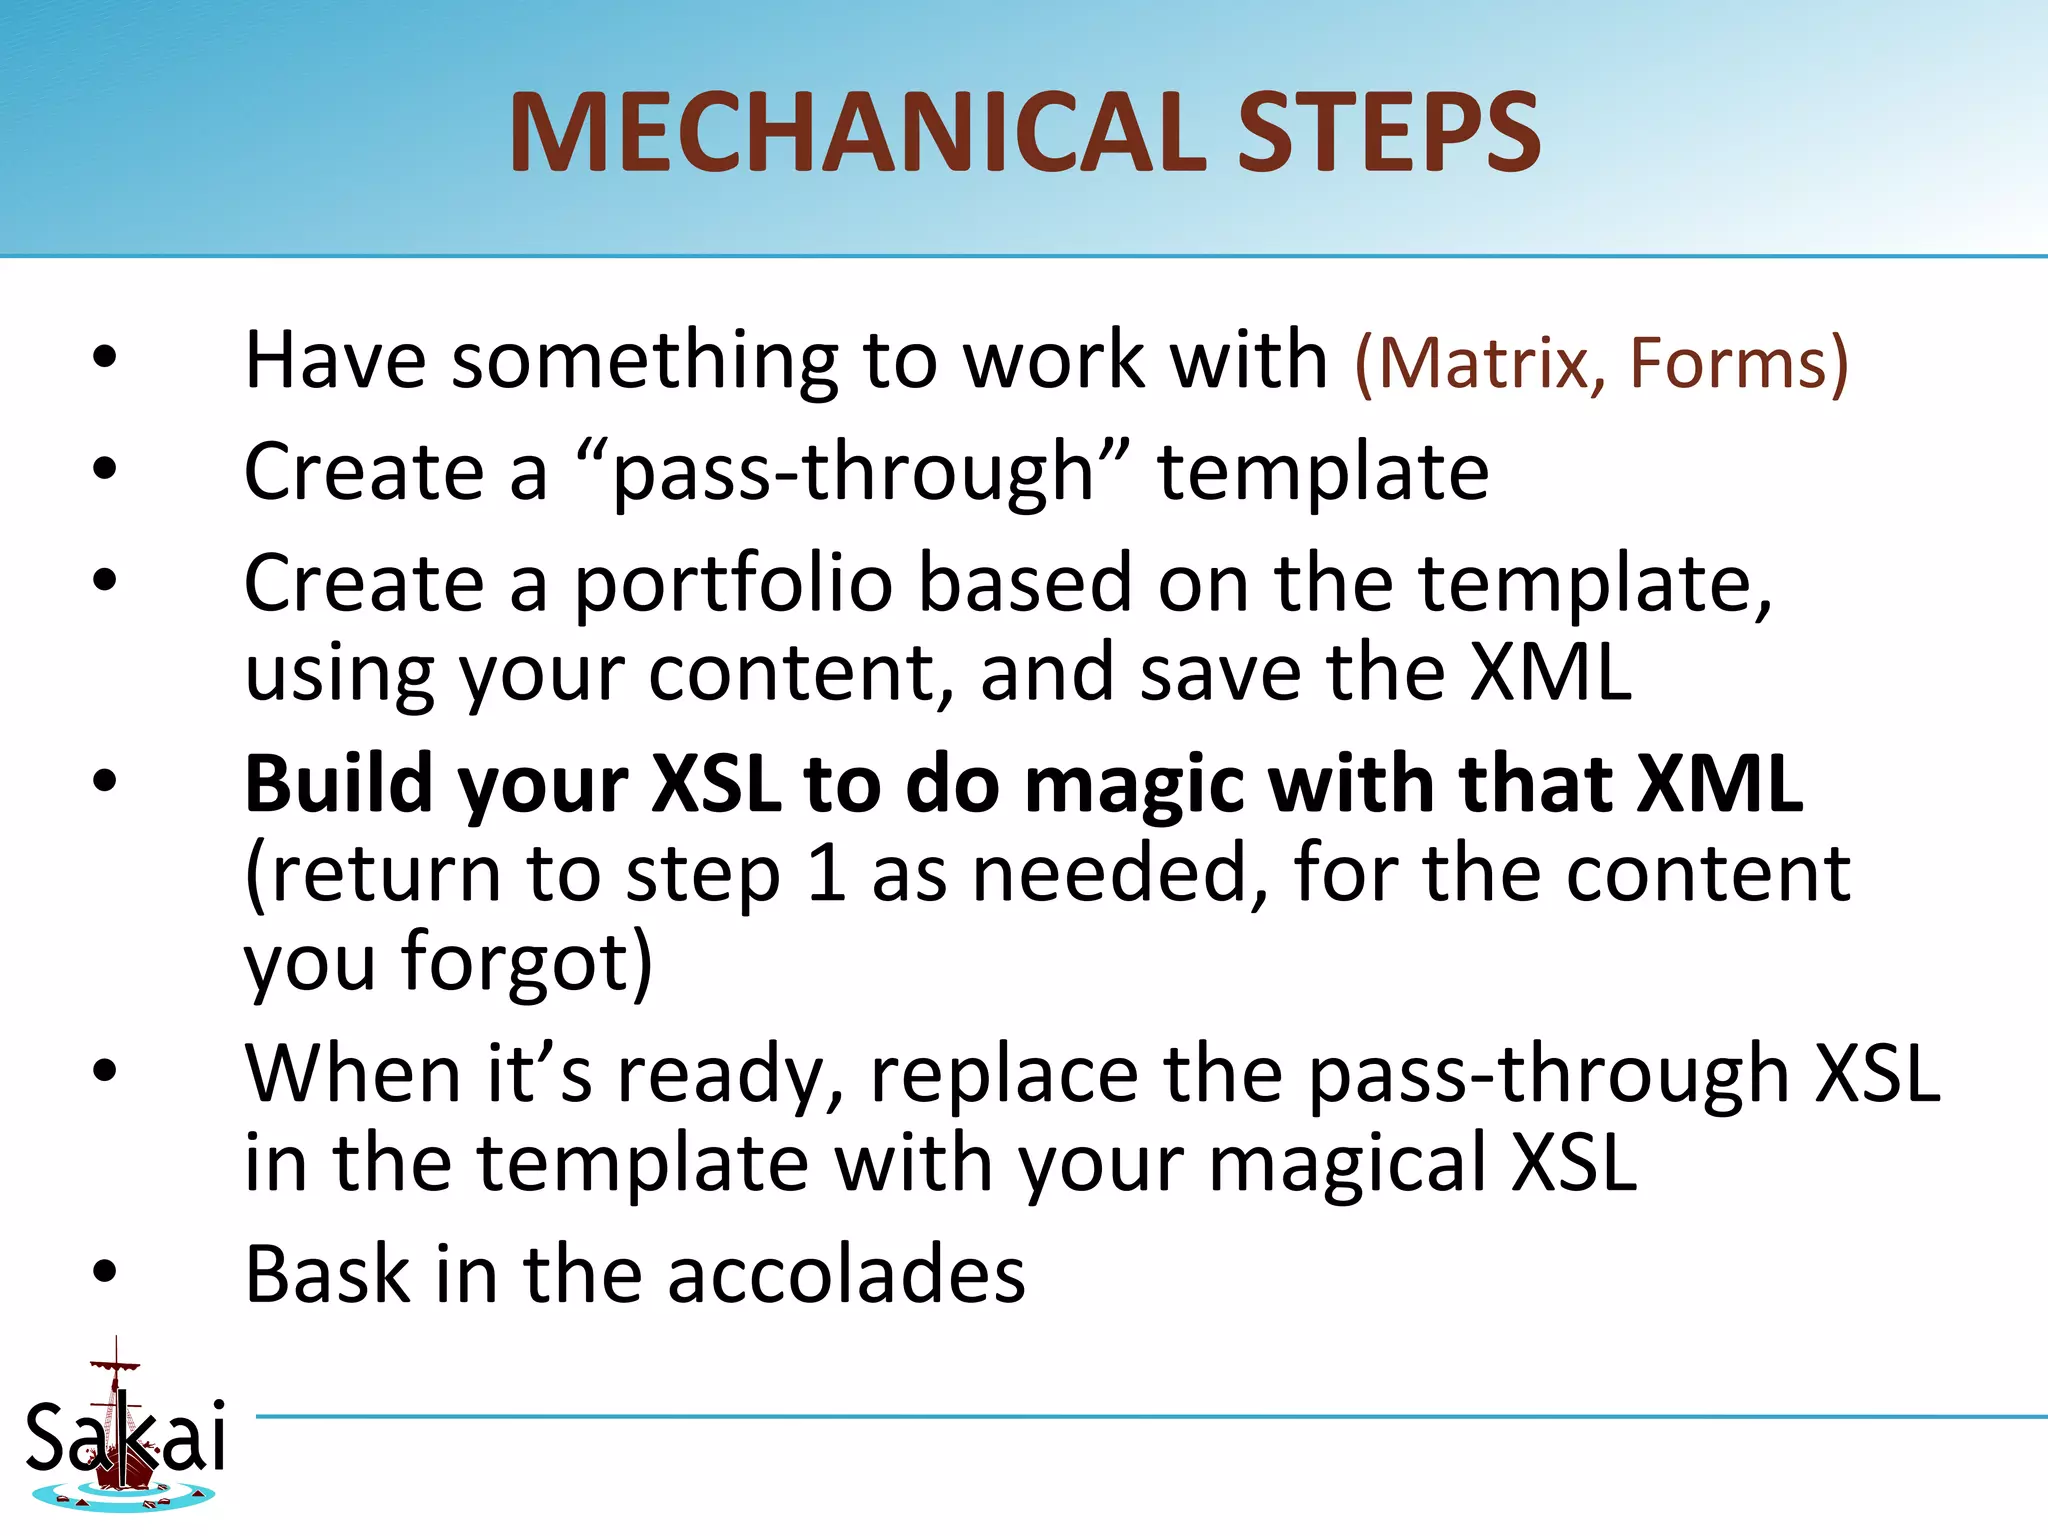
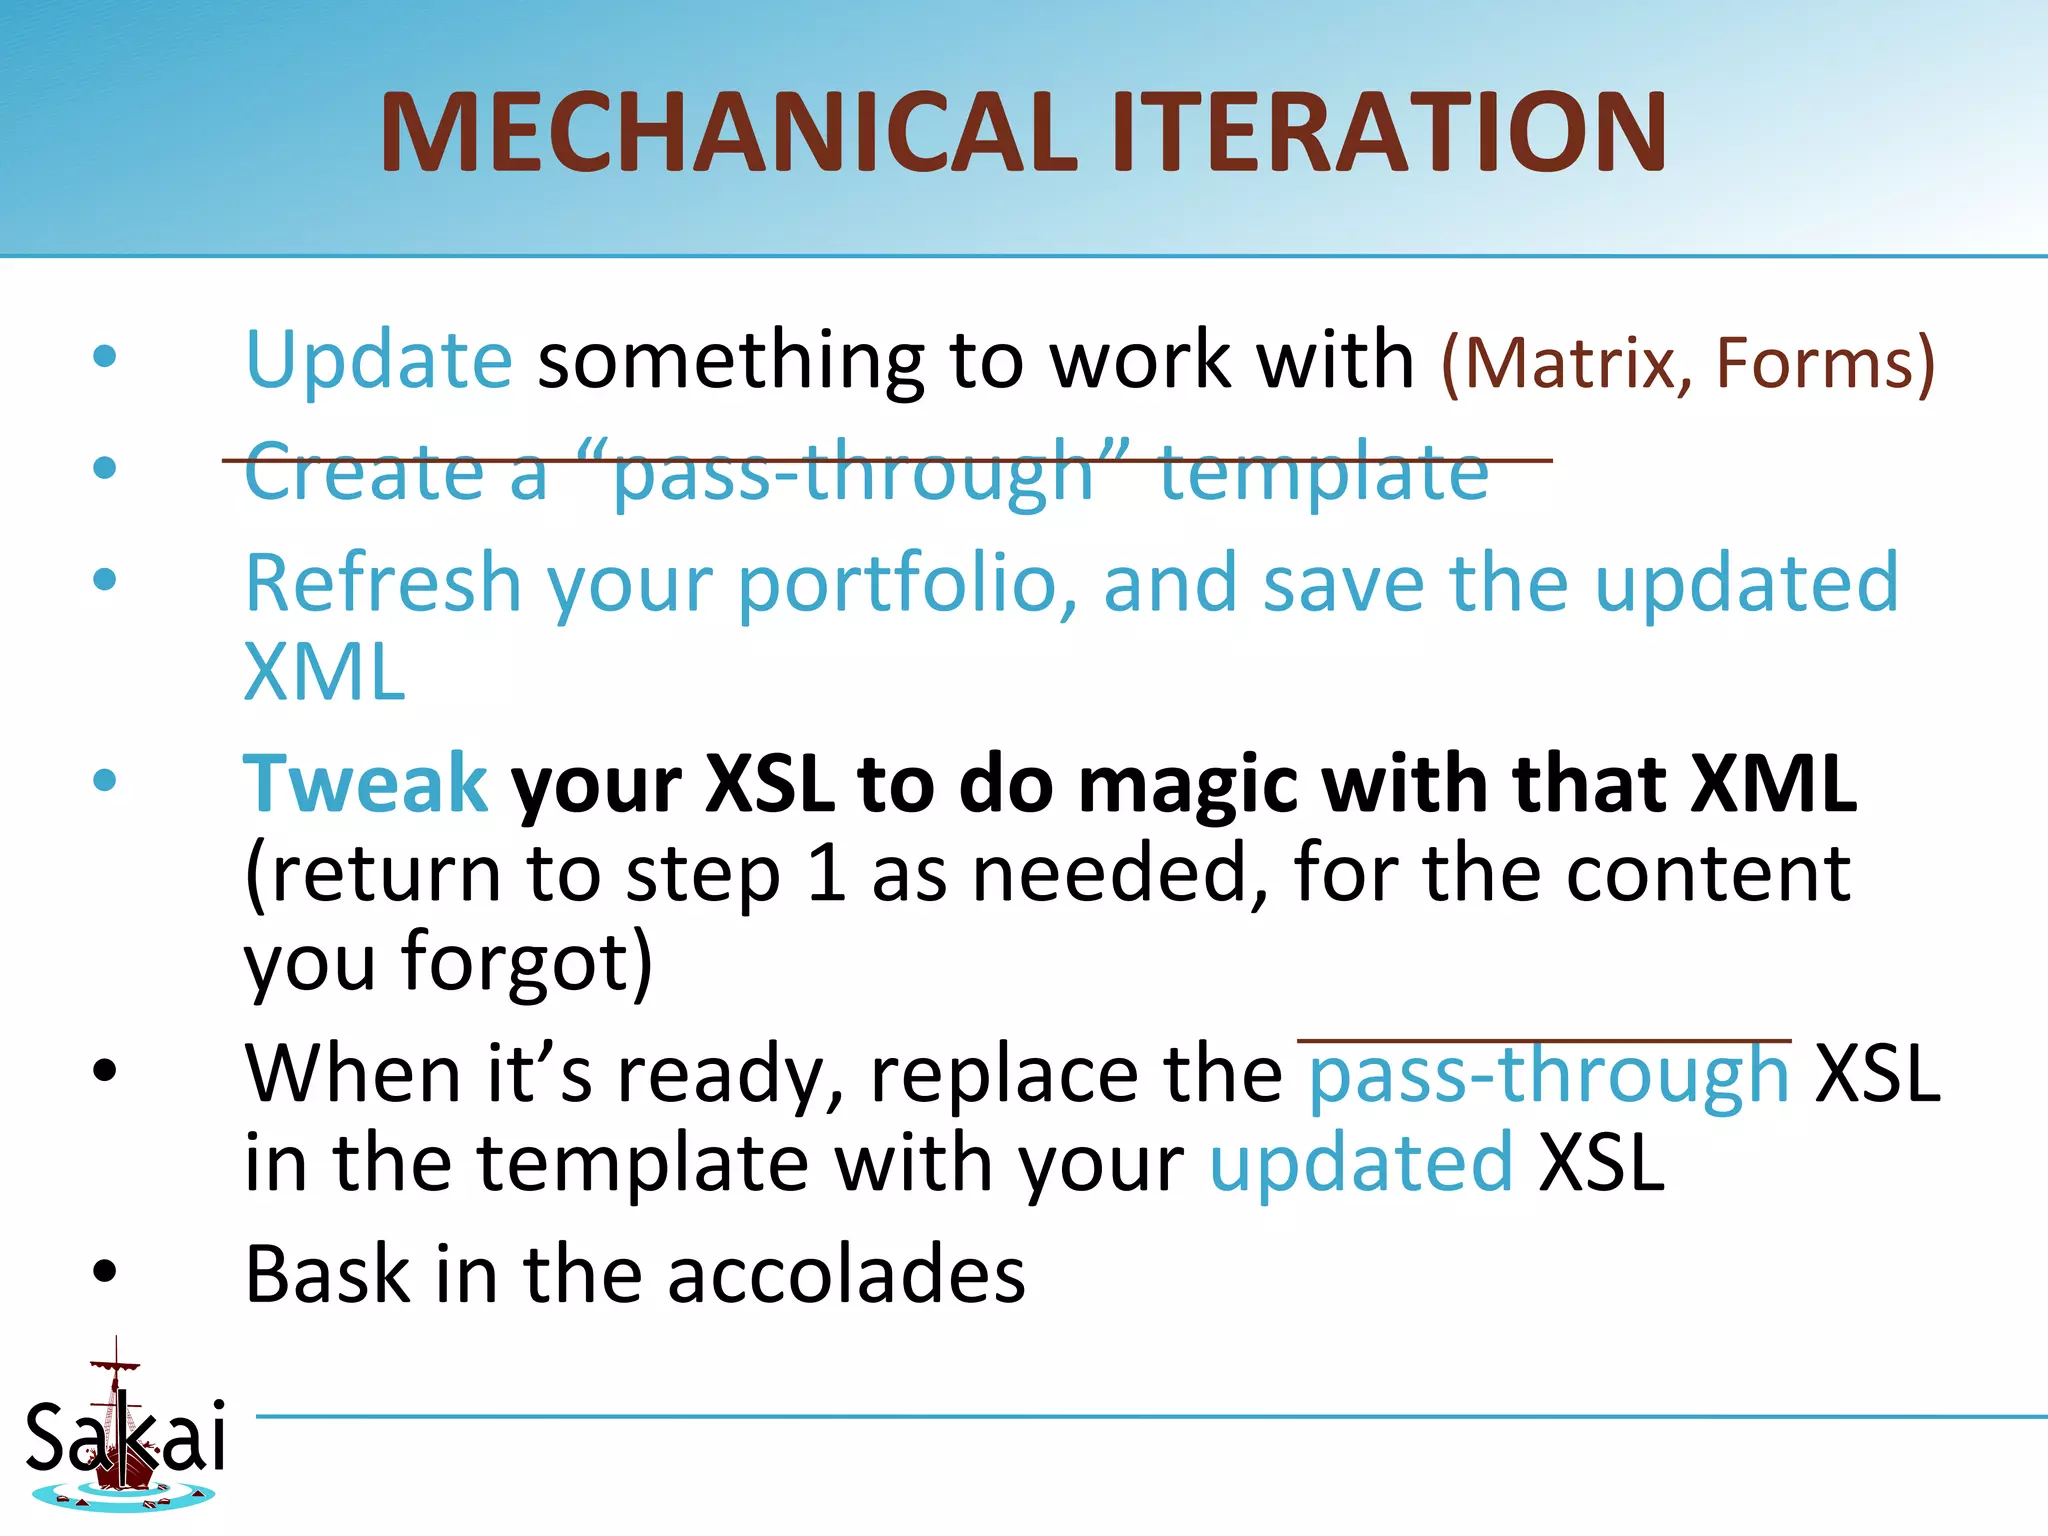
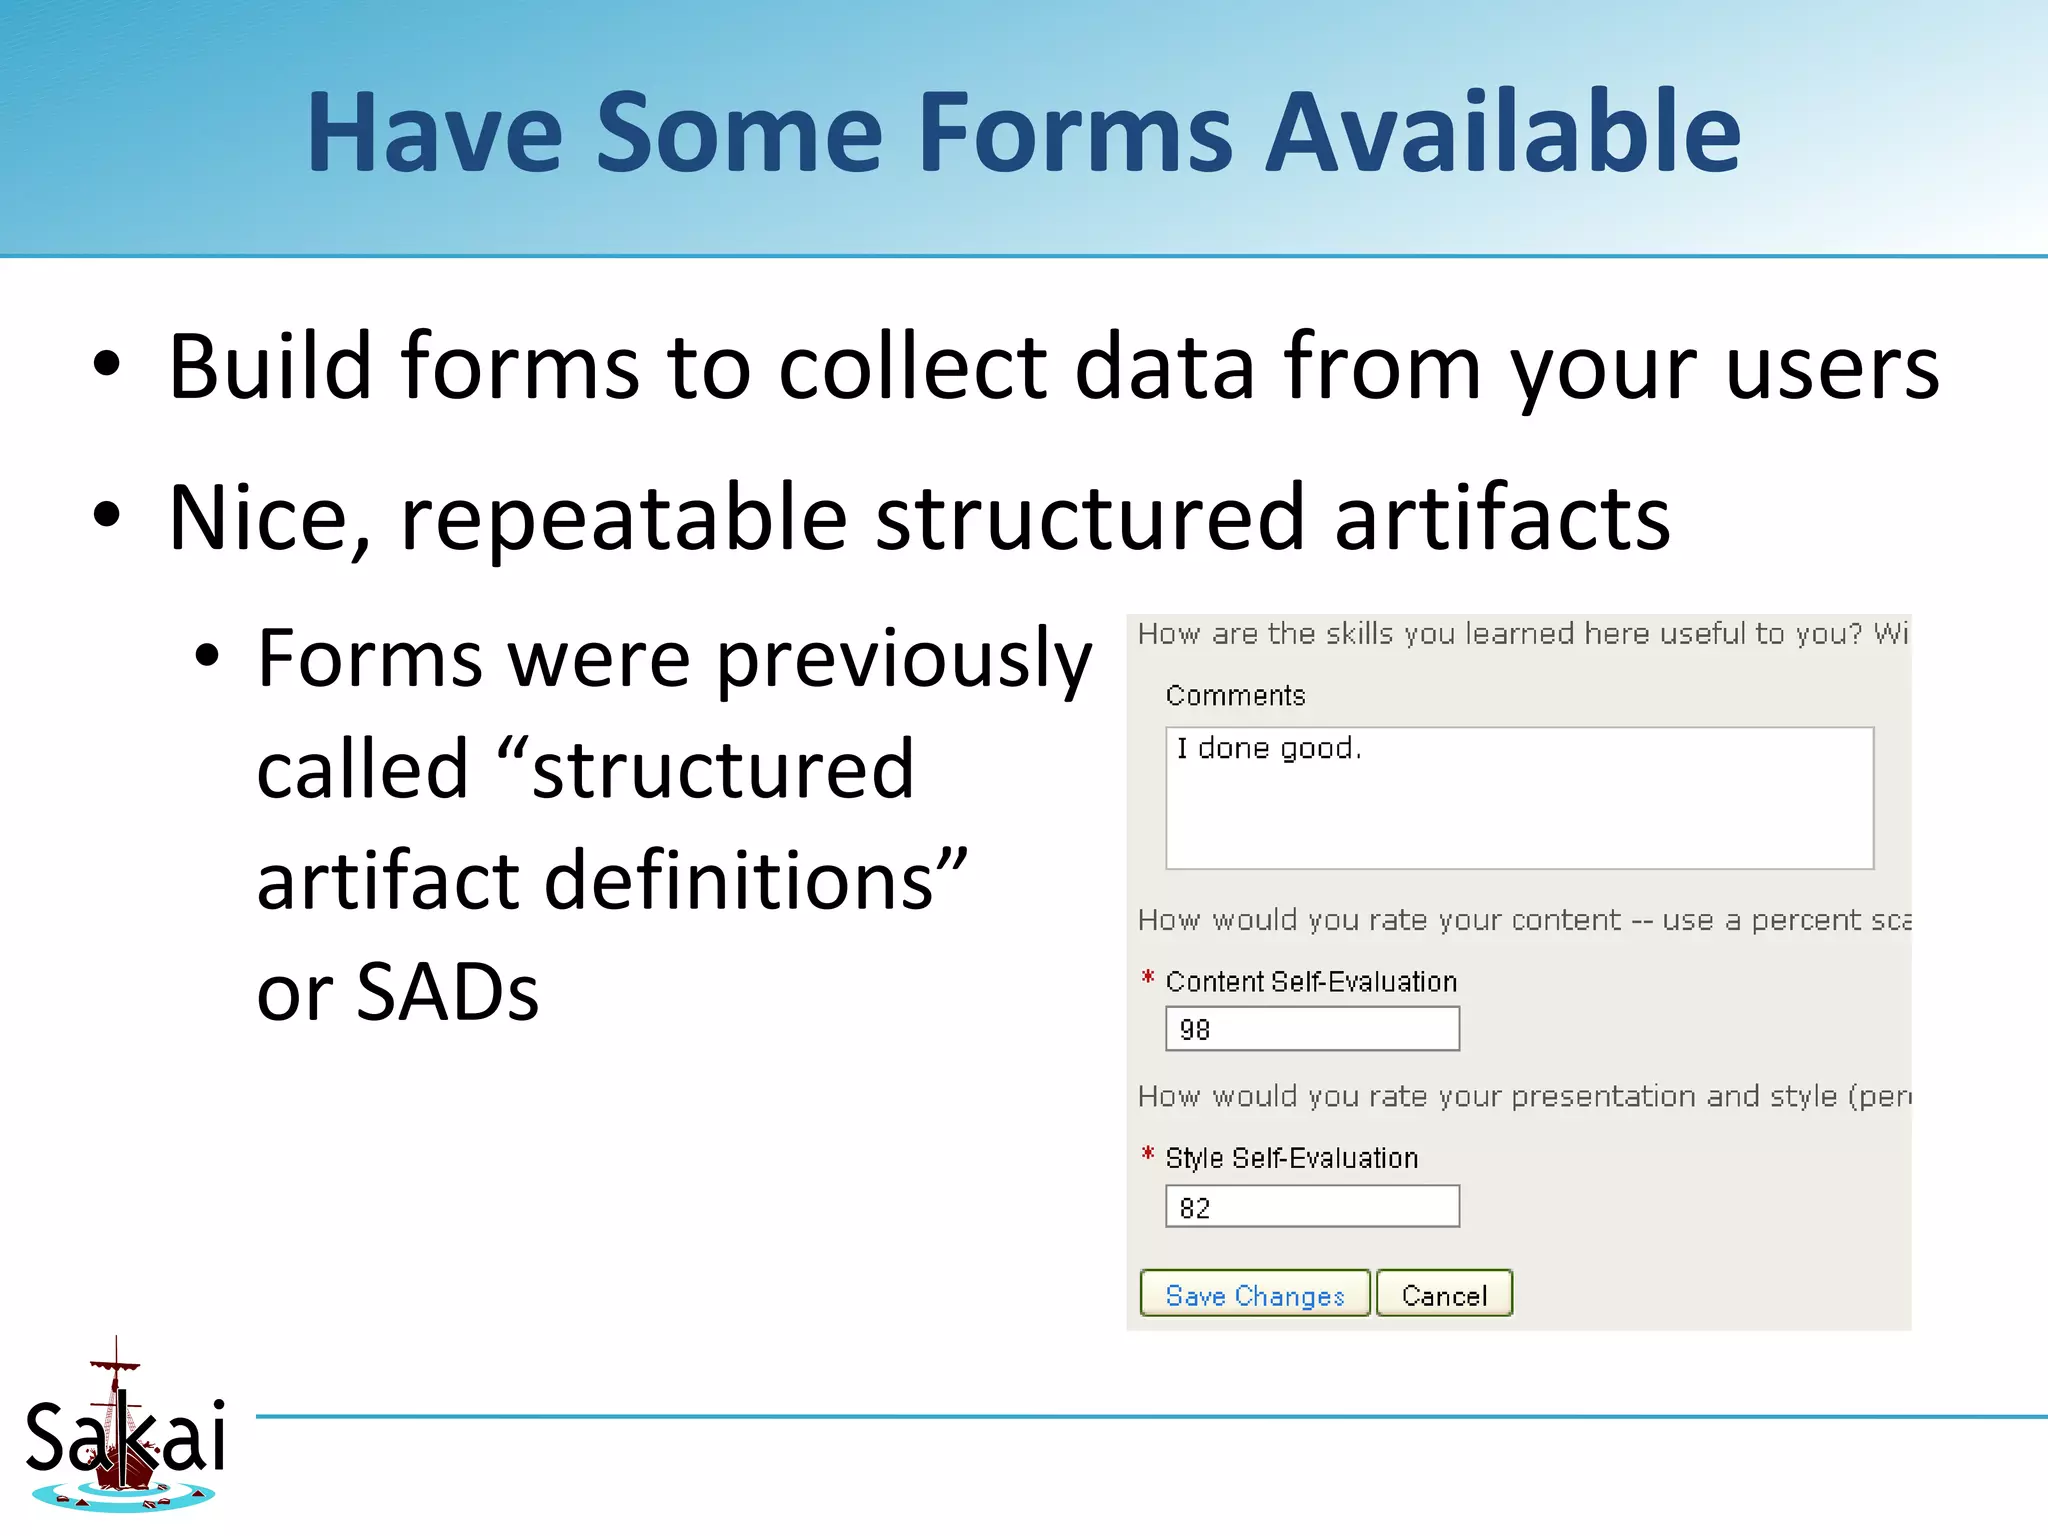
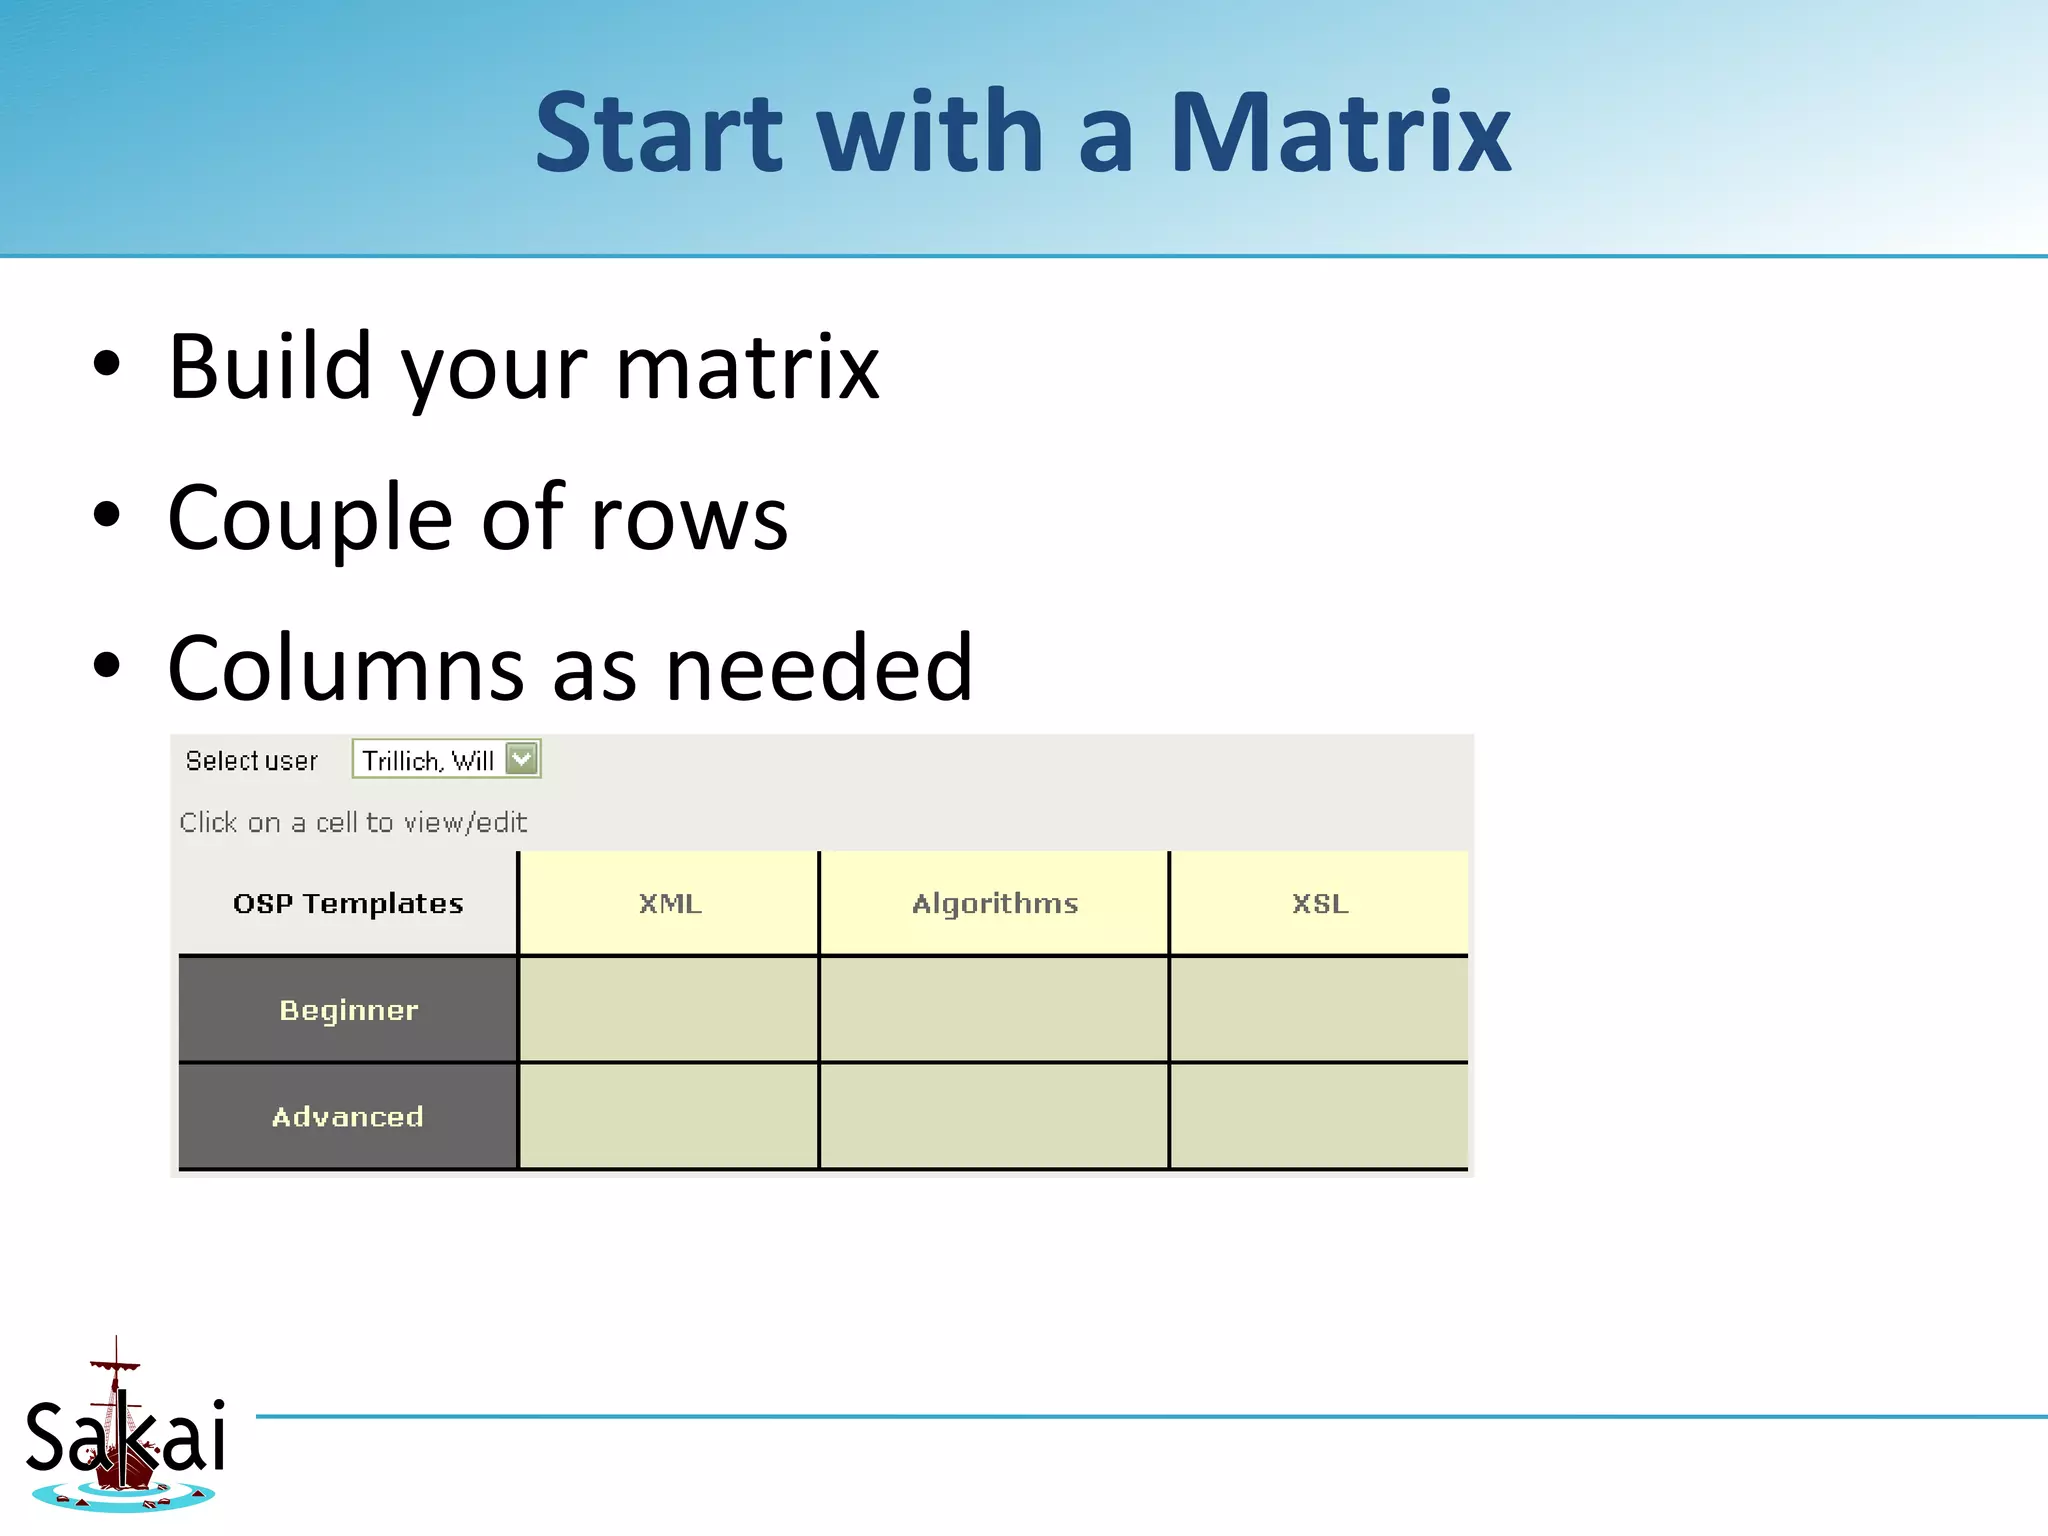
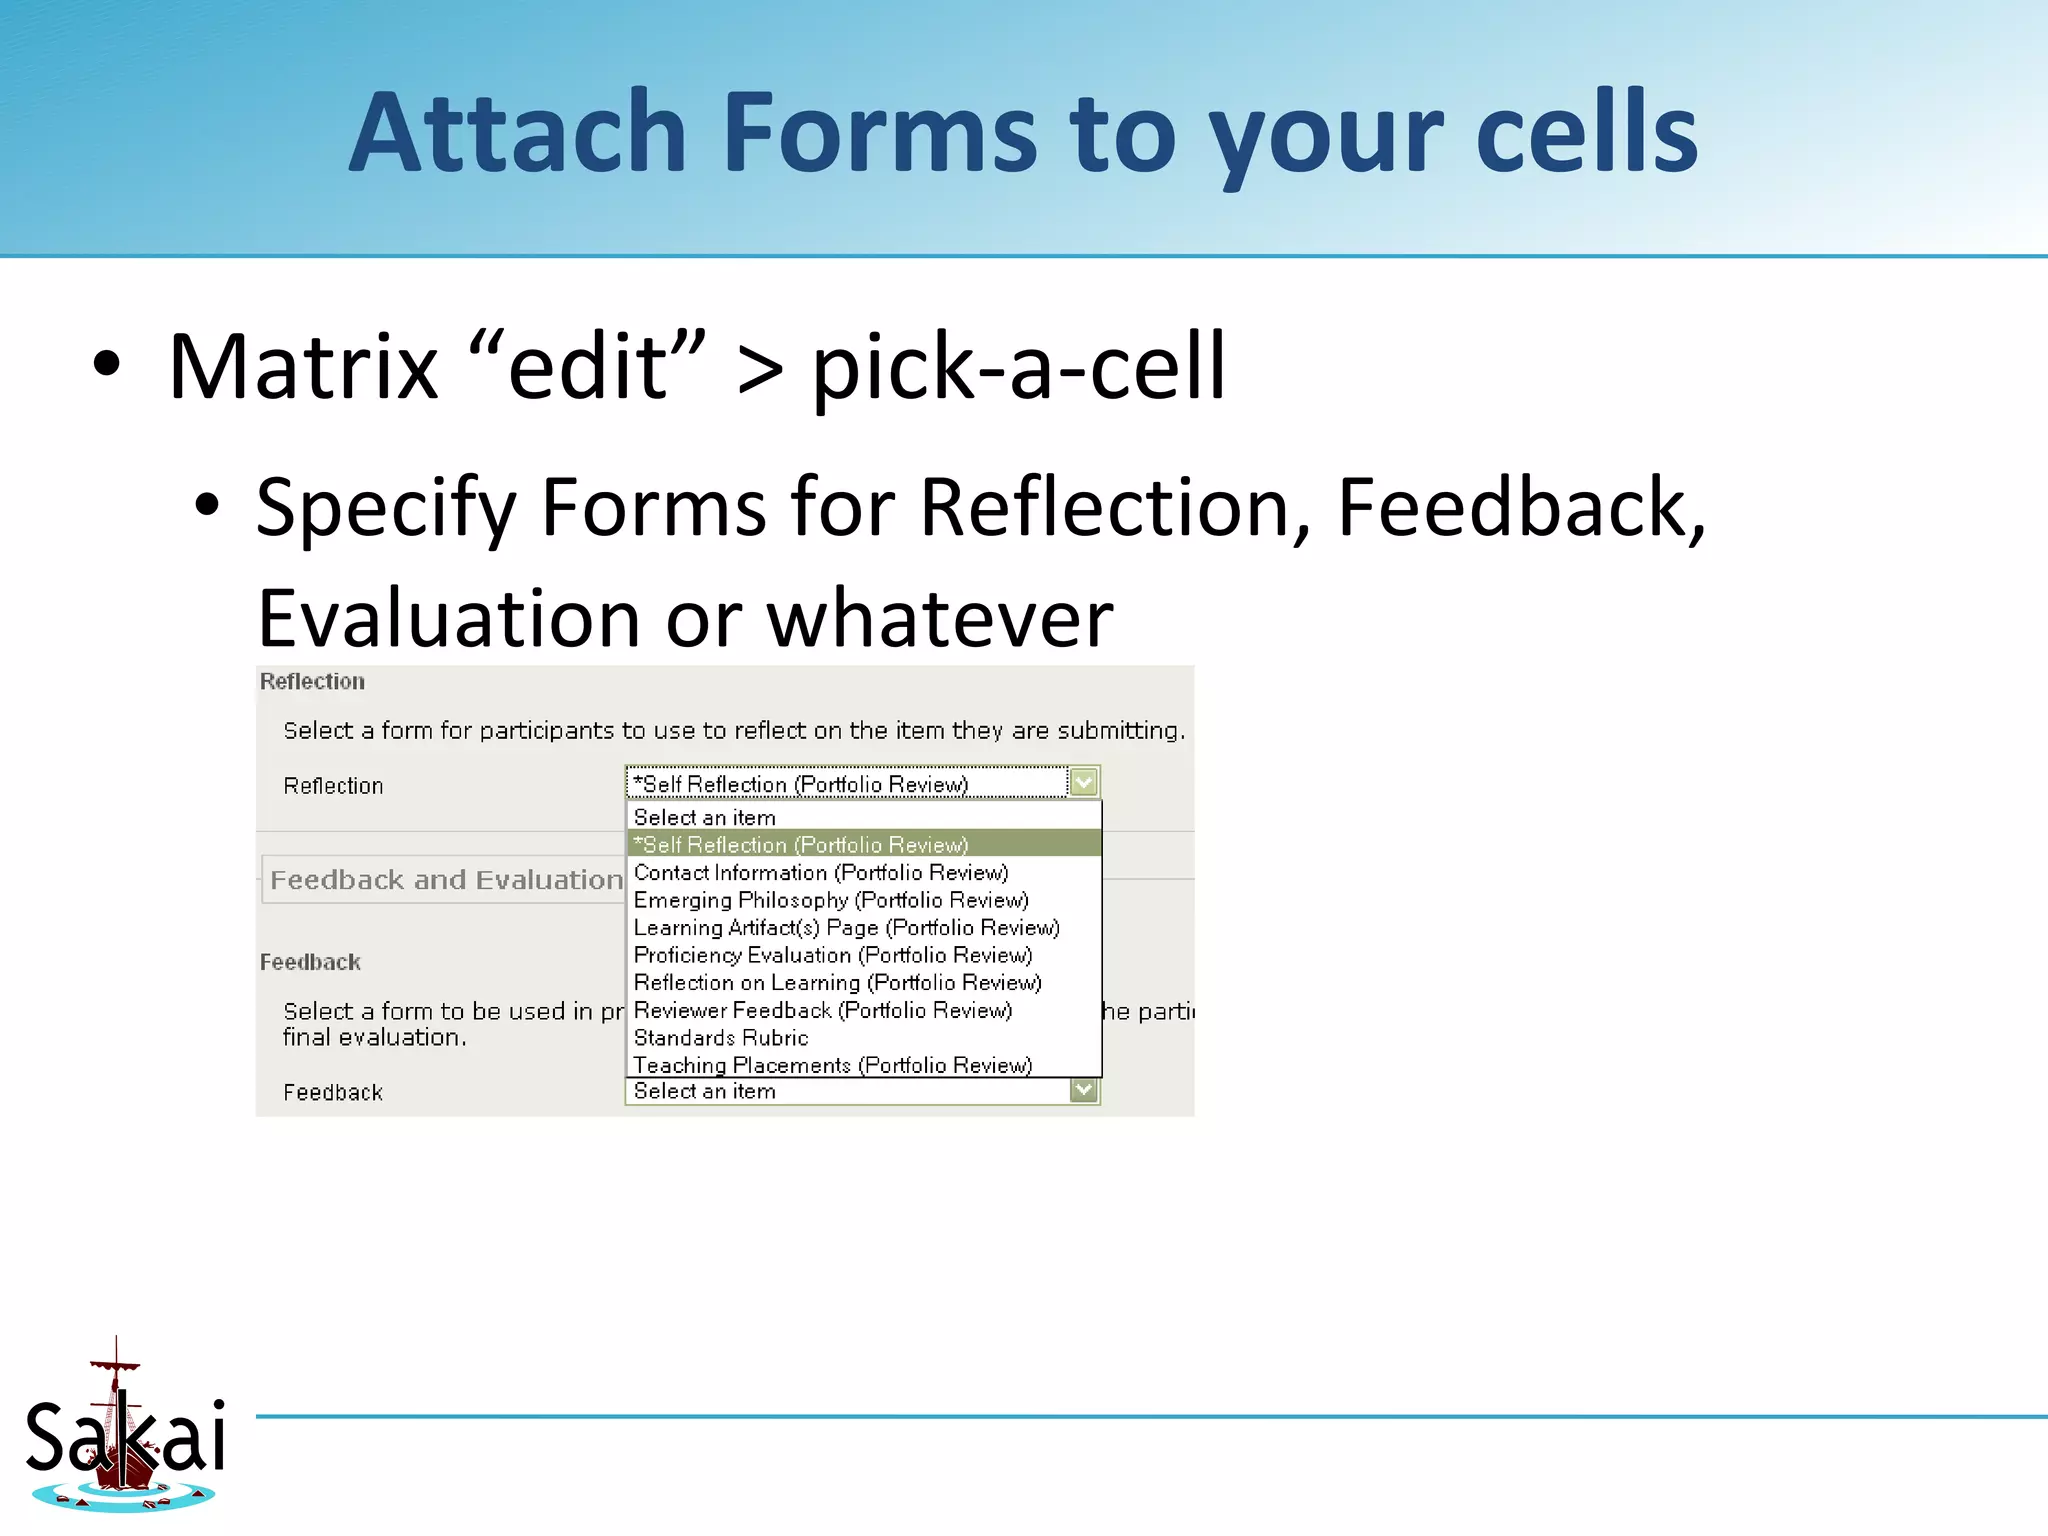
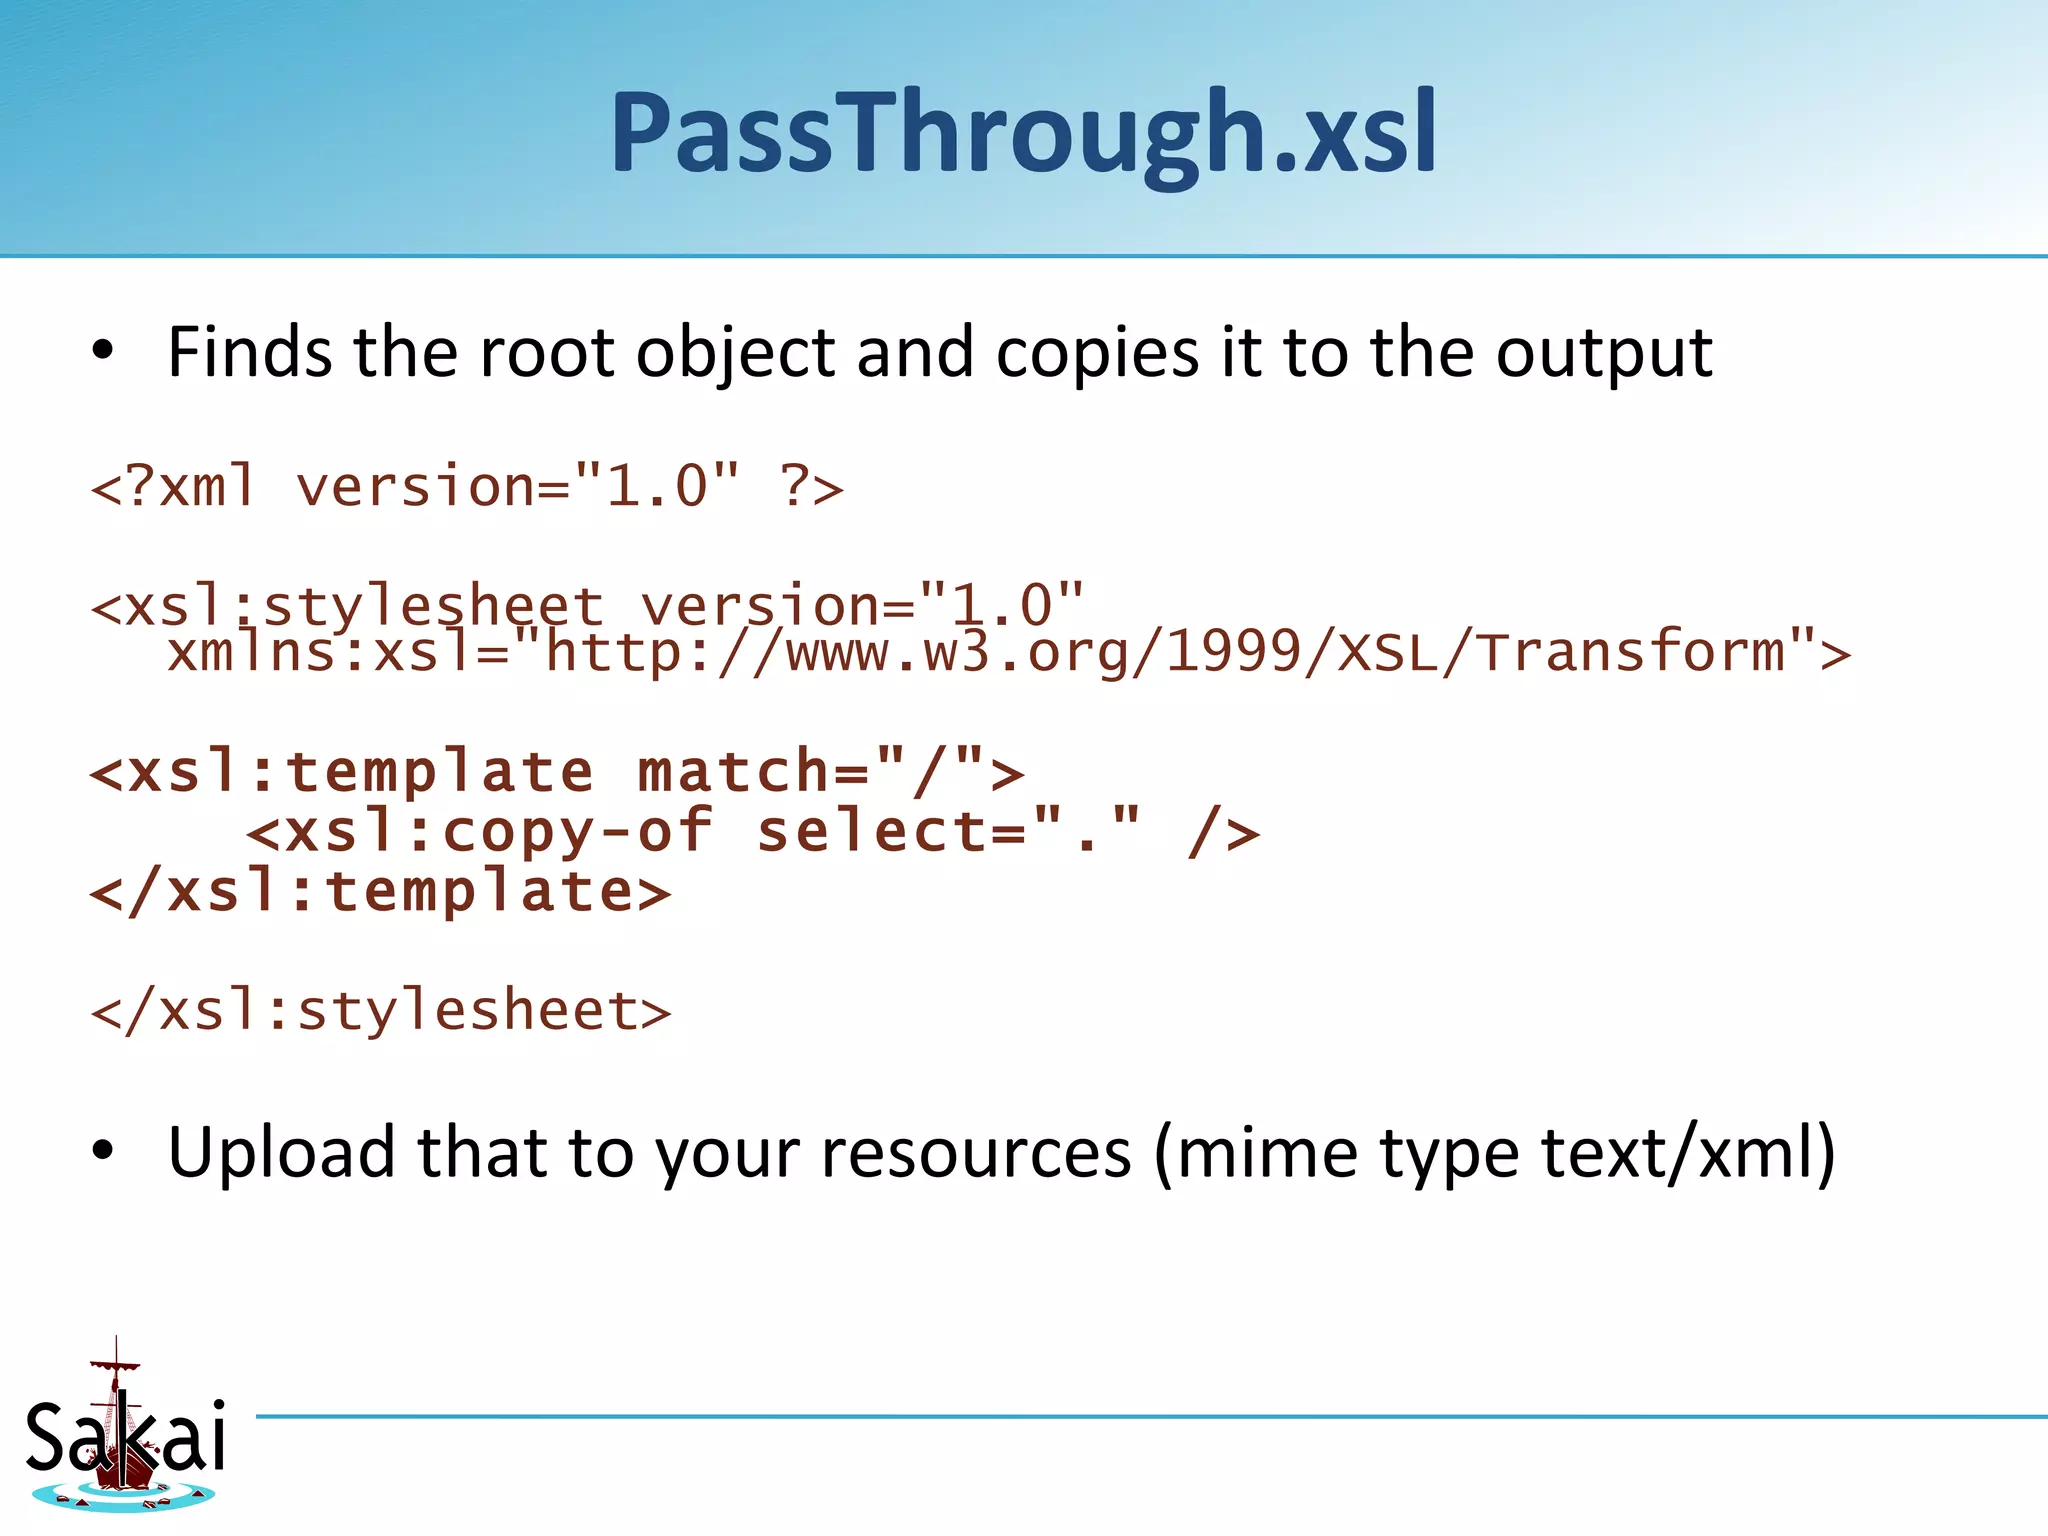
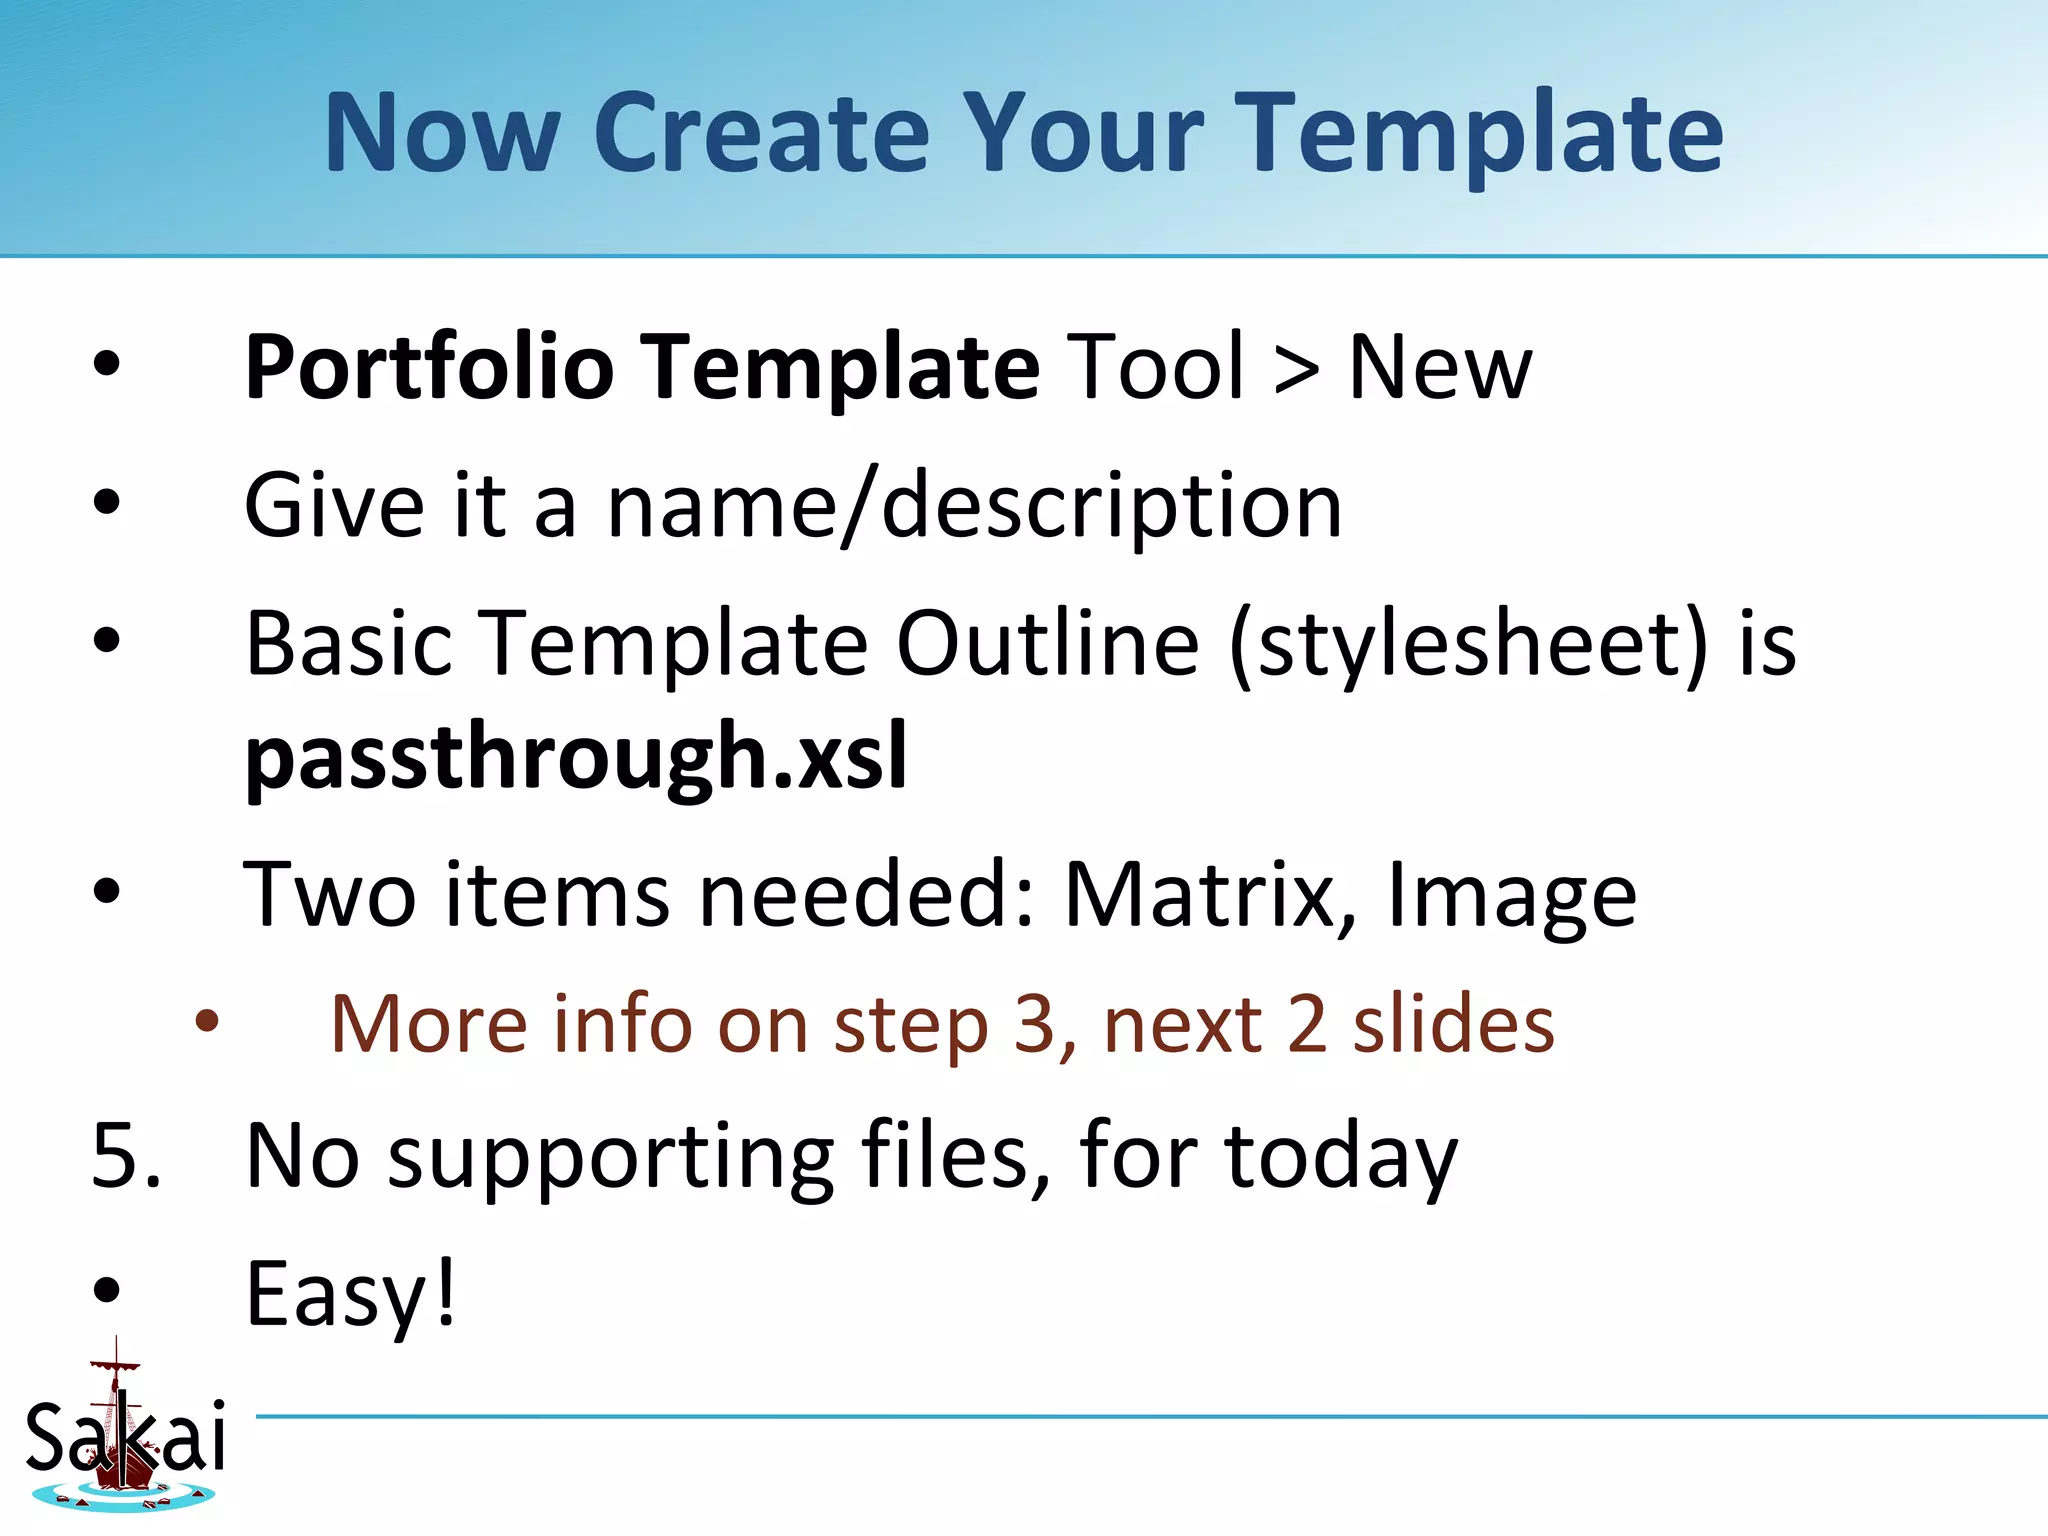
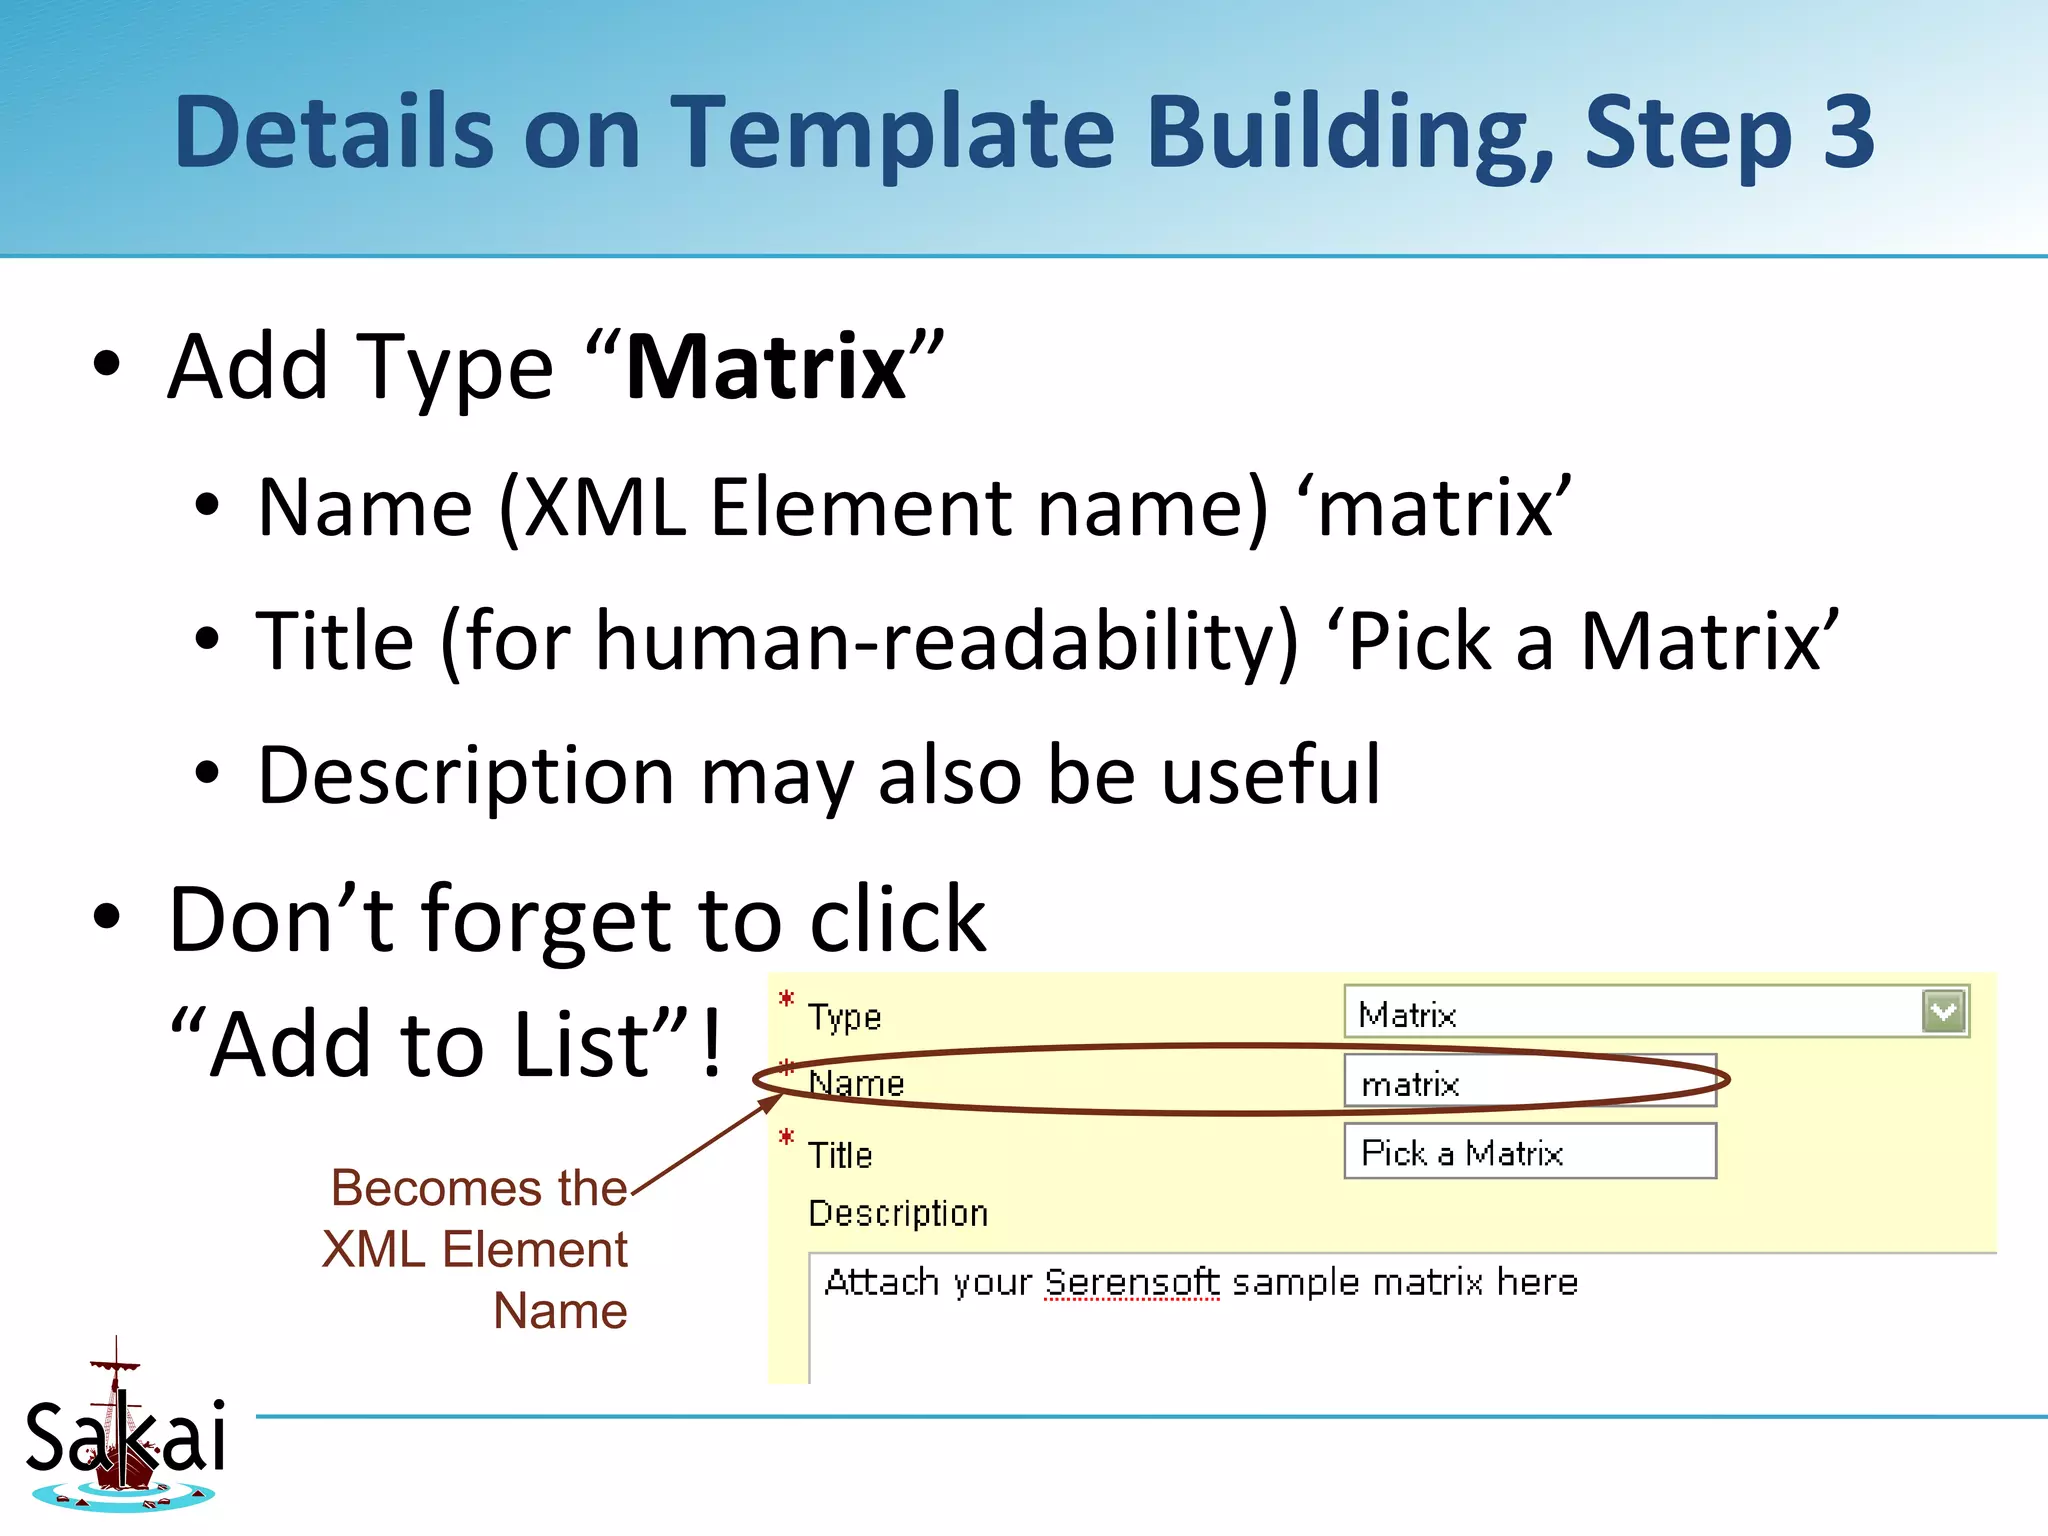
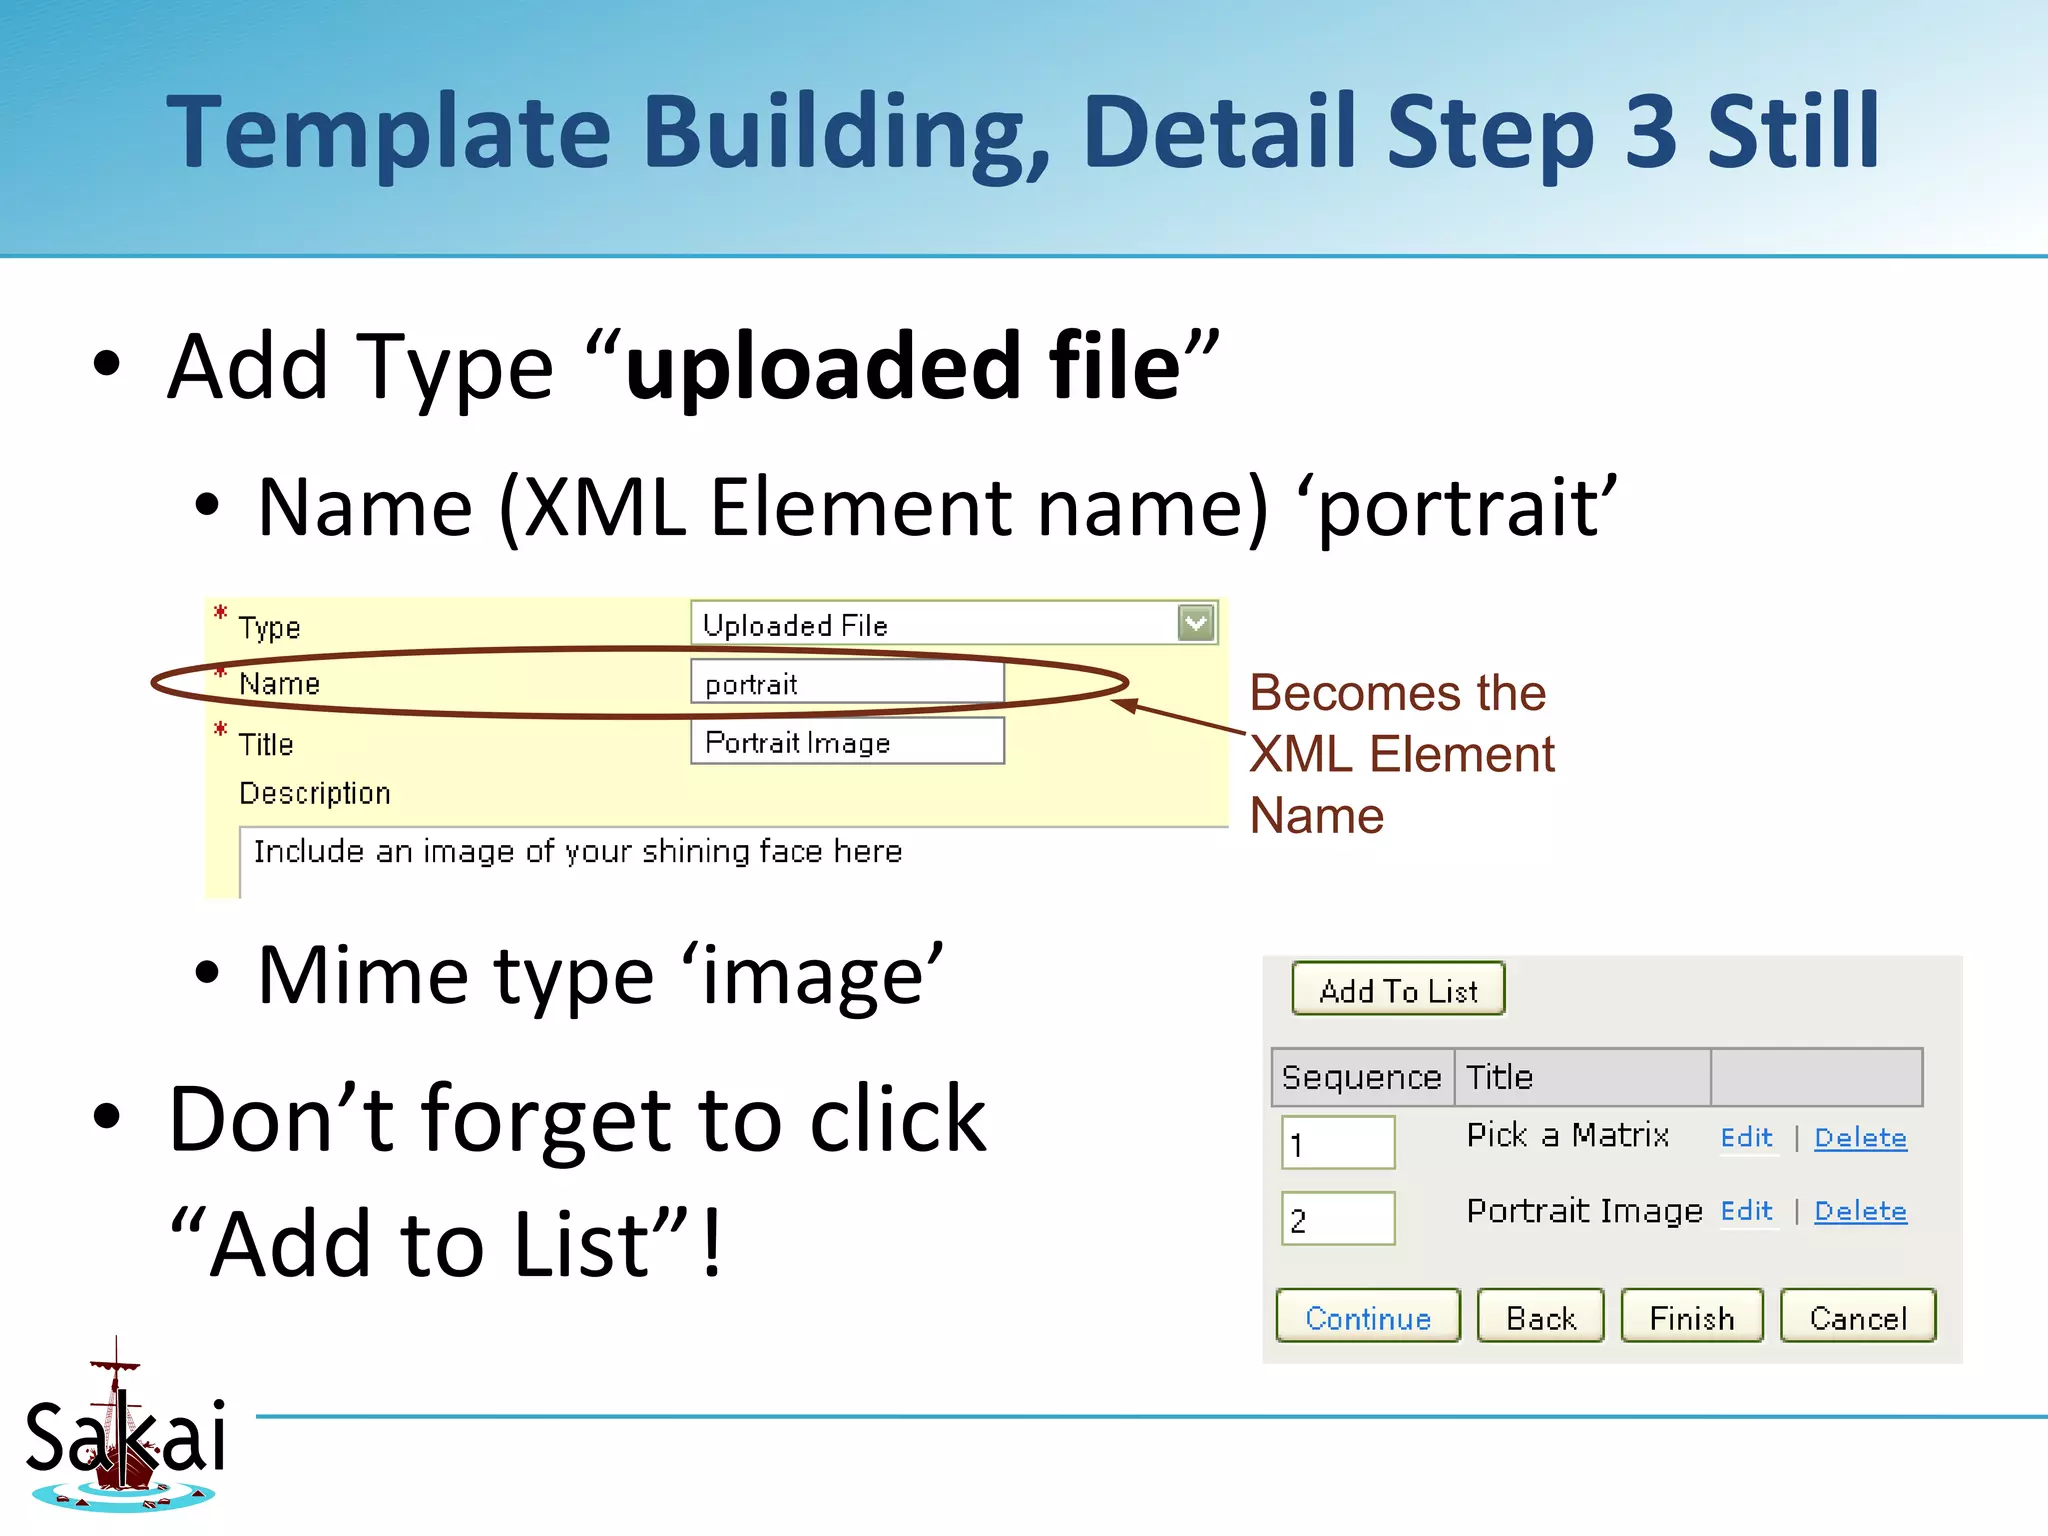
Getting Started with XSL
       Templates
             Will Trillich
   EPortfolio Wonk, Serensoft
   will.trillich@serensoft.com
                    Attribution Share Alike
What’s This Workshop About?
• Turning an image-and-a-matrix-with-
  some-forms into a “portfolio” web page


 …by getting OSP to reveal its XML
 structure so we can build HTML using XSL
Who This Is For
• Skills needed to build XSL style sheets:
  • Demented Computer-Science type,
    Web-Developer (not Designer) brain
  • Willing to sling <xml>trees</xml> around
  • Understand algorithms
     • For-each <xsl:for-each>loops</xsl:for-each>
     • If-then-else <xsl:choose>conditionals</xsl:choose>
     • And then be willing to dig into a totally different,
       declarative programming language: XSL

    July 2009              10th Sakai Conference - Boston, MA, U.S.A.   3
Prerequisites
• Today you’ll need a sandbox worksite
  • You can create one on your own campus
    Sakai instance (Needs Resources, Matrix,
   Portfolio, Portfolio Templates)
  • Or I can hook you up on our Serensoft
    sandbox for today’s session
• Have (or create) a matrix, usually
• A simple form or two
• Own a good XML editor (OxygenXML?)
With all that out of the way

Where Do We Begin?


    July 2009                  10th Sakai Conference - Boston, MA, U.S.A.   5
First, Choose Your Target
• You’ll go through quite a process…
Cultural/Political Steps
• Get your stakeholders together and
  discuss everything
  • Deliberate about the portfolio objectives
  • Deliberate about what content it should
    include—and exclude
  • Deliberate about its structure
  • Deliberate about layout
  • Deliberate about the branding and design
After The Committee Meetings
• You’ll arrive at a sketch something like this
Your Designer Creates HTML
• Web designer takes the sketch and makes
  HTML magic accordingly (or purloin some
  from www.oswd.org et al)
• Then you take that HTML and break it up
  into repeating sections
  • Forms X and Y fill this part out over here
  • Matrix cells go here, columns and rows go
    there
  • Portrait image shows up over yonder
The Web Developer Makes It Happen

• So how do we make this template work?
• How do we take a matrix with some forms
  and conjure up a web page from that?
These are

The Steps To Build A Template


   July 2009   10th Sakai Conference - Boston, MA, U.S.A.   11
MECHANICAL STEPS
•   Have something to work with (Matrix, Forms)
•   Create a “pass-through” template
•   Create a portfolio based on the template,
    using your content, and save the XML
•   Build your XSL to do magic with that XML
    (return to step 1 as needed, for the content
    you forgot)
•   When it’s ready, replace the pass-through XSL
    in the template with your magical XSL
•   Bask in the accolades
MECHANICAL ITERATION
•   Update something to work with (Matrix, Forms)
•   Create a “pass-through” template
•   Refresh your portfolio, and save the updated
    XML
•   Tweak your XSL to do magic with that XML
    (return to step 1 as needed, for the content
    you forgot)
•   When it’s ready, replace the pass-through XSL
    in the template with your updated XSL
•   Bask in the accolades
Back On Campus…
• The following slides are what you’ll need
  to do back on campus
Have Some Forms Available
• Build forms to collect data from your users
• Nice, repeatable structured artifacts
  • Forms were previously
    called “structured
    artifact definitions”
    or SADs
Start with a Matrix
• Build your matrix
• Couple of rows
• Columns as needed
Attach Forms to your cells
• Matrix “edit” > pick-a-cell
  • Specify Forms for Reflection, Feedback,
    Evaluation or whatever
Or just nab a pre-set matrix
• …but for today’s workshop, just import
  OSP-Matrix.zip
• From www.serensoft.net/sakai09
• Create some data for OSP to deliver
  • Open matrix as user, dive into cells and:
    • Fill out some forms
    • Attach some files
Now what?
• We’ve got a matrix because that’s a
  convenient way to structure our portfolio
• We’ve got forms attached to the matrix so
  we can collect data at predictable spots
• We’ve got some sample data from filled-
  out forms

• Now we build a template.
So create a template already
• Let’s say our stakeholders want a portfolio
  based on:
  • Matrix for structure
  • Head-shot/portrait independent of the matrix
• That means our template will require two
  ingredients from the student
  • “matrix” element will be a matrix
  • “portrait” element will be an uploaded image
The first thing a template needs…
• (After its name)
• Is an XSL stylesheet
  • Which we need to build from scratch, and
    thus we don’t have one
  • So we pull in the granddaddy of all XSL
    stylesheets: passthrough.xsl (also available at
    serensoft.net/sakai09 )
PassThrough.xsl
• Finds the root object and copies it to the output
<?xml version="1.0" ?>

<xsl:stylesheet version="1.0"
  xmlns:xsl="http://www.w3.org/1999/XSL/Transform">

<xsl:template match="/">
    <xsl:copy-of select="." />
</xsl:template>

</xsl:stylesheet>

• Upload that to your resources (mime type text/xml)
Now Create Your Template
•       Portfolio Template Tool > New
•       Give it a name/description
•       Basic Template Outline (stylesheet) is
        passthrough.xsl
•       Two items needed: Matrix, Image
    •     More info on step 3, next 2 slides
5. No supporting files, for today
• Easy!
Details on Template Building, Step 3

• Add Type “Matrix”
  • Name (XML Element name) ‘matrix’
  • Title (for human-readability) ‘Pick a Matrix’
  • Description may also be useful
• Don’t forget to click
  “Add to List”!
     Becomes the
     XML Element
           Name
Template Building, Detail Step 3 Still

• Add Type “uploaded file”
  • Name (XML Element name) ‘portrait’
                             Becomes the
                             XML Element
                             Name


  • Mime type ‘image’
• Don’t forget to click
  “Add to List”!
Save Your New Template
• Now you can create a portfolio based on
  your pass-through template!
Now Create A Portfolio
• You’ve filled out some forms in the matrix,
  so you’ve got something to work with
• Create a portfolio on your new template
• Portfolio tool > Add/Create (2.5 vs 2.6)
  • Include your matrix
  • Include/upload an image, too
• Now save it… and then view your portfolio
Yikes!
• It’s garbage in my browser! Eww!


• It’s exactly what we want! It’s not formatted for
  HTML viewing, it’s just naked XML
• Save it to your desktop as a
  viewPresentation.xml file
Perfect!
•       In your local copy of the XML, add line 2:
    •     <?xml version="1.0" encoding="UTF-8"?>
    •     <?xml-stylesheet type="text/xsl" href="your-template-here.xsl"?>
    •     <xml-here>
    •     ...
    •     </xml-here>

•       Make the href refer to the magical XSL
        style sheet you’re working on
A Quick Overview Of

How XSL Works
(The fun part!)


    July 2009         10th Sakai Conference - Boston, MA, U.S.A.   30
www.Serensoft.Net/sakai09
• Check out the
  Person.xml file there
• View source, and…
  where does all the
  formatting come from?
  The branding? The
  header and the footer?
  Not to mention the
  presentation of the data
  itself!
Person.xml view-source
• It’s just the data, so
  where does the
  formatting come
  from?
• It’s the <?xml-
  stylesheet> directive!
Without the XSL stylesheet
• In Firefox the default
  XML rendering would
  look like this
• But we can specify an
  XSL stylesheet to
  render it, instead
• Now we know the
  secret to “No style
  information”!
Open the linked stylesheet
• Click to view the stylesheet itself

• Then view-source to “see” it for real
• Save these files (.xml, .xsl) to your local
  filesystem and tinker with them to get the
  idea
Same idea with the XML from OSP
• Have the XML refer to your XSL stylesheet
• Open the XML in your browser
• Then:
  • Tweak your XSL
  • Refresh your browser
  • Repeat as needed
• Upload your XSL and point the template to
  it – and you’re off to the races!
Have Fun Tinkering With Your Newfound

OSP Template Savvy


   July 2009               10th Sakai Conference - Boston, MA, U.S.A.   36

Getting Started With Xsl Templates

  • 1.
    Getting Started withXSL Templates Will Trillich EPortfolio Wonk, Serensoft will.trillich@serensoft.com Attribution Share Alike
  • 2.
    What’s This WorkshopAbout? • Turning an image-and-a-matrix-with- some-forms into a “portfolio” web page …by getting OSP to reveal its XML structure so we can build HTML using XSL
  • 3.
    Who This IsFor • Skills needed to build XSL style sheets: • Demented Computer-Science type, Web-Developer (not Designer) brain • Willing to sling <xml>trees</xml> around • Understand algorithms • For-each <xsl:for-each>loops</xsl:for-each> • If-then-else <xsl:choose>conditionals</xsl:choose> • And then be willing to dig into a totally different, declarative programming language: XSL July 2009 10th Sakai Conference - Boston, MA, U.S.A. 3
  • 4.
    Prerequisites • Today you’llneed a sandbox worksite • You can create one on your own campus Sakai instance (Needs Resources, Matrix, Portfolio, Portfolio Templates) • Or I can hook you up on our Serensoft sandbox for today’s session • Have (or create) a matrix, usually • A simple form or two • Own a good XML editor (OxygenXML?)
  • 5.
    With all thatout of the way Where Do We Begin? July 2009 10th Sakai Conference - Boston, MA, U.S.A. 5
  • 6.
    First, Choose YourTarget • You’ll go through quite a process…
  • 7.
    Cultural/Political Steps • Getyour stakeholders together and discuss everything • Deliberate about the portfolio objectives • Deliberate about what content it should include—and exclude • Deliberate about its structure • Deliberate about layout • Deliberate about the branding and design
  • 8.
    After The CommitteeMeetings • You’ll arrive at a sketch something like this
  • 9.
    Your Designer CreatesHTML • Web designer takes the sketch and makes HTML magic accordingly (or purloin some from www.oswd.org et al) • Then you take that HTML and break it up into repeating sections • Forms X and Y fill this part out over here • Matrix cells go here, columns and rows go there • Portrait image shows up over yonder
  • 10.
    The Web DeveloperMakes It Happen • So how do we make this template work? • How do we take a matrix with some forms and conjure up a web page from that?
  • 11.
    These are The StepsTo Build A Template July 2009 10th Sakai Conference - Boston, MA, U.S.A. 11
  • 12.
    MECHANICAL STEPS • Have something to work with (Matrix, Forms) • Create a “pass-through” template • Create a portfolio based on the template, using your content, and save the XML • Build your XSL to do magic with that XML (return to step 1 as needed, for the content you forgot) • When it’s ready, replace the pass-through XSL in the template with your magical XSL • Bask in the accolades
  • 13.
    MECHANICAL ITERATION • Update something to work with (Matrix, Forms) • Create a “pass-through” template • Refresh your portfolio, and save the updated XML • Tweak your XSL to do magic with that XML (return to step 1 as needed, for the content you forgot) • When it’s ready, replace the pass-through XSL in the template with your updated XSL • Bask in the accolades
  • 14.
    Back On Campus… •The following slides are what you’ll need to do back on campus
  • 15.
    Have Some FormsAvailable • Build forms to collect data from your users • Nice, repeatable structured artifacts • Forms were previously called “structured artifact definitions” or SADs
  • 16.
    Start with aMatrix • Build your matrix • Couple of rows • Columns as needed
  • 17.
    Attach Forms toyour cells • Matrix “edit” > pick-a-cell • Specify Forms for Reflection, Feedback, Evaluation or whatever
  • 18.
    Or just naba pre-set matrix • …but for today’s workshop, just import OSP-Matrix.zip • From www.serensoft.net/sakai09 • Create some data for OSP to deliver • Open matrix as user, dive into cells and: • Fill out some forms • Attach some files
  • 19.
    Now what? • We’vegot a matrix because that’s a convenient way to structure our portfolio • We’ve got forms attached to the matrix so we can collect data at predictable spots • We’ve got some sample data from filled- out forms • Now we build a template.
  • 20.
    So create atemplate already • Let’s say our stakeholders want a portfolio based on: • Matrix for structure • Head-shot/portrait independent of the matrix • That means our template will require two ingredients from the student • “matrix” element will be a matrix • “portrait” element will be an uploaded image
  • 21.
    The first thinga template needs… • (After its name) • Is an XSL stylesheet • Which we need to build from scratch, and thus we don’t have one • So we pull in the granddaddy of all XSL stylesheets: passthrough.xsl (also available at serensoft.net/sakai09 )
  • 22.
    PassThrough.xsl • Finds theroot object and copies it to the output <?xml version="1.0" ?> <xsl:stylesheet version="1.0" xmlns:xsl="http://www.w3.org/1999/XSL/Transform"> <xsl:template match="/"> <xsl:copy-of select="." /> </xsl:template> </xsl:stylesheet> • Upload that to your resources (mime type text/xml)
  • 23.
    Now Create YourTemplate • Portfolio Template Tool > New • Give it a name/description • Basic Template Outline (stylesheet) is passthrough.xsl • Two items needed: Matrix, Image • More info on step 3, next 2 slides 5. No supporting files, for today • Easy!
  • 24.
    Details on TemplateBuilding, Step 3 • Add Type “Matrix” • Name (XML Element name) ‘matrix’ • Title (for human-readability) ‘Pick a Matrix’ • Description may also be useful • Don’t forget to click “Add to List”! Becomes the XML Element Name
  • 25.
    Template Building, DetailStep 3 Still • Add Type “uploaded file” • Name (XML Element name) ‘portrait’ Becomes the XML Element Name • Mime type ‘image’ • Don’t forget to click “Add to List”!
  • 26.
    Save Your NewTemplate • Now you can create a portfolio based on your pass-through template!
  • 27.
    Now Create APortfolio • You’ve filled out some forms in the matrix, so you’ve got something to work with • Create a portfolio on your new template • Portfolio tool > Add/Create (2.5 vs 2.6) • Include your matrix • Include/upload an image, too • Now save it… and then view your portfolio
  • 28.
    Yikes! • It’s garbagein my browser! Eww! • It’s exactly what we want! It’s not formatted for HTML viewing, it’s just naked XML • Save it to your desktop as a viewPresentation.xml file
  • 29.
    Perfect! • In your local copy of the XML, add line 2: • <?xml version="1.0" encoding="UTF-8"?> • <?xml-stylesheet type="text/xsl" href="your-template-here.xsl"?> • <xml-here> • ... • </xml-here> • Make the href refer to the magical XSL style sheet you’re working on
  • 30.
    A Quick OverviewOf How XSL Works (The fun part!) July 2009 10th Sakai Conference - Boston, MA, U.S.A. 30
  • 31.
    www.Serensoft.Net/sakai09 • Check outthe Person.xml file there • View source, and… where does all the formatting come from? The branding? The header and the footer? Not to mention the presentation of the data itself!
  • 32.
    Person.xml view-source • It’sjust the data, so where does the formatting come from? • It’s the <?xml- stylesheet> directive!
  • 33.
    Without the XSLstylesheet • In Firefox the default XML rendering would look like this • But we can specify an XSL stylesheet to render it, instead • Now we know the secret to “No style information”!
  • 34.
    Open the linkedstylesheet • Click to view the stylesheet itself • Then view-source to “see” it for real • Save these files (.xml, .xsl) to your local filesystem and tinker with them to get the idea
  • 35.
    Same idea withthe XML from OSP • Have the XML refer to your XSL stylesheet • Open the XML in your browser • Then: • Tweak your XSL • Refresh your browser • Repeat as needed • Upload your XSL and point the template to it – and you’re off to the races!
  • 36.
    Have Fun TinkeringWith Your Newfound OSP Template Savvy July 2009 10th Sakai Conference - Boston, MA, U.S.A. 36