Download as ODP, PPTX
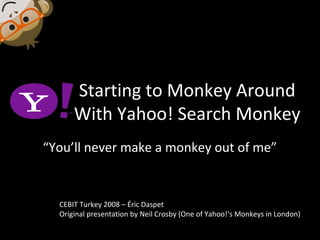


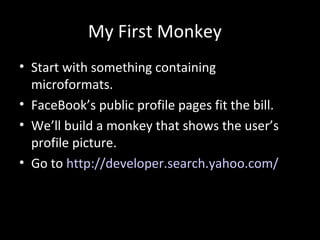


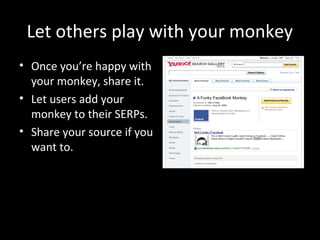
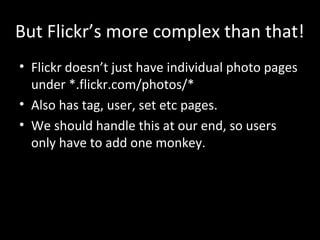
![Making our changes
$ret['image']['src'] =
Data::get('com.yahoo.uf.hcard/rel:Card/vcard:photo/@r
esource');
• And that’s all there is to creating a simple
monkey!](https://image.slidesharecdn.com/search-monkey-101117111011-phpapp01/85/Yahoo-Search-monkey-API-CEBIT-2008-13-320.jpg)
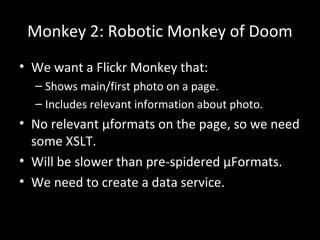


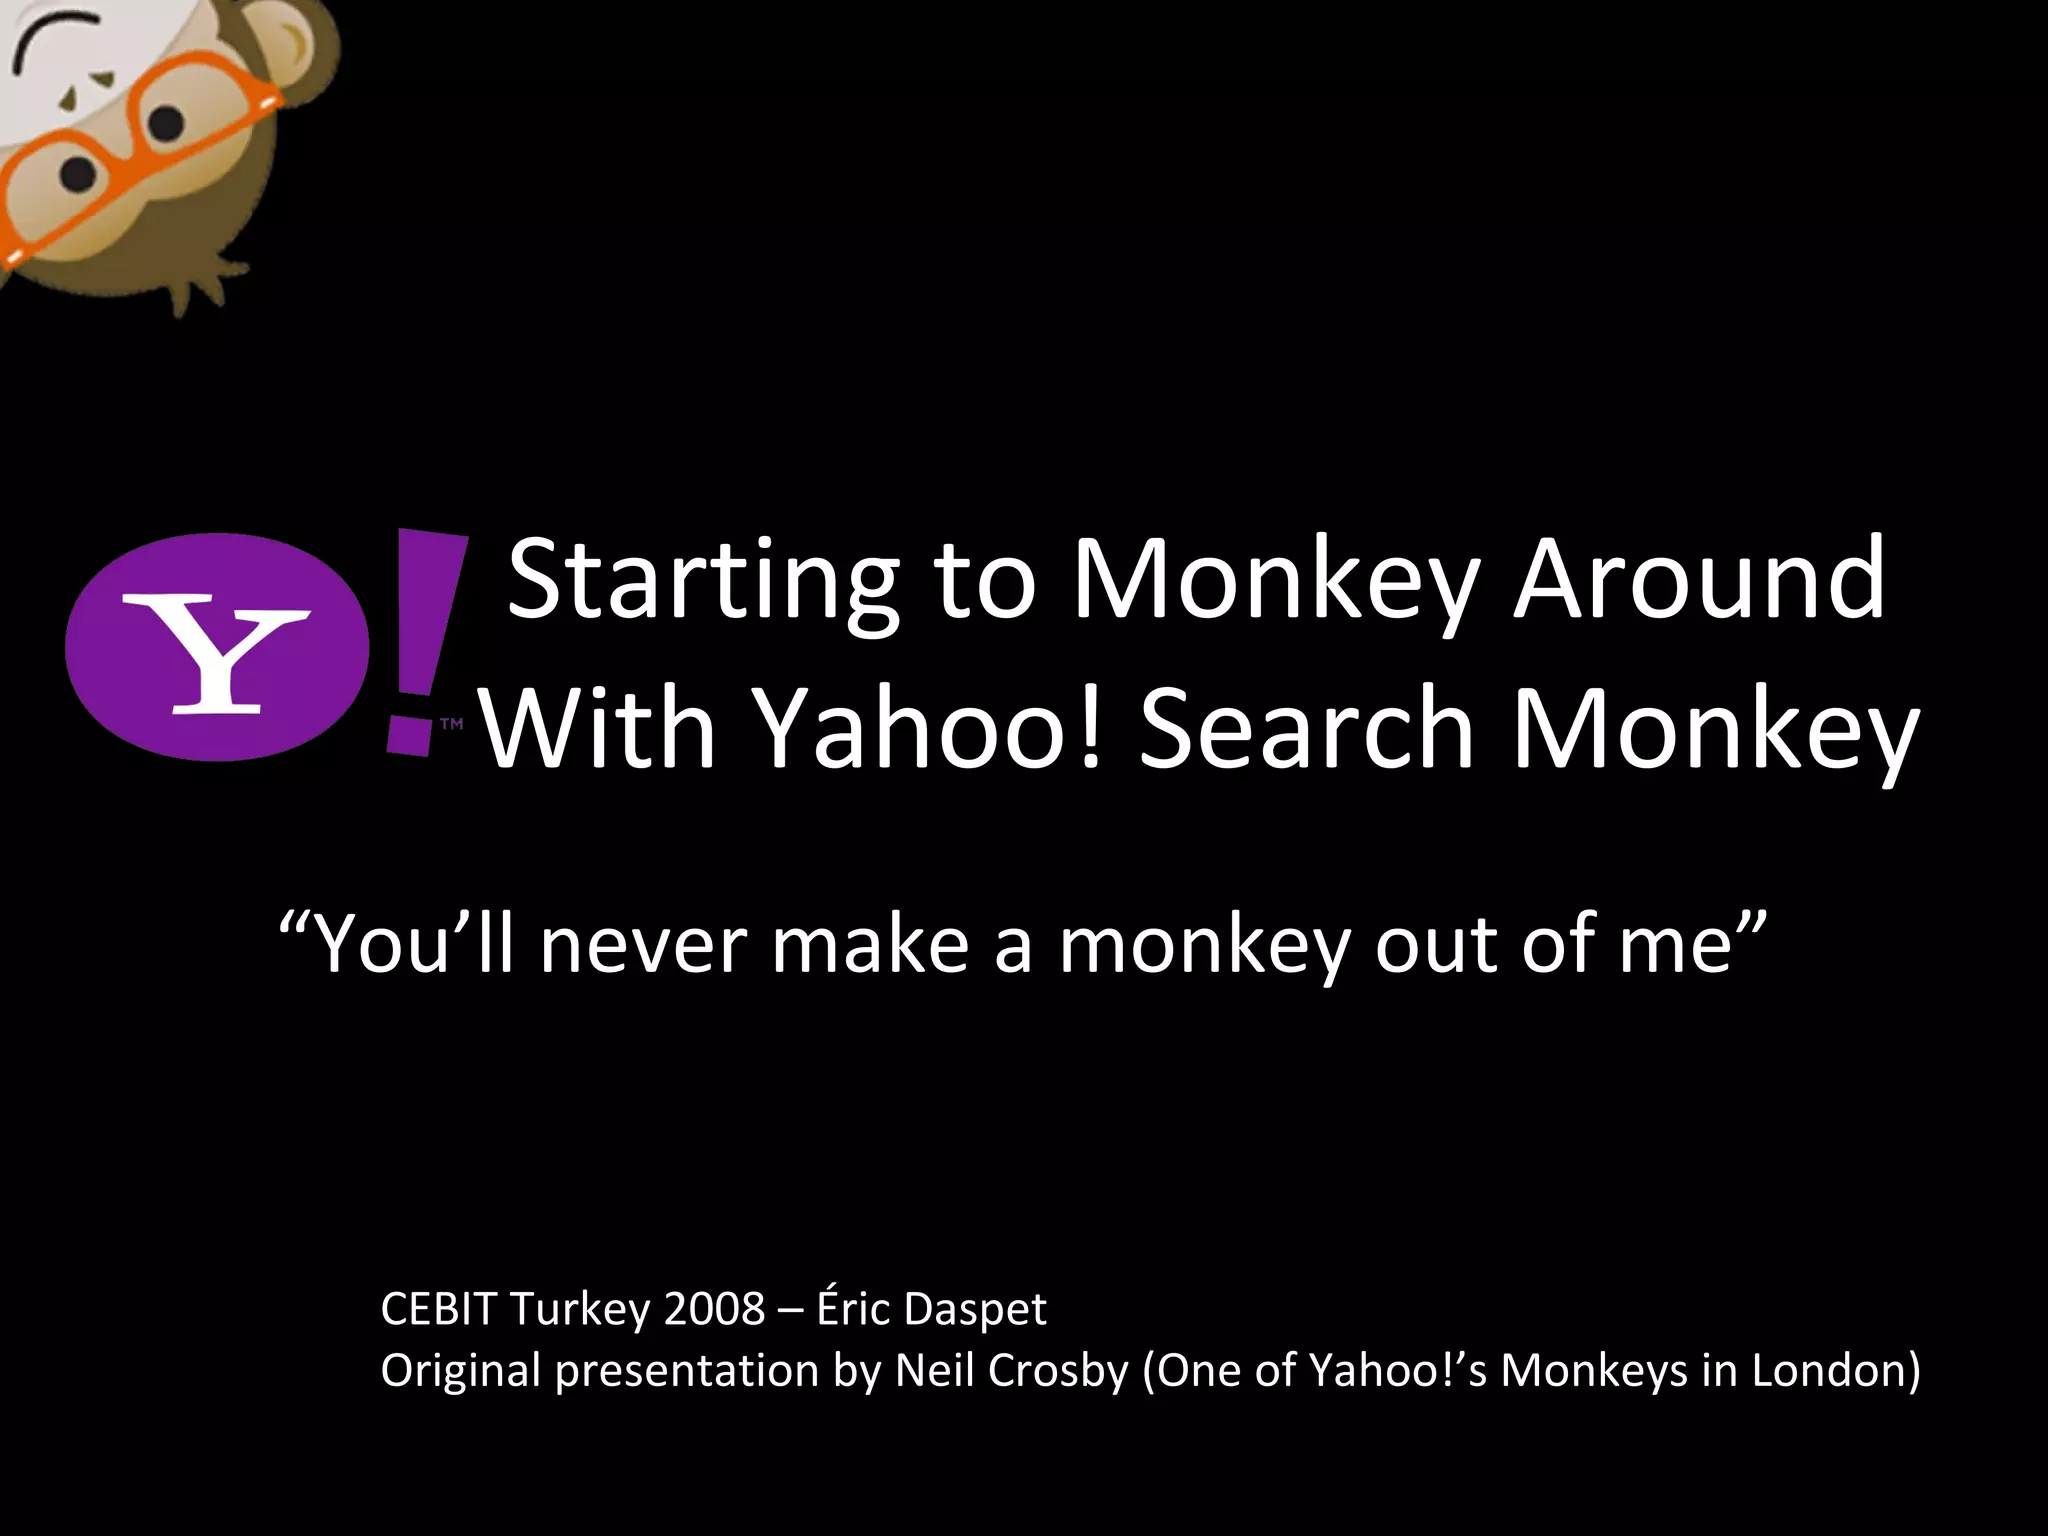
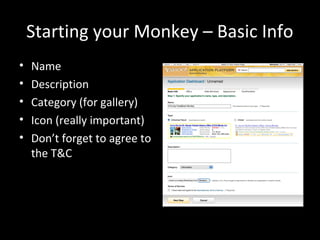
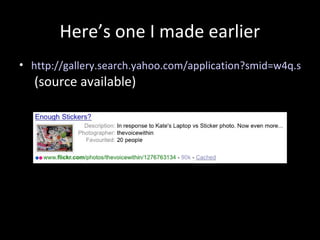
![XSLT First Pass
<?xml version="1.0"?>
<xsl:stylesheet xmlns:xsl="http://www.w3.org/1999/XSL/Transform"
version="1.0">
<xsl:template match="/">
<adjunctcontainer>
<adjunct id="smid:{$smid}" version="1.0">
<item rel="rel:Photo"
resource="{//div[@class='photoImgDiv']/img[@class='reflect']/@src}">
<meta property="dc:description">
<xsl:value-of select="//div[@class='photoDescription']"/>
</meta>
</item>
</adjunct>
</adjunctcontainer>
</xsl:template>
</xsl:stylesheet>](https://image.slidesharecdn.com/search-monkey-101117111011-phpapp01/85/Yahoo-Search-monkey-API-CEBIT-2008-19-320.jpg)


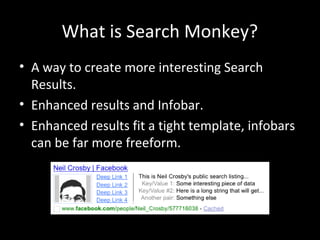
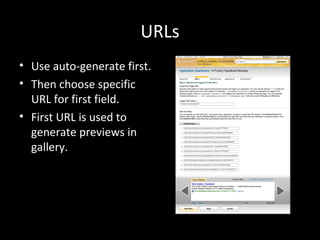
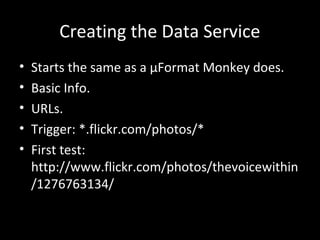
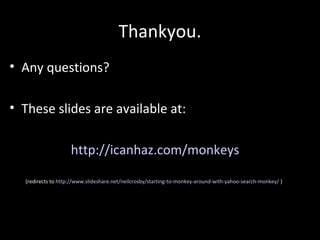
![Flickr Monkey Appearance
• Point and click info from the data source.
$ret['summary'] =
Data::get('smid:DATA_SRC_ID/rel:Photo/dc:description'
);
$ret['image']['src'] =
Data::get('smid:DATA_SRC_ID/rel:Photo/@resource');](https://image.slidesharecdn.com/search-monkey-101117111011-phpapp01/85/Yahoo-Search-monkey-API-CEBIT-2008-23-320.jpg)


This document provides an introduction to creating Search Monkeys for Yahoo! Search. Search Monkeys allow developers to enhance search results with additional information. The document demonstrates how to create basic monkeys using microformats or XSLT to extract data from pages. It shows an example of a monkey displaying a Facebook profile photo in results and another displaying photos and descriptions from Flickr pages. The document encourages exploring more advanced features like handling different page types and using infobars.


![Getting Started with Apache Spark: Big Data Made Simple [Free Meetup]](https://cdn.slidesharecdn.com/ss_thumbnails/apachesparkgettingstarted-260203175547-8361bcc3-thumbnail.jpg?width=640&height=640&fit=bounds)


