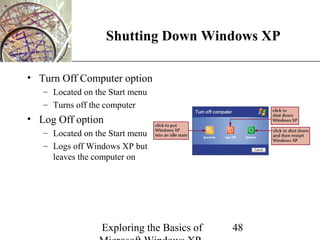
This document provides an overview of the basics of using Windows XP, including:
- Starting Windows XP and exploring the desktop interface
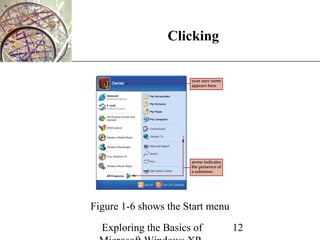
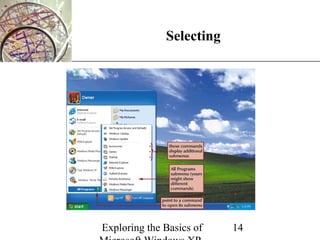
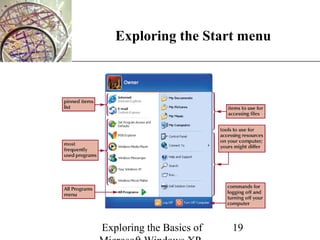
- Using the Start menu to access programs and settings
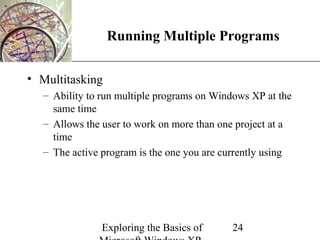
- Running multiple programs simultaneously and switching between them
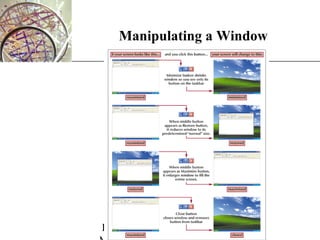
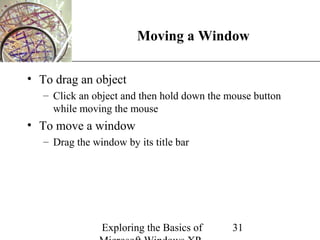
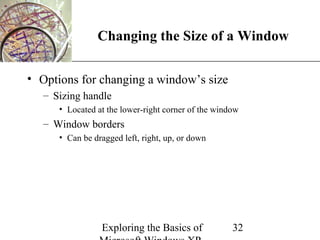
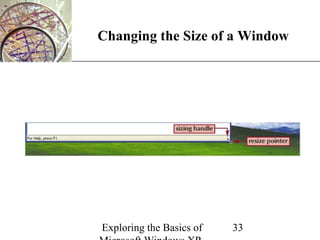
- Manipulating windows by moving, resizing, and closing them
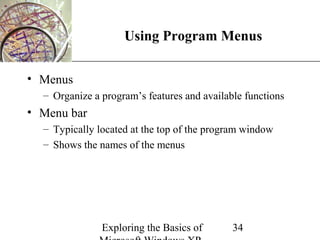
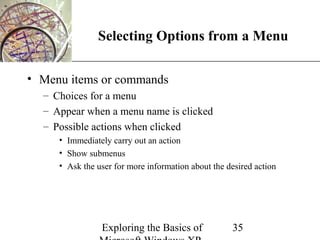
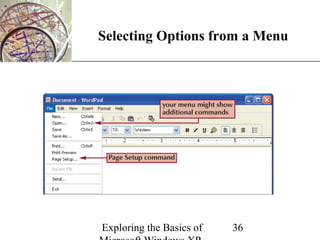
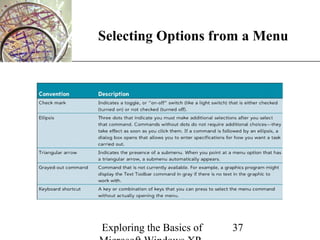
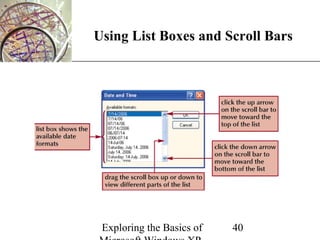
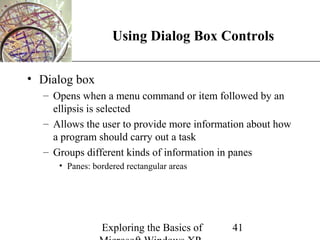
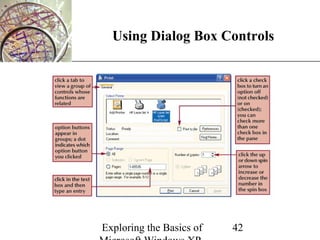
- Interacting with menus, toolbars, and other interface elements to control programs and Windows XP