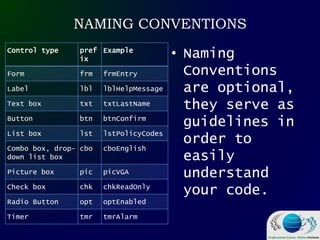
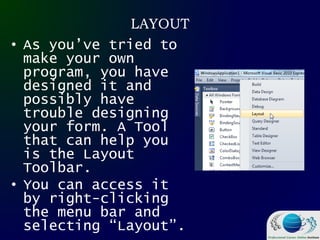
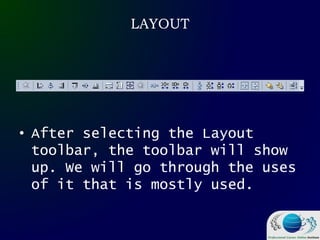
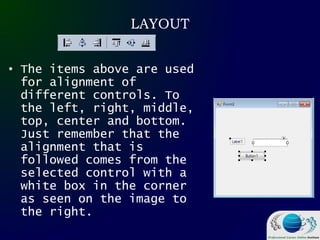
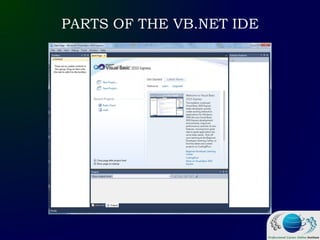
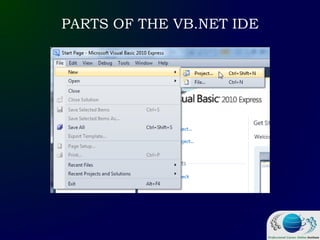
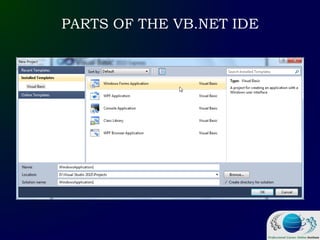
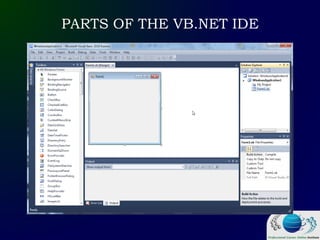
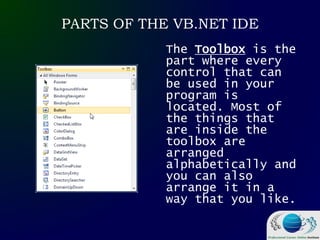
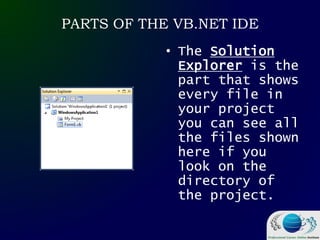
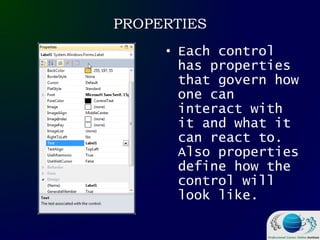
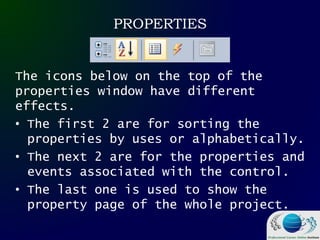
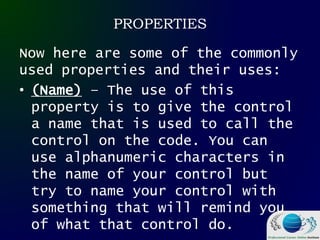
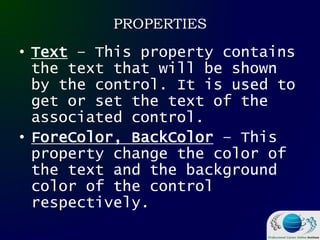
The document provides information on Visual Basic .NET (VB.NET) programming, including an introduction to VB.NET, the integrated development environment (IDE), common controls used in VB.NET, and an example "Hello World" program. It describes the VB.NET IDE layout including the toolbox, solution explorer, properties window, and code editor. It also discusses naming conventions, common controls like buttons and textboxes, and the layout toolbar for arranging controls.
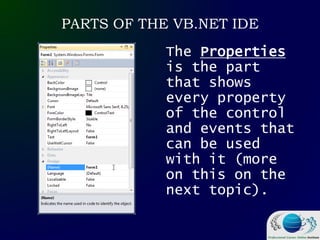
![PARTS OF THE VB.NET IDE
The [Design]
Window is where
you can see
what your form
looks like and
you can arrange
the control in
it accordingly.](https://image.slidesharecdn.com/visualbasicideintro-240111125256-a63f6b48/85/Visual-Basic-IDE-Intro-pdf-13-320.jpg)


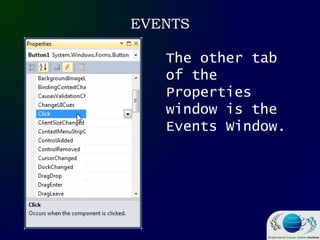
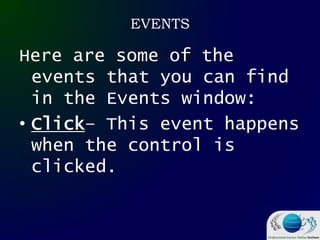
![EVENTS
When you double
click a control
on the [Design],
the default
Event will be
selected.
You can choose
which event to
use by going to
the events
window and
selecting](https://image.slidesharecdn.com/visualbasicideintro-240111125256-a63f6b48/85/Visual-Basic-IDE-Intro-pdf-36-320.jpg)