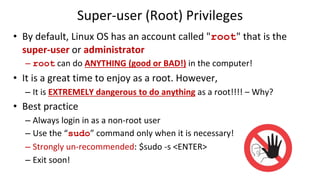
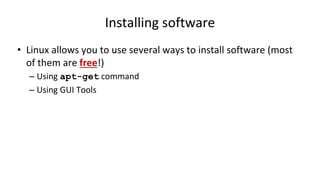
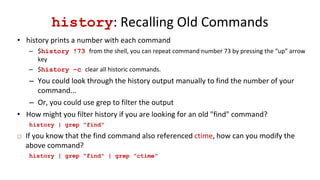
1. The document provides an overview of more Linux commands and tools, including how to edit files, create users and groups, change file permissions, become the super user, install software, and use compression tools.
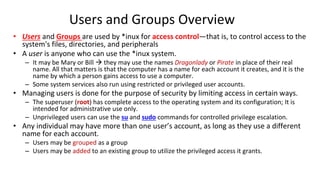
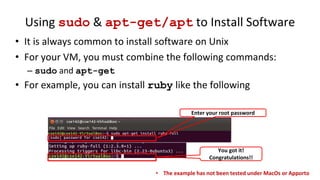
2. Commands covered include gedit and vi for text editing, useradd/groupadd for creating users and groups, chmod for changing file permissions, sudo for becoming the super user, apt-get for installing packages, and tar for compressing files.
3. The document also discusses concepts like file permissions represented as octal numbers, using sudo and root privileges carefully, and different methods for installing and compressing files in Linux.


![Basic Commands
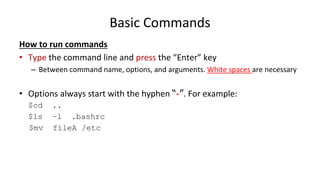
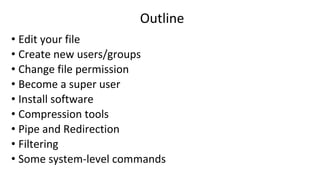
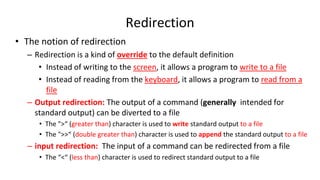
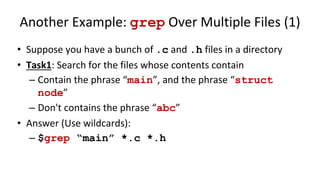
How to run Unix commands
• Bring up shell terminal Applications Accessories => Terminal
– Or Press Ctrl+Alt+T on the keyboard to open the terminal
• When you bring up a shell terminal, you will see a command prompt
$
• One command consists of three parts, i.e. command name, options,
arguments. For example,
$ command-name [options] [arguments]](https://image.slidesharecdn.com/topic3-1morelinuxcommands-231122183903-4e356657/85/Topic-3-1_More_Linux_Commands-pptx-6-320.jpg)
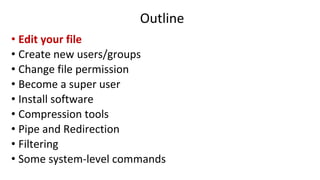

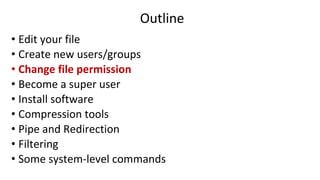
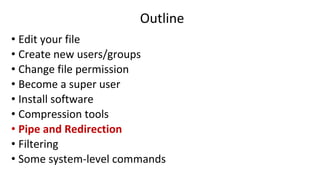
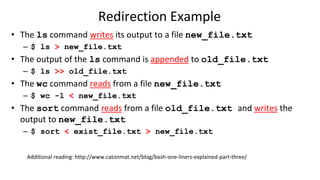
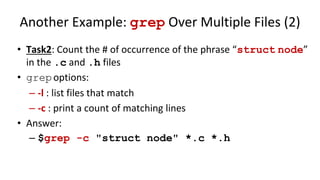
![Changing File Permissions
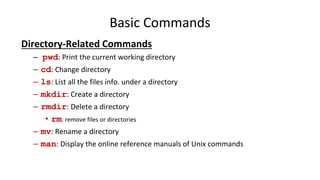
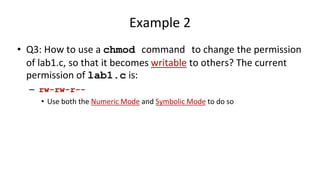
• chmod : changes permissions
– See man/info page for full details
– -R : recursive
– $ chmod mode[,mode] file(s)
– Each mode consists of three parts:
• 1. [ugoa] for user, group, other, or all
• 2. [+-=] to add, remove, or exactly set the permissions
• 3. [rwx] for reading, writing, or executing
• e.g., chmod -R o+w public/ will recursively make everything in the public
directory writeable by anyone](https://image.slidesharecdn.com/topic3-1morelinuxcommands-231122183903-4e356657/85/Topic-3-1_More_Linux_Commands-pptx-23-320.jpg)
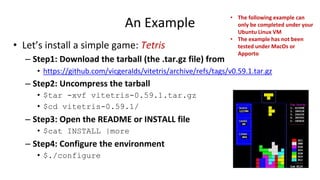
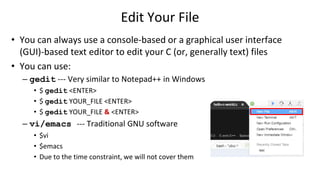
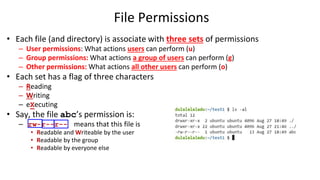
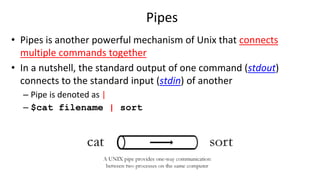
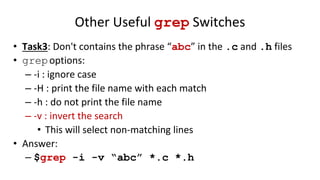
![An Example
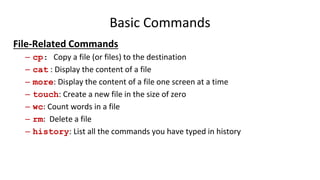
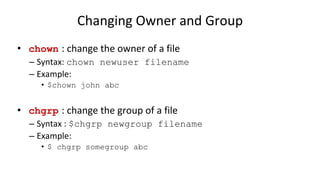
– Step5: Make from the source
• $make
– Step6: Installation [Optional]
• $sudo make install
– Step7: Run and have fun!
• $./tetris
• You can follow similar steps to install most
of the tarball!
• Always find README and/or INSTALL file
and follow the instruction](https://image.slidesharecdn.com/topic3-1morelinuxcommands-231122183903-4e356657/85/Topic-3-1_More_Linux_Commands-pptx-42-320.jpg)


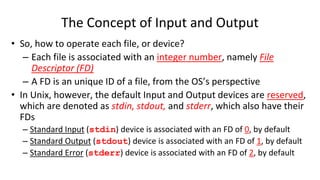

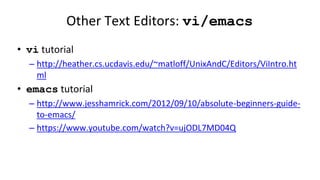
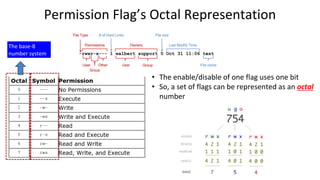
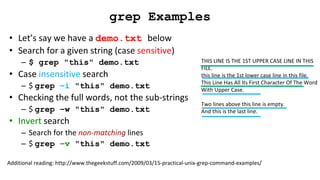
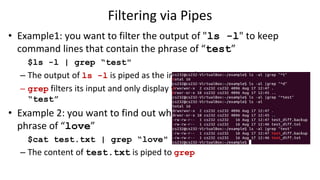
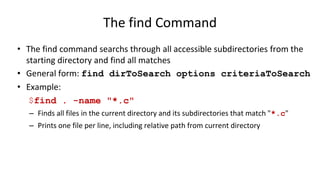
![Filtering
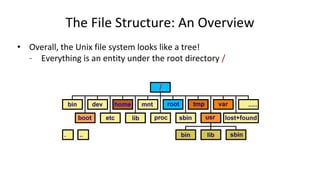
• An useful application of pipes is for filtering
– Let’s introduce one more Unix command first
• grep: searching files for lines containing a match to the given
pattern.
– Syntax: grep [OPTIONS] PATTERN [FILE...]
– Example:
• $grep ”abc" [file_name]
• Pattern may or may not need the “” mark
– The file should be the text file, not the binary file](https://image.slidesharecdn.com/topic3-1morelinuxcommands-231122183903-4e356657/85/Topic-3-1_More_Linux_Commands-pptx-52-320.jpg)

![Some System Admin’s Commands (3)
• kill: kill a process
• Syntax:
– $kill [PID]
• Options
– -9: kill a process! it definitely works!!!
– Use it with great care there is no way back!
– Use this option only when you have tried all the rest in the world!](https://image.slidesharecdn.com/topic3-1morelinuxcommands-231122183903-4e356657/85/Topic-3-1_More_Linux_Commands-pptx-66-320.jpg)


![谷歌留痕技术教程[ 𝙩𝙤𝙥 𝟮𝟯𝟯. 𝙘 𝙤𝙢 ]](https://cdn.slidesharecdn.com/ss_thumbnails/top233-260130173900-2eb784f9-thumbnail.jpg?width=640&height=640&fit=bounds)


