Downloaded 12 times


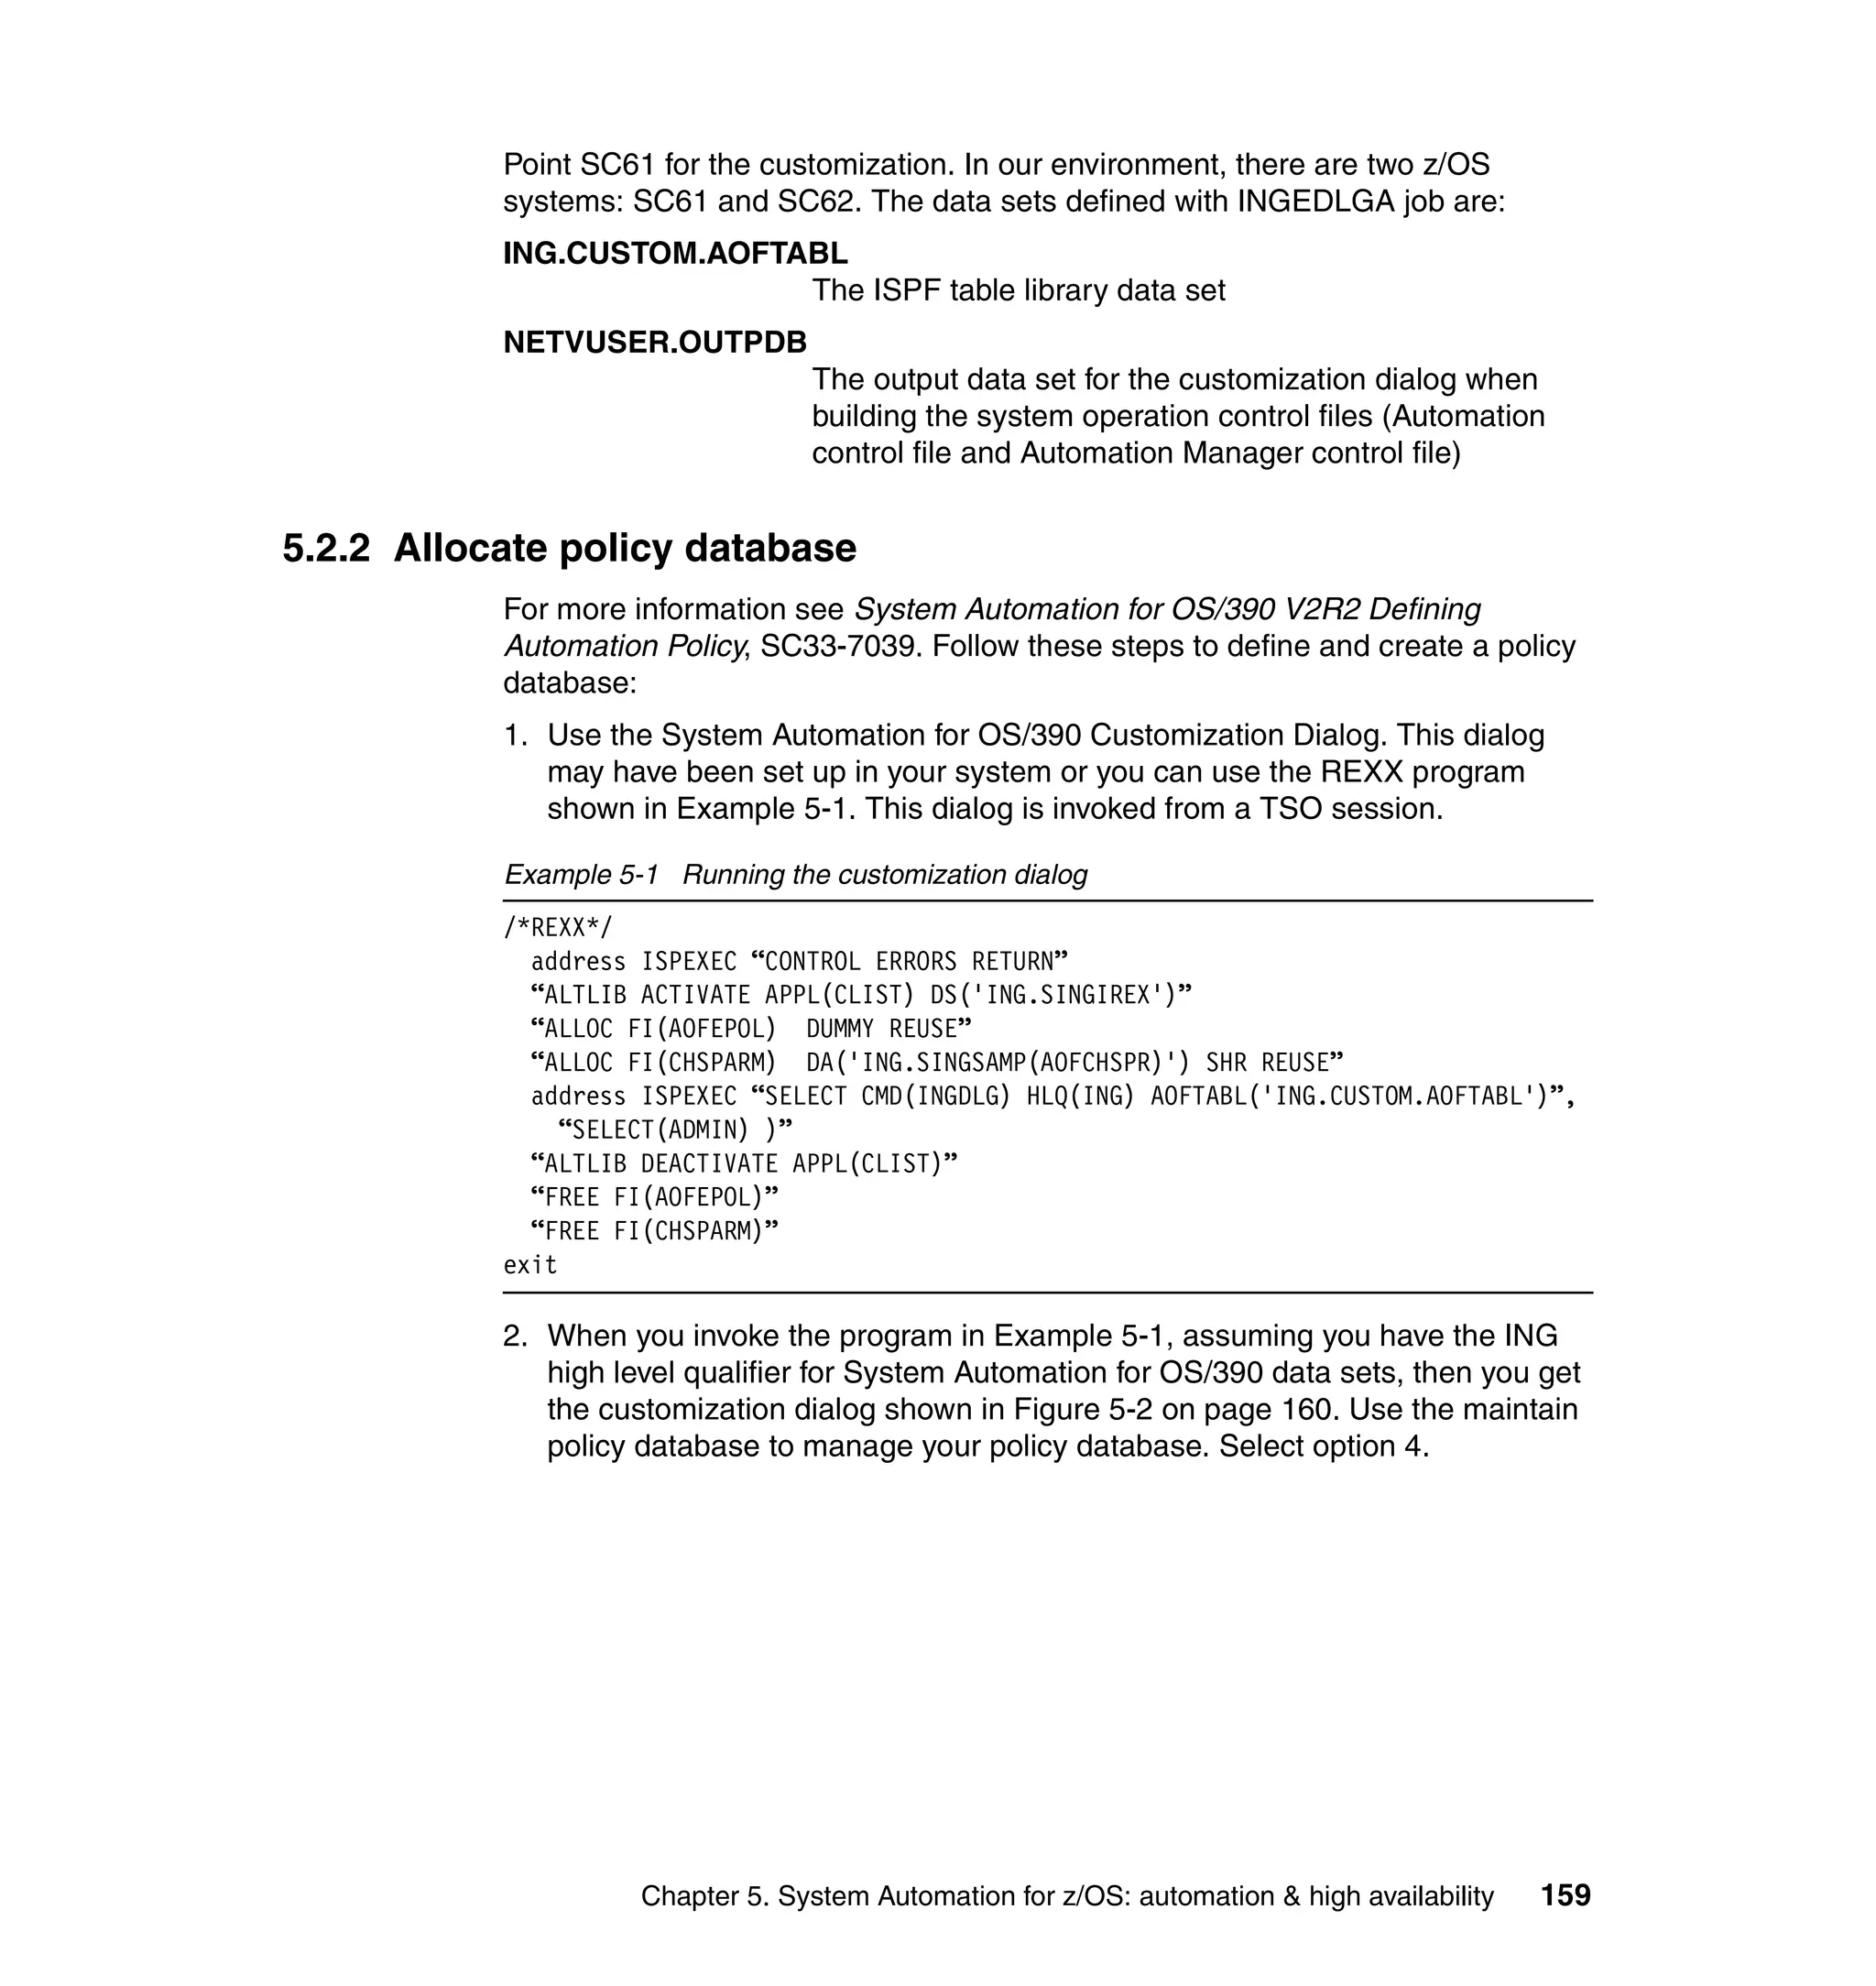


![Unconfiguring existing IBM Tivoli Access Manager
If this is your first configuration, you can skip this first part. Here are the steps to
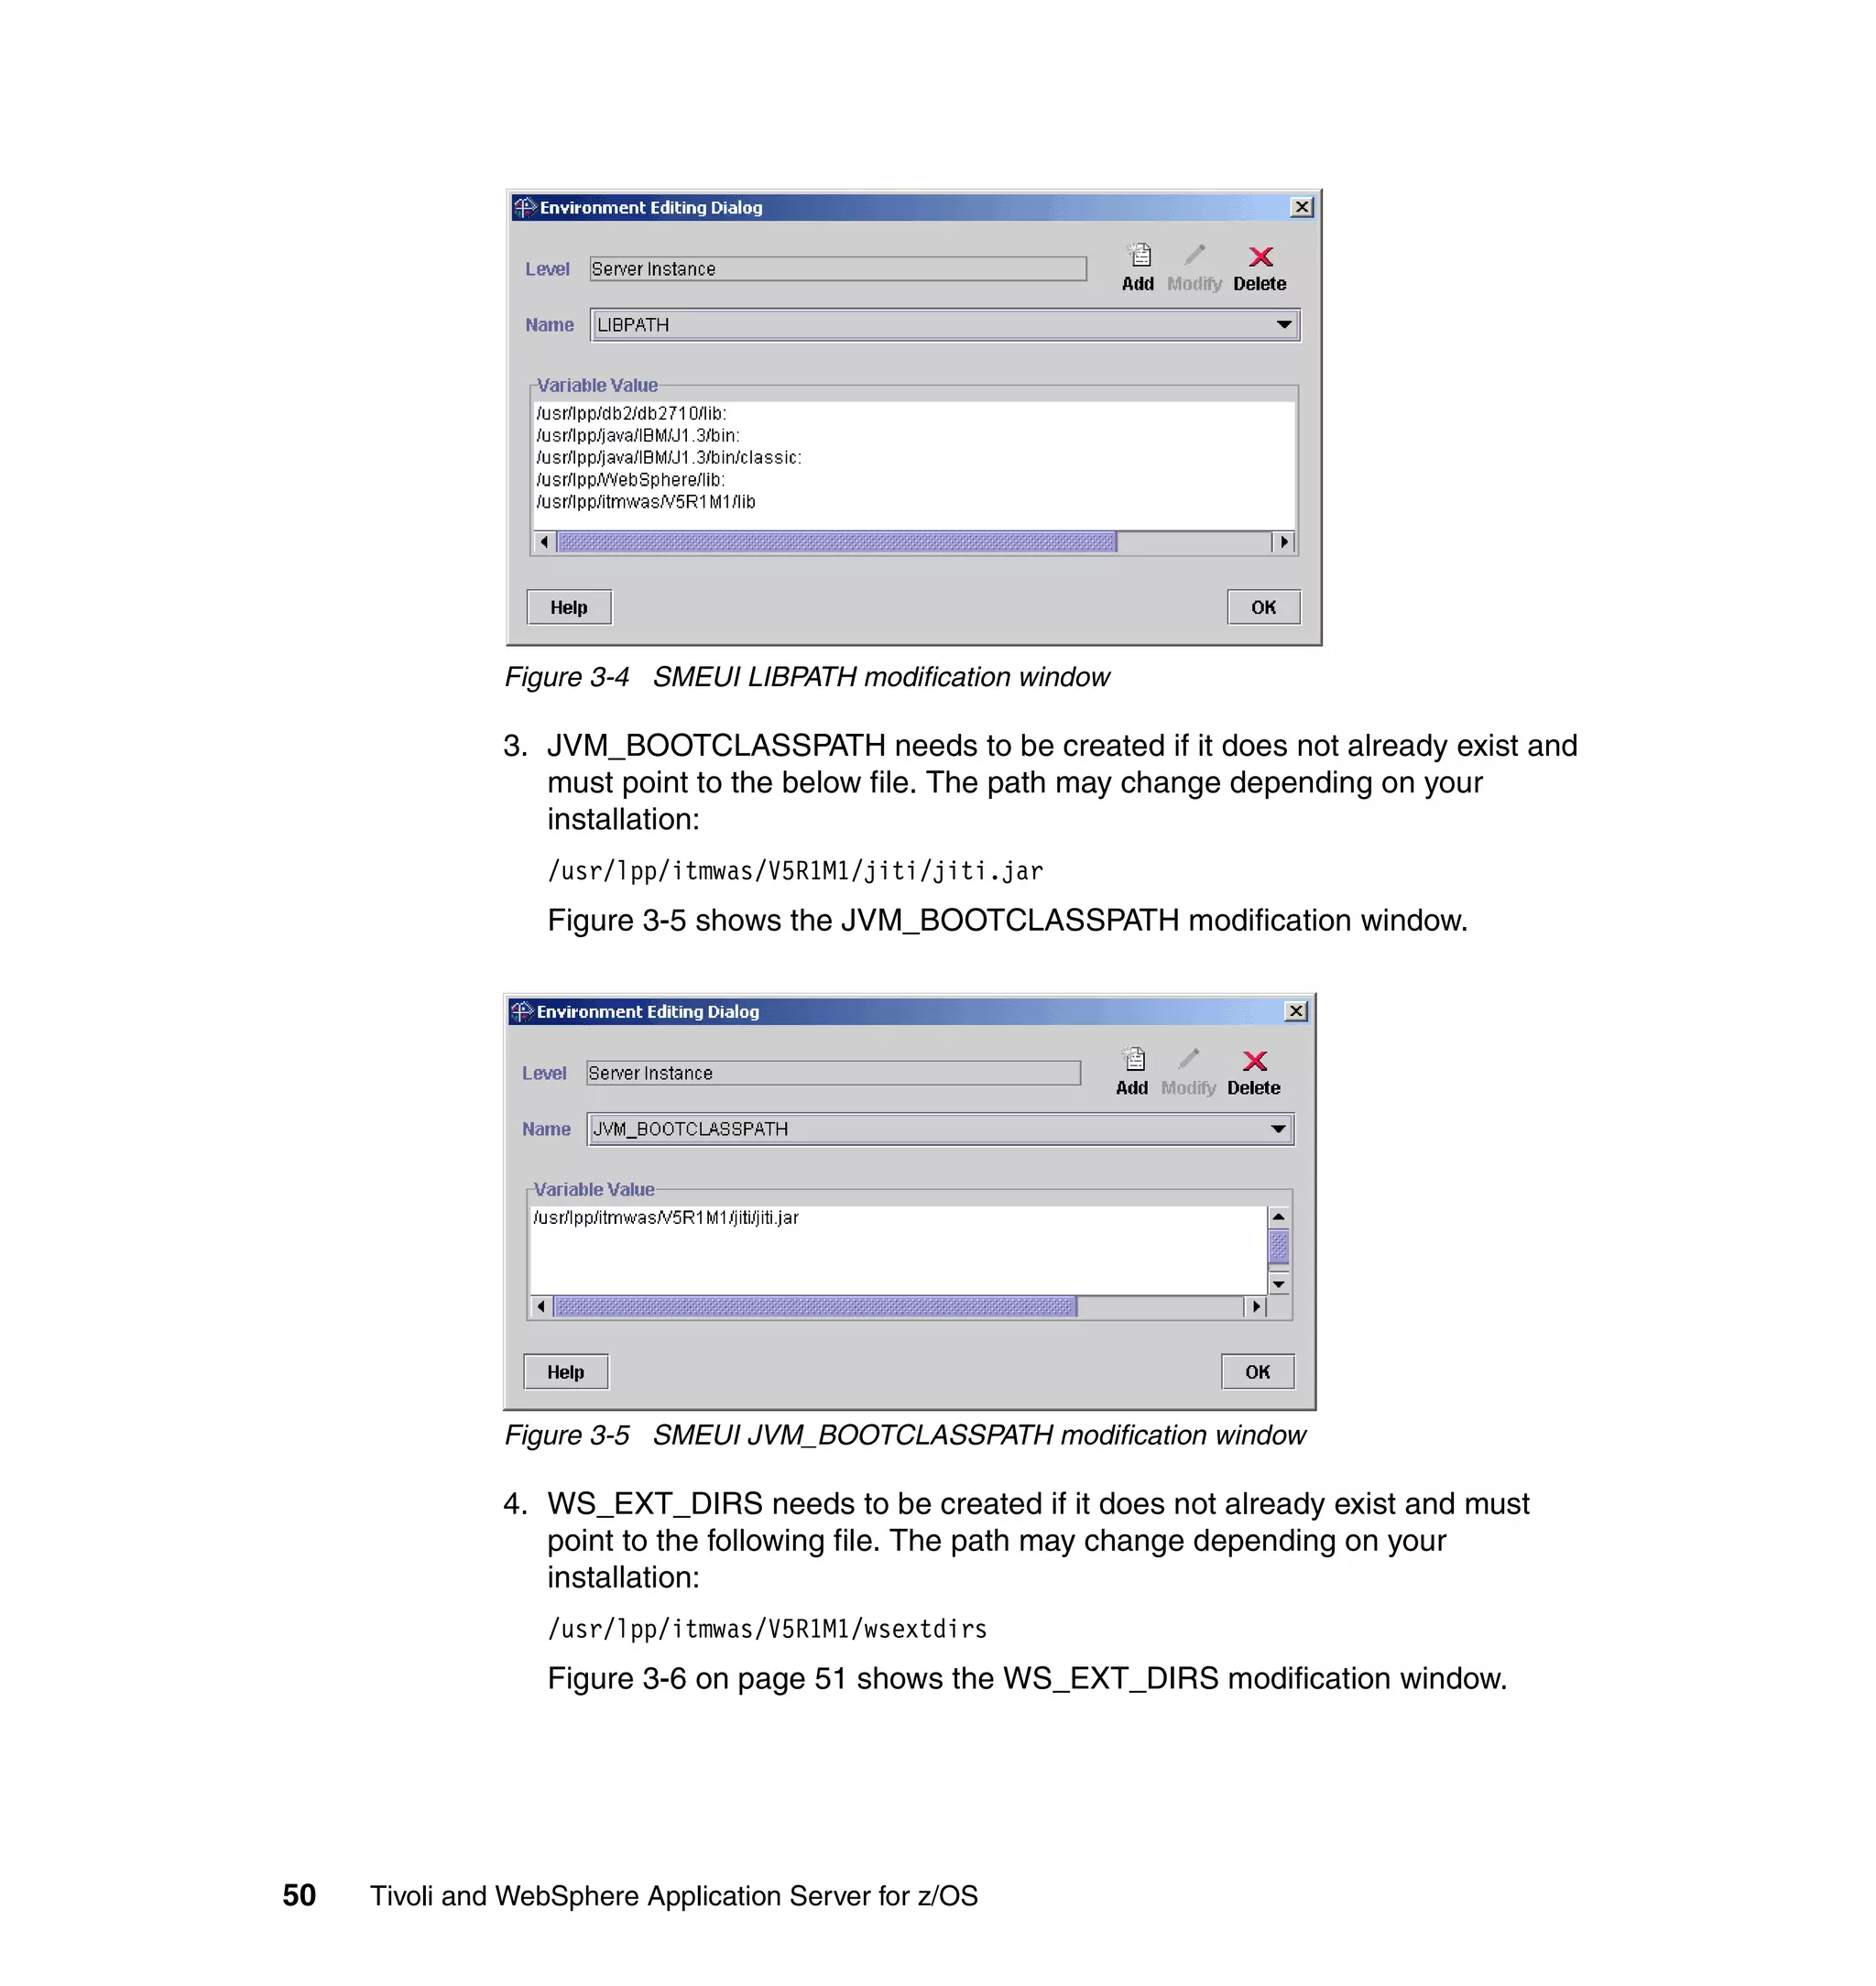
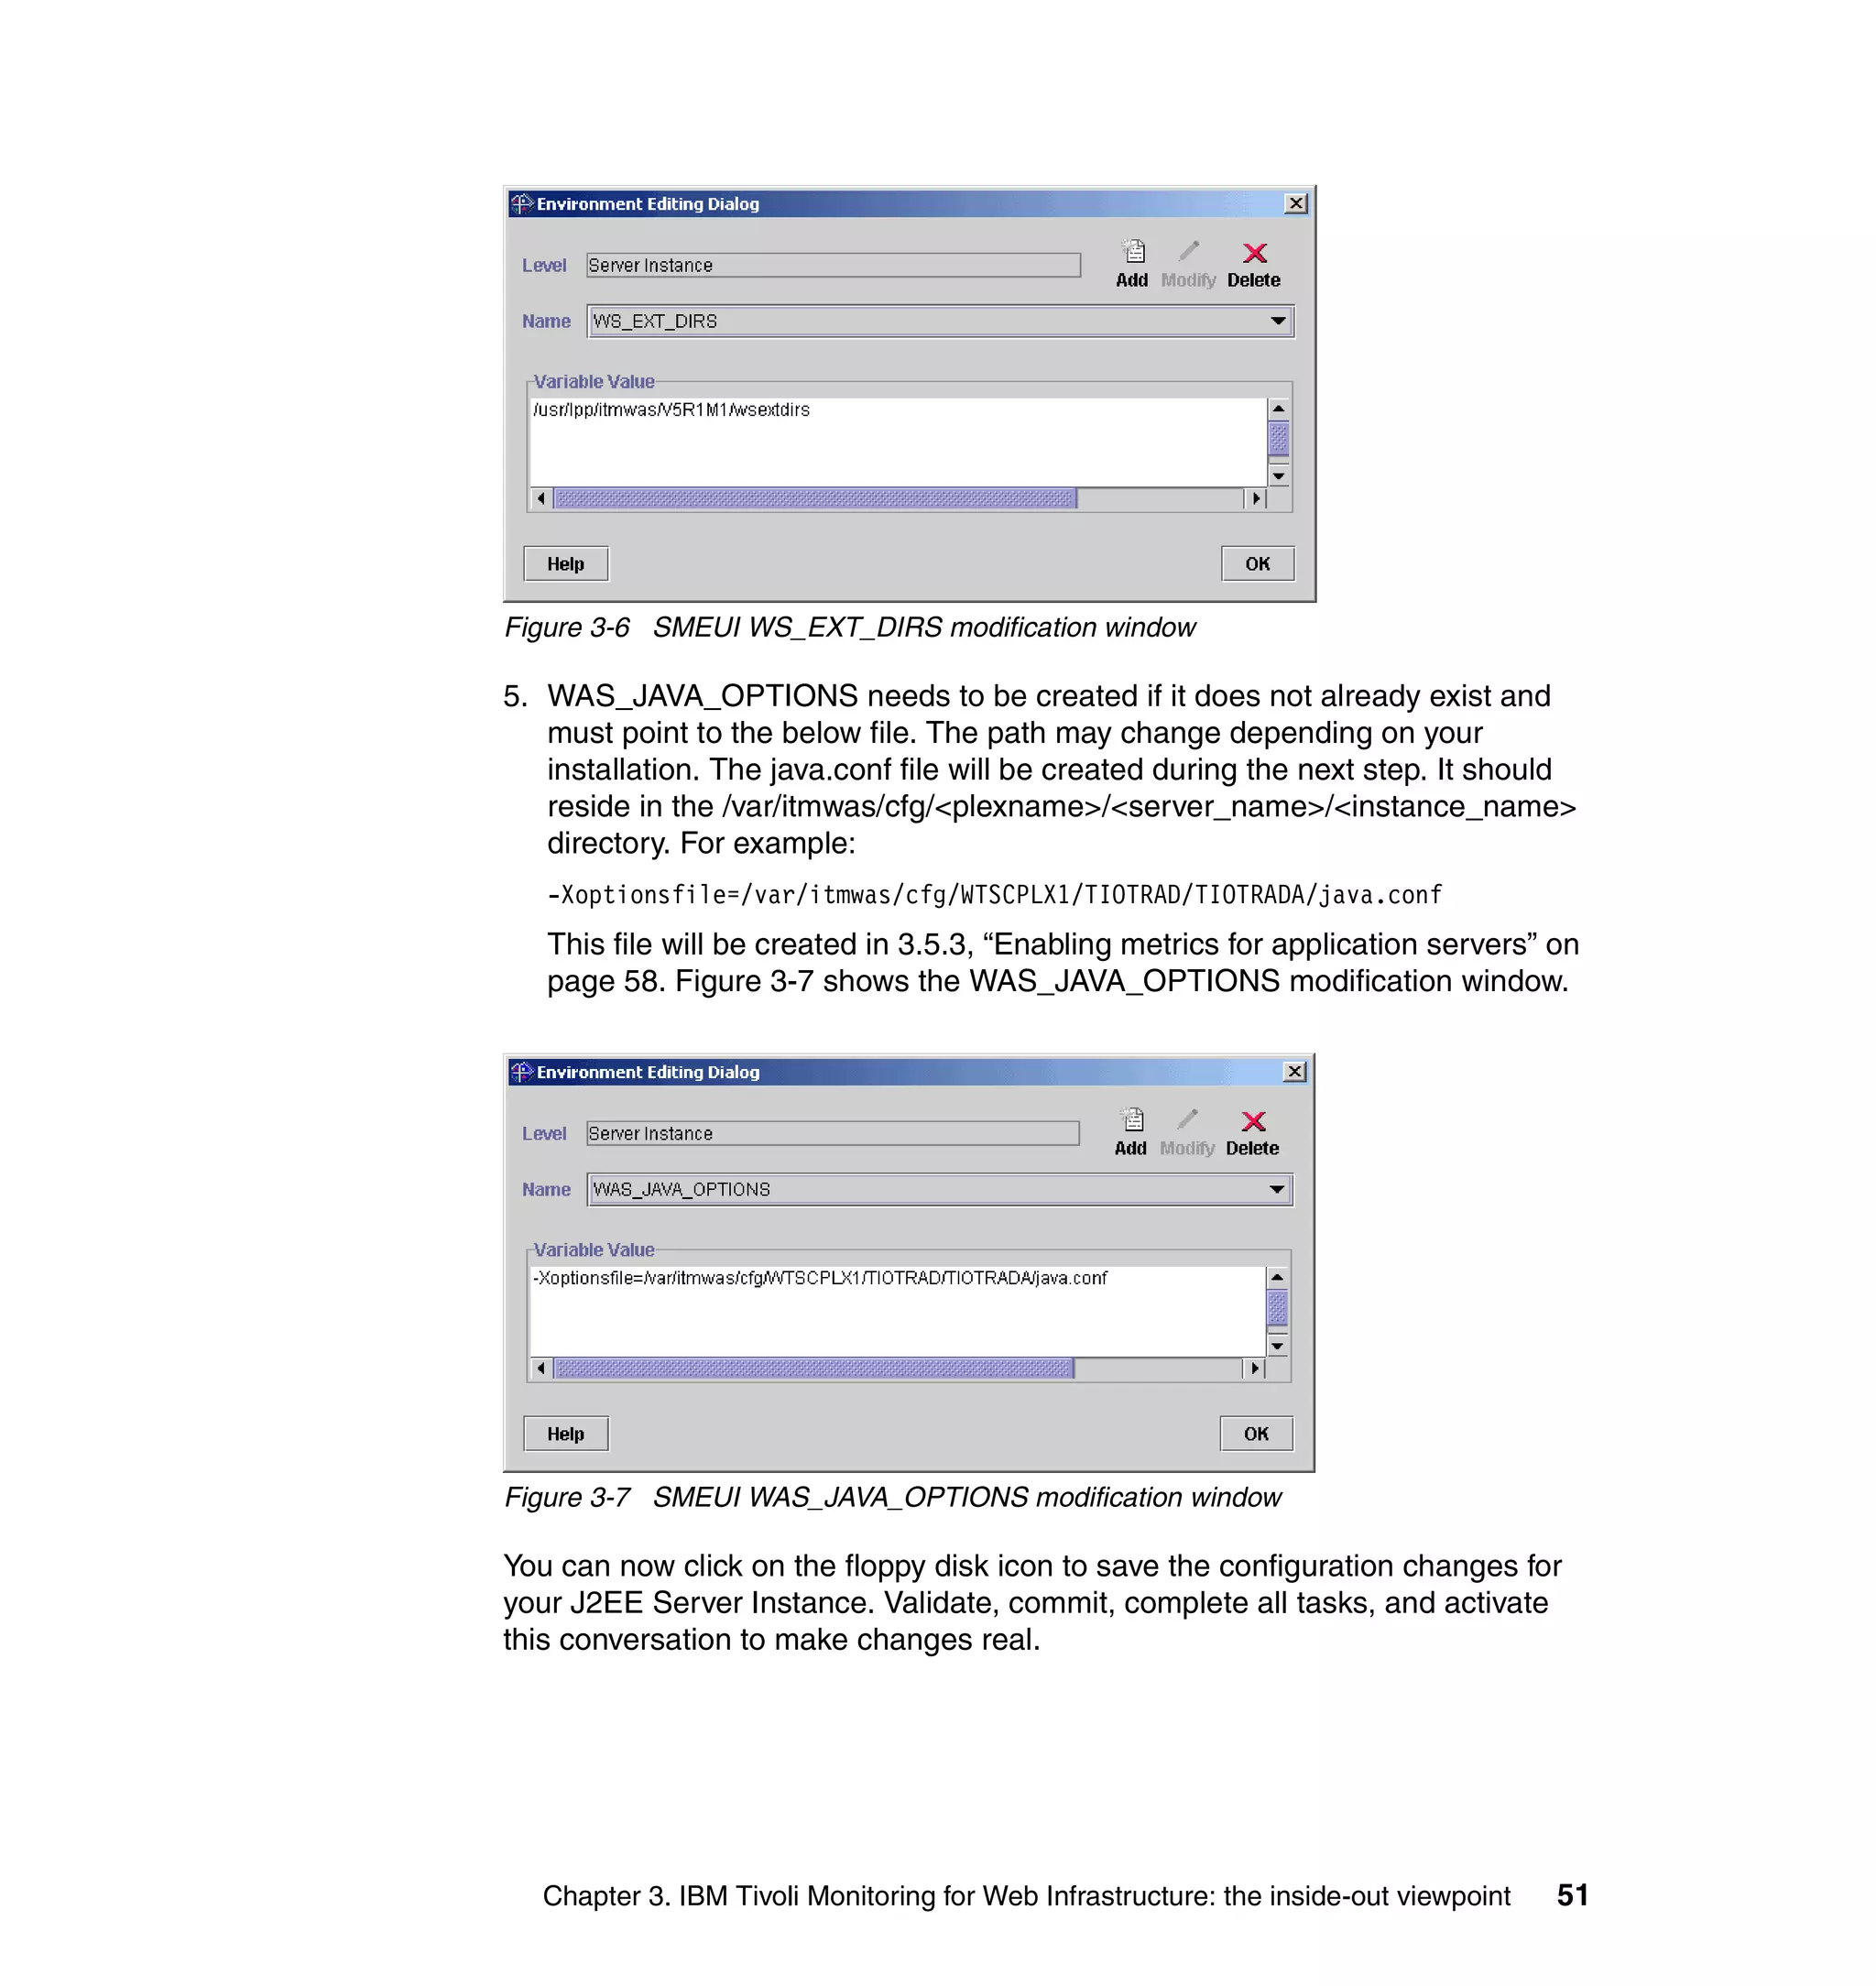
unconfigure IBM Tivoli Access Manager:
1. Launch the pdconfig utility.
2. In the Access Manager for e-business Setup Menu, choose 2. Unconfigure
Package then 1. Access Manager WebSEAL Unconfiguration, then you need to
unconfigure all WebSEAL instances, if applicable.
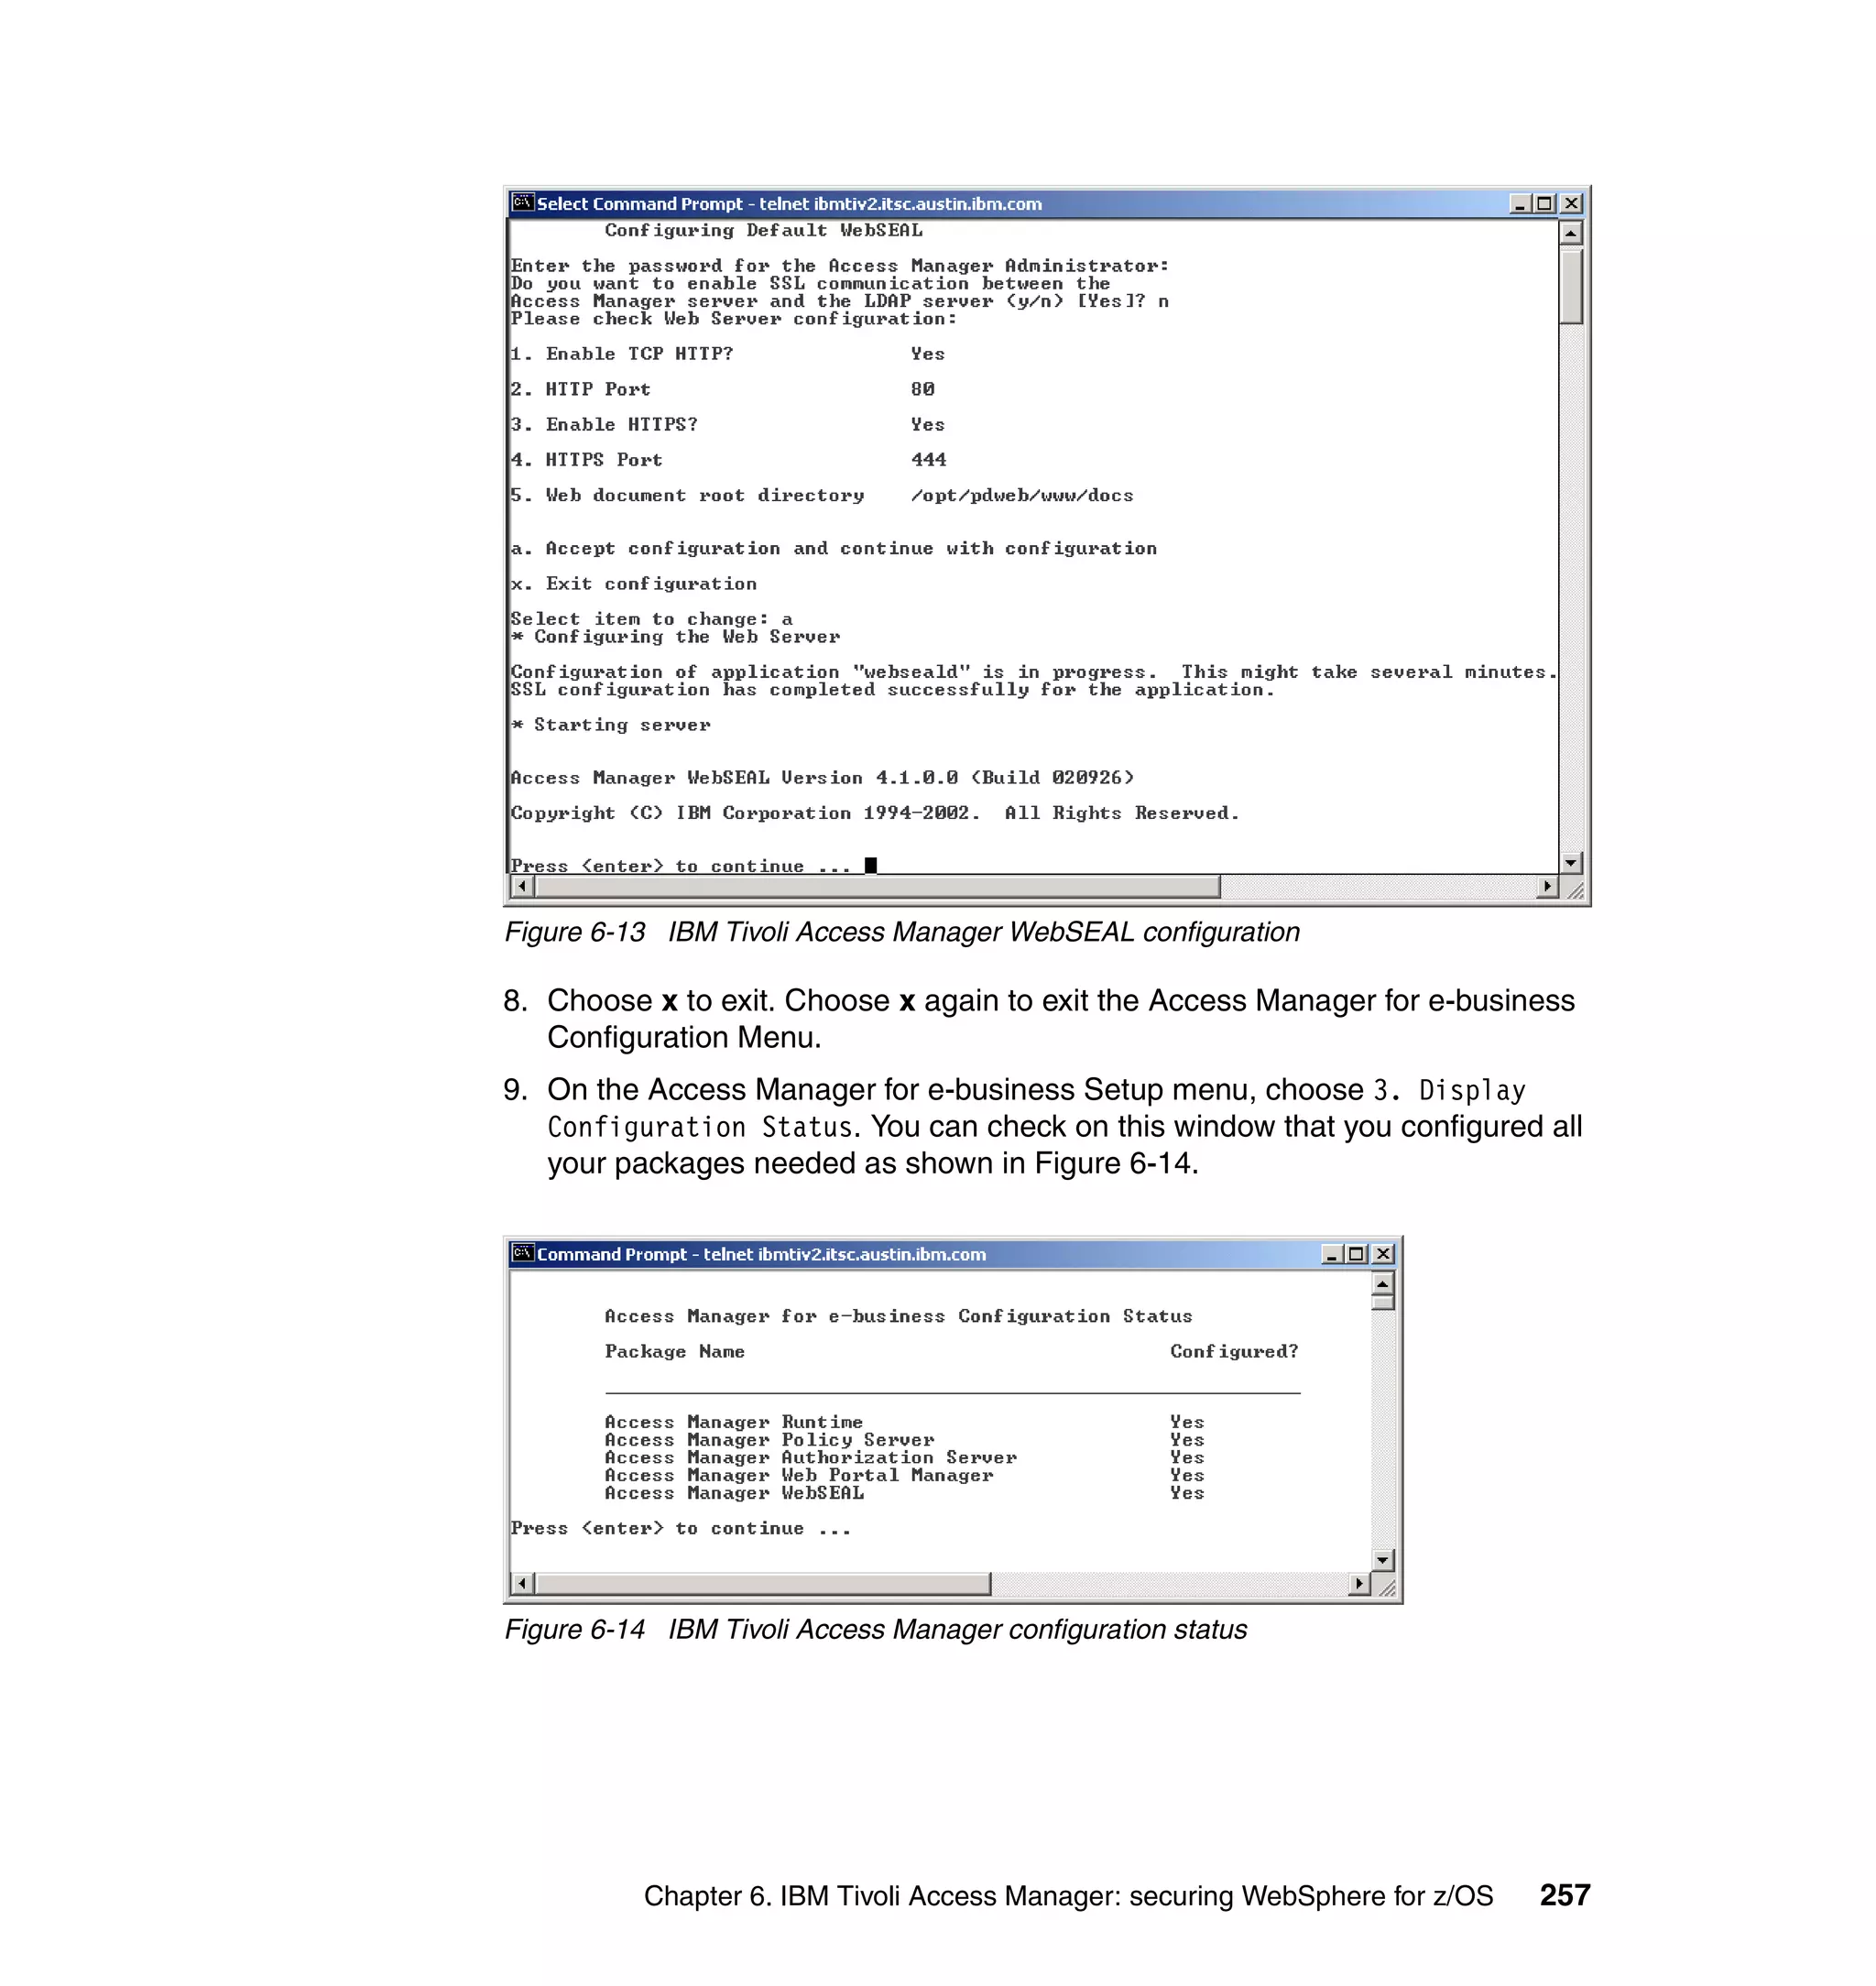
3. Choose 1. Access Manager Web Portal Manager Unconfiguration. You
should see the message:
This package has been successfully unconfigured.
4. Choose 1. Access Manager Authorization Server Unconfiguration. You
should see the message:
This package has been successfully unconfigured.
5. Choose 1. Access Manager Policy Server Unconfiguration, enter yes to
continue, then enter the LDAP administrator DN and password. You should
see the following messages:
WARNING: Unconfiguring this package will remove the configuration and
authorization information for ALL Access Manager servers and applications
installed in this Secure Domain. Do you wish to continue [No]? yes
Enter the LDAP administrative user DN
Enter the LDAP administrative user password
This package has been successfully unconfigured.
6. Choose 1. Access Manager Runtime Unconfiguration. You should see the
message:
This package has been successfully unconfigured.
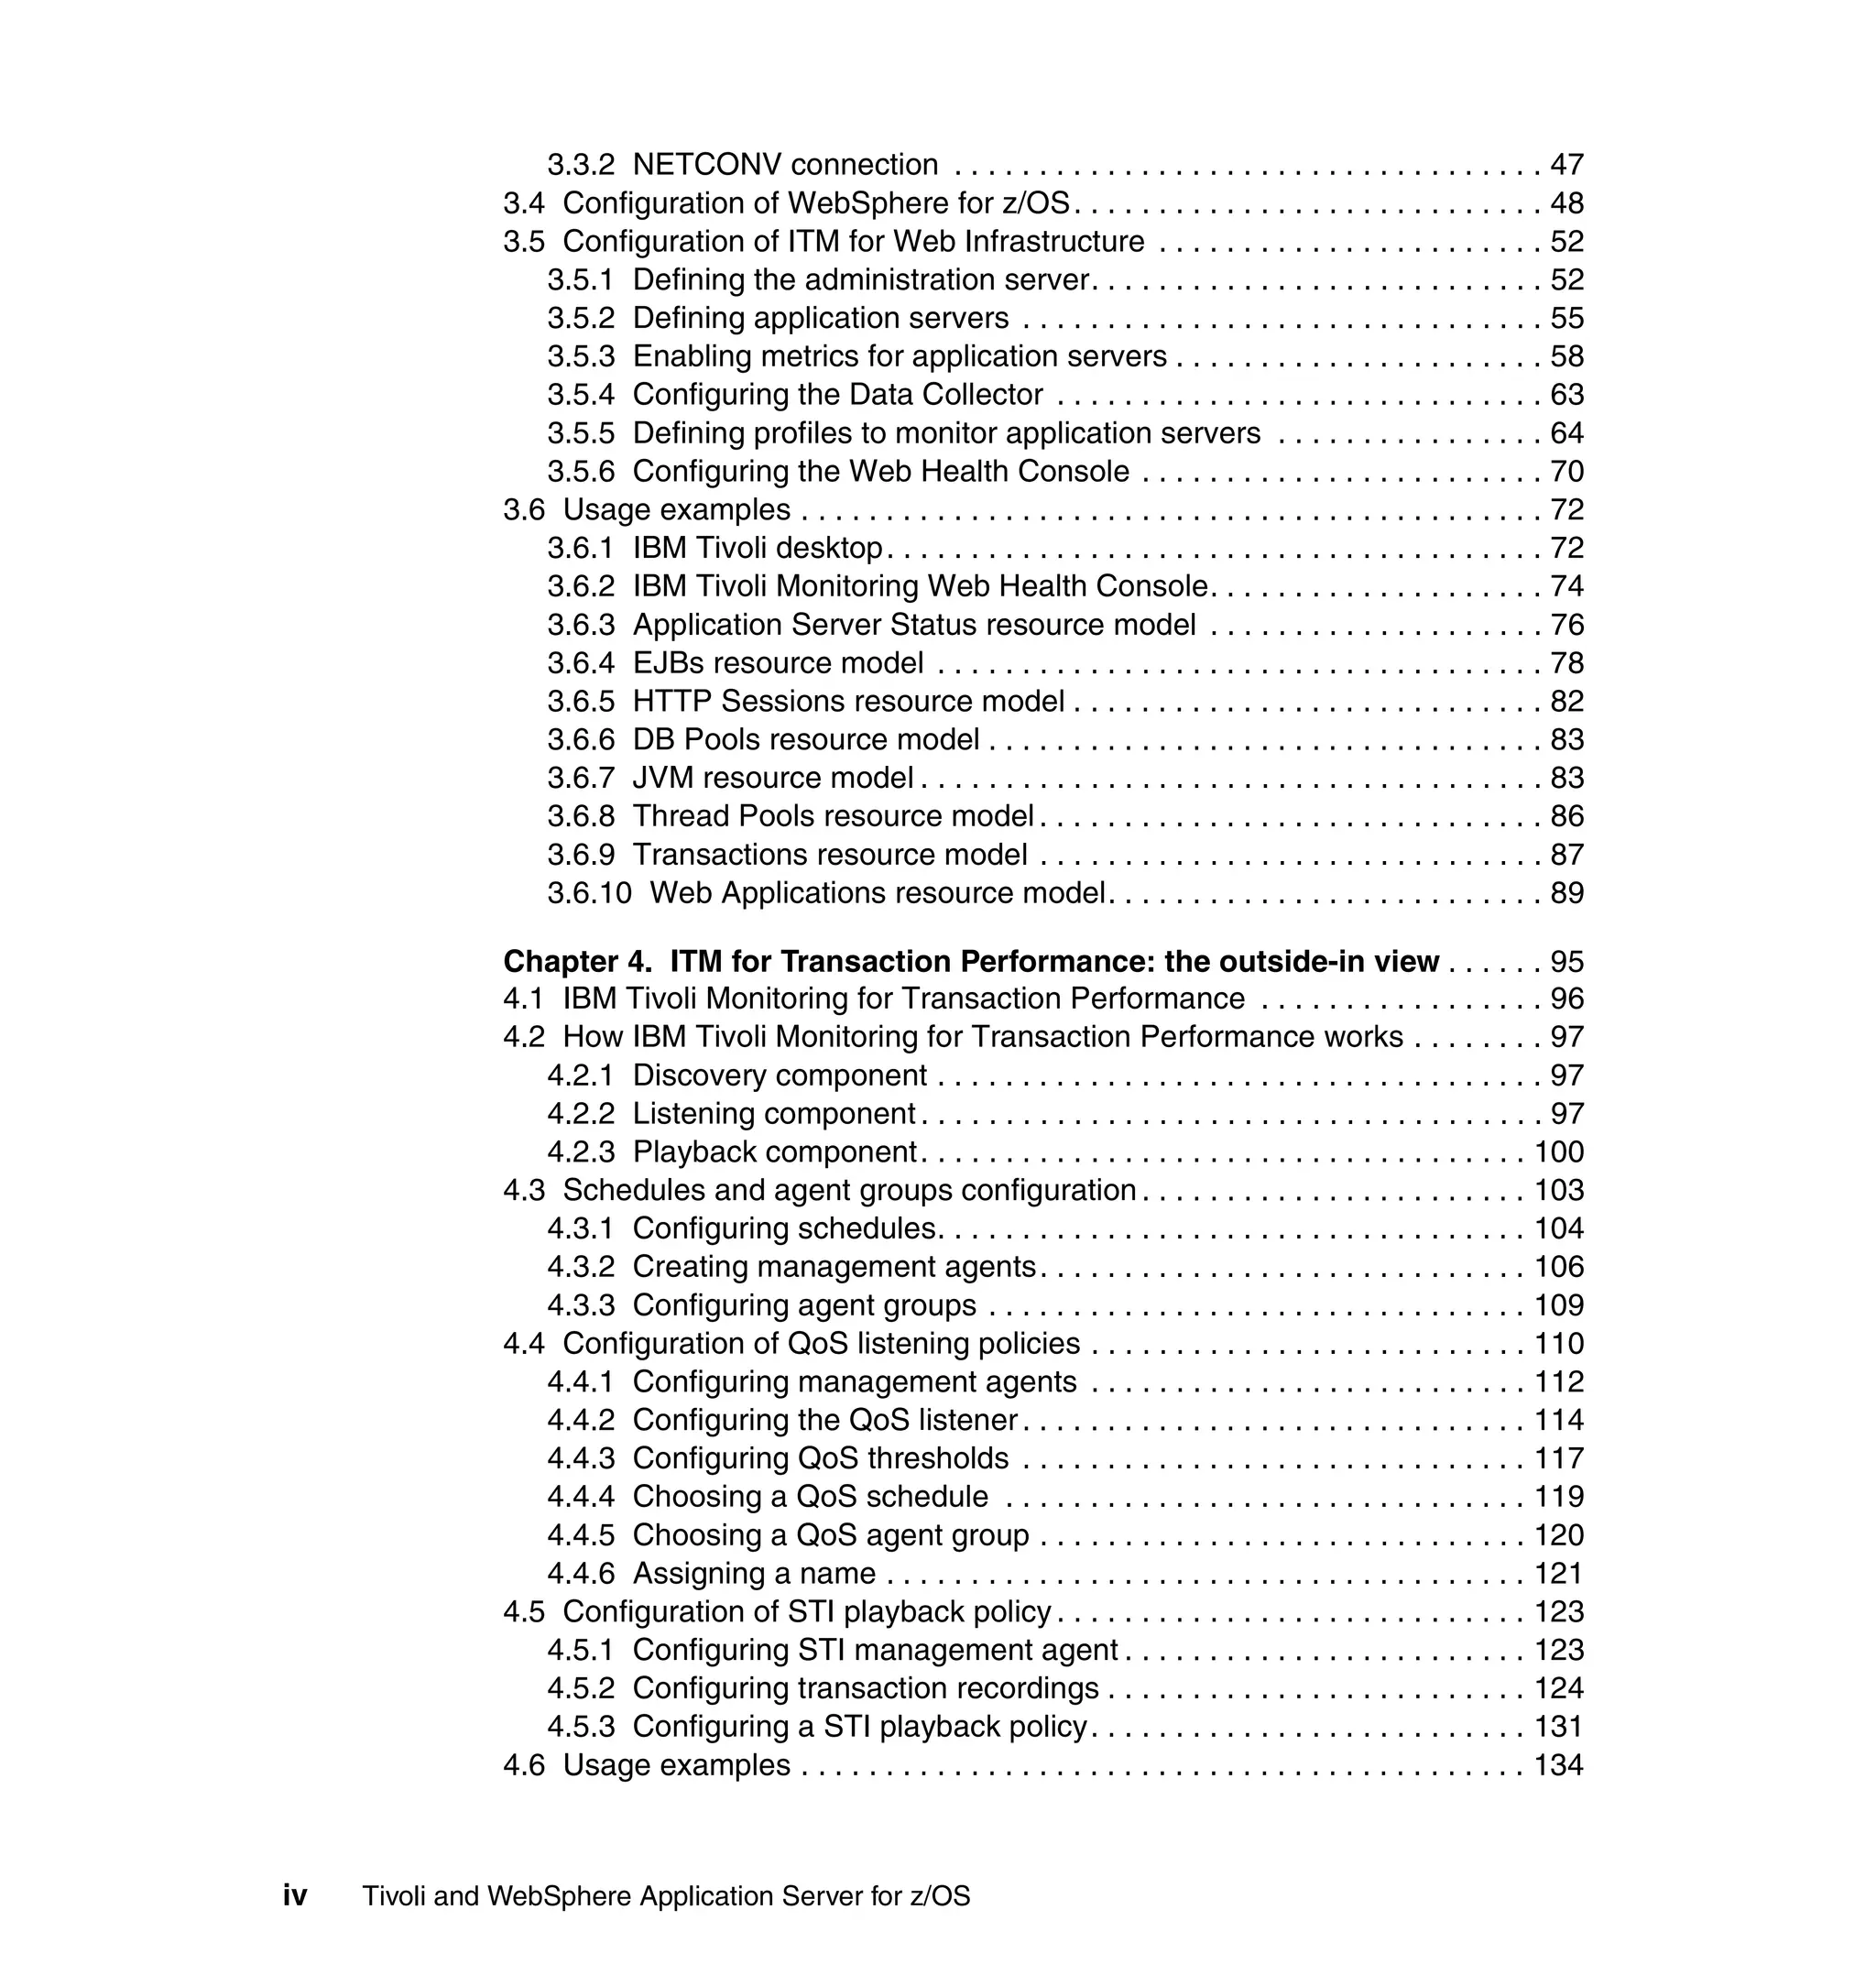
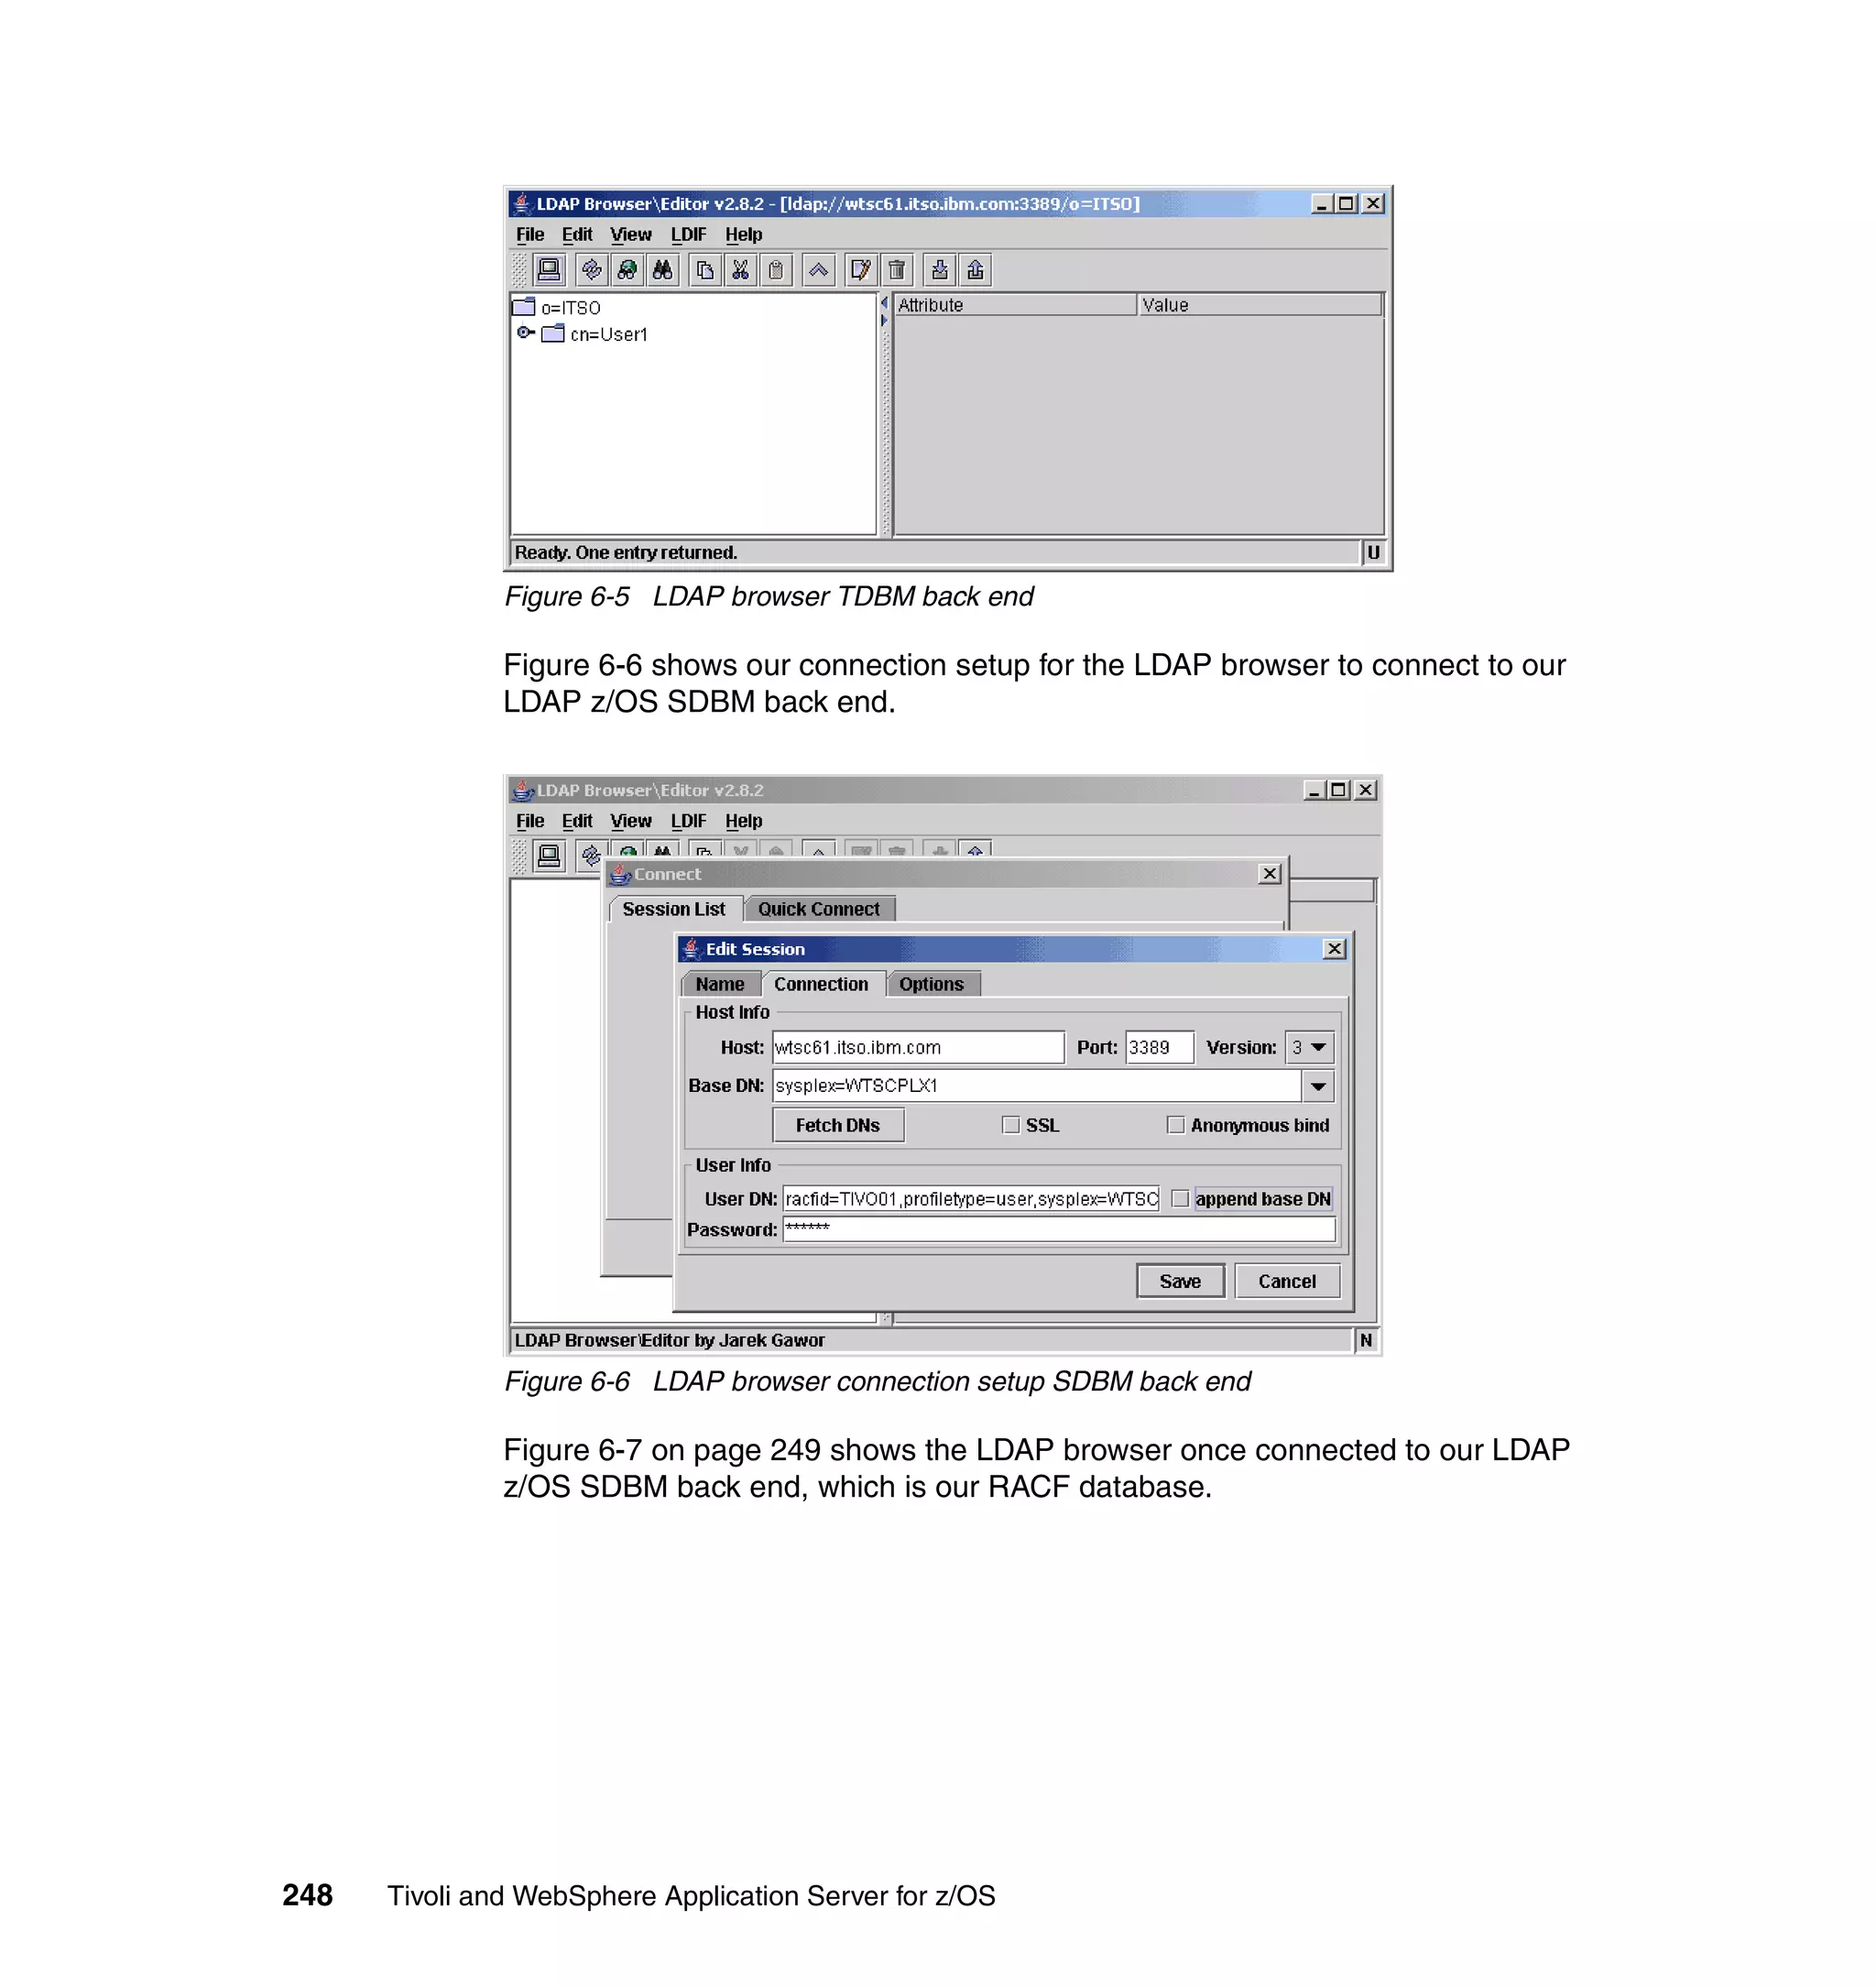
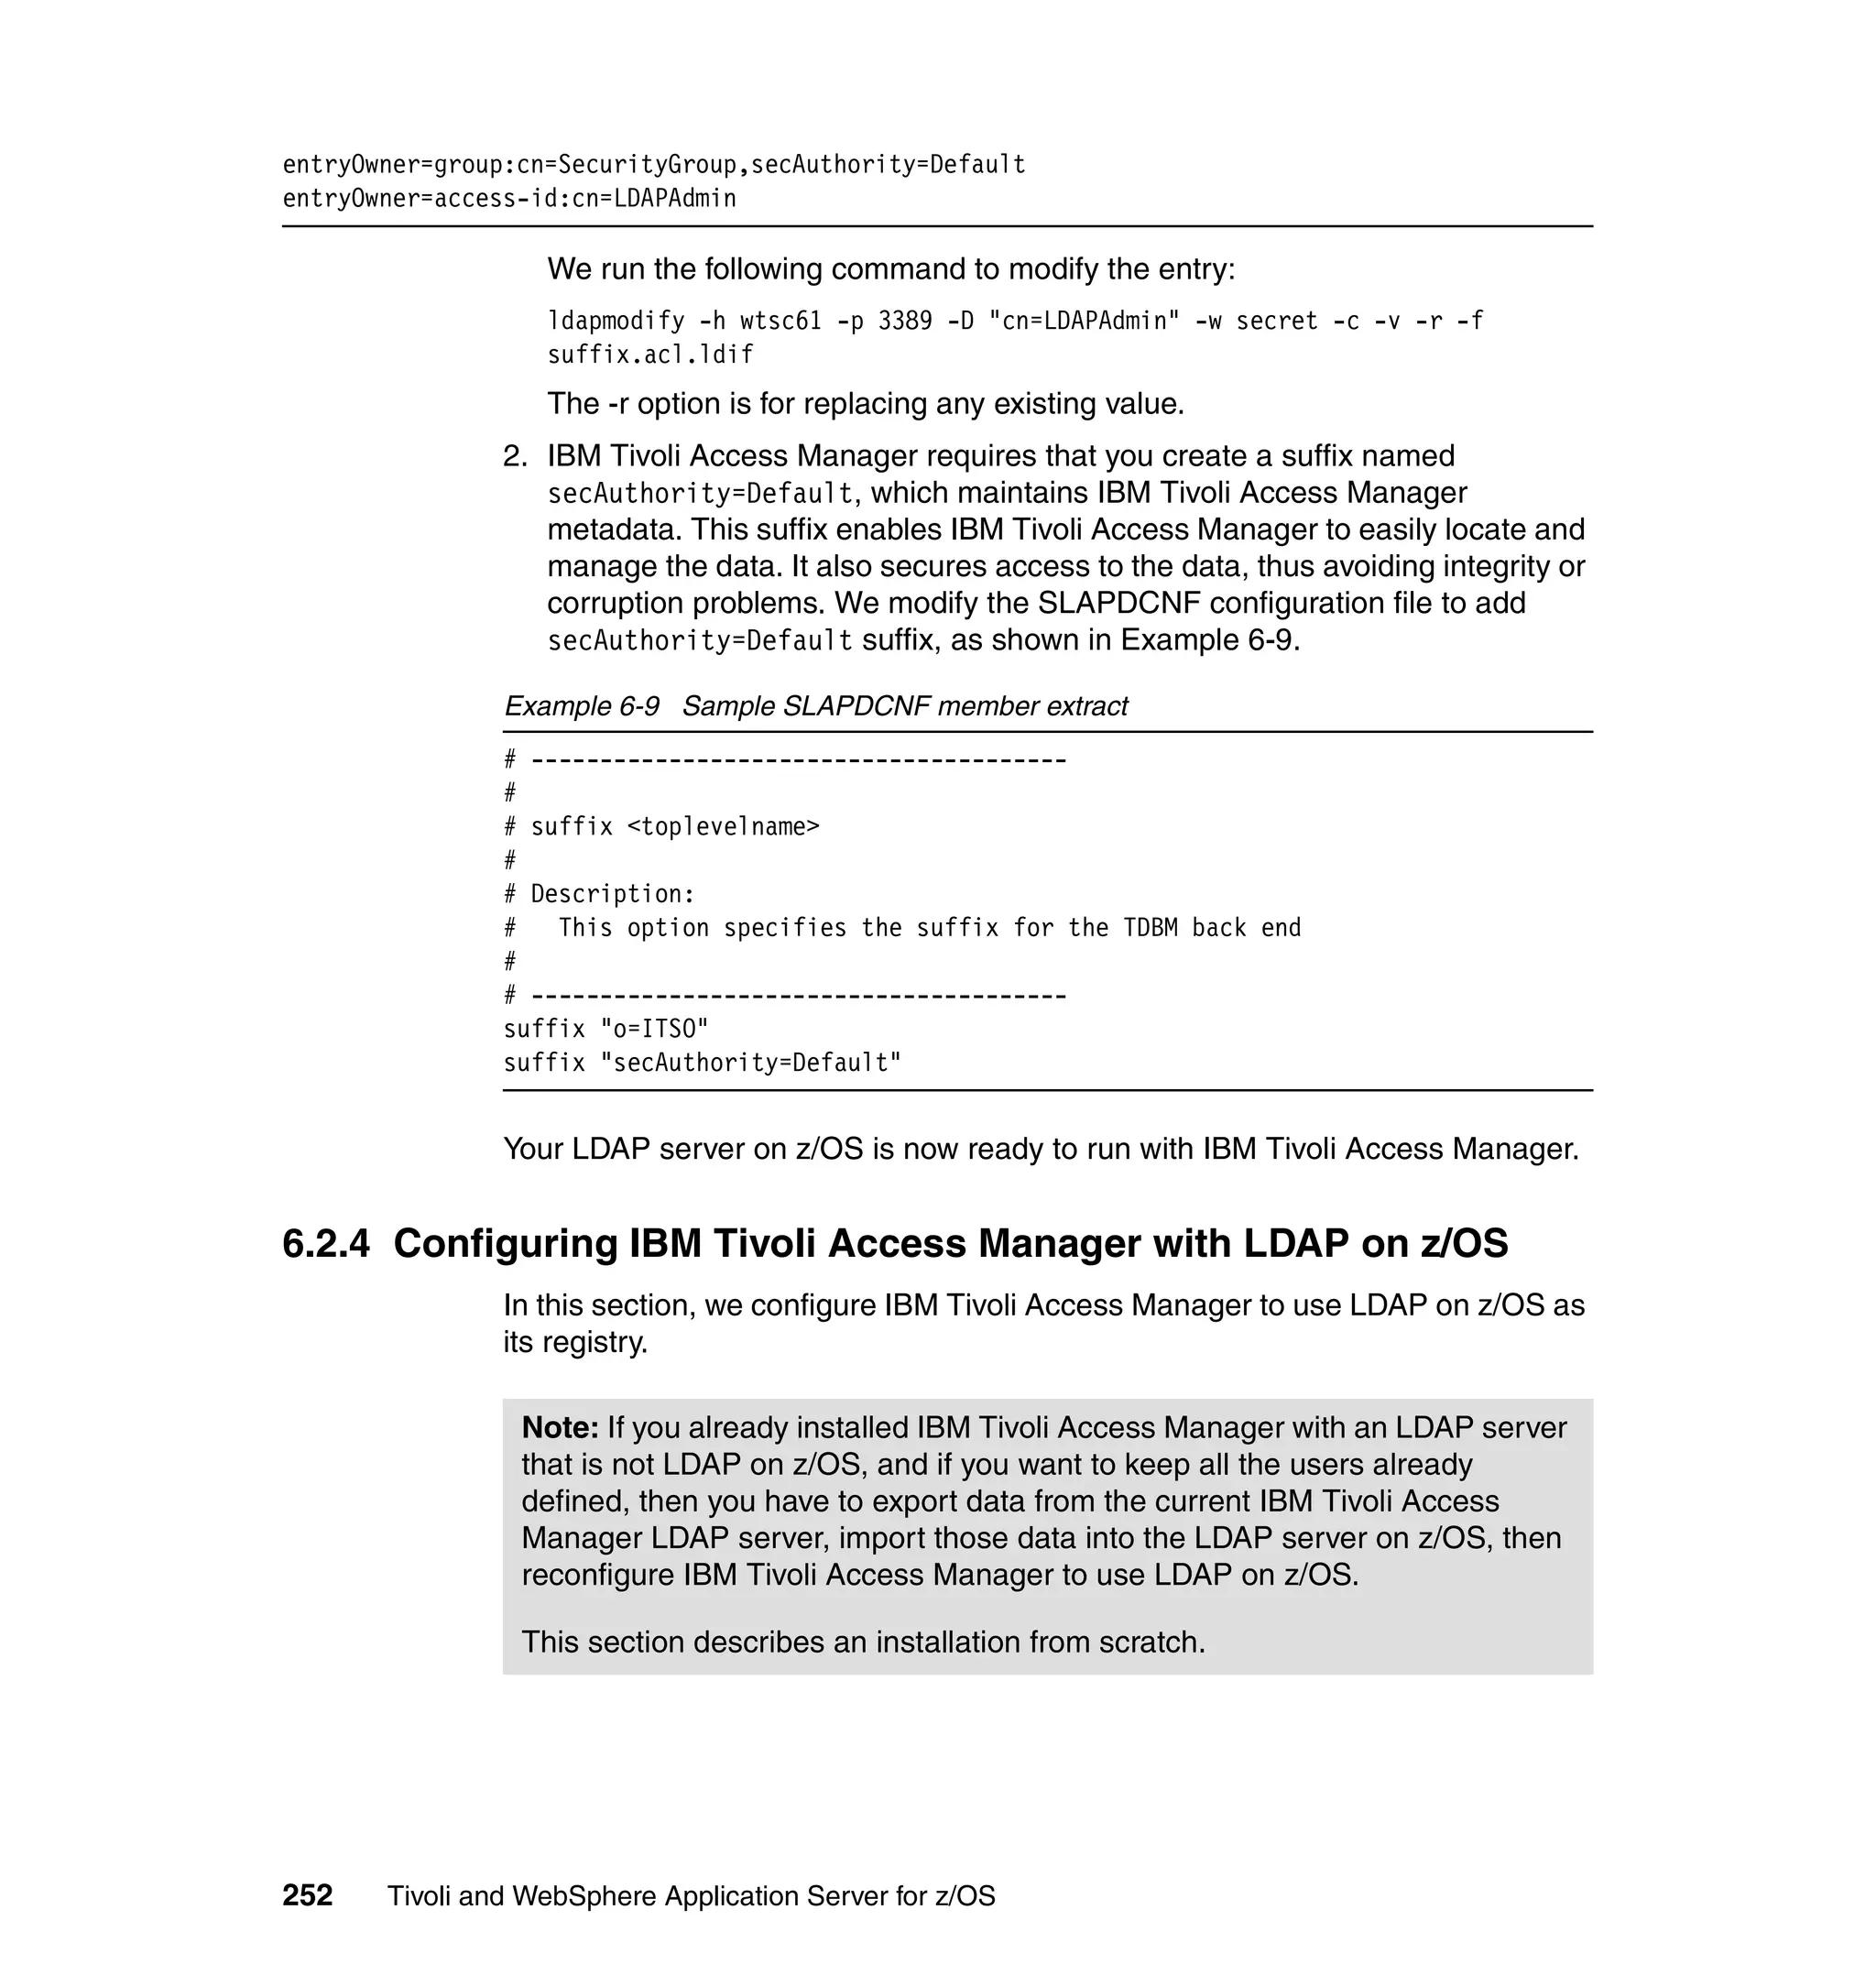
Configuring IBM Tivoli Access Manager for LDAP on z/OS
Here are the steps to configure IBM Tivoli Access Manager with LDAP on z/OS:
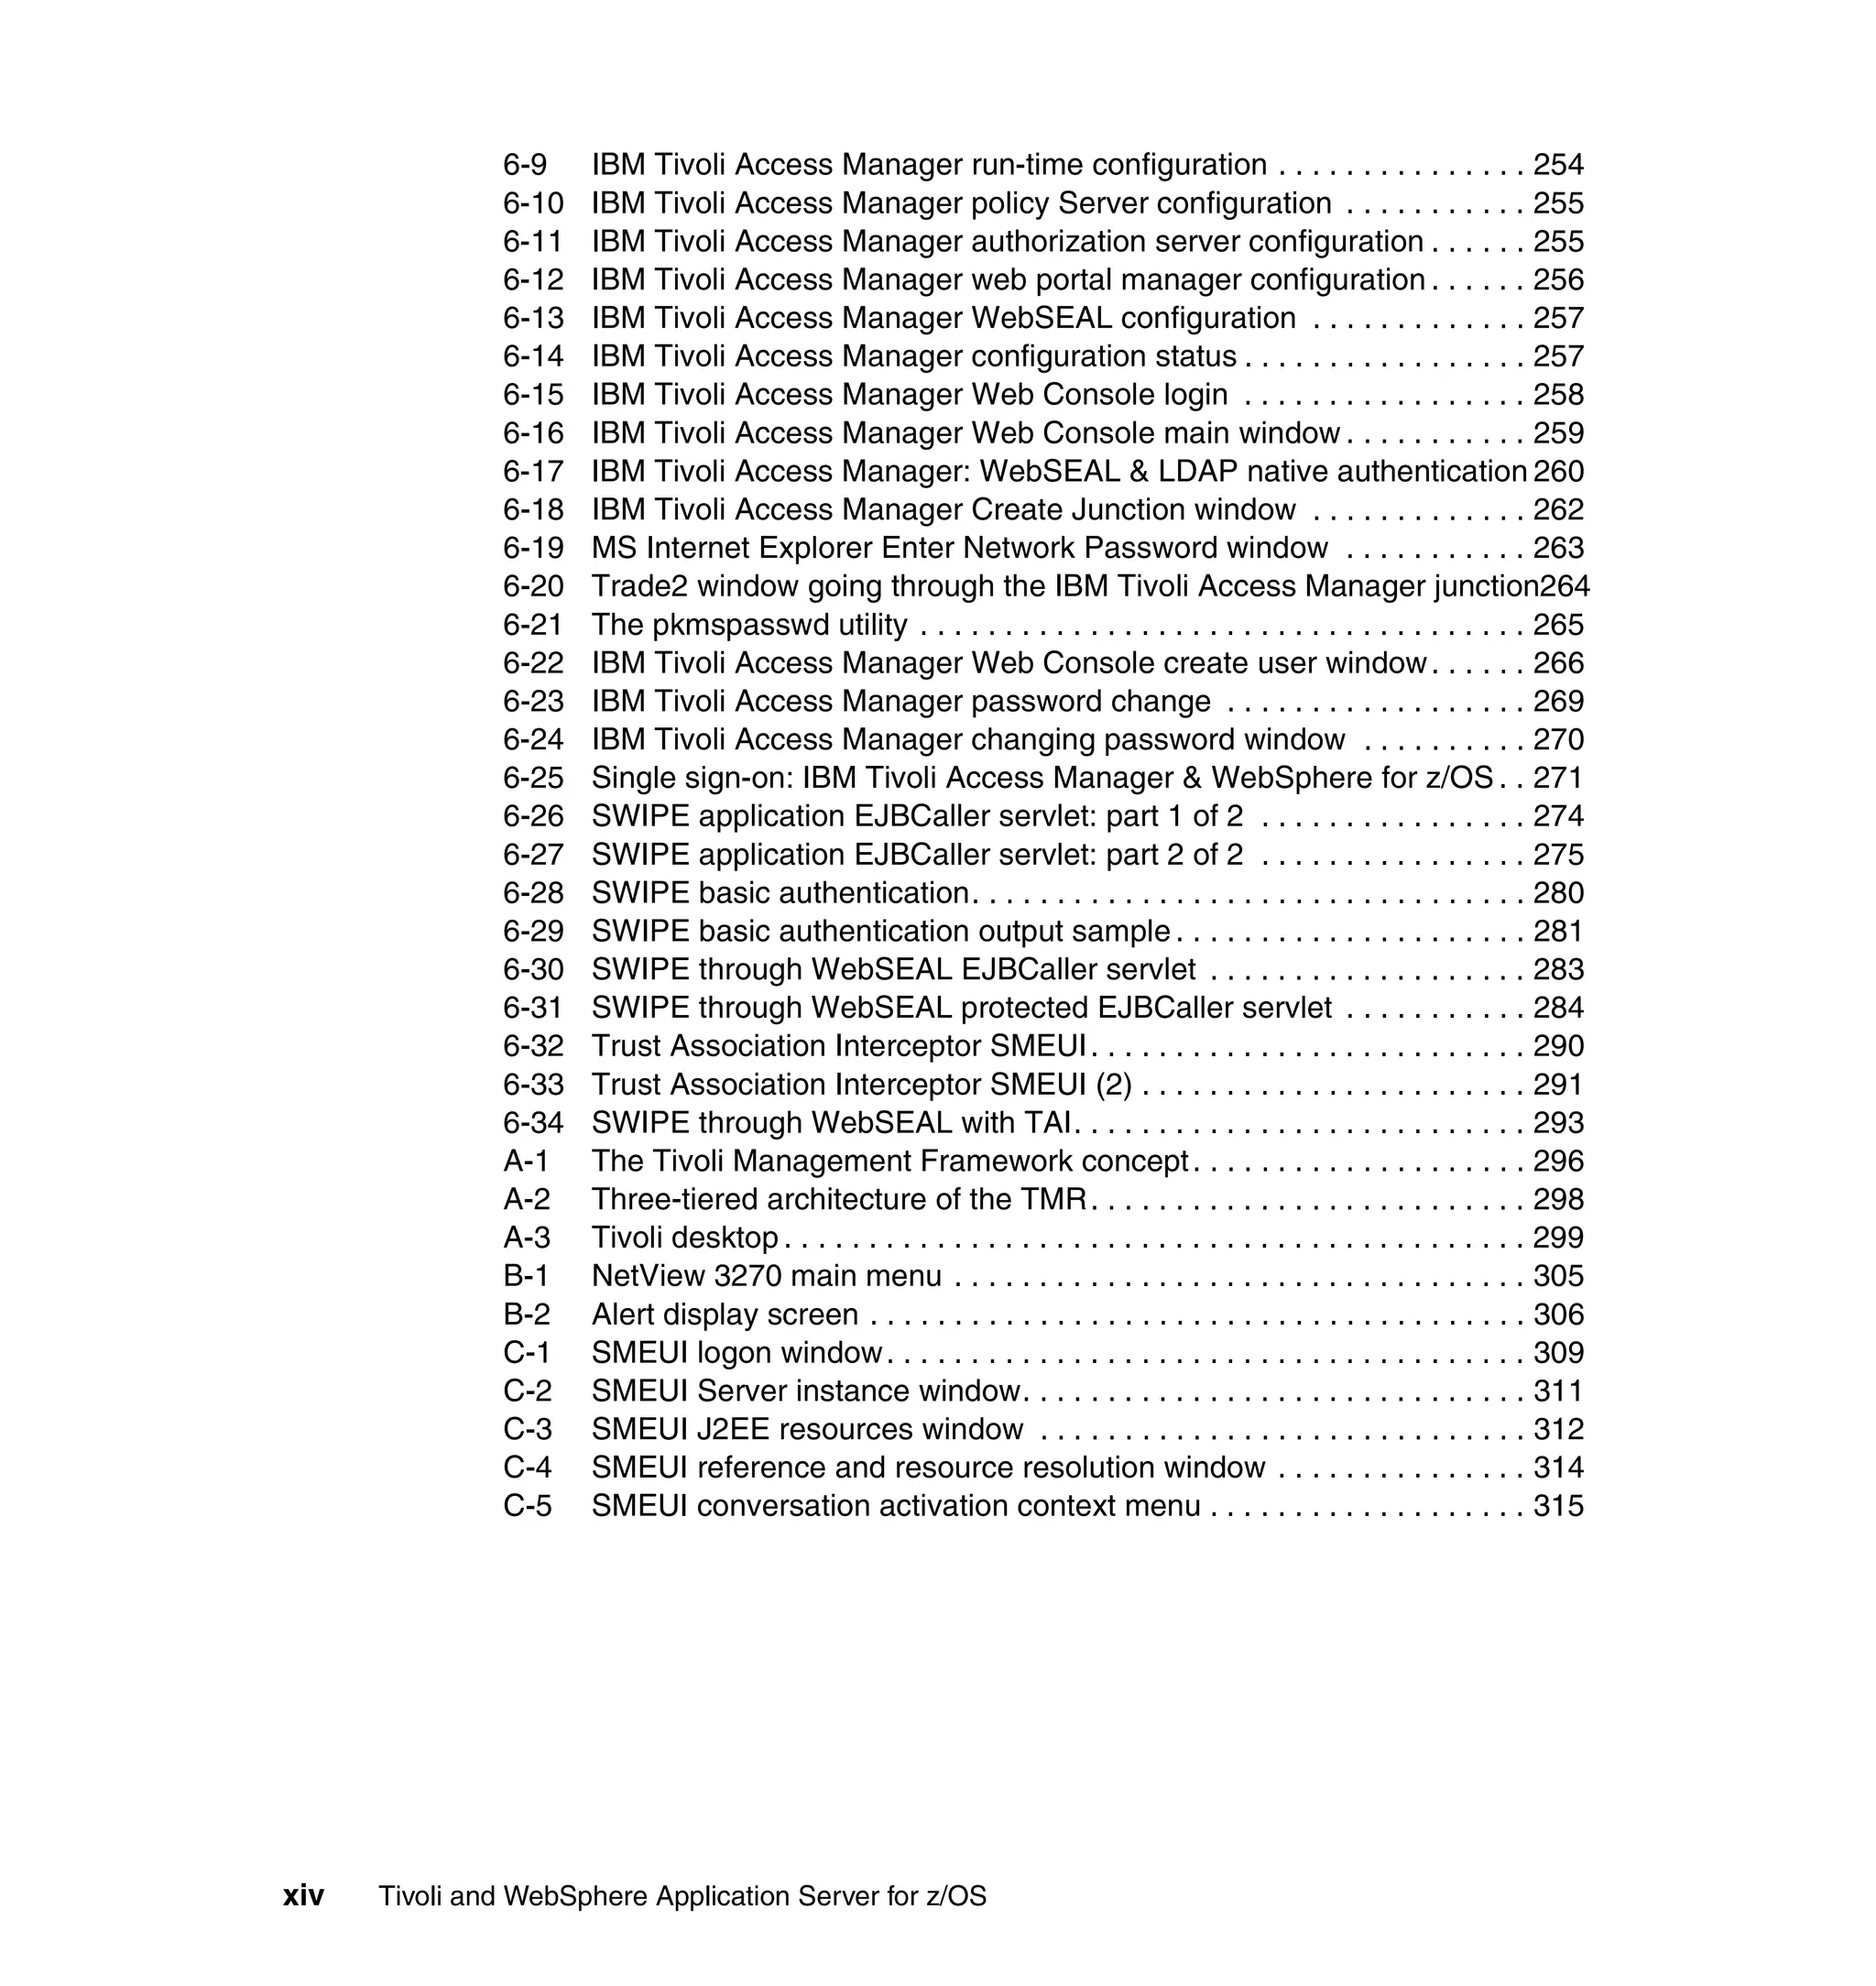
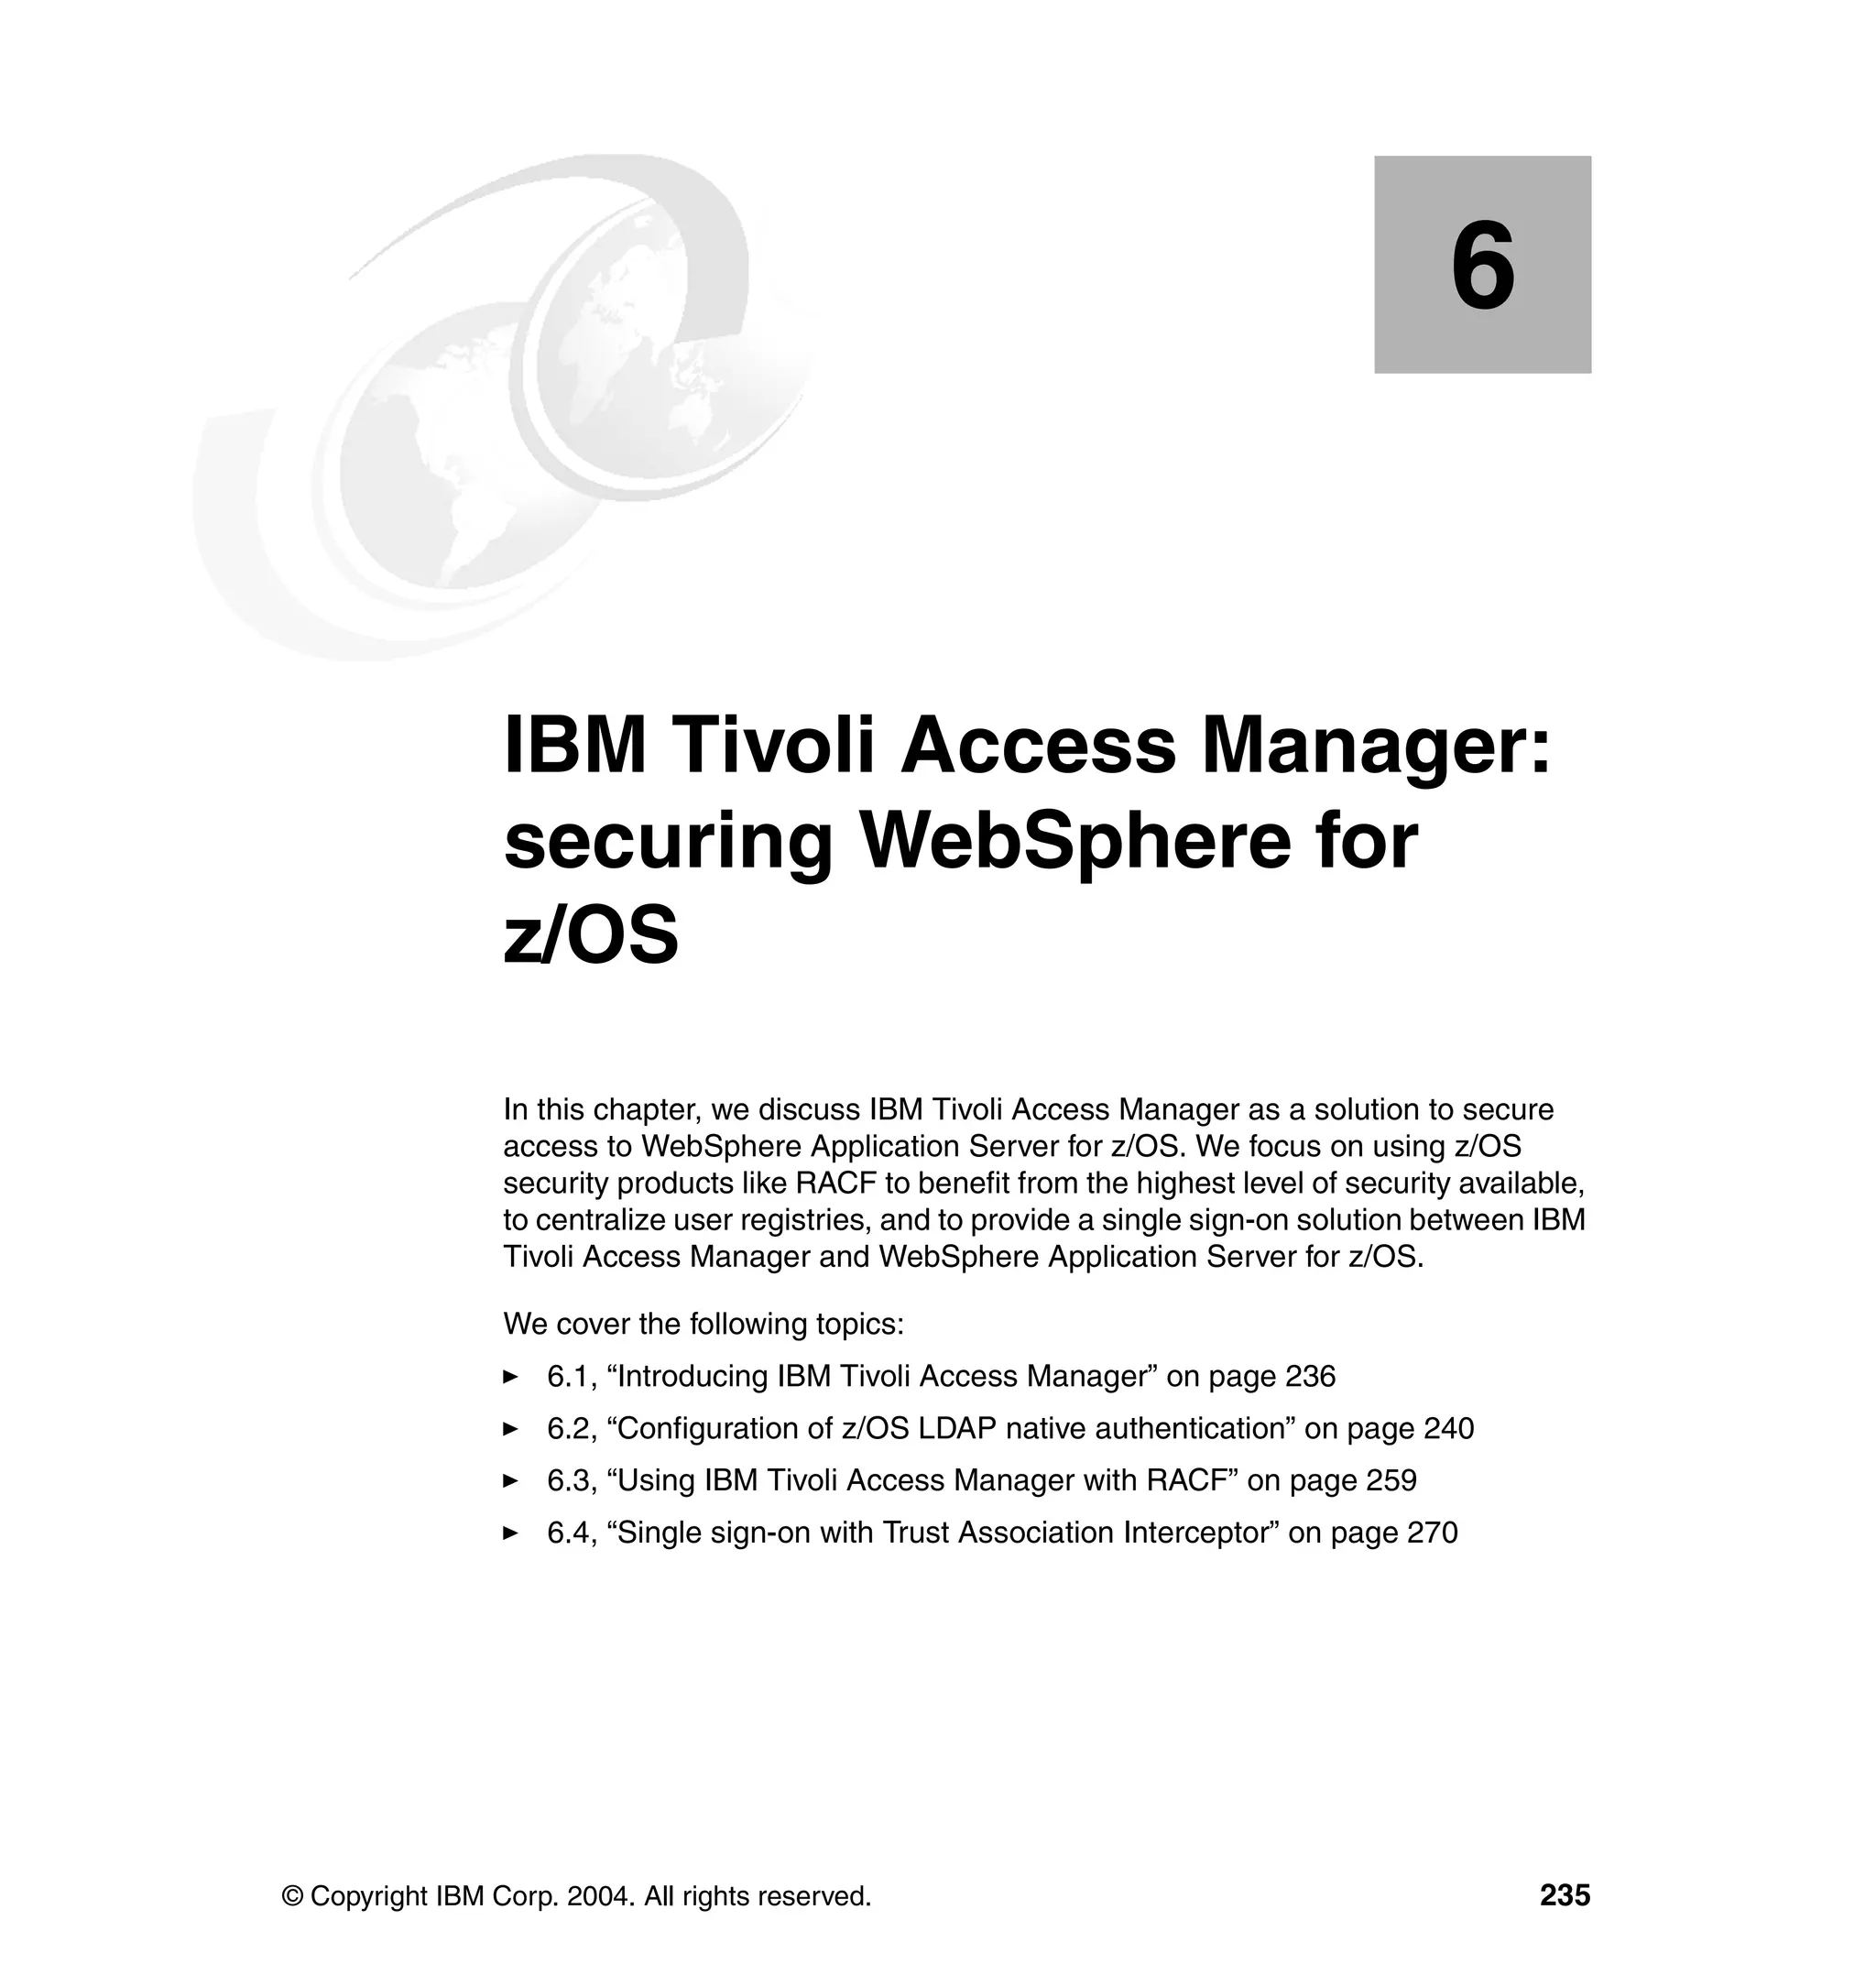
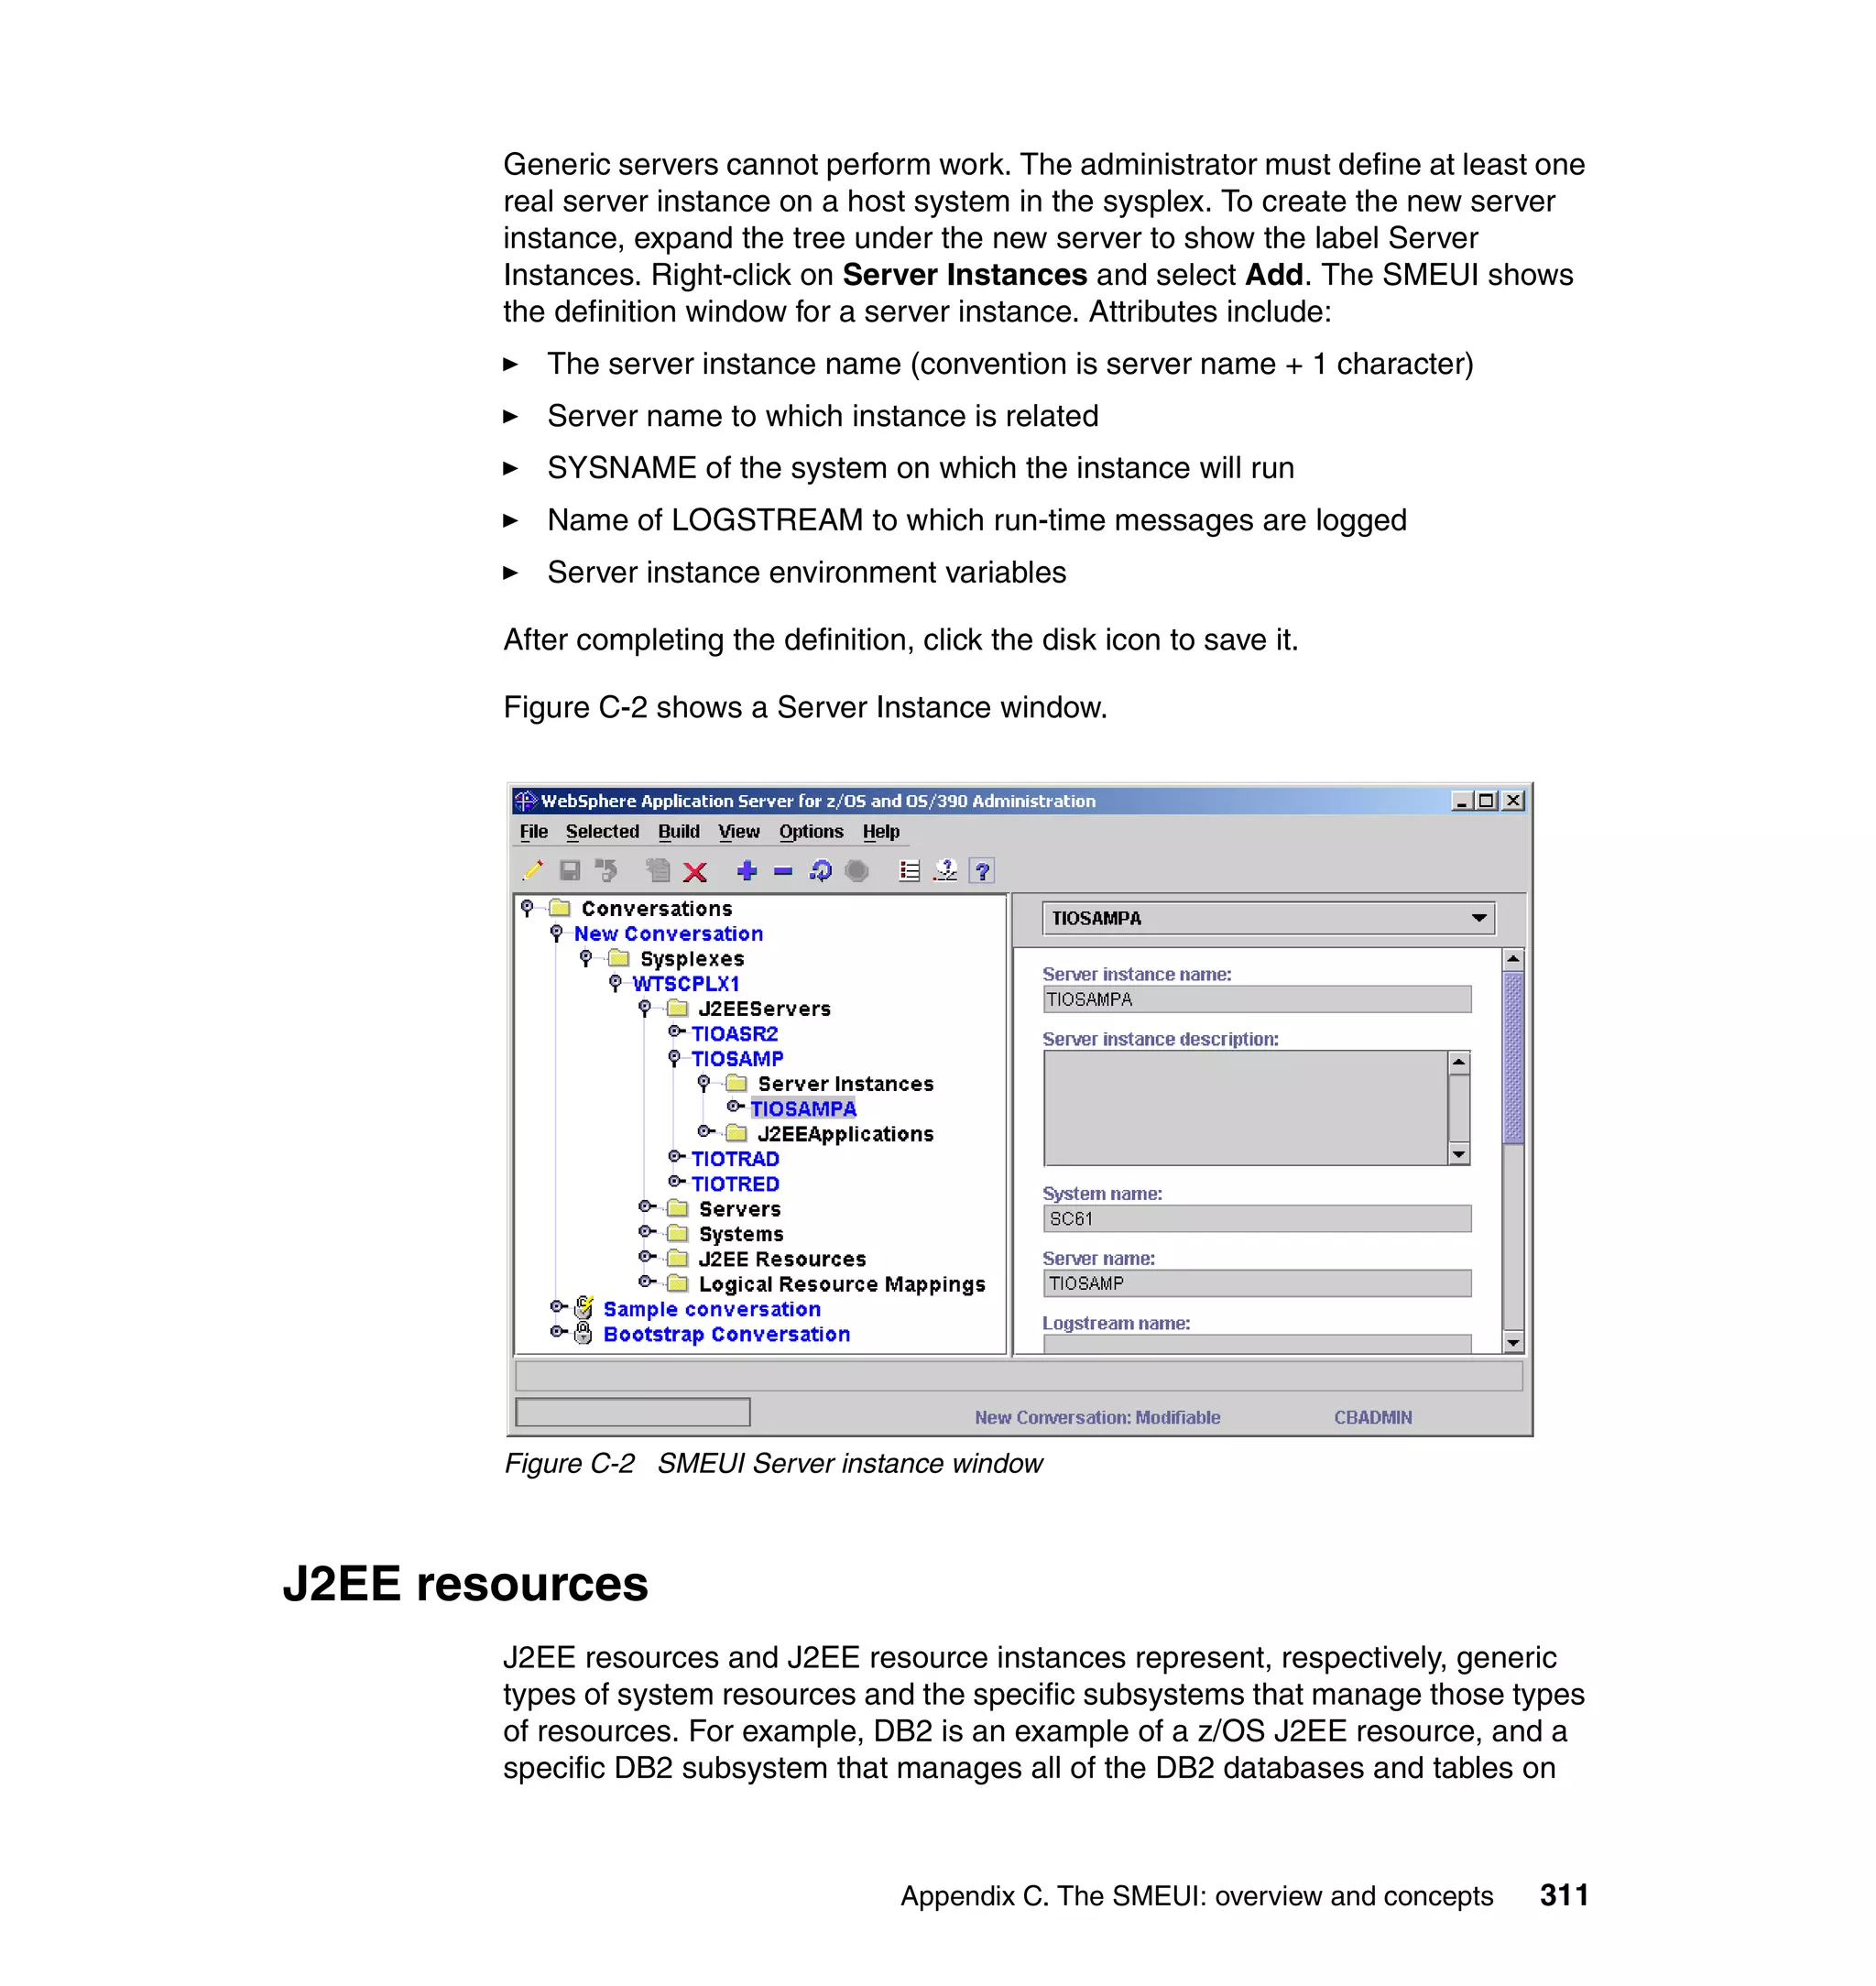
1. Launch the pdconfig utility. You should see a window similar to Figure 6-8.
Figure 6-8 IBM Tivoli Access Manager setup menu
Chapter 6. IBM Tivoli Access Manager: securing WebSphere for z/OS 253](https://image.slidesharecdn.com/tivoliandwebsphereapplicationserveronz-ossg247062-120525055557-phpapp01/75/Tivoli-and-web-sphere-application-server-on-z-os-sg247062-277-2048.jpg)
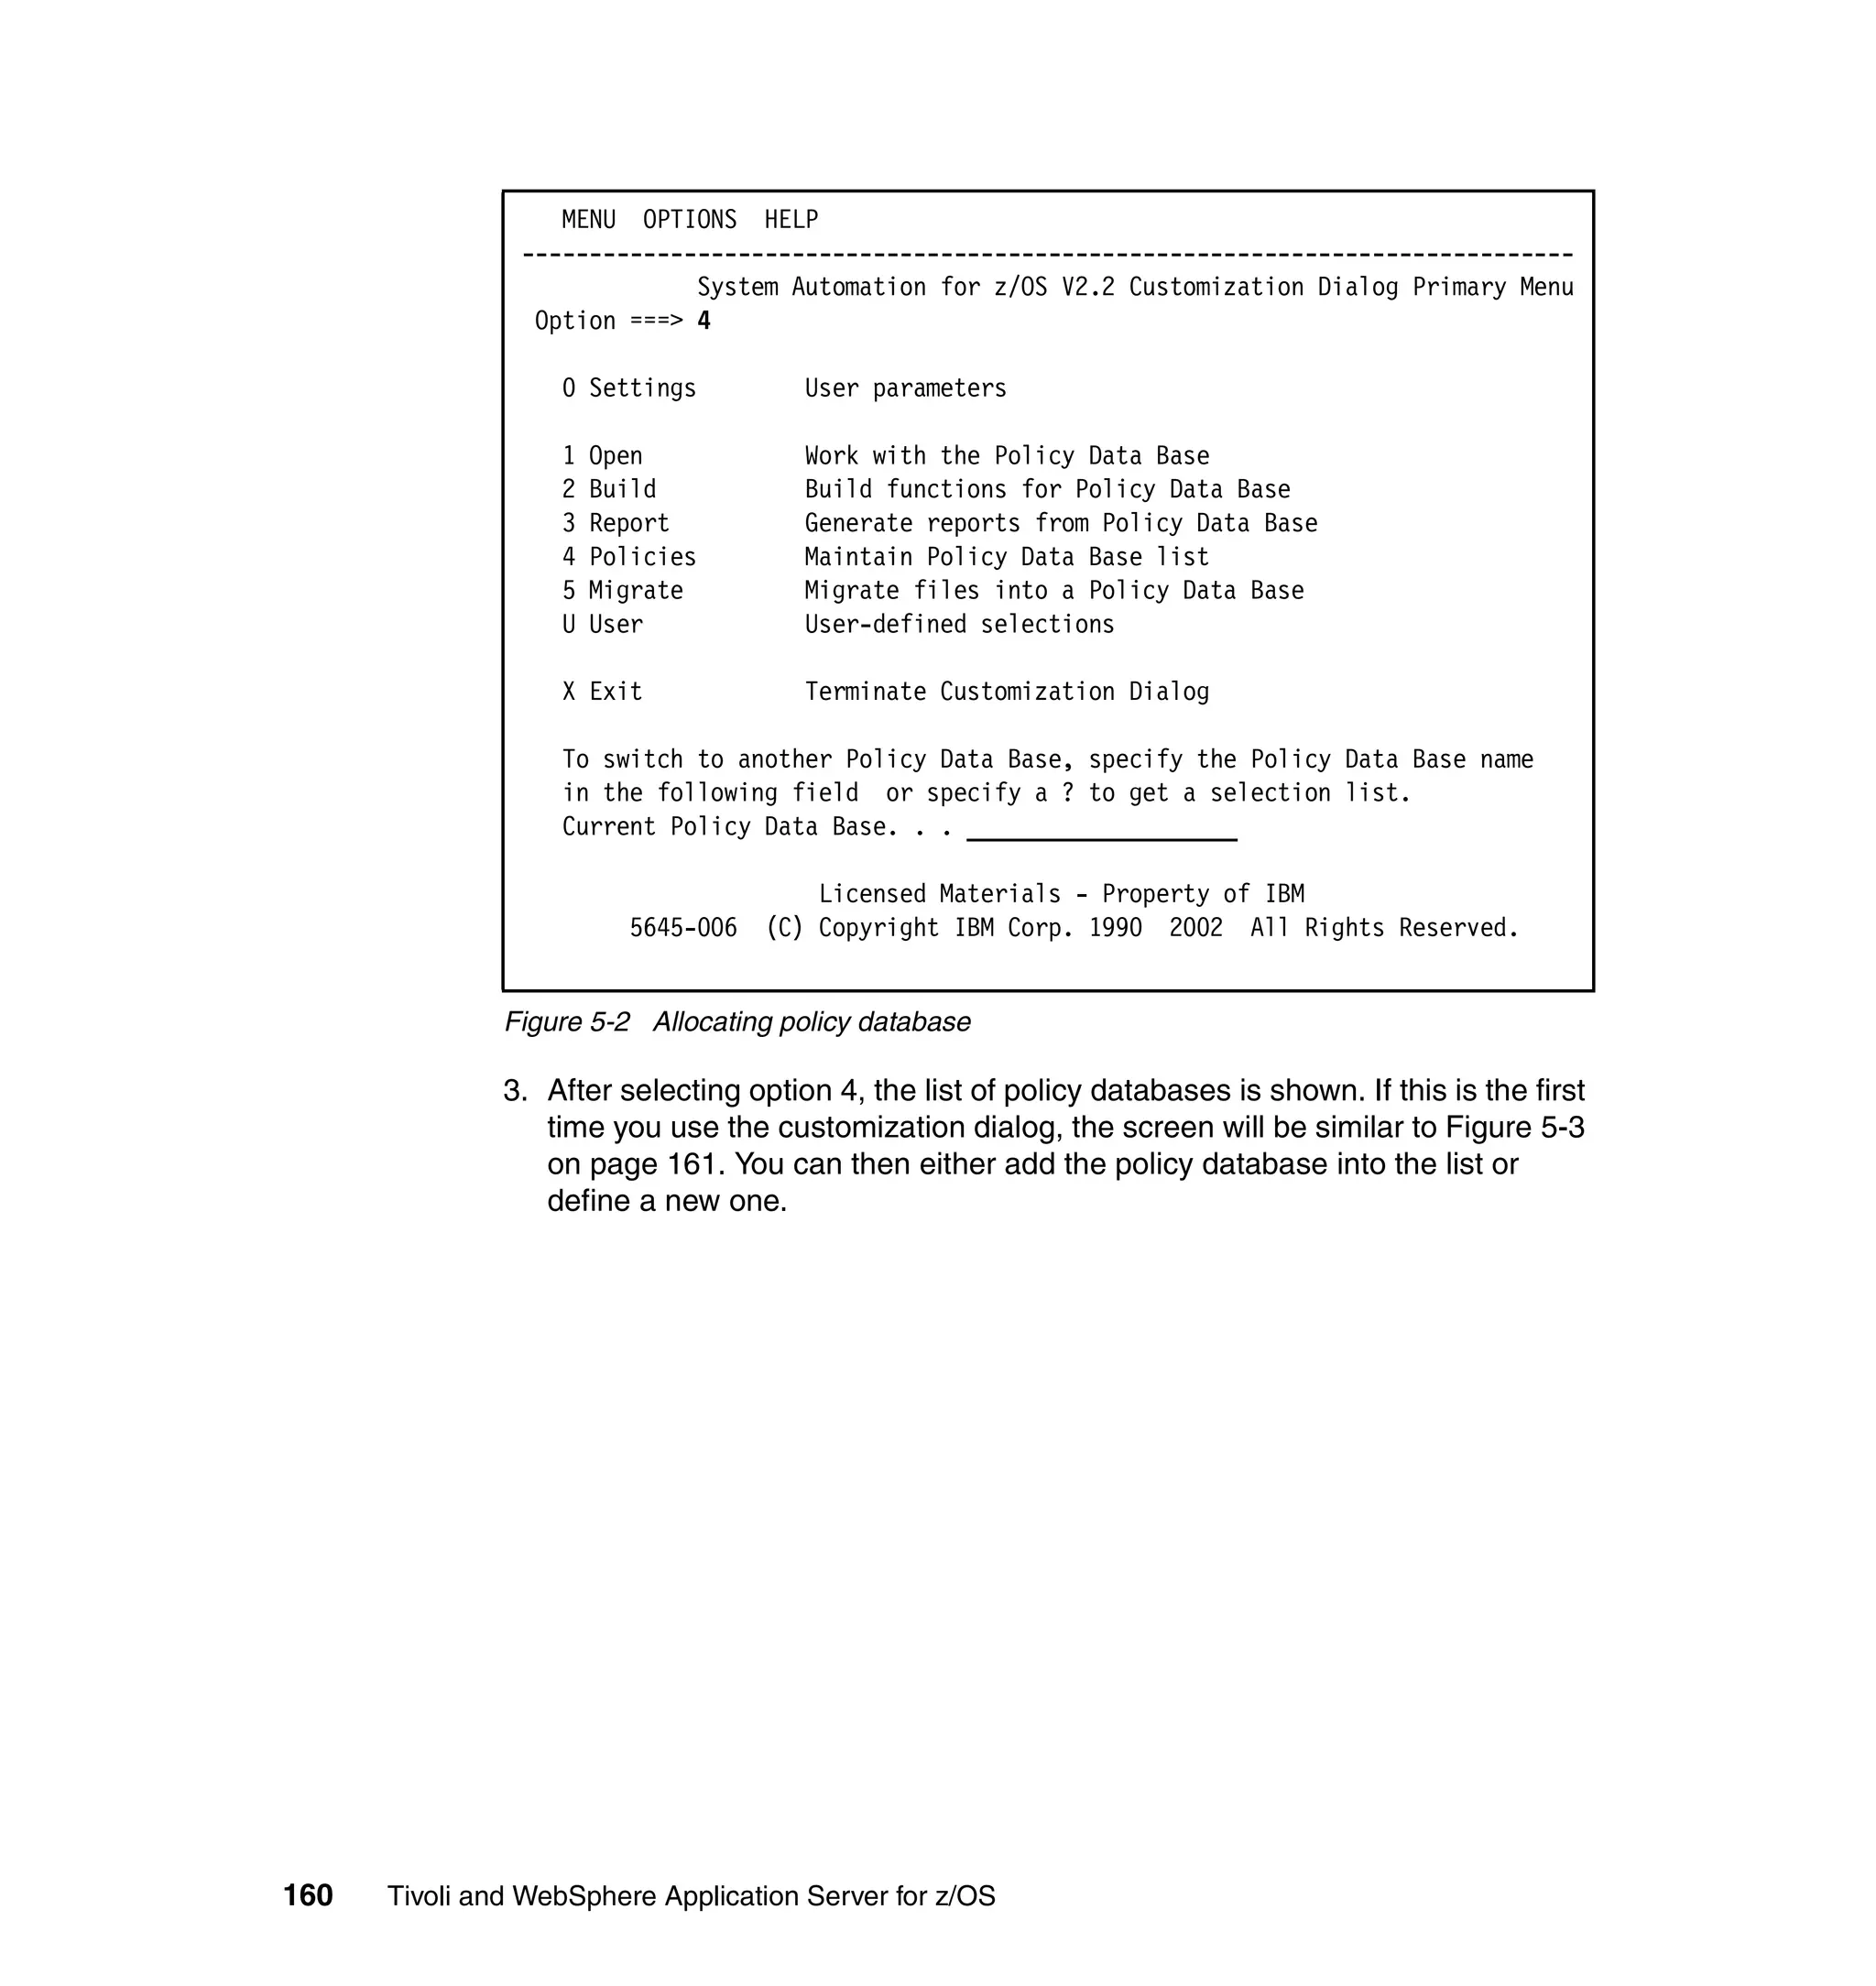
![10.To use native authentication, you must turn off auth-using-compare. To do so,
edit the [ldap] stanza of the /opt/PolicyDirector/etc/ivmgrd.conf and
/opt/pdweb/etc/webseald.conf files and change the line as follows:
auth-using-compare = no
By default, authentications to LDAP are made with a compare operation
rather than a bind.
11.Recycle your IBM Tivoli Access Manager server. Here are the commands:
Check servers statuspd_start status
Stop servers pd_start stop
Start server pd_start start
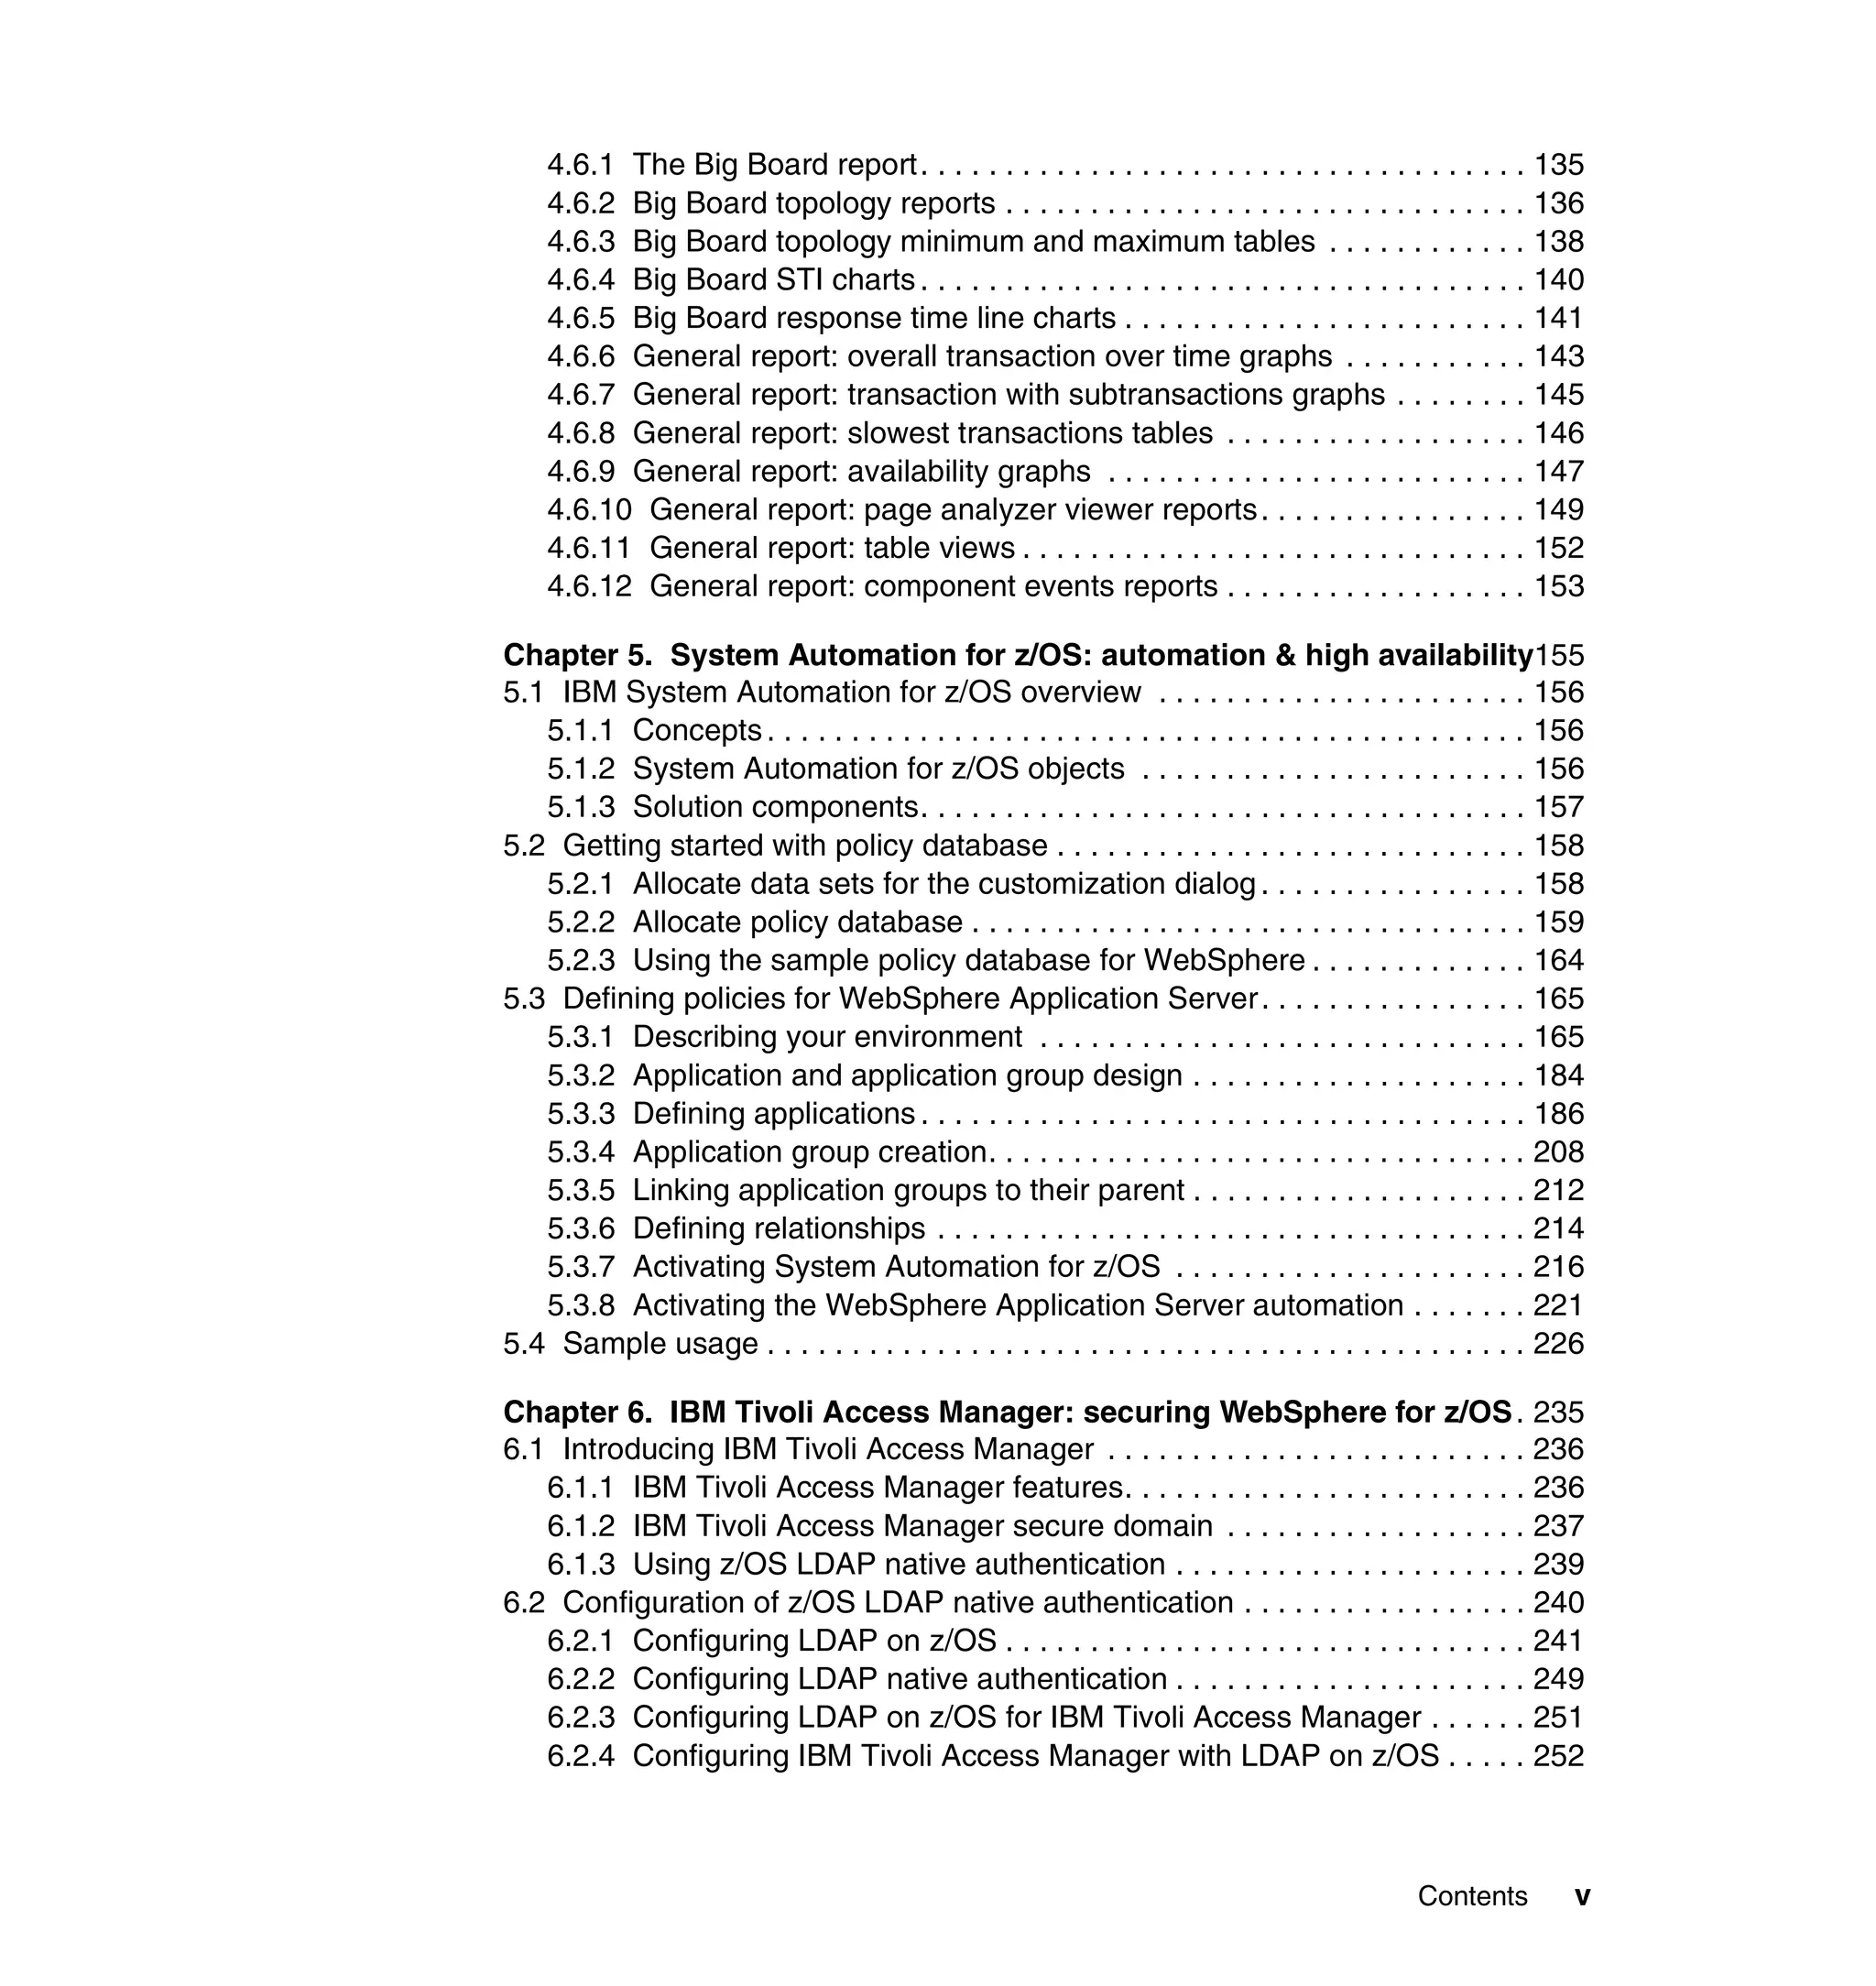
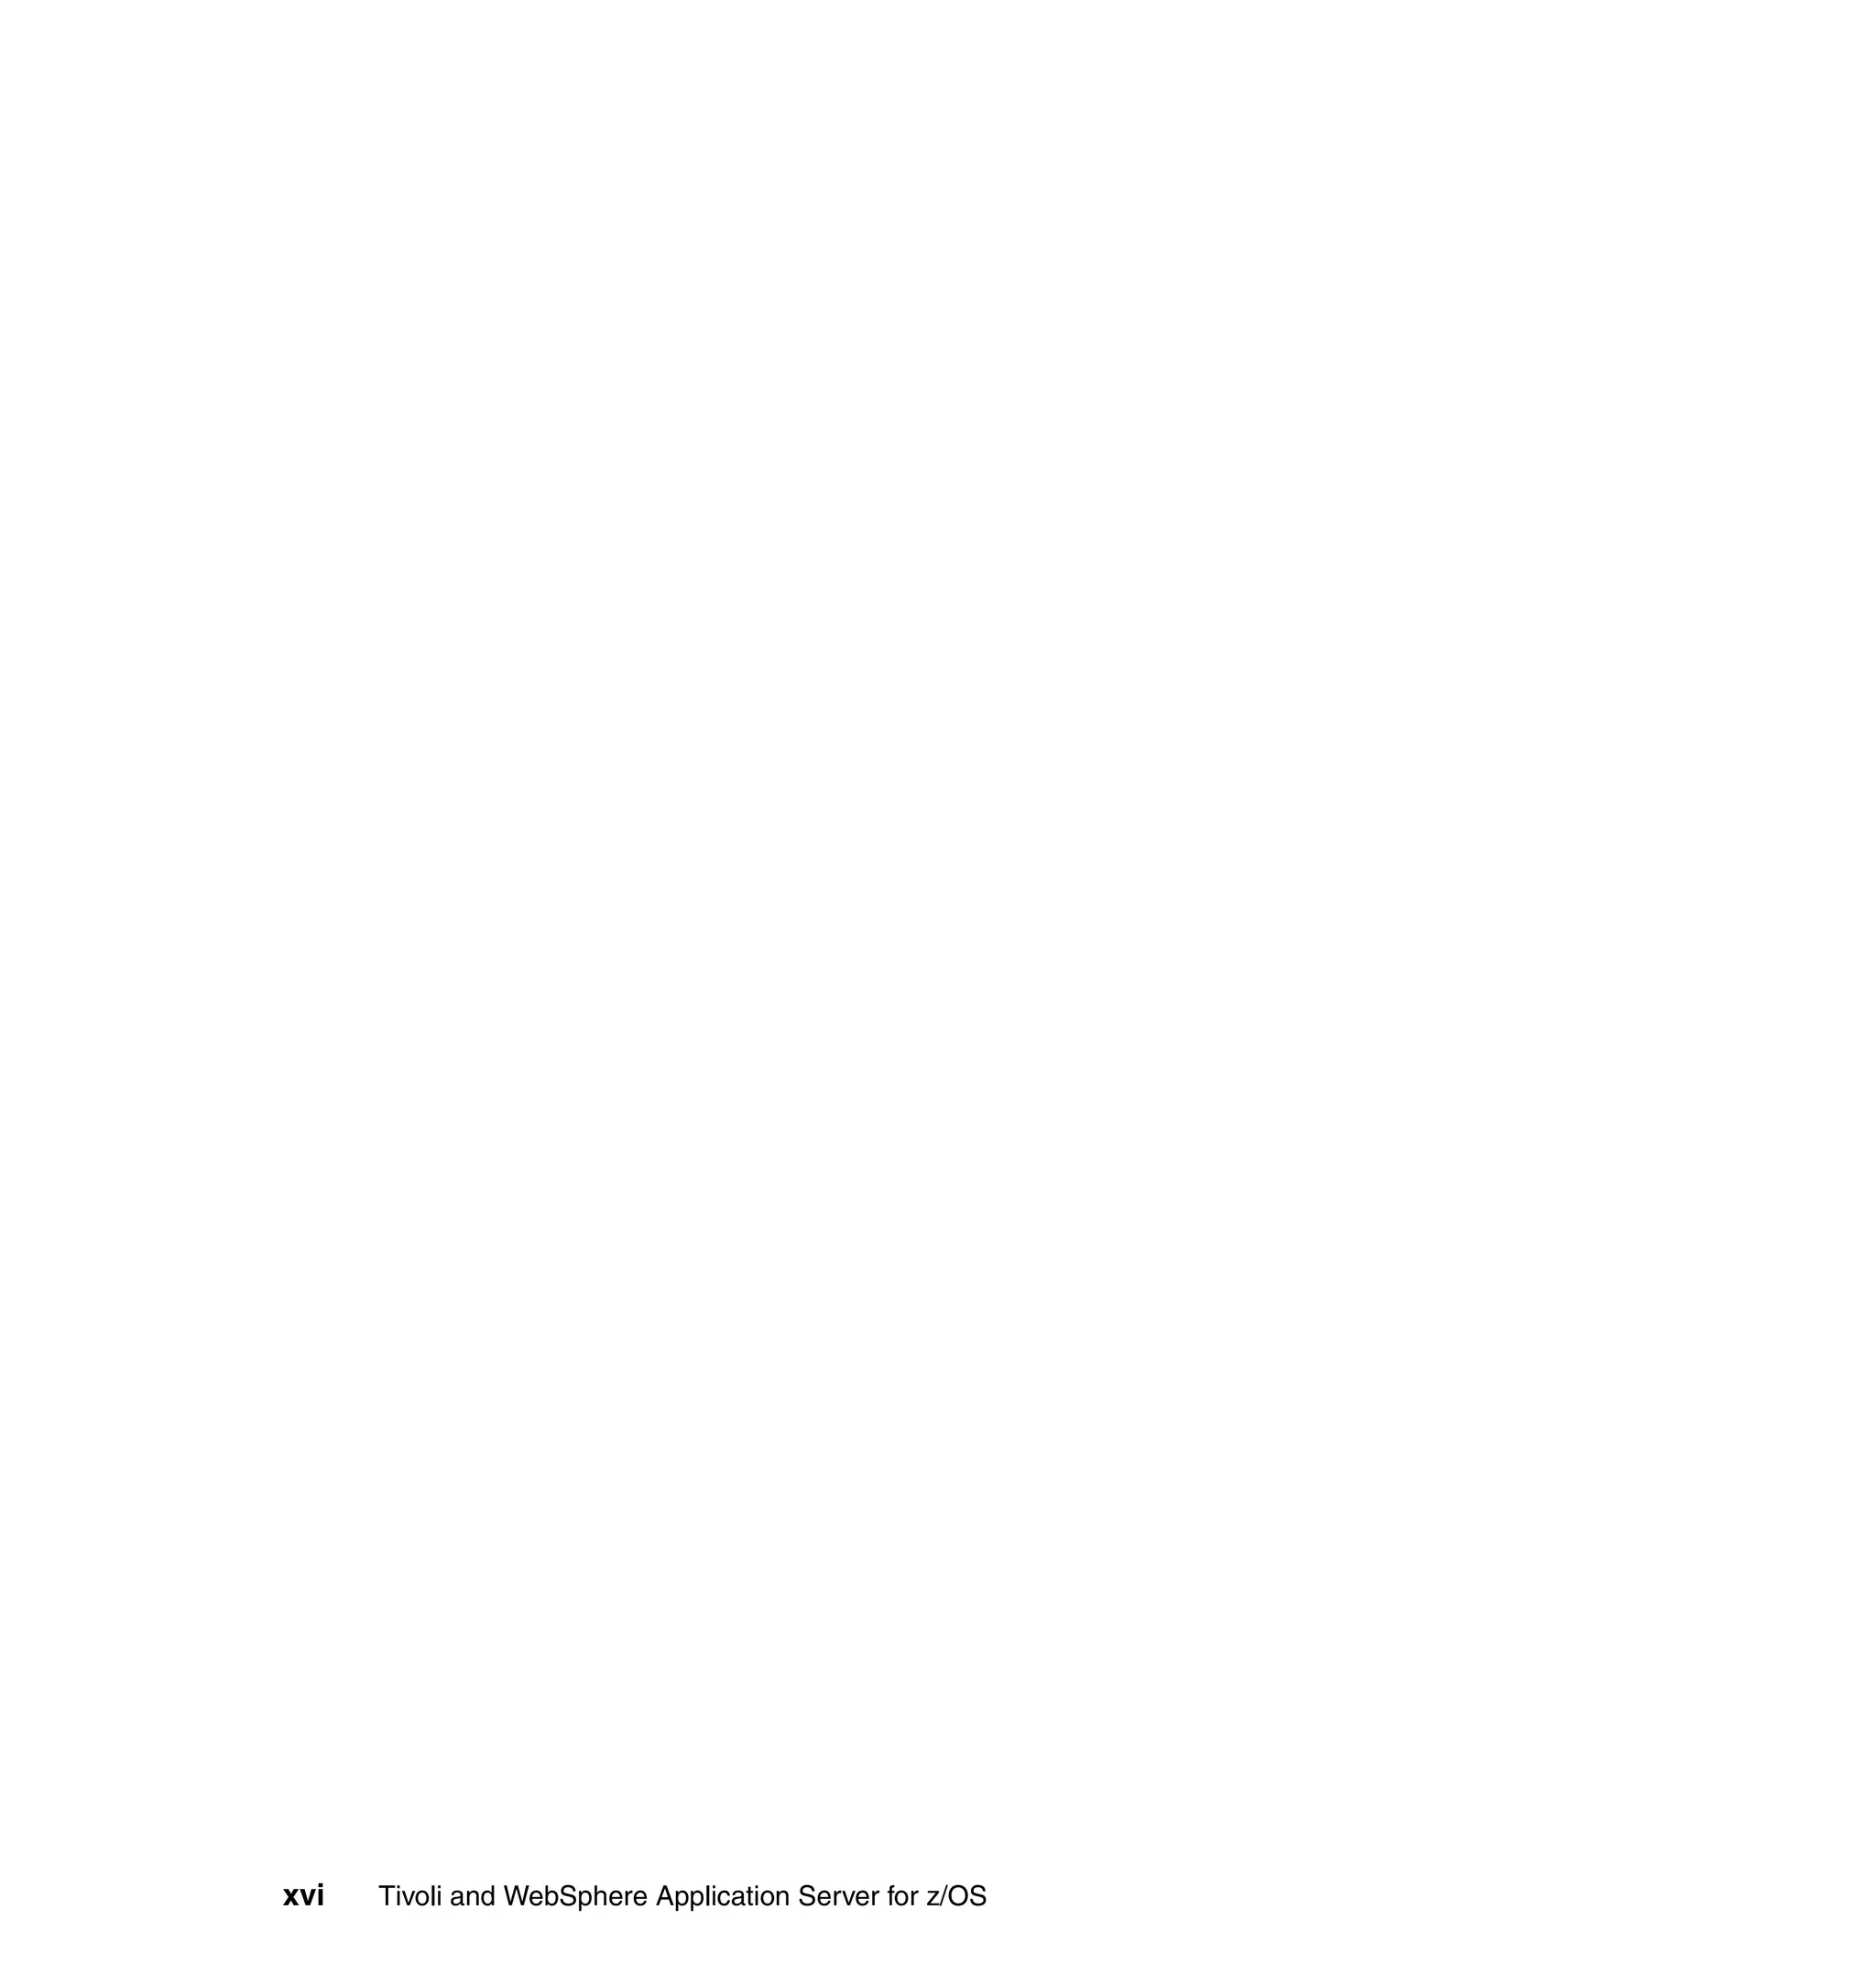
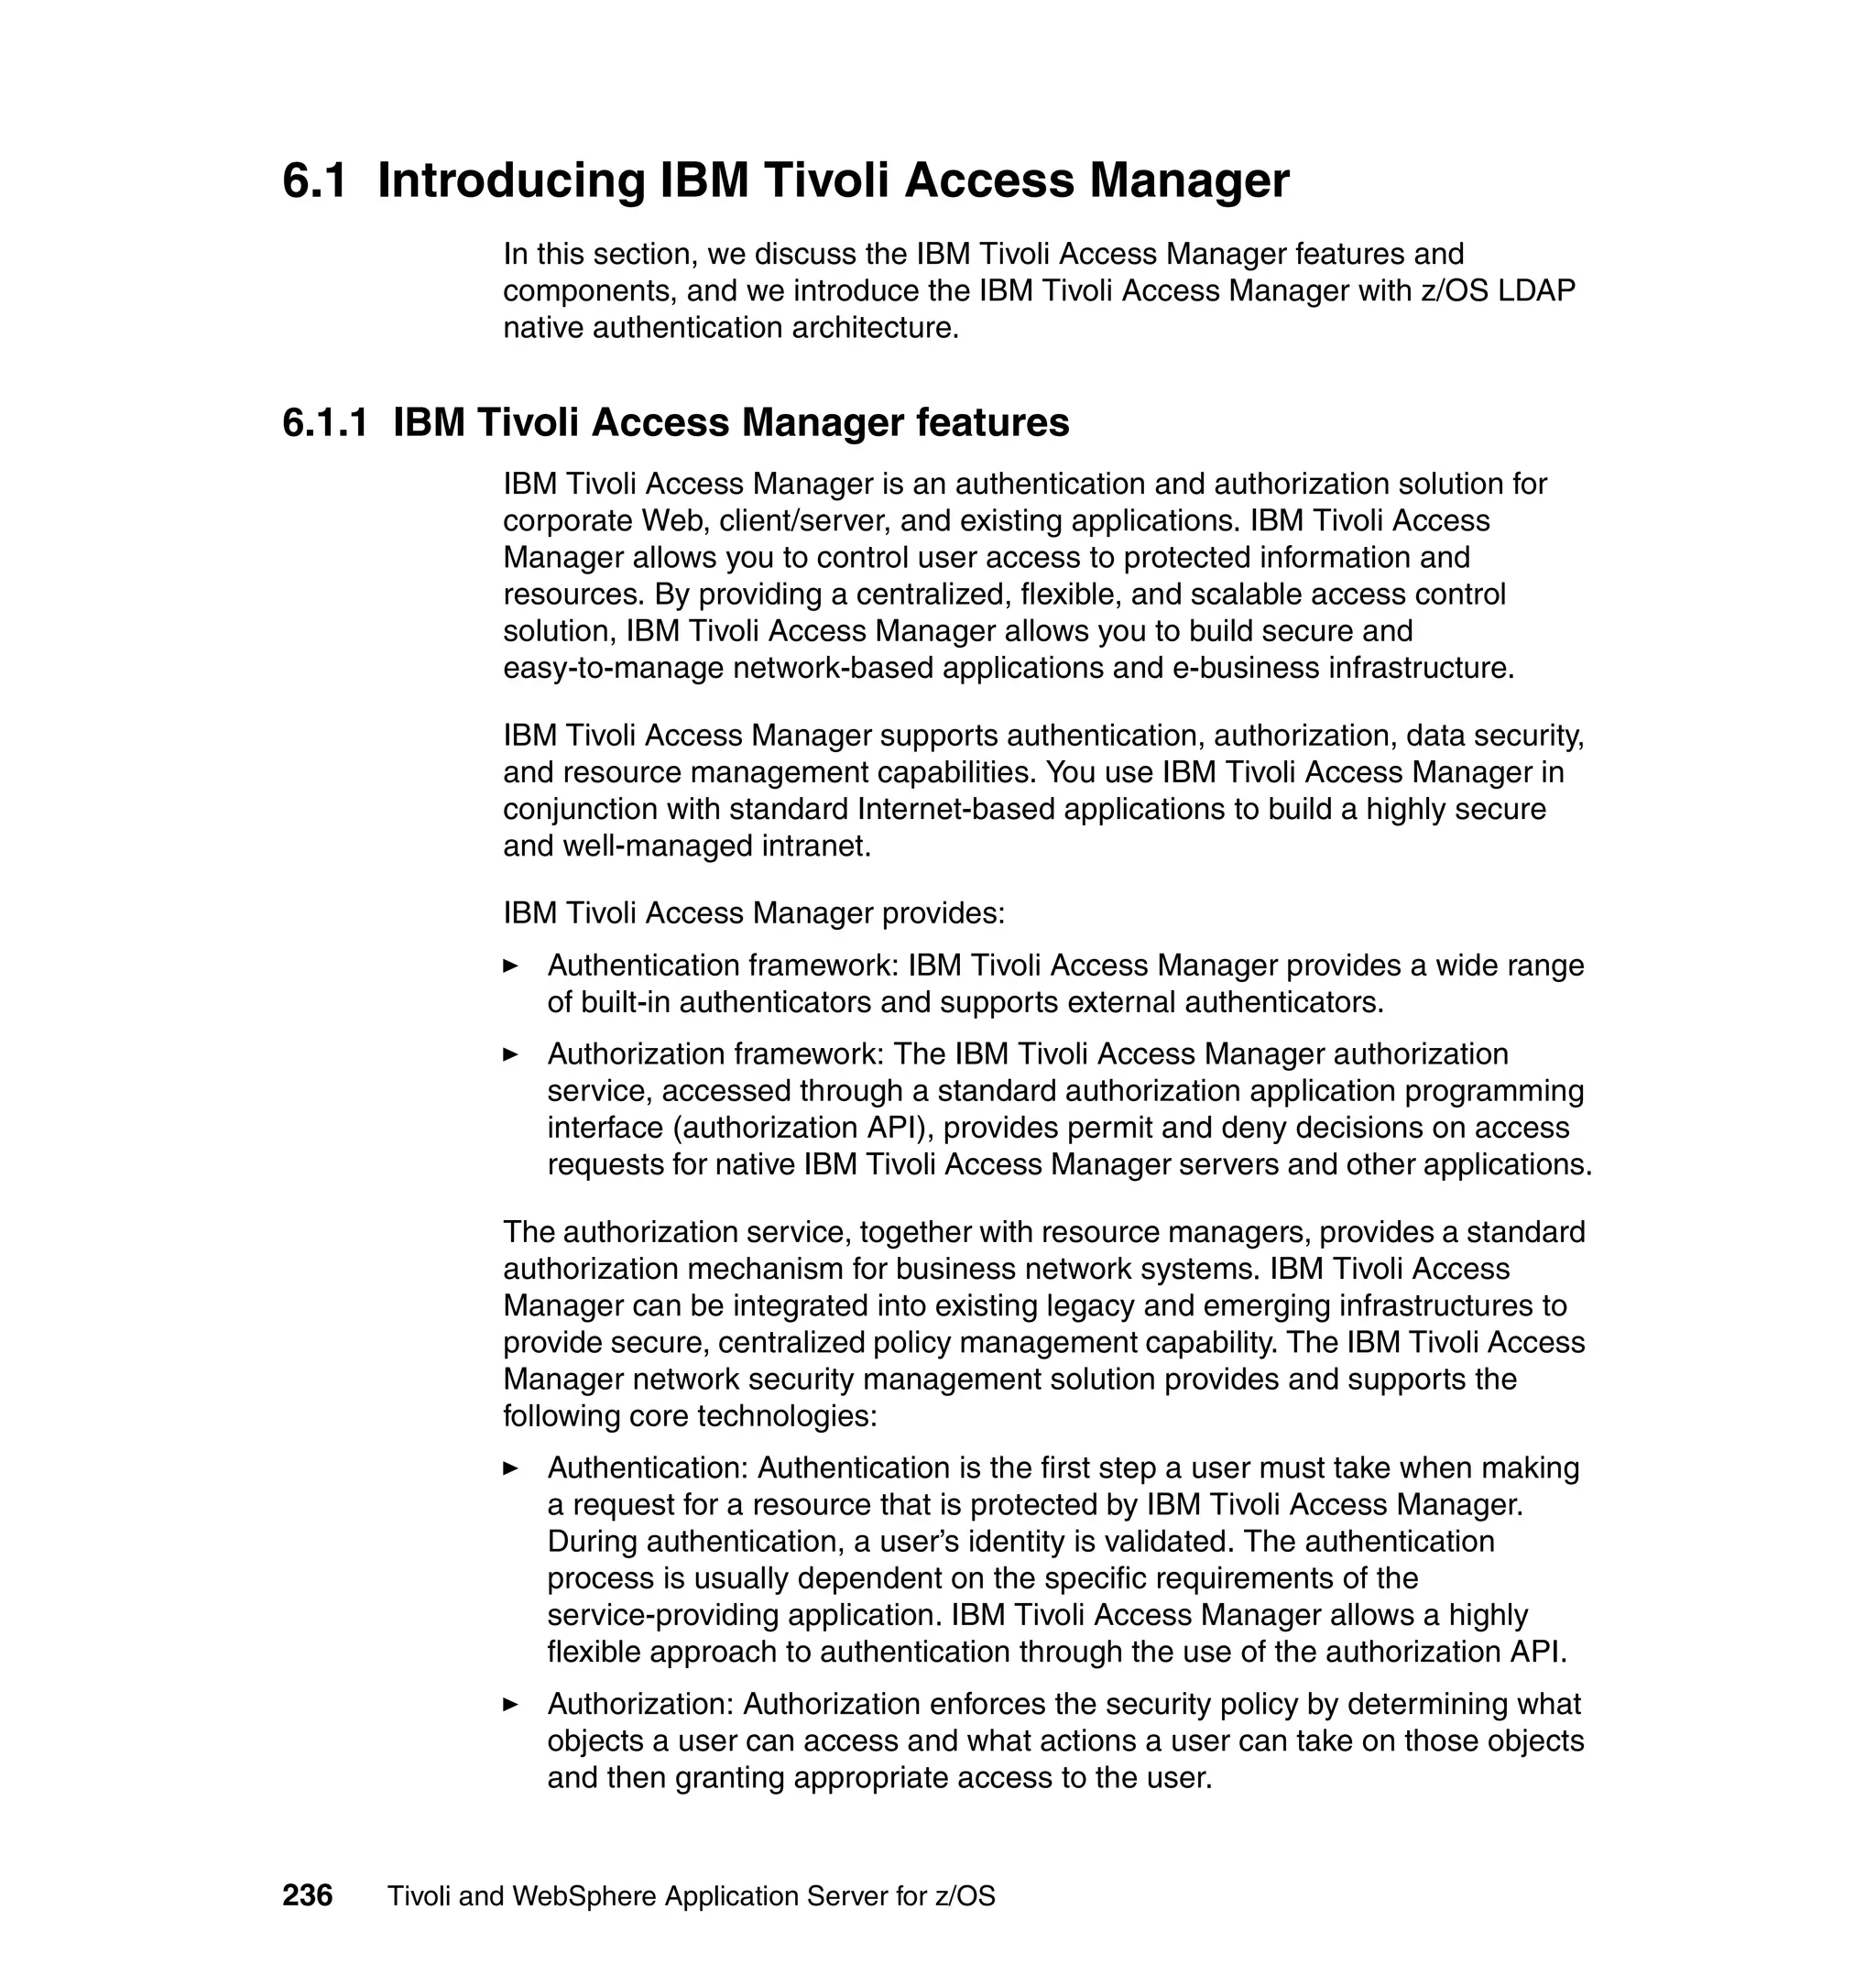
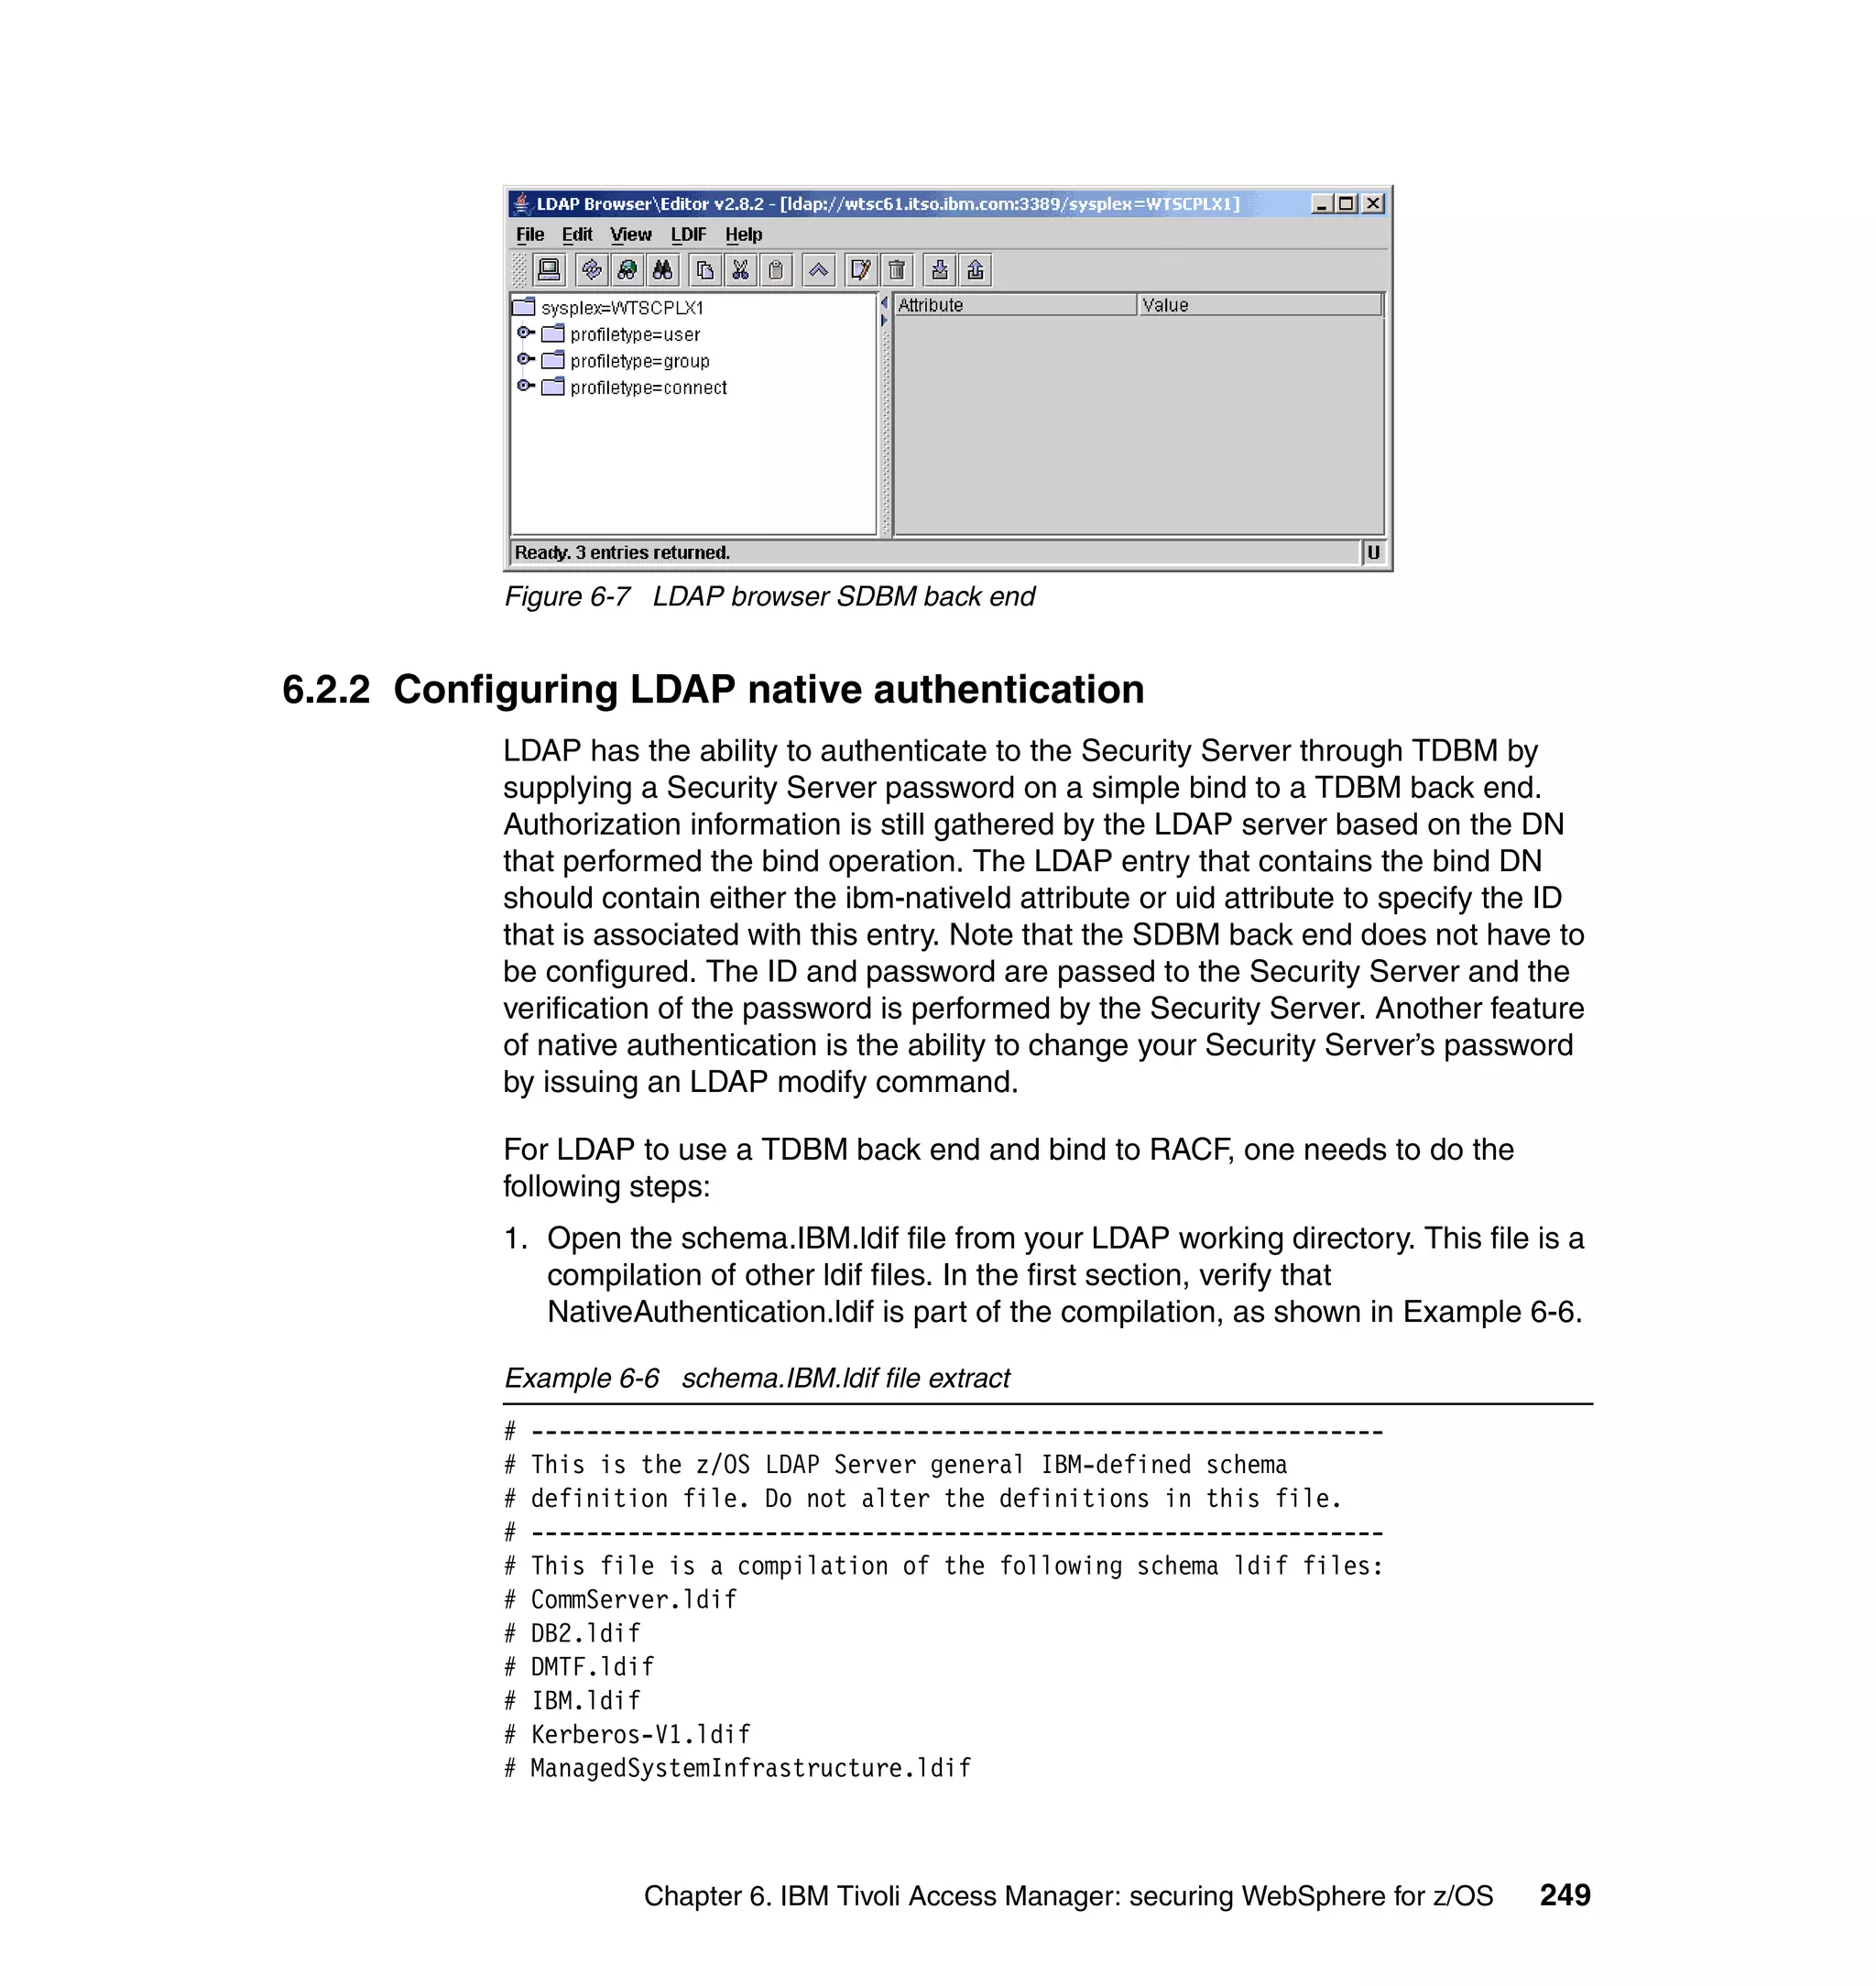
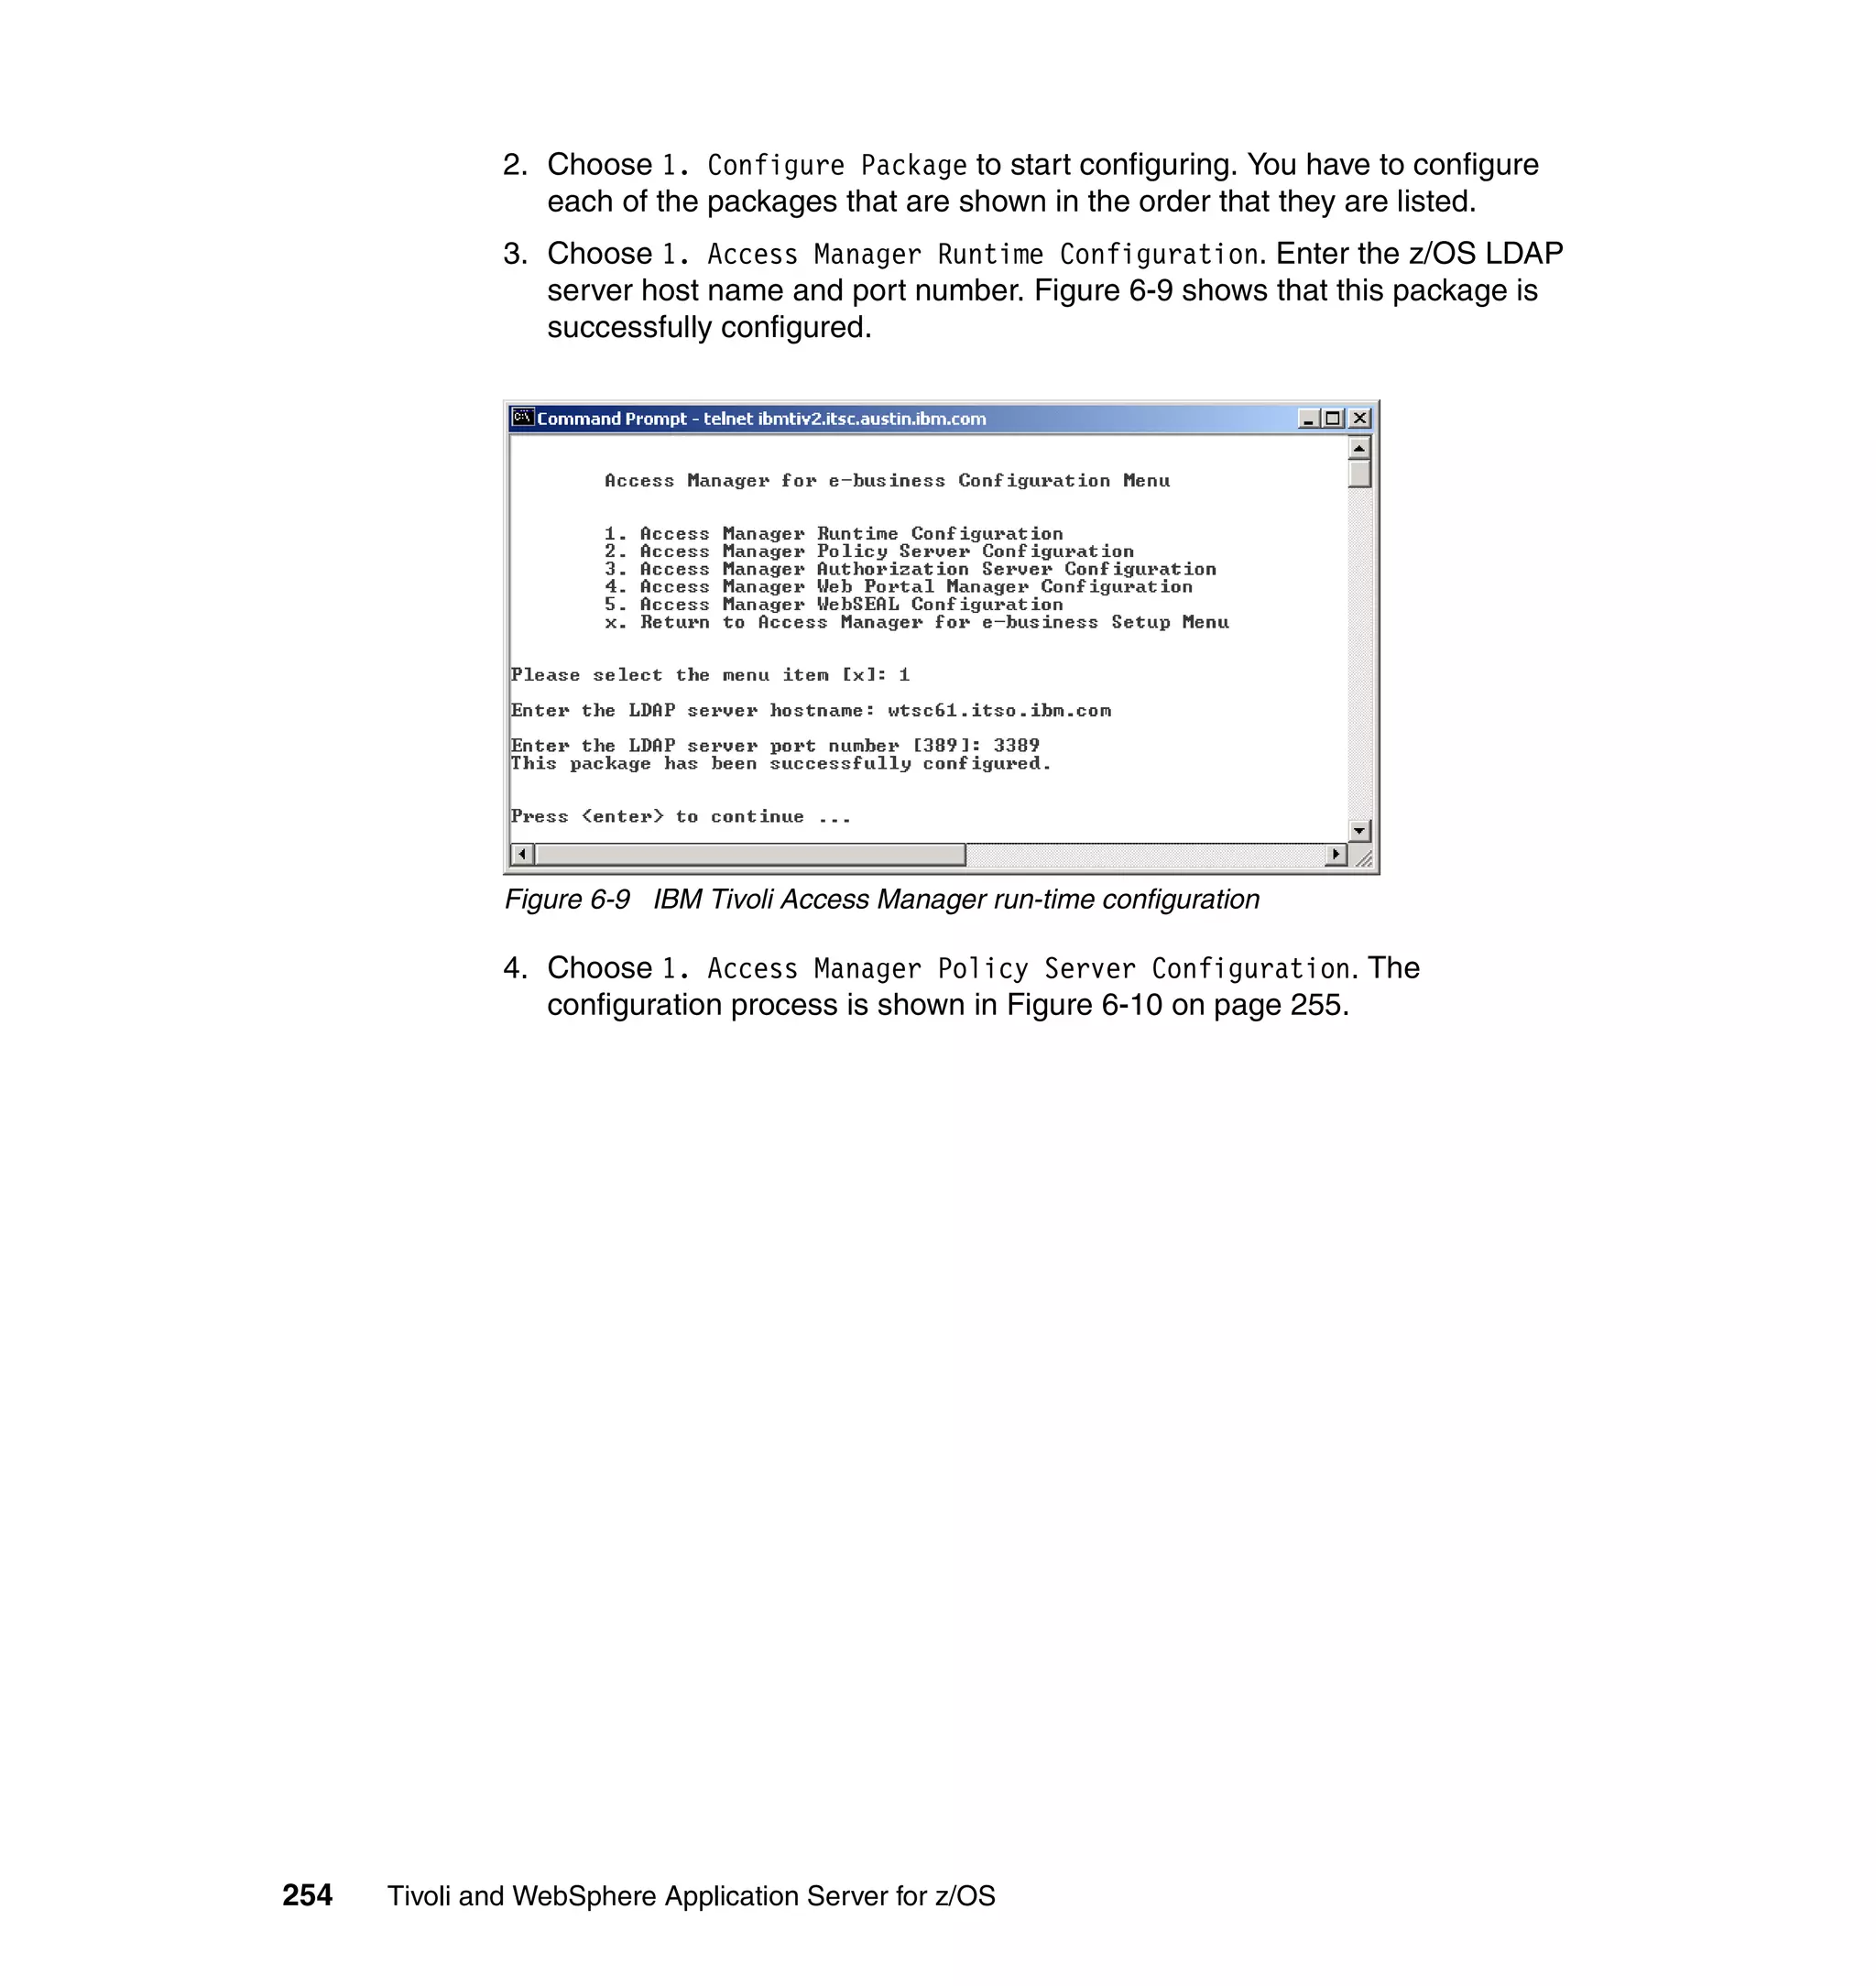
You should now be able to use the IBM Tivoli Access Manager Web Console at
the following address:
https://<web_portal_manager_hostname>:9443/pdadmin
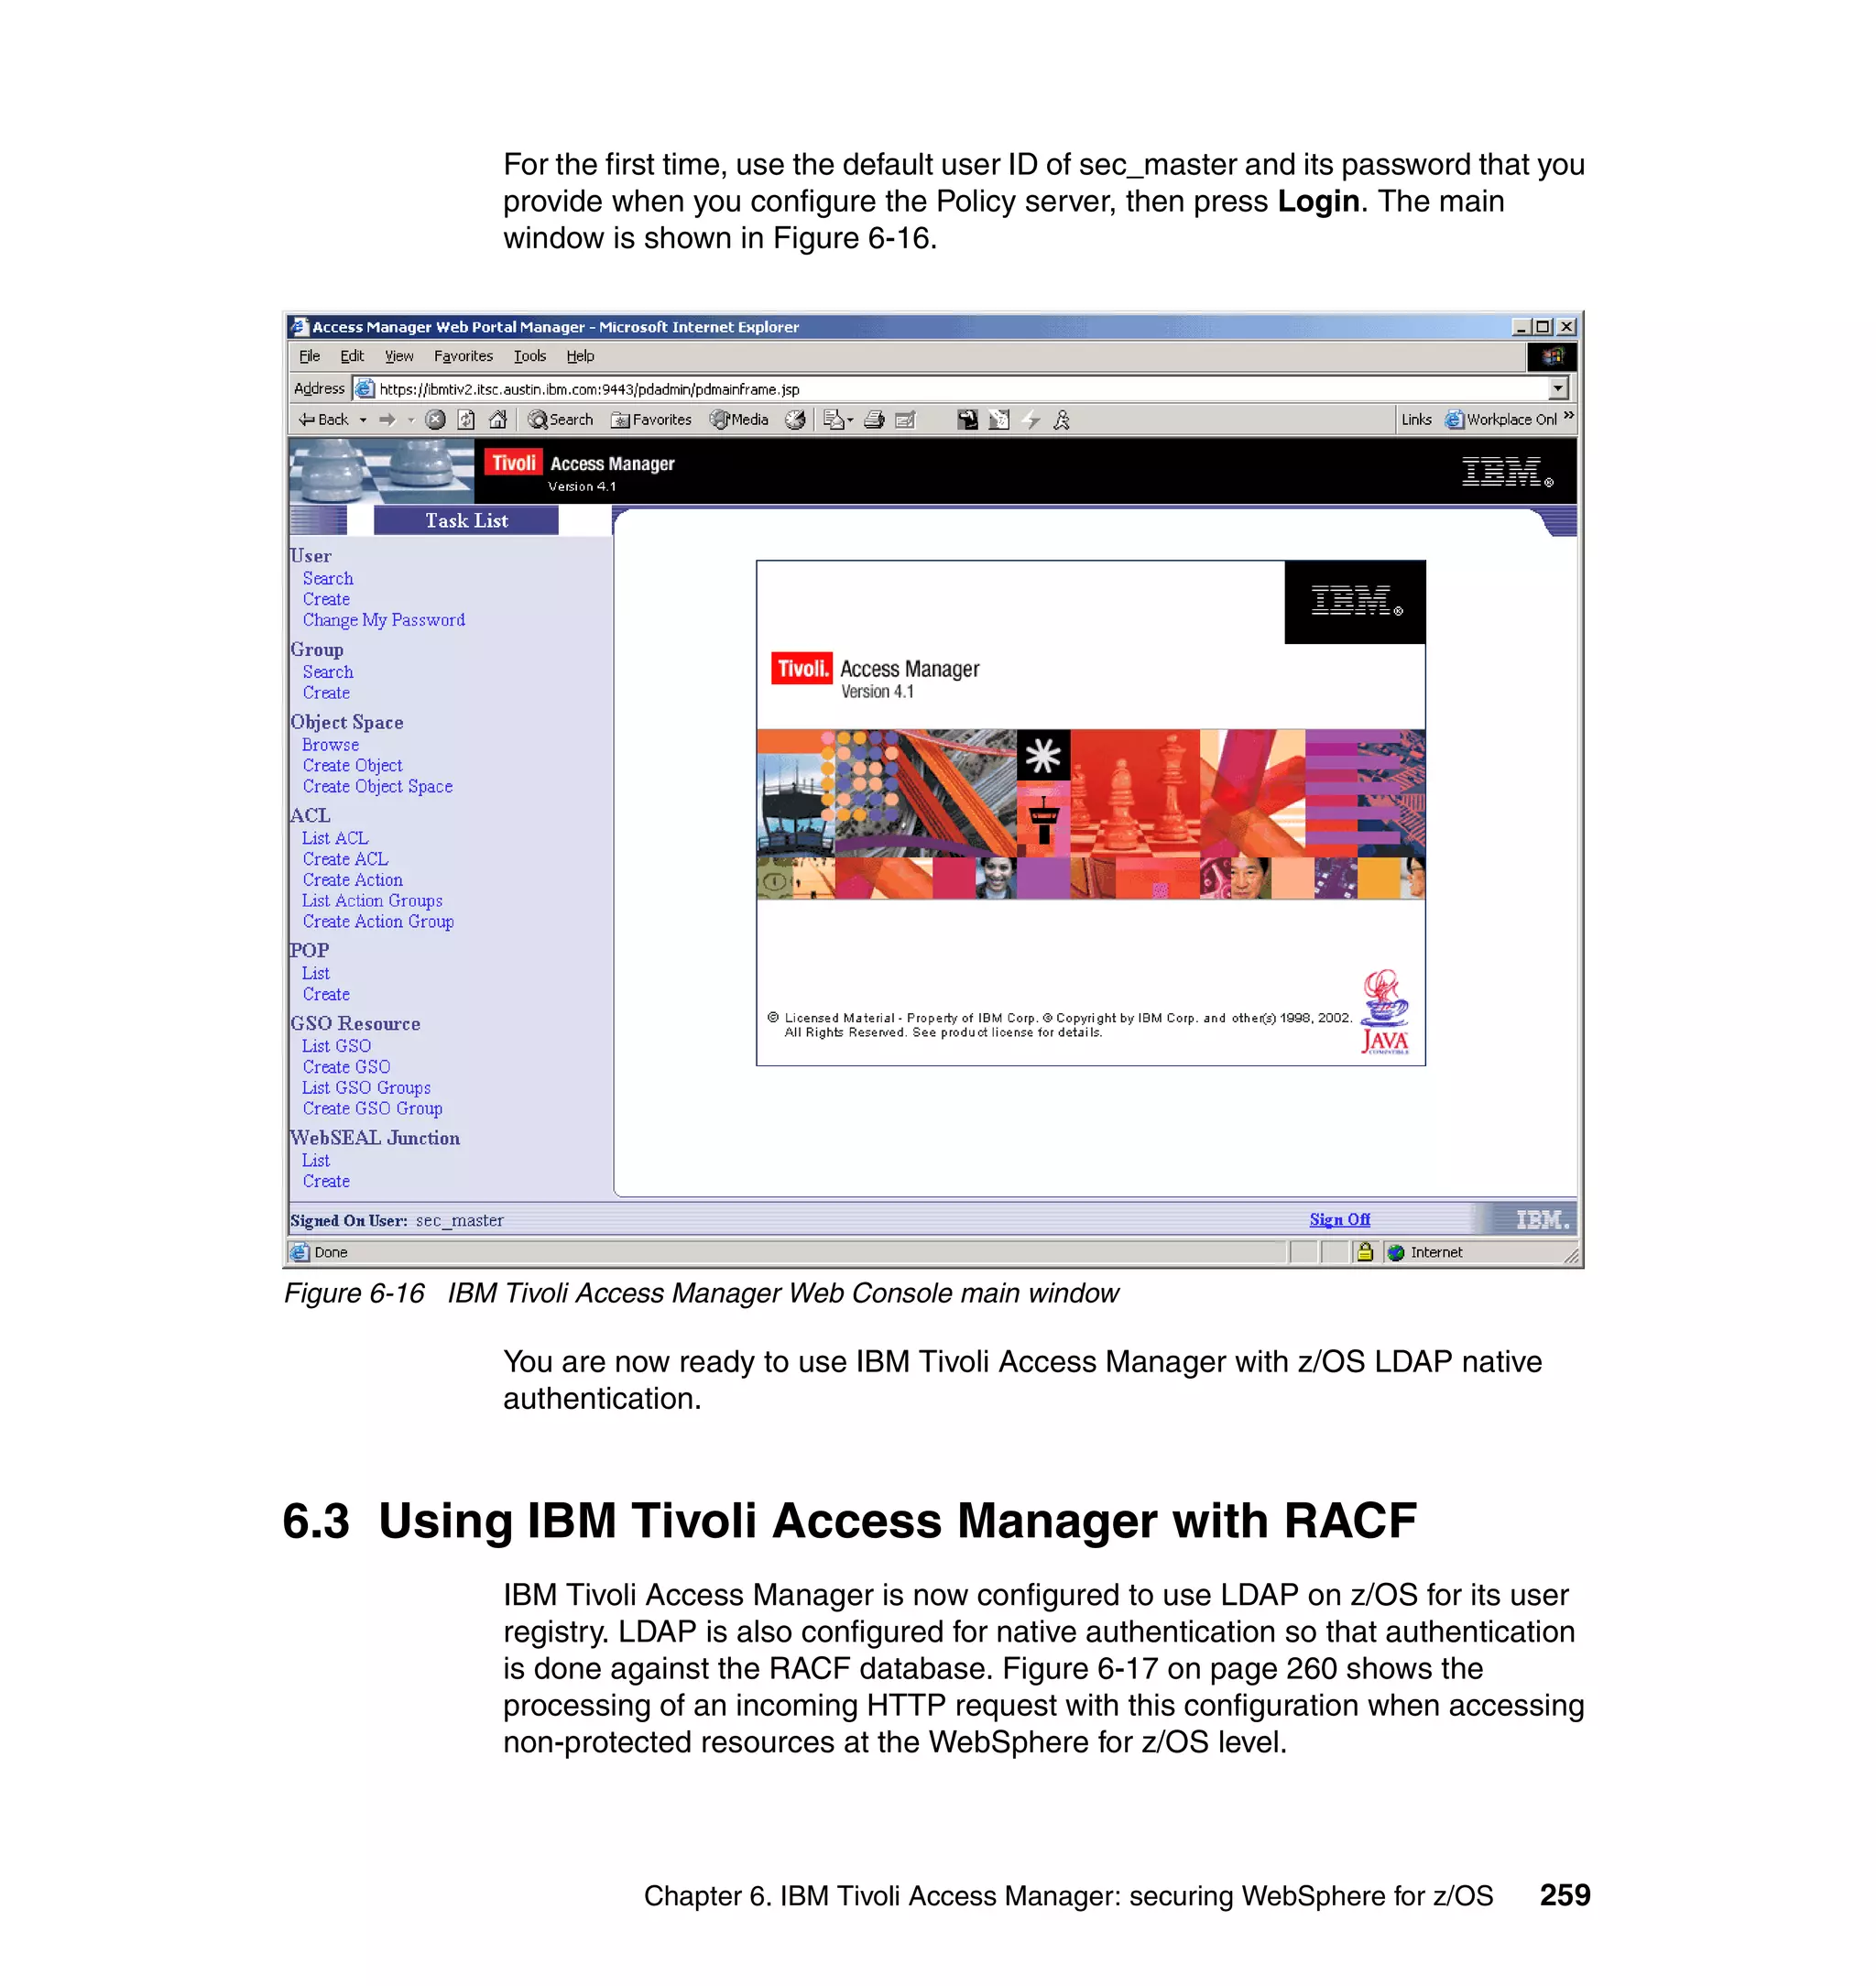
Figure 6-15 shows the IBM Tivoli Access Manager Web Console login window.
Figure 6-15 IBM Tivoli Access Manager Web Console login
258 Tivoli and WebSphere Application Server for z/OS](https://image.slidesharecdn.com/tivoliandwebsphereapplicationserveronz-ossg247062-120525055557-phpapp01/75/Tivoli-and-web-sphere-application-server-on-z-os-sg247062-282-2048.jpg)
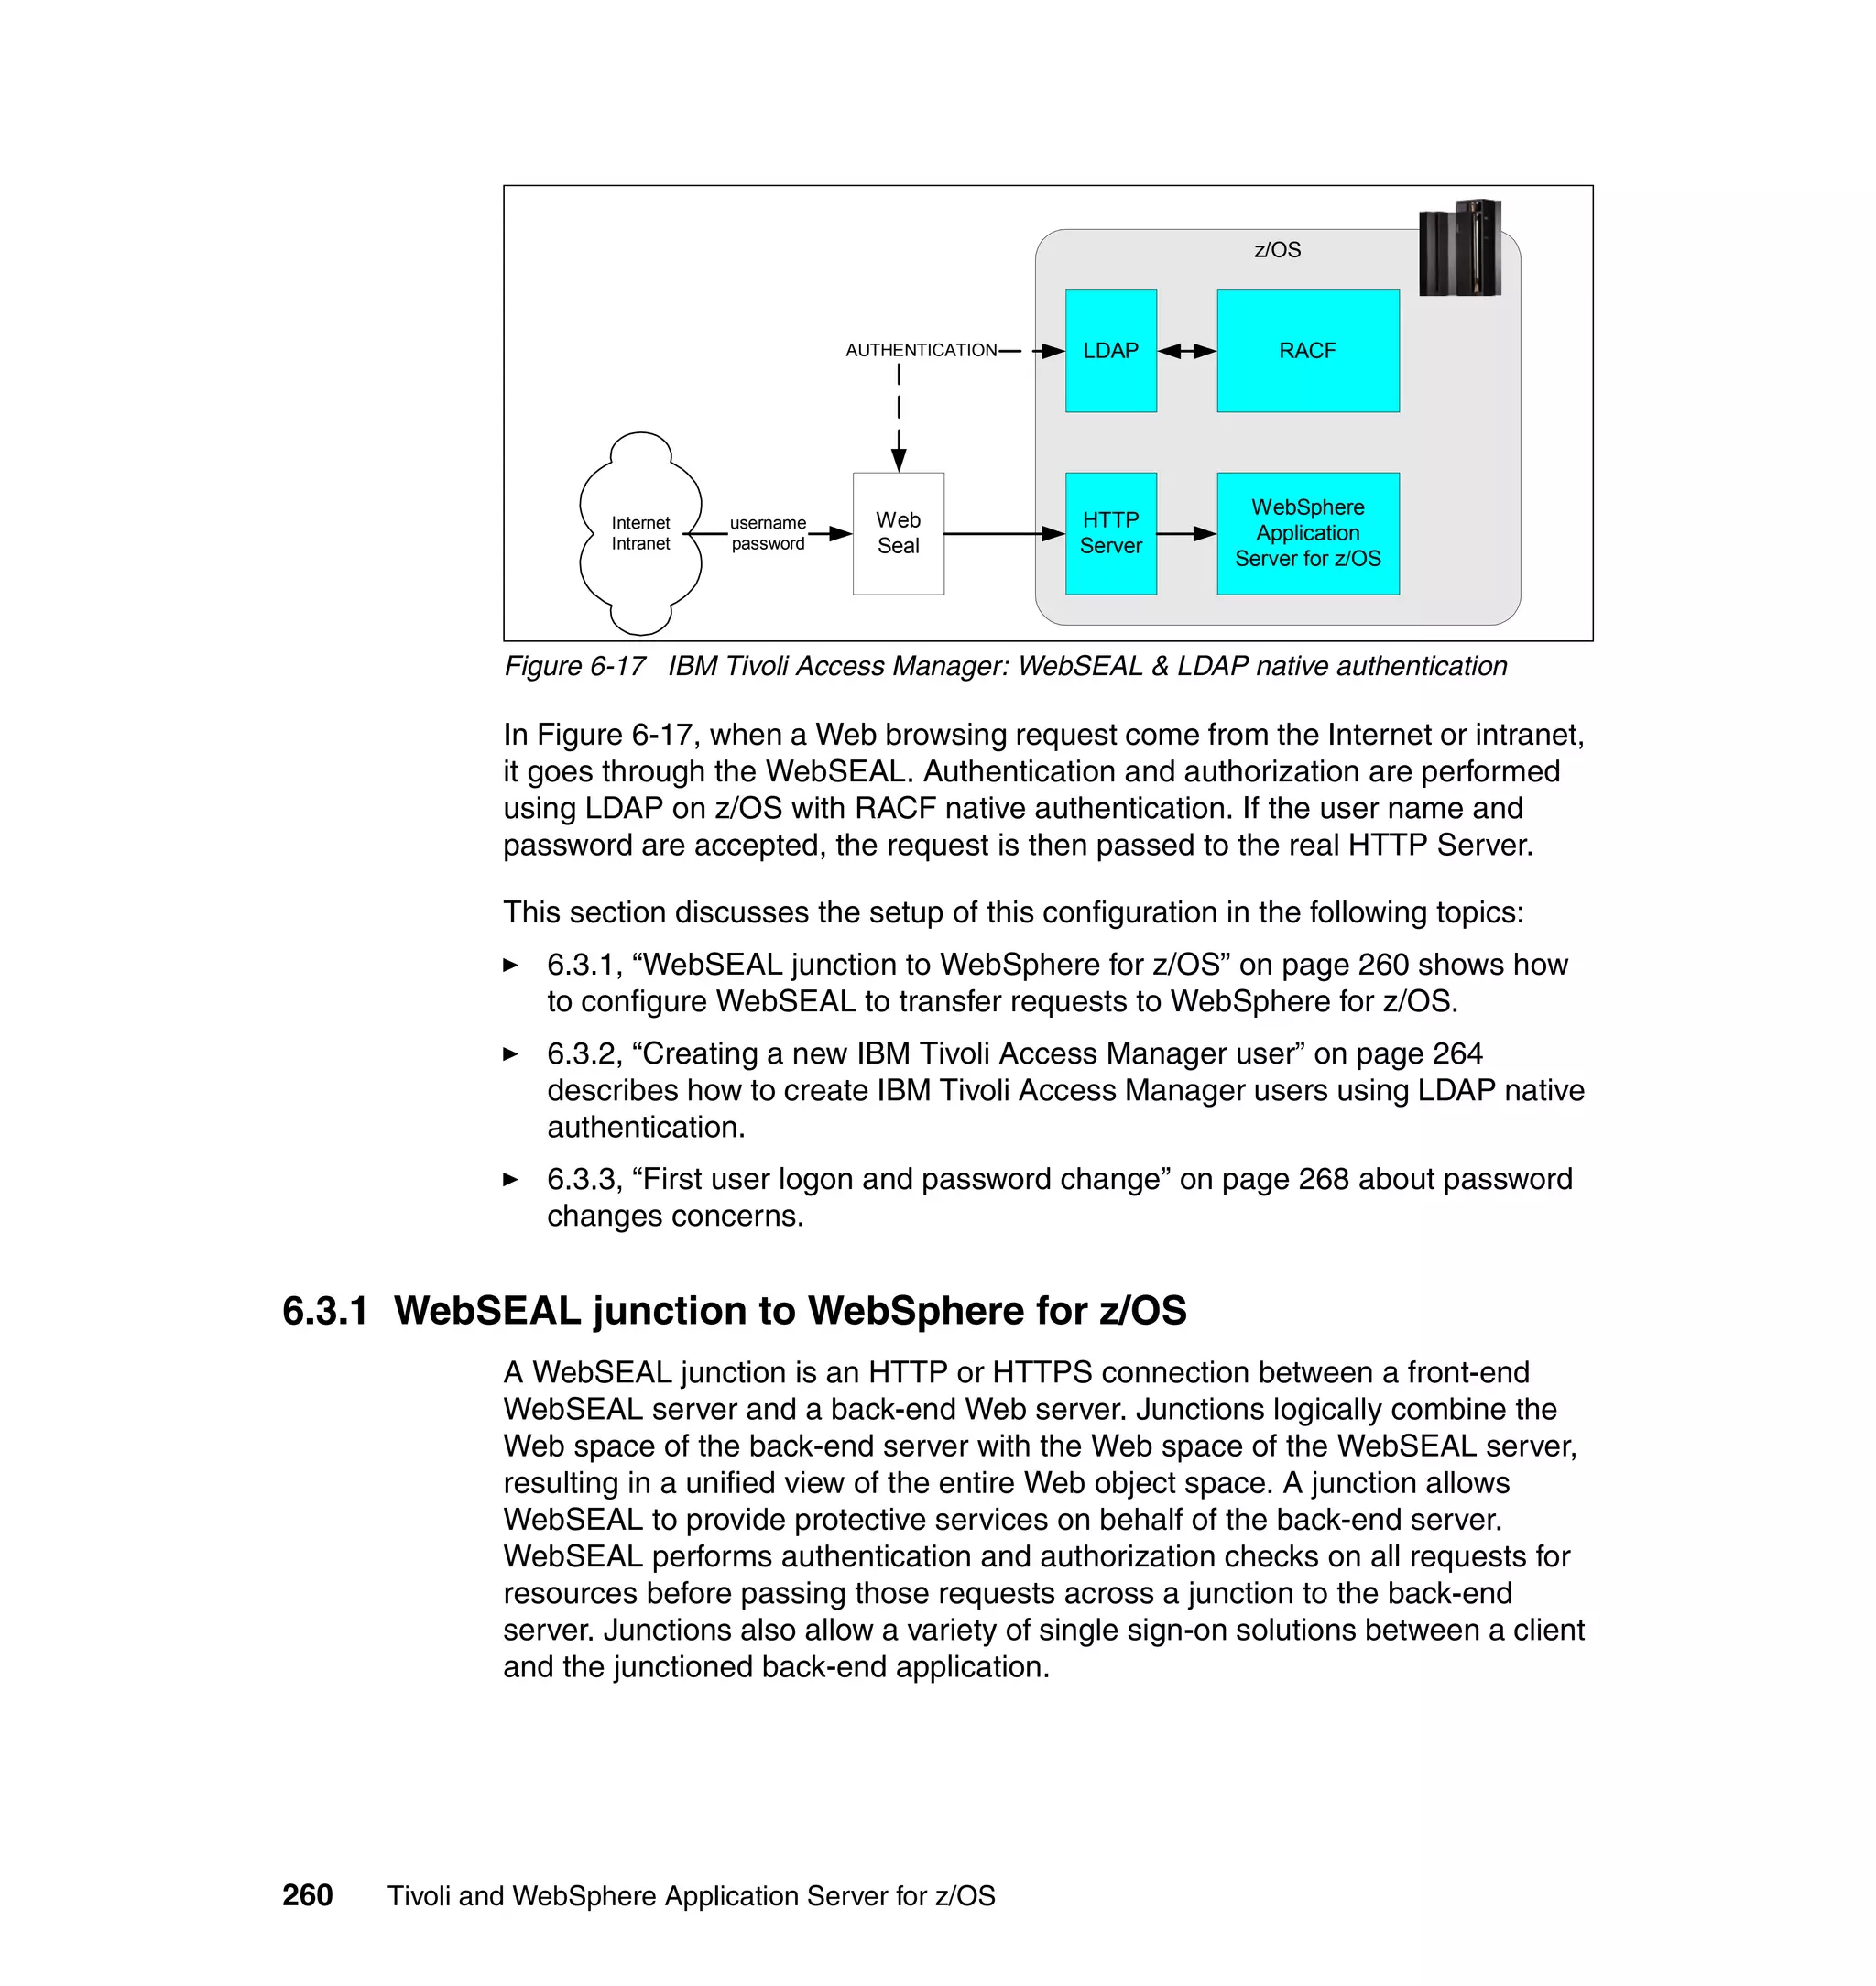


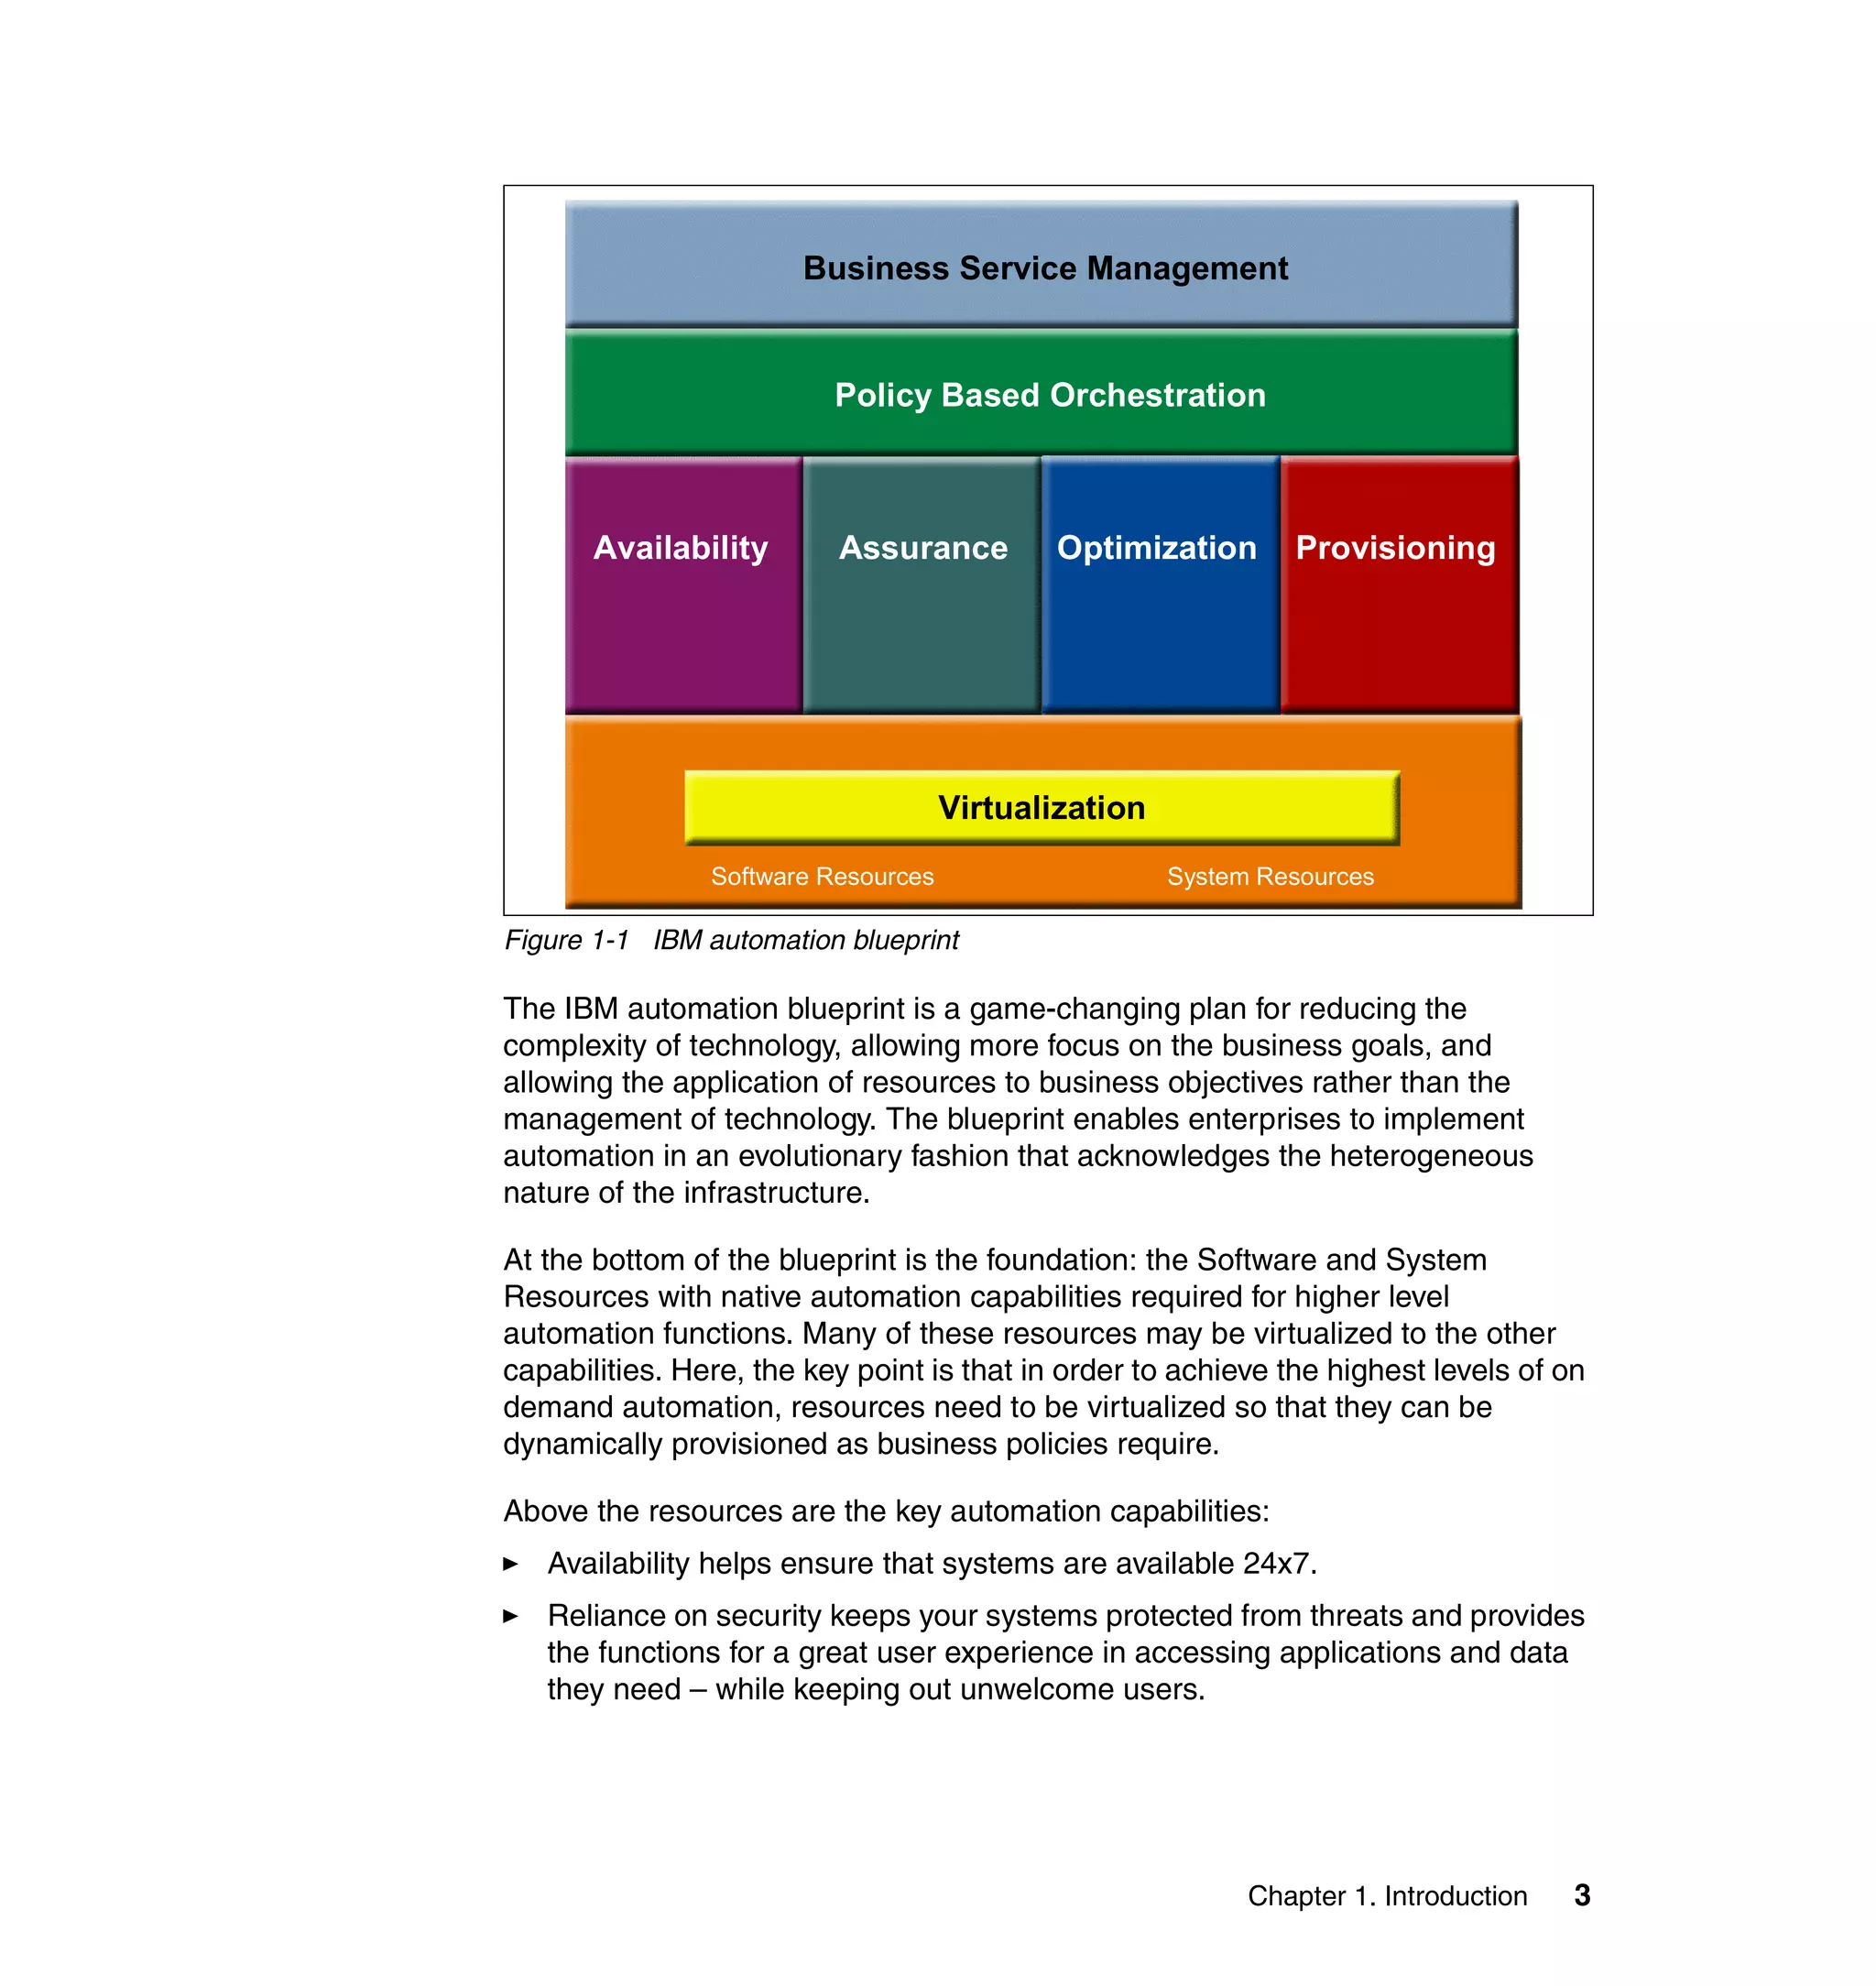
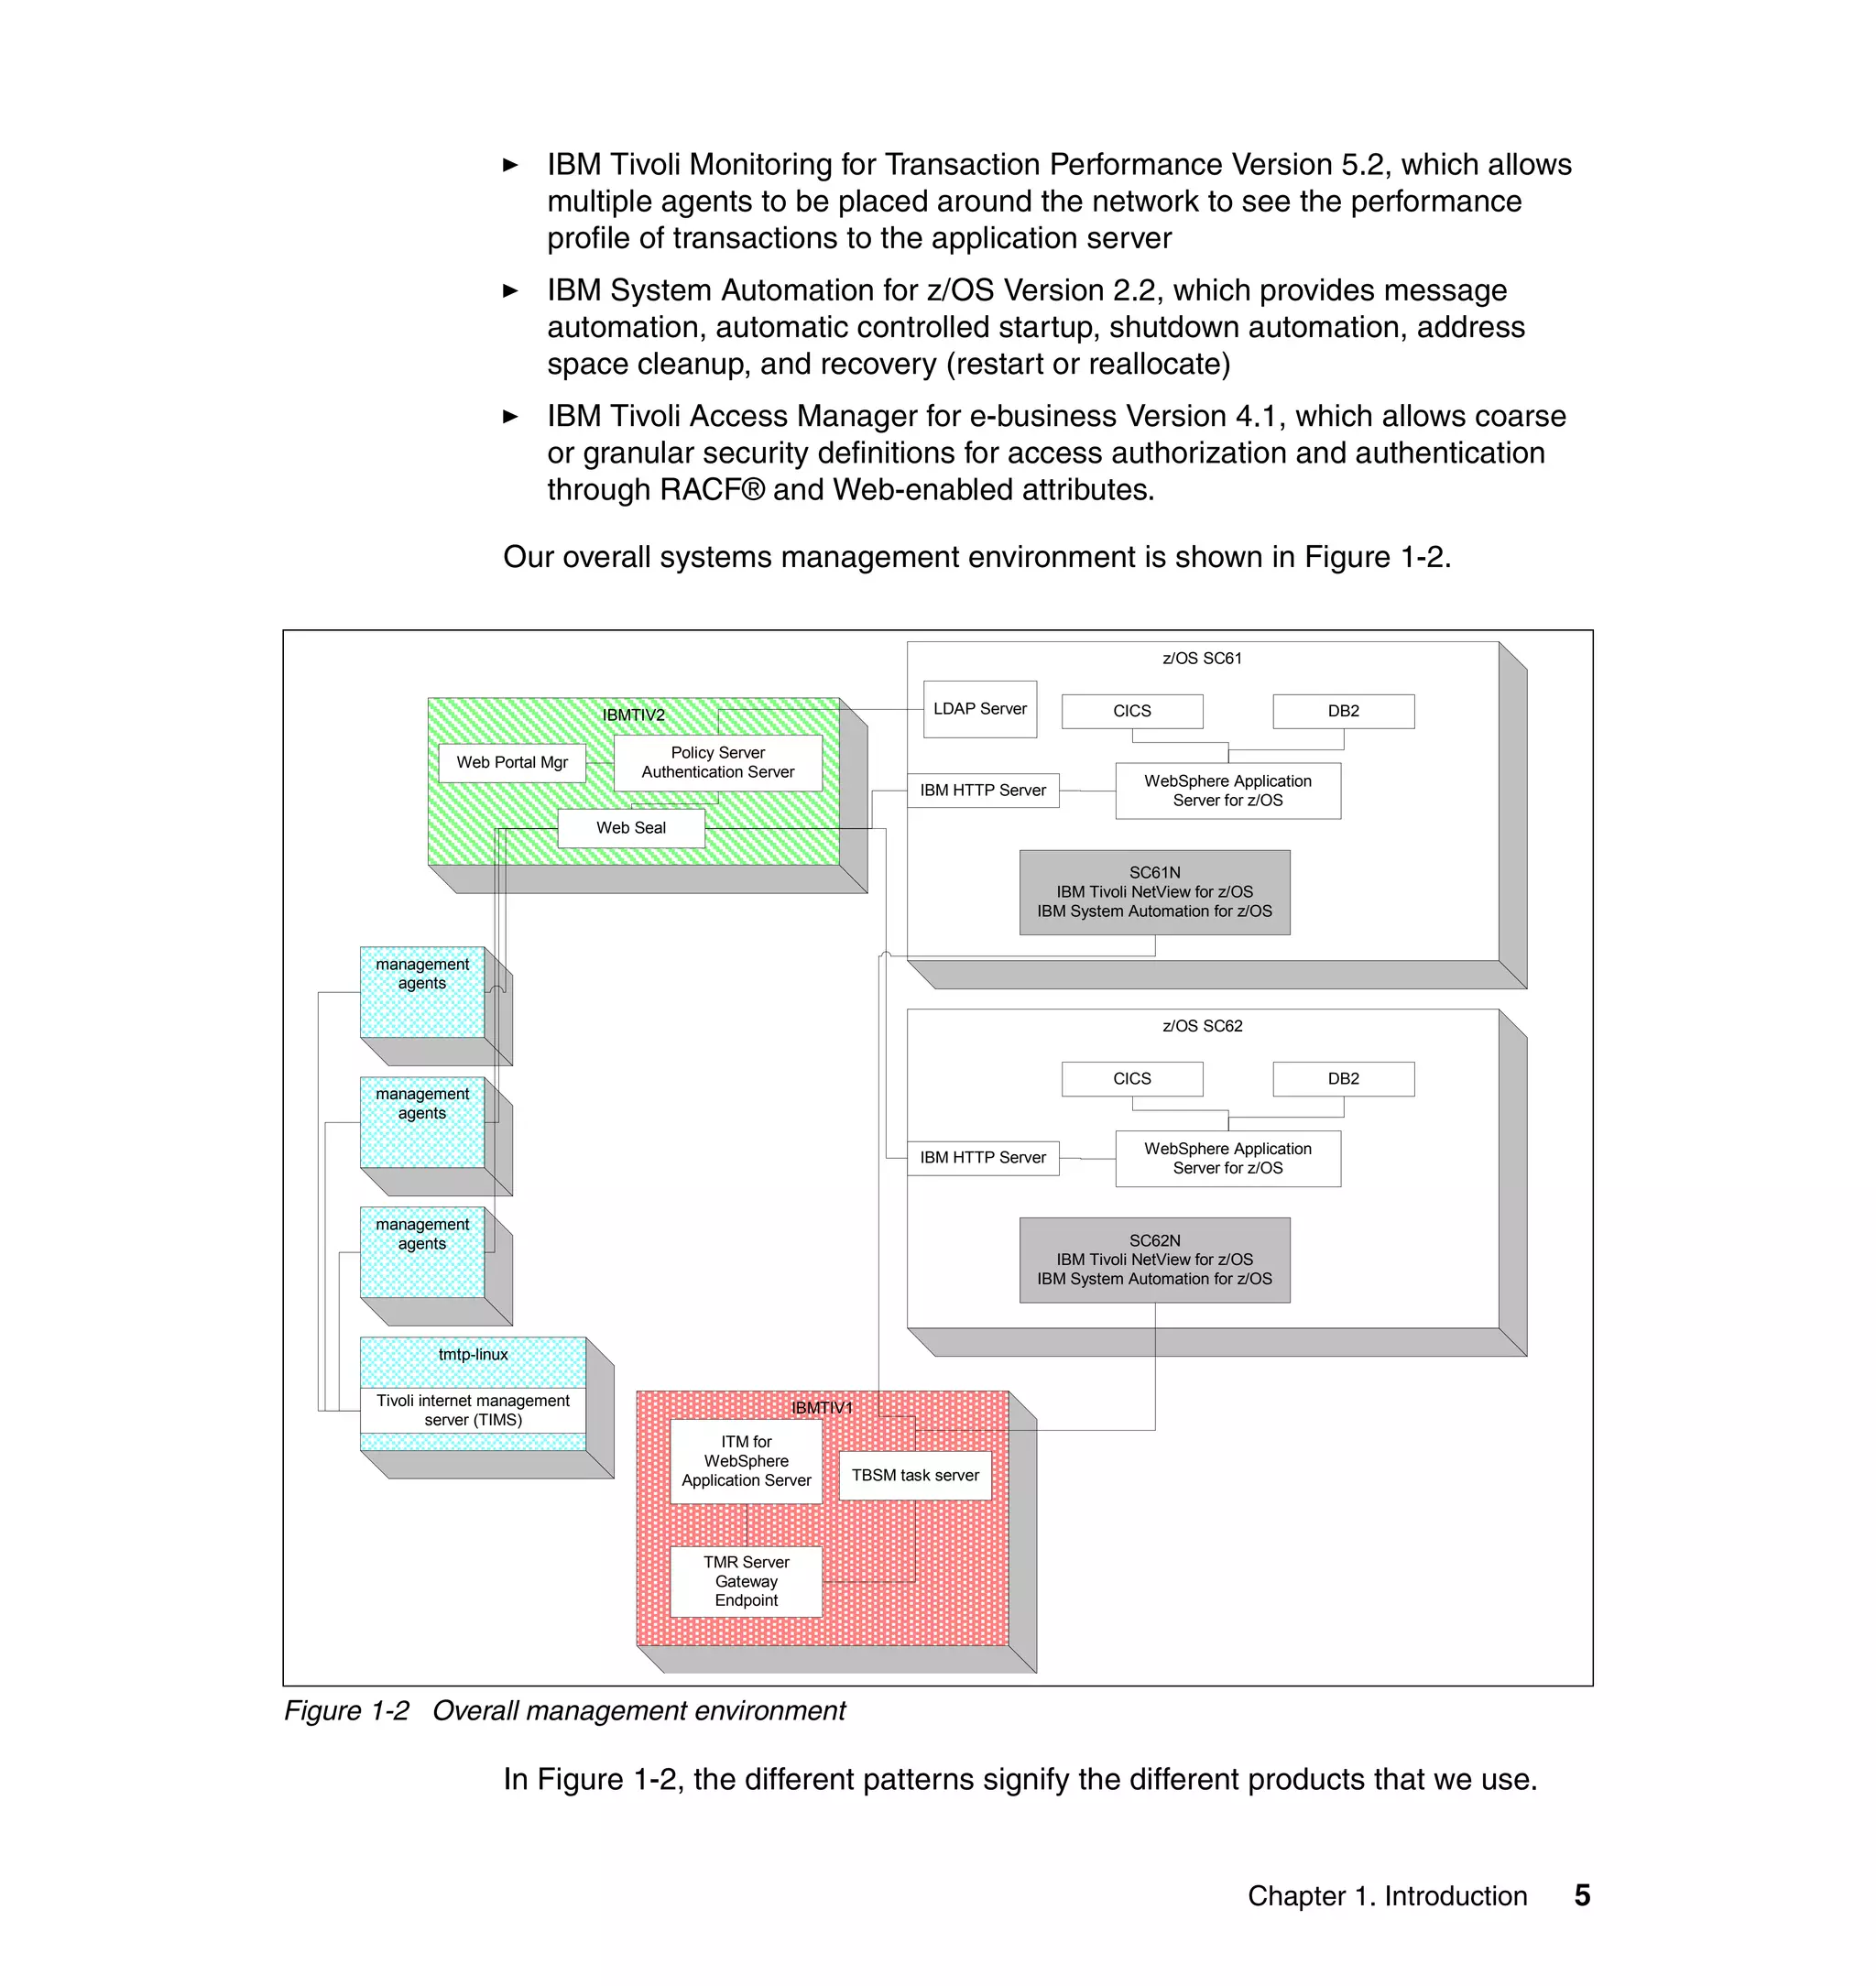
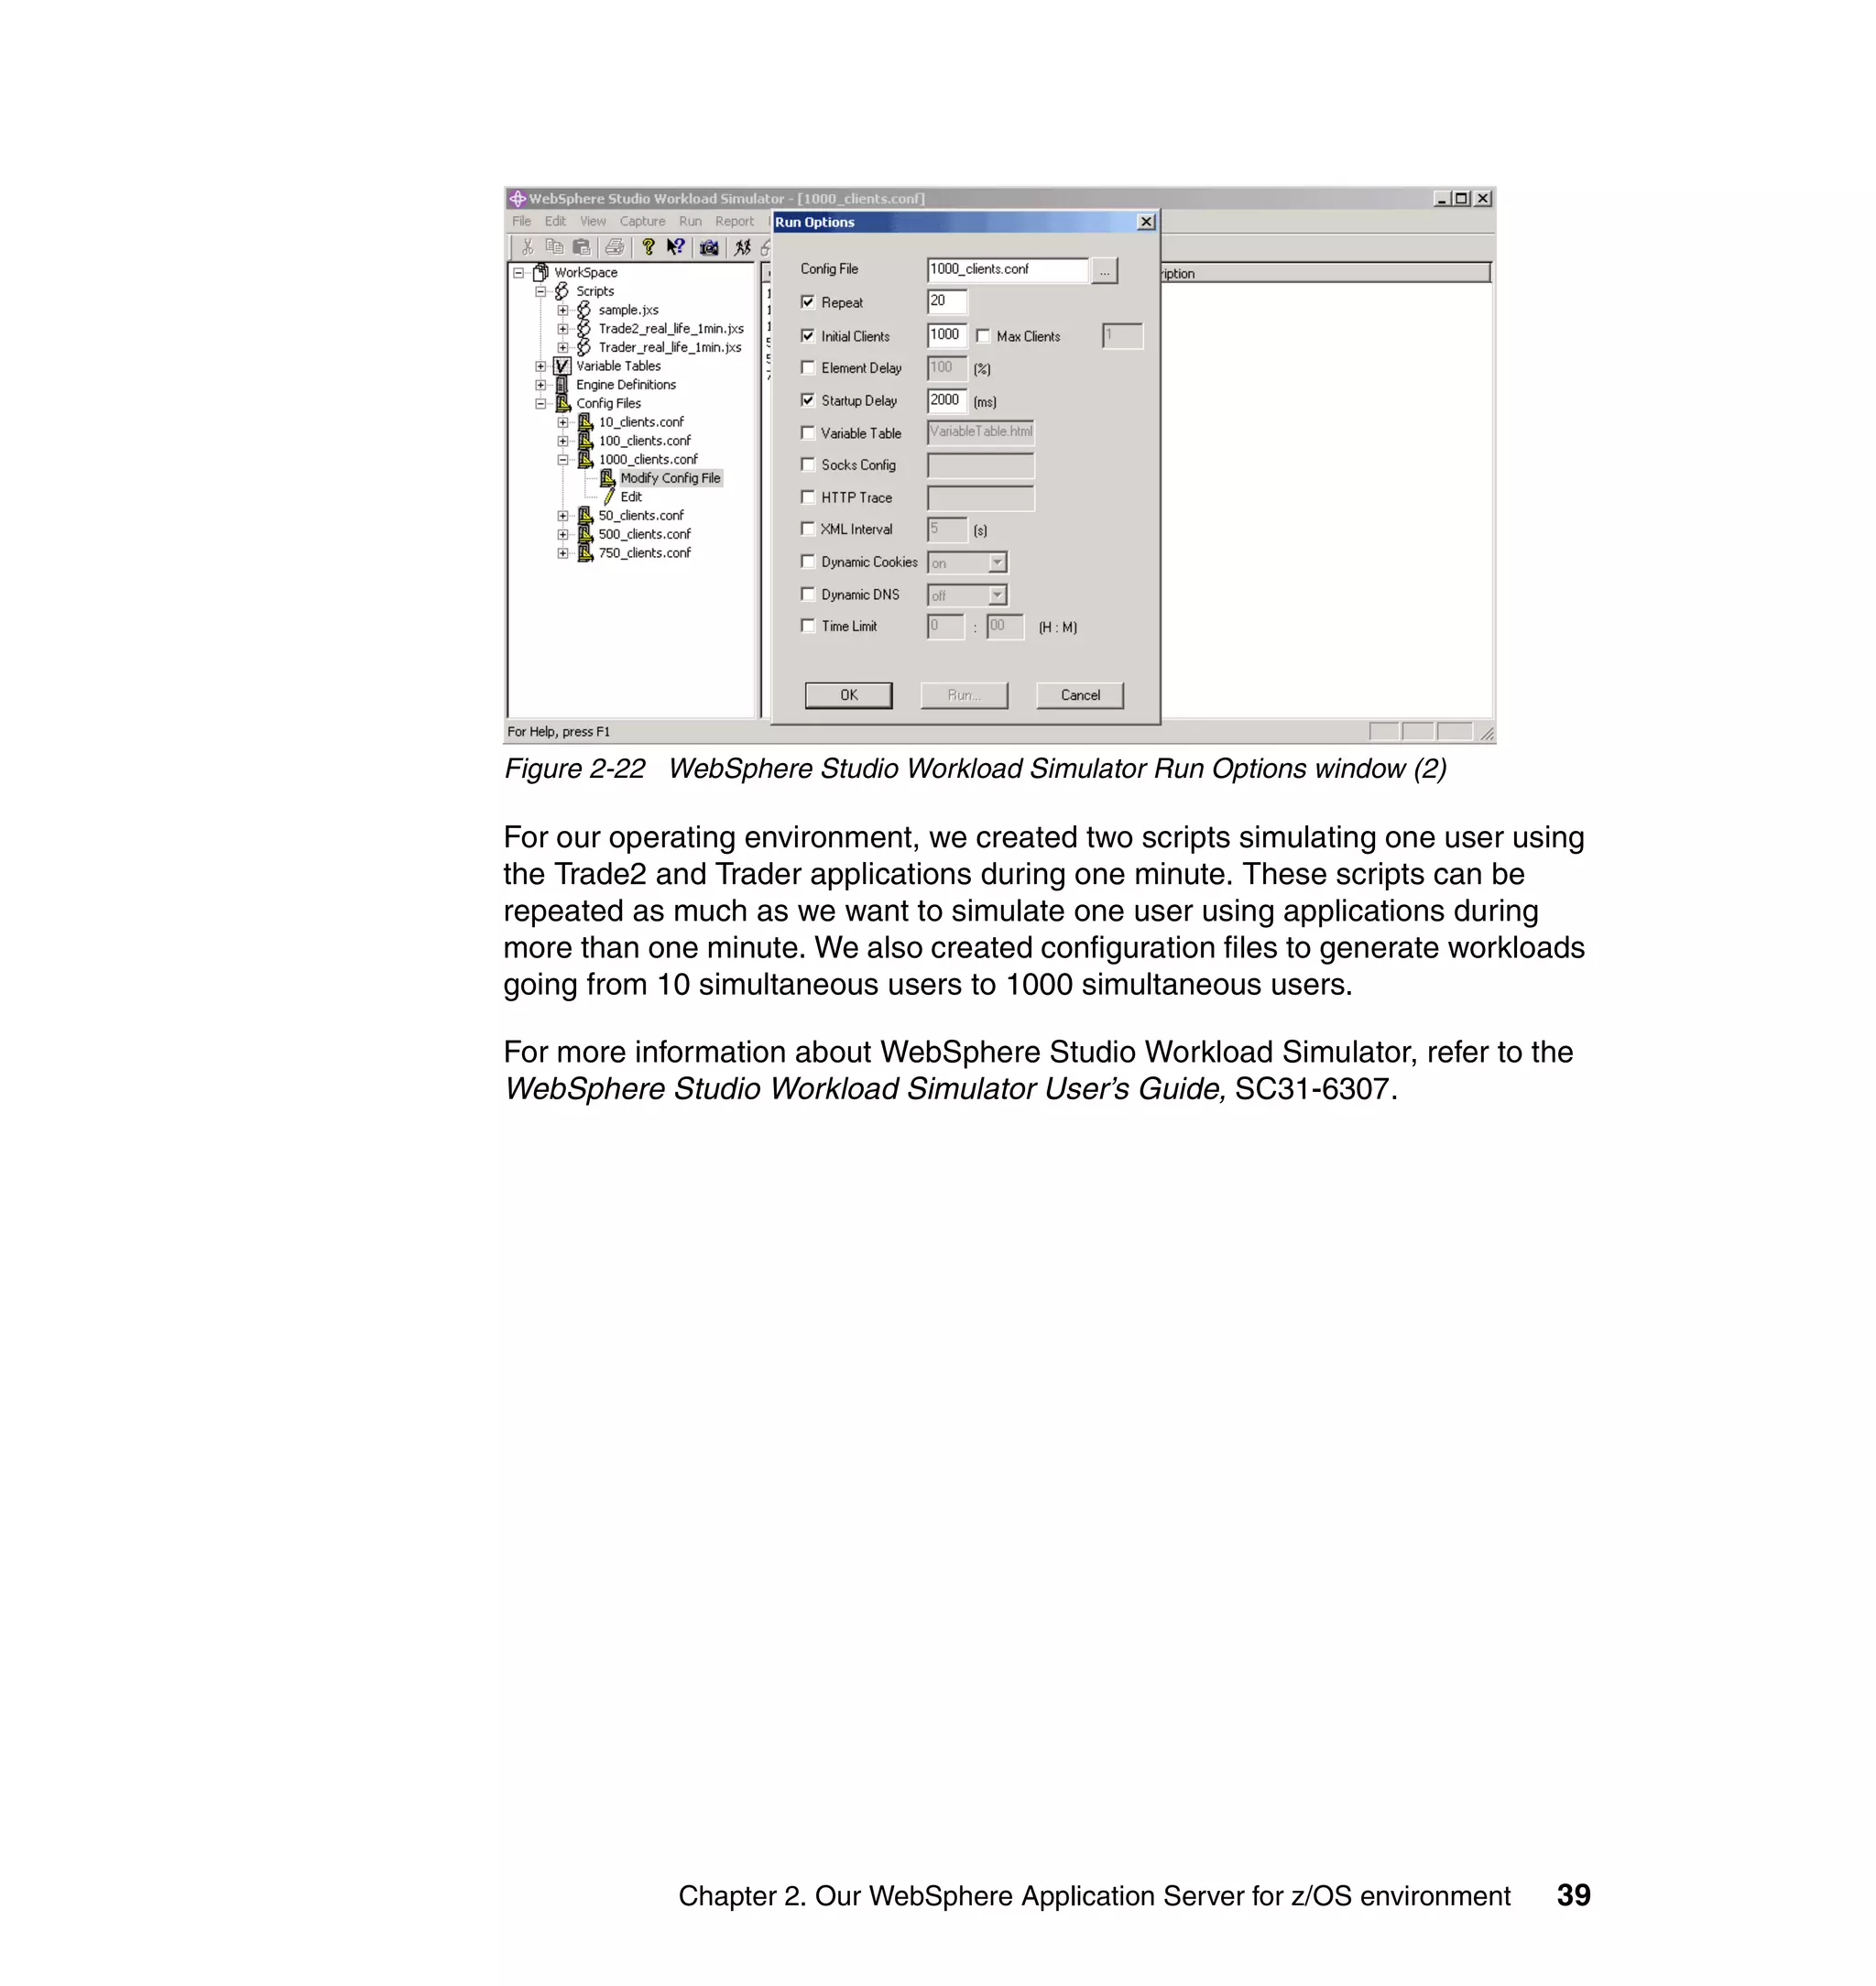
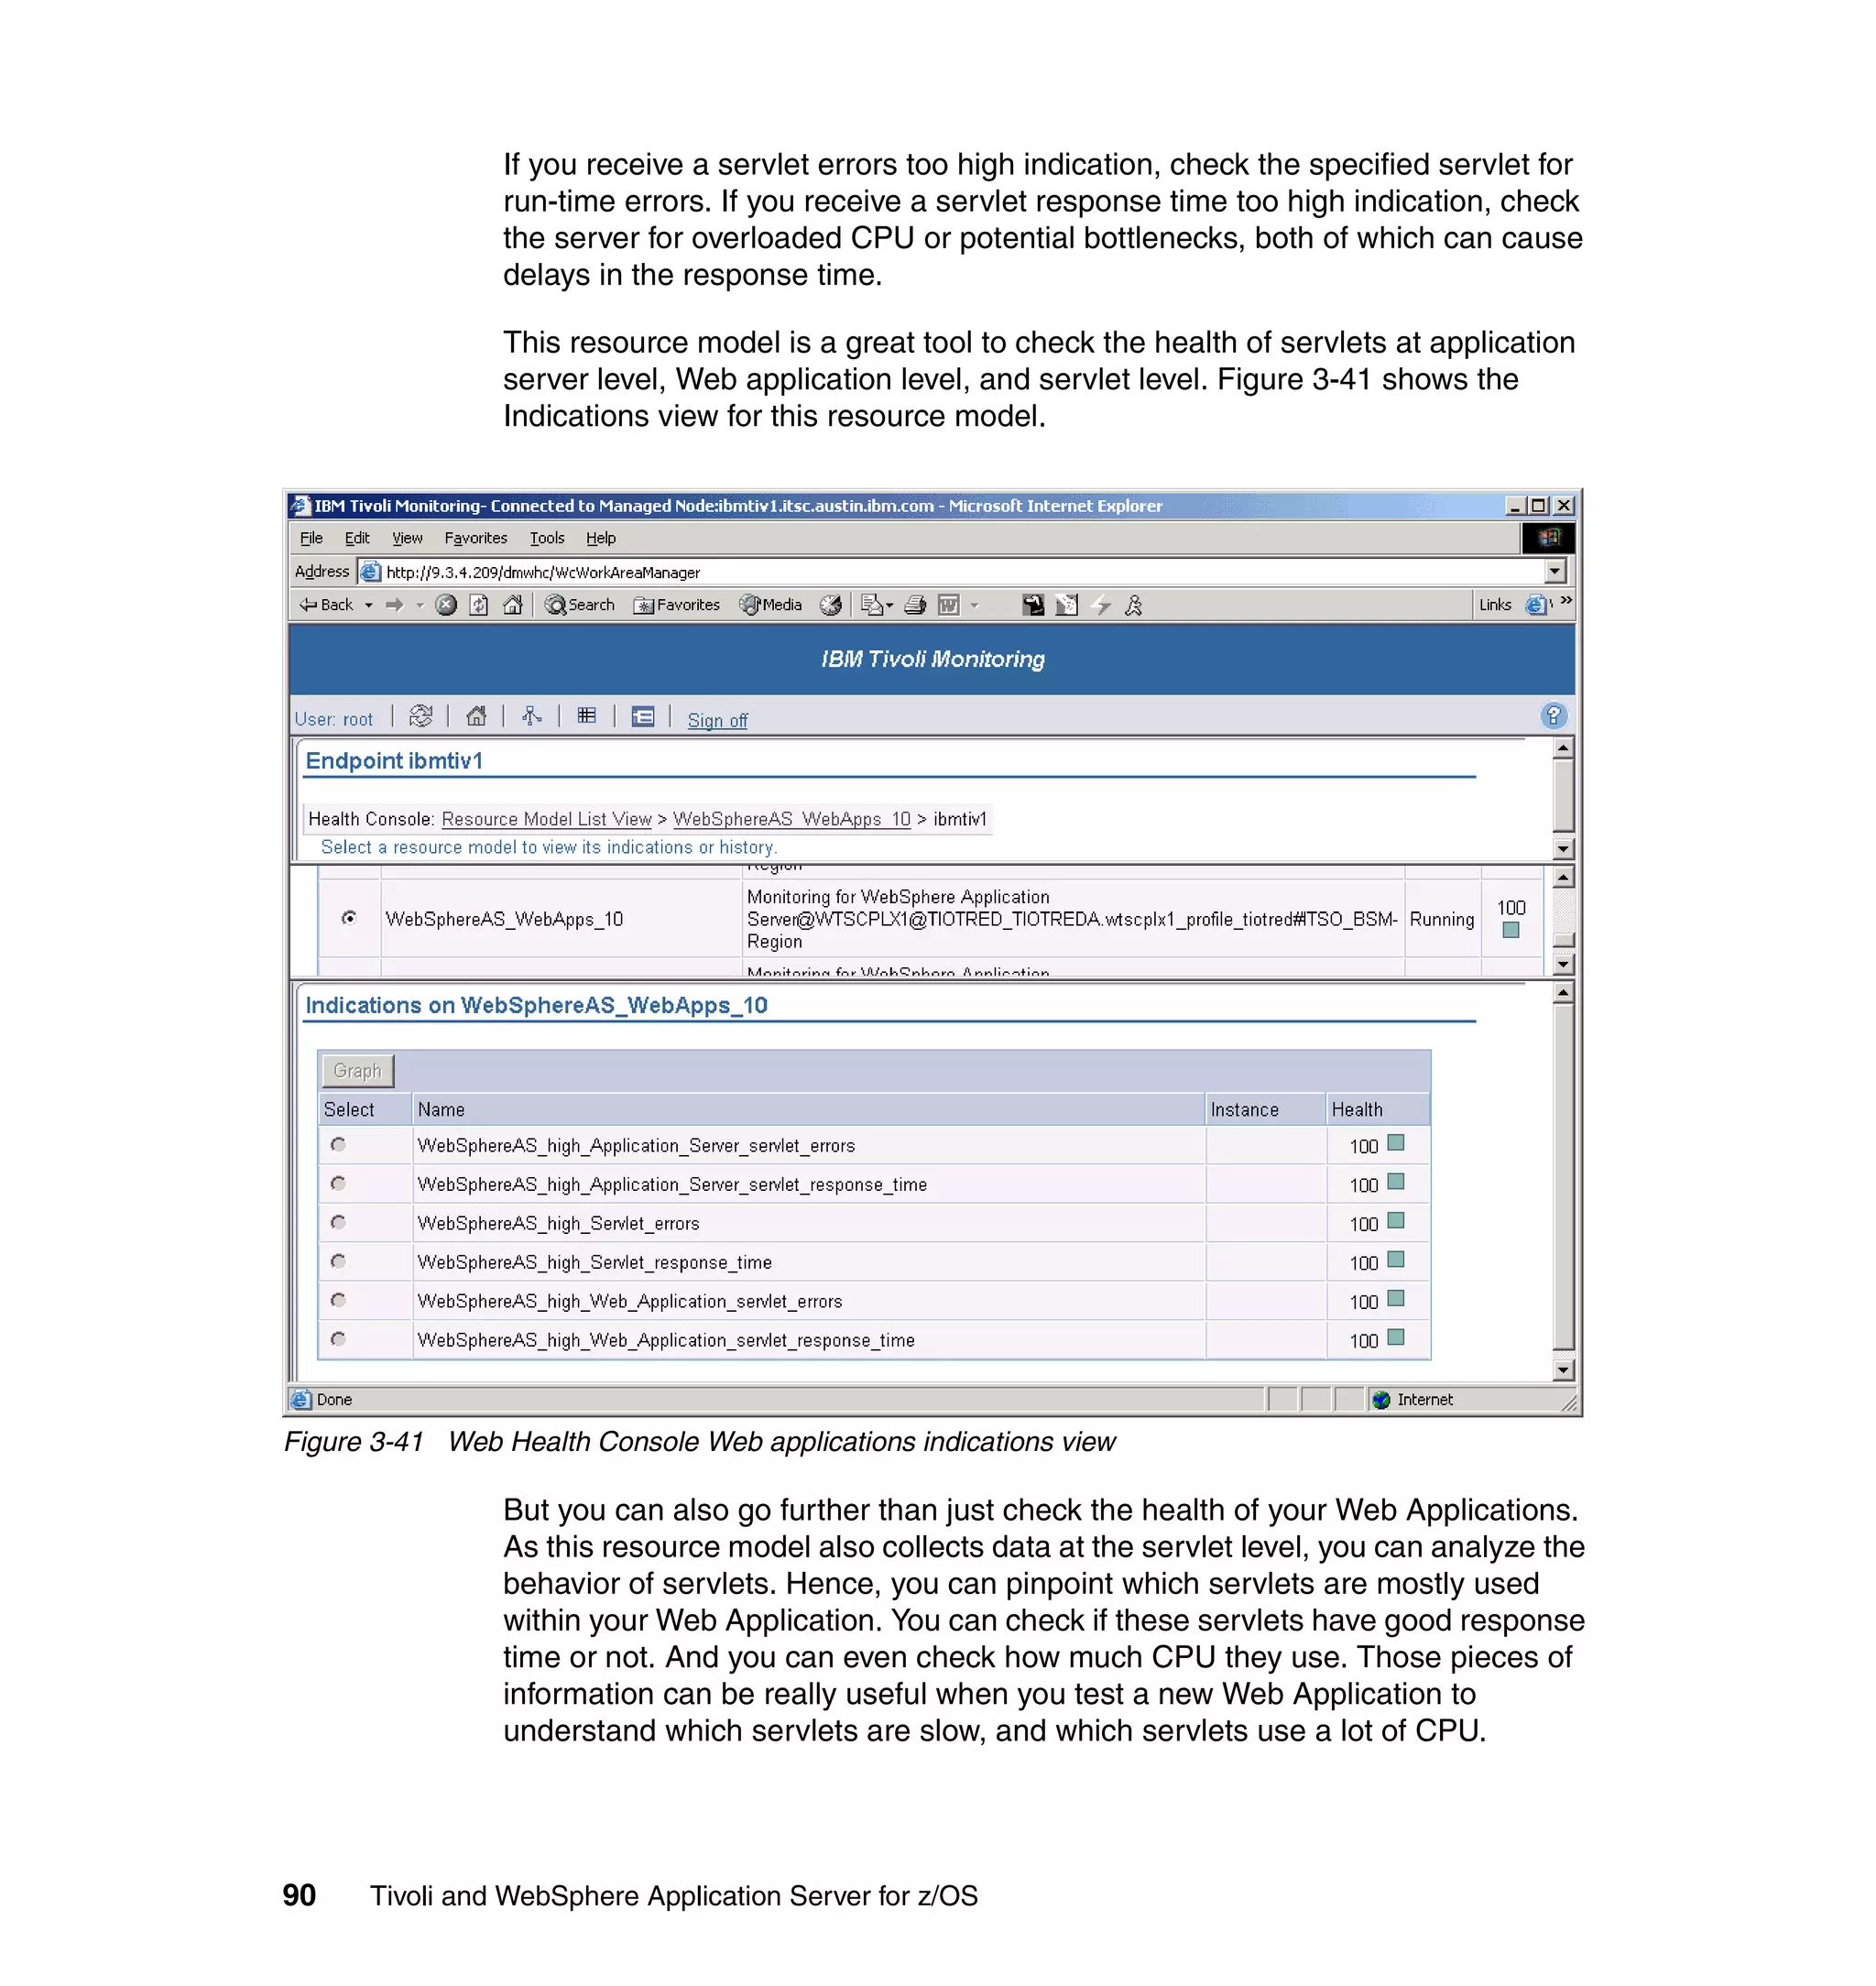
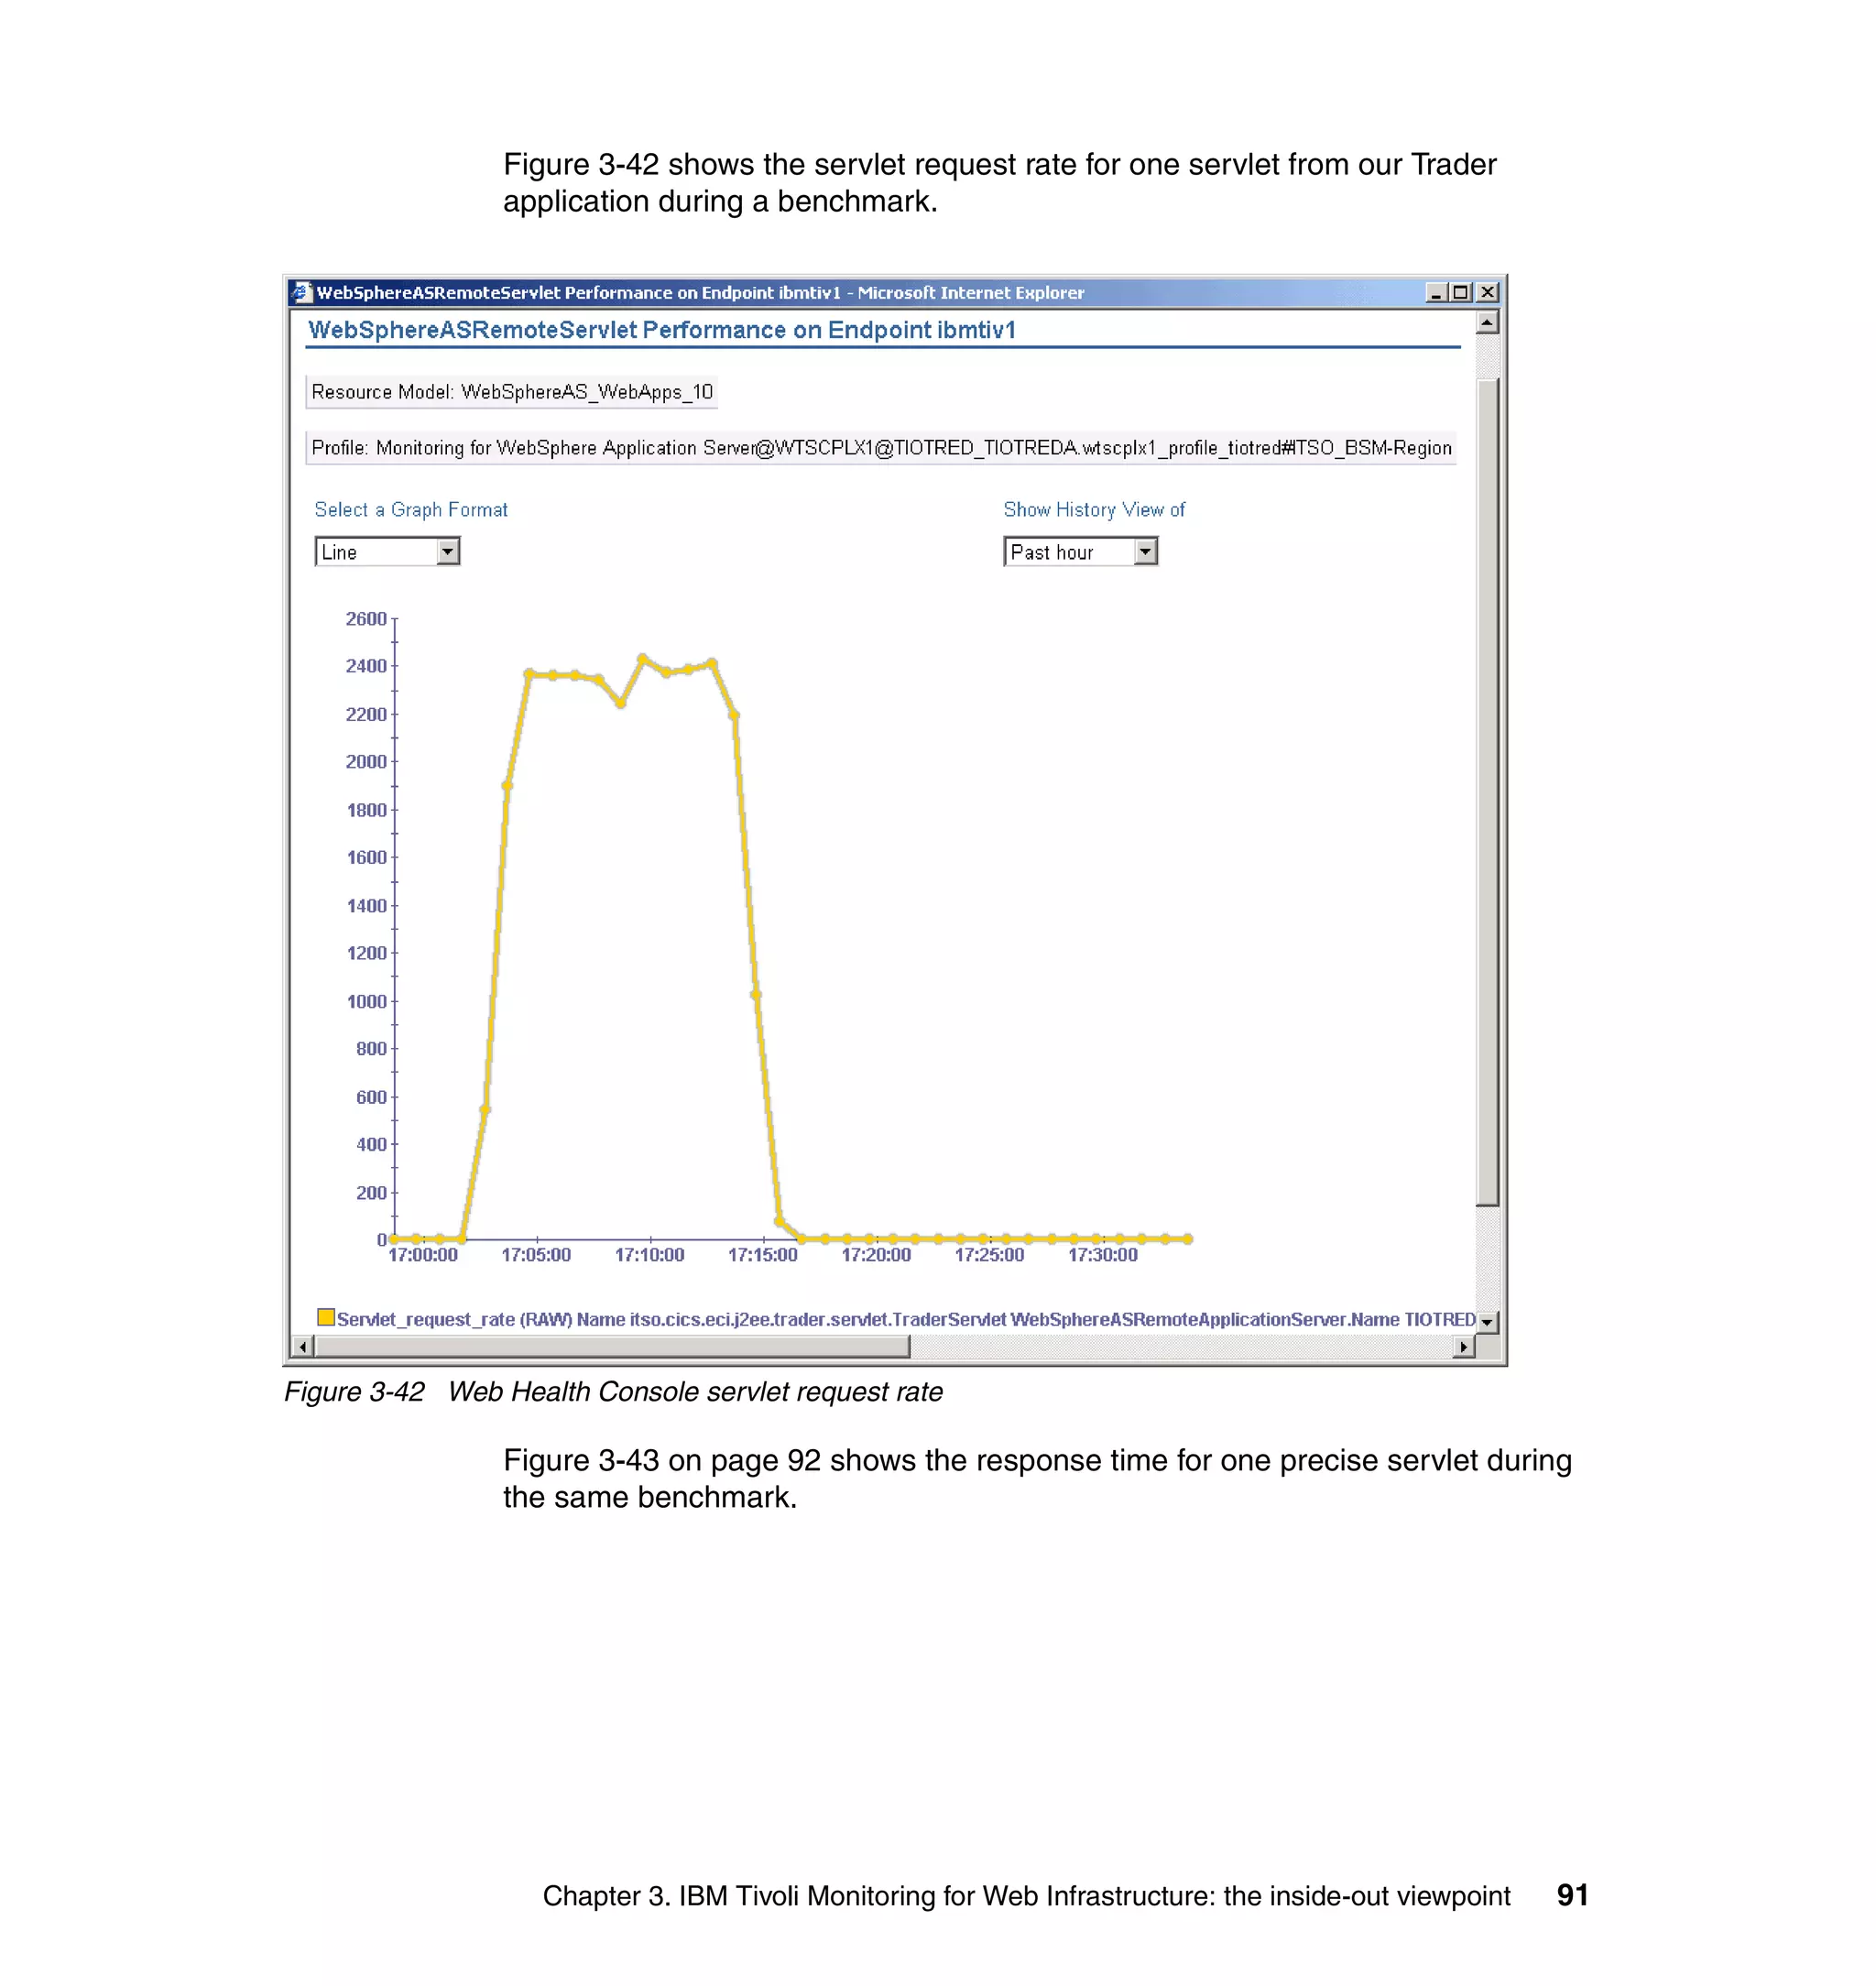
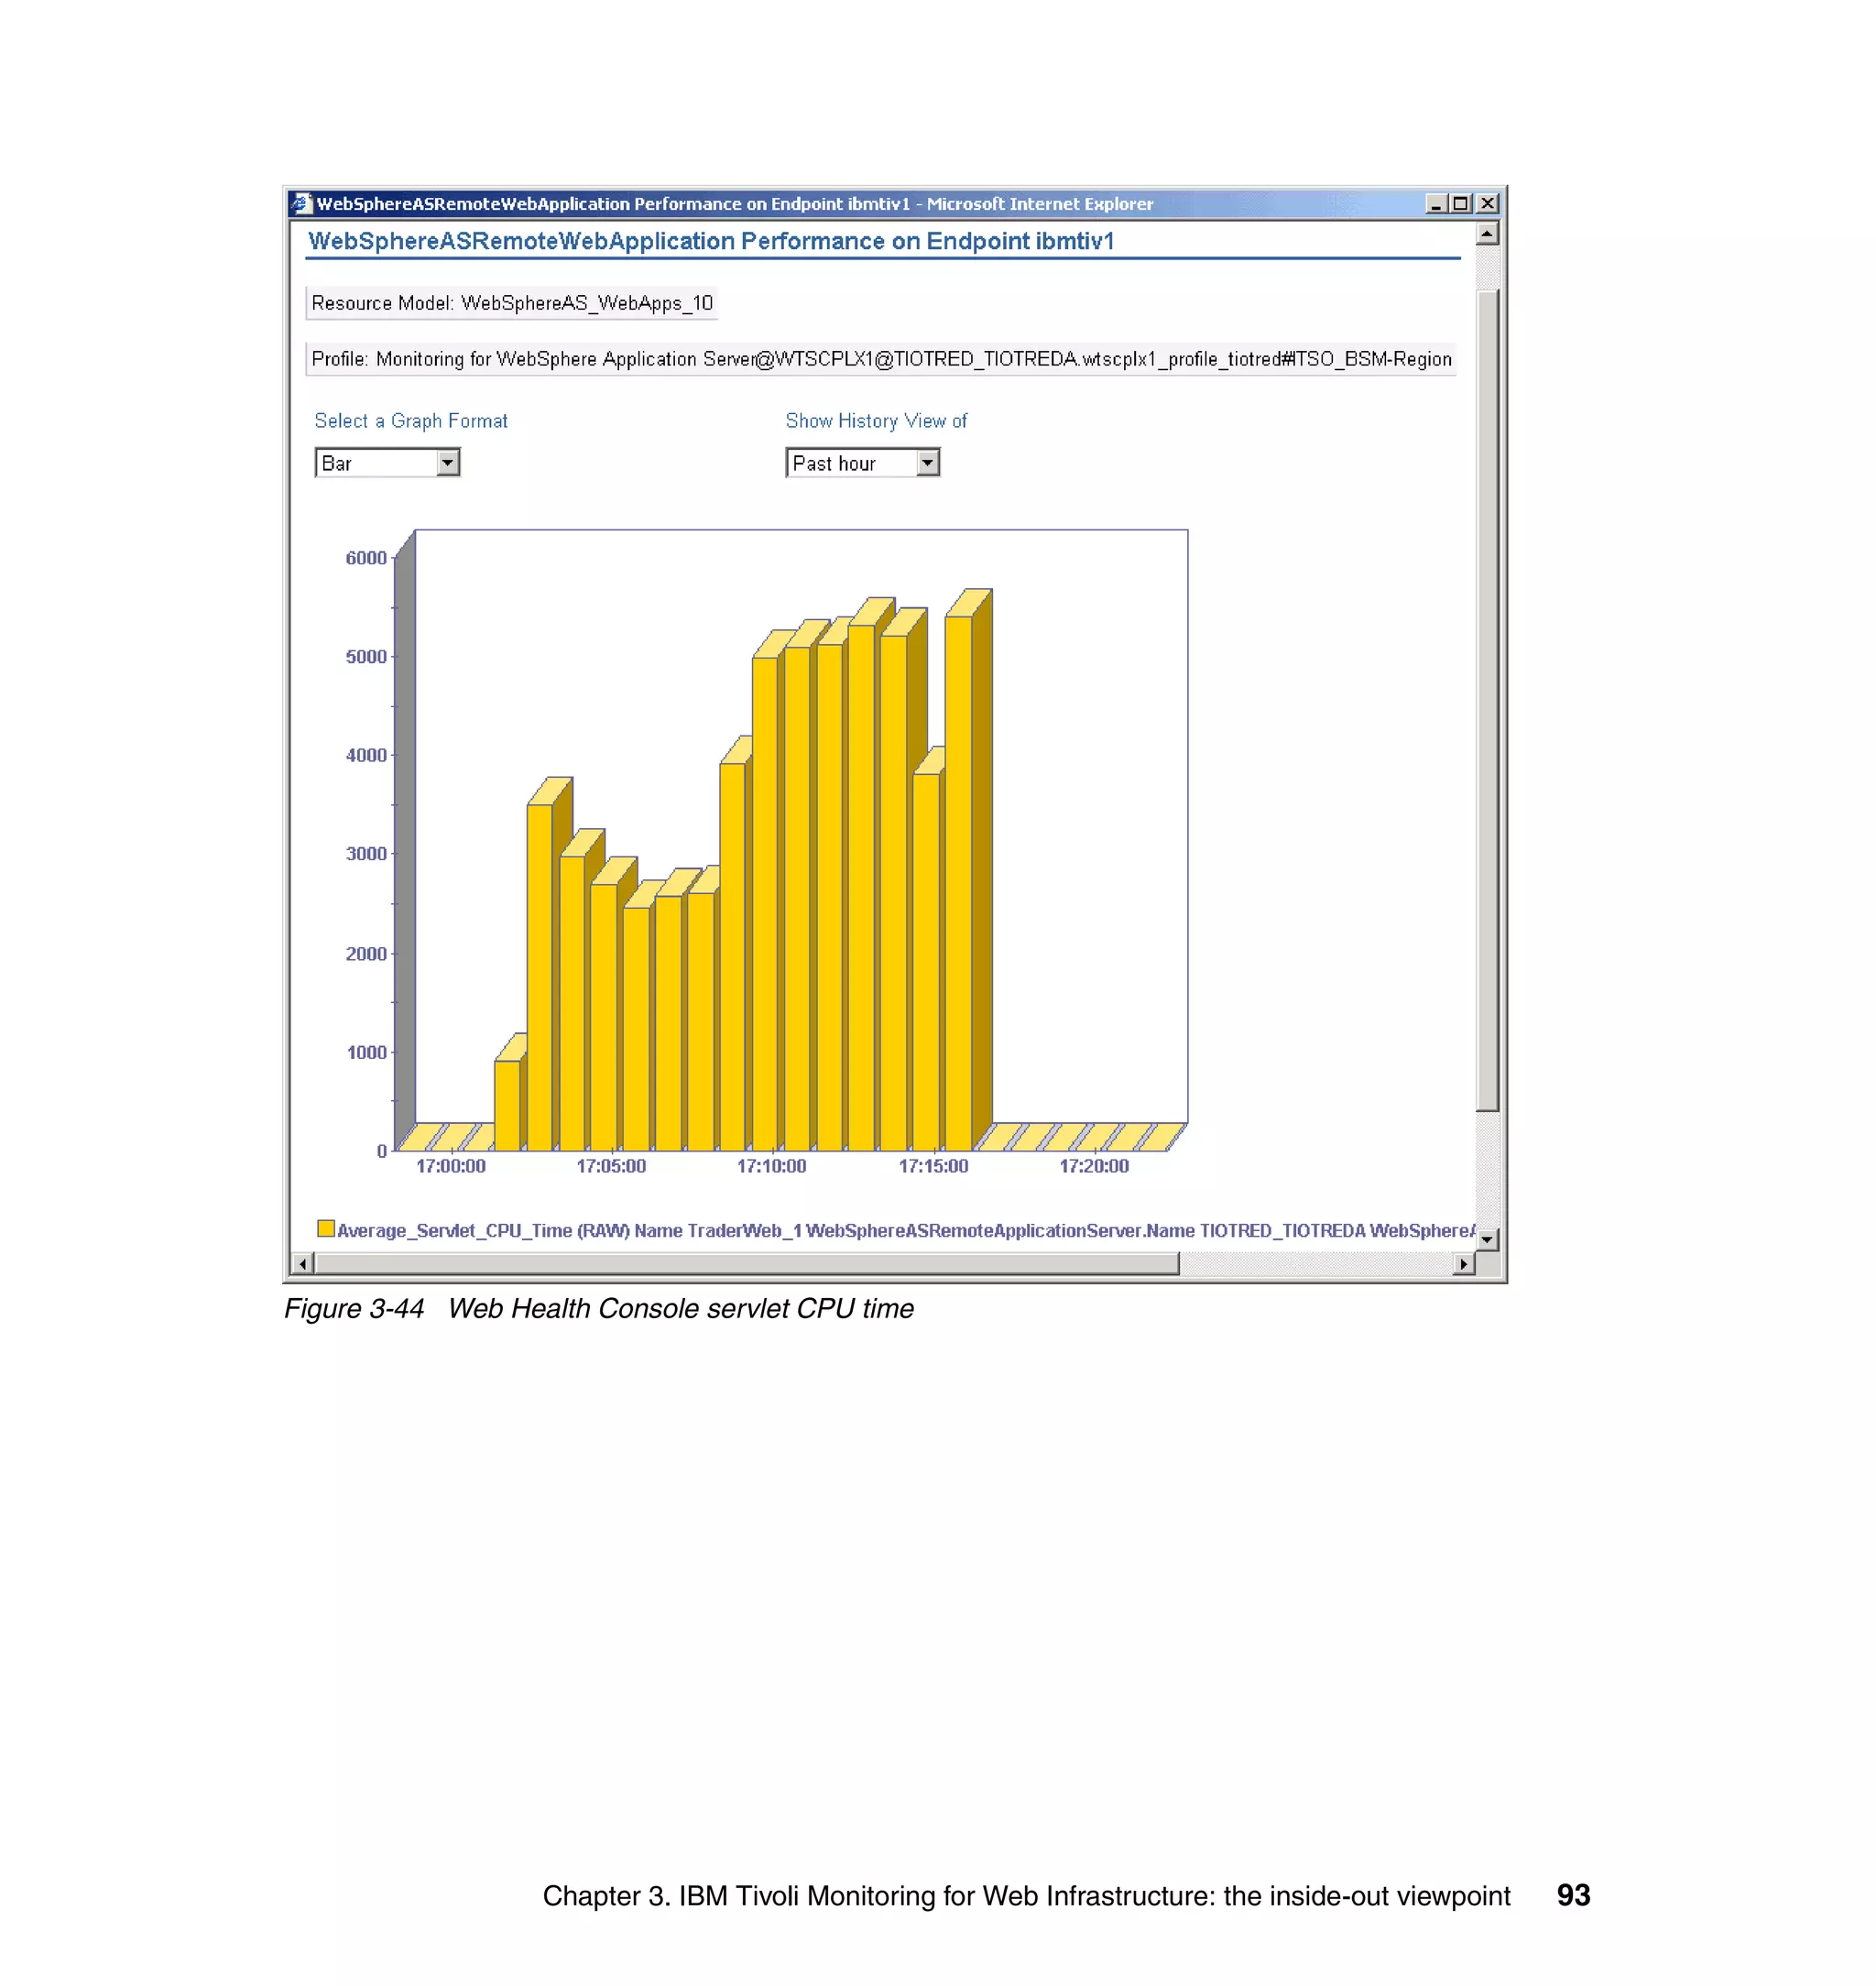
This document provides a 3-page overview of managing WebSphere Application Server for z/OS using Tivoli products. It introduces the automation blueprint for comprehensive management of WebSphere from performance, availability, and security. The document is organized to describe the WebSphere environment, IBM Tivoli Monitoring for Web Infrastructure for inside-out monitoring, and IBM Tivoli Monitoring for Transaction Performance for outside-in monitoring.


![Vibe Coding vs. Spec-Driven Development [Free Meetup]](https://cdn.slidesharecdn.com/ss_thumbnails/vibecodingvsspecdrivendevelopment-251209105622-43f455e7-thumbnail.jpg?width=640&height=640&fit=bounds)


