Download to read offline

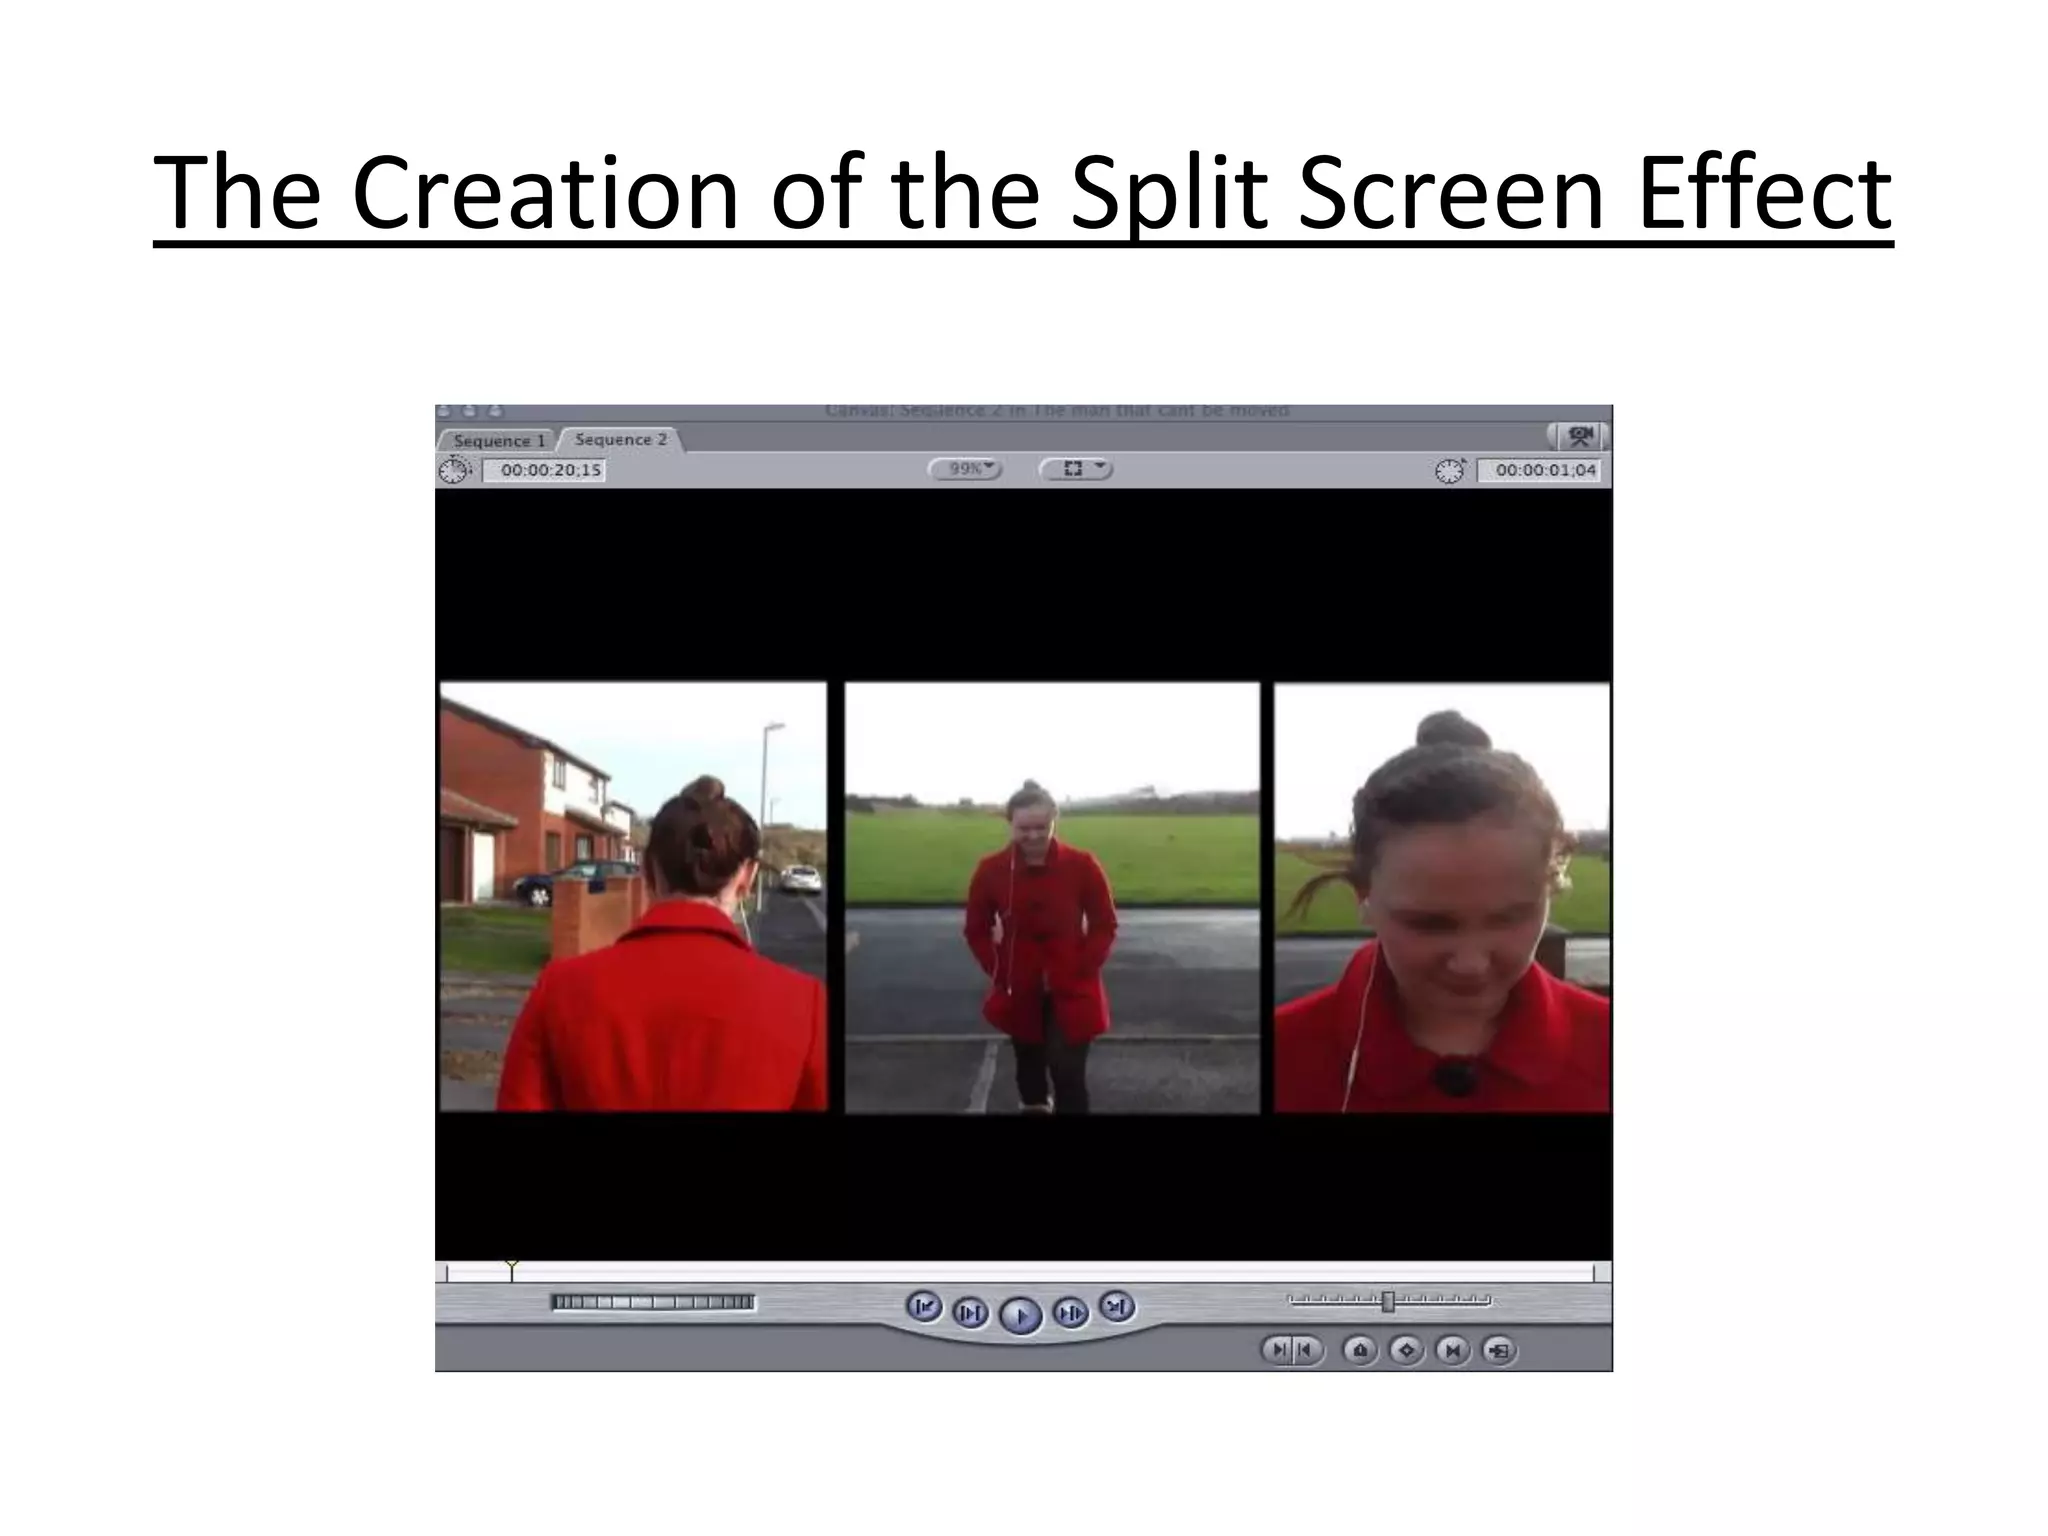
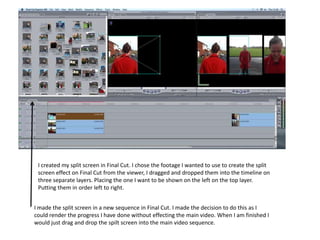
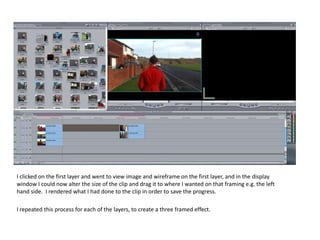
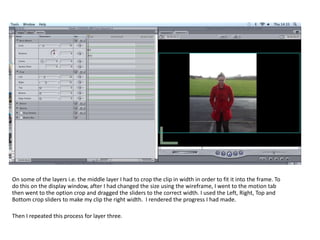
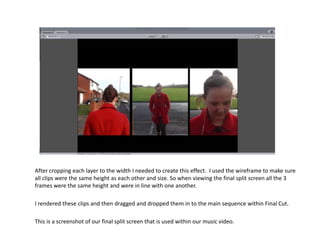

The document describes the process of creating a split screen effect in Final Cut. It involves: 1) Dragging video clips into three separate layers in the timeline to create the left, middle, and right sections. 2) Resizing and positioning each clip within its corresponding frame using the wireframe and cropping tools. 3) Repeating this process for each layer and rendering the progress, then assembling the final split screen composition in the main sequence.


