Getting Started
Reviewthe Client-issued Toolbox Talk prior to
the meeting (if required)
Use a highlighter to emphasize 4-5 important
points
Review your Toolbox Talk prior to the meeting
4.
Meat and Potatoesof the Toolbox Talk
Find a quiet area free from distractions
Ensure everyone is prepared to listen—
no newspapers, radios off, no
crosswords, etc.
Do NOT give out copies of the Toolbox
Talk.
Review with your team members the 4-5
highlighted points from the Client Toolbox Talk
—ensure you reinforce the importance of this
message from our Client.
5.
Meat and Potatoesof the Toolbox Talk
Start your Toolbox Talk by asking questions on
ANY topic
Use the “Talking Points” as a guide for some of
the questions you can ask
Ask for answers—i.e. “Robbie, what is one of
the hazards of snow in the work area?”
Wait for answer!
Ask for other answers, “What’s another hazard?”,
“What else should we watch out for?”, “What
should we do?
6.
Meat and Potatoesof the Toolbox Talk
Positively reinforce each answer— “Good
answer”, “excellent”, “yes”, “good point”, “good
one-I never thought of that”
Never, never, negatively respond to an answer—
see previous bullet point—re-ask or re-direct if
the answer is not appropriate---”Okay, but what
are the hazards of snow in the Unit.”
Ask open-ended questions—questions that
cannot be answered yes or no: “What does
that mean”, “How does that affect you doing
your work”, “How can we prevent that”, “How
do we describe that in our last minute risk
7.
Finishing it off
Listen for opportunities to speak about other
issues
Issues will be bought up—acknowledge
them, indicate you will follow-up after the
meeting (depending on importance)
Stay on time---5 minutes!
Thank the team
Dismiss them (have a great day, thanks, let’s get
to work, be safe out there, okay—great
discussion).
If the Toolbox Talk is not relevant to your team—
8.
Finishing it off
Have the team sign-off on the Toolbox Talk
Amend the “topic” on sign-off sheet if you change
the topic
Lead the discussion with enthusiasm, passion,
and your own personal style
9.
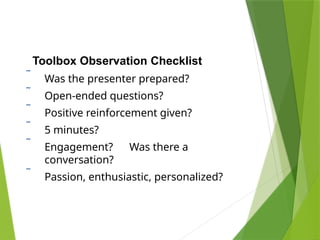
Toolbox Observation Checklist
Was the presenter prepared?
Open-ended questions?
Positive reinforcement given?
5 minutes?
Engagement? Was there a
conversation?
Passion, enthusiastic, personalized?
10.
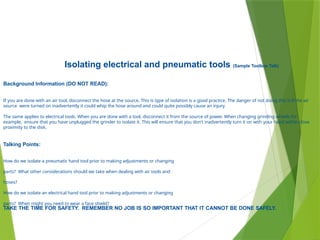
Isolating electrical andpneumatic tools (Sample Toolbox Talk)
Background Information (DO NOT READ):
If you are done with an air tool, disconnect the hose at the source. This is type of isolation is a good practice. The danger of not doing this is if the air
source were turned on inadvertently it could whip the hose around and could quite possibly cause an injury.
The same applies to electrical tools. When you are done with a tool, disconnect it from the source of power. When changing grinding wheels for
example, ensure that you have unplugged the grinder to isolate it. This will ensure that you don't inadvertently turn it on with your hand within close
proximity to the disk.
Talking Points:
How do we isolate a pneumatic hand tool prior to making adjustments or changing
parts? What other considerations should we take when dealing with air tools and
hoses?
How do we isolate an electrical hand tool prior to making adjustments or changing
parts? When might you need to wear a face shield?
TAKE THE TIME FOR SAFETY. REMEMBER NO JOB IS SO IMPORTANT THAT IT CANNOT BE DONE SAFELY.