Downloaded 642 times
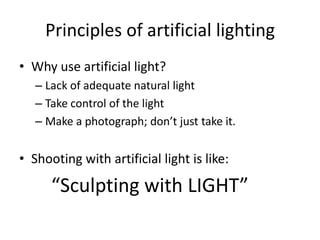

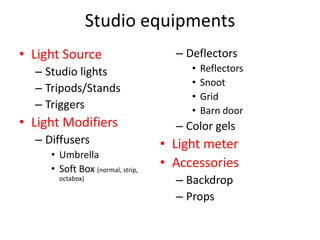
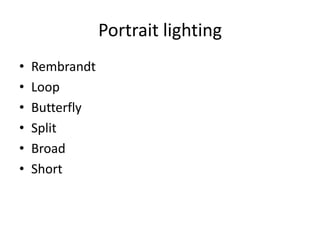
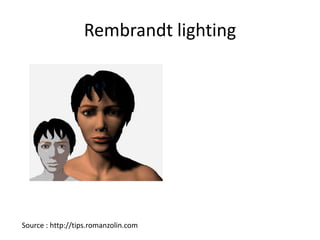
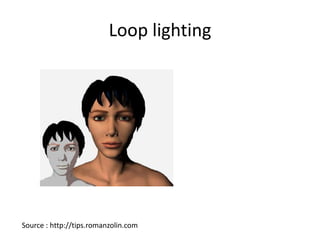


The document summarizes a workshop on studio photography. It discusses principles of artificial lighting including using it to control light and sculpt with light. It describes the basic goal of studio lighting to recreate natural light highlights and shadows. It then explains the basic four light studio setup including key, fill, background, and accent lights. Finally, it discusses different types of portrait lighting like Rembrandt, loop, butterfly, and split lighting.


![Practical lighting -_day_10[1]](https://cdn.slidesharecdn.com/ss_thumbnails/practicallighting-day101-120812125722-phpapp02-thumbnail.jpg?width=640&height=640&fit=bounds)


