Download to read offline


![1. Lift the Document Cover.
2. Load your document.
3. Gently close the Document Cover.
4. Press [+] repeatedly to select the number of copies (max. 20
copies).
5. Press [Color] for color copying, or [Black] for black & white
copying.](https://image.slidesharecdn.com/random-121212182046-phpapp01/85/slide-15-320.jpg)


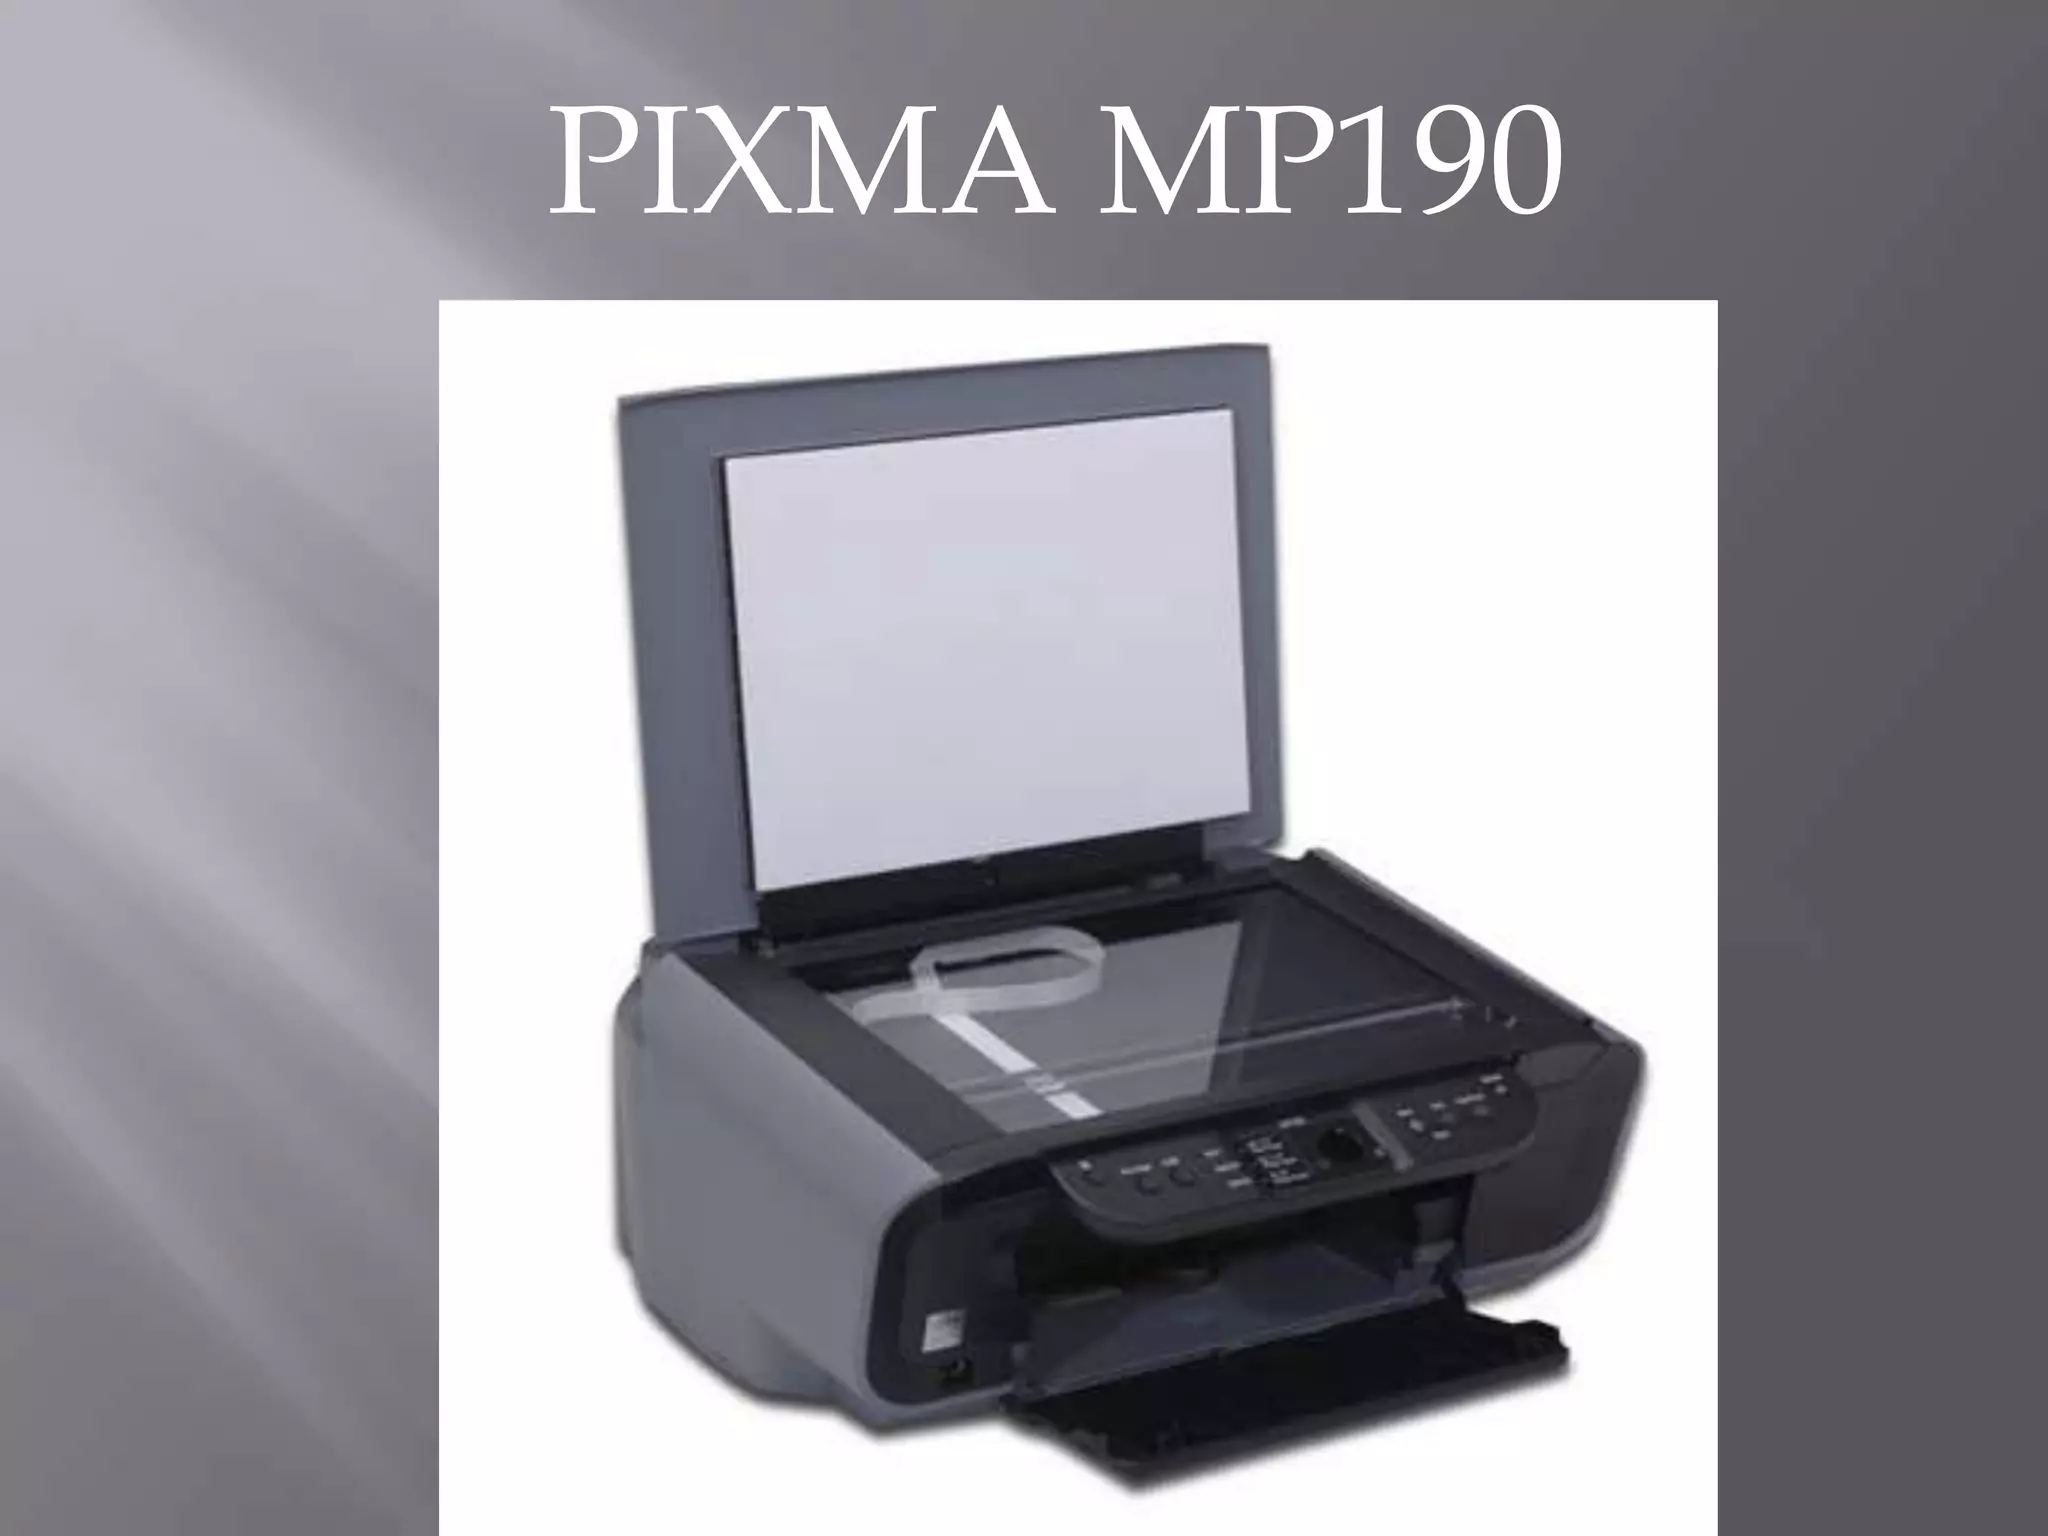
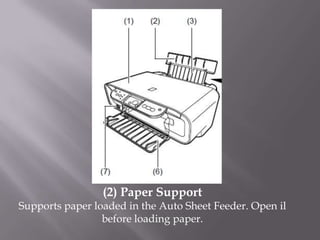
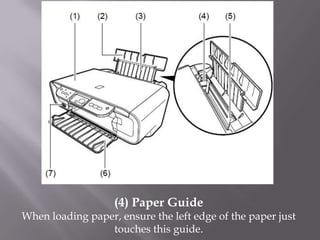
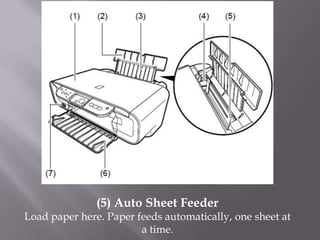
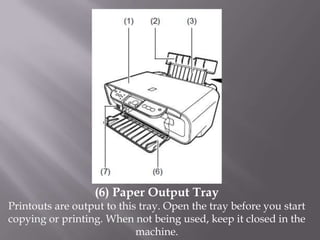
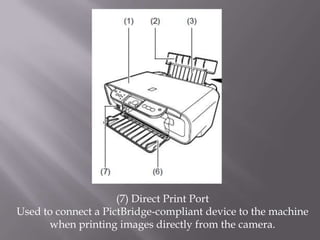
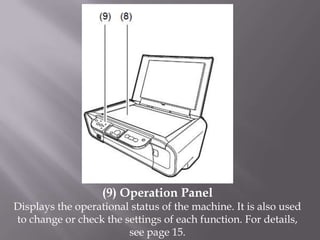
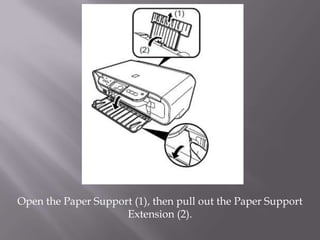
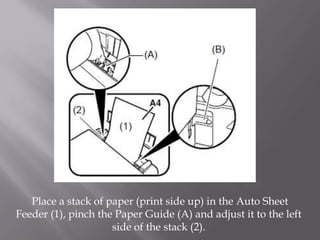
This document describes the main machine parts and functions of the Canon PIXMA MP190 printer. It lists 9 key parts including the document cover, paper support, auto sheet feeder, and operation panel. It also provides brief instructions for copying, such as opening the paper support and loading the document and paper for copying.


