Downloaded 389 times
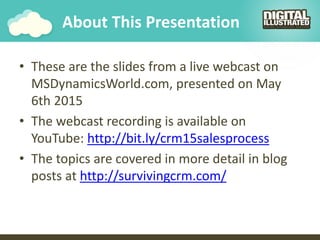
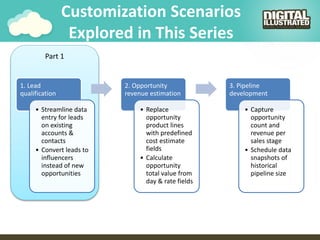

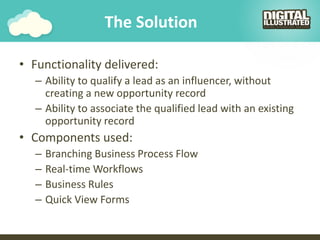
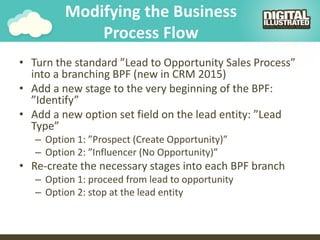
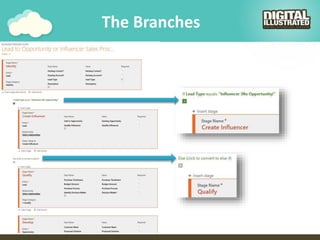
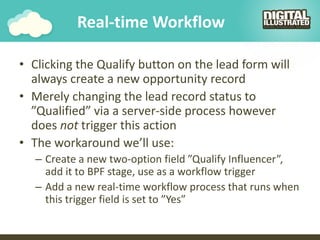

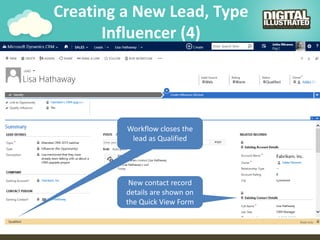


This document is a presentation about optimizing sales processes in Microsoft Dynamics CRM 2015, focusing on lead qualification strategies. It explores the evolution of lead qualification in CRM, offering solutions for efficiently qualifying leads as influencers without automatically creating new opportunities. The document emphasizes the use of configuration tools and workflows to enhance the usability of the CRM system for non-developers.