Learning Objectives
By theend of this session, you are expected to be
able to:
Define phlebotomy
Identify the upper limb sites for venipuncture
Identify different instruments for common
laboratory procedure’s blood collection
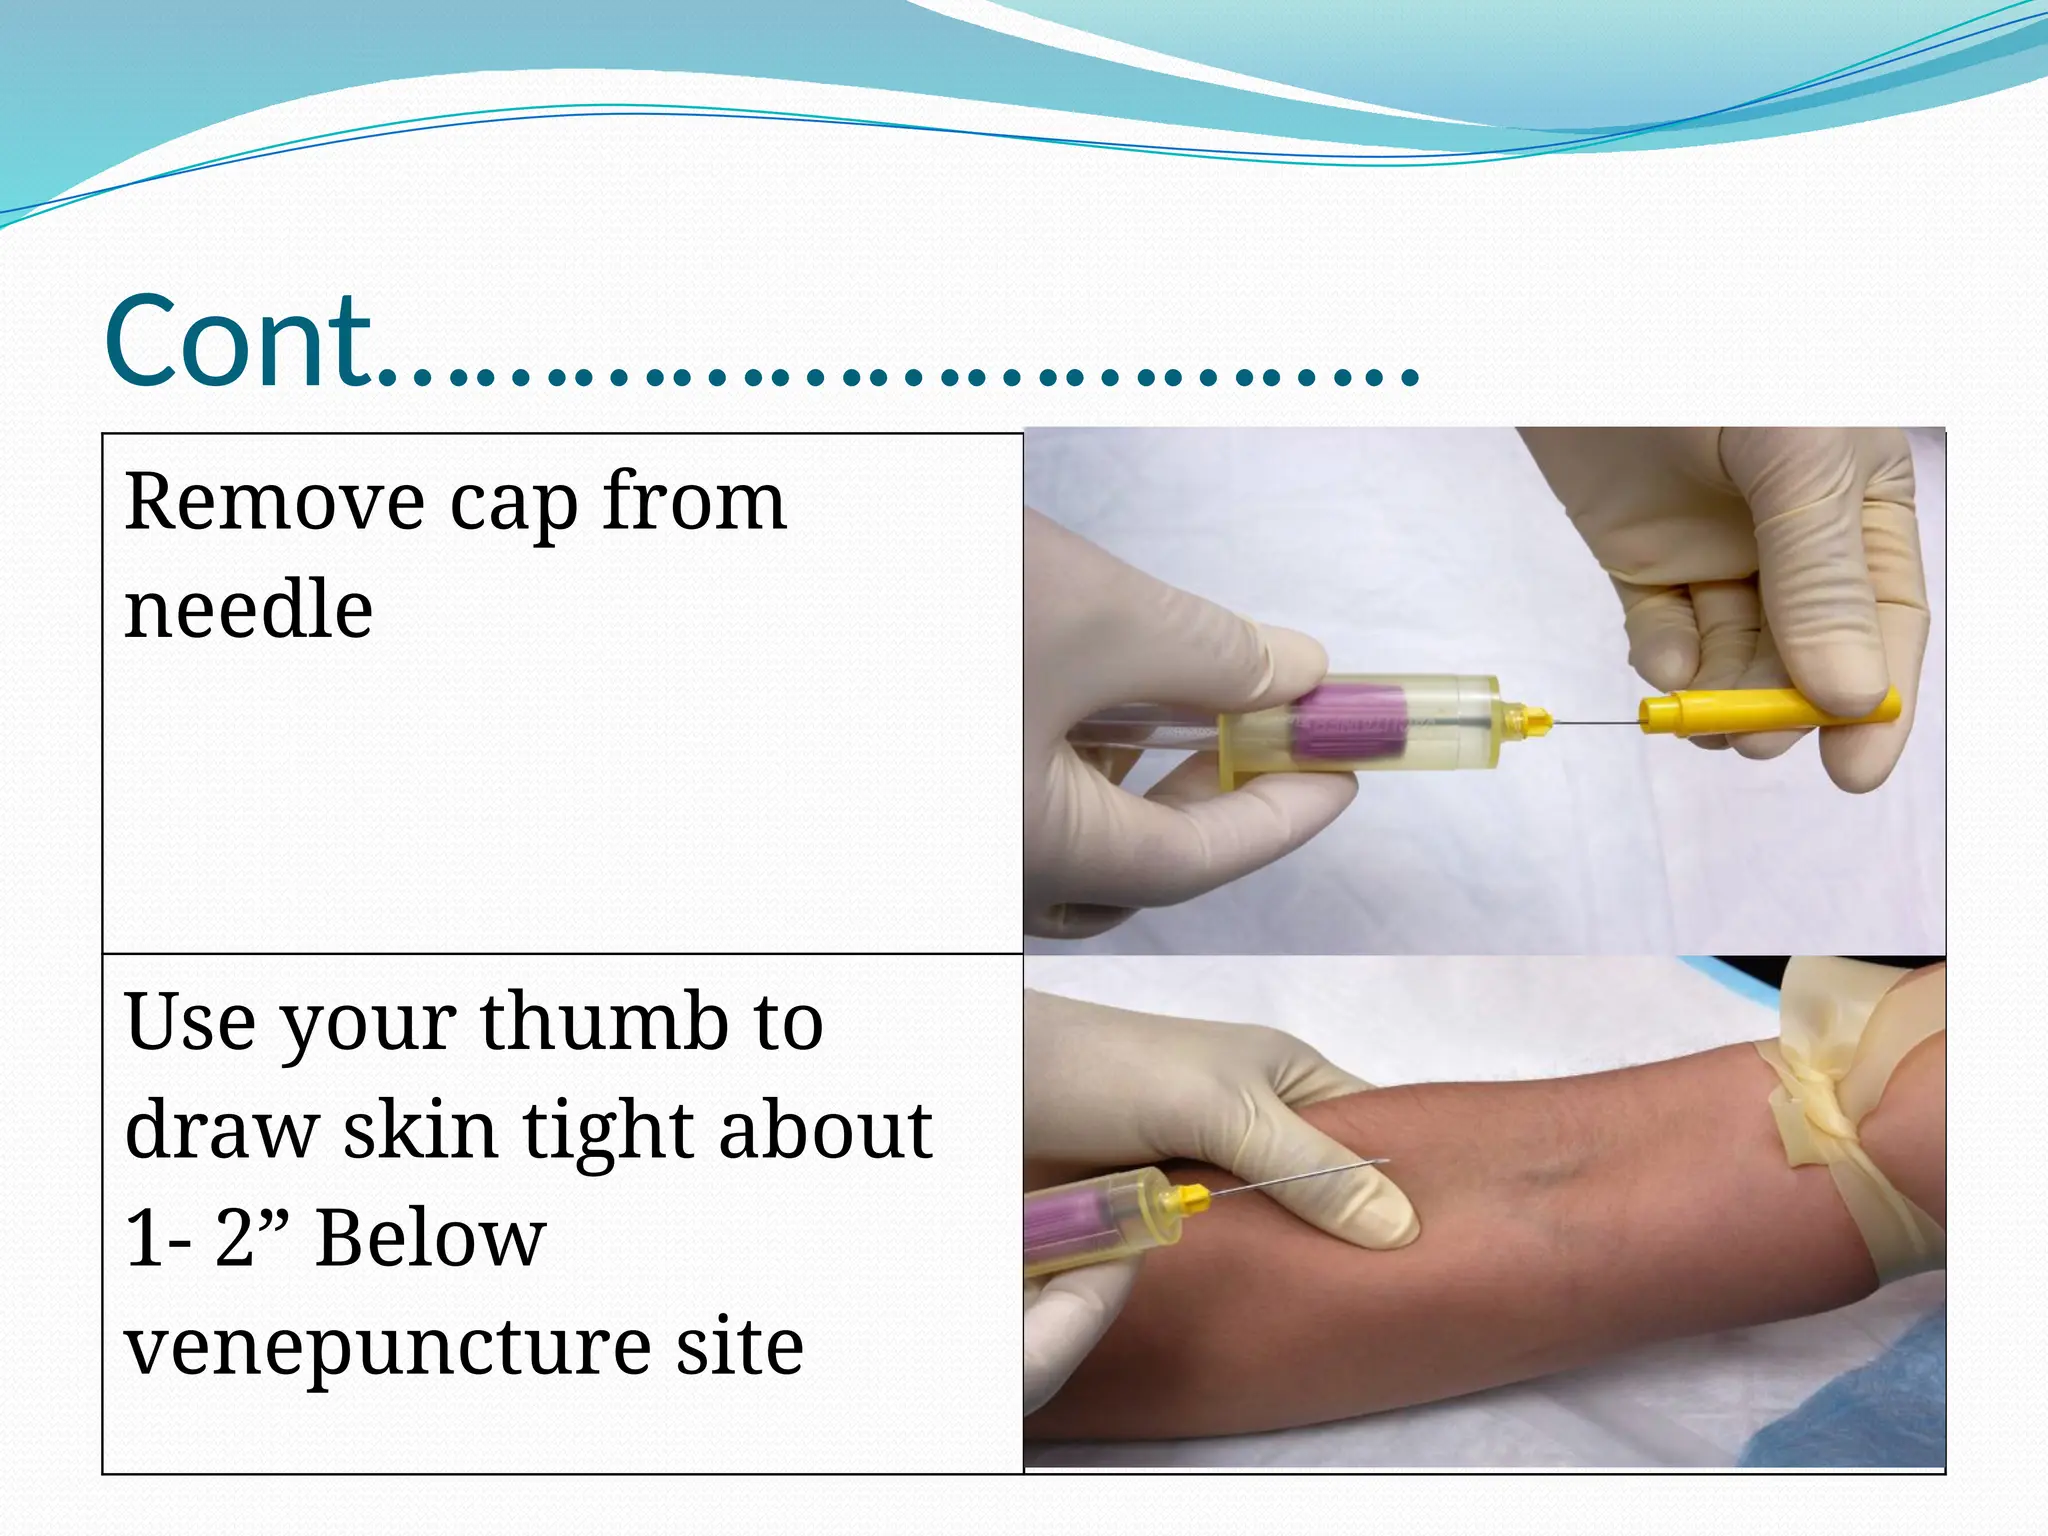
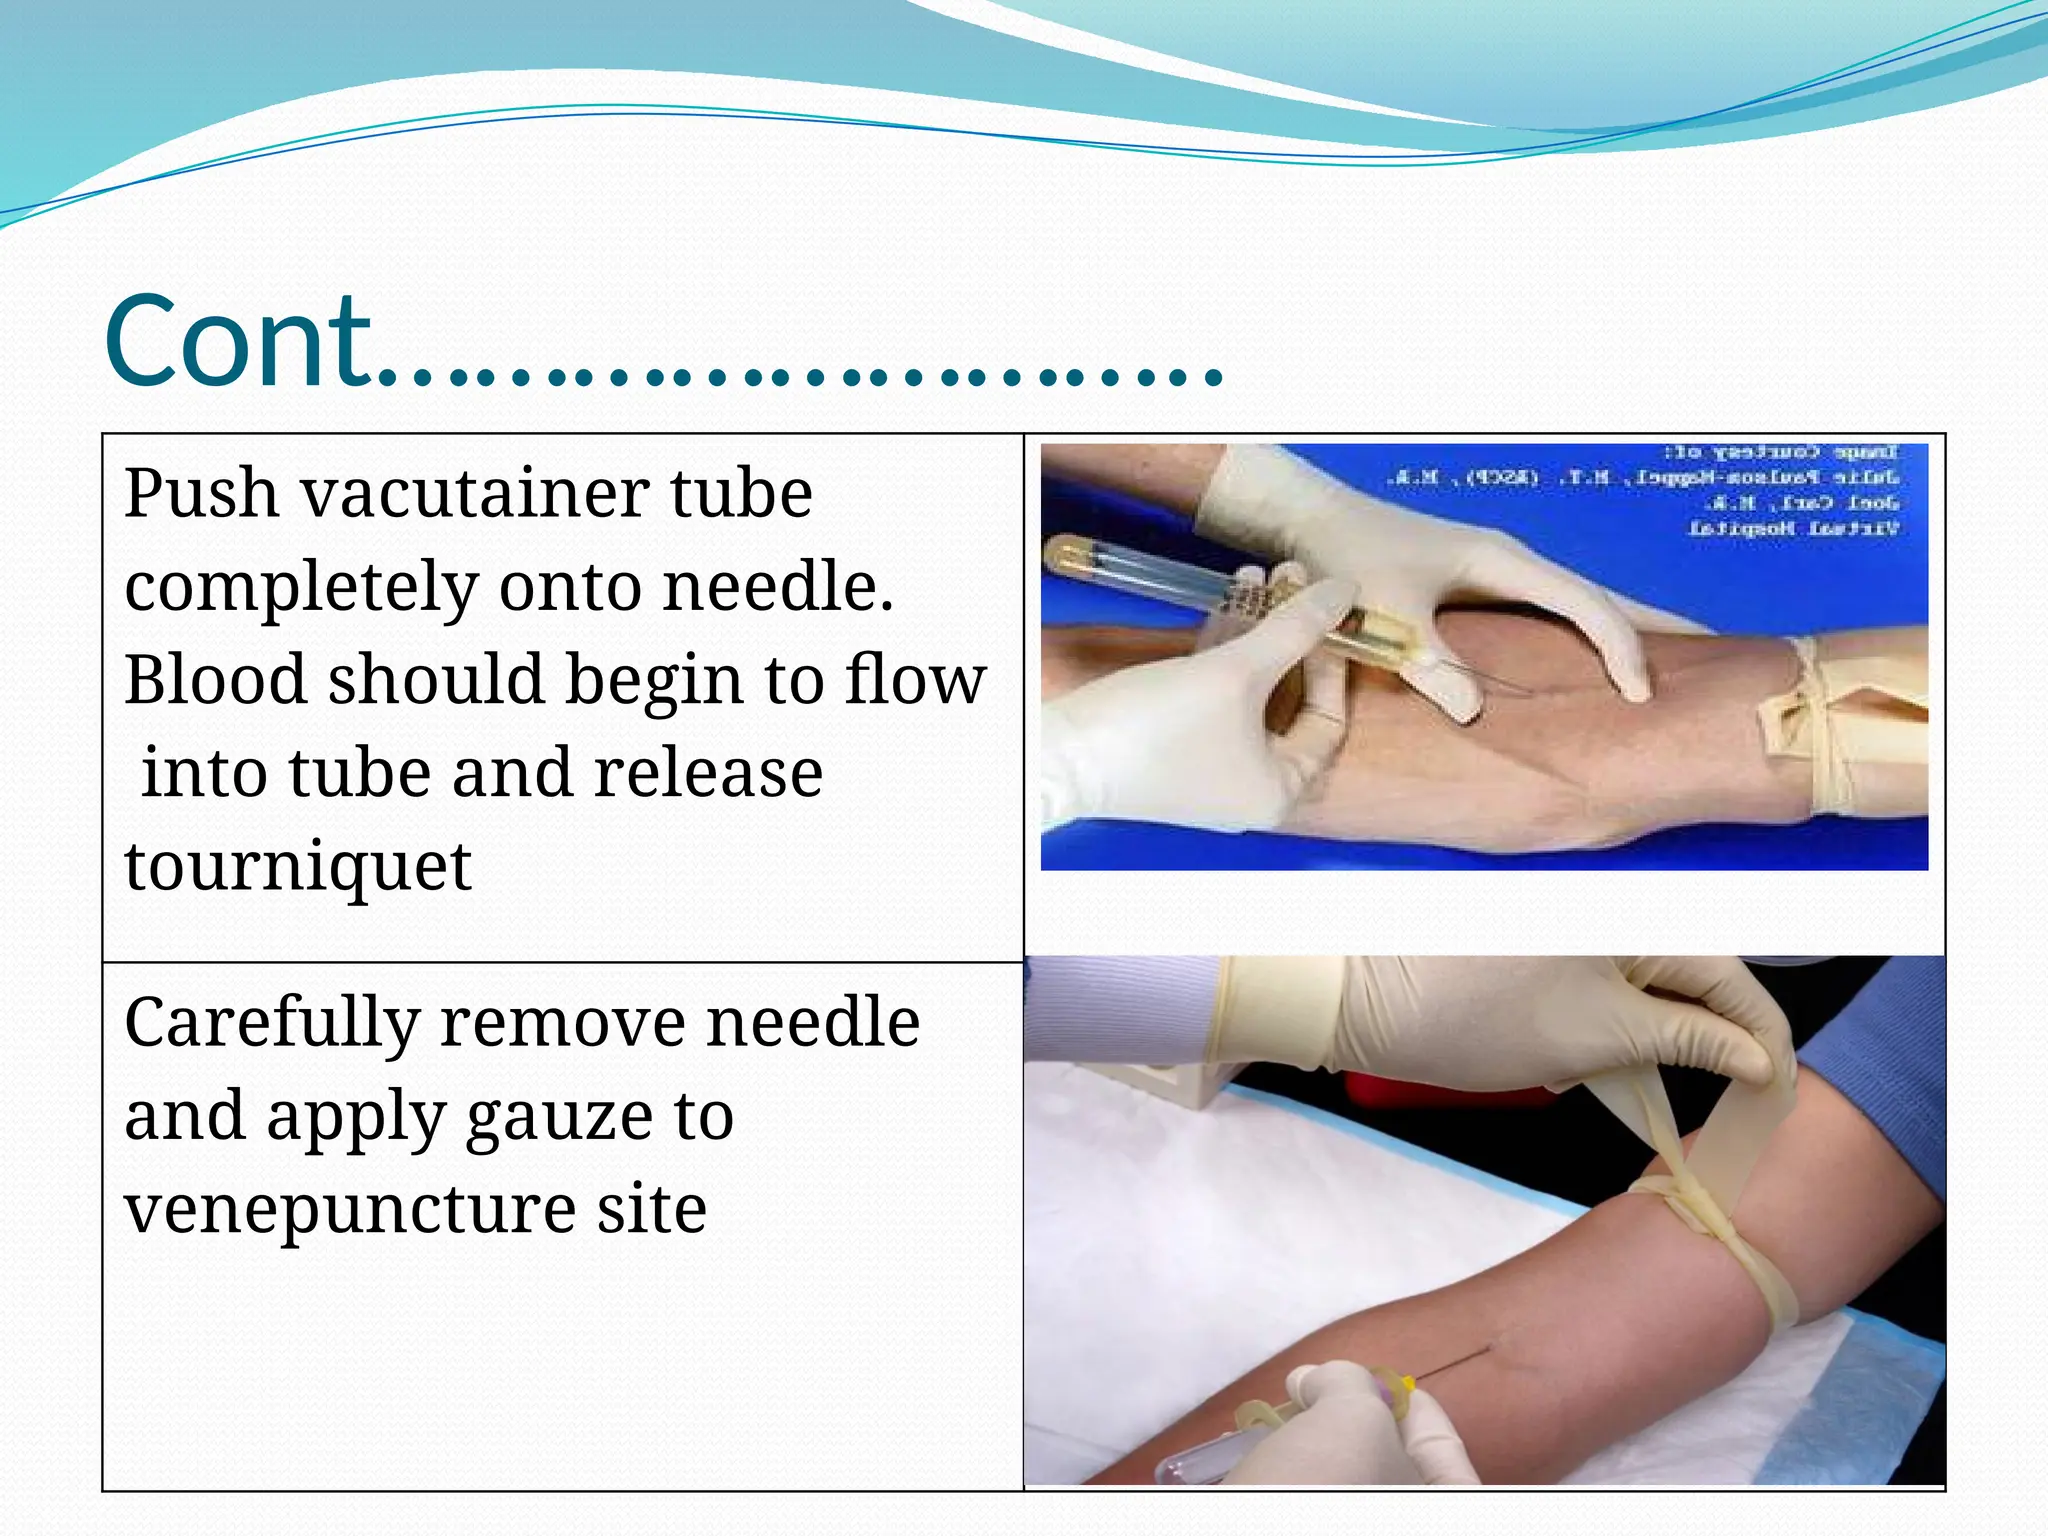
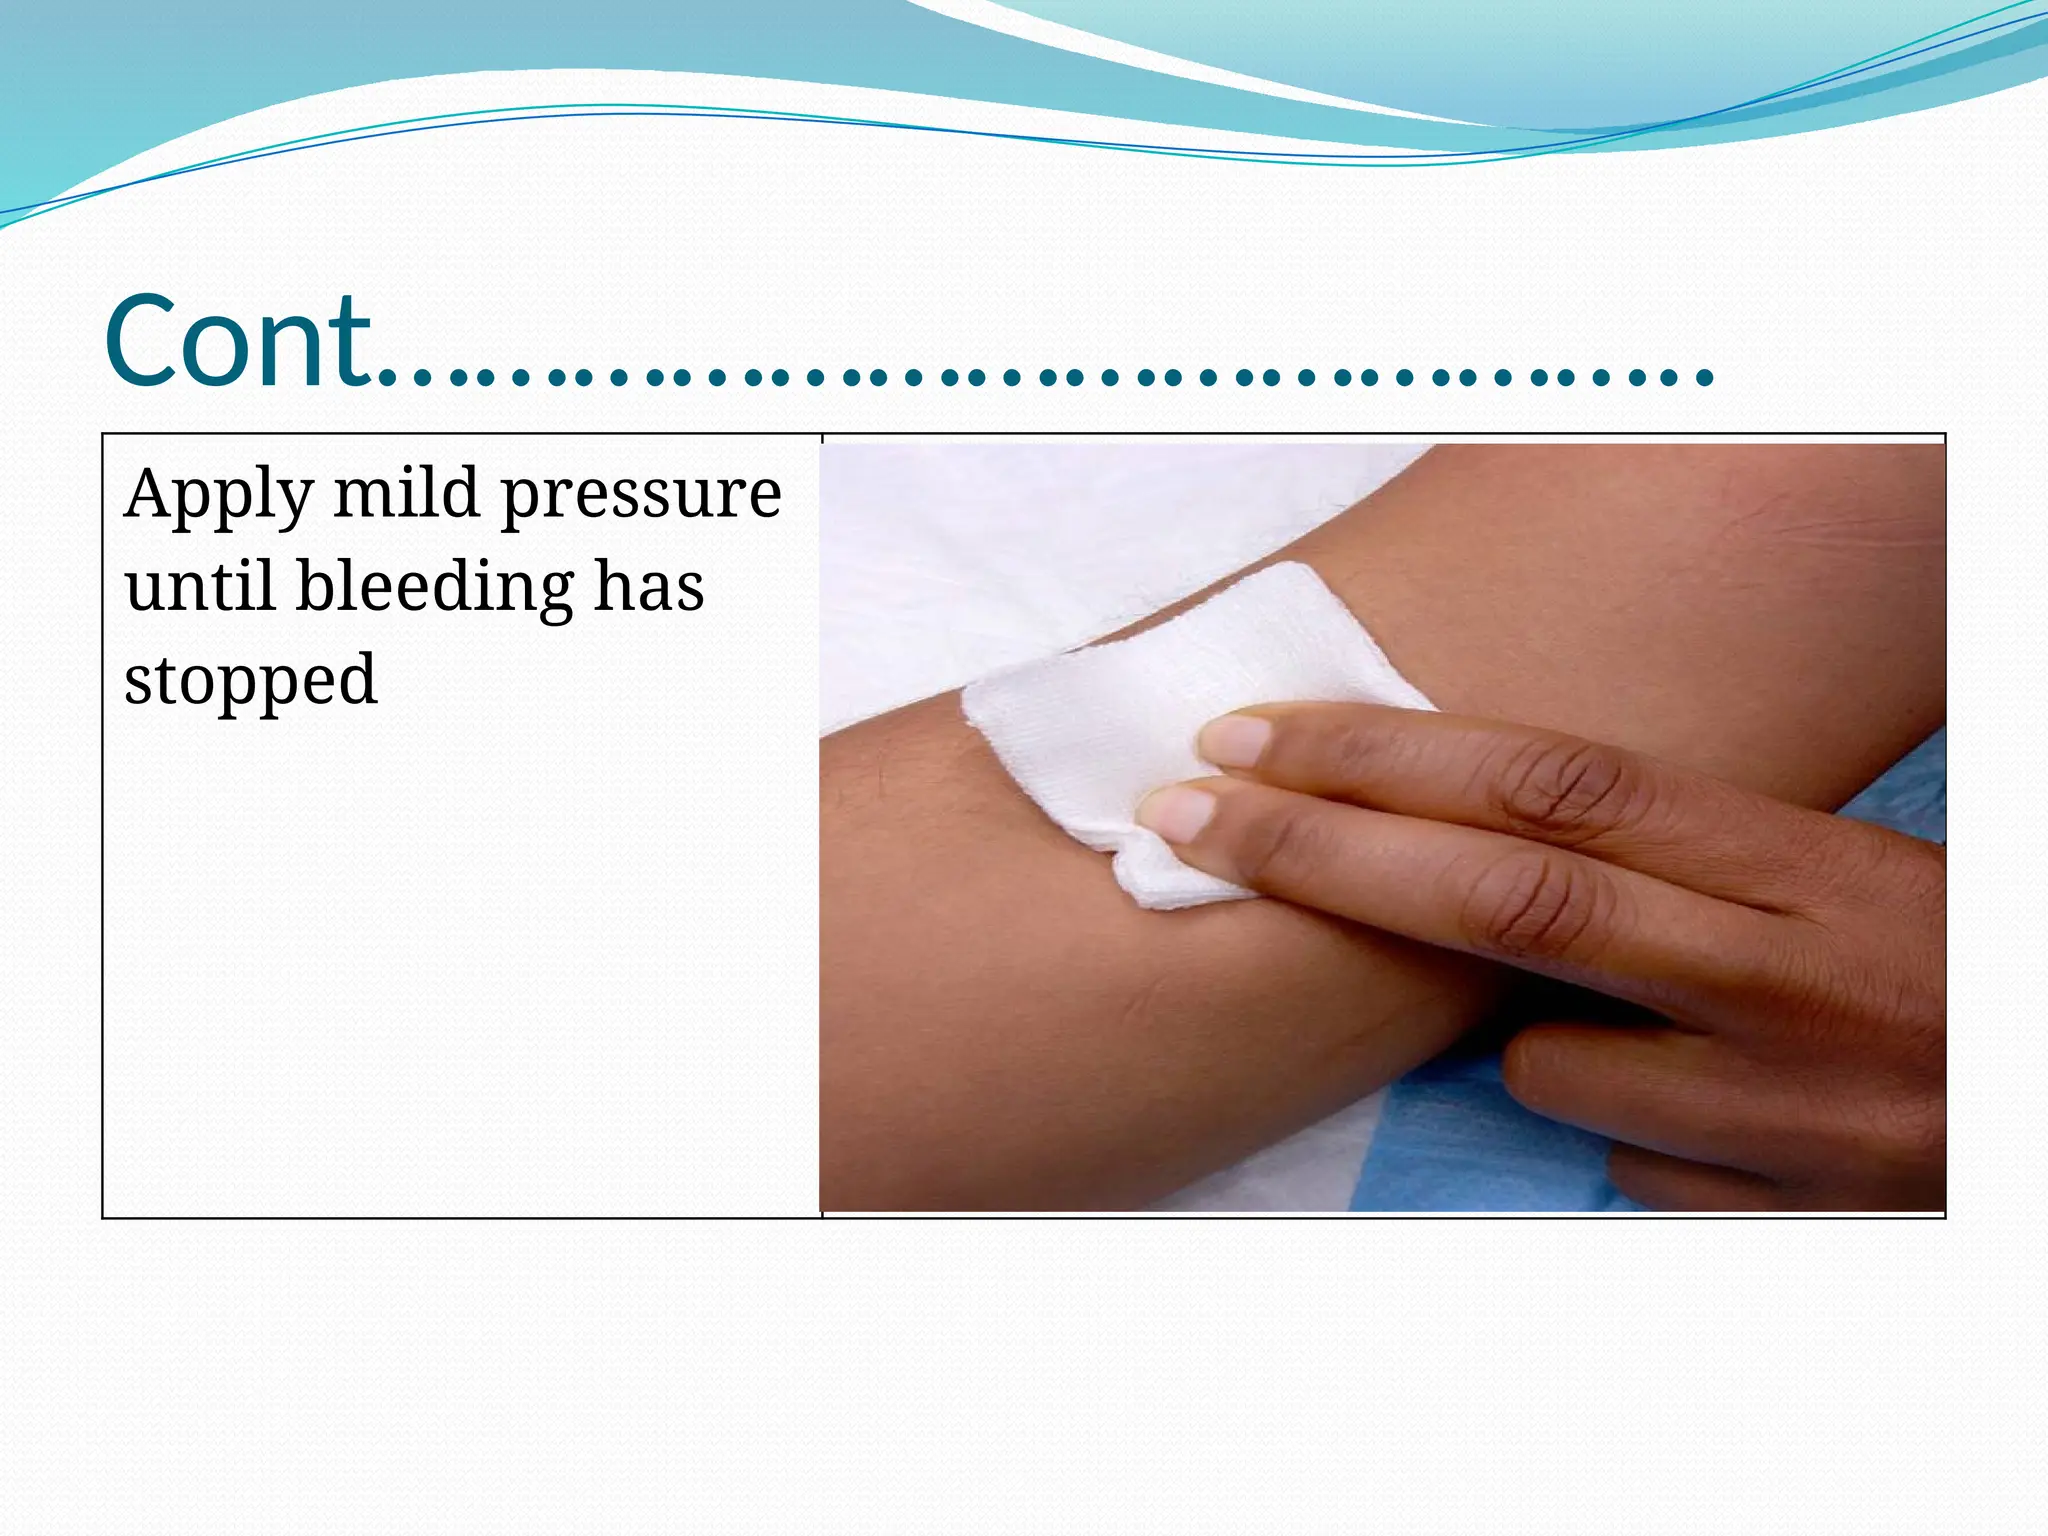
Describe the procedure for collection of blood
sample
Describe proper disposal of sharps and other
infectious materials after the procedure
Explain the handling techniques of the specimen
after collection
3.
Definition of Terms
Phlebotomy:
Isthe procedure of opening the blood vessel and drawing
blood from it.
It comes from two Greek words:
Phlebo = veins
tomy = cutting
Blood is commonly collected from:
i. The veins (venous samples)
ii. Capillaries (capillary samples by a finger prick)
iii. Arteries (arterial samples; not routinely done
except for specialized investigations)
4.
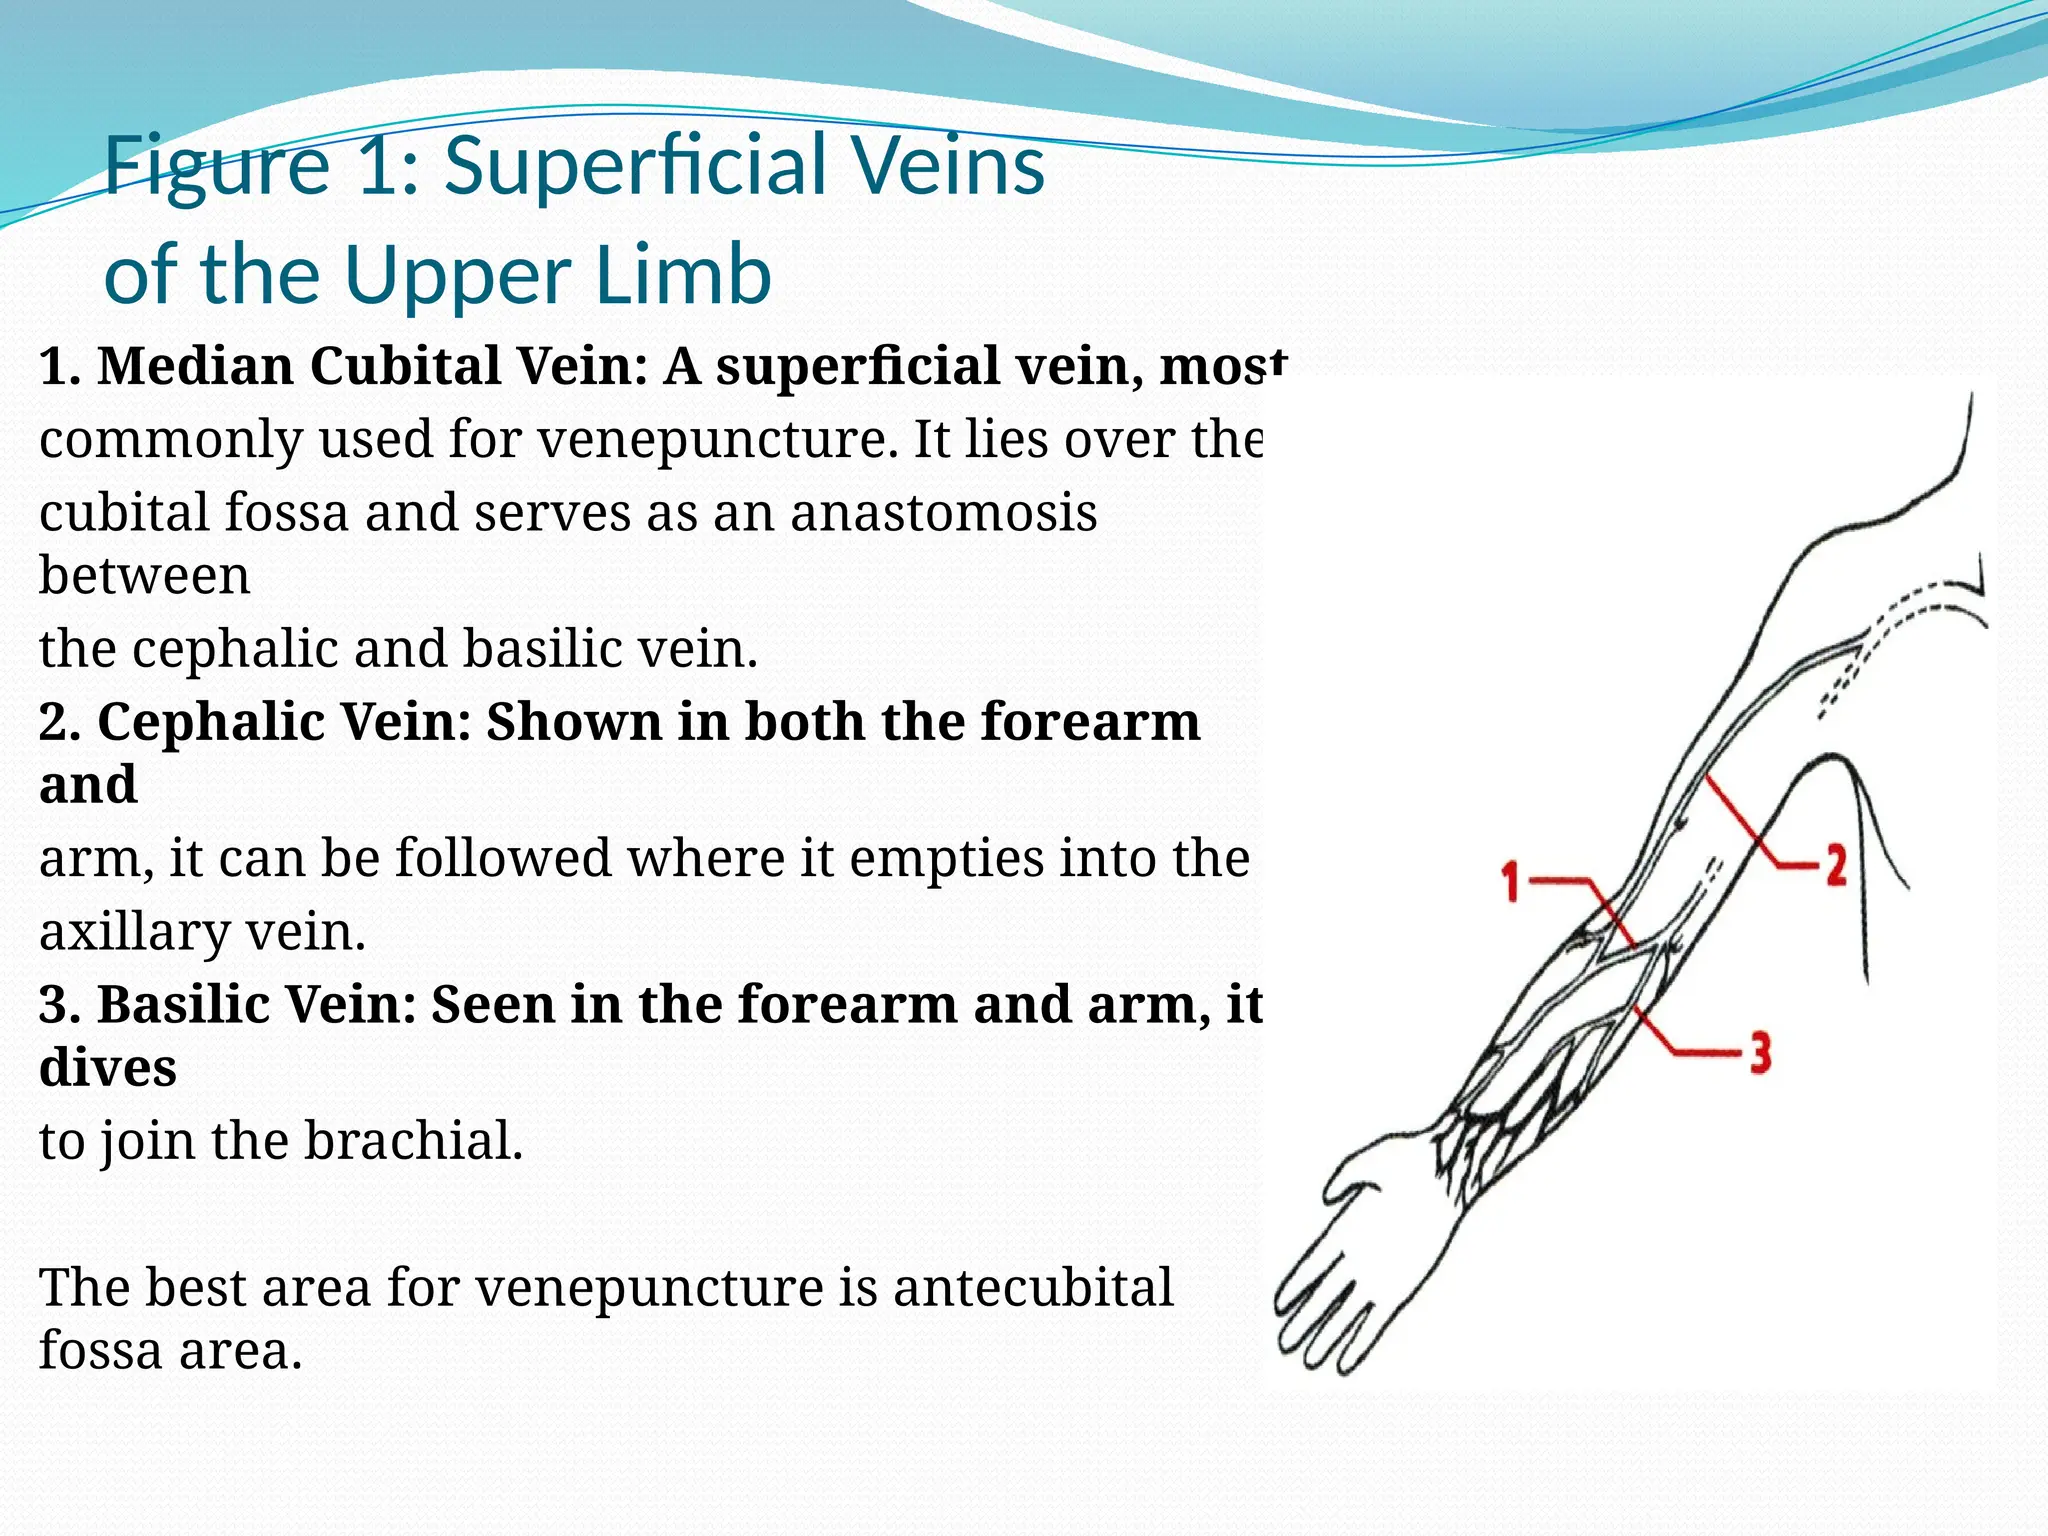
Figure 1: SuperficialVeins
of the Upper Limb
1. Median Cubital Vein: A superficial vein, most
commonly used for venepuncture. It lies over the
cubital fossa and serves as an anastomosis
between
the cephalic and basilic vein.
2. Cephalic Vein: Shown in both the forearm
and
arm, it can be followed where it empties into the
axillary vein.
3. Basilic Vein: Seen in the forearm and arm, it
dives
to join the brachial.
The best area for venepuncture is antecubital
fossa area.
5.
Preparations for Takinga Venous Blood Sample
Health worker preparation
It is important for the health worker to be adequately prepared
before clients are called in the phlebotomy room.
This includes the assembly of all equipment and supplies necessary
for the procedure
Educating the patient.
It is important to put the patient at ease when drawing blood.
The providers should:
Explain that the supplies are sterile and have never been used on
another person
Describe the procedure and how much time is needed for the
results to be available
Assure them that the procedure is safe and results of the test are
confidential
6.
Different instruments forcommon laboratory procedure’s blood
collection
Specimen containers
Specific container depends on which test will be
done
Correct specimen bottle can be identified by the
colour of its top or the label they carry
Vacutainer tubes identified by the label on it
Tourniquet
Needles and syringes
Small bore needles
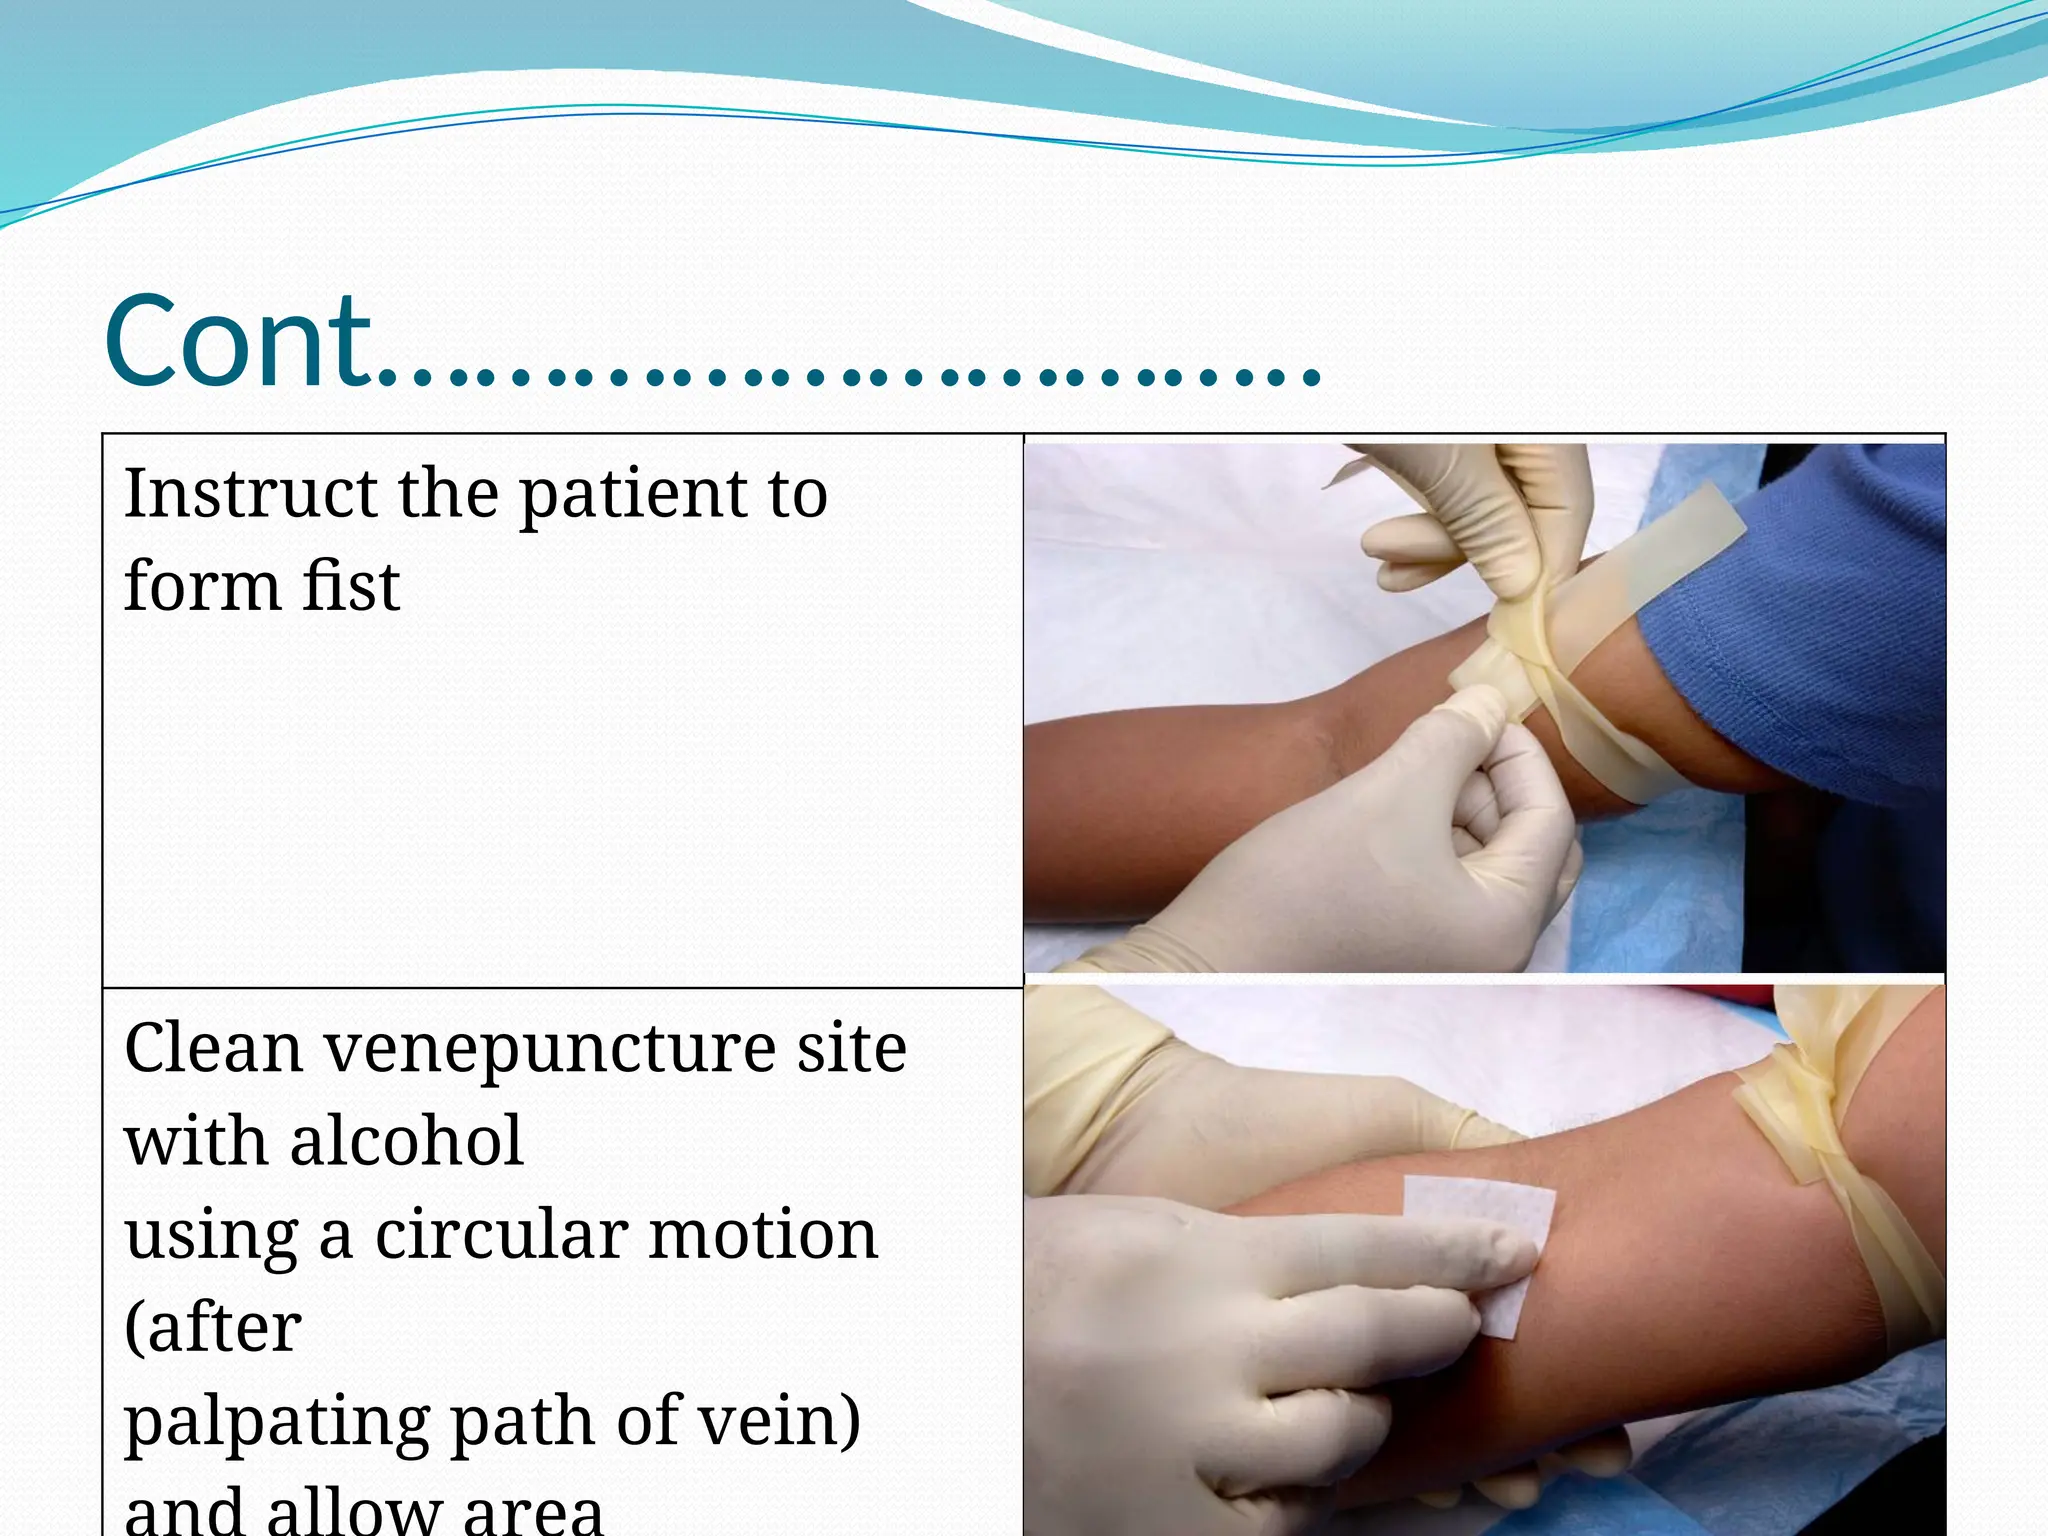
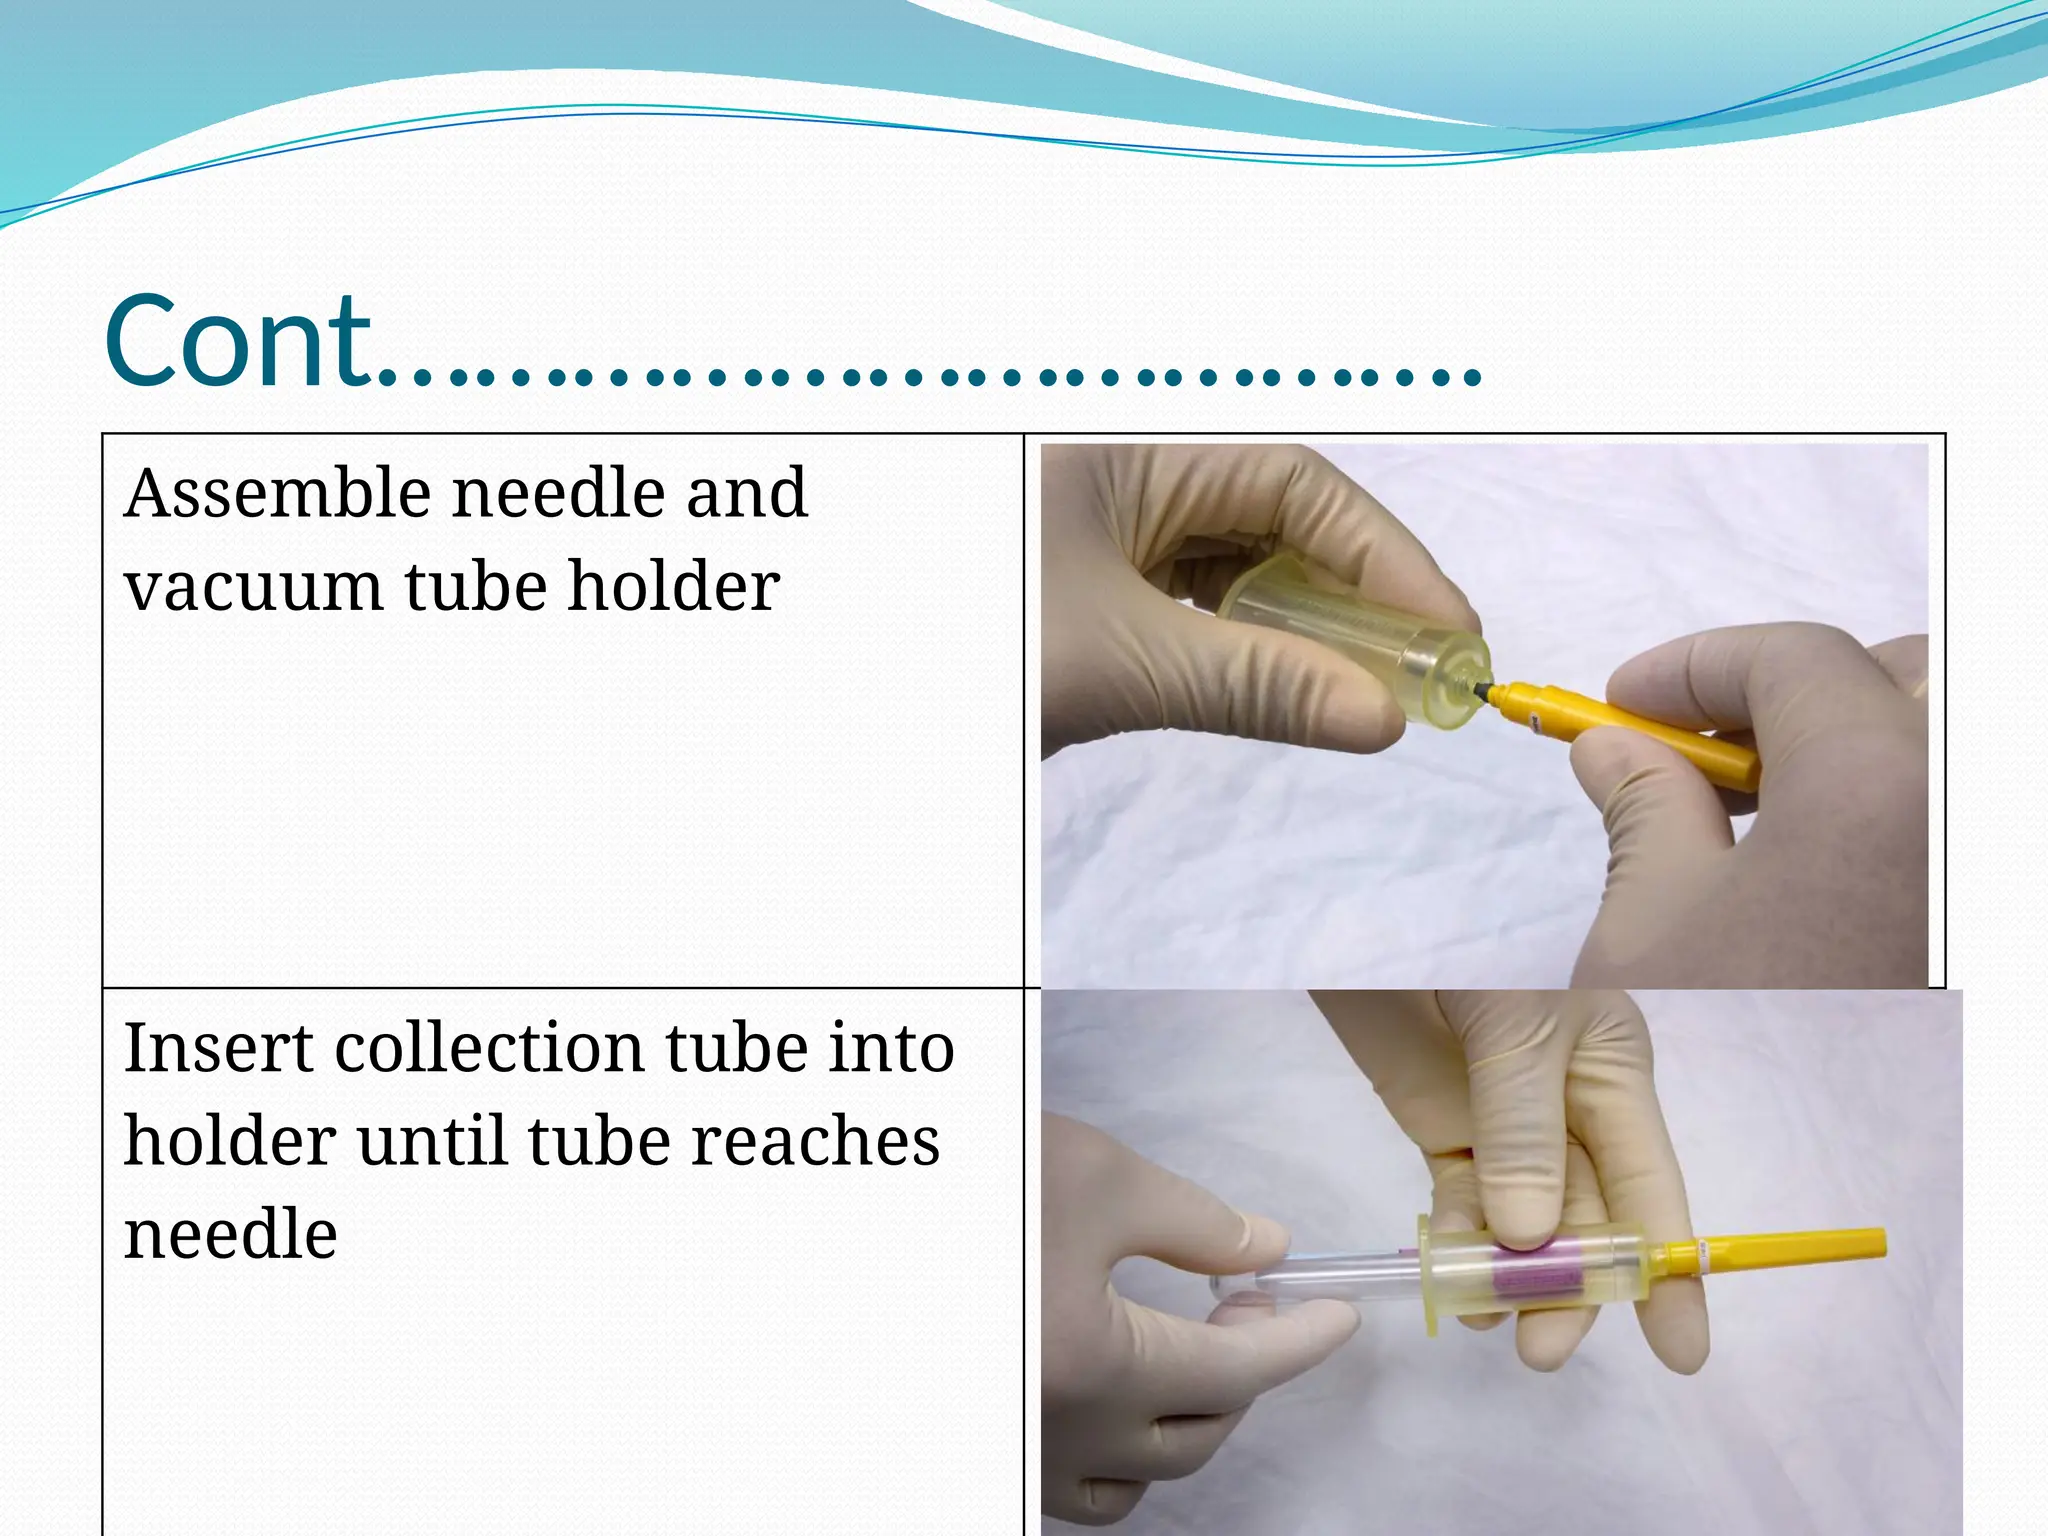
Cont……………………………..
Sharps bin (Fordisposal of sharps)
Infectious waste bin (For disposal of non sharp
infectious materials)
Non infectious bean (For disposal of non
infectious materials
Marker pen for marking or labeling of
specimen and forms
Disinfectant (e.g. Jik, Clorox)
Antiseptic for hand washing
Bandages or plasters
9.
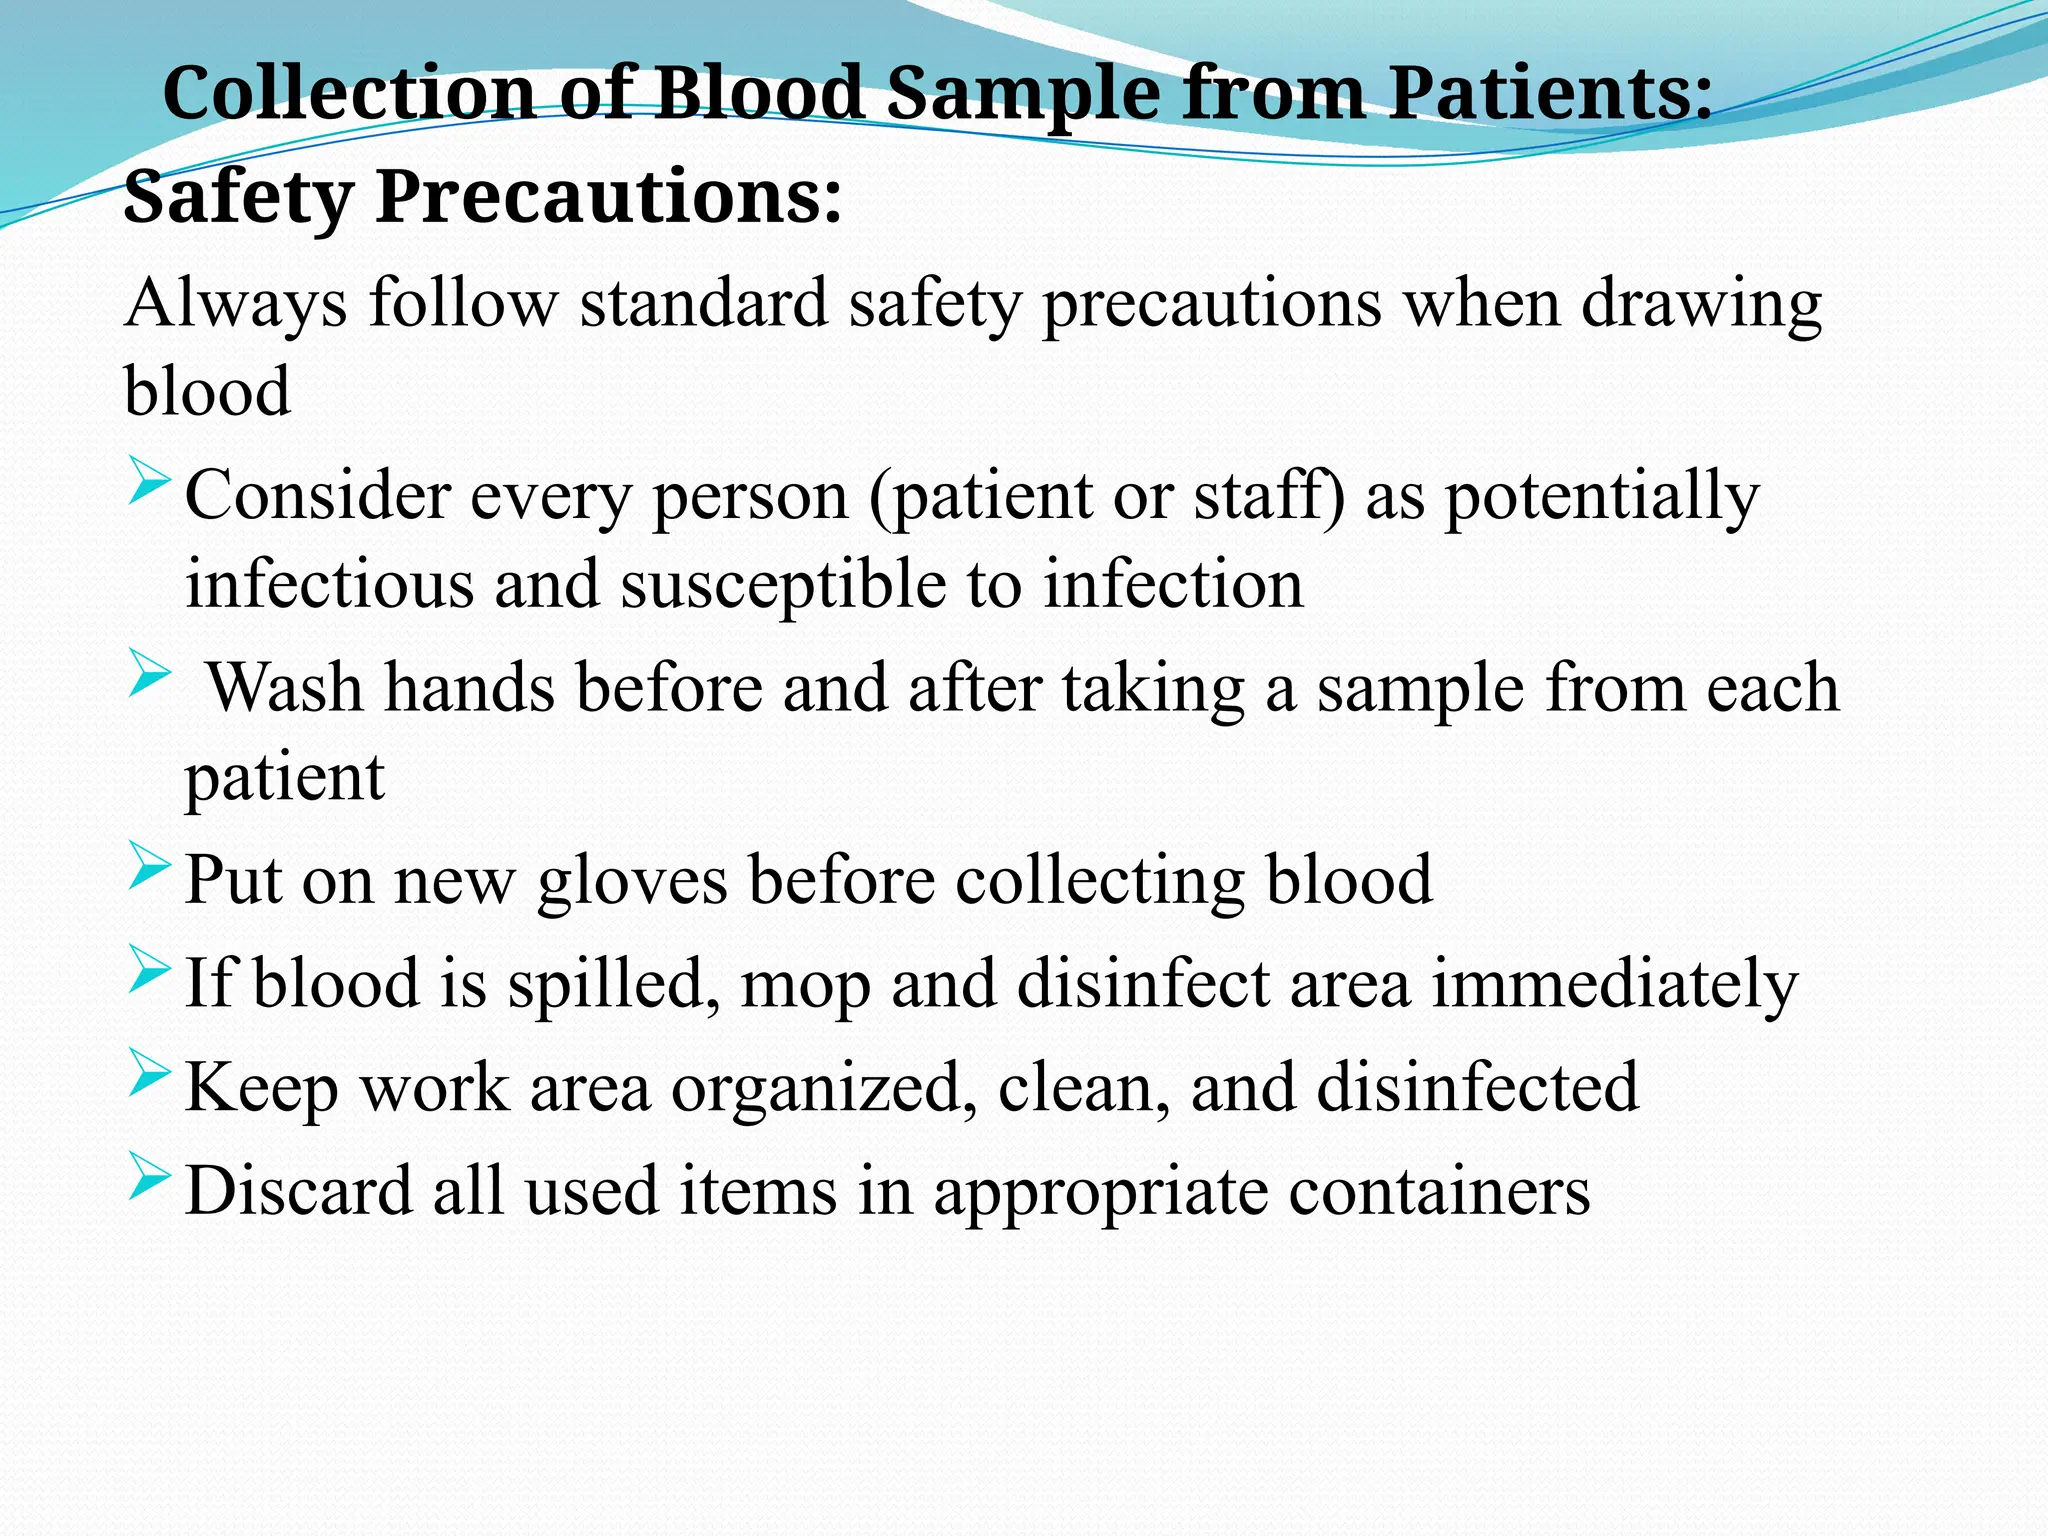
Collection of BloodSample from Patients:
Safety Precautions:
Always follow standard safety precautions when drawing
blood
Consider every person (patient or staff) as potentially
infectious and susceptible to infection
Wash hands before and after taking a sample from each
patient
Put on new gloves before collecting blood
If blood is spilled, mop and disinfect area immediately
Keep work area organized, clean, and disinfected
Discard all used items in appropriate containers
10.
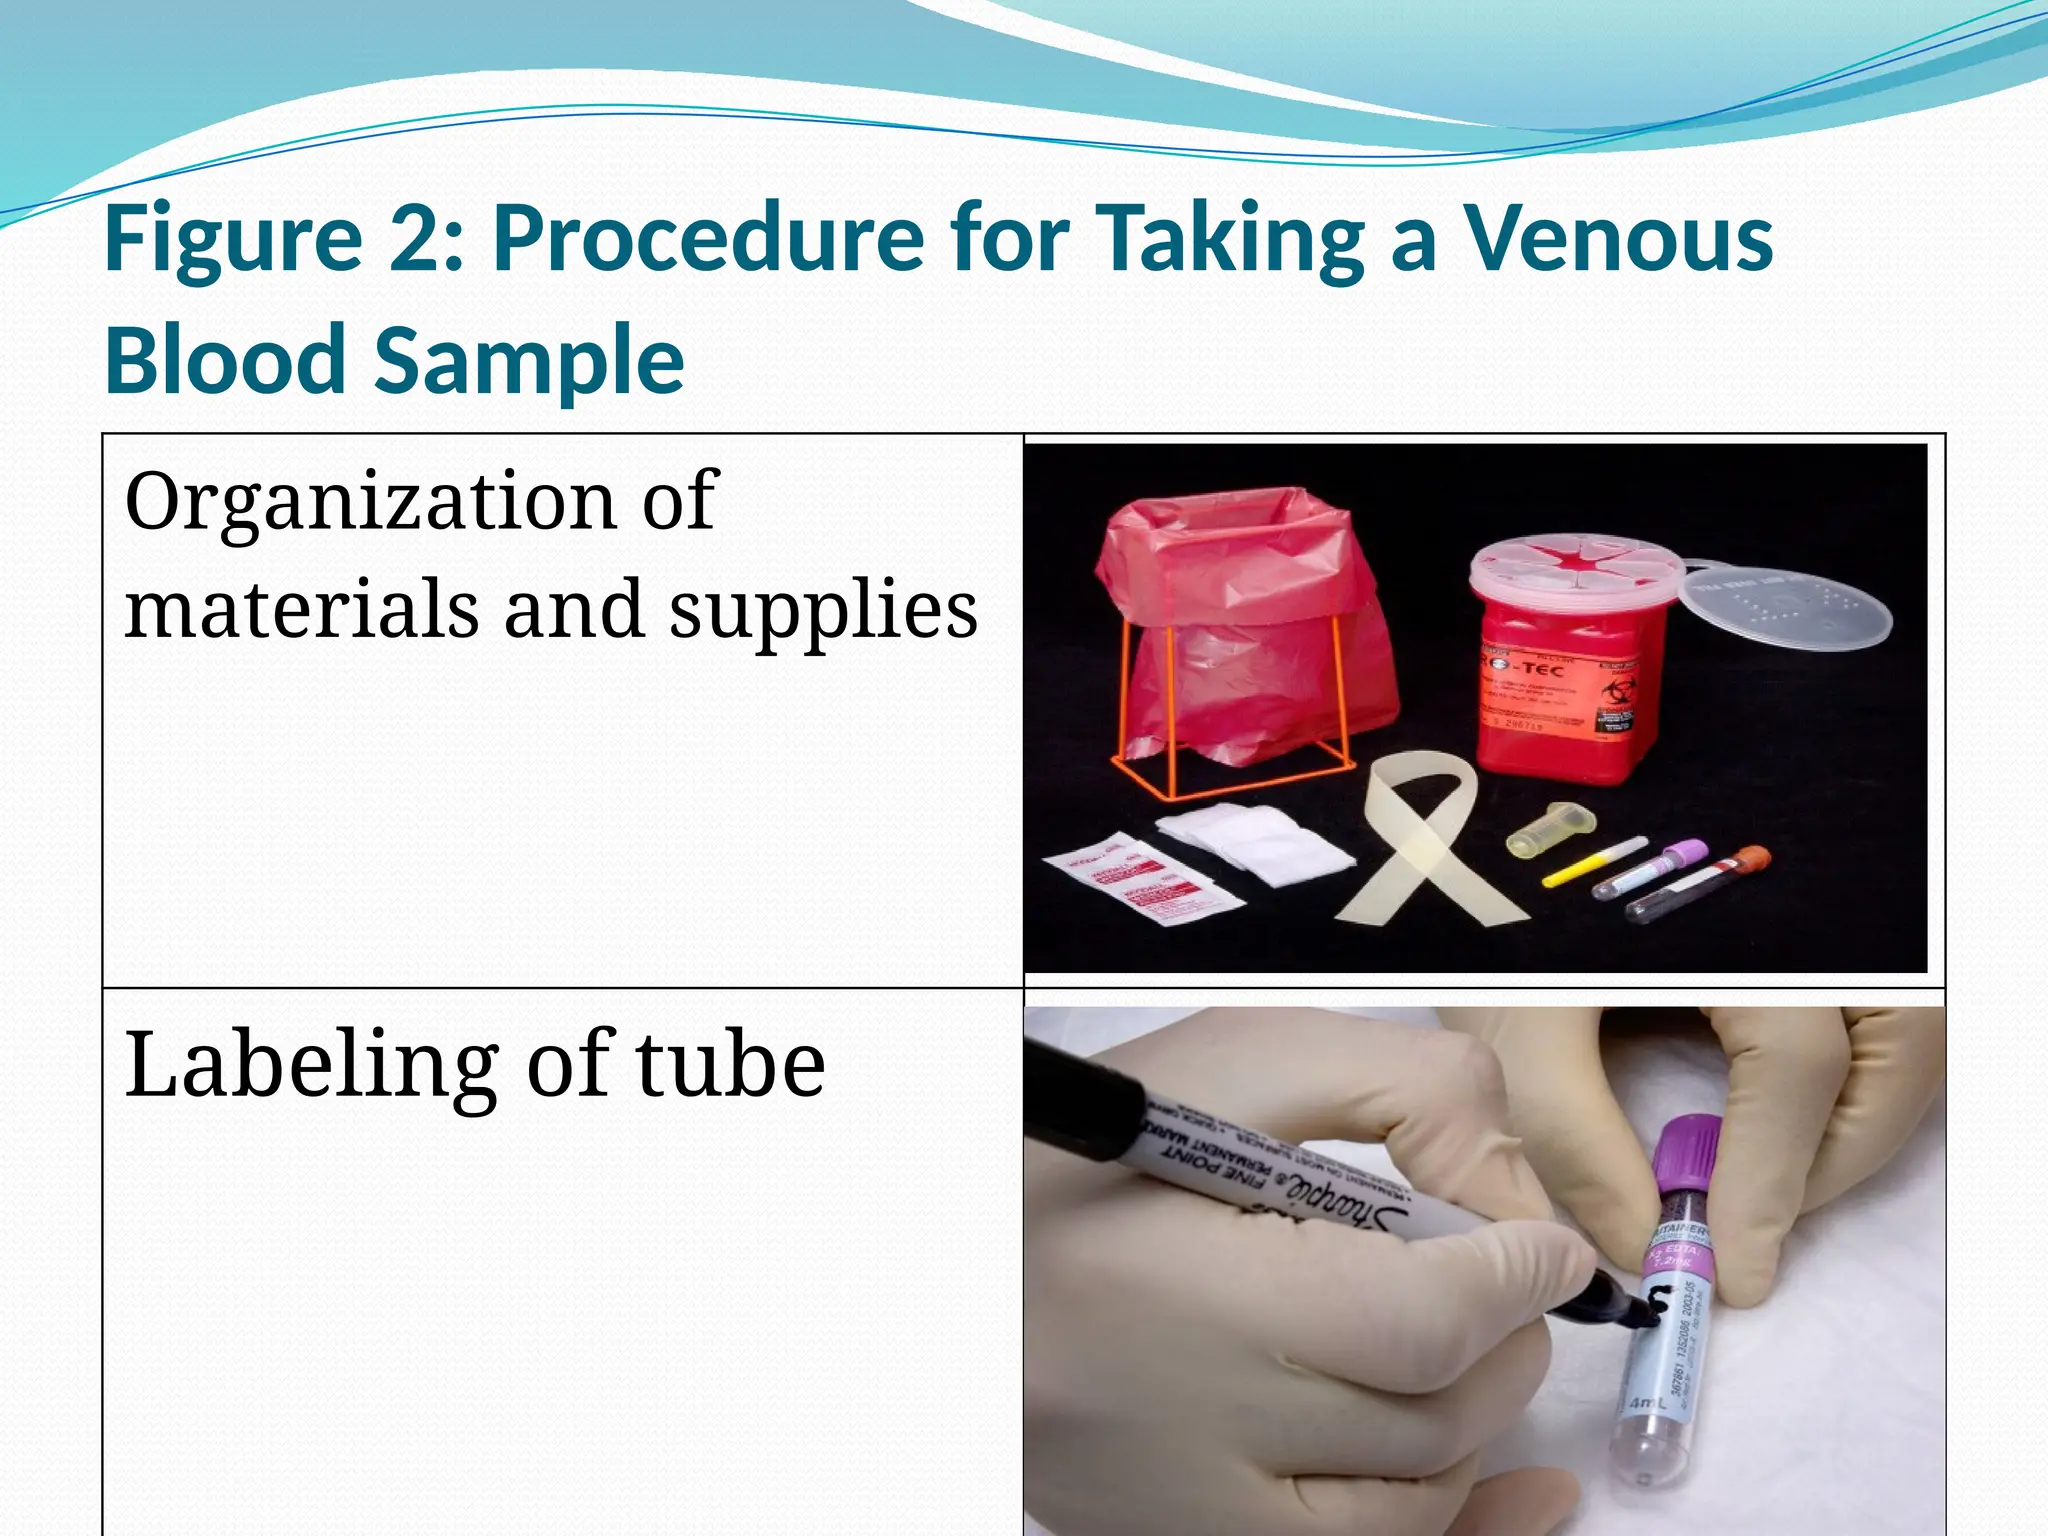
Figure 2: Procedurefor Taking a Venous
Blood Sample
Organization of
materials and supplies
Labeling of tube
Proper Handling ofSpecimen:
Specimens must be properly handled from point
of collection to delivery in the laboratory
Results of laboratory investigations are only as
good as the sample received by the laboratory.
Use appropriate collection containers for specific
testing needs
Store specimens upright, in racks at the
appropriate temperature
Note the time of taking the specimens to ensure
processing in the correct timeframe
17.
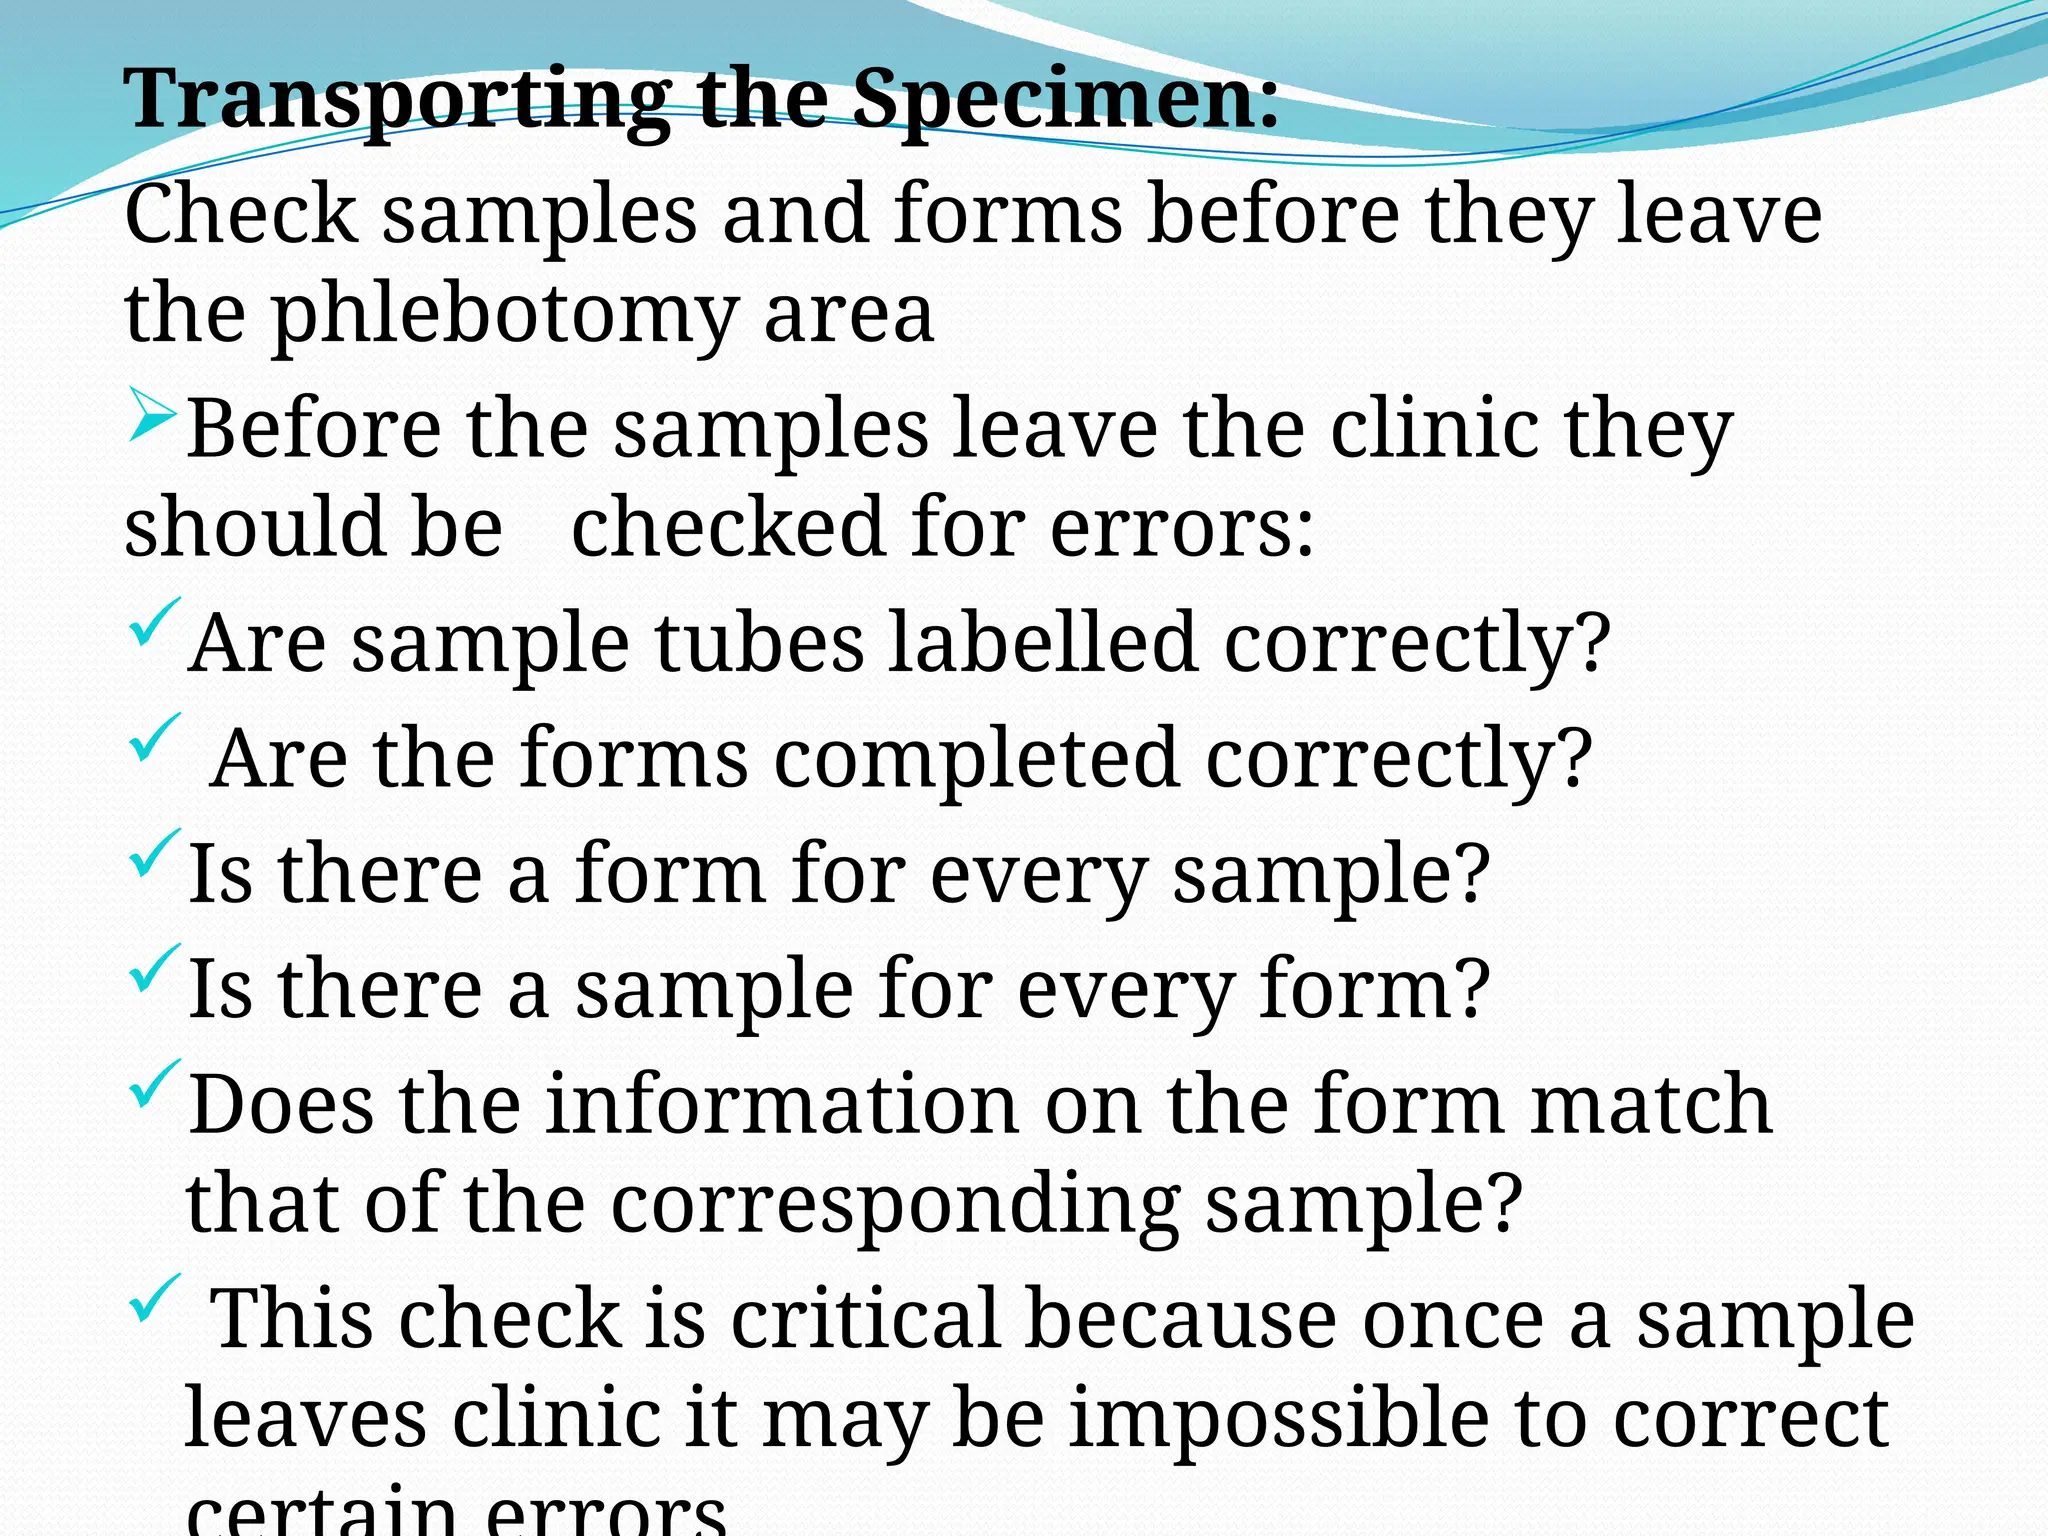
Transporting the Specimen:
Checksamples and forms before they leave
the phlebotomy area
Before the samples leave the clinic they
should be checked for errors:
Are sample tubes labelled correctly?
Are the forms completed correctly?
Is there a form for every sample?
Is there a sample for every form?
Does the information on the form match
that of the corresponding sample?
This check is critical because once a sample
leaves clinic it may be impossible to correct
18.
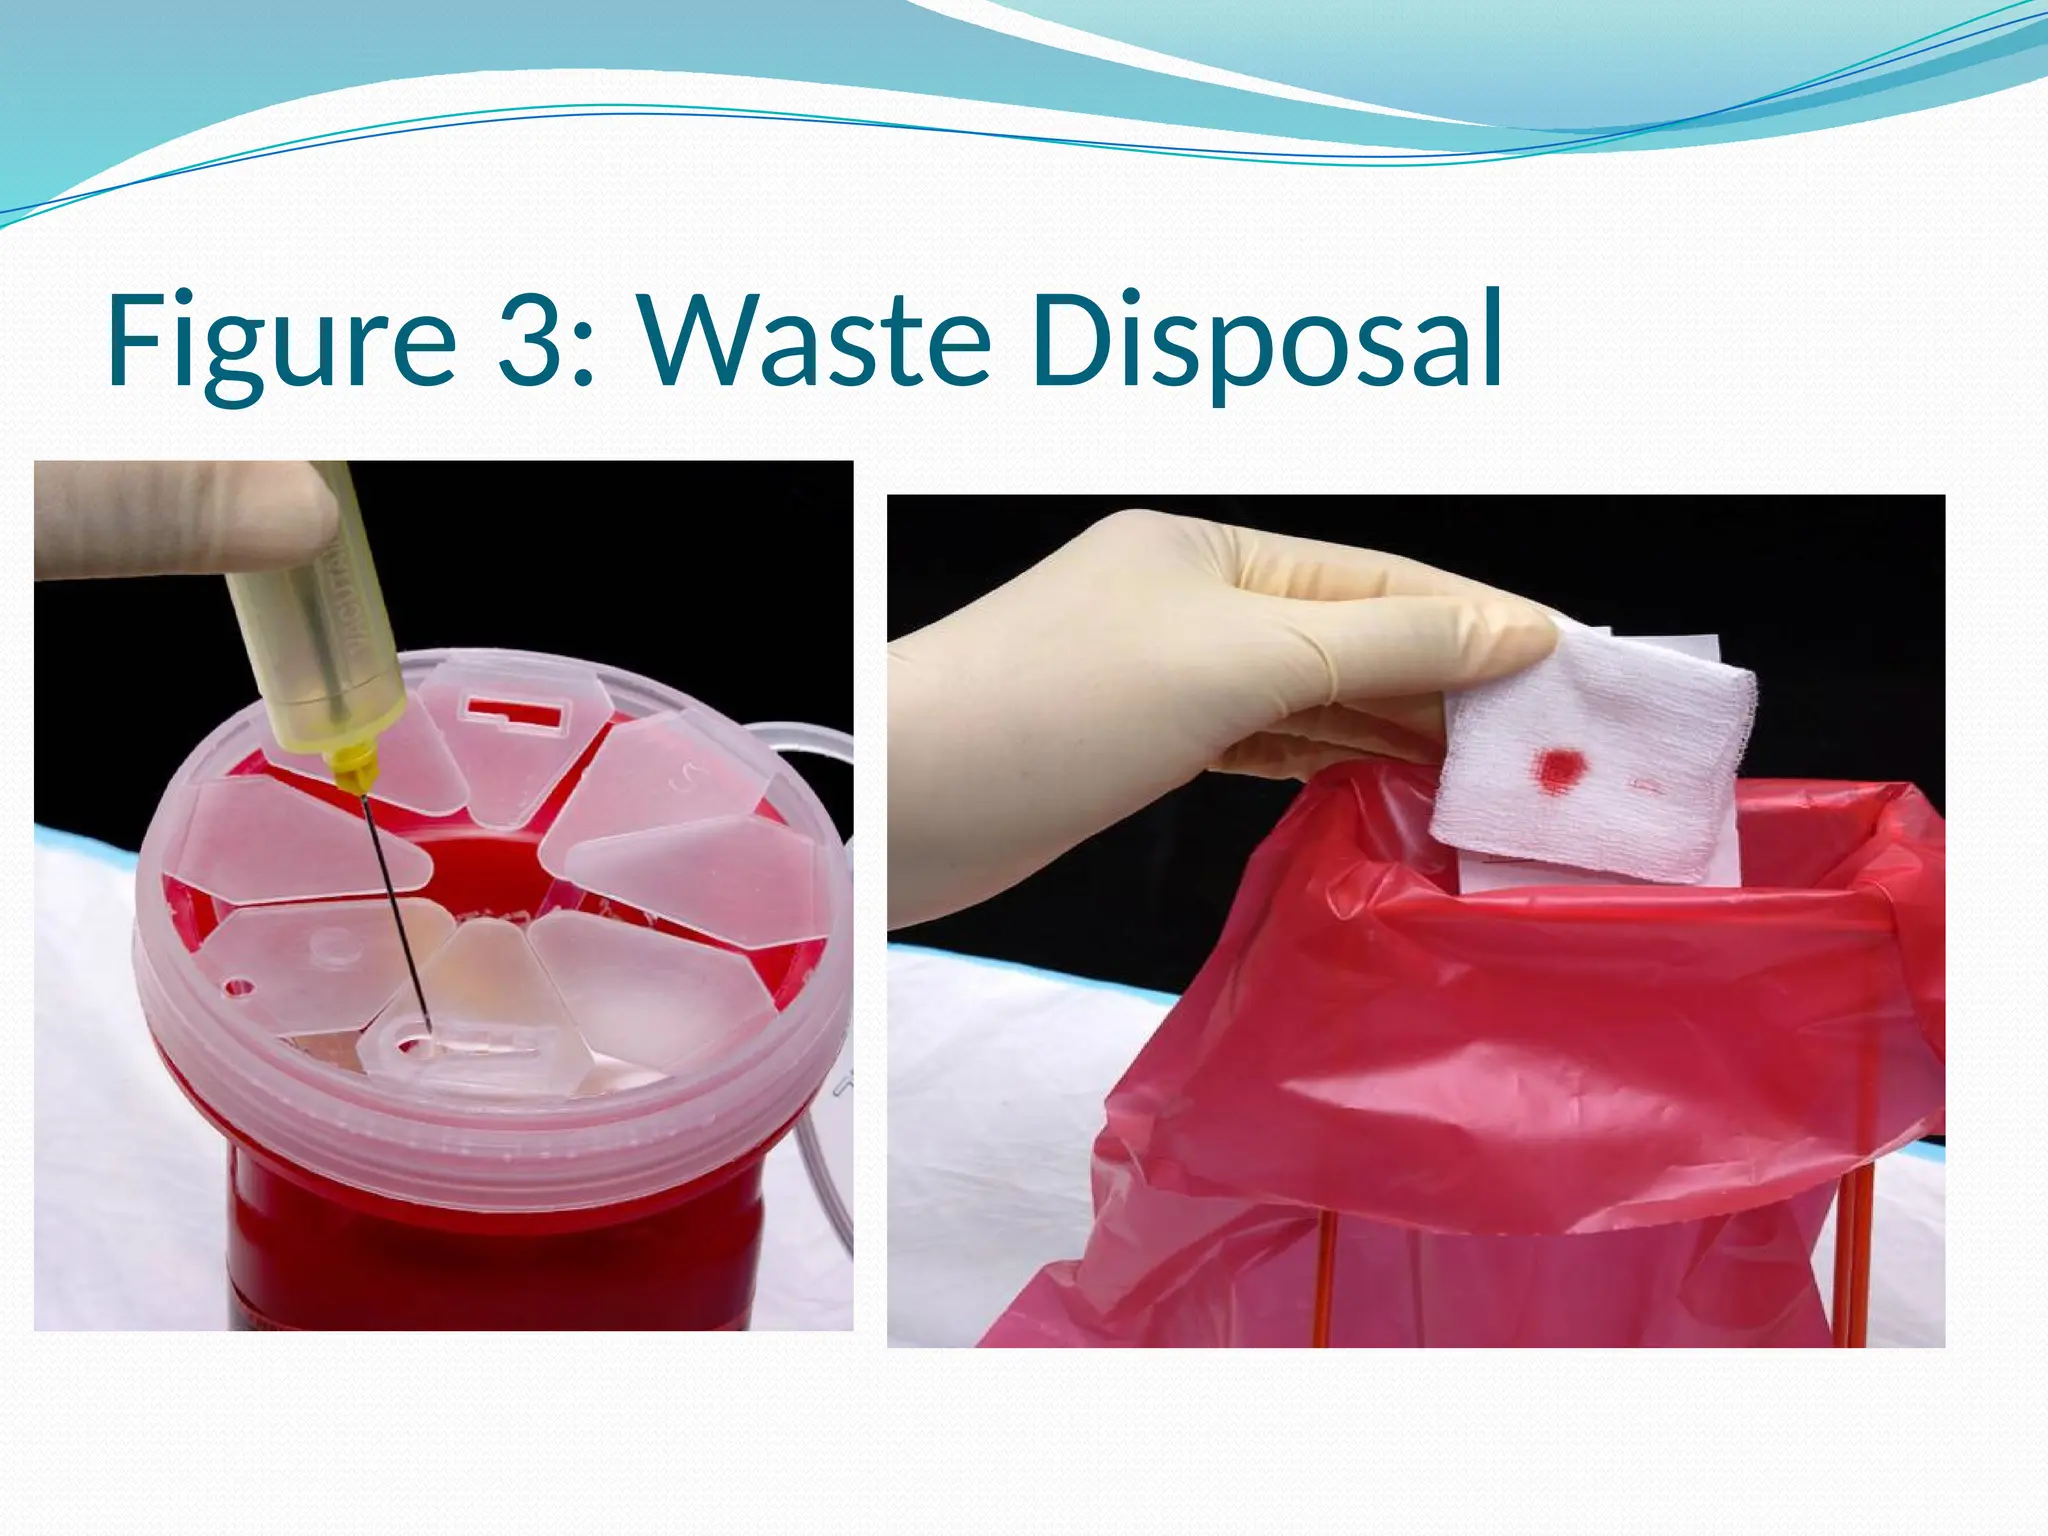
Proper Disposal ofUsed Materials
Proper waste disposal is important in order to
prevent potential harm and transmission of
diseases with a contaminated sharp object.
It is important to always dispose sharps in a
puncture-resistant container and other
infectious materials in an appropriate container
with a non-leaking plastic bag inside.
Sharp and wet materials should be disposed
separately
Key Points:
Taking ablood sample from a patient is a
procedure that requires the preparation of
relevant materials and supplies before it can be
performed.
Explaining the procedure to the patient can put
them at ease
Always follow standard safety precautions when
collecting blood
Proper waste disposal is important to prevent the
spread of infection to both the patient and
healthcare worker and the community.
Proper sample handling is essential for getting
quality results
21.
Evaluation
What isphlebotomy?
What is the best area of the arm for collecting
blood?
What are the procedures involved in the
collection of blood sample?
What are the types of waste disposal containers
used during phlebotomy?
22.
Reference
Becker F.J &Silverton R.E (1985). Introduction to Medical Laboratory
Technology. (6th ed.) London: Butterworth.
Carter, J. & Iema, O. (1994).Practical Laboratory Manual for Health
Centres In Eastern Africa. Nairobi, Kenya: AMREF.
CDC (2009). DPDx, Laboratory Identification of Parasites of Public
Health Concern. Atlanta, Georgia: Centers for Disease Control.
Retrieved (date unknown) at:
http://www.dpd.cdc.gov/dpdx/HTML/Image_Library.htm/
Cheesbrough M.C. (1987). Medical Laboratory Manual for Tropical
Countries, Vol I. (2nd ed). London: Butterworth, Heinemann Ltd.
Cheesbrough M.C. (2000). District Laboratory Practice in Tropical
Countries –Part 2. Tropical Health Technology. Cambridge,
UK:Cambirige University Press.
Cheesbrough, M.C. (1998). District Laboratory Practice in Tropical
Countries – Part 1. Tropical Health Technology. Cambridge: Tropical
Health Technology.
DEFINITION
Blood smears
Are simpleprocedures to perform aiming at
demonstrating and acquiring information on blood cells,
qualitatively and quantitatively.
Quantitative importance enables the numbering of blood
cells while the qualitative function is to demonstrate and
identify the cell morphologies, including types of
leukocytes, erythrocytes, monocytes, and platelets.
Blood smears have also been used in detecting
hematological disorders i.e. by observing the morphologies
and quantifying the cell numbers.
25.
A well-prepared bloodsmear is important to
produce good results on analysis after doing a
Giemsa stain, in identifying blood cells or/and
demonstrating the presence of parasites in a
sample. Below, we discuss the procedures for
preparing both thin and thick smear for Giemsa
staining technique, Importance, and
applications of blood smears, in detail.
Blood smears are mostly done for Differential
Leukocyte count (DLC)i.e it quantifies the white
blood cells and specifies the morphologies of
each leukocyte. Normally, peripheral blood is
used to prepare smears and depending on the
function of the smear, two types of smear can be
prepared.
26.
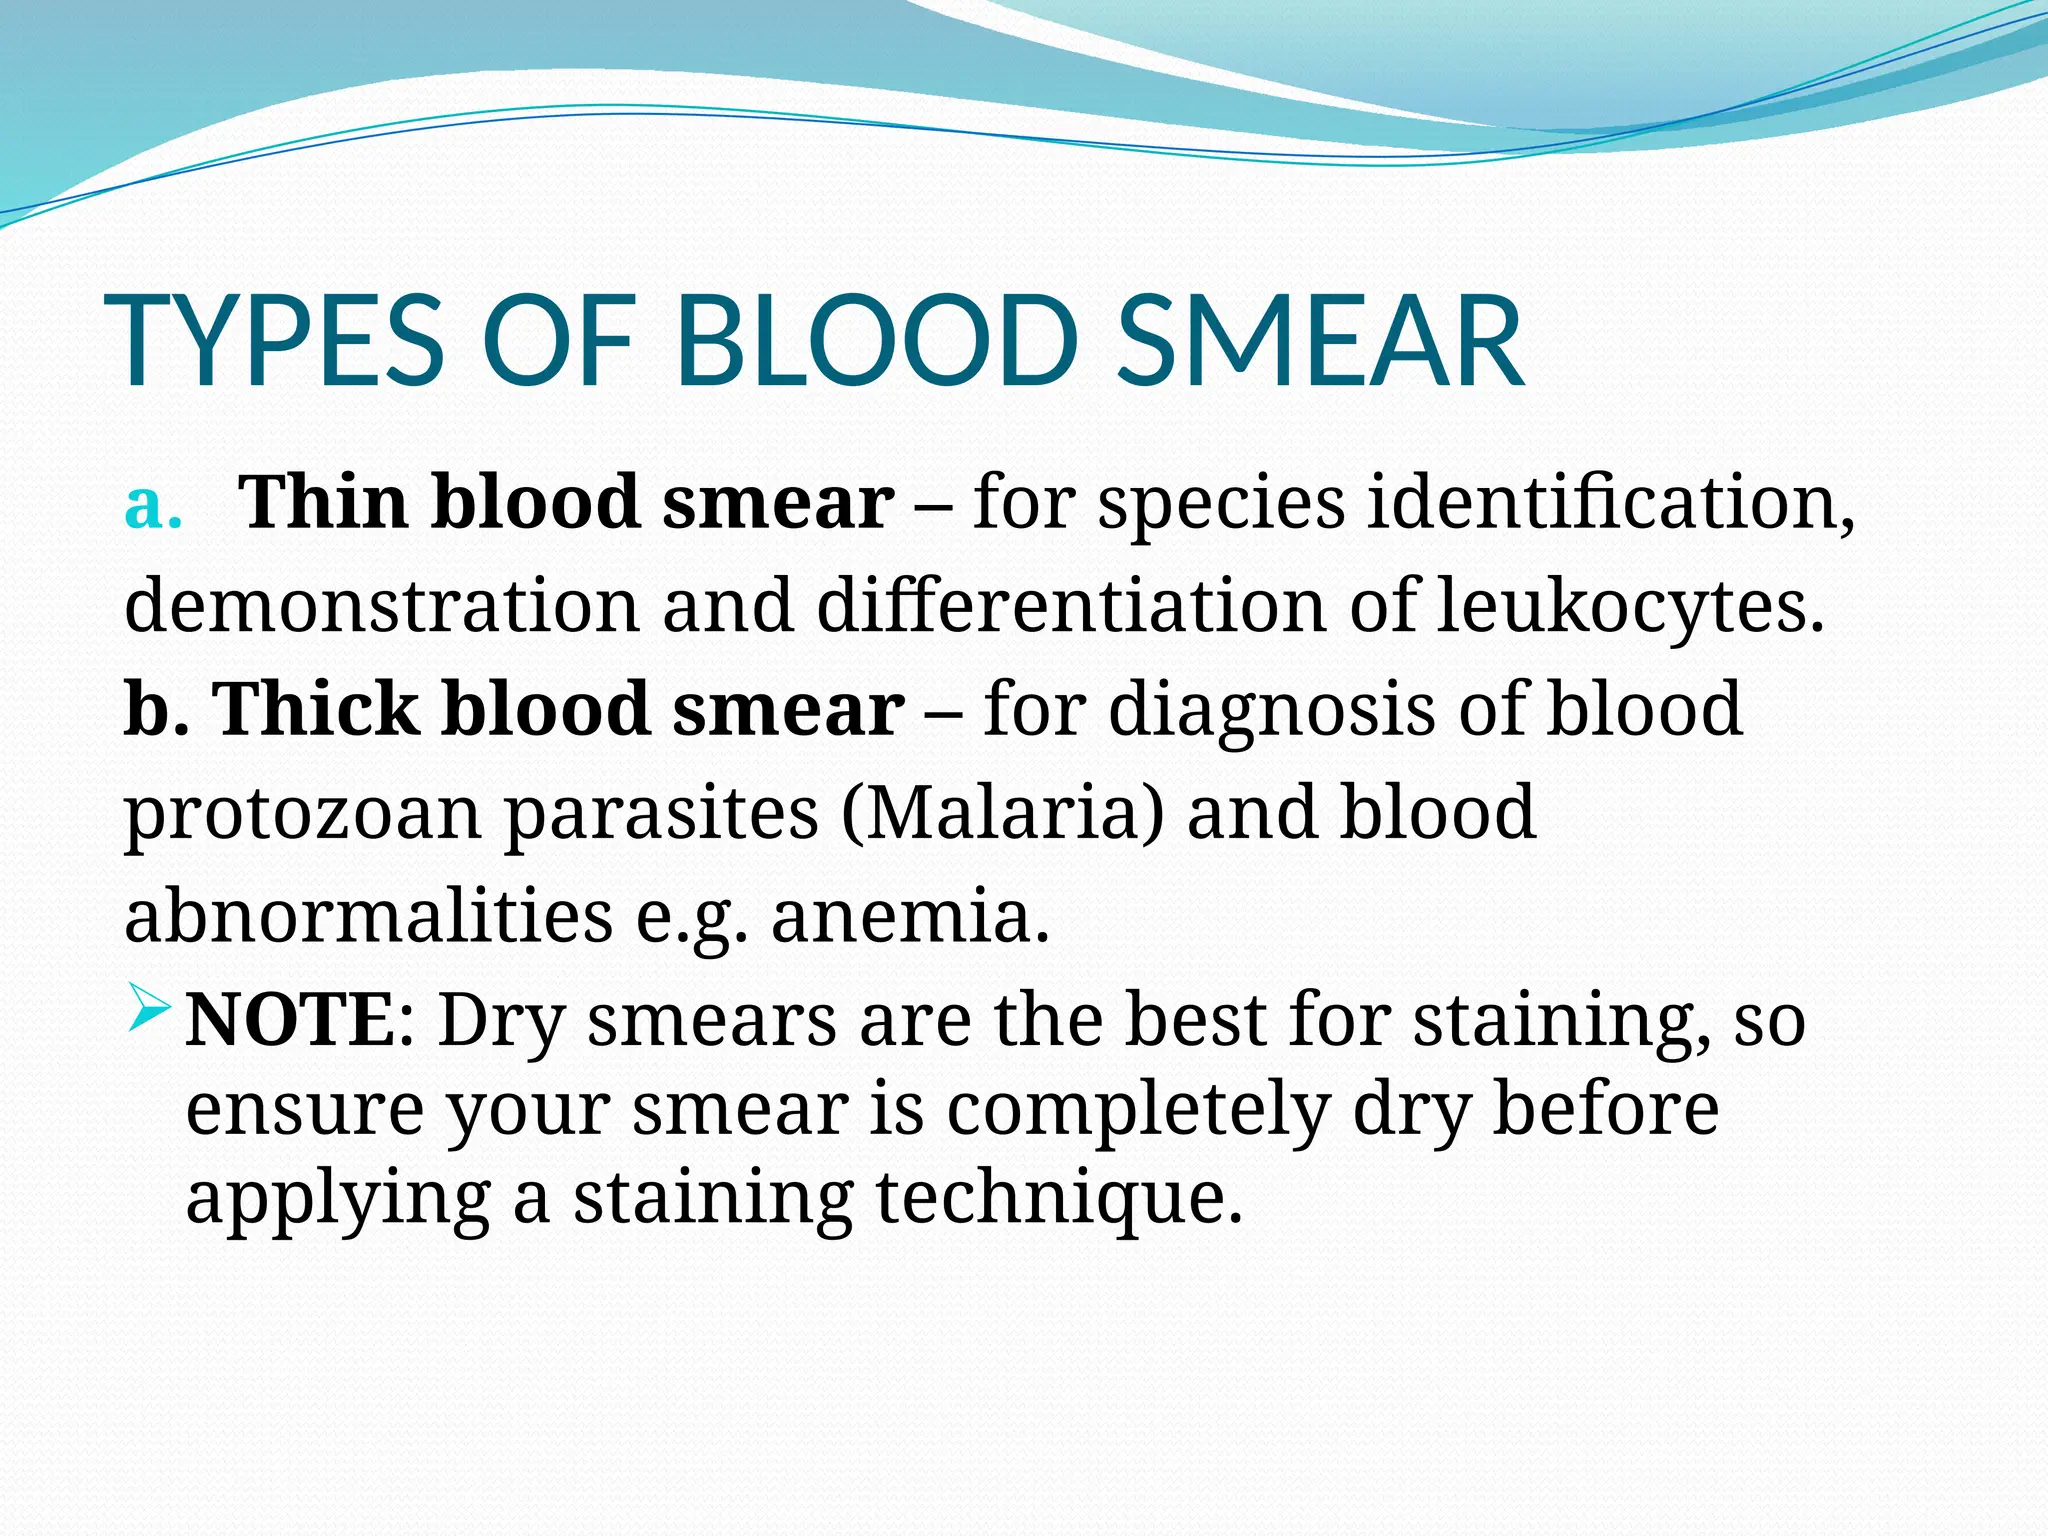
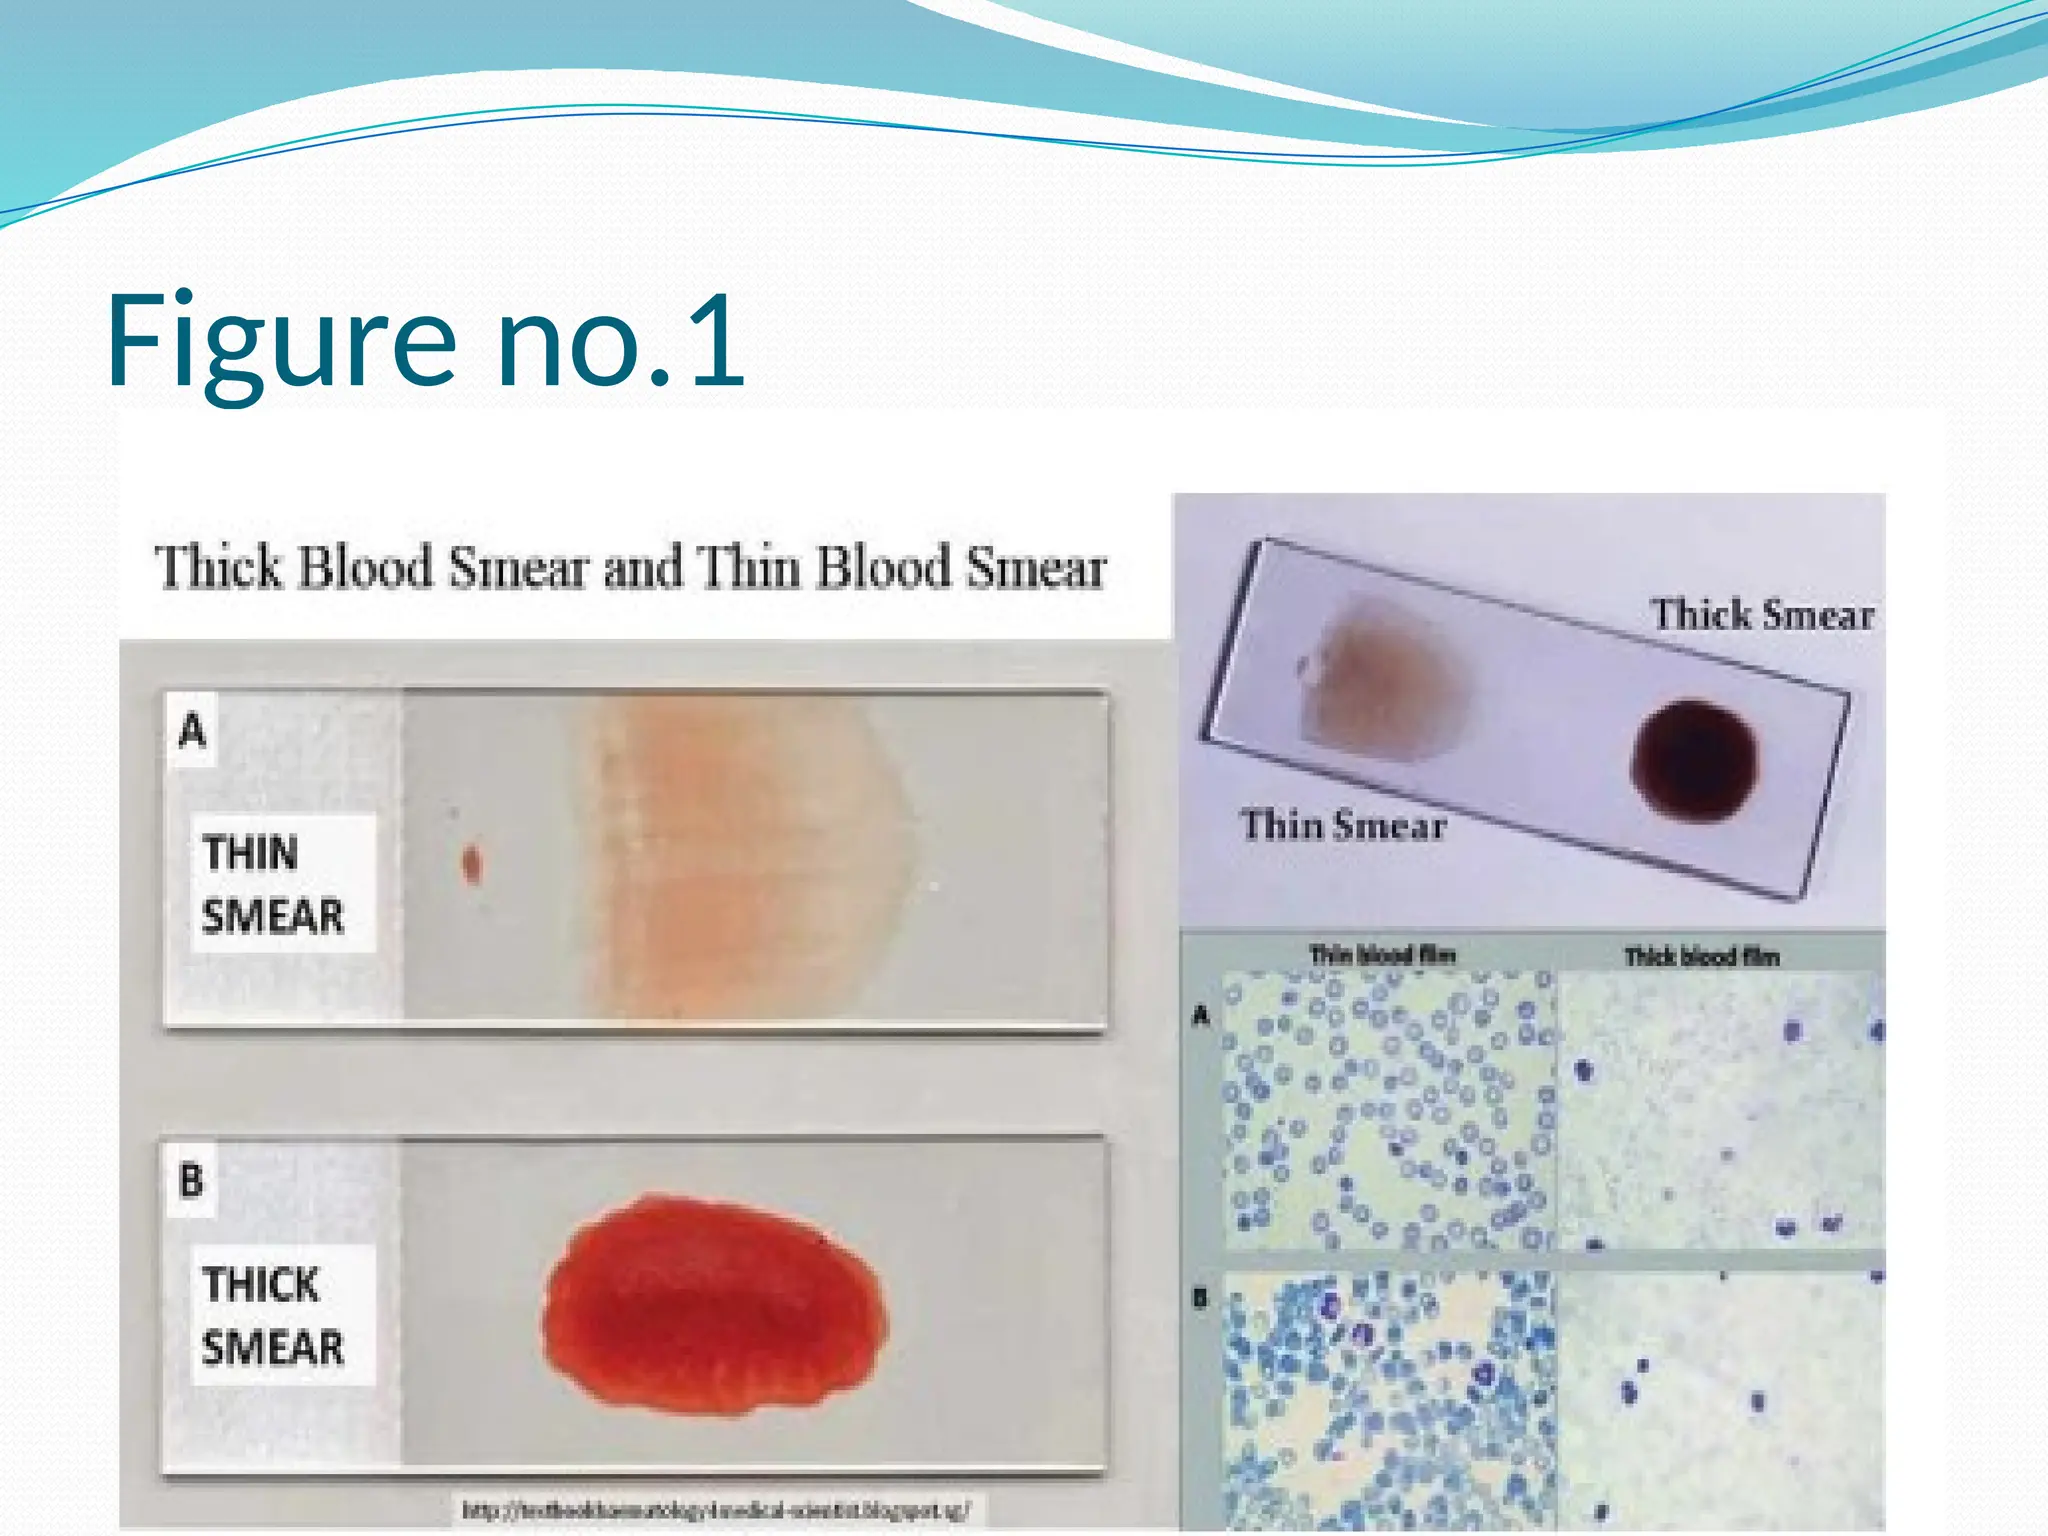
TYPES OF BLOODSMEAR
a. Thin blood smear – for species identification,
demonstration and differentiation of leukocytes.
b. Thick blood smear – for diagnosis of blood
protozoan parasites (Malaria) and blood
abnormalities e.g. anemia.
NOTE: Dry smears are the best for staining, so
ensure your smear is completely dry before
applying a staining technique.
Principle
Thick blood smearsrequire larger volumes of
blood than the thin blood smears. this allows
them to be used for the detection of blood
parasites in the blood samples. A thick blood
smear is made by spreading a large blood drop
in a small area of about 1 cm which provides a
better opportunity to detect various parasitic
forms against a more transparent background.
31.
Procedure
Collect bloodsample by venipuncture and put in a
clean test tube
Using a capillary tube collects blood from the tube
and put two large drops at the center of a sterile
microscopic slide.
Holding the slide between your thumb and index
finger, gently shake the slide to spread the blood
about 10mm in diameter.
Air-dry the smear for 20-30 minutes till its
completely dry then apply the appropriate
Romanowski stain.
32.
Thin Blood SmearPreparation
Specimen: Venous Blood sample
Principle
The Thin Blood smear is prepared by making a drop
of well-mixed venous blood, 2mm in diameter at the
center of a sterilized microscopic glass slide. Some
borders are left around the smear for easy counting
and differentiating of the cells. A second glass slide
is used as a spreader, streaking the blood into a thin
film across the glass slide. This preparation is
allowed to dry and then fixed with an appropriate
Romanowski stain, depending on your objective.
33.
Procedure
Using asterile pricking needle, make a prick on the index
finger
apply some pressure on the finger and put two drops of blood
at the edge, leaving a margin on a sterile Microscopic slide.
Place the edge of the sterile microscopic slide over the drops
of blood, at an angle of 30-450
, and make two streaks rapidly
but smoothly forward from the blood sample and spread it.
This will leave a thin film of blood resembling a tongue-
shape.
Allow the slide to air dry and stain with an appropriate
staining technique.
34.
Applications of bloodsmears
For classification of blood disorders including
types of anemia, bleeding disorders
To characterize blood-related disorders such as
leukemia's
To detect immune-mediated inflammatory
disorders and infections
To detect protozoa parasites: Plasmodium
falciparum, Mycoplasma spp (Mycoplasma
haemofelis and Mycoplasms haemominutus and
Bacteria such as Bartonella spp.
35.
Advantages
It isa rapid simple technique which requires basic
equipment
It can be performed with very small volumes of blood.
Disadvantages
Use clean slides to avoid the formation of grease spots
(holes in the smear).
Rapid air drying of smear to preserve cell
morphologies
Regular use of the technique to produce useful blood
smears


![Apporach to lung biopsy [Auto-saved].pptx latest](https://cdn.slidesharecdn.com/ss_thumbnails/apporachtolungbiopsyauto-saved-251211225655-93258539-thumbnail.jpg?width=640&height=640&fit=bounds)


