Downloaded 14 times

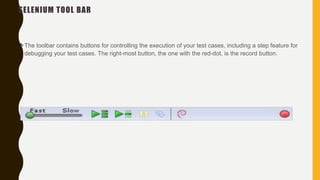


![SCRIPT SYNTAX
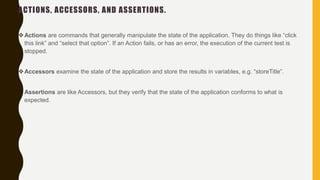
Selenium commands are simple, they consist of the command and two parameters. For example:
The parameters are not always required; it depends on the command. In some cases both are required,
in others one parameter is required, and in still others the command may take no parameters at all.
verifyText //div//a[2] Login](https://image.slidesharecdn.com/seleniumidemadeeasy-160307214931/85/Selenium-ide-made-easy-19-320.jpg)


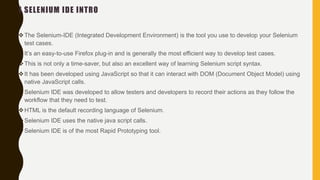
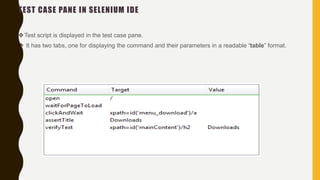
The document provides a comprehensive overview of Selenium IDE, an integrated development environment for developing Selenium test cases using a Firefox plug-in. It covers installation, functionality, components, and key features such as command execution and test script management, along with a detailed explanation of commonly used Selenium commands and their syntax. Additionally, it discusses the differences between assertions and verifications in testing, as well as the use of echo commands for test output.