This introduction welcomes the reader to the book "Create Your Own Website" and explains that it aims to show just how easy it is for individuals to create their own websites, even without technical expertise, using professional templates and a free web page editor provided on an included CD. The book will guide readers through customizing the templates to build various types of personal websites with simple point-and-click tools similar to a word processor.


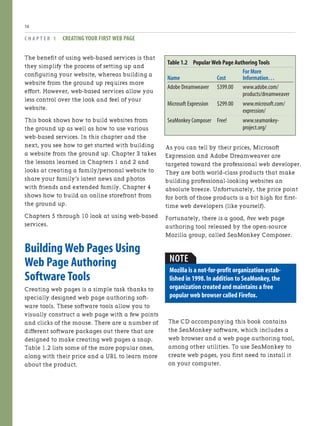
![BUILDING WEB PAGES USING WEB PAGE AUTHORING
SOFTWARE TOOLS
15
JUST GIVE ME A TEMPLATE!
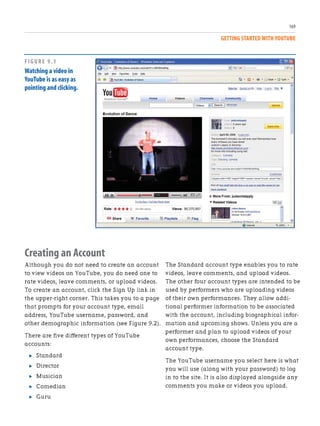
What if you're not creative? What if you have
no design education and experience? You still
want a nice looking website that attracts visi-
tors,and you have the skills to create it,but
you need the look—the typefaces,the colors,
the art.We just had to review Adam Polselli's
site again for this reason[md]he offers you an
array of choices from simple chic to corporate
to vintage and tells you step by step how to
get the particular look that you want.After you
read through his reasons for choosing
elements to achieve his theme,he lets you click
a link called“Putting It All Together,”where
you see a bulleted list of typefaces he recom-
mends,color schemes,shapes,borders,and
photo finishes so that you can duplicate his
design.
If you still want more than instructions to
achieve a look,you can buy HTML templates
from websites.Try sites like Boxedart.com and
designload.net,where you can buy full-page
templates or just buttons,art,and logos.
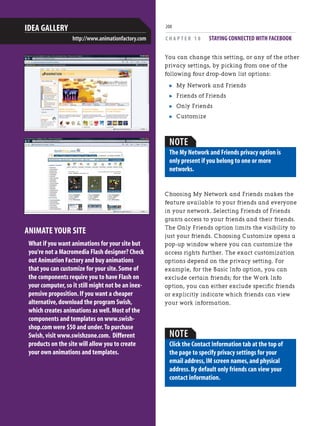
IDEA GALLERY
http://adampolselli.com/2001/11/03/get-the-look-vintage/
NOTE
The CD includes the most recent version of
SeaMonkey at the time of this book’s writing,
version 1.1.9.You may optionally download and
install the most recent version of SeaMonkey
from the official website—www.seamonkey-
project.org.If you do,though,realize that there
may be some slight discrepancies between what
you see on your screen and the screenshots in
this book.
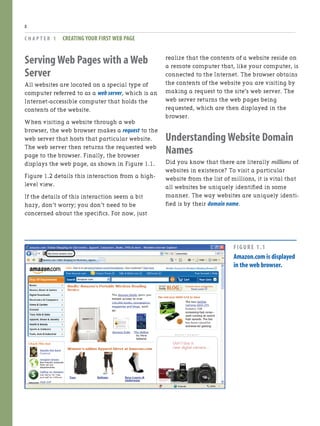
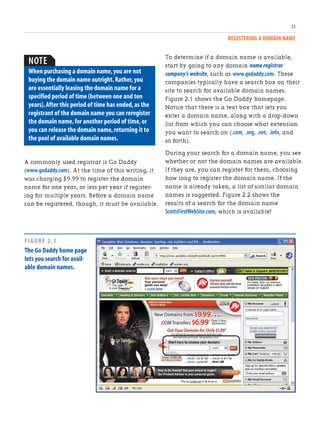
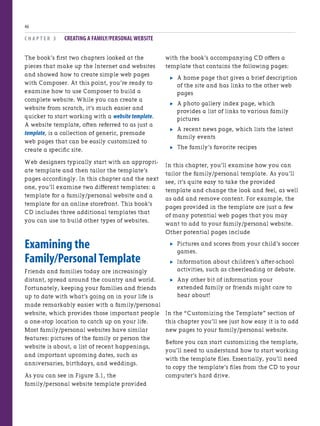
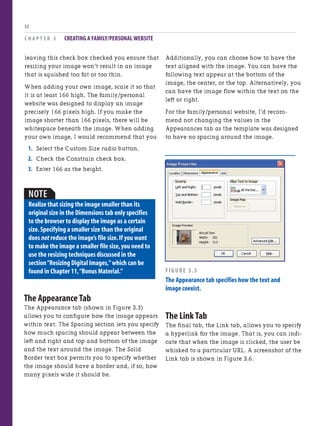
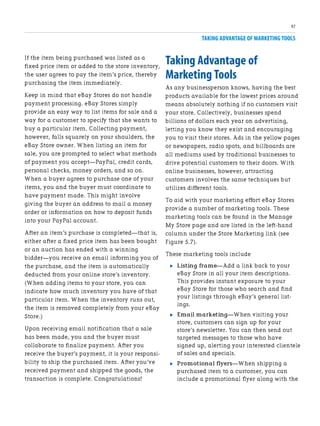
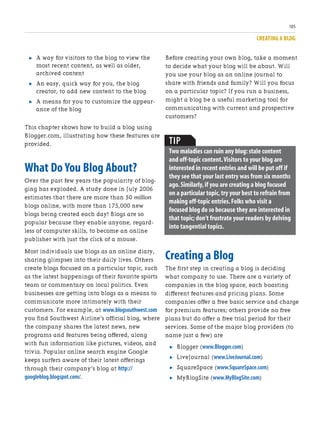
Installing SeaMonkey
To begin the SeaMonkey installation, insert the
CD into your computer. This will launch a
program with three options:
. Browse Templates
. Install SeaMonkey
. Companion Website
Click the Install SeaMonkey option to begin the
installation process, which starts by displaying
the SeaMonkey Setup—Welcome dialog box
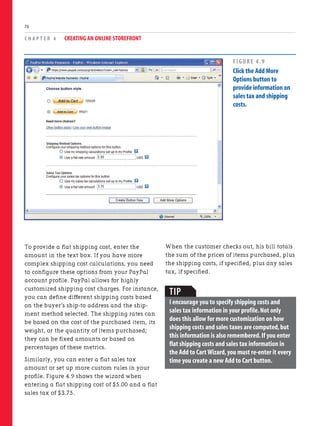
(shown in Figure 1.6).](https://image.slidesharecdn.com/scottmitchellcreateyourownwebsite4theditbookfi-170412140302/85/Scott-mitchell-create_your_own_website_-4th_edit-book_fi-24-320.jpg)


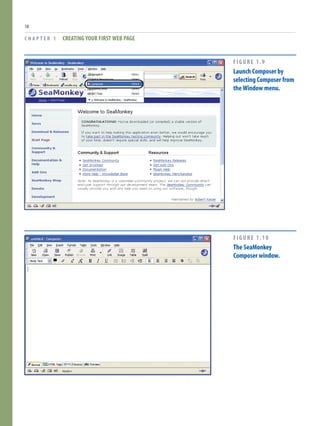


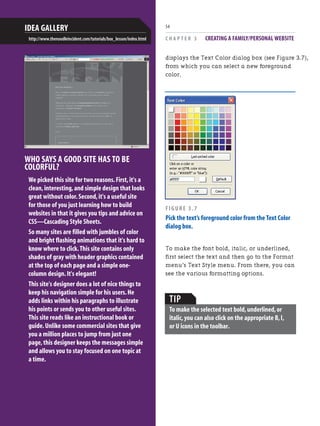

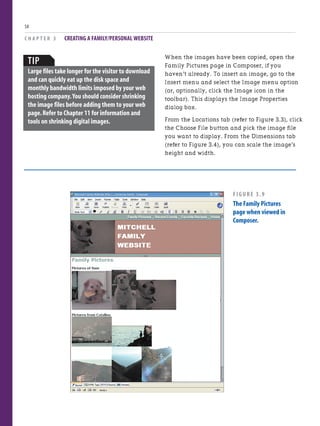


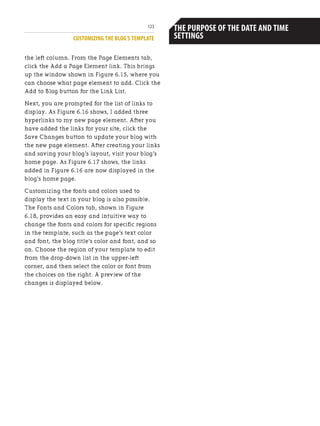


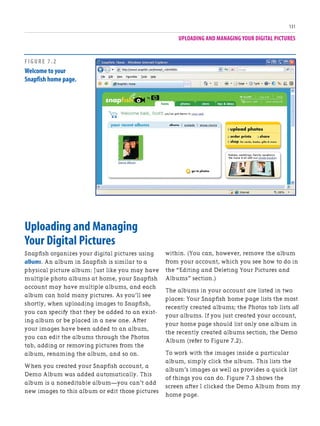

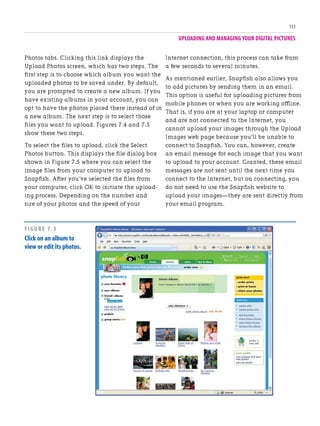

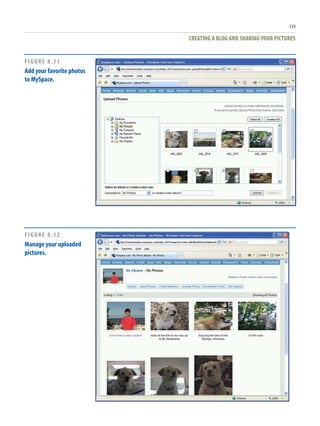
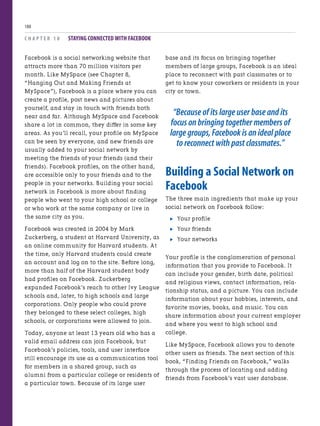
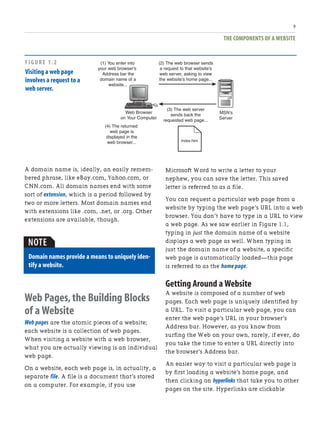
![UPLOADING AND MANAGING YOUR DIGITAL PICTURES
137
. Copy Photos—Click this link to send a
copy of the picture to a different album.
. Delete Photos—If you have a photo you
want to remove from the album, click this
link.
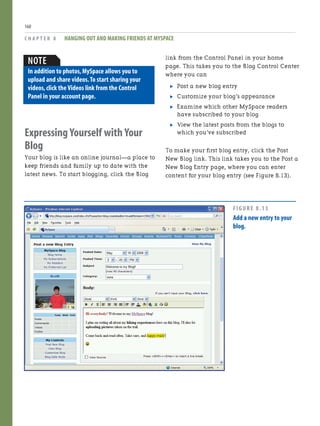
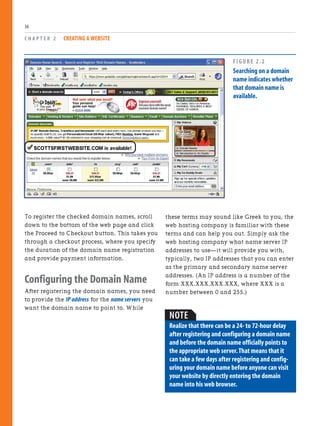
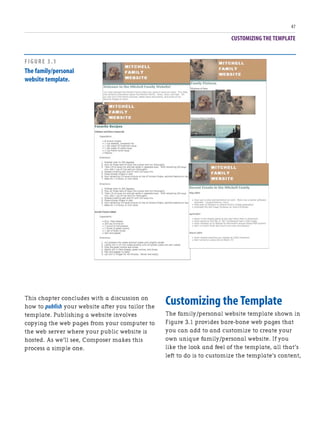
When viewing all the pictures within a particu-
lar album, the options under the Edit &
Organize heading include those from the
preceding list along with three additional
options that allow for editing or deleting the
album:
. Rename Album—Click this link to rename
the selected album.
. Rearrange—By default, the order of
images within an album is based on the
order in which the images were uploaded.
You can, however, reorder the images
within an album by clicking on the
Rearrange link.
. Remove Album—If you want to delete an
album and all the pictures within, click on
this link.
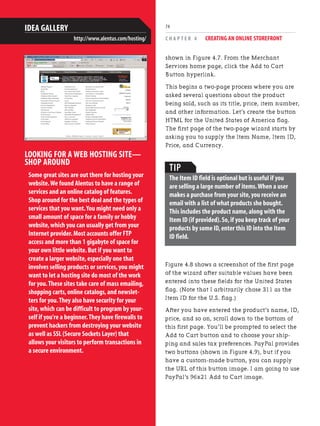
In the next section, you learn how to share
your pictures and albums with selected friends
and families. Following that, you see how to
use Snapfish to order prints and photo-related
gifts. Before doing either of these things, it
would be wise to make sure that your pictures
are properly positioned, have germane
captions, and belong in appropriately named
albums. Using the techniques discussed in this
section, you should be able to deftly rotate, add
borders, and edit picture captions.
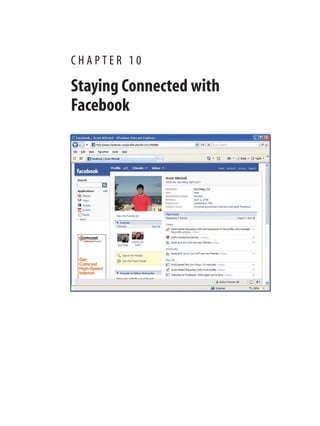
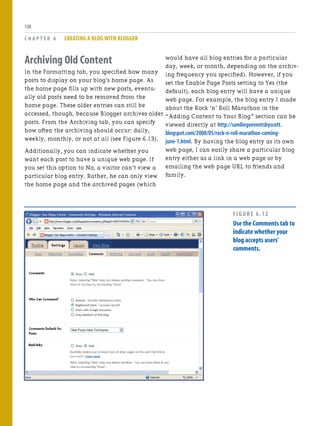
IF YOU BUILD IT,THEY WILL COME
(RIGHT?)
Marketing Find was the best site we found that
tells you how to let people know about your
website.There are so many ways to reach
customers through the Internet[md]email
newsletters and promotions,online ads,and
paying for words on search engines such as
Google.How do you know what's cost-effec-
tive? How do you measure success? This site is
like a mini Internet marketing class. Want to
do email marketing but don't know how to get
your customers' attention? This site has an
entire section devoted to email marketing and
newsletters.Even the ads on this site are a
great resource for beginning web developers.
We found advertisers who will measure your
site traffic for you; others who will create,
send,and track your email campaigns; and
companies who will drive targeted traffic to
your website.
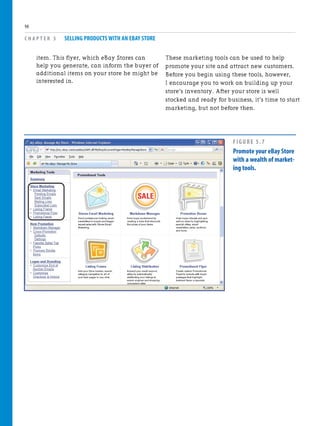
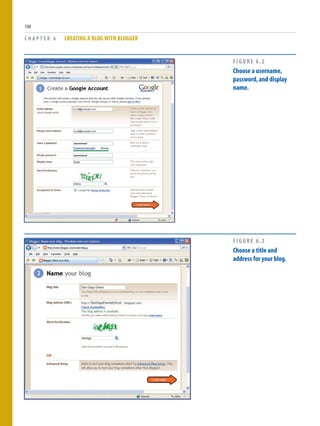
Navigate to
www.marketingfind.com/pages/roiform.html
where it provides an online ROI calculator for
you.Just plug some metrics on your advertis-
ing campaign and your revenue,and the calcu-
lator tells you if you received a fair return for
your investment.
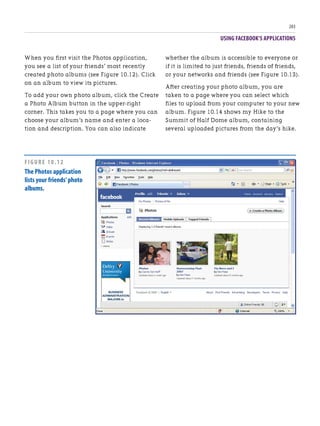
IDEA GALLERY
http://www.marketingfind.com/](https://image.slidesharecdn.com/scottmitchellcreateyourownwebsite4theditbookfi-170412140302/85/Scott-mitchell-create_your_own_website_-4th_edit-book_fi-146-320.jpg)

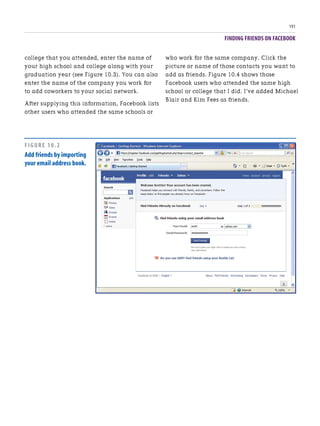
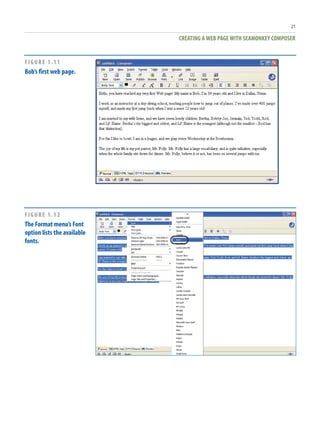
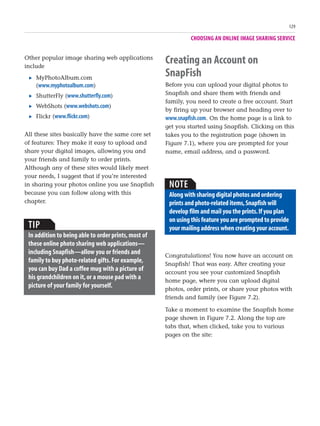
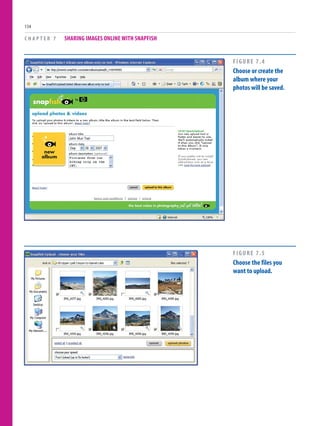
![C H A P T E R 7 SHARING IMAGES ONLINE WITH SNAPFISH
142
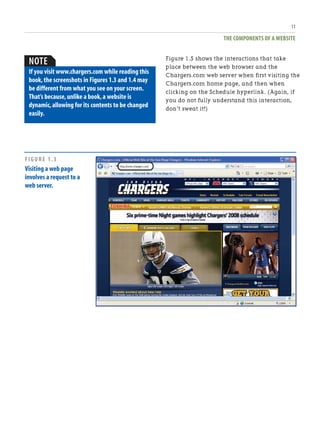
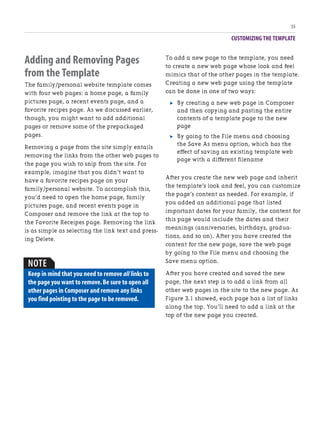
Ordering Prints and Gifts
Although being able to view pictures online is
a neat feature, there’s no substitute for a print.
A print can be put in a picture book, hung up
in a cubicle at work, or slapped up on the
refrigerator. Snapfish makes it easy to order
prints from the digital images in your account.
Simply select those images you want prints for,
pay for each print (along with a nominal ship-
ping and handling charge), and within a few
days you’ll receive the prints in the mail. And
not only can you order prints for yourself, but
your friends and family also can order prints
from albums or pictures you share.
To order prints, click the Order Prints link in
the home page or from the Photos tab. When
ordering prints, proceed through the following
steps:
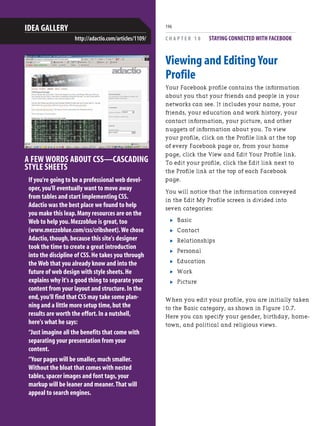
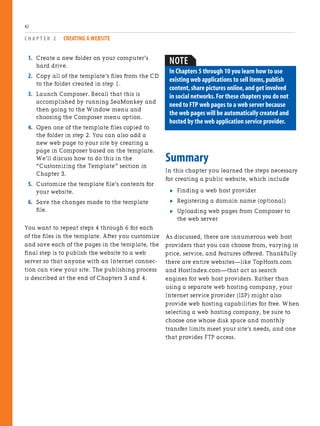
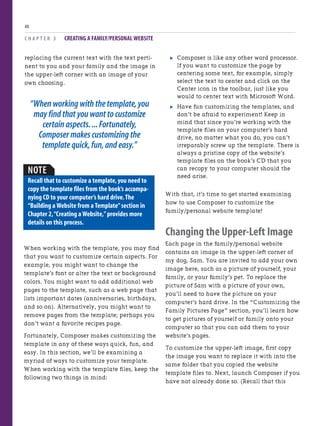
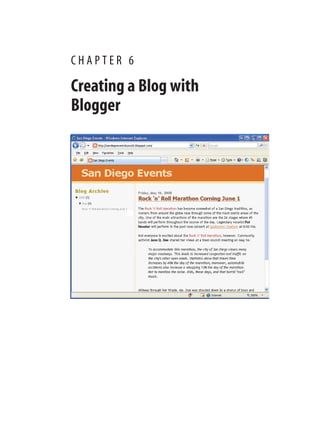
1. Select which digital pictures you want
printed.
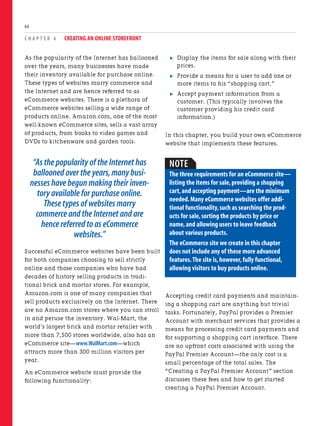
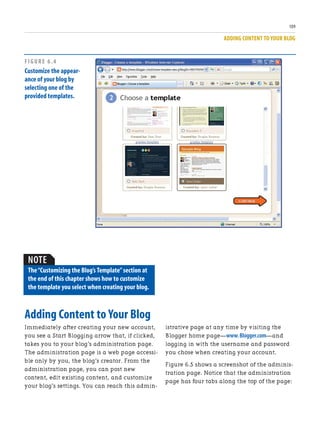
2. Specify the dimensions, quantities, and
print quality for each print. Snapfish offers
a variety of print dimensions: wallet sets,
4×6, 5×7, 8×10, and additional poster print
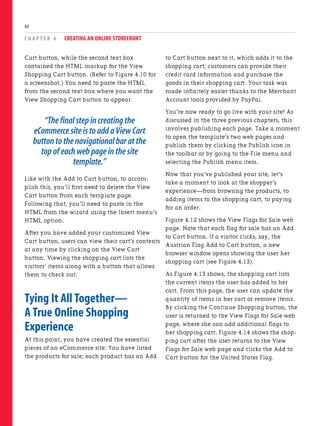
sizes (see Figure 7.13).
3. Provide payment information, shipping
options, and the shipping address. Like
virtually all online stores, Snapfish accepts
THINK LIKE A CUSTOMER
West Elm is a contemporary home furnishing
site that offers more than attractive home
furniture.It offers users a shopping experience
similar to one they would have at an actual
store with one advantage[md]users can go
directly to the item they are interested in
purchasing without going through the entire
store.The site is organized by item,such as
sofas,accessories,and so on,or you can shop by
room,such as living room,office,and so forth.
It is quite simple in its design,offering a clean,
clear way to shop for home furnishings.
Selected items can be displayed in a larger
format or in your chosen color,taking the
guesswork out when looking only at a color
swatch.The site is very usable,which is impor-
tant to keep in mind when designing a site.
Simply,the easier navigation is,the cleaner
your design makes a better experience for your
visitor.Making things complex when they
don't need to be only frustrates your visitor.
And most often the goal is repeat visitors,so
providing a pleasant experience at first click is
an important goal for any website designer.
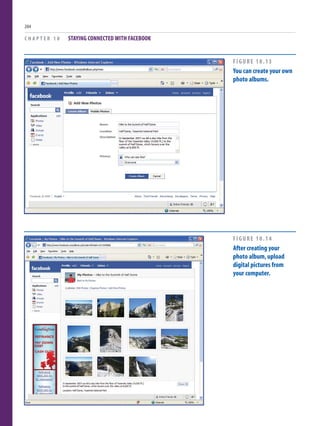
IDEA GALLERY
http://www.Westelm.com
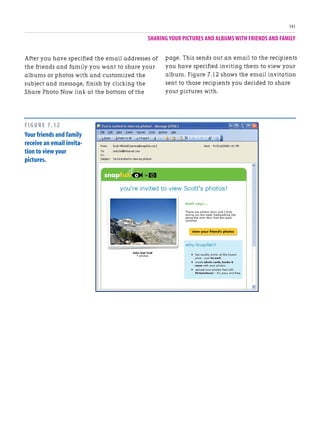
NOTE
For friends and family to view your shared photos
on Snapfish,they need to have a Snapfish
account.When they attempt to view your
pictures they are prompted to log in to Snapfish.
If they do not yet have an account,they are given
instructions on how to create a free account.](https://image.slidesharecdn.com/scottmitchellcreateyourownwebsite4theditbookfi-170412140302/85/Scott-mitchell-create_your_own_website_-4th_edit-book_fi-151-320.jpg)


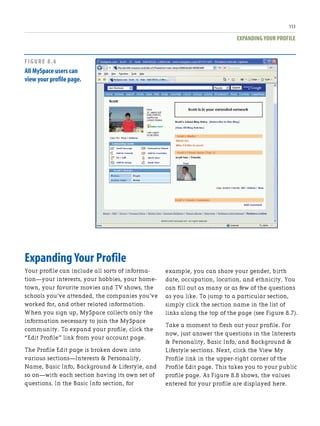
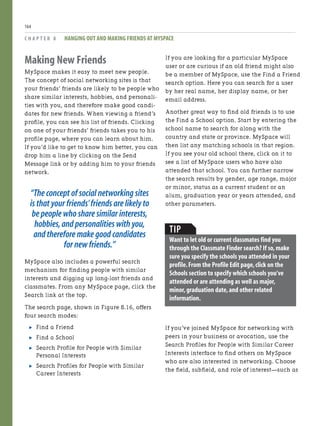
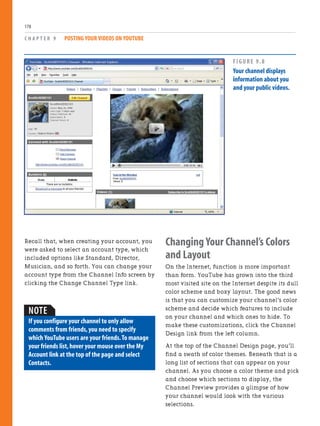
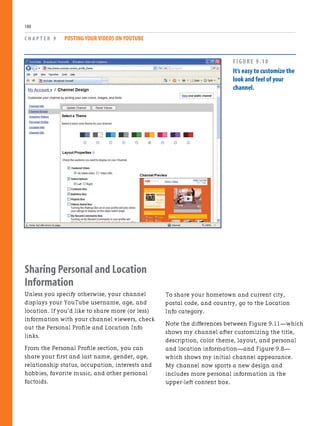
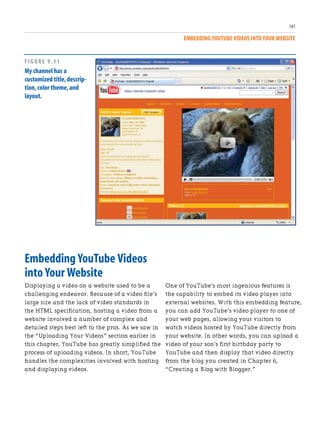
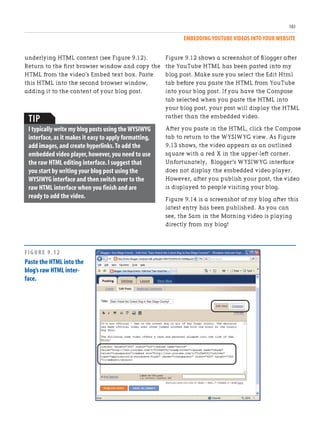
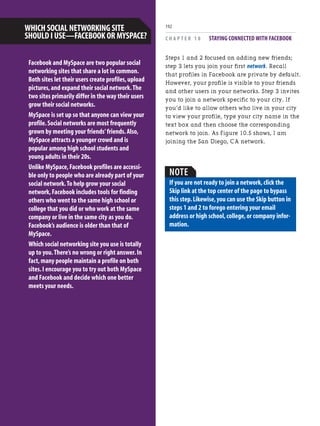
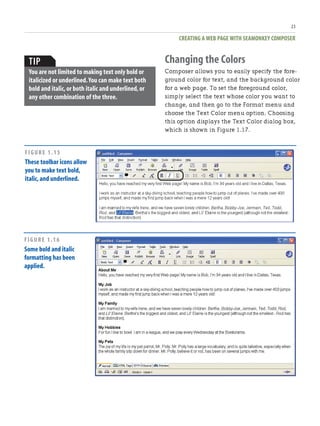
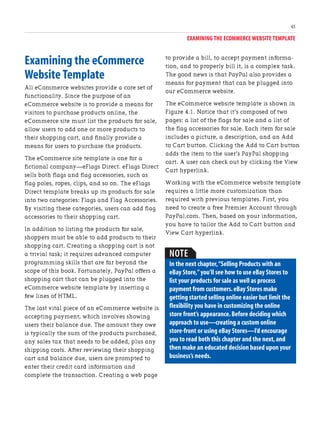
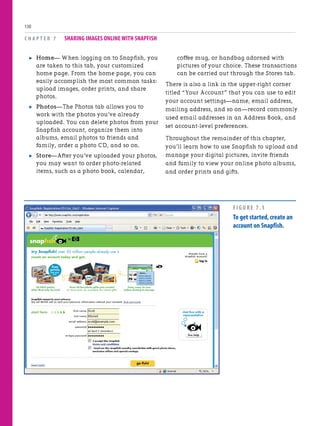
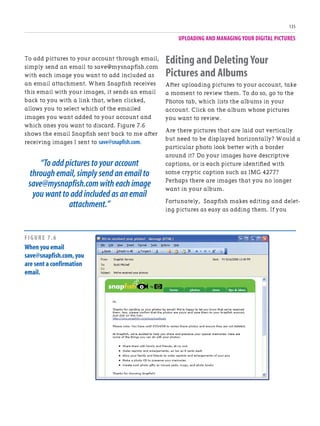
![JOINING MYSPACE
151
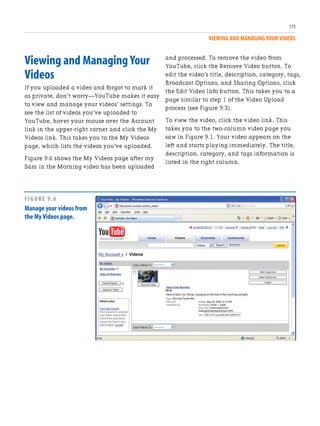
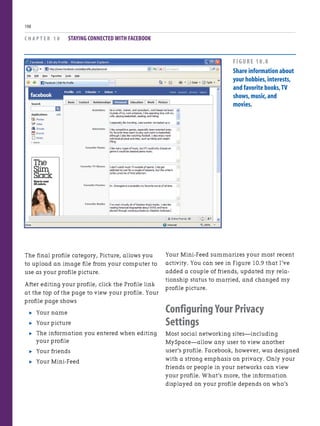
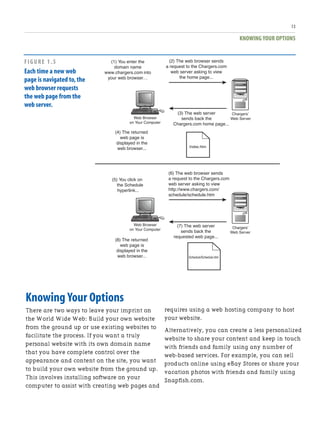
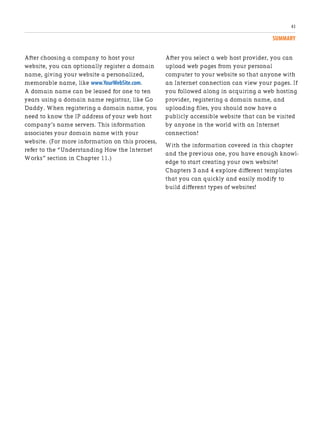
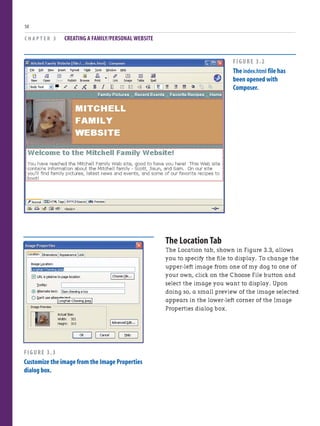
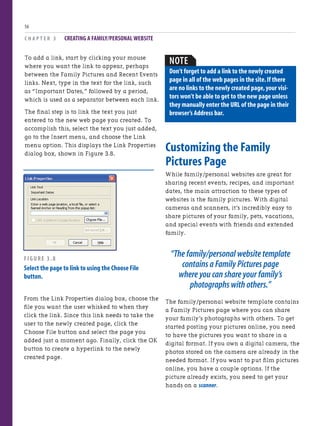
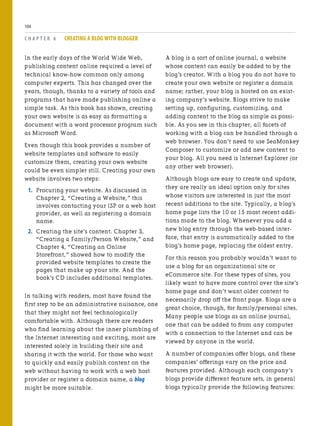
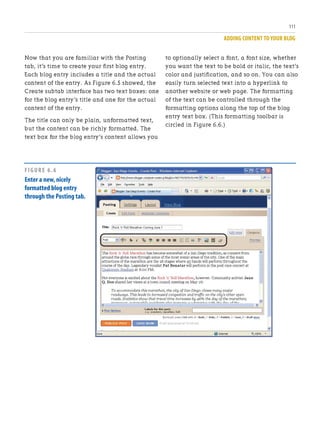
When you log in to MySpace or click the Home
link at the top of any page on MySpace, you are
taken to your account page (see Figure 8.5).
There you can update your profile, change your
account settings, upload photos, manage your
blog, and much more. In addition to your
account page, you have a profile page where
friends can view your profile, leave a comment,
and read your blog (see Figure 8.6). To view
your profile page, click the View My Profile link
on your account page.
The remainder of this chapter explores ways to
customize your profile page, upload and share
photos, and build your social network.
SIMPLE IS GOOD
What's so great about this knitting page? It's
simple.We love this site because it has every-
thing you'd ever want to find about one
thing—knitting.The first page is a jumping
off place for just about everything you might
need[md]videos,the community,a store,
patterns,and even a glossary.That's it.
We've seen other sites that offer plenty of
information,but why bother visiting when the
pages are so complicated and busy that you
can't find what you want? You've seen those
kinds of sites—different font sizes all over the
place,pictures everywhere,flashing images,
and an obnoxious array of colors.
So what's the lesson? Your site doesn't have to
be fancy or beautiful to be great.Fill it with
content that people want and make it easy for
them to find things[md]that's it.
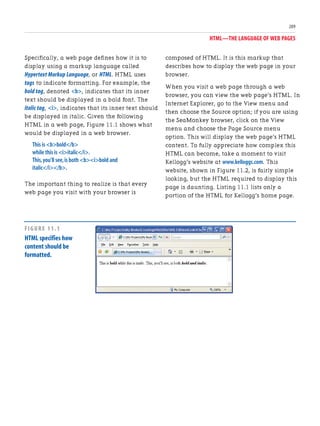
IDEA GALLERY
http://www.knittinghelp.com/
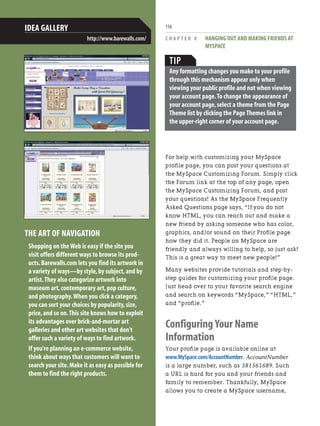
TIP
Your account page includes a Control Panel in the
left column,which includes links to manage the
various aspects of your MySpace profile.For
example,from the Control Panel,you can edit
your profile,adjust your account settings,
manage and upload photos,create a blog entry,
view your calendar,and so on.
TIP
On your account page,you’ll find a box labeled
Tell People About Your MySpace,”which provides
the URLs to your MySpace profile and blog.Your
profile’s URL will look like www.MySpace.com/
AccountNumber.AccountNumber is a large number
(such as 963146654).You can point your friends
and family to your MySpace profile by sending
them this URL.
To make your profile’s URL more memorable,you
can create a MySpace username,so that your
profile can be accessed using a URL such as
www.MySpace.com/ScottsHomePage.See
“Configuring Your Name Information”for more
information.](https://image.slidesharecdn.com/scottmitchellcreateyourownwebsite4theditbookfi-170412140302/85/Scott-mitchell-create_your_own_website_-4th_edit-book_fi-160-320.jpg)