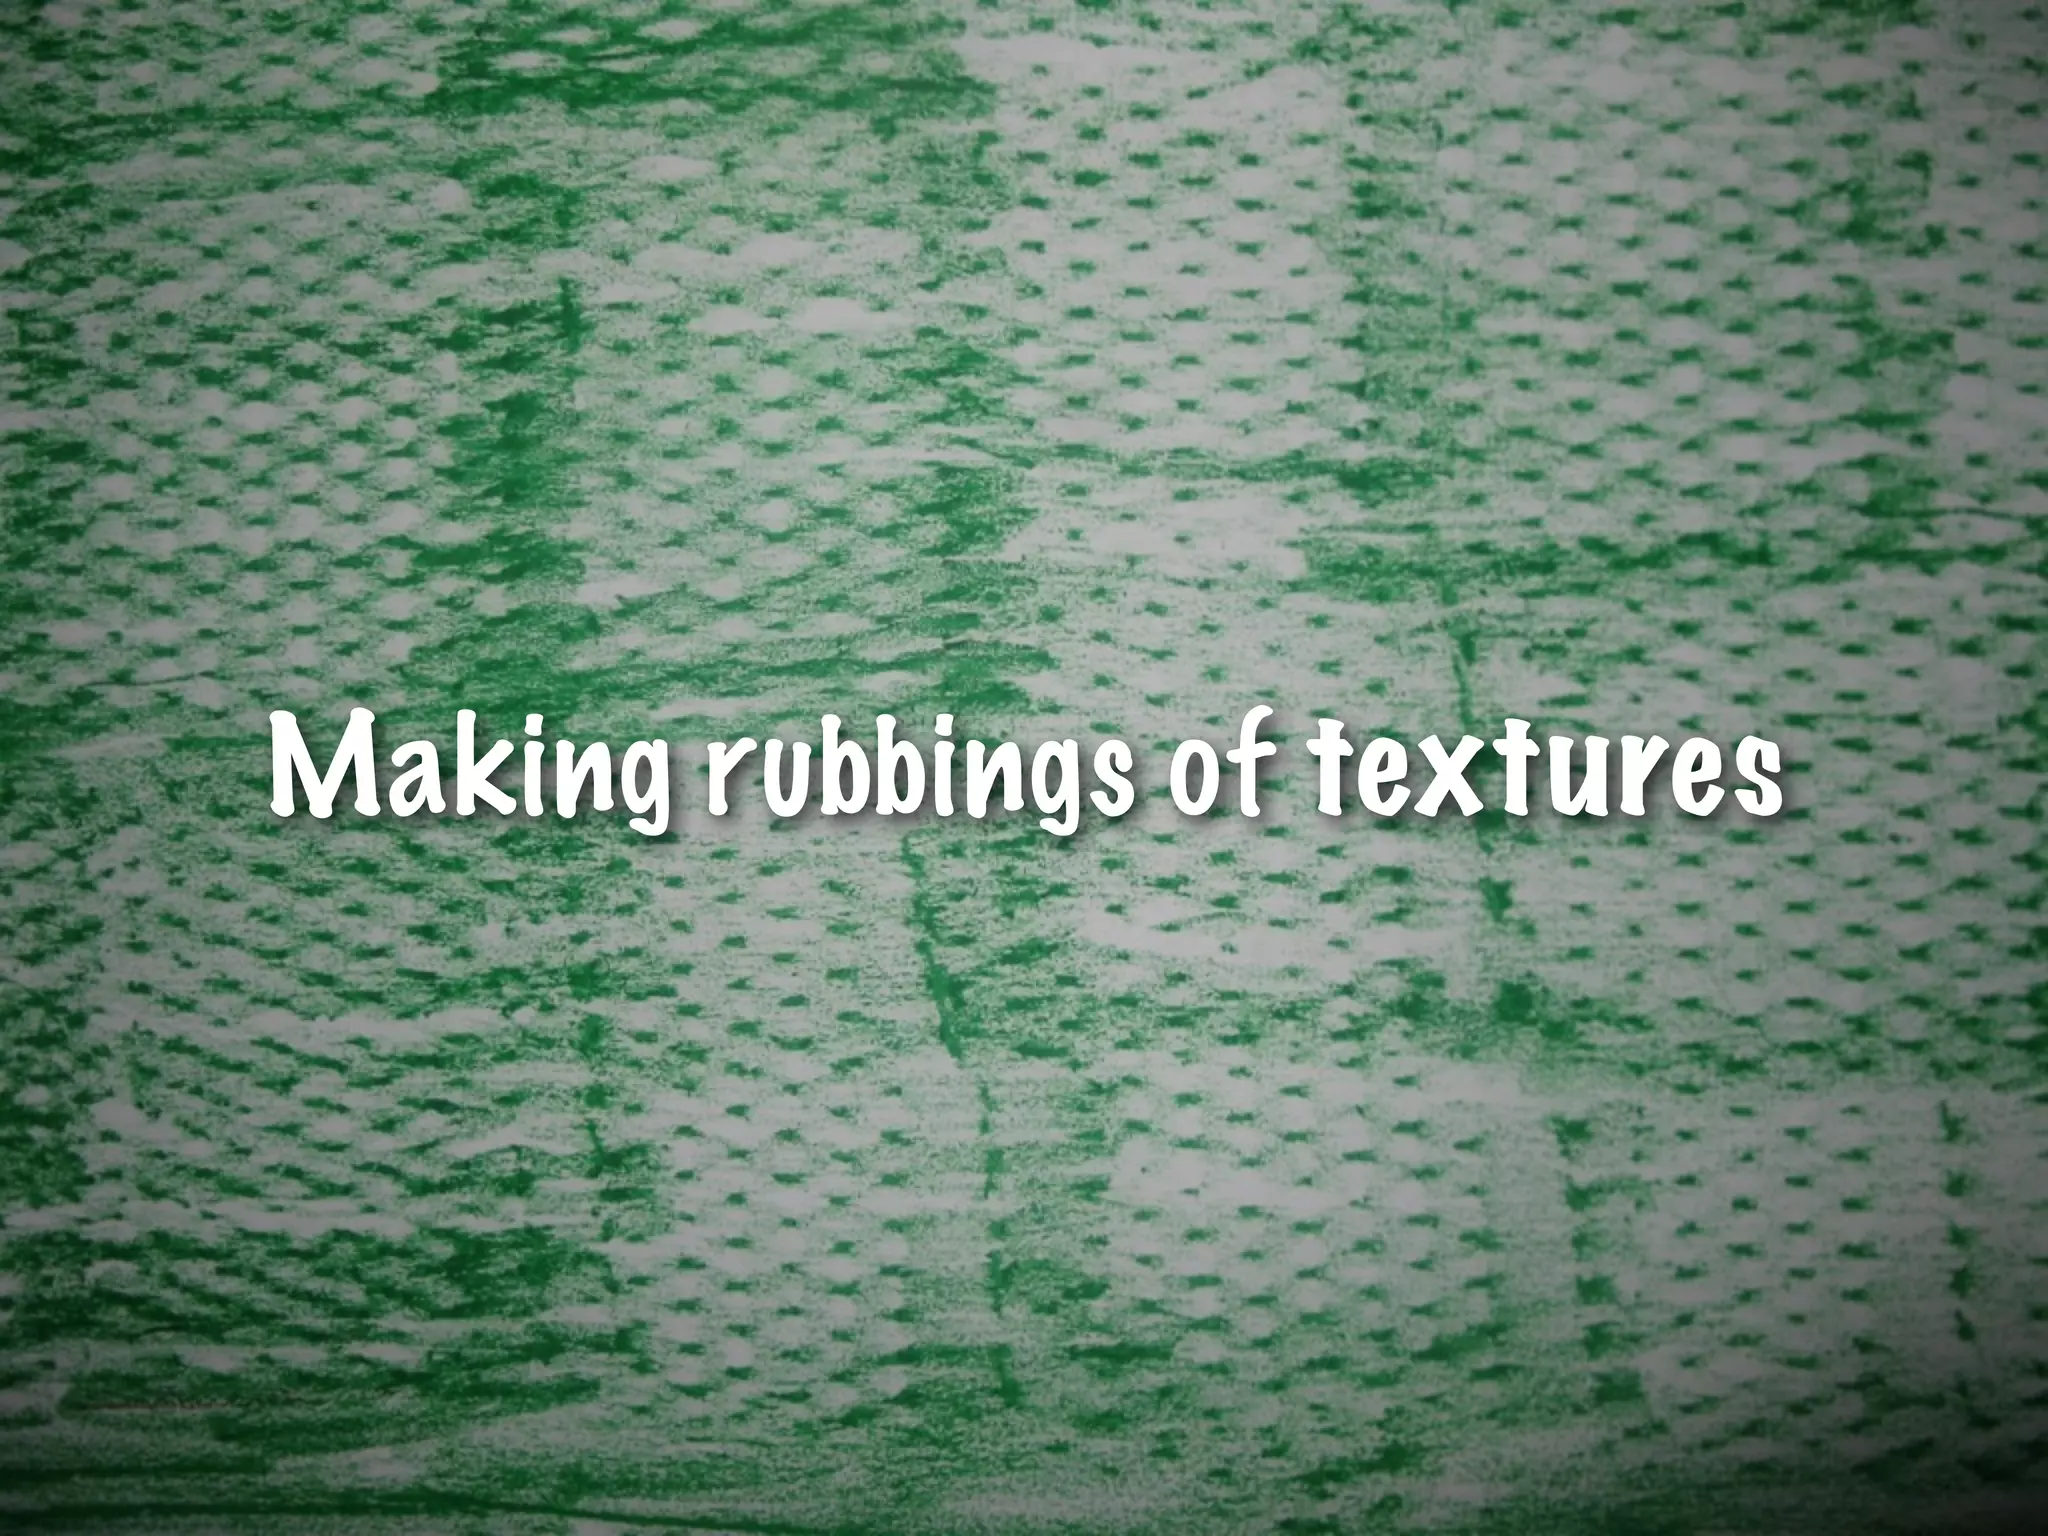
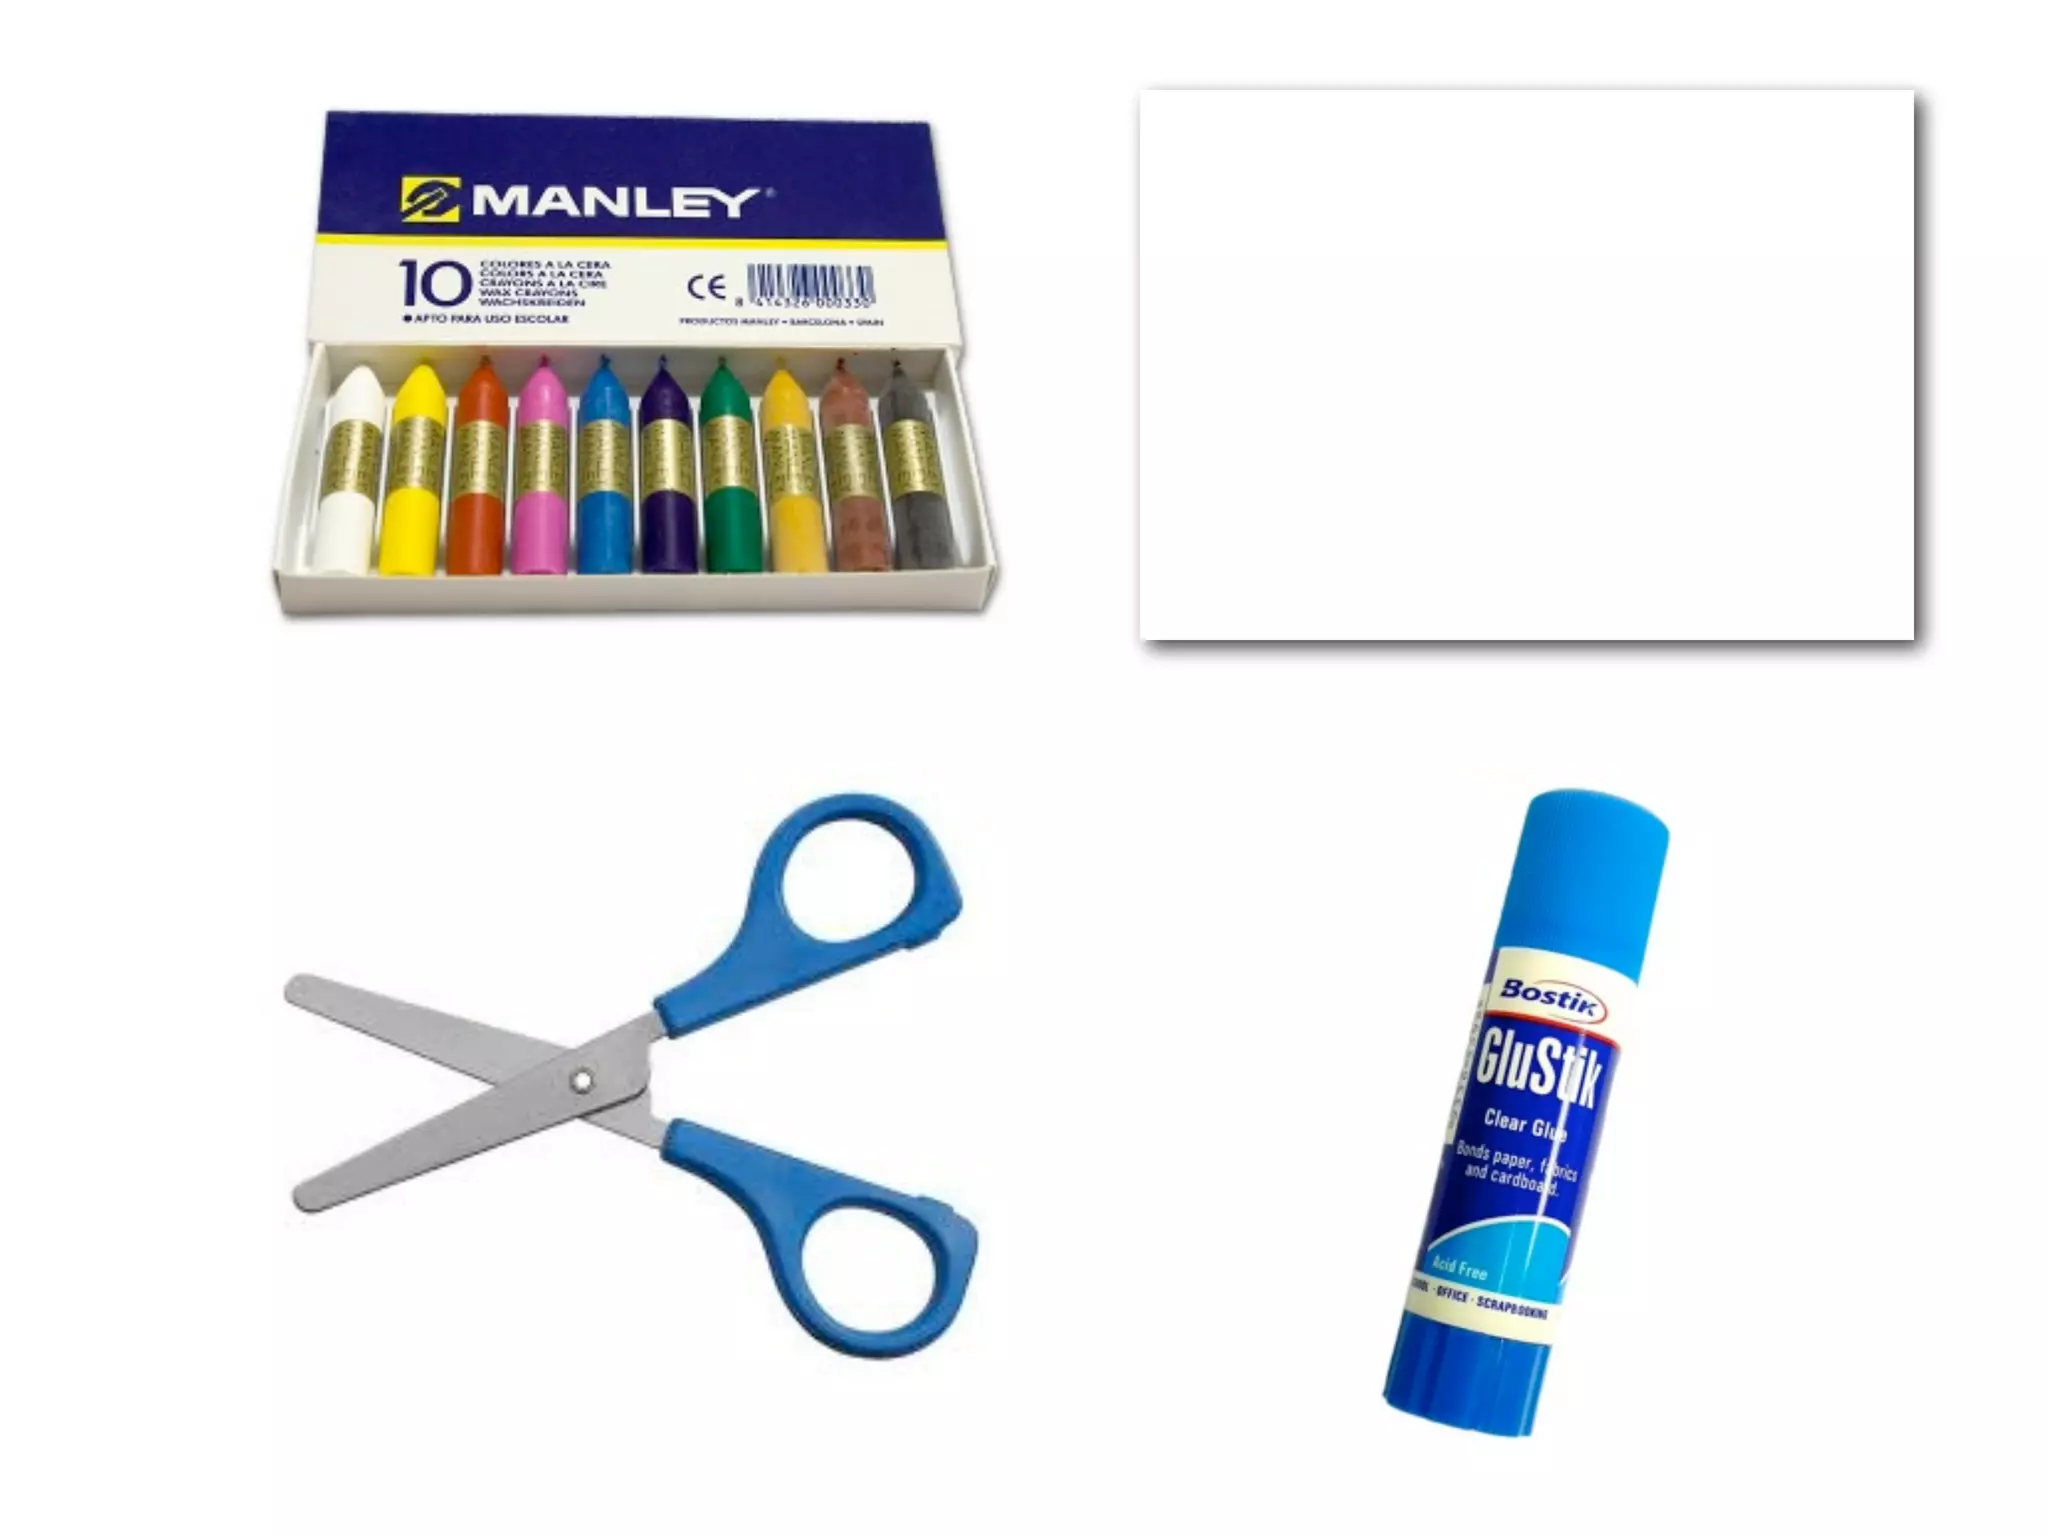
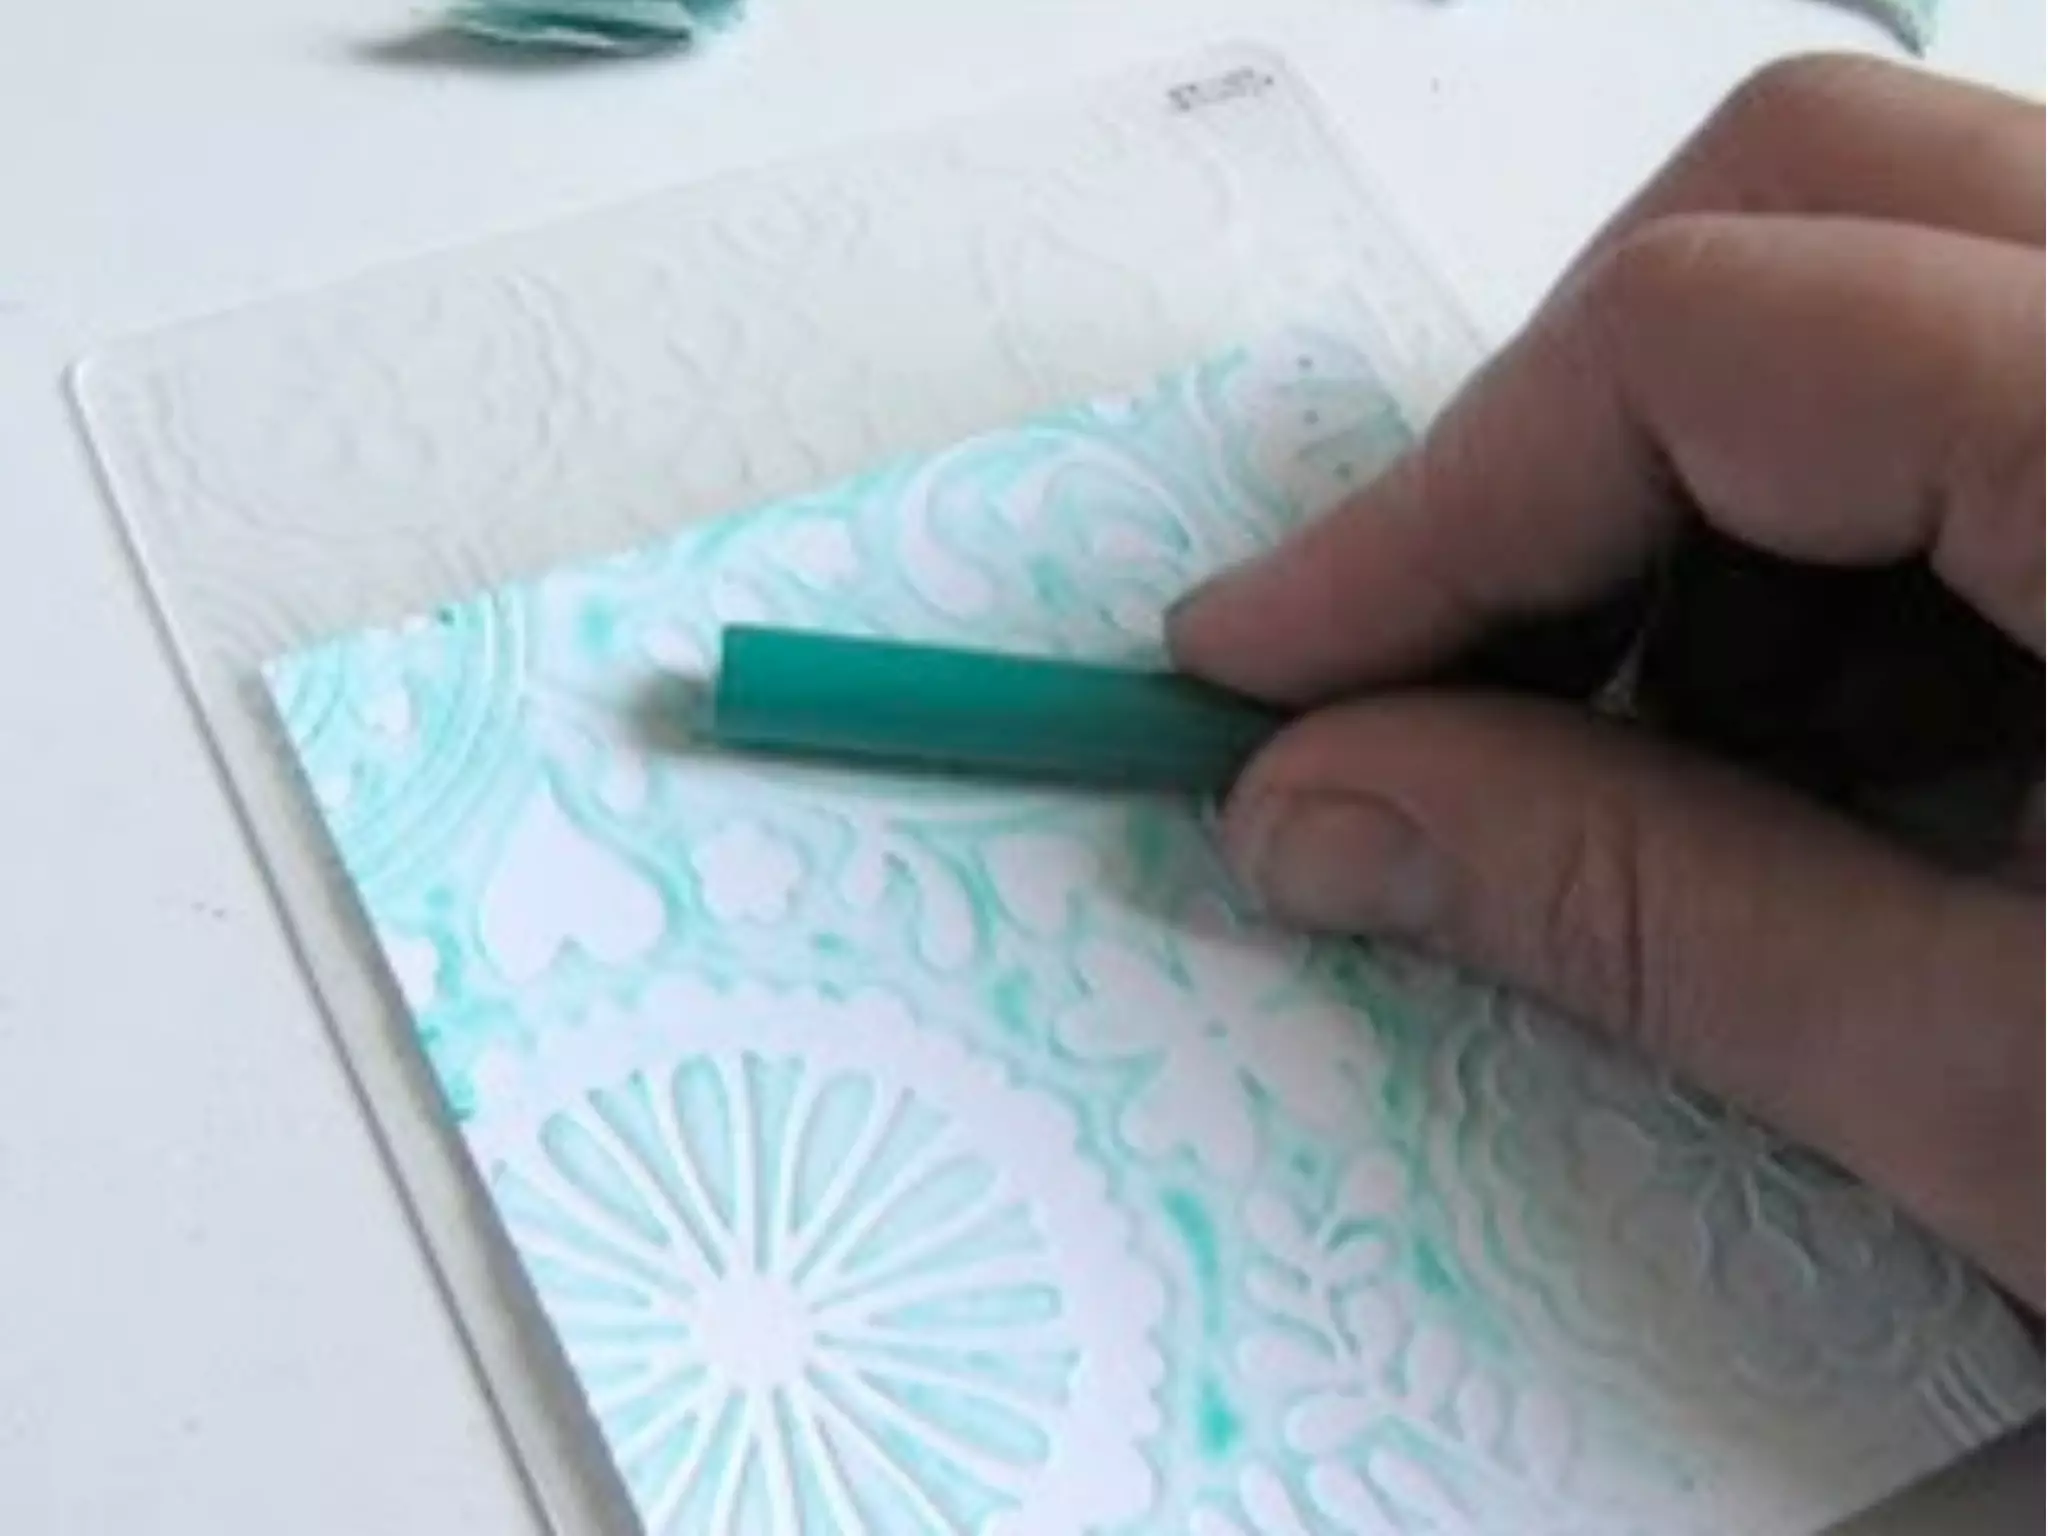
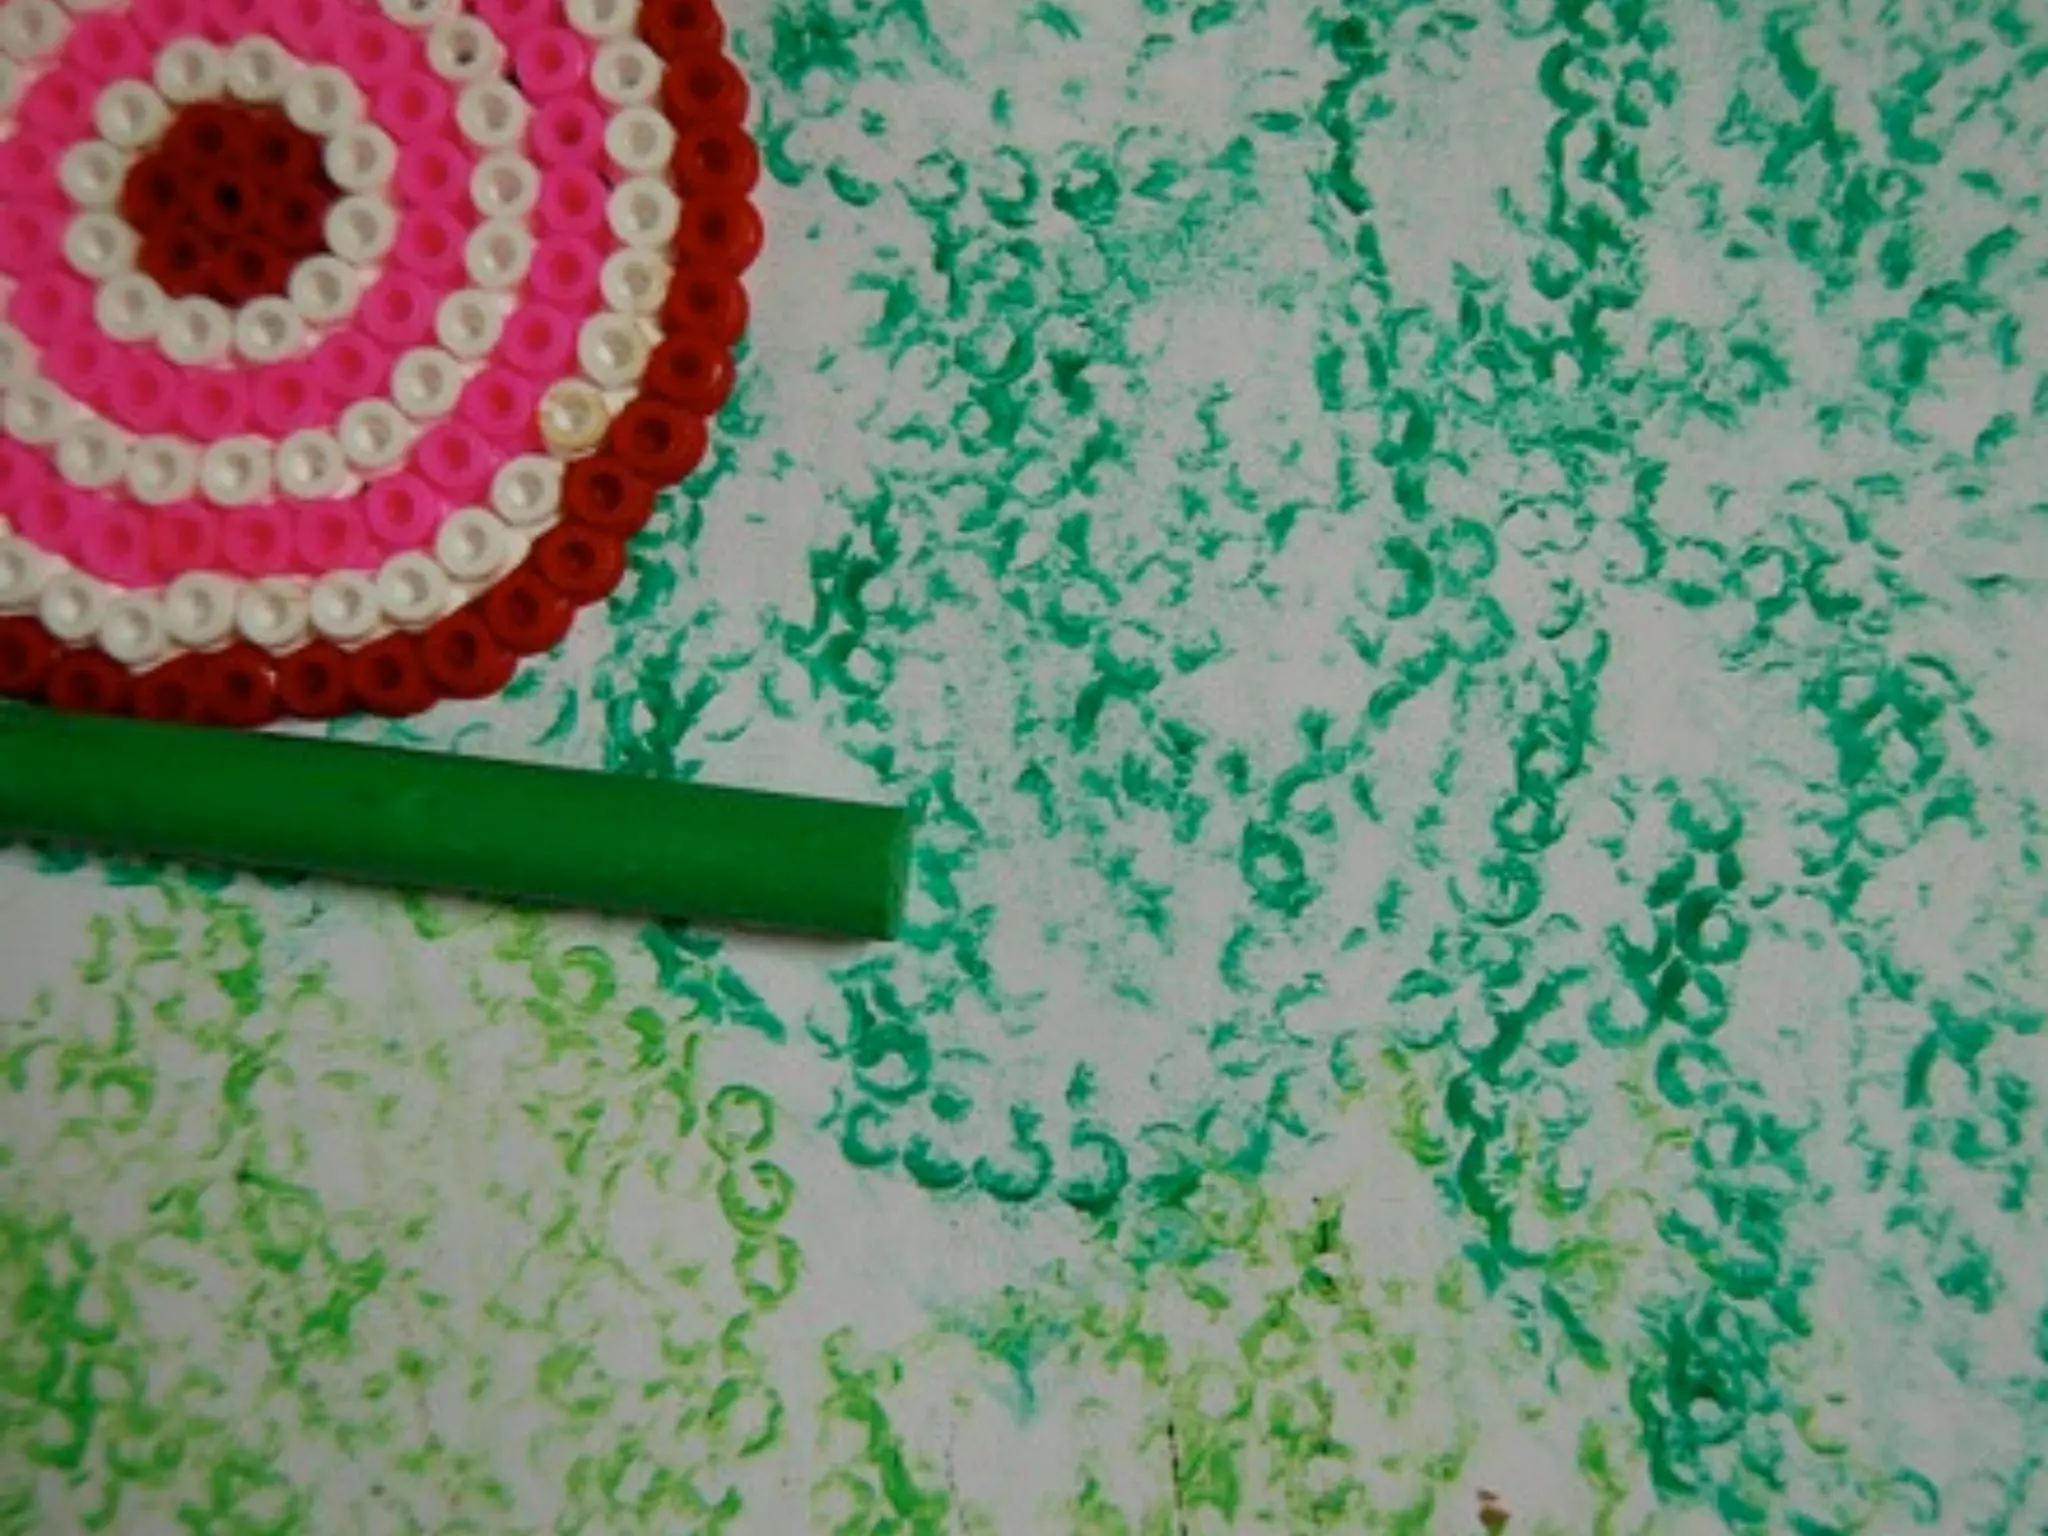
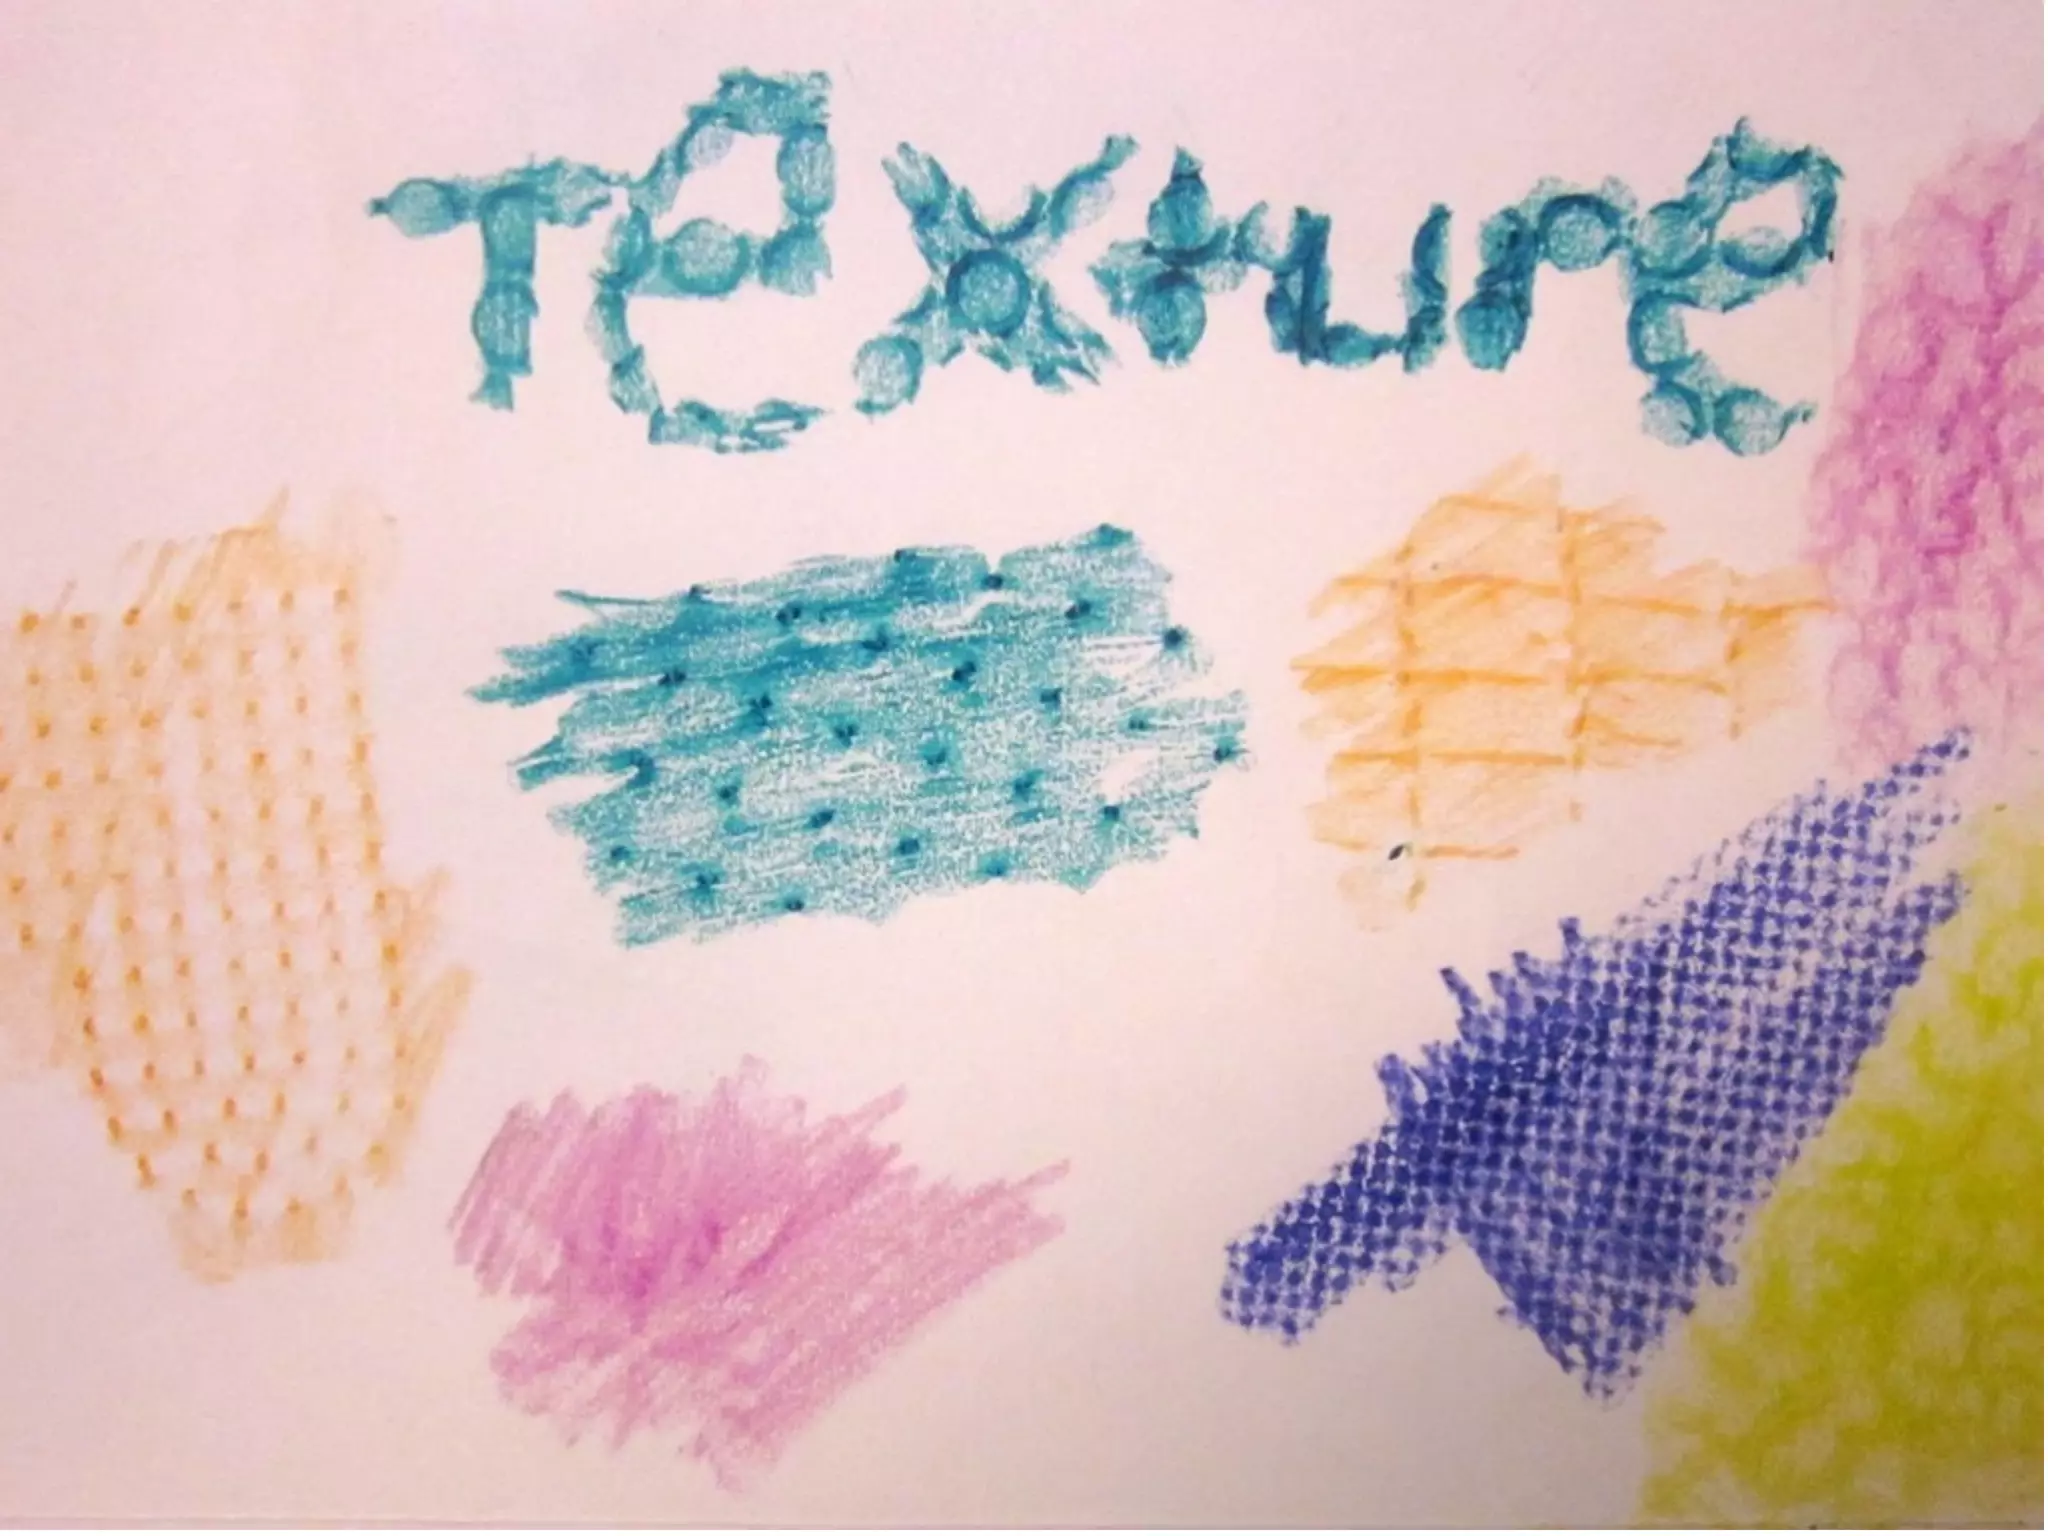
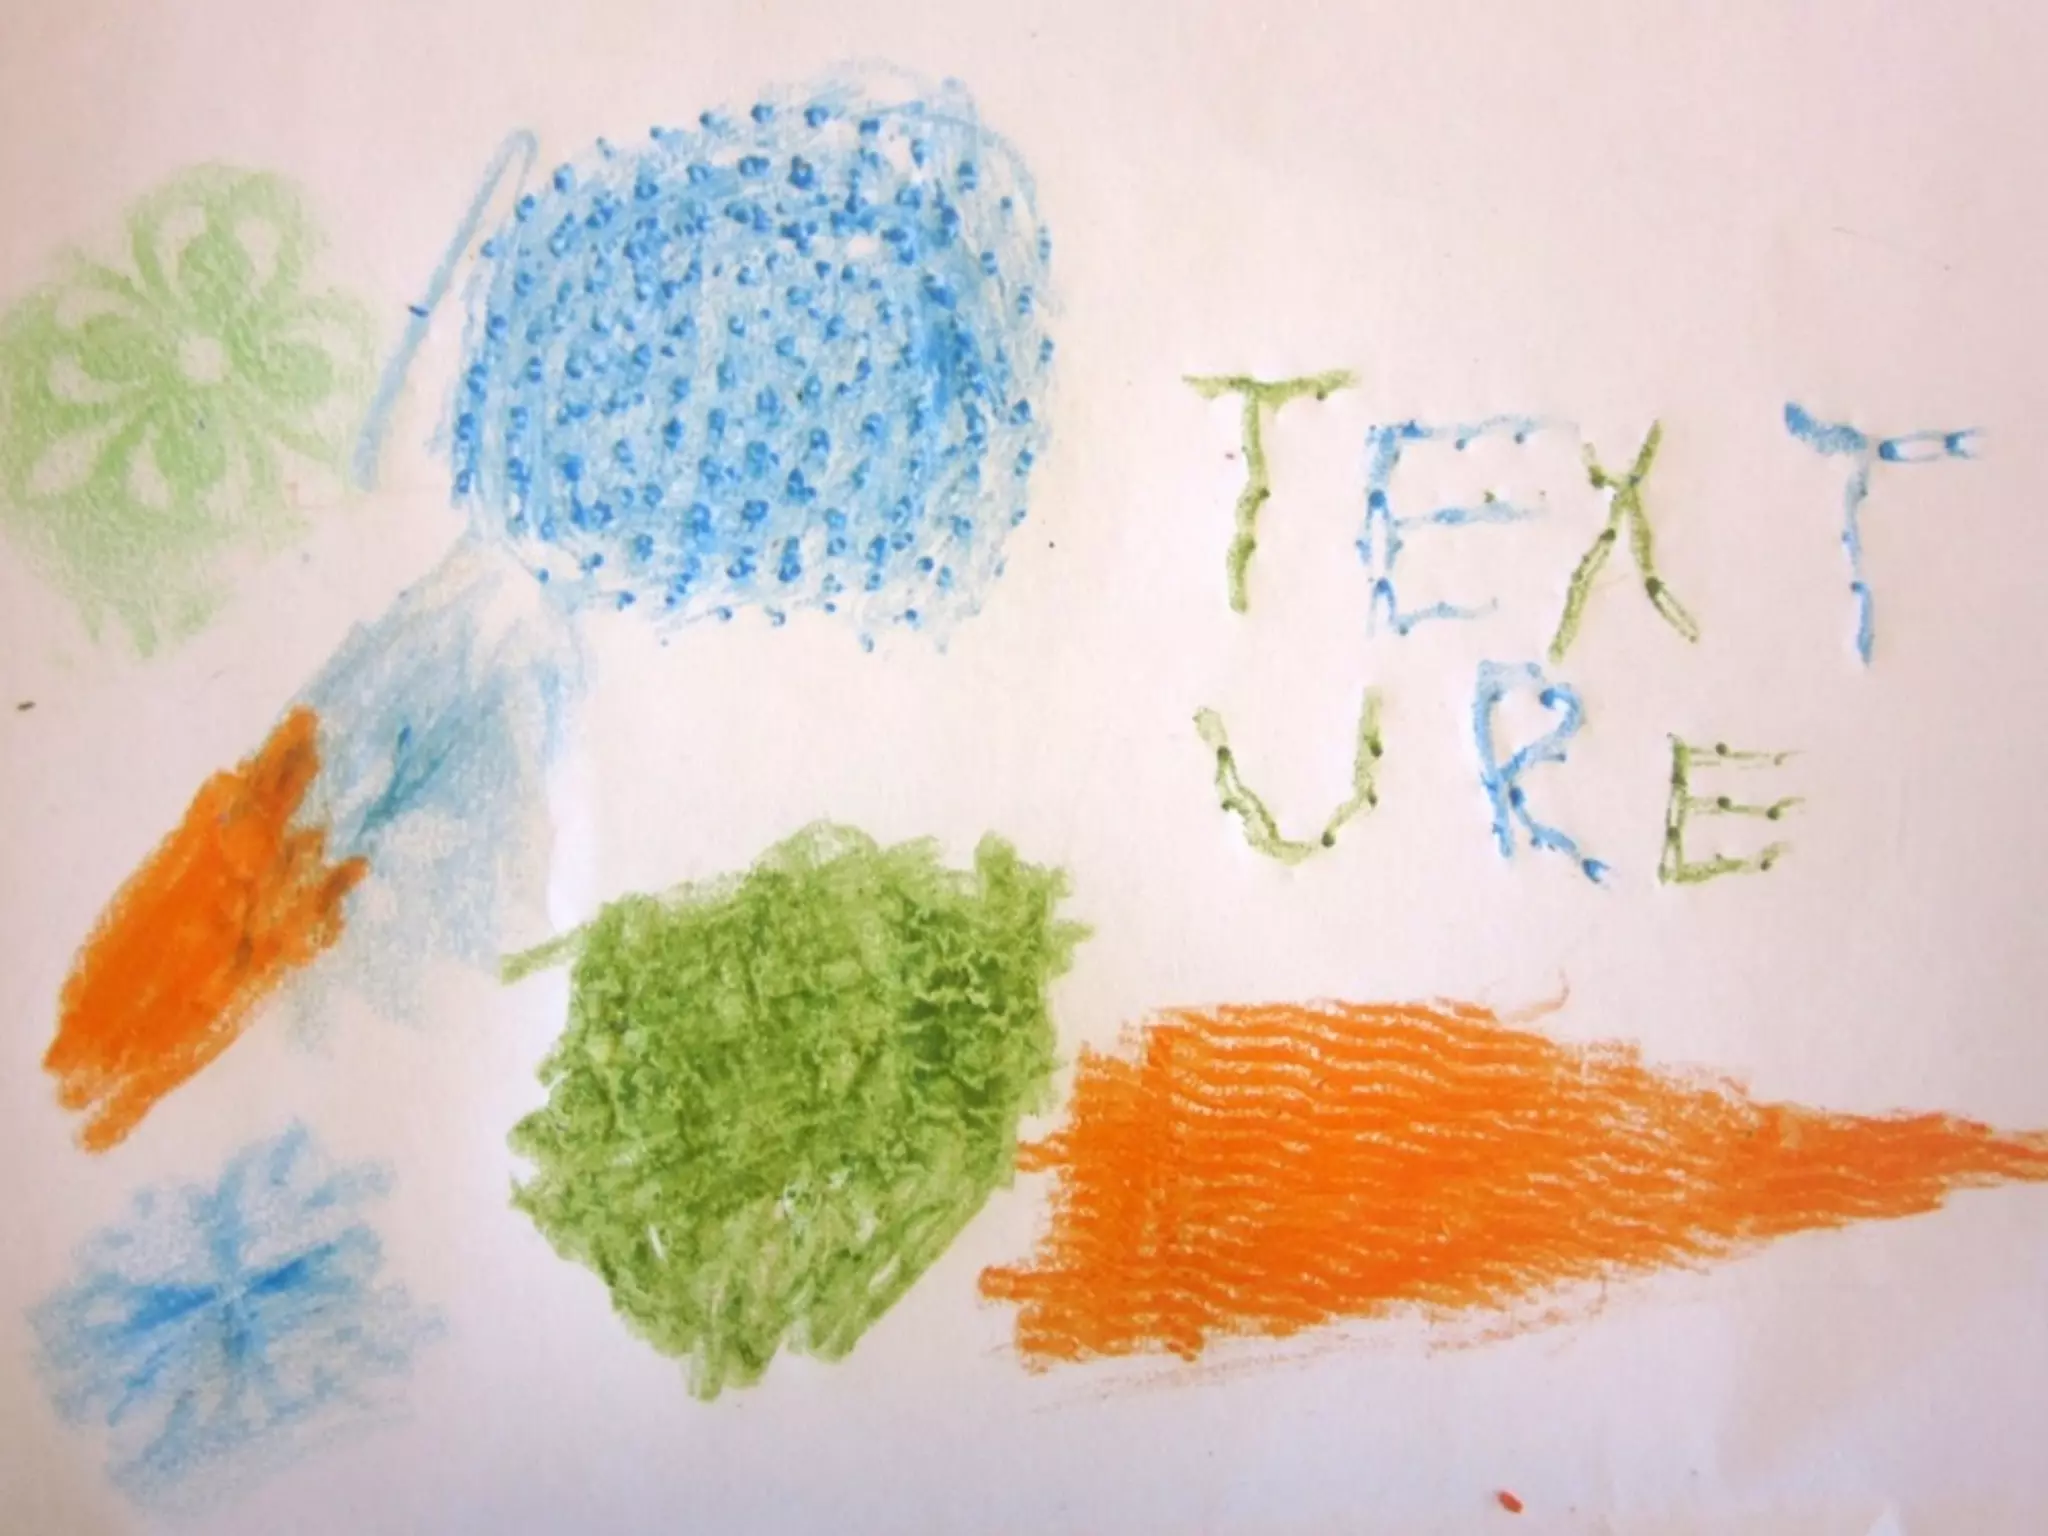
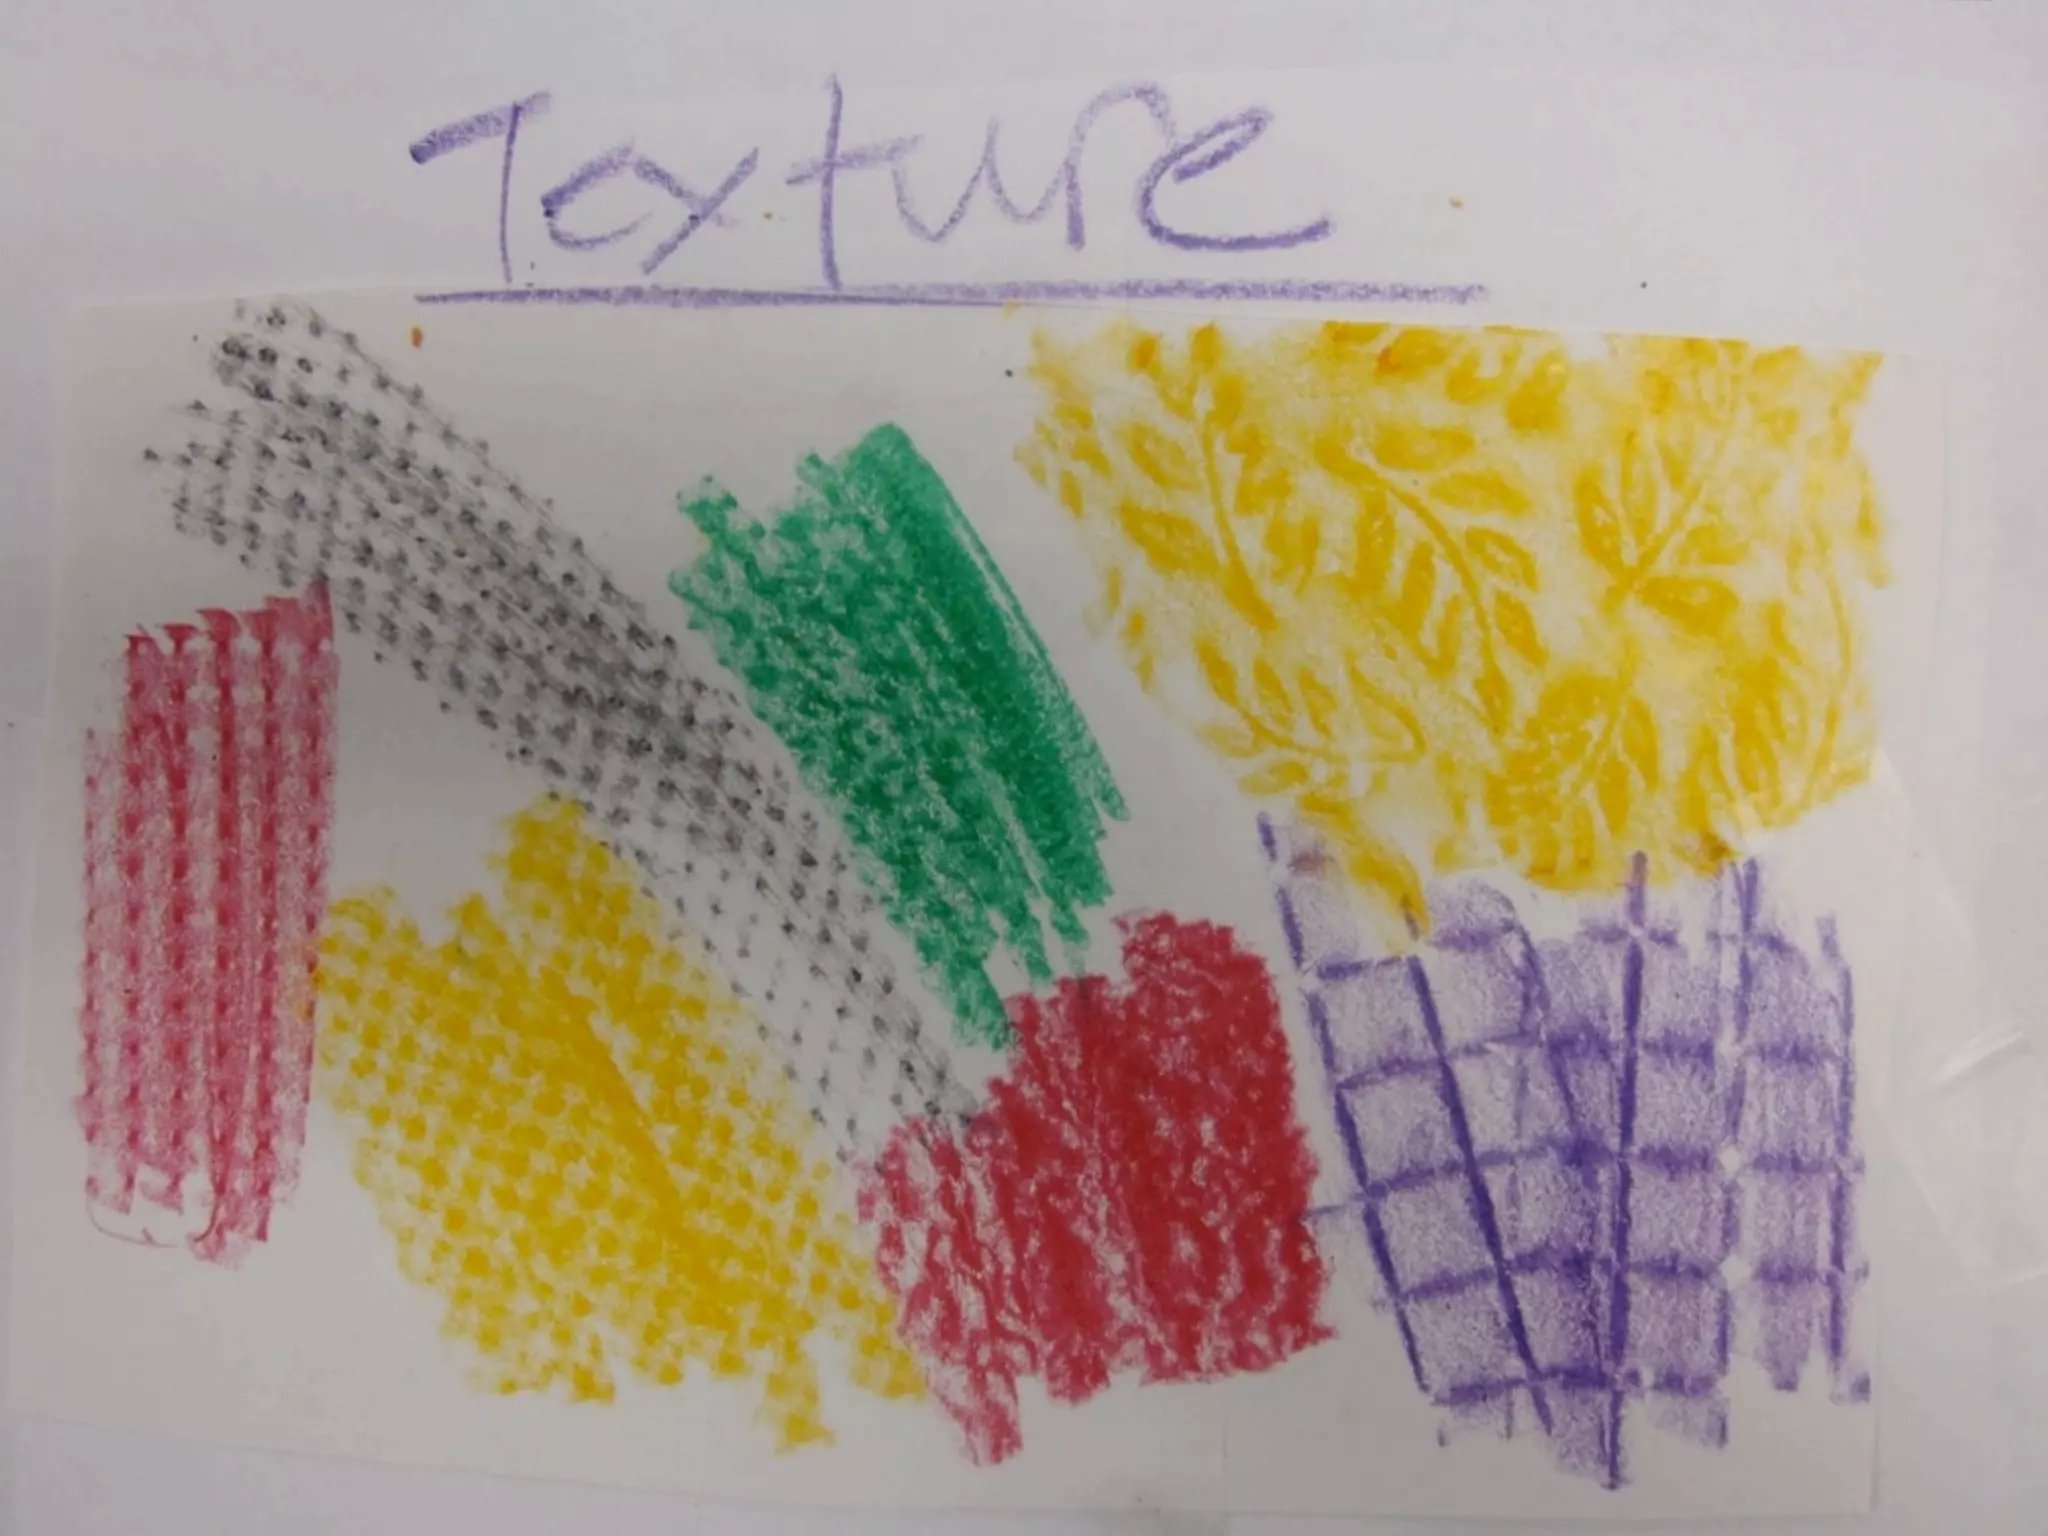
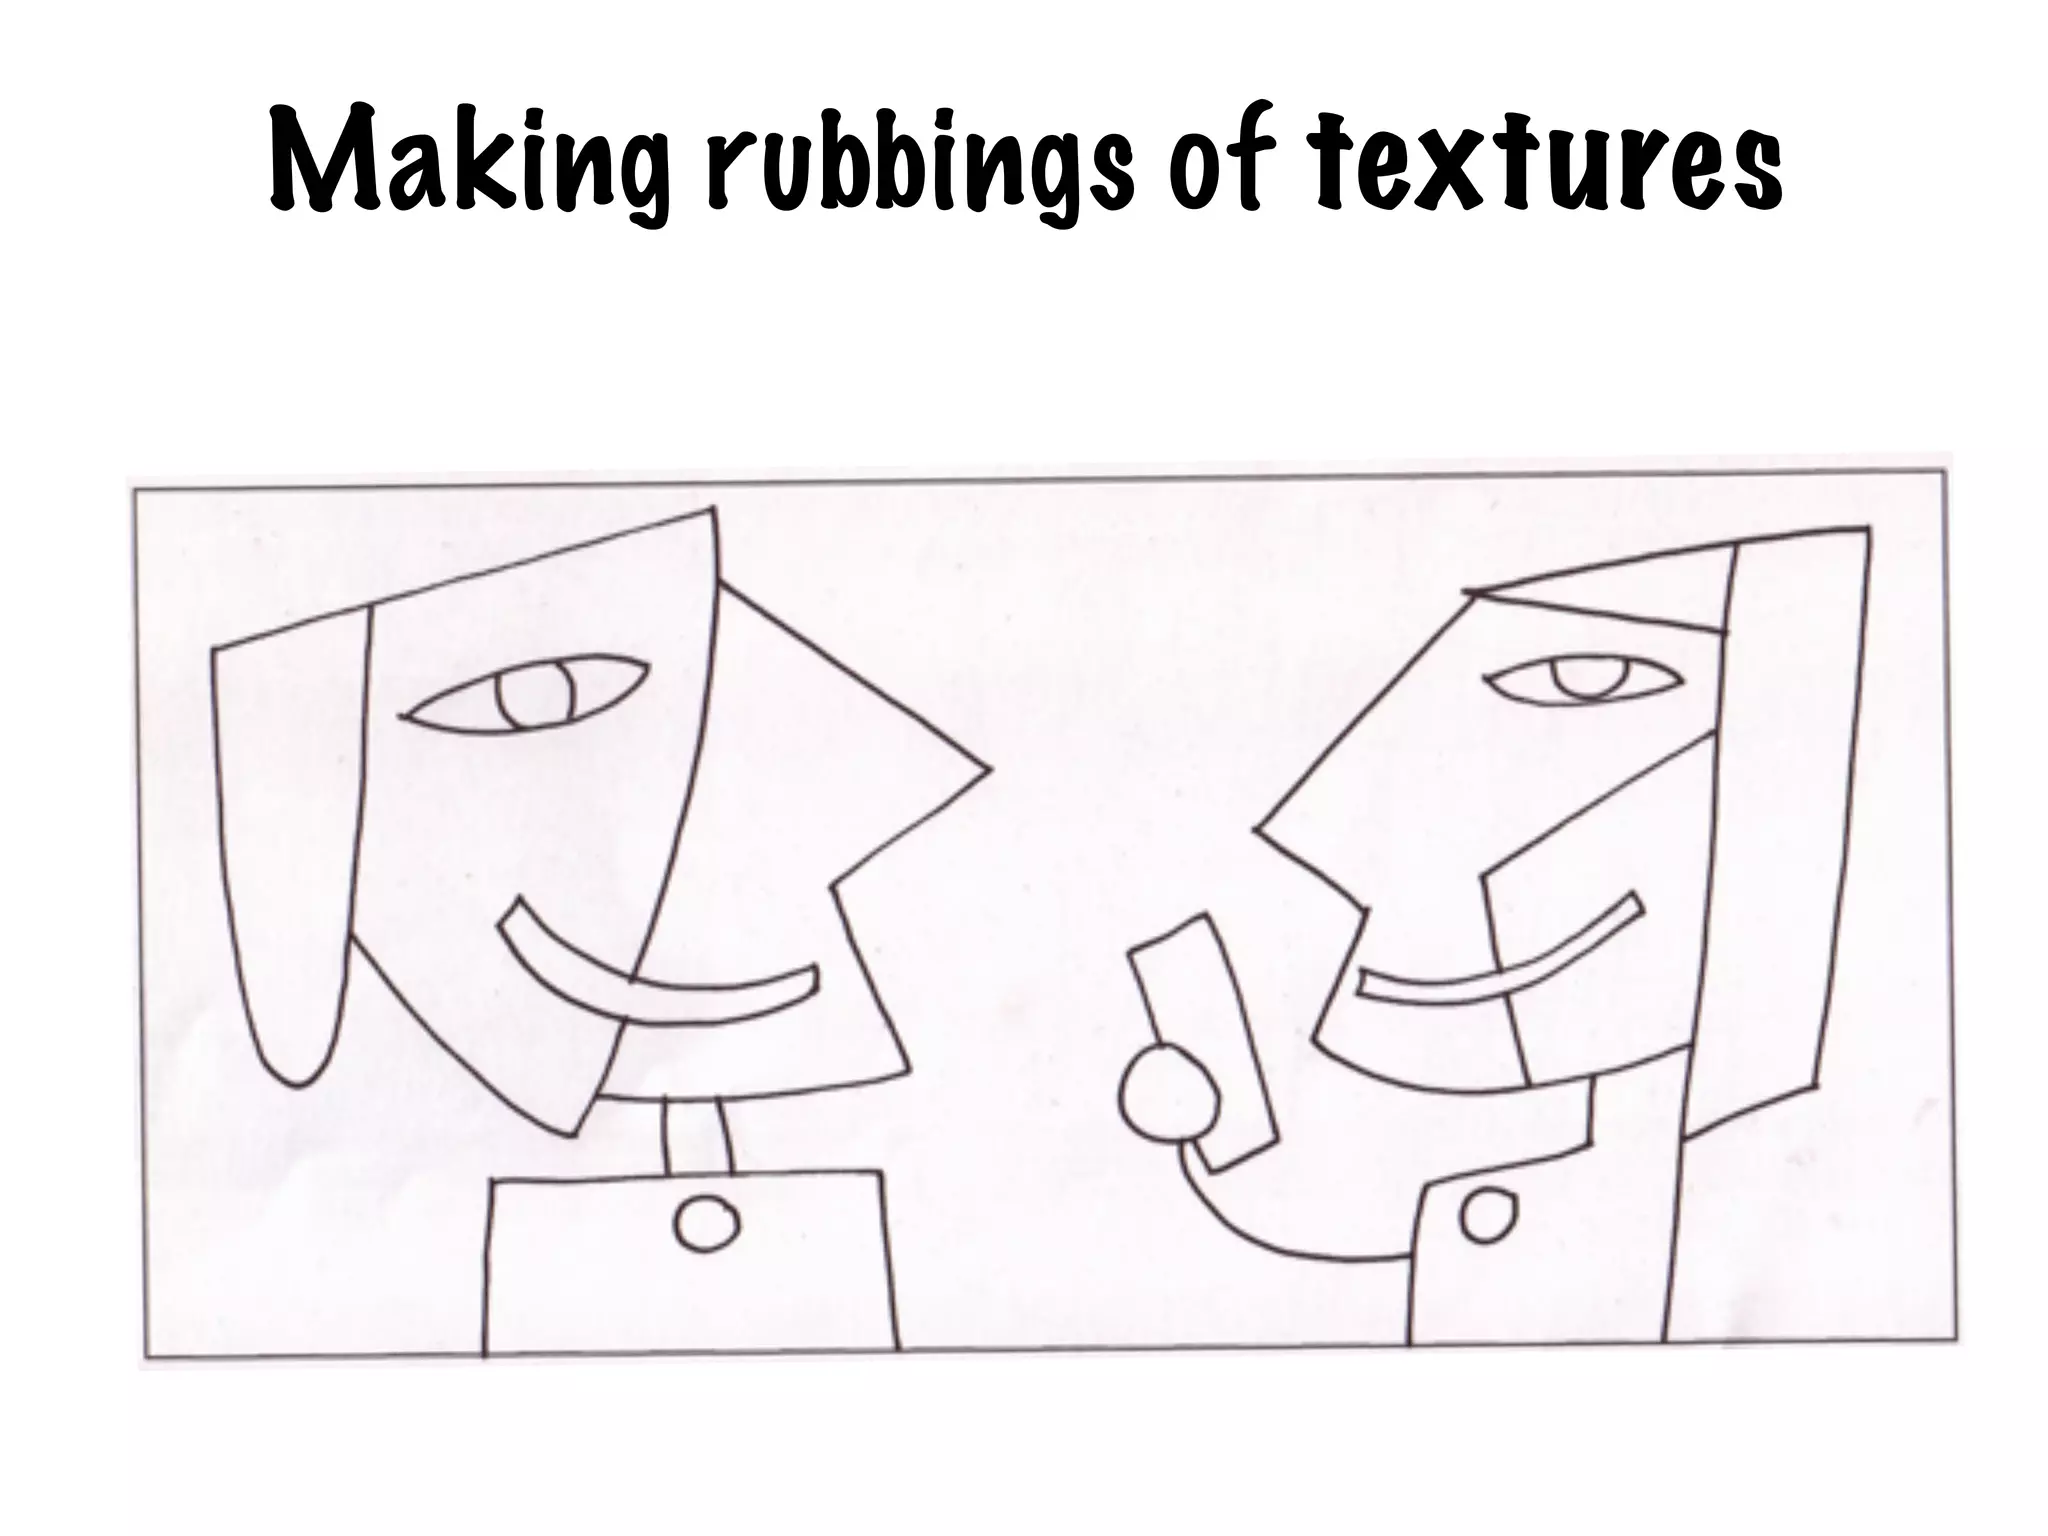
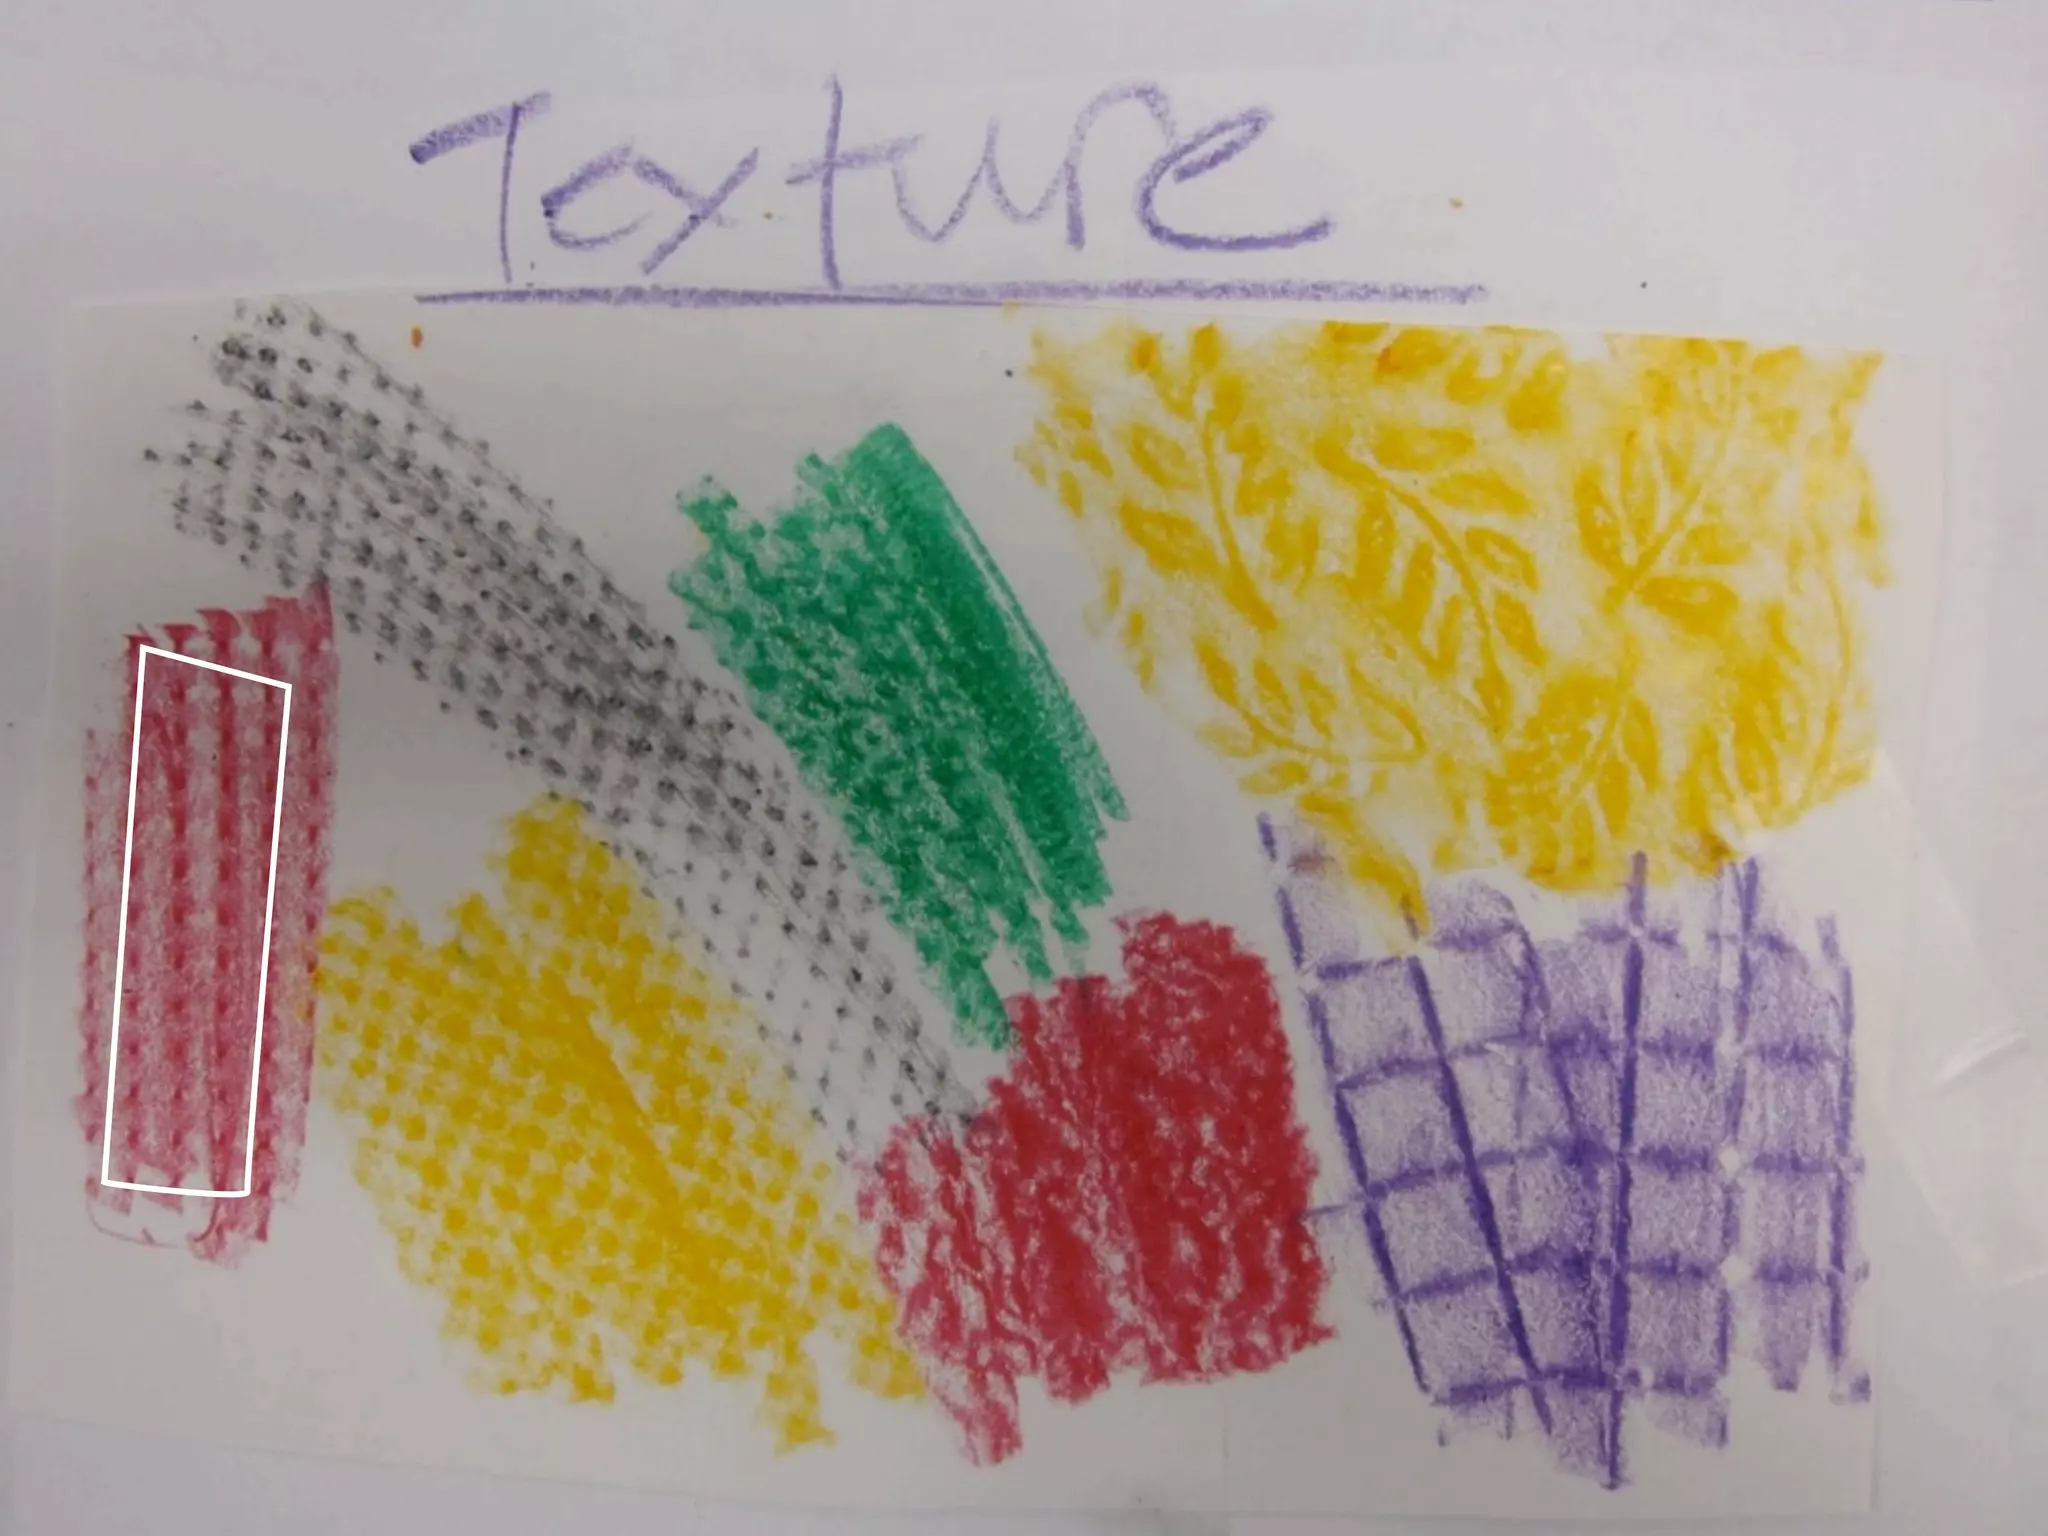
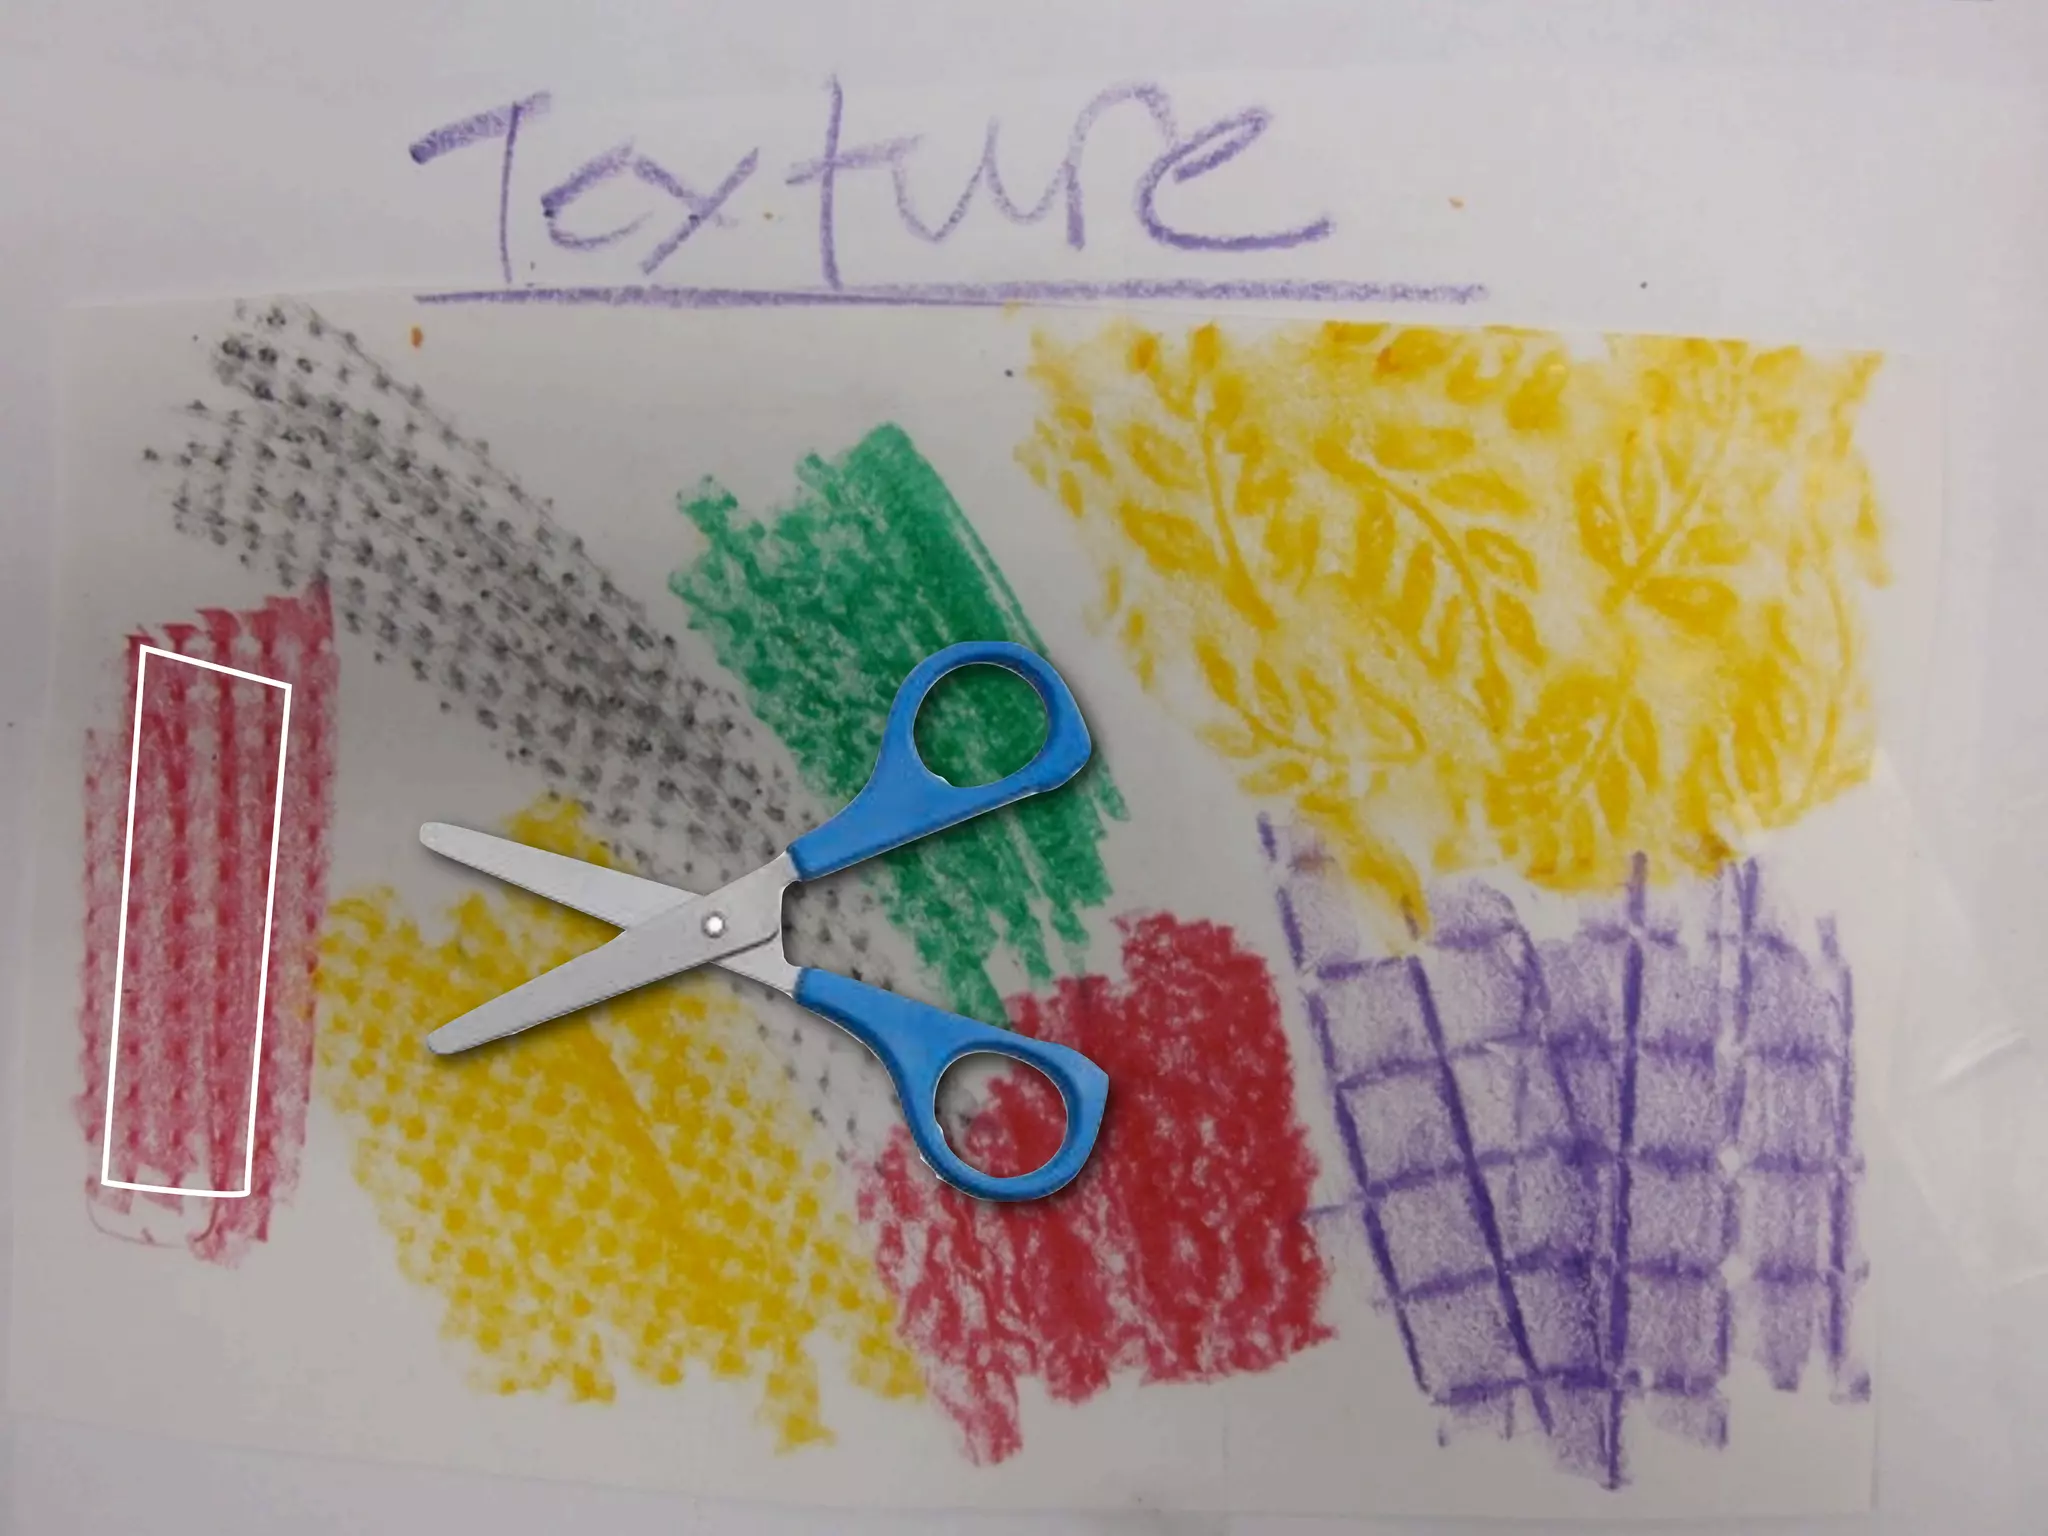
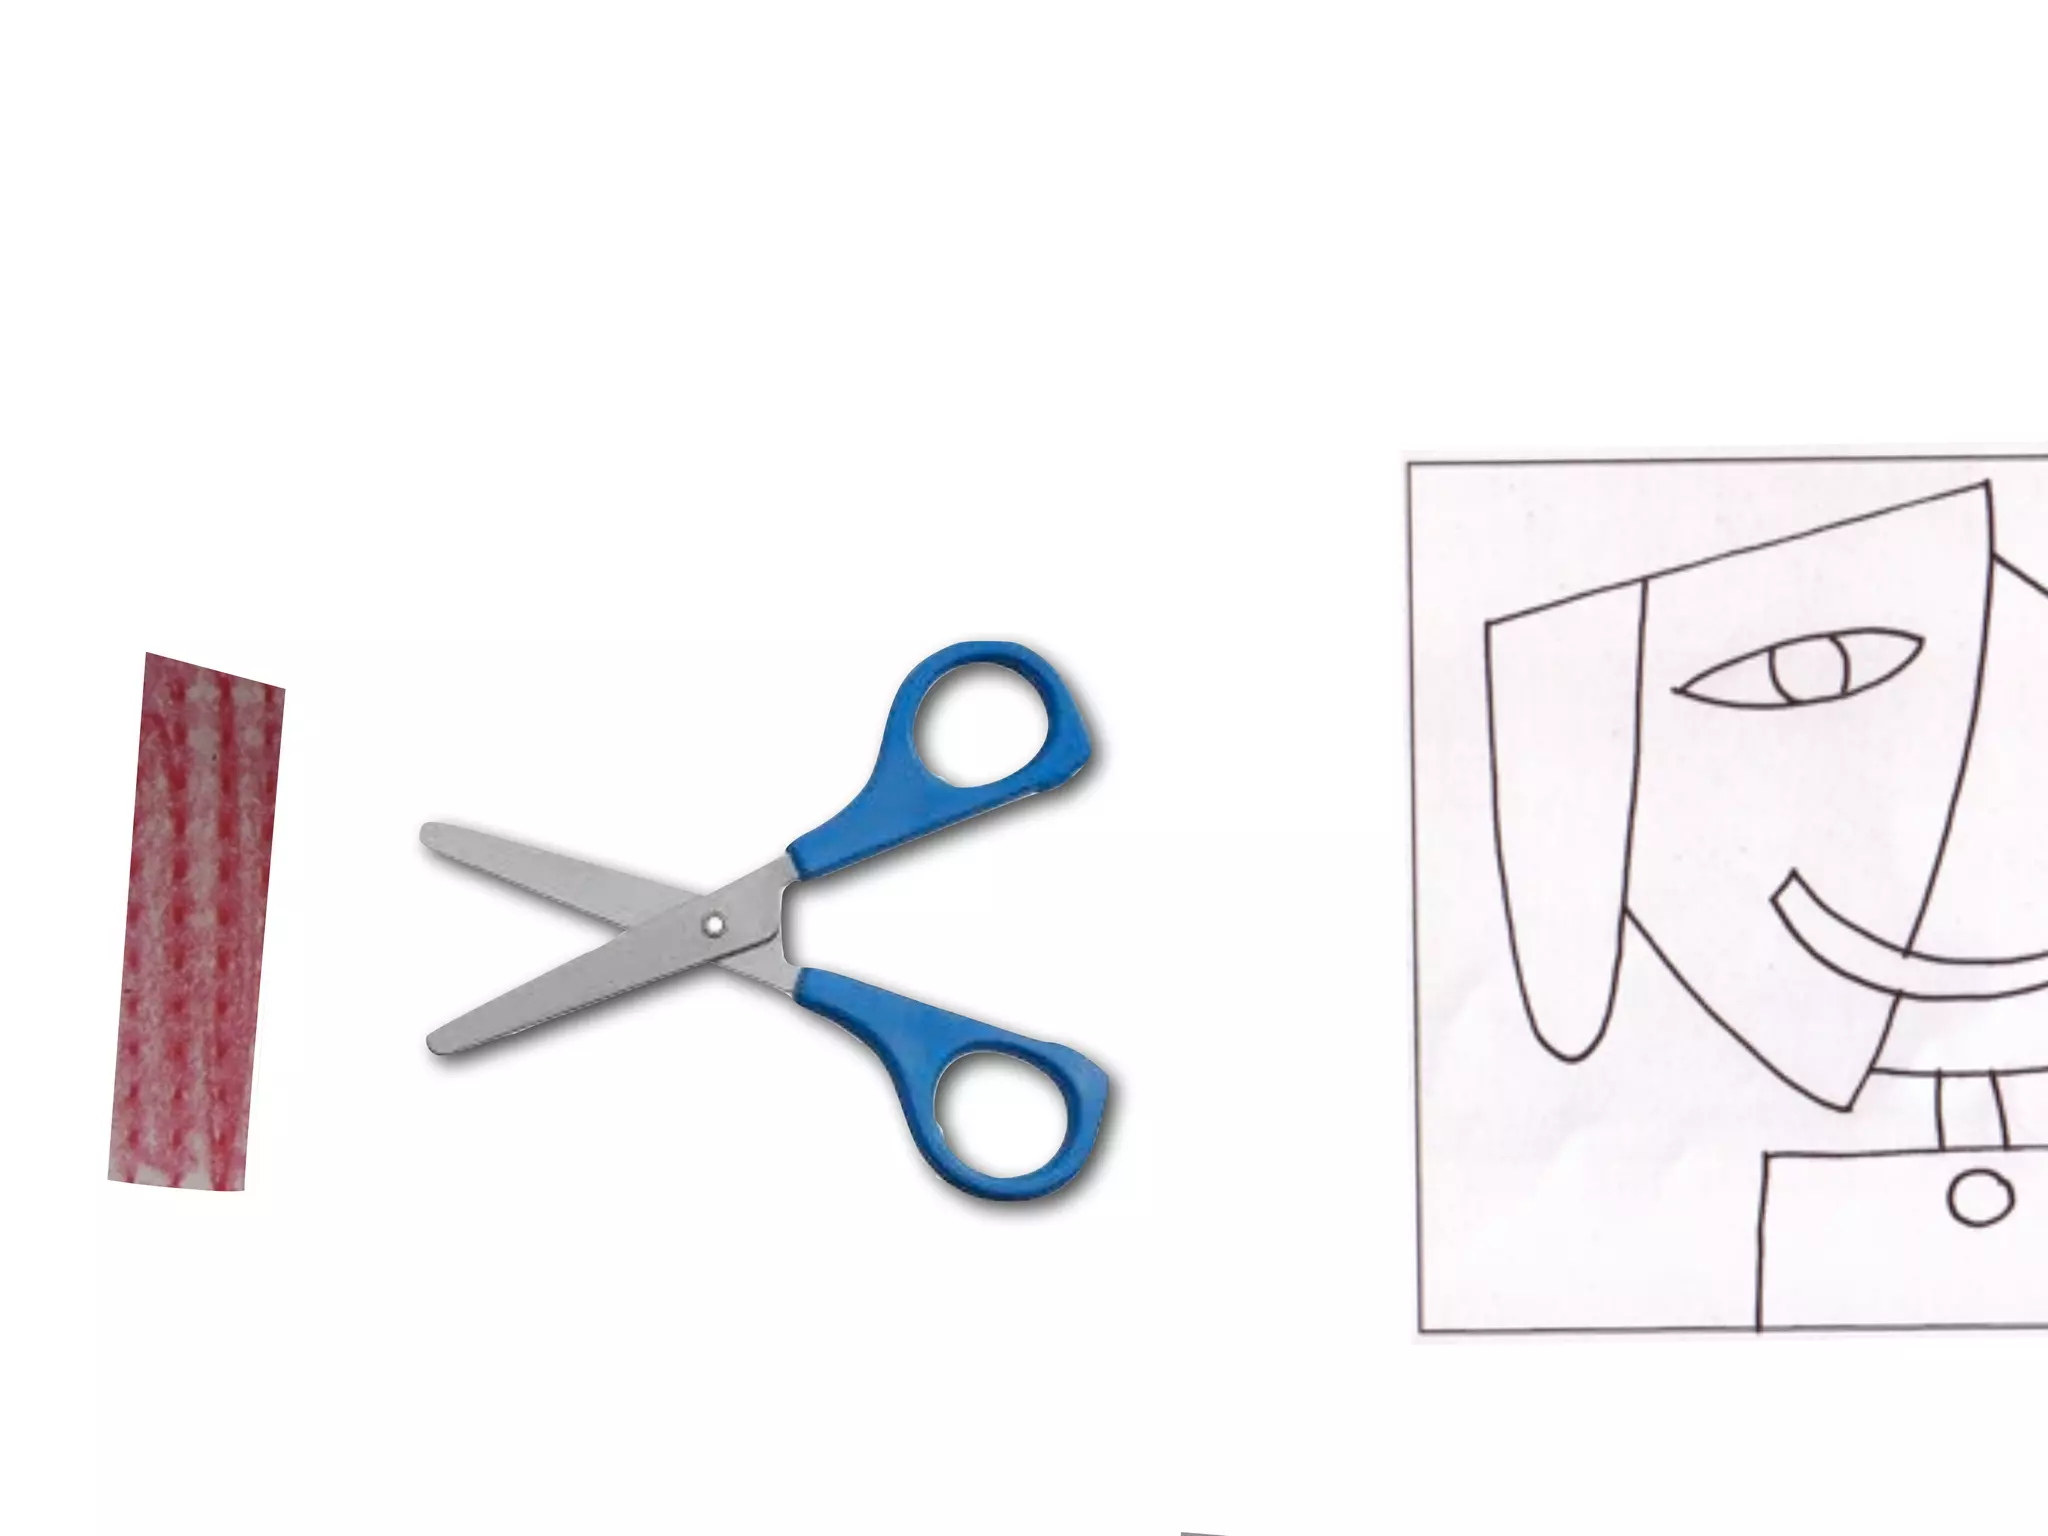
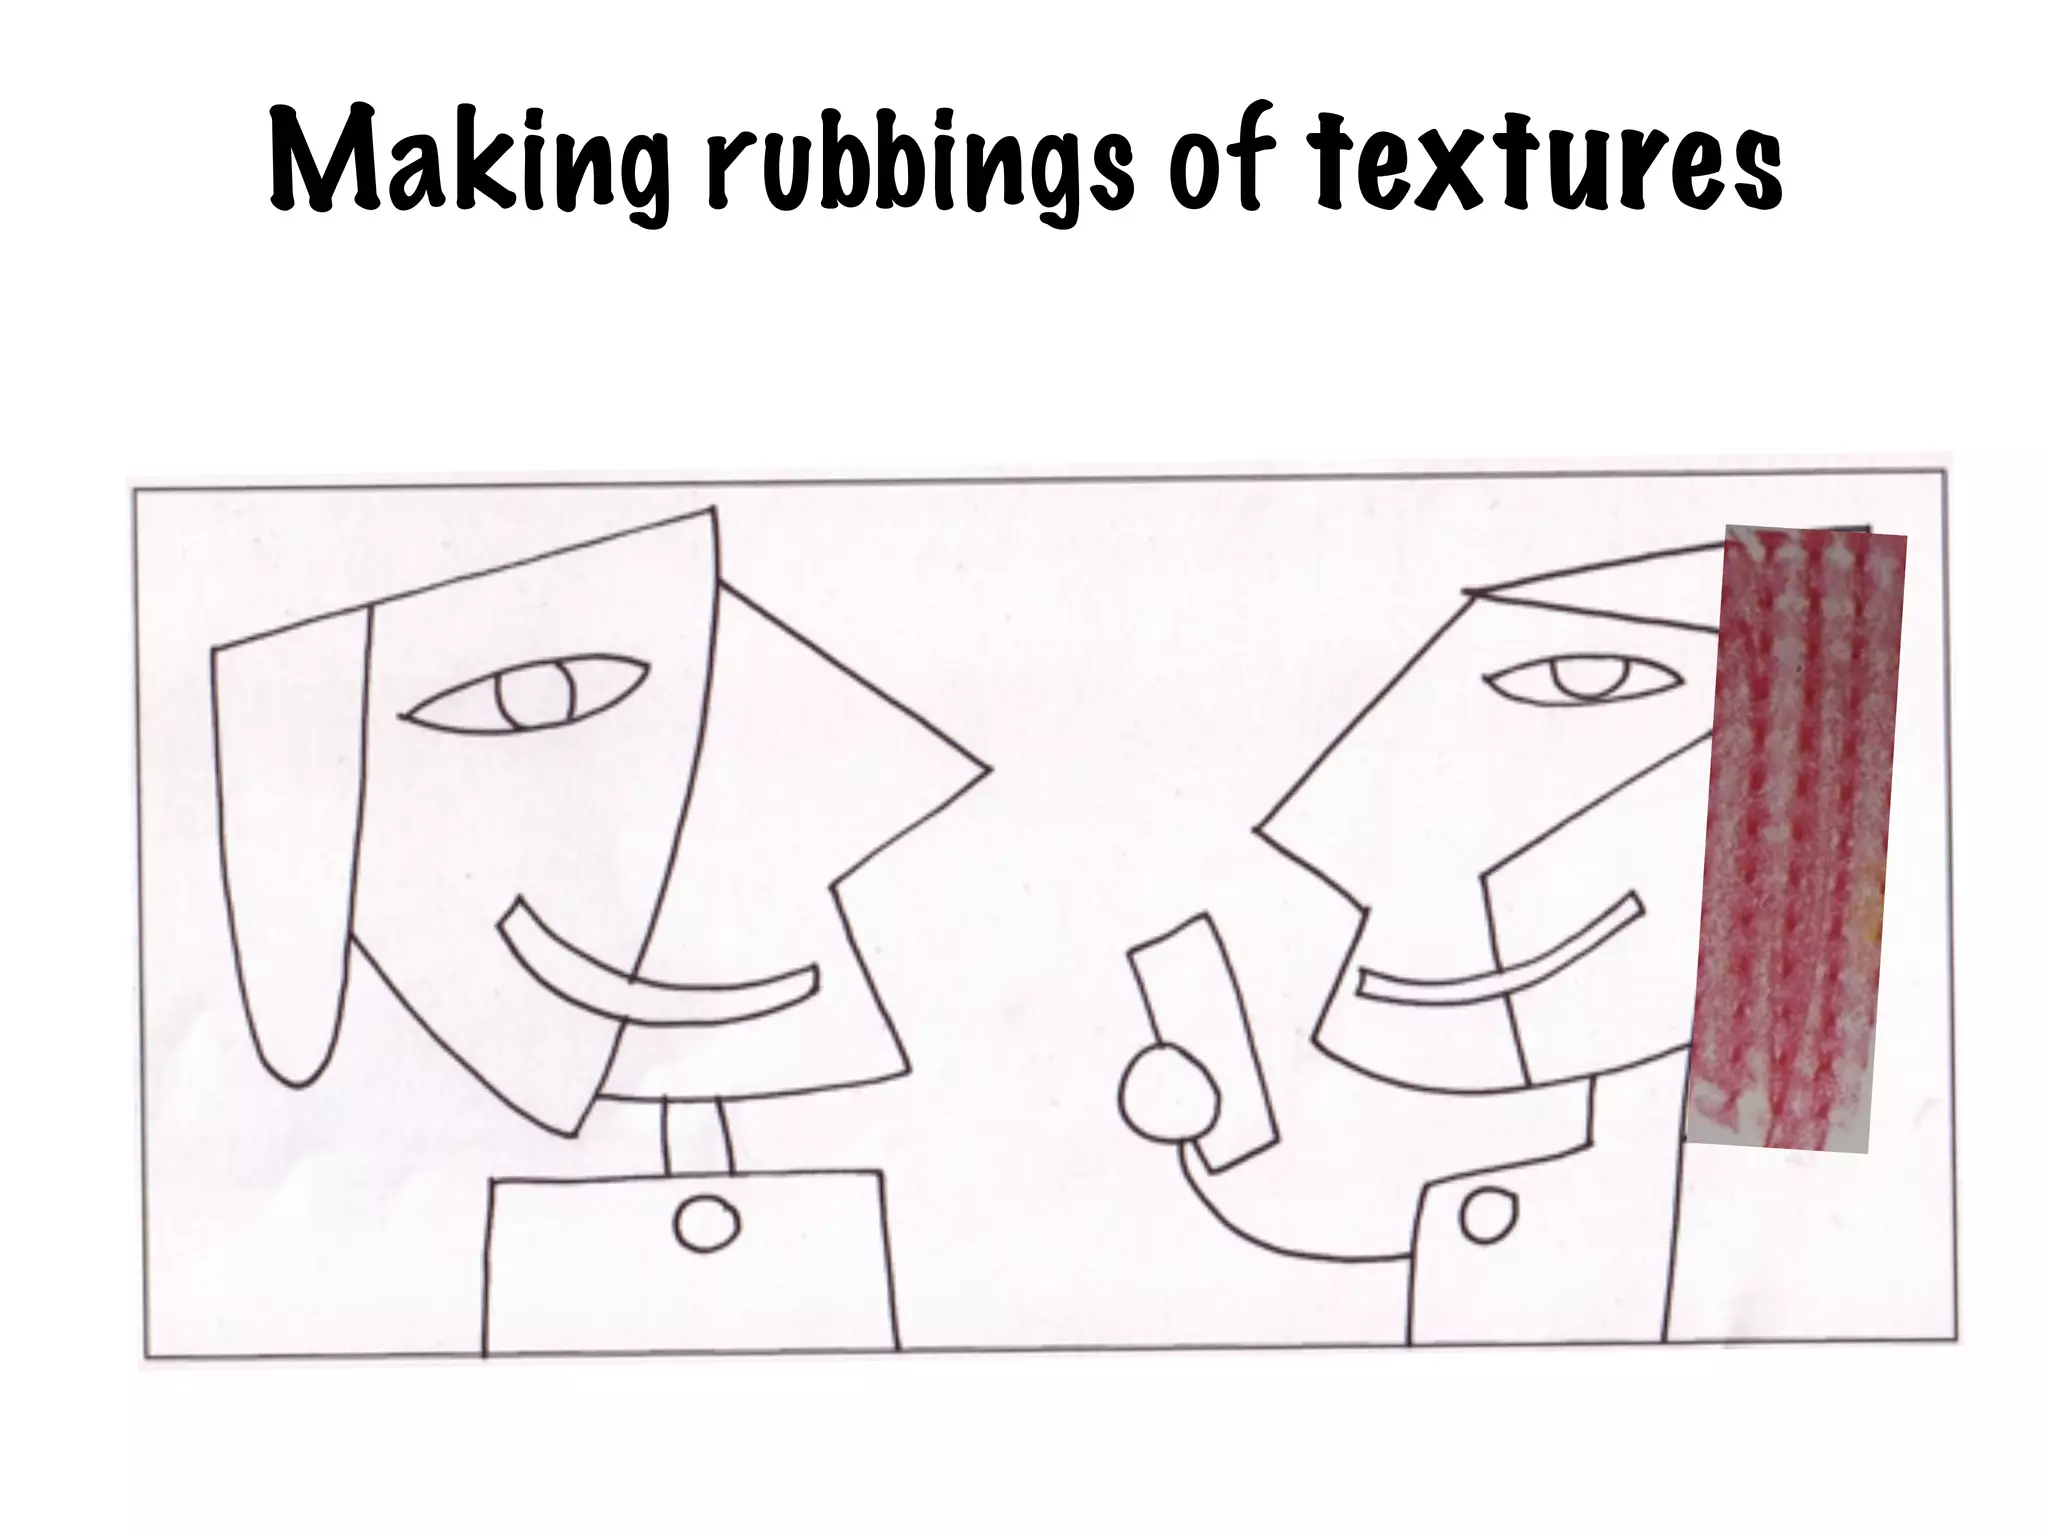
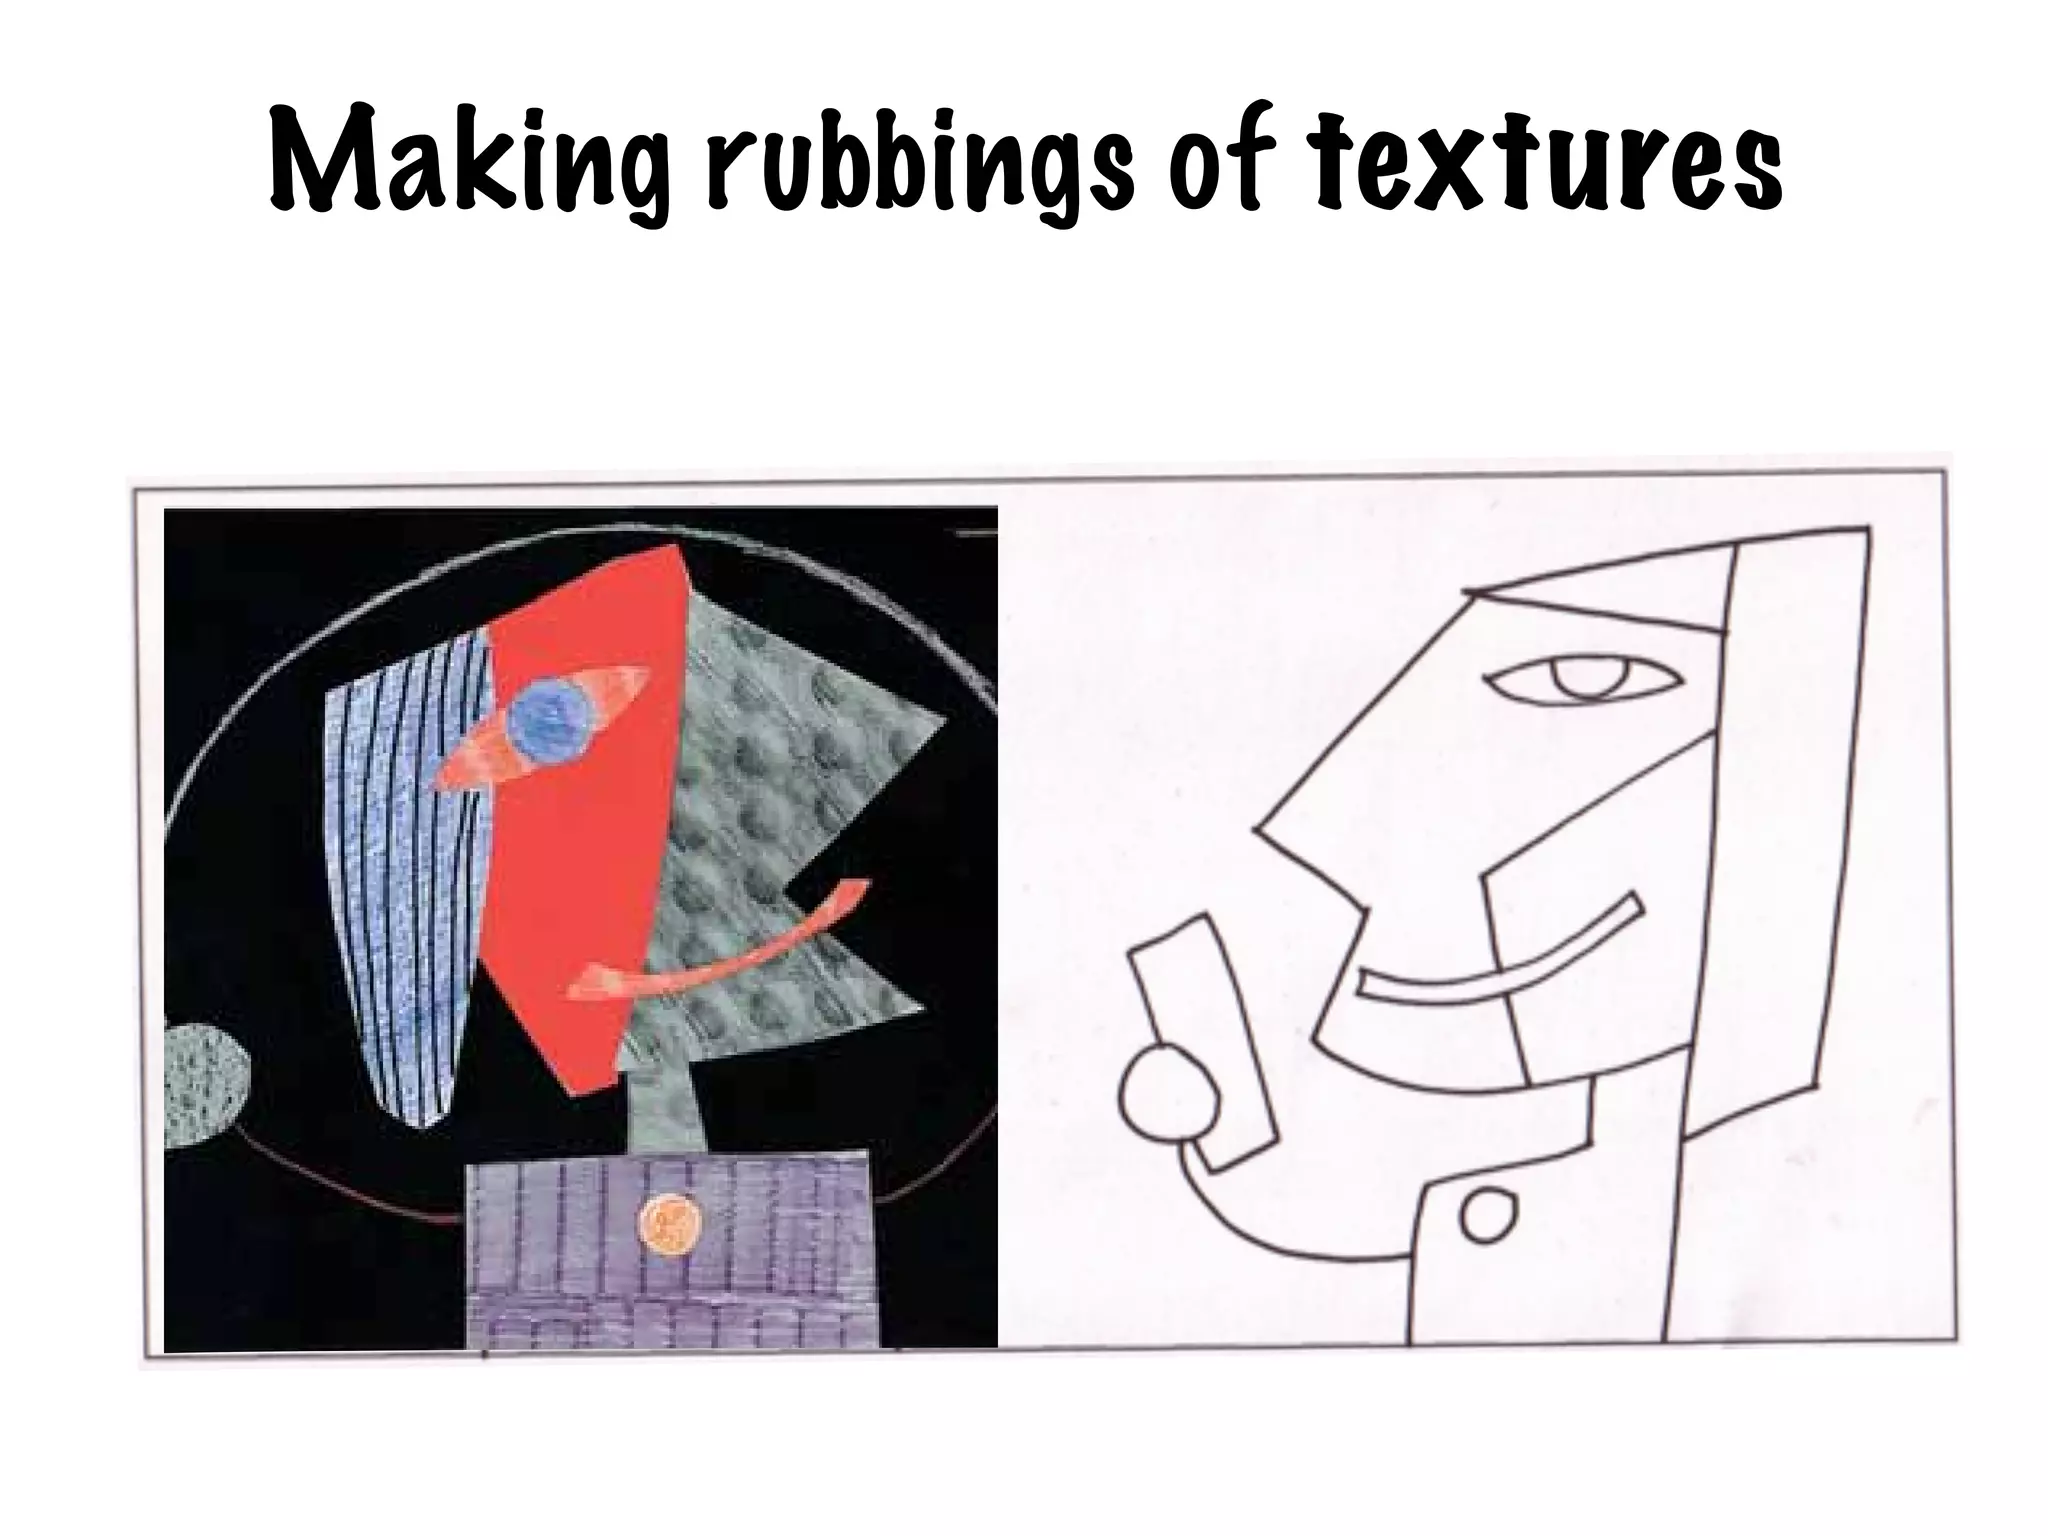
Making rubbings of textures

Rubbing

Editor's Notes

  • #2 we're going to continue working with textures, this time with the activity "Making rubbings of textures" on page 51. \n
  • #3 materials needed: wax crayons, sheet of paper, scissors and glue stick. \n
  • #4 OK, first the rubbing tecnique, we place sheets of paper onto different surfaces and rub the paper with different coloured wax crayons. as you can see in this image\n
  • #5 So, we have to find different textures on different surfaces to rub with wax crayons, for example, the result will be different if we rub on the wall, on the rough wall, than if we rub on the floor, that is almost flat. \n
  • #6 then we need a paper full of different textures that we are going to obtain by rubbing with crayons on different surfaces.\n
  • #7 what kind of surfaces? for example, the wall, the pencil case, the backpack, any fabric, coins, keys, the spiral of our notebook, whatever. \n
  • #8 so, when we have this paper full of textures, we have to work on this drawing. I´m going to tell you how.\n
  • #9 we have the paper full of different textures, right?\n
  • #10 and we have to draw each plane in the drawing on the textures. for example we're going to draw this plane, this rectangle, on one of the textures\n
  • #11 there you see the rectangle on the red texture\n
  • #12 now we need scissors to cut out this plane. \n
  • #13 and then, we have to stick the plane. \n
  • #14 you can see there the plane stick it on the drawing \n
  • #15 finally, we have an example of the result on the left side. It´s a good idea to distinguish between background and figure, we can use colors for the figure, with the rubbing with wax crayons, and black for the background, with the rubbin with graphite pencil. OK? are you ready to start? yes? great, let´s do it.\n