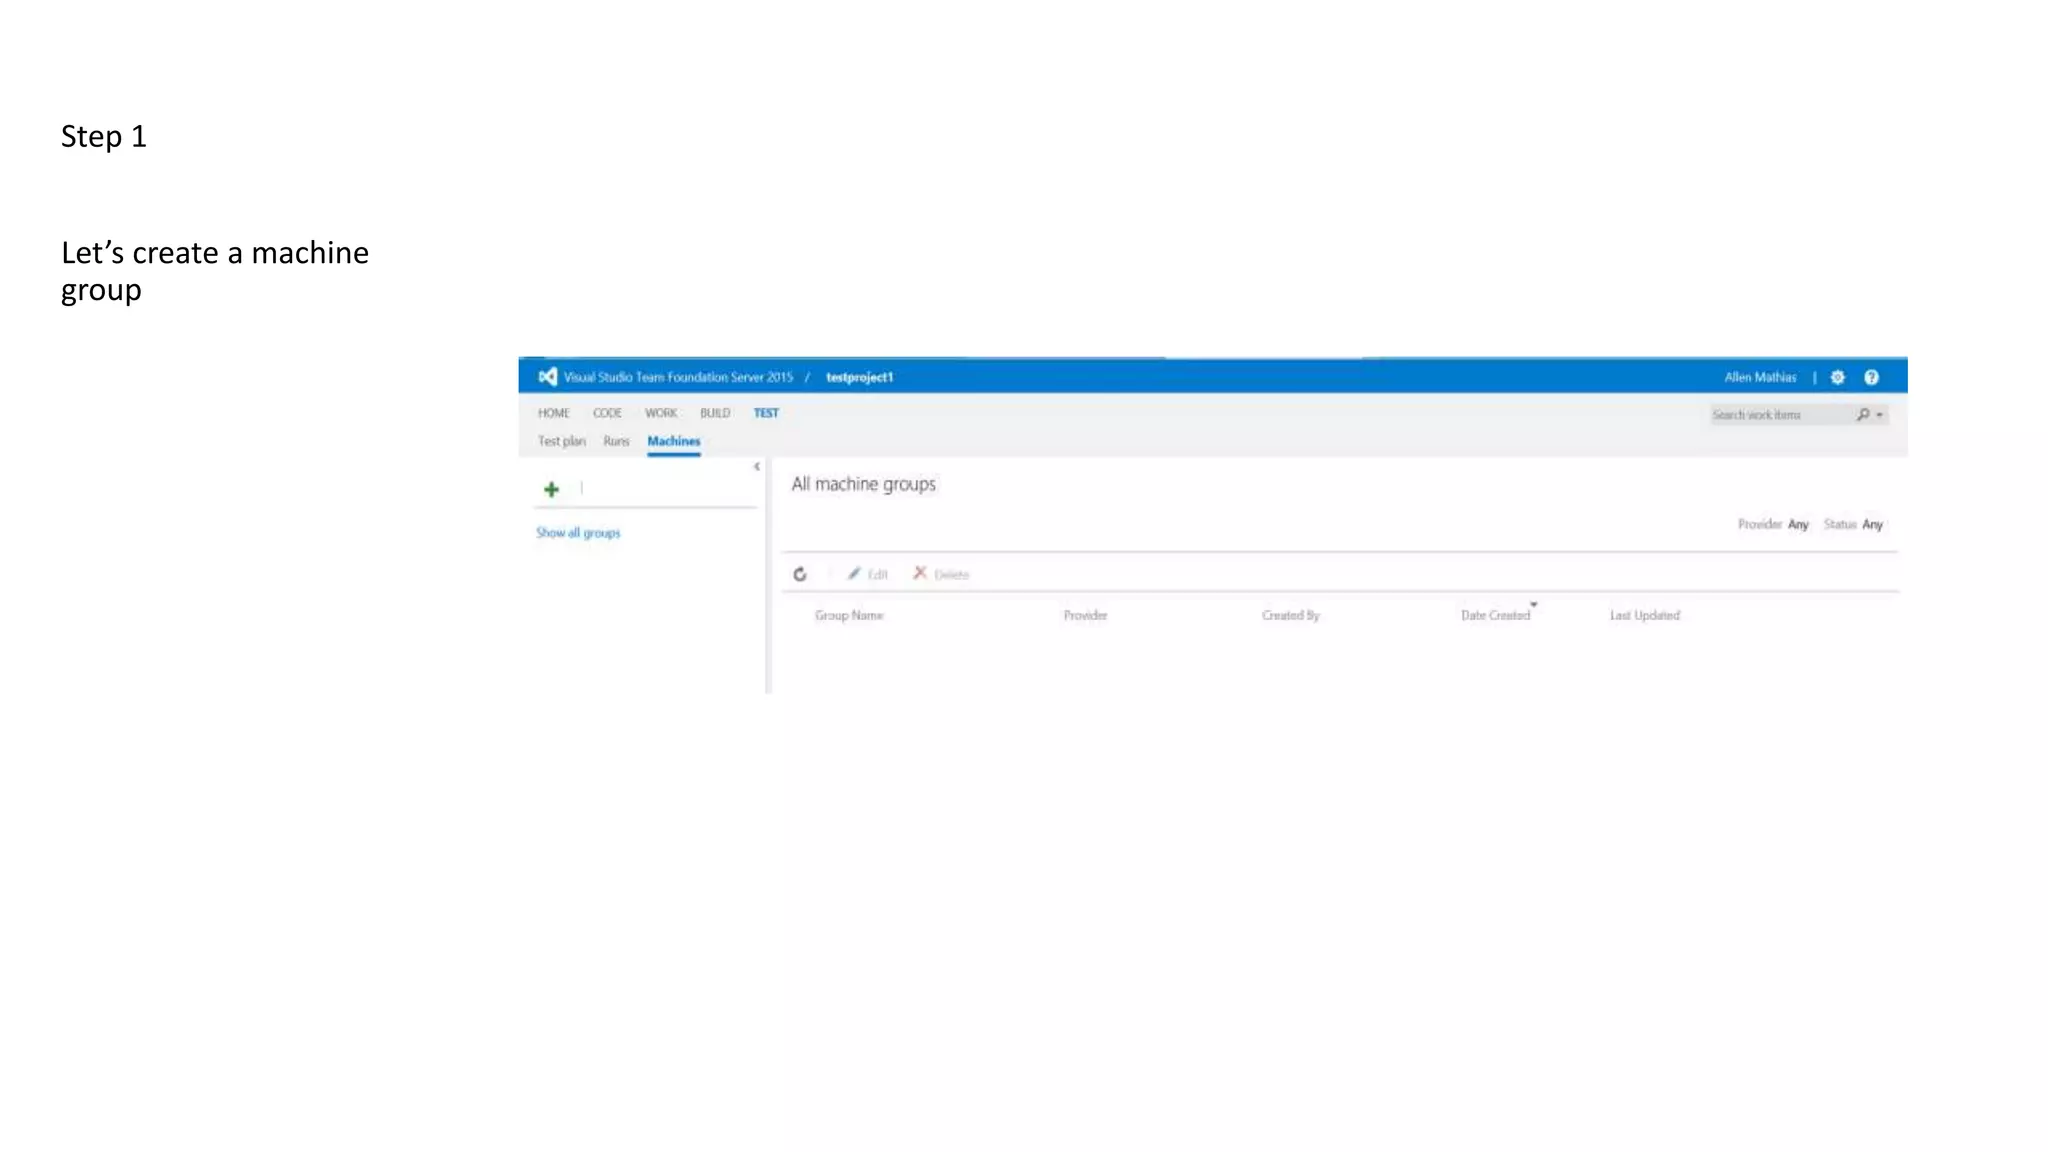
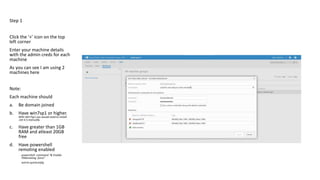
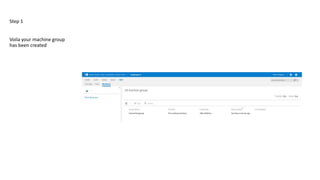
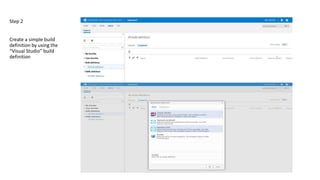
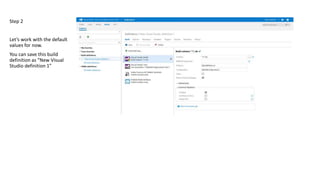
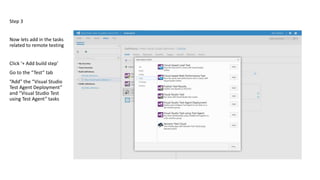
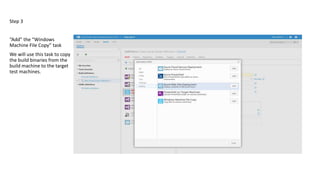
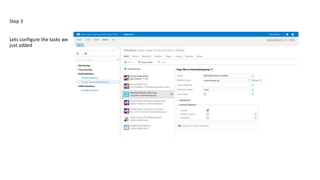
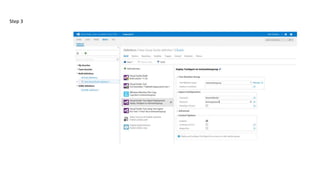
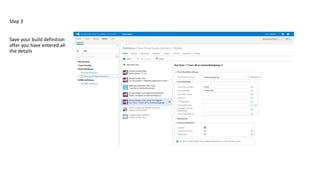
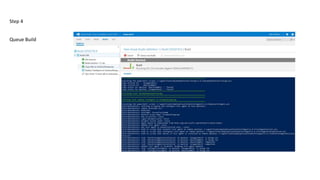
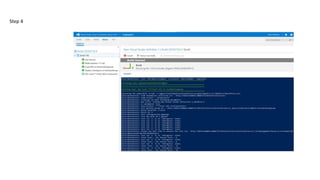
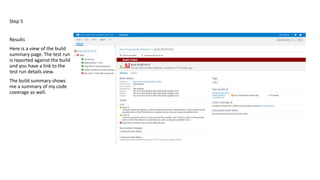
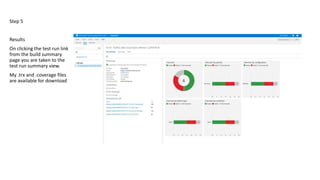
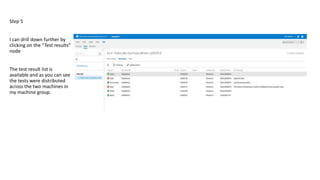
Step 1
Let’s create a machine
group
Step 1
Click the ‘+’ icon on the top
left corner
Enter your machine details
with the admin creds for each
machine
As you can see I am using 2
machines here
Note:
Each machine should
a. Be domain joined
b. Have win7sp1 or higher.
With Win7sp1 you would need to install
.net 4.5 manually.
c. Have greater than 1GB
RAM and atleast 20GB
free
d. Have powershell
remoting enabled
powershell -command "& Enable-
PSRemoting -force"
winrm quickconfig
Step 1
Voila your machine group
has been created
Step 2
Create a simple build
definition by using the
“Visual Studio” build
definition
Step 2
Let’s work with the default
values for now.
You can save this build
definition as “New Visual
Studio definition 1”
Step 3
Now lets add in the tasks
related to remote testing
Click ‘+ Add build step’
Go to the “Test” tab
“Add” the “Visual Studio
Test Agent Deployment”
and “Visual Studio Test
using Test Agent” tasks
Step 3
“Add” the “Windows
Machine File Copy” task
We will use this task to copy
the build binaries from the
build machine to the target
test machines.
Step 3
Lets configure the tasks we
just added
Step 3
Step 3
Save your build definition
after you have entered all
the details
Step 4
Queue Build
Step 4
Step 5
Results
Here is a view of the build
summary page. The test run
is reported against the build
and you have a link to the
test run details view.
The build summary shows
me a summary of my code
coverage as well.
Step 5
Results
On clicking the test run link
from the build summary
page you are taken to the
test run summary view.
My .trx and .coverage files
are available for download
Step 5
I can drill down further by
clicking on the “Test results”
node
The test result list is
available and as you can see
the tests were distributed
across the two machines in
my machine group.

Remote Test Execution using TFS 2015 (RC2 and beyond)

  • 1.
    Step 1 Let’s createa machine group
  • 2.
    Step 1 Click the‘+’ icon on the top left corner Enter your machine details with the admin creds for each machine As you can see I am using 2 machines here Note: Each machine should a. Be domain joined b. Have win7sp1 or higher. With Win7sp1 you would need to install .net 4.5 manually. c. Have greater than 1GB RAM and atleast 20GB free d. Have powershell remoting enabled powershell -command "& Enable- PSRemoting -force" winrm quickconfig
  • 3.
    Step 1 Voila yourmachine group has been created
  • 4.
    Step 2 Create asimple build definition by using the “Visual Studio” build definition
  • 5.
    Step 2 Let’s workwith the default values for now. You can save this build definition as “New Visual Studio definition 1”
  • 6.
    Step 3 Now letsadd in the tasks related to remote testing Click ‘+ Add build step’ Go to the “Test” tab “Add” the “Visual Studio Test Agent Deployment” and “Visual Studio Test using Test Agent” tasks
  • 7.
    Step 3 “Add” the“Windows Machine File Copy” task We will use this task to copy the build binaries from the build machine to the target test machines.
  • 8.
    Step 3 Lets configurethe tasks we just added
  • 9.
  • 10.
    Step 3 Save yourbuild definition after you have entered all the details
  • 11.
  • 12.
  • 13.
    Step 5 Results Here isa view of the build summary page. The test run is reported against the build and you have a link to the test run details view. The build summary shows me a summary of my code coverage as well.
  • 14.
    Step 5 Results On clickingthe test run link from the build summary page you are taken to the test run summary view. My .trx and .coverage files are available for download
  • 15.
    Step 5 I candrill down further by clicking on the “Test results” node The test result list is available and as you can see the tests were distributed across the two machines in my machine group.