Downloaded 109 times


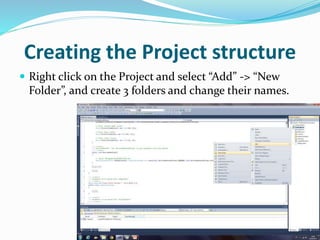
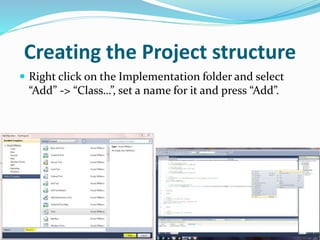
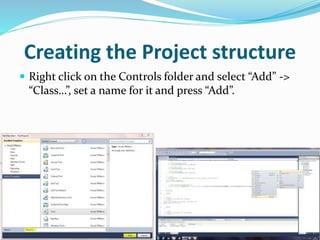
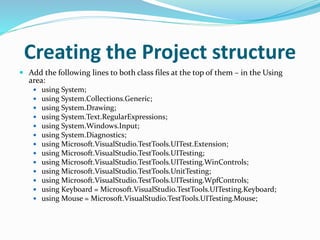
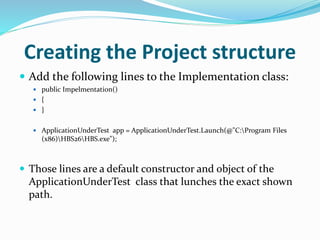


The document discusses the structure of a Coded UI project, including control mapping, implementation, and test cases (scenarios). Control mapping defines the UI controls, implementation contains methods for actions and verifications, and test cases call the implementation methods in a specific order to test functionality. The project is set up by creating folders for each part and adding classes to map controls and define implementation methods.