Download as PDF, PPTX
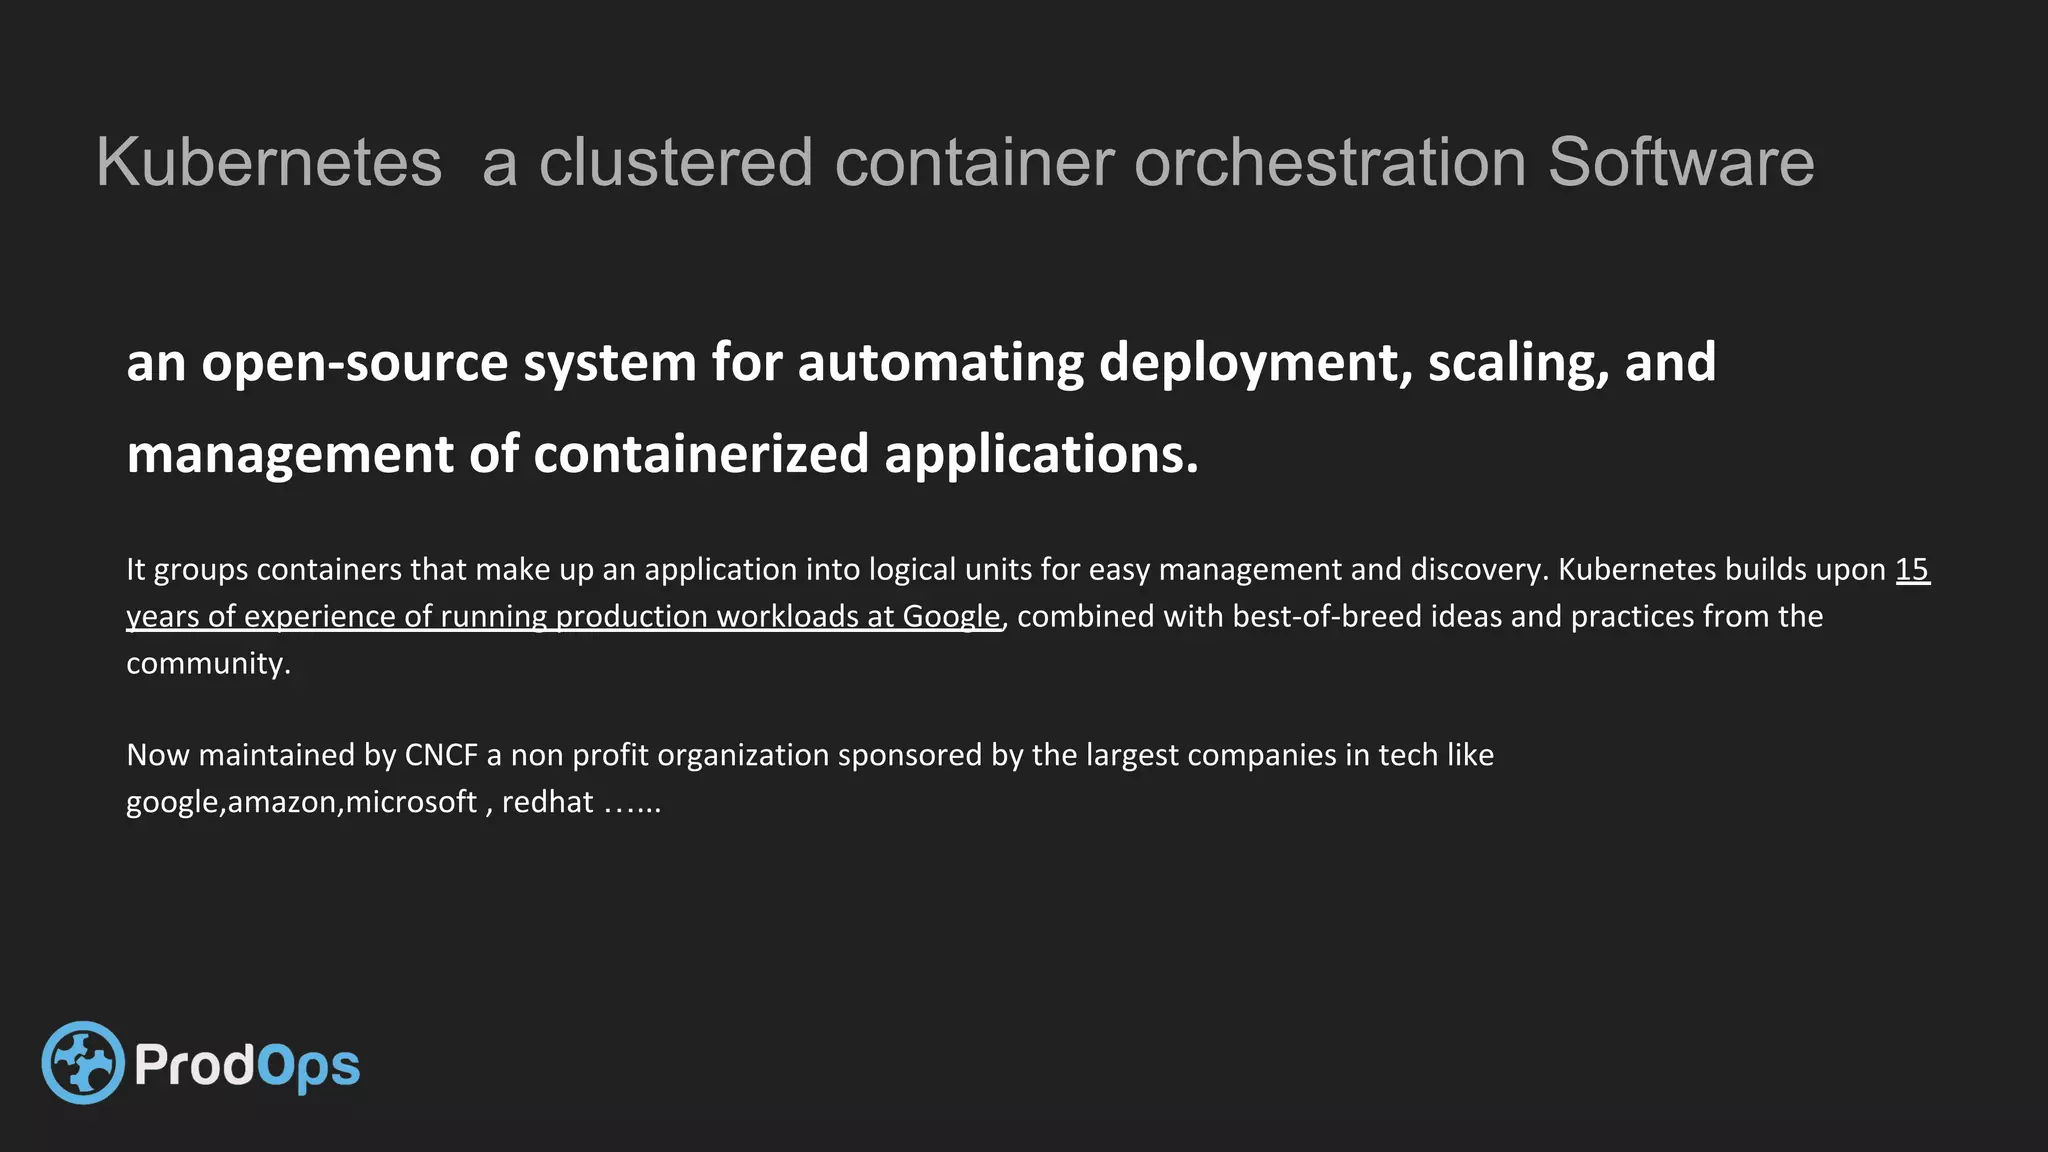
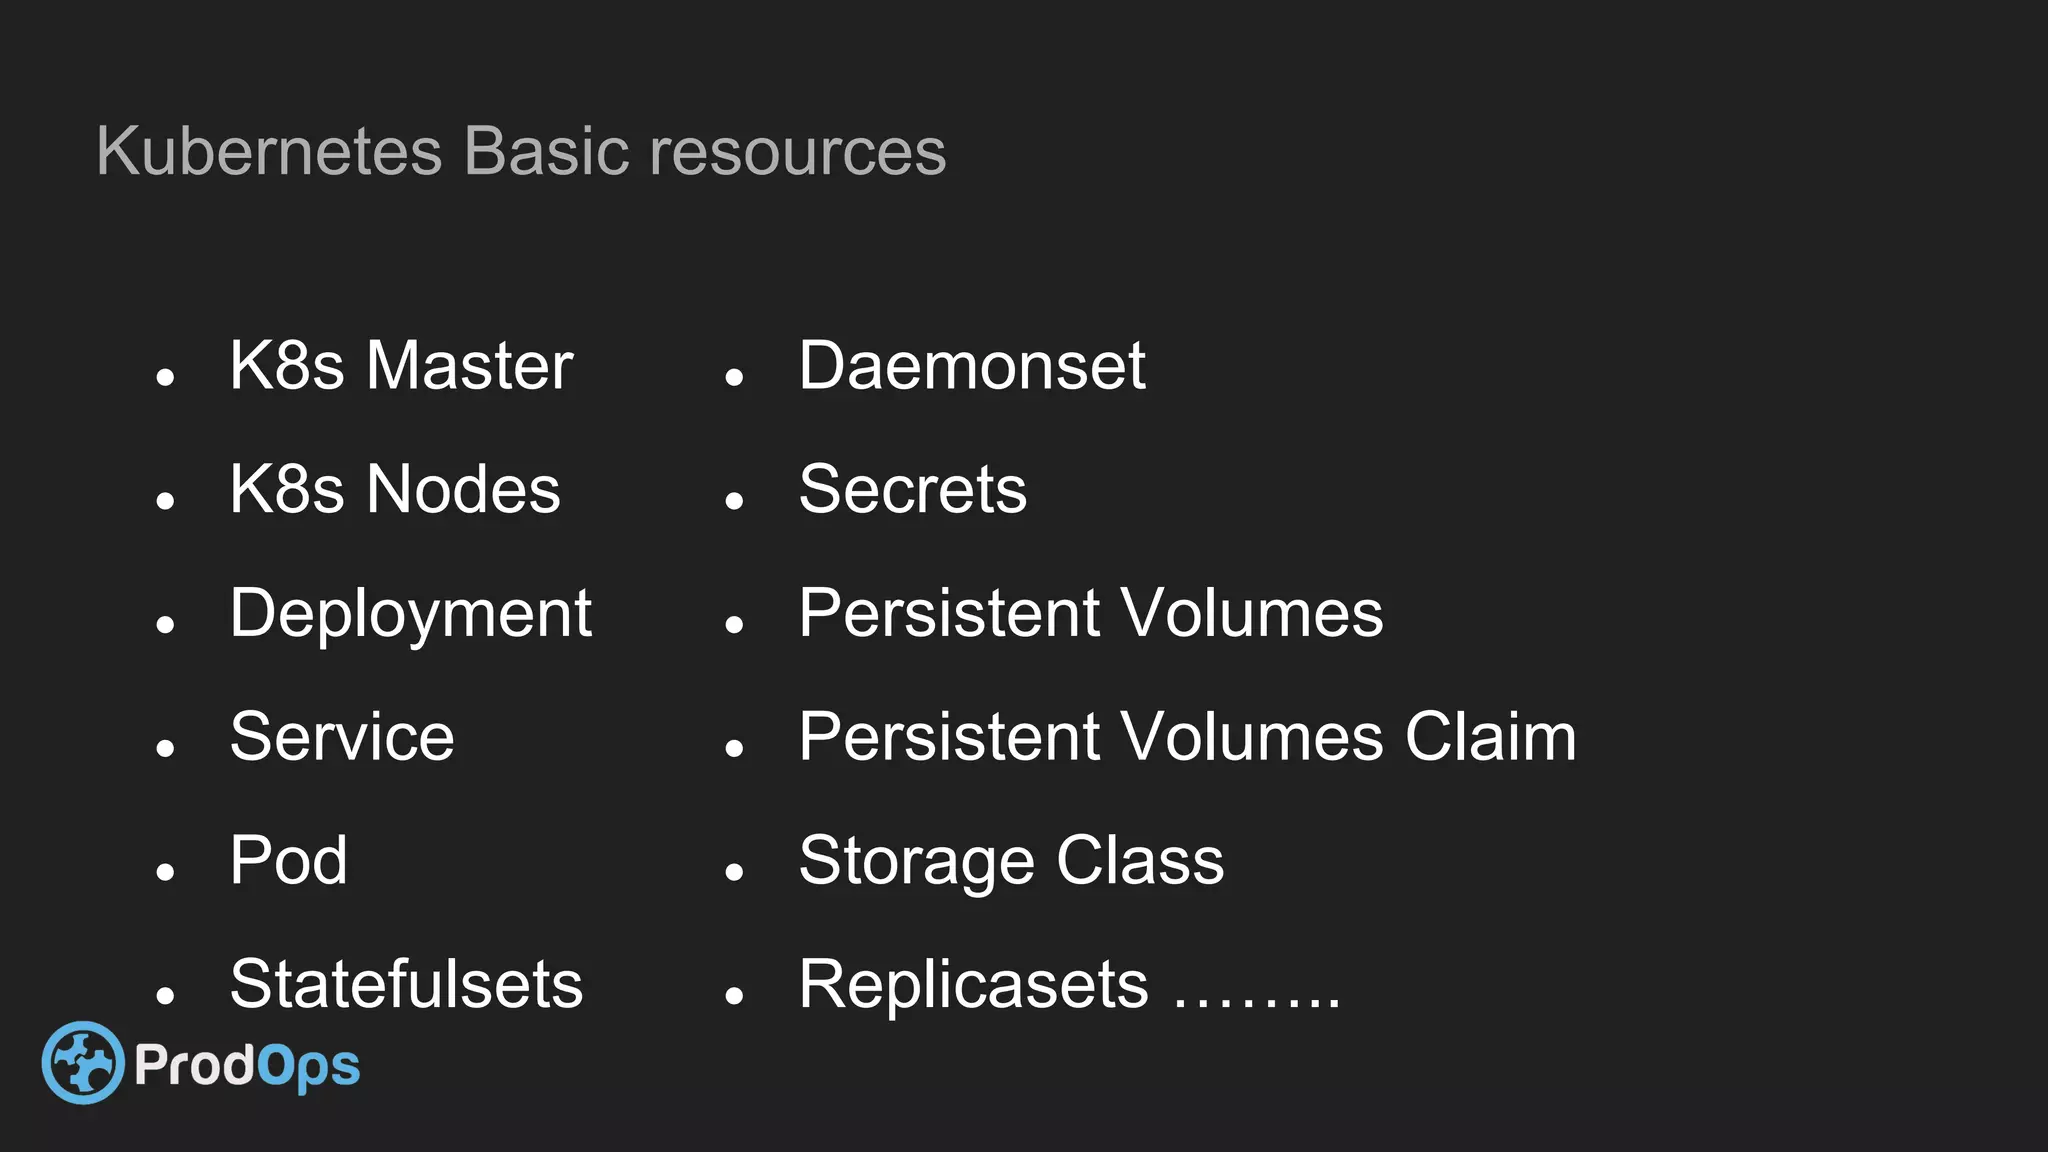


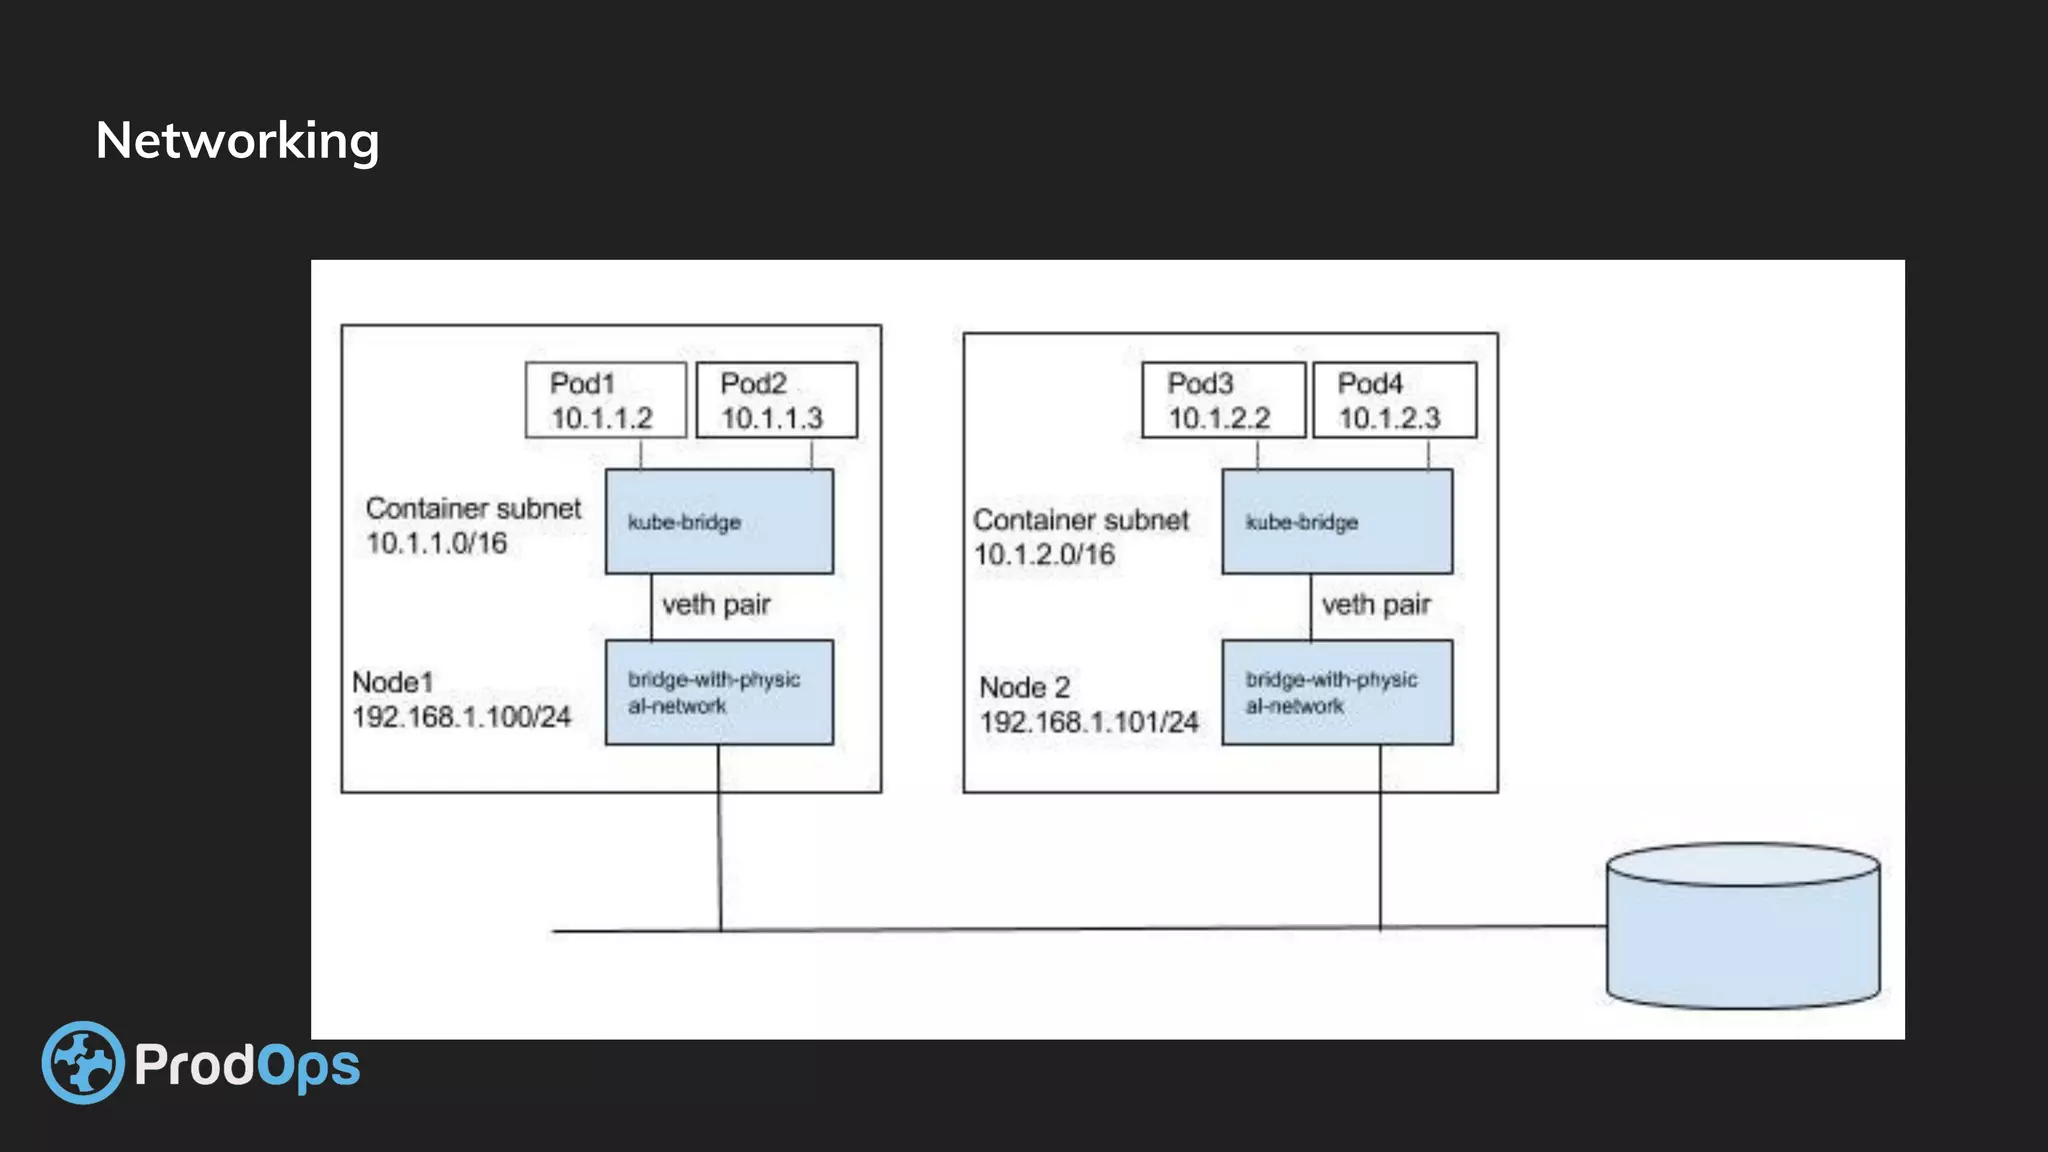
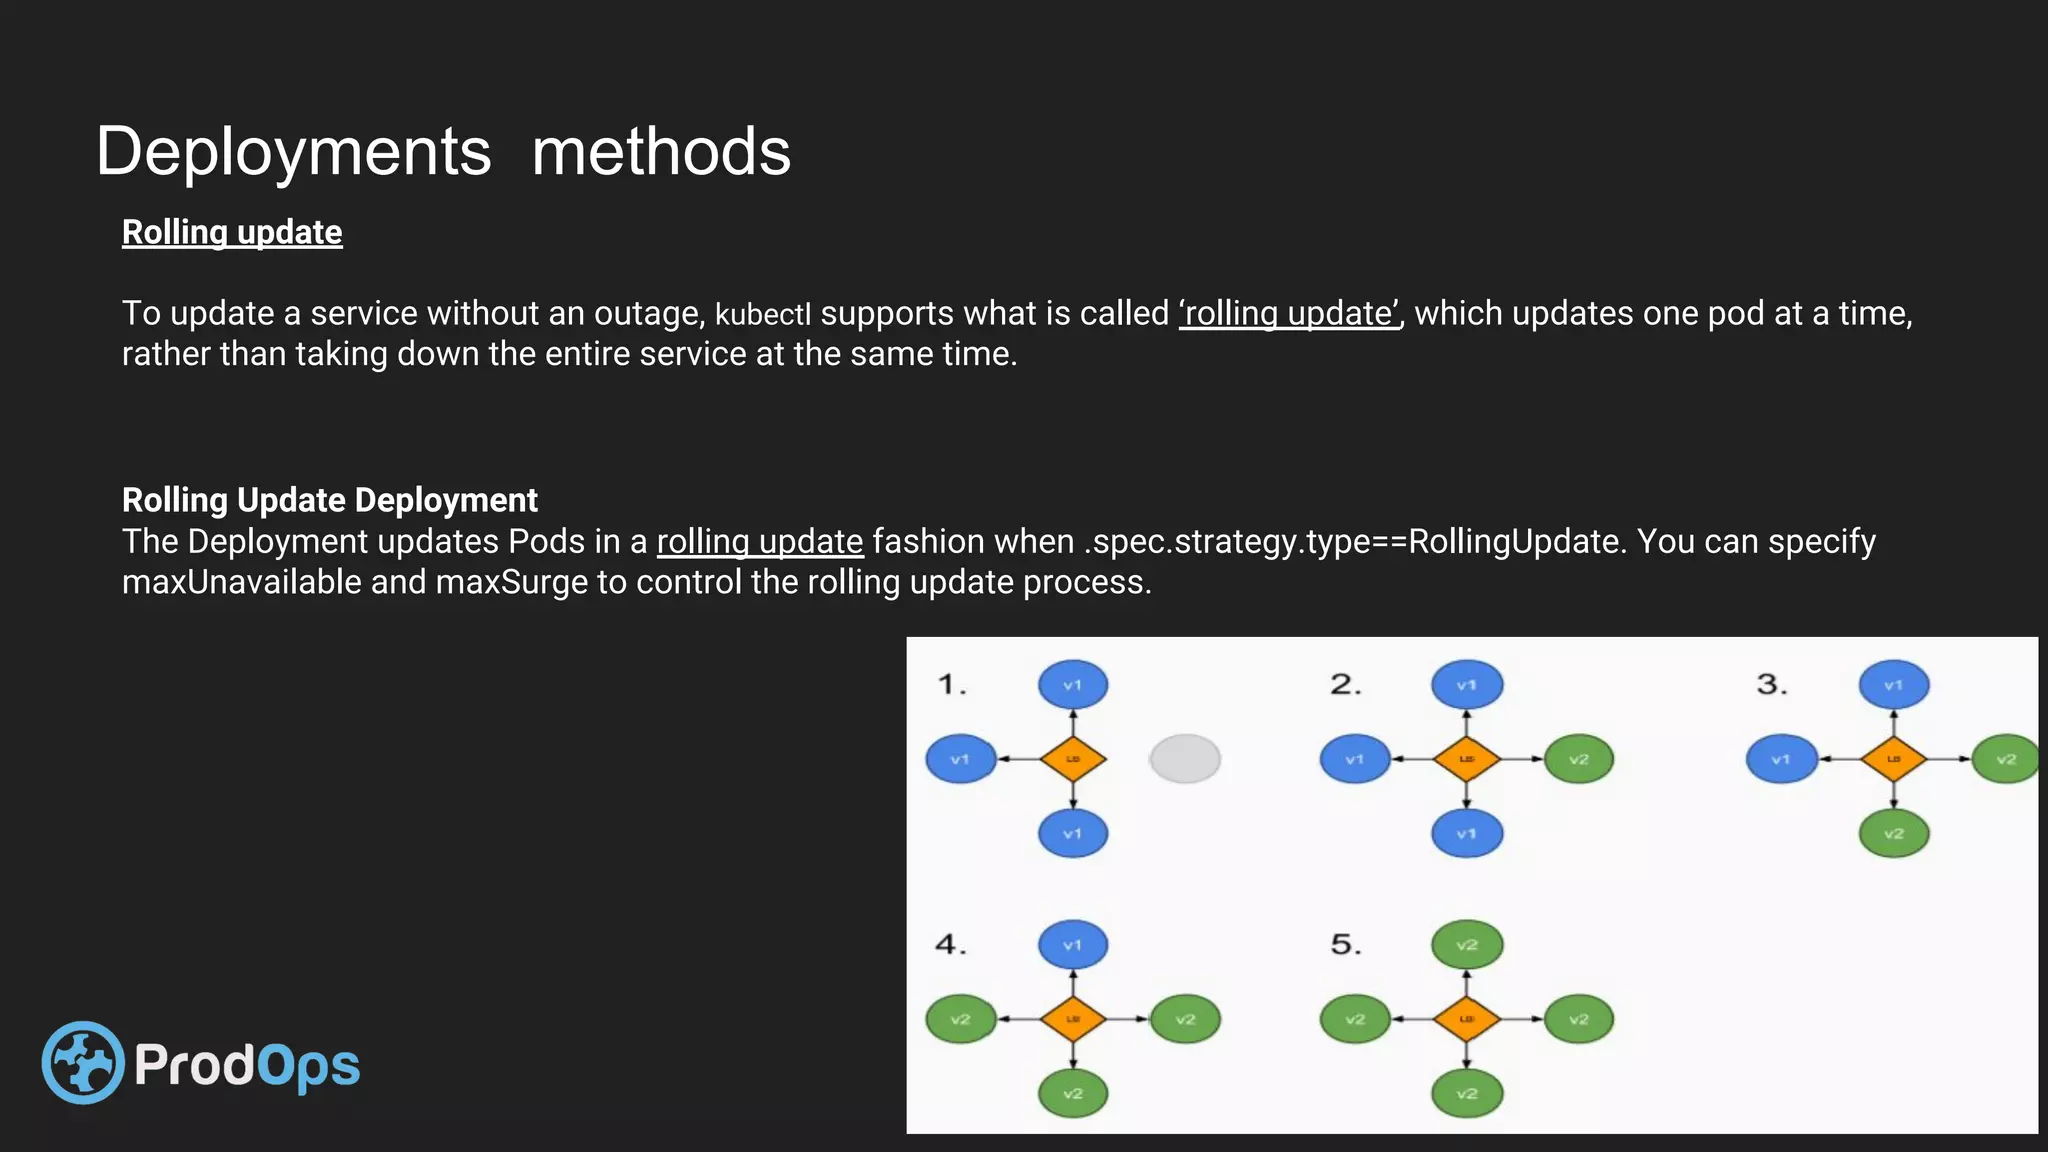

Kubernetes is an open-source system for automating deployment, scaling, and management of containerized applications. It groups related containers into logical units called pods and manages the pods' lifecycles and services. Key Kubernetes objects include pods, deployments, services, and secrets. The declarative model defines the desired state and Kubernetes ensures the actual state matches it.