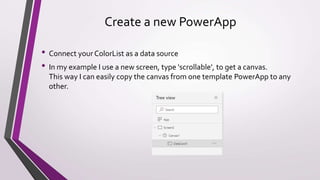
Download to read offline
![Add a text label
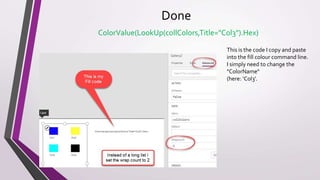
Now we add a text label to the Gallery,
showing the [Title].
You can also use the Internal Name or
the ID, if it is unique.](https://image.slidesharecdn.com/powerapps-standardcolors-190820114445/85/PowerApps-Using-your-own-Colour-Set-7-320.jpg)


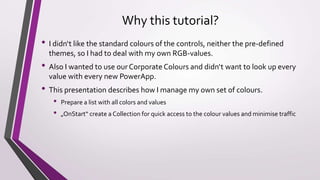
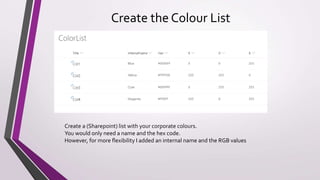
This document describes how to create a collection in PowerApps to store custom color values from a SharePoint list, in order to apply those colors consistently throughout an app without needing to look up the values each time. It recommends preparing a SharePoint list with color names and hex codes, creating the collection on app start to minimize data lookups, adding a gallery bound to the collection to display the colors, and using a lookup formula to reference the color values in the collection.