
Download as KEY, PPTX
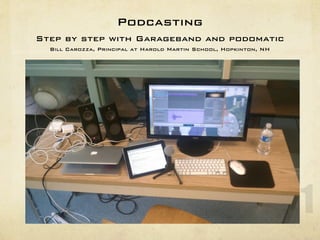


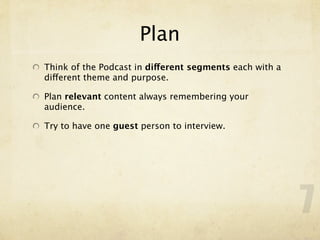
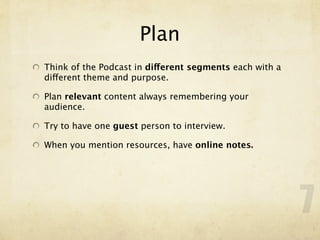


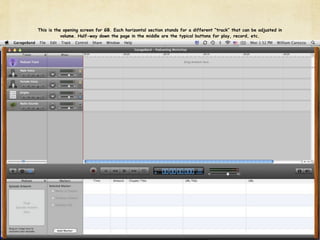

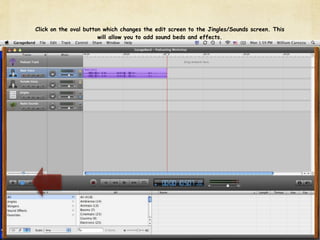
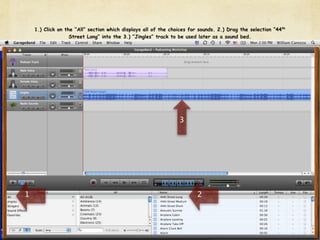
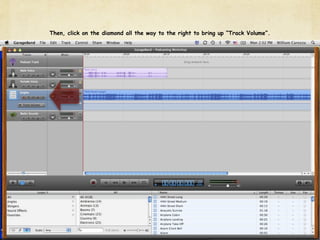
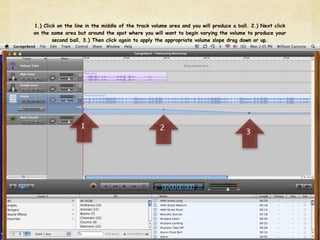
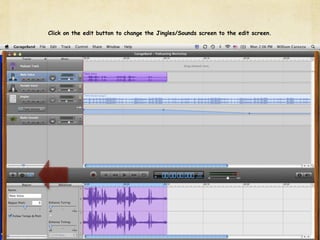
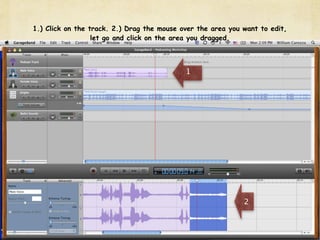
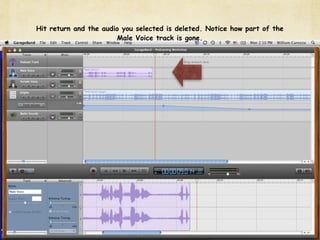
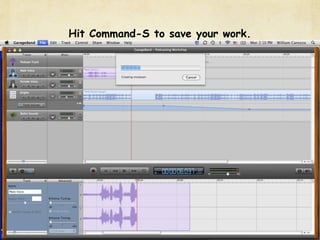
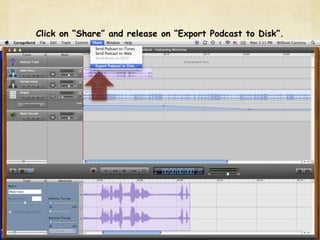
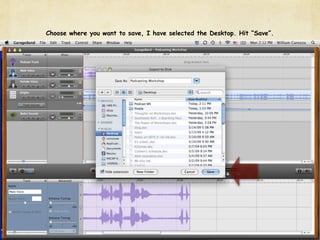
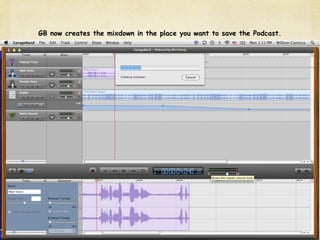

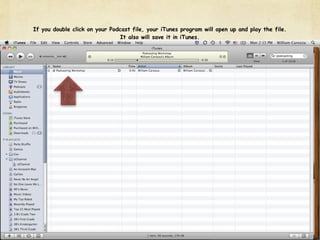
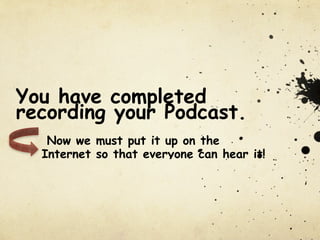
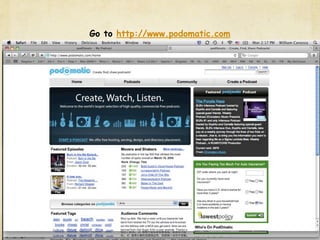
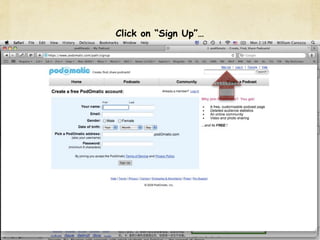
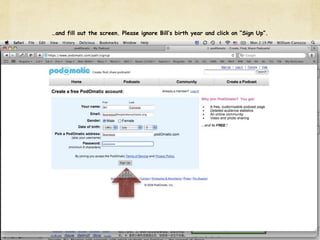
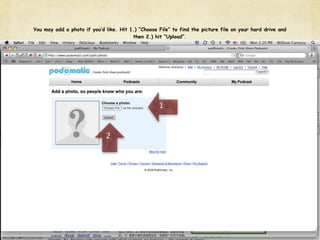
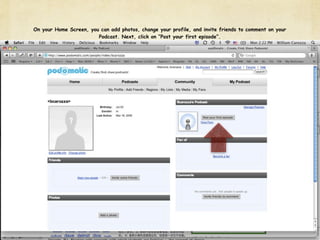
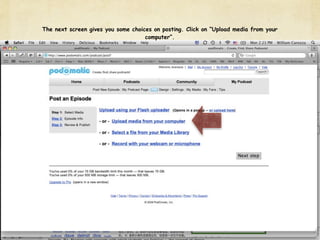
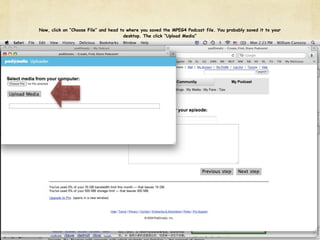
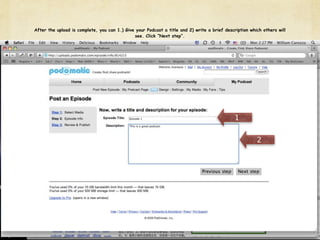
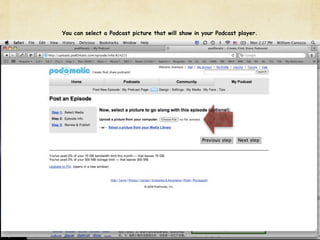
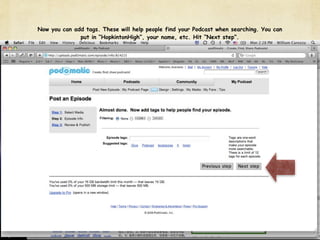
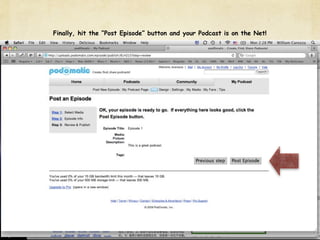
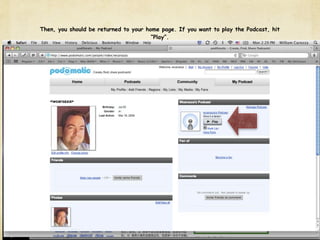


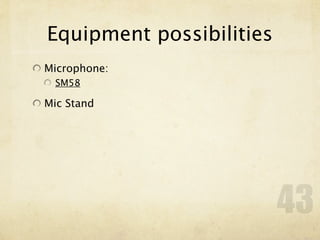
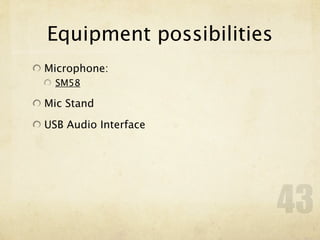

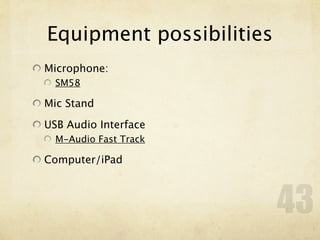
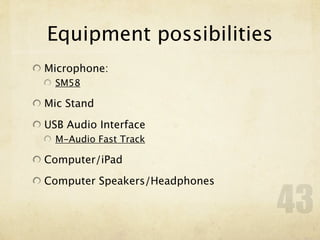


This document provides step-by-step instructions for creating a podcast using GarageBand and the hosting site Podomatic. It begins by outlining the workshop's learning objectives of understanding what podcasts are, how to produce an audio file using GarageBand on iPad and desktop, and how to upload the podcast file to a hosting site. It then discusses why podcasts are useful for educators to communicate with students and the community. The rest of the document outlines the five steps to creating a podcast: planning content, recording, producing the audio file, uploading it, and publicizing the podcast. It walks through each step, providing screenshots of the GarageBand interface and instructions for using the various tools.


![Podcasting[1]](https://cdn.slidesharecdn.com/ss_thumbnails/podcasting1-100614075301-phpapp01-thumbnail.jpg?width=640&height=640&fit=bounds)


