Download as PPSX, PPTX


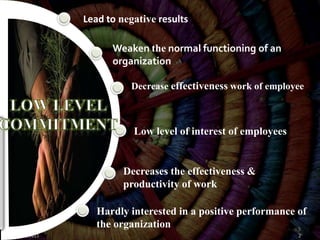


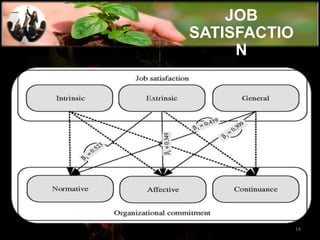


The document discusses the importance of employee commitment as a critical factor for organizational success, highlighting that committed employees lead to lower turnover and higher performance. It outlines various influences on commitment, including personal values, job satisfaction, and corporate responsibility. Ultimately, fostering a committed workforce can enhance productivity and help achieve organizational goals.


