Download to read offline


![NethServer Documentation, Release 7 Final
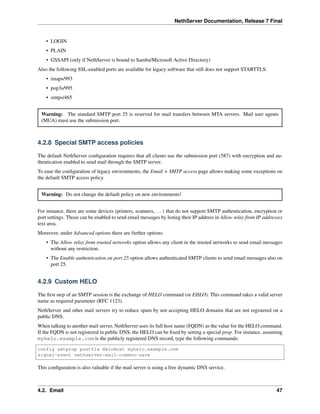
4.2.10 Outlook deleted mail
Unlike almost any IMAP client, Outlook does not move deleted messages to the trash folder, but simply marks them
as “deleted”.
It’s possibile to automatically move messages inside the trash folder using the following commands:
config setprop dovecot DeletedToTrash enabled
signal-event nethserver-mail-server-save
You should also change Outlook configuration to hide deleted messages from inbox folder. This configuration is
available in the options menu.
4.2.11 Log
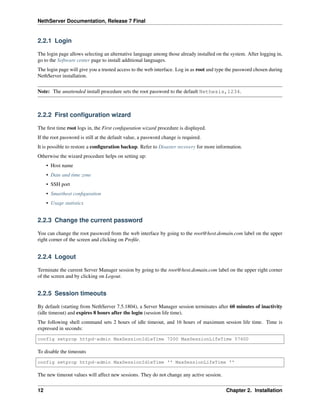
Every mail server operation is saved in the following log files:
• /var/log/maillog registers all mail transactions
• /var/log/imap contains users login and logout operations
A transaction recorded in the maillog file usually involves different components of the mail server. Each line
contains respectively
• the timestamp,
• the host name,
• the component name, and the process-id of the component instance
• a text message detailing the operation
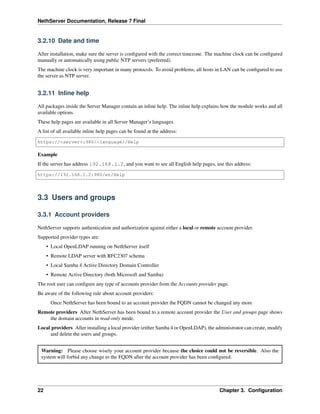
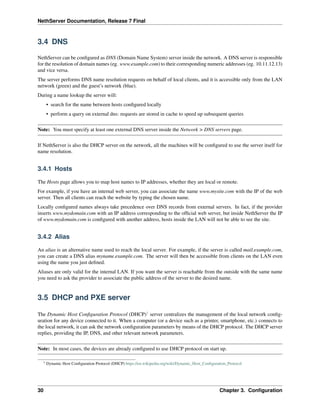
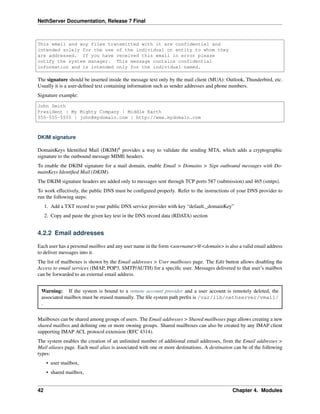
NethServer configuration uses Rspamd as milter. It runs an Rspamd proxy worker in “self-scan” mode19
.
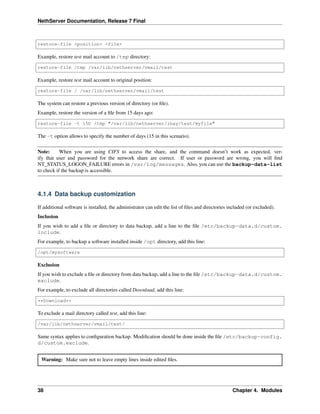
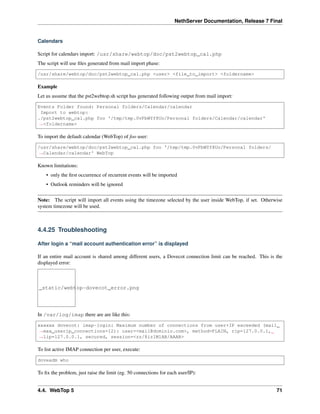
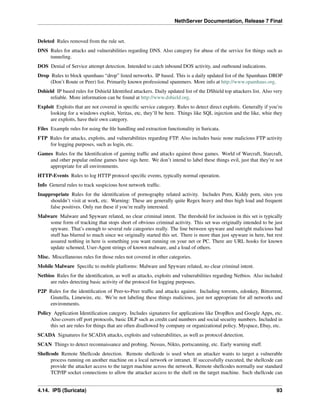
The key to track the whole SMTP transaction, including Rspamd decisions is the message ID header, or the Postfix
Queue ID (QID). Both are available from the message source. The Message-ID header is generated by the sender,
whilst the QID is assigned by the receiving MTA. For instance
Received: from my.example.com (my.example.com [10.154.200.17])
by mail.mynethserver.org (Postfix) with ESMTP id A785B308622AB
for <jsmith@example.com>; Tue, 15 May 2018 02:05:02 +0200 (CEST)
...
Message-ID: <5afa242e.hP5p/mry+fTNNjms%no-reply@example.com>
User-Agent: Heirloom mailx 12.5 7/5/10
Here A785B308622AB is the QID, whilst 5afa242e.hP5p/mry+fTNNjms%no-reply@example.com is
the Message ID.
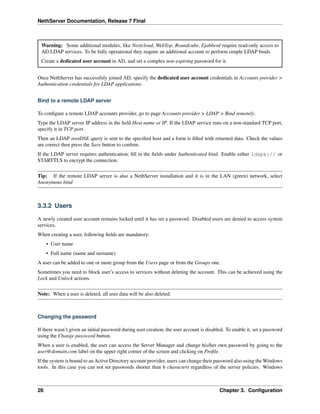
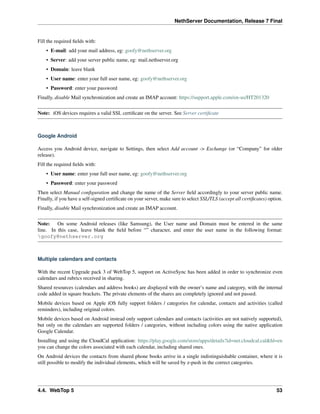
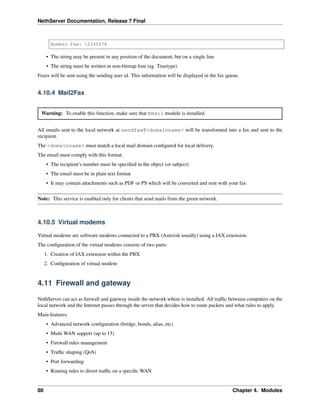
Both strings can be used with the grep command to find relevant log lines in /var/log/maillog* (note the
ending “*” to search also in archived log files). For instance
grep -F 'A785B308622AB' /var/log/maillog*
Yields
/var/log/maillog:May 15 02:05:02 mail postfix/smtpd[25846]: A785B308622AB: client=my.
˓→example.com[10.154.200.17]
/var/log/maillog:May 15 02:05:02 mail postfix/cleanup[25849]: A785B308622AB: message-
˓→id=<5afa242e.hP5p/mry+fTNNjms%no-reply@example.com>
(continues on next page)
19 https://rspamd.com/doc/workers/rspamd_proxy.html
48 Chapter 4. Modules](https://image.slidesharecdn.com/nethserver-180713144408/85/Nethserver-52-320.jpg)
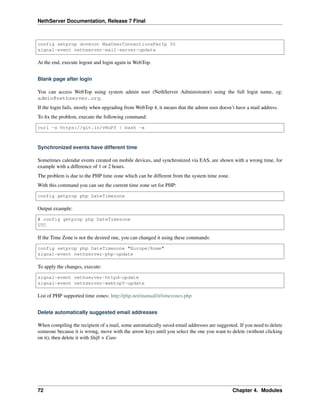
![NethServer Documentation, Release 7 Final
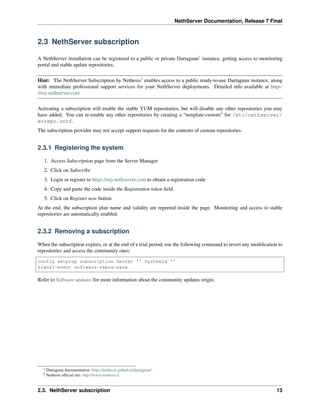
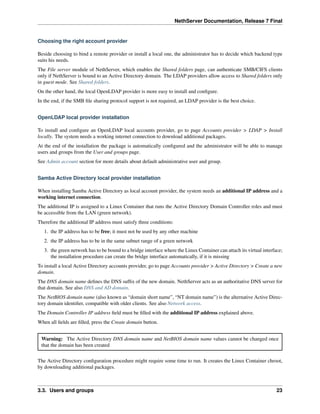
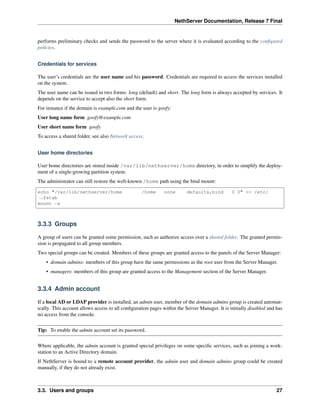
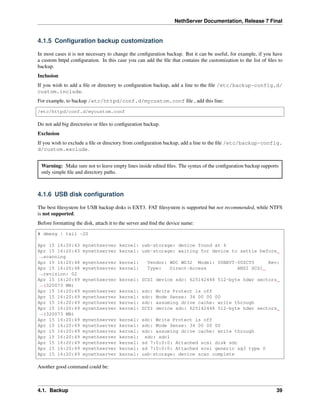
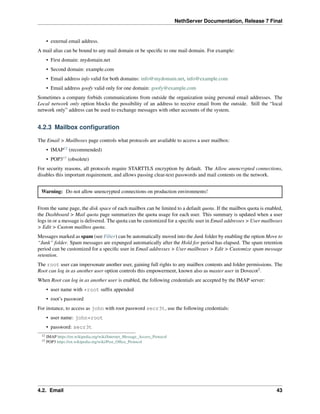
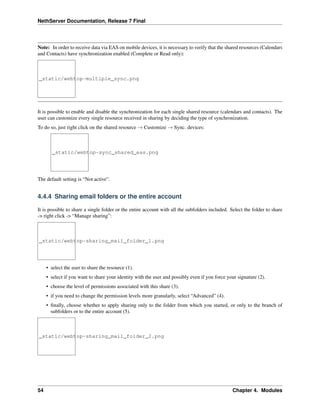
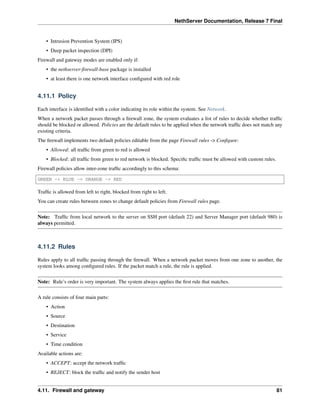
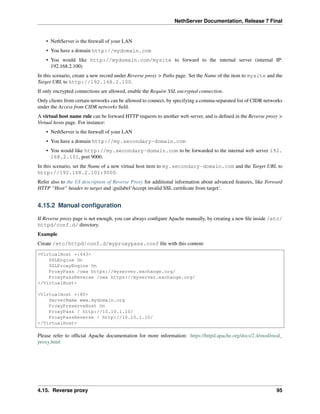
(continued from previous page)
/var/log/maillog:May 15 02:05:02 mail rspamd[27538]: <8ae27d>; proxy; rspamd_message_
˓→parse: loaded message; id: <5afa242e.hP5p/mry+fTNNjms%no-reply@example.com>; queue-
˓→id: <A785B308622AB>; size: 2348; checksum: <b1035f4fb07162ba88053d9e38df9c93>
/var/log/maillog:May 15 02:05:03 mail rspamd[27538]: <8ae27d>; proxy; rspamd_task_
˓→write_log: id: <5afa242e.hP5p/mry+fTNNjms%no-reply@example.com>, qid:
˓→<A785B308622AB>, ip: 10.154.200.17, from: <no-reply@example.com>, (default: F (no
˓→action): [-0.64/20.00] [BAYES_HAM(-3.00){100.00%;},AUTH_NA(1.00){},MID_CONTAINS_
˓→FROM(1.00){},MX_INVALID(0.50){},MIME_GOOD(-0.10){text/plain;},IP_SCORE(-0.04){ip:
˓→(0.22), ipnet: 10.154.192.0/20(0.18), asn: 14061(0.23), country: US(-0.81);},ASN(0.
˓→00){asn:14061, ipnet:10.154.192.0/20, country:US;},DMARC_NA(0.00){example.com;},
˓→FROM_EQ_ENVFROM(0.00){},FROM_NO_DN(0.00){},NEURAL_HAM(-0.00){-0.656;0;},RCPT_COUNT_
˓→ONE(0.00){1;},RCVD_COUNT_TWO(0.00){2;},RCVD_NO_TLS_LAST(0.00){},R_DKIM_NA(0.00){},R_
˓→SPF_NA(0.00){},TO_DN_NONE(0.00){},TO_DOM_EQ_FROM_DOM(0.00){},TO_MATCH_ENVRCPT_ALL(0.
˓→00){}]), len: 2348, time: 750.636ms real, 5.680ms virtual, dns req: 47, digest:
˓→<b1035f4fb07162ba88053d9e38df9c93>, rcpts: <jsmith@example.com>, mime_rcpts:
˓→<jsmith@example.com>
/var/log/maillog:May 15 02:05:03 mail postfix/qmgr[27757]: A785B308622AB: from=<no-
˓→reply@example.com>, size=2597, nrcpt=1 (queue active)
/var/log/maillog:May 15 02:05:03 mail postfix/lmtp[25854]: A785B308622AB: to=
˓→<vmail+jsmith@mail.mynethserver.org>, orig_to=<jsmith@example.com>, relay=mail.
˓→mynethserver.org[/var/run/dovecot/lmtp], delay=0.82, delays=0.8/0.01/0.01/0.01,
˓→dsn=2.0.0, status=sent (250 2.0.0 <vmail+jsmith@mail.mynethserver.org> gK8pHS8k+lr/
˓→ZAAAJc5BcA Saved)
/var/log/maillog:May 15 02:05:03 mail postfix/qmgr[27757]: A785B308622AB: removed
References
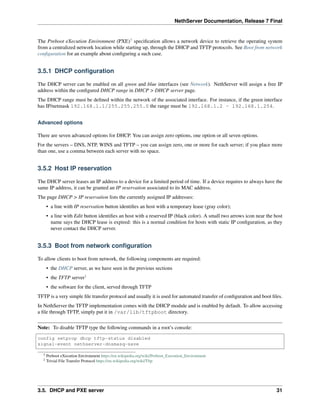
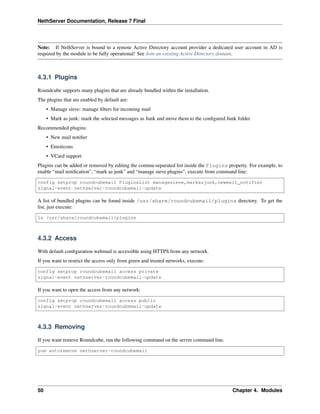
4.3 Webmail
The default webmail client is Roundcube. Roundcube’s main features are:
• Simple and fast
• Built-in address book integrated with internal LDAP
• Support for HTML messages
• Shared folders support
• Plugins
The webmail is available at the following URLs:
• http://_server_/webmail
• http://_server_/roundcubemail
For example, given a server with IP address 192.168.1.1 and name mail.mydomain.com, valid addresses are:
• http://192.168.1.1/webmail
• http://192.168.1.1/roundcubemail
• http://mail.mydomain.com/webmail
• http://mail.mydomain.com/roundcubemail
4.3. Webmail 49](https://image.slidesharecdn.com/nethserver-180713144408/85/Nethserver-53-320.jpg)

![NethServer Documentation, Release 7 Final
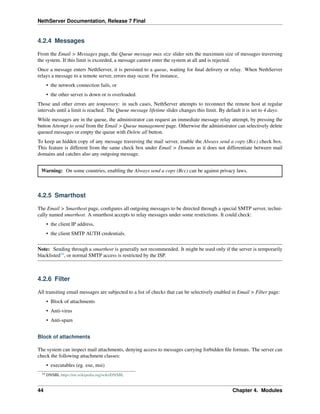
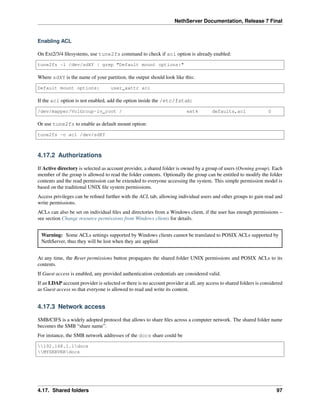
config setprop php DateTimezone Europe/Rome
signal-event nethserver-php-update
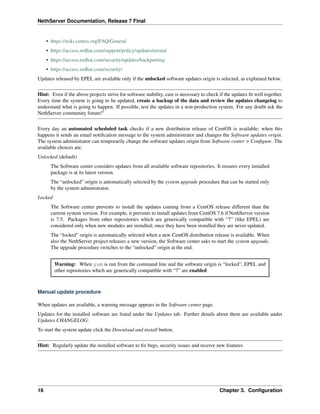
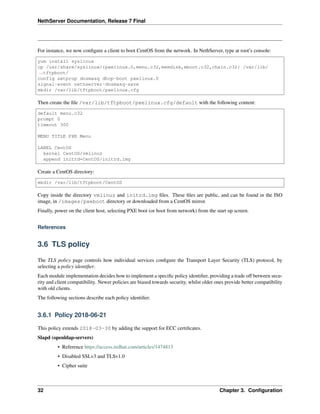
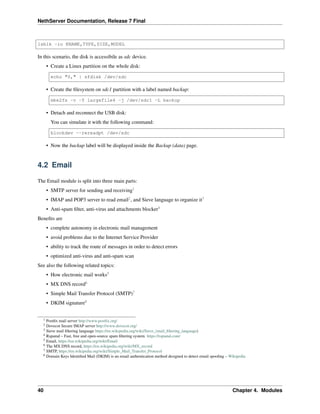
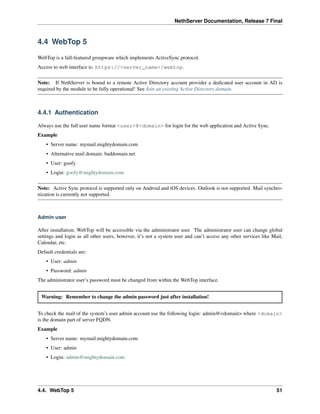
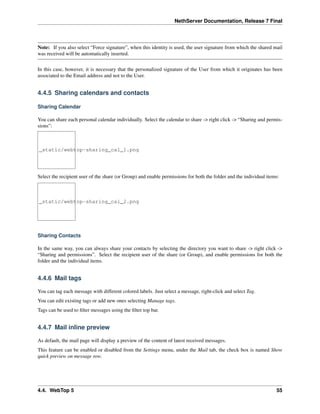
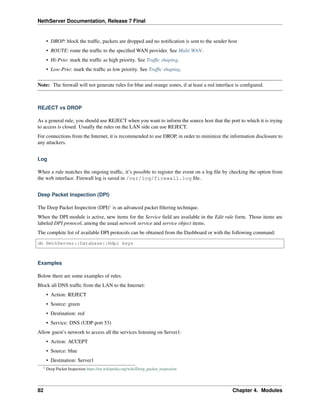
Mail
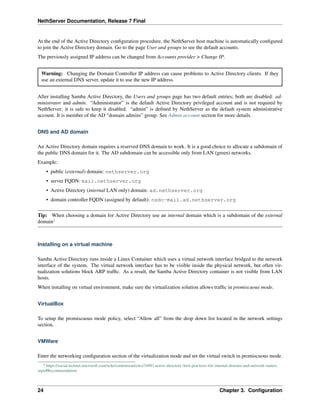
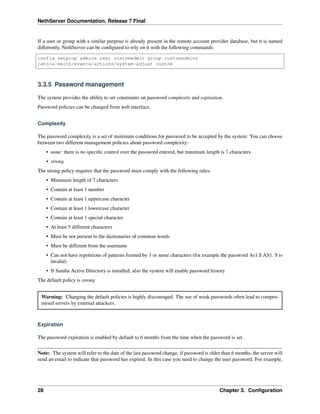
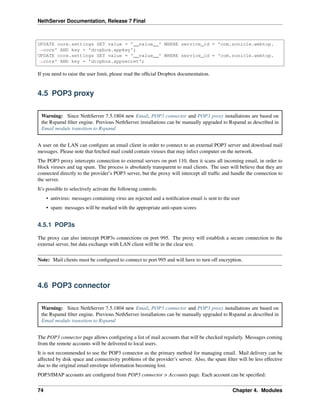
Initial script to import mail messages: /usr/share/webtop/doc/pst2webtop.sh
To start the import, run the script specifying the PST file and the system user:
/usr/share/webtop/doc/pst2webtop.sh <filename.pst> <user>
Example:
# /usr/share/webtop/doc/pst2webtop.sh data.pst goofy
Do you wish to import email? [Y]es/[N]o:
All mail messages will be imported. Contacts and calendars will be saved inside a temporary and the script will output
further commands to import contacts and calendars.
Example:
Events Folder found: Outlook/Calendar/calendar
pst2webtop_cal.php goody '/tmp/tmp.Szorhi5nUJ/Outlook/Calendar/calendar' <foldername>
...
log created: /tmp/pst2webtop14271.log
All commands are saved also in the reported log.
Contacts
Script for contacts import: /usr/share/webtop/doc/pst2webtop_card.php.
The script will use files generated from mail import phase:
/usr/share/webtop/doc/pst2webtop_card.php <user> <file_to_import> <phonebook_category>
Example
Let us assume that the pst2webtop.sh script has generated following output from mail import:
Contacts Folder found: Personal folders/Contacts/contacts
Import to webtop:
./pst2webtop_card.php foo '/tmp/tmp.0vPbWYf8Uo/Personal folders/Contacts/contacts'
˓→<foldername>
To import the default address book (WebTop) of foo user:
/usr/share/webtop/doc/pst2webtop_card.php foo '/tmp/tmp.0vPbWYf8Uo/Personal folders/
˓→Contacts/contacts' WebTop
70 Chapter 4. Modules](https://image.slidesharecdn.com/nethserver-180713144408/85/Nethserver-74-320.jpg)


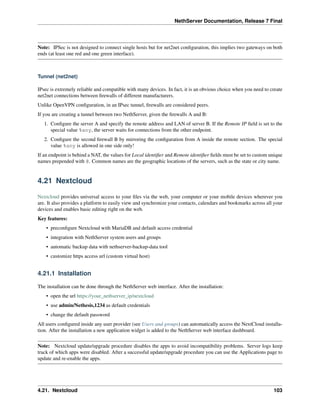
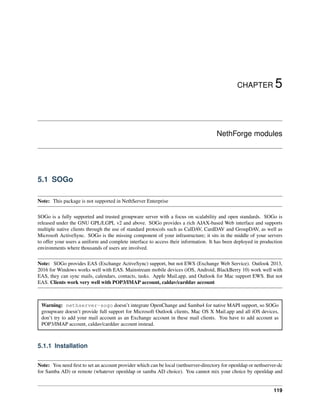
![NethServer Documentation, Release 7 Final
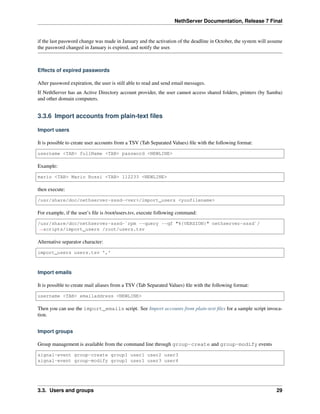
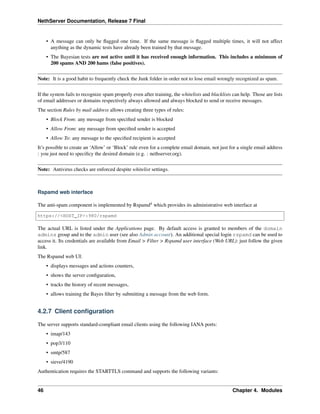
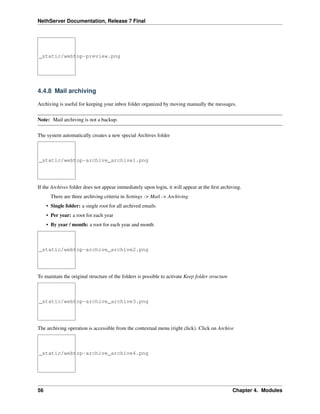
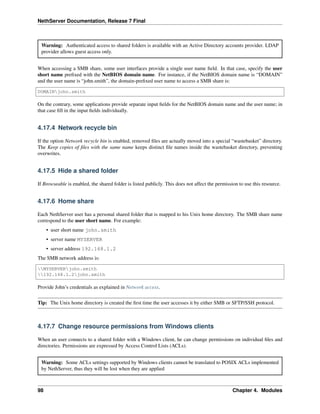
yum --enablerepo=nethserver-testing install nethserver-cockpit-hotsync
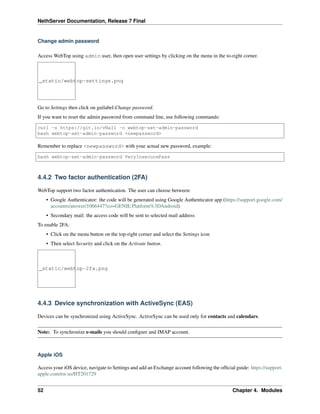
4.27.3 Configuration
Master
[root@master]# config setprop rsyncd password <PASSWORD>
[root@master]# config setprop hotsync role master
[root@master]# config setprop hotsync SlaveHost <SLAVE_IP>
[root@master]# signal-event nethserver-hotsync-save
Slave
[root@slave]# config setprop rsyncd password <PASSWORD>
[root@slave]# config setprop hotsync role slave
[root@slave]# config setprop hotsync MasterHost <MASTER_IP>
[root@slave]# signal-event nethserver-hotsync-save
The <PASSWORD> must be the same on master and slave.
If mysql or postgresql are installed, they will be synchronized by default. To disable databases sync
[root@master]# config setprop hotsync databases disabled
[root@master]# signal-event nethserver-hotsync-save
Enabling/Disabling
Hotsync is enabled by default. To disable it:
[root@slave]# config setprop hotsync status disabled
[root@slave]# signal-event nethserver-hotsync-save
and to re-enable it:
[root@slave]# config setprop hotsync status enabled
[root@slave]# signal-event nethserver-hotsync-save
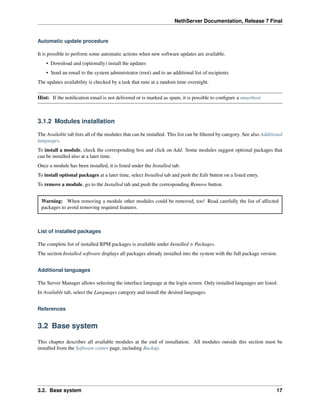
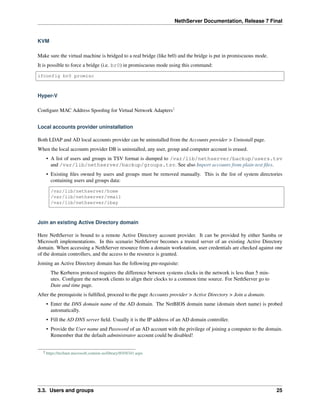
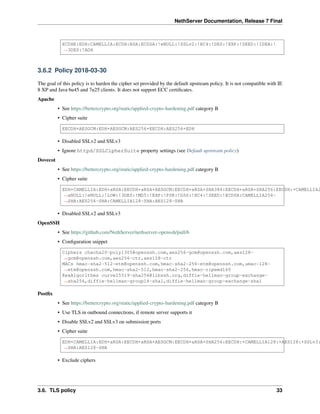
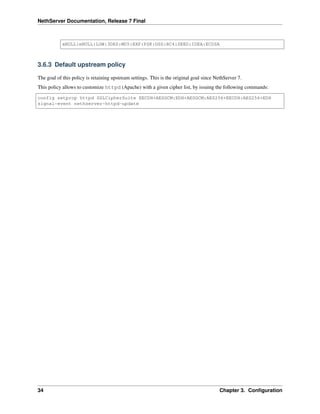
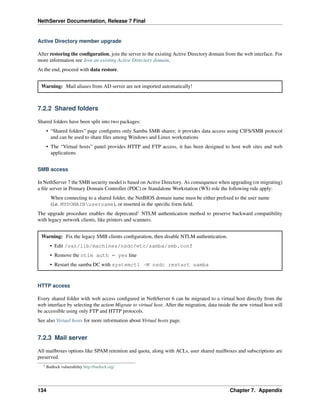
4.27.4 Restore: put SLAVE in production
The following procedure puts the SLAVE in production when the master has crashed.
1. switch off MASTER
2. if the SLAVE machine must run as network gateway, connect it to the router/modem with a network cable
3. on SLAVE, if you are connected through an ssh console, launch the screen command, to make your session
survive to network outages:
[root@slave]# screen
4. on SLAVE launch the following command, and read carefully its output
110 Chapter 4. Modules](https://image.slidesharecdn.com/nethserver-180713144408/85/Nethserver-114-320.jpg)
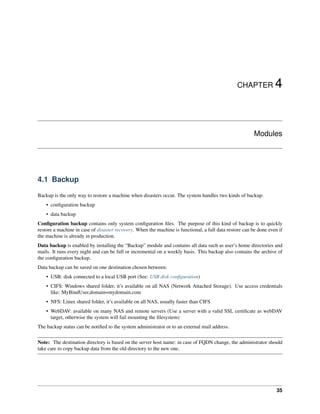
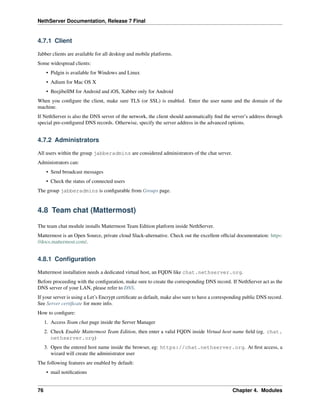
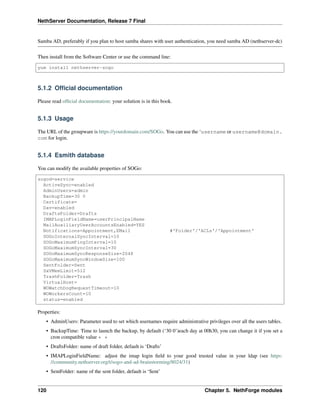
![NethServer Documentation, Release 7 Final
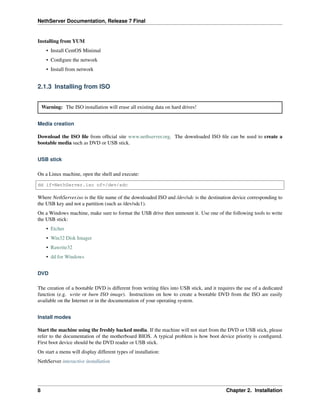
[root@slave]# hotsync-promote
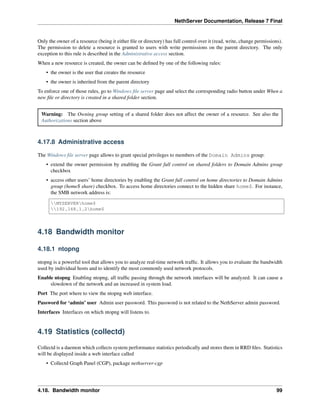
5. go to Server Manager, in page Network and reassign roles to network interfaces as required
6. launch the command
[root@slave]# /sbin/e-smith/signal-event post-restore-data
7. update the system to the latest packages version
[root@slave]# yum clean all && yum -y update
8. if an USB backup is configured on MASTER, connect the backup HD to SLAVE
4.27.5 Supported packages
• nethserver-nextcloud
• nethserver-mysql
• nethserver-dnsmasq
• nethserver-squidguard
• nethserver-pulledpork
• nethserver-antivirus
• nethserver-samba-audit
• nethserver-freepbx > 14.0.3
• nethserver-webtop5 (z-push state is not synchronized)
• nethserver-collectd
• nethserver-cups
• nethserver-dc
• nethserver-letsencrypt
• nethserver-nextcloud
• nethserver-sssd
• nethserver-directory
• nethserver-ibays
• nethserver-mail-server
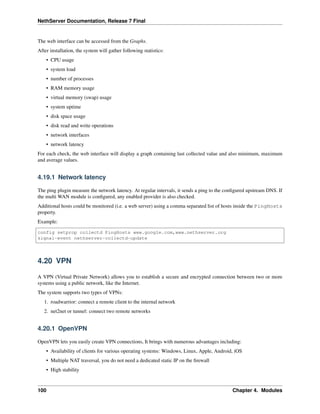
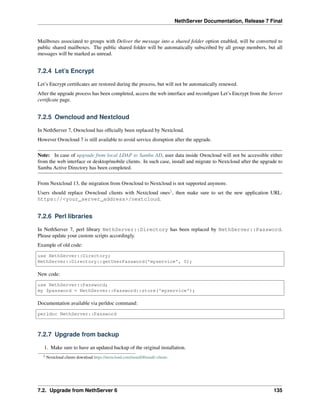
4.28 Virtual machines
NethServer is capable of running virtual machines using KVM and libvirt, but it doesn’t provide a Web interface for
it.
Virtualization software can be installed and started using the command line, just execute:
4.28. Virtual machines 111](https://image.slidesharecdn.com/nethserver-180713144408/85/Nethserver-115-320.jpg)
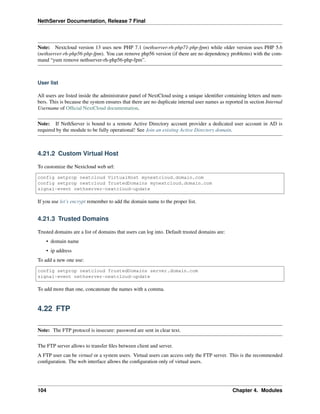
![NethServer Documentation, Release 7 Final
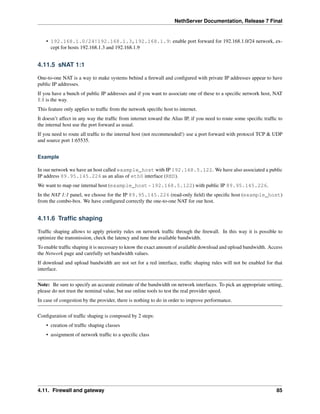
Fail2ban-listban
Fail2ban-listban counts the IPs currently and totally banned in all activated jails, at the end it shows the IPs which are
still banned by shorewall.
fail2ban-listban
Fail2ban-regex
Fail2ban-regex is a tool which is used to test the regex on you logs, it is a part of fail2ban software. Only one filter is
allowed per jail, but it is possible to specify several actions, on separate lines.
The documentation is readable at the fail2ban project.
fail2ban-regex /var/log/YOUR_LOG /etc/fail2ban/filter.d/YOUR_JAIL.conf --print-all-
˓→matched
You can also test custom regex directly:
fail2ban-regex /var/log/secure '^%(__prefix_line)s(?:error: PAM: )?[aA]uthentication
˓→(?:failure|error) for .* from <HOST>( via S+)?s*$'
Fail2ban-unban
Fail2ban-unban is used to unban an IP when the ban must be removed manually.
fail2ban-unban <IP>
You can use also the built-in command with fail2ban-client:
fail2ban-client set <JAIL> unbanip <IP>
4.29.4 Whois
If you desire to query the IP whois database and obtain the origin of the banned IP by email, you could Install the
whois rpm.
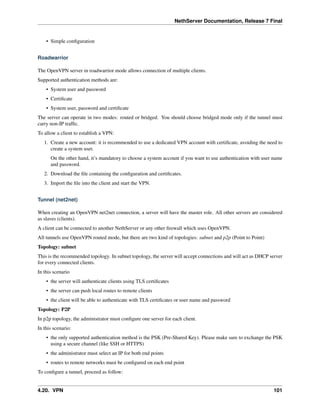
4.30 Email module transition to Rspamd
Since NethServer 7.5.1804 new Email, POP3 connector and POP3 proxy installations are based on the Rspamd1
filter
engine. Previous NethServer installations can be manually upgraded to Rspamd as described by this section.
New configuration features, specific to Rspamd-based implementation, are now documented in Email. Here is a brief
list:
• DKIM signature
• Rspamd web UI
• Greylist threshold3
1 Rspamd – Fast, free and open-source spam filtering system. https://rspamd.com/
3 Greylisting is a method of defending e-mail users against spam. A mail transfer agent (MTA) using greylisting will “temporarily reject” any
email from a sender it does not recognize – Wikipedia
114 Chapter 4. Modules](https://image.slidesharecdn.com/nethserver-180713144408/85/Nethserver-118-320.jpg)

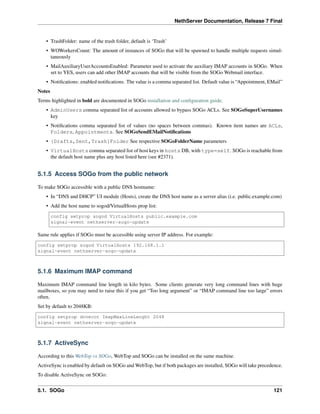
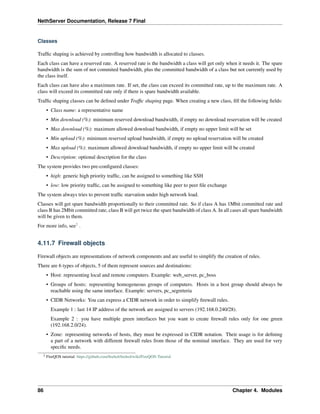
![NethServer Documentation, Release 7 Final
Outlook
You can use it with
• IMAP + commercial plugin as cfos or outlookdav for calendars/contacts
• ActiveSync since Outlook 2013
There is no support for Openchange/OutlookMAPI.
5.1.11 Nightly build
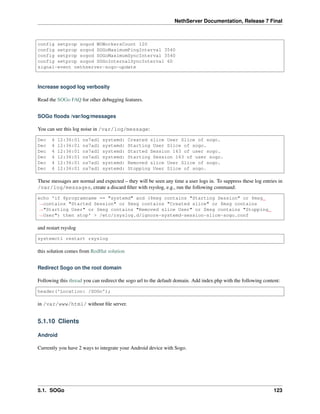
SOGo is built by the community, if you look to the last version, then you must use the nightly built. This version is
not considered as stable, but bugs are fixed quicker than in stable version. You are the QA testers :)
NethServer 7 - SOGo 3
Execute:
sudo rpm --import 'http://pgp.mit.edu/pks/lookup?op=get&search=0xCB2D3A2AA0030E2C'
sudo rpm -ivh http://dl.fedoraproject.org/pub/epel/epel-release-latest-7.noarch.rpm
sudo cat >/etc/yum.repos.d/SOGo.repo <<EOF
[sogo3]
name=SOGo Repository
baseurl=https://packages.inverse.ca/SOGo/nightly/3/rhel/7/$basearch
gpgcheck=1
EOF
Then to install:
yum install nethserver-sogo --enablerepo=sogo3
5.1.12 Issues
Please raise issues on community.nethserver.org.
5.1.13 Sources
Source are available https://github.com/NethServer/nethserver-sogo
Developer manual on github.
126 Chapter 5. NethForge modules](https://image.slidesharecdn.com/nethserver-180713144408/85/Nethserver-130-320.jpg)
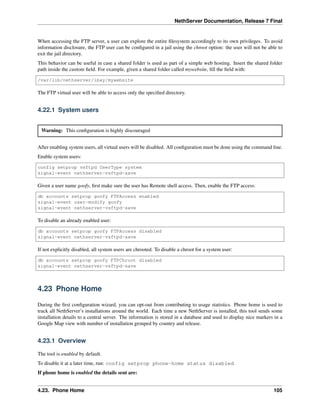
![NethServer Documentation, Release 7 Final
• administrator
• guest
• krbtgt
7.1.2 Email
Before running NethServer in production, some considerations about the network and existing mail client configu-
rations are required: what ports are in use, if SMTPAUTH and TLS are enabled. Refer to Client configuration and
Special SMTP access policies sections for more information.
In a mail server migration, the source mail server could be on production even after the backup has been done, and
email messages continue to be delivered until it is taken down permanently.
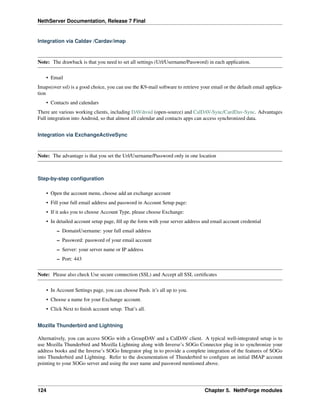
An helper script based on rsync is provided by package nethserver-mail-server. It runs on the destination
host and synchronizes destination mailboxes with the source host:
Usage:
/usr/share/doc/nethserver-mail-server-<VERSION>/sync_maildirs.sh [-h] [-n] [-p] -
˓→s IPADDR
-h help message
-n dry run
-p PORT ssh port on source host (default 22)
-s IPADDR rsync from source host IPADDR
-t TYPE source type: sme8 (default), ns6
The source host at IPADDR must be accessible by the root user, through ssh with public key authentication.
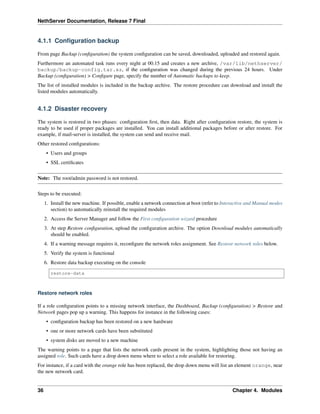
7.1.3 Apache
The SSL cipher suite configuration is not migrated automatically because the source system uses a weak cipher suite
by default. To migrate it manually, execute the following commands:
MIGRATION_PATH=/var/lib/migration
config setprop httpd SSLCipherSuite $(db $MIGRATION_PATH/home/e-smith/db/
˓→configuration getprop modSSL CipherSuite)
signal-event nethserver-httpd-update
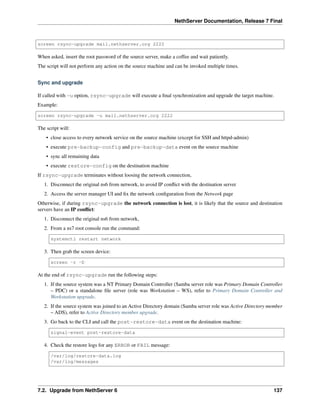
7.1.4 Ibays
The ibay concept has been superseded by Shared folders. Supported protocols for accessing Shared folders are:
• SFTP, provided by the sshd daemon
• SMB file sharing protocol, typical of Windows networking, implemented by Samba
Warning: Read carefully the Shared folders section in the Upgrade from NethServer 6 chapter, because the
connection credentials may change when migrating to NethServer 7.
Starting from NethServer 7, Shared folders are not configurable for HTTP access. After migration-import event,
old ibays could be migrated according to the following rules of thumb:
130 Chapter 7. Appendix](https://image.slidesharecdn.com/nethserver-180713144408/85/Nethserver-134-320.jpg)
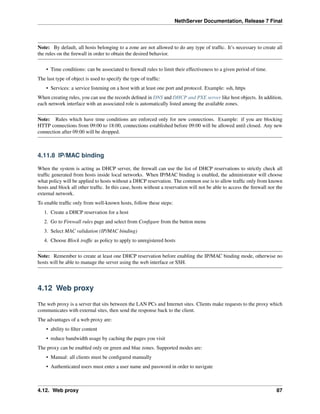
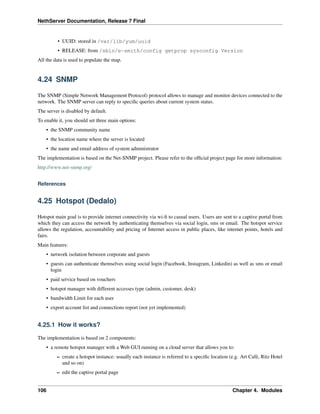
![NethServer Documentation, Release 7 Final
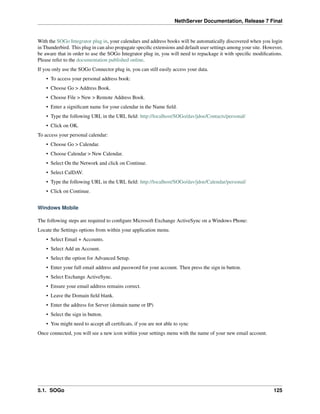
Sync files
The synchronization script copies all data using rsync over SSH. Files are saved inside /var/lib/migration
directory. If the destination server doesn’t have any SSH keys, the script will also create a pair of RSA keys and copy
the public key to the source server. All directories excluded from the backup data will not be synced.
On the target machine, execute the following command:
screen rsync-migrate <source_server_name> [ssh_port]
Where
• source_server_name is the host name or IP of the original server
• ssh_port is the SSH port of the original server (default is 22)
Example:
screen rsync-migrate mail.nethserver.org 2222
When asked, insert the root password of the source server, make a coffee and wait patiently.
The script will not perform any action on the source machine and can be invoked multiple times.
Sync and migrate
If called with -m option, rsync-migrate will execute a final synchronization and upgrade the target machine.
Example:
screen rsync-migrate -m mail.nethserver.org 2222
The script will:
• stop every service on the source machine (except for SSH)
• execute the pre-backup event on the source machine
• sync all remaining data
• execute the migration-import event on the destination machine
At the end, check for any error message in /var/log/messages:
grep -E '(FAIL|ERROR)' /var/log/messages
7.2 Upgrade from NethServer 6
The upgrade from NethServer 6 to NethServer 7 can be achieved from a backup (see also Disaster recovery ) or using
rsync.
Warning: Before running the upgrade procedure, read carefully all the sections of this chapter. Please also read
Discontinued packages.
Note: During the whole upgrade process, all network services will be inaccessible.
132 Chapter 7. Appendix](https://image.slidesharecdn.com/nethserver-180713144408/85/Nethserver-136-320.jpg)
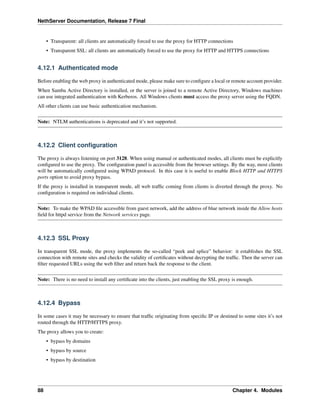
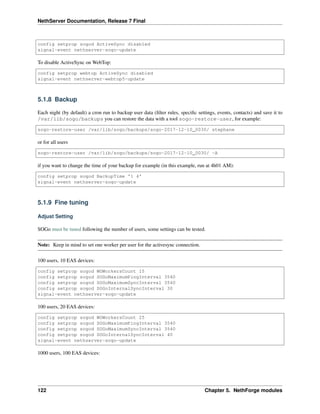
![NethServer Documentation, Release 7 Final
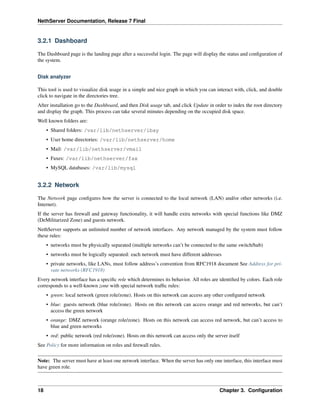
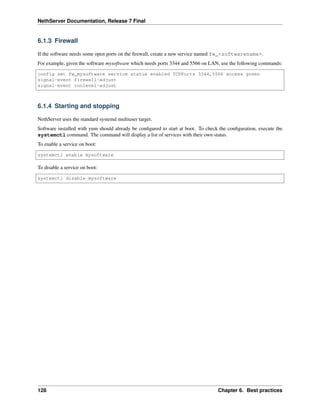
2. Install NethServer 7 and complete the initial steps using the first configuration wizard. The new machine must
have the same hostname of the old one, to access the backup set correctly. Install and configure the backup
module.
3. Restore the configuration backup using the web interface. The network configuration is restored, too! If any
error occurs, check the /var/log/messages log file for further information:
grep -E '(FAIL|ERROR)' /var/log/messages
4. If needed, go to Network page and fix the network configuration accordingly to the new hardware. If the machine
was joined to an existing Active Directory domain, read Active Directory member upgrade.
5. Complete the restore procedure with the following command:
restore-data
6. Check the restore logs:
/var/log/restore-data.log
/var/log/messages
7. Each file under /etc/e-smith/templates-custom/ must be manually checked for compatibility with
version 7.
Warning: Do not reboot the machine before executing the restore-data procedure.
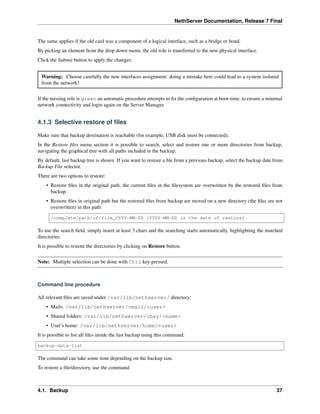
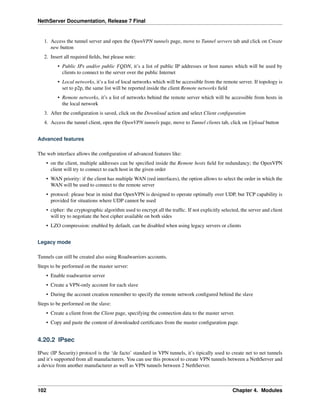
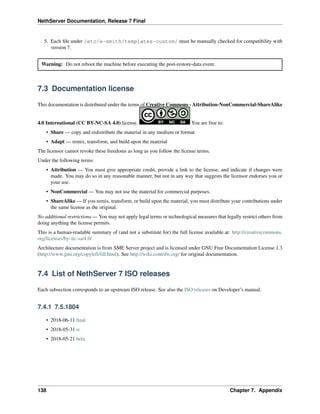
7.2.8 Upgrade with rsync
The process is much faster than a traditional backup and restore, also it minimizes the downtime for the users.
Before starting make sure to have:
• a running NethServer 6 installation, we will call it original server or source server
• a running NethServer 7 installation with at least the same disk space of the source server, we will call it destina-
tion server
• a working network connection between the two severs
Please also make sure the source server allows root login via SSH key and password.
Sync files
The synchronization script copies all data using rsync over SSH. If the destination server doesn’t have any SSH keys,
the script will also a pair of RSA keys and copy the public key to the source server. All directories excluded from the
backup data will not be synced.
On the target machine, execute the following command:
screen rsync-upgrade <source_server_name> [ssh_port]
Where
• source_server_name is the host name or IP of the original server
• ssh_port is the SSH port of the original server (default is 22)
Example:
136 Chapter 7. Appendix](https://image.slidesharecdn.com/nethserver-180713144408/85/Nethserver-140-320.jpg)


This document provides release notes and summaries of changes for NethServer version 7. It details: - The final ISO release of NethServer 7.5.1804 from June 2018, which is based on CentOS 7. - Major changes in recent releases including transitioning the email module to use Rspamd, removing MX record overrides, and migrating quality of service configuration to use FireQOS. - Other updates like new versions of software, modules removed like WebVirtMgr, and improvements to features like backups, accounts, and the software center. Release notes are provided for versions 7.4, 7.3, and 7.1 detailing the significant new features, fixes


![Getting Started with Apache Spark: Big Data Made Simple [Free Meetup]](https://cdn.slidesharecdn.com/ss_thumbnails/apachesparkgettingstarted-260203175547-8361bcc3-thumbnail.jpg?width=640&height=640&fit=bounds)


