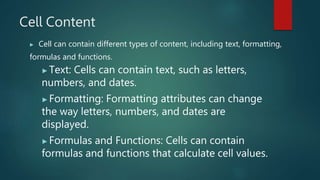
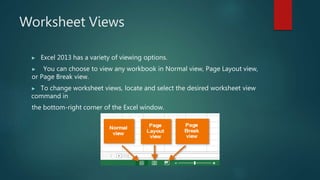
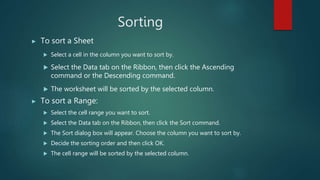
Excel 2013 is a spreadsheet program that allows users to store, organize, and analyze data. It features tools like formulas, functions, charts and pivot tables. The basic unit of Excel is the cell, located at the intersection of a row and column. Cells can contain text, numbers, formulas, and formatting. Users can view and format worksheets, enter formulas and functions, filter and sort data, and record macros to automate repetitive tasks.