Download to read offline
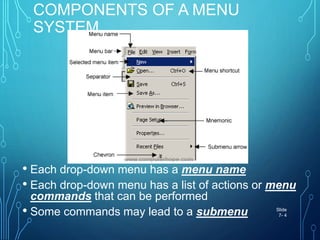
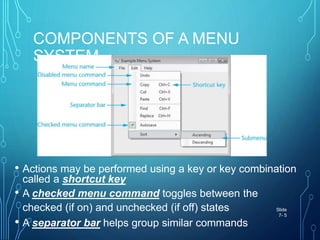

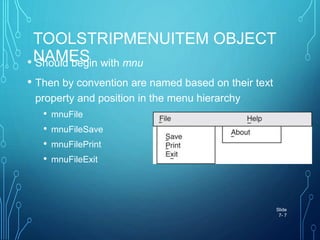
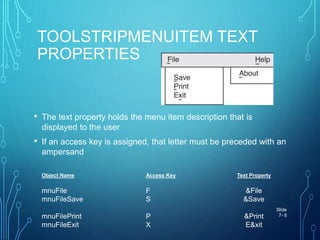
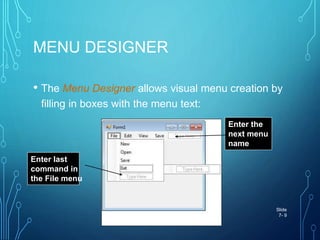
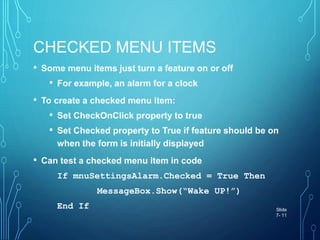

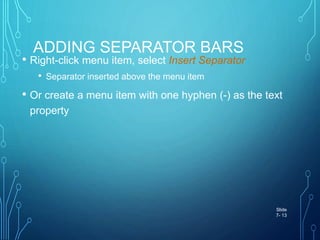
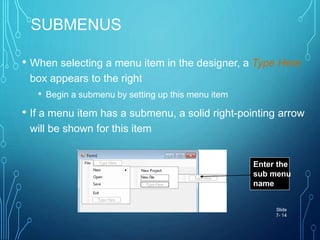
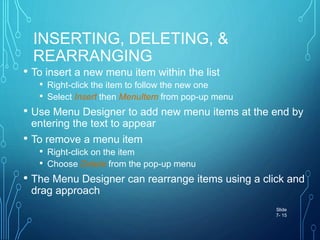
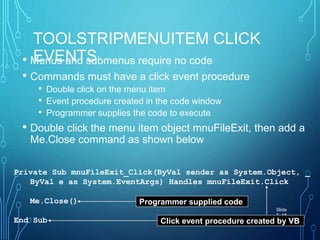
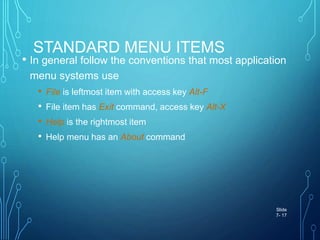


This document provides information on creating and working with menu strips in Visual Basic forms. It discusses: 1) The MenuStrip control which represents the container for a form's menu structure and allows assigning menus at runtime. Menus are made up of MenuItem objects that represent individual menu parts. 2) Components of a menu system including menu names, actions/commands, shortcuts, checked/toggle items, and separator bars. 3) How to add a MenuStrip control to a form and create ToolStripMenuItem objects to represent menu commands. Properties like Name, Text, and Checked are discussed. 4) Additional menu features covered include submenus, inserting/deleting/rearranging items,