Downloaded 519 times


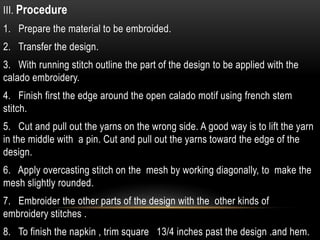
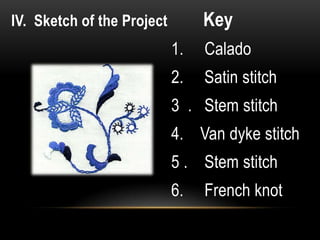

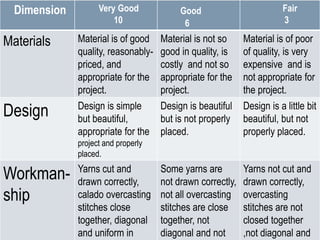


The document provides instructions for a table napkin project using calado embroidery, including transferring the design from tracing paper to linen, cutting yarns from the fabric, and using various embroidery stitches like overcasting, french stem stitch, and satin stitch to complete the design. Materials needed are linen fabric, embroidery thread, a sewing kit, tracing paper, and pounce powder for transferring the design. Dimensions for evaluating the finished project include the quality of materials, design, and workmanship using various embroidery stitches.


![HANDICRAFTS 7-8 1. EMBROIDERY TOOLS AND MATERIALS [Autosaved].pptx](https://cdn.slidesharecdn.com/ss_thumbnails/handicrafts7-81-221219052720-8d4ae0f4-thumbnail.jpg?width=640&height=640&fit=bounds)