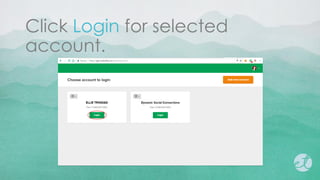
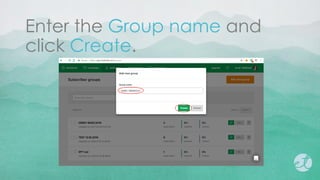
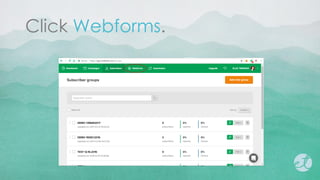
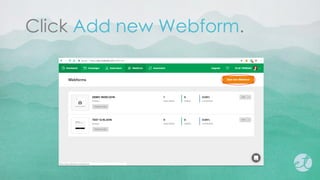
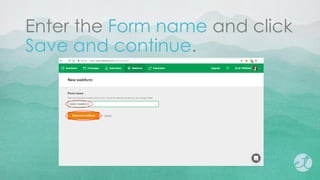
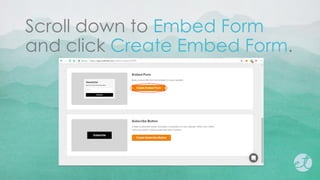
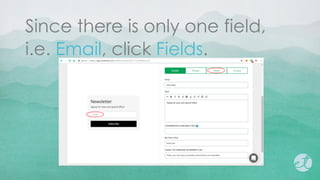
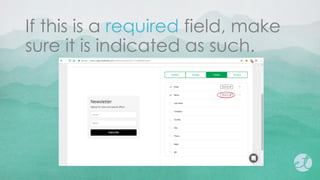
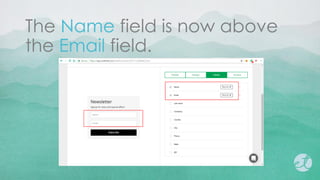
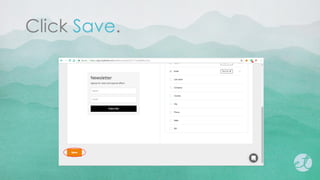
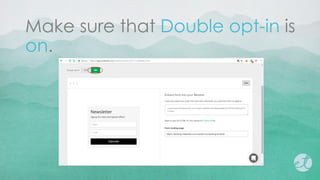
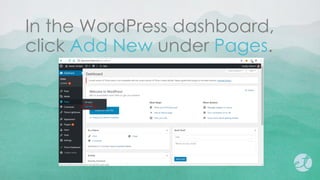
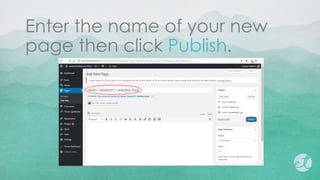
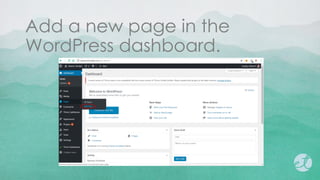
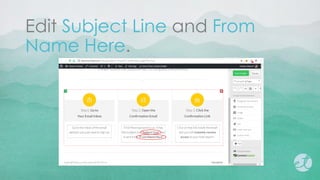
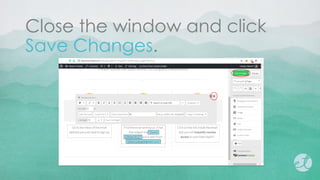
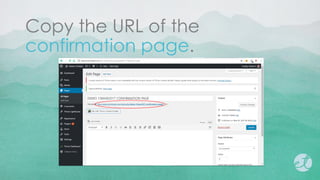
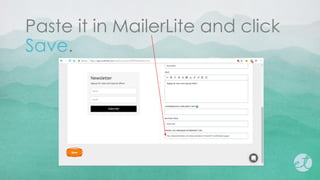
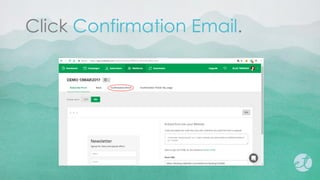
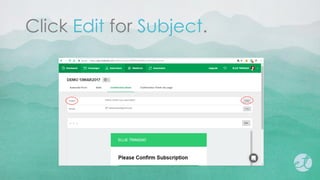
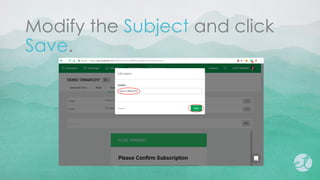
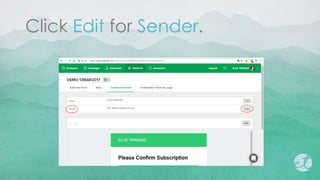
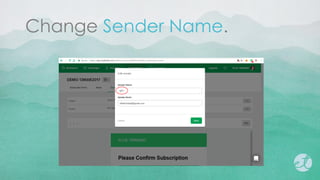
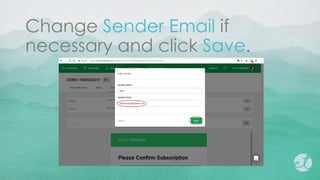
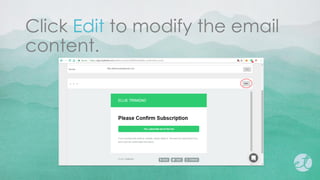
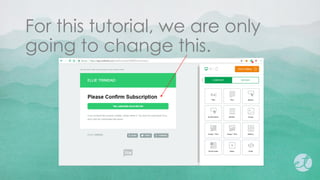
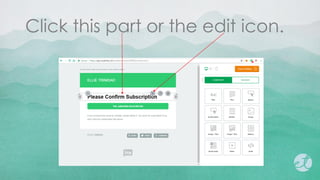
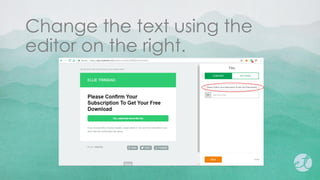
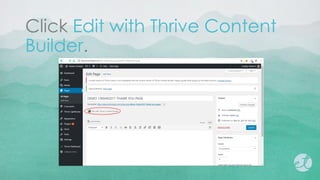
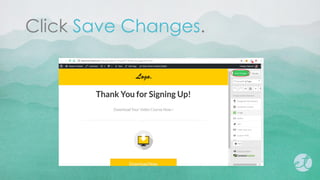
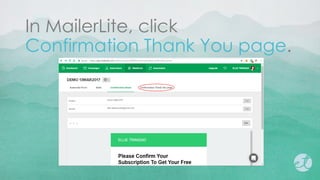
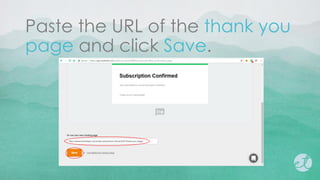
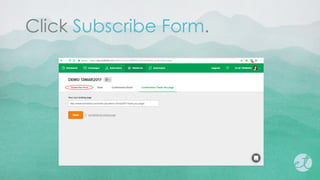
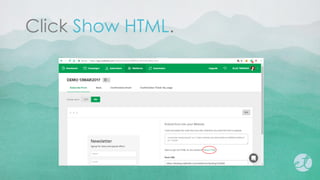
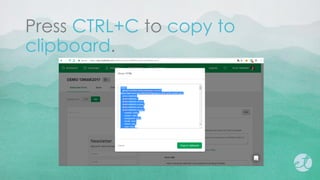
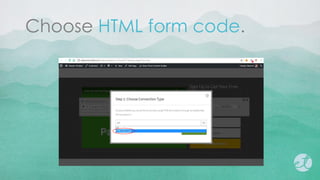
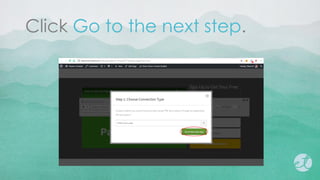
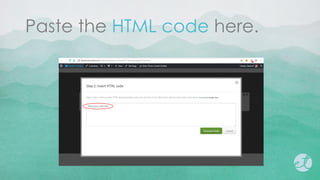
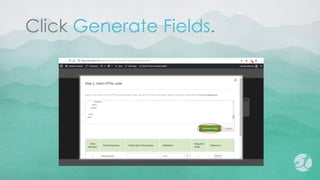
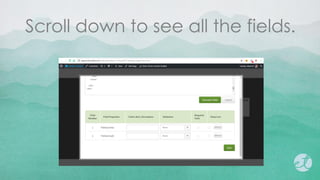
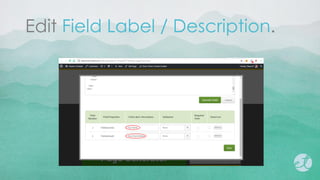
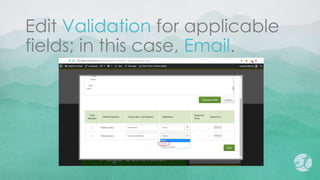
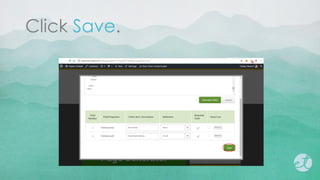
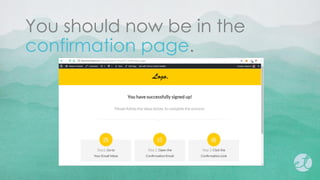
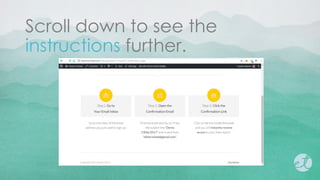
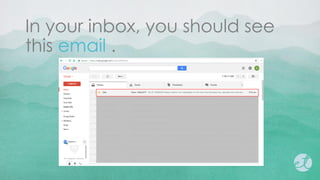
How to sync
subscriber lists between
and
using HTML code
Go to mailerlite.com.
Click LOG IN.
Enter your email address and
password.
Choose account if there is
more than one.
Click Login for selected
account.
For this tutorial, we are going
to create a new subscriber
group.
Click Subscribers.
Click Add new group.
Enter the Group name and
click Create.
The new subscriber group has
been created.
Click Webforms.
Click Add new Webform.
Enter the Form name and click
Save and continue.
There are several webform
types to choose from.
For this tutorial, we are going
to use the Embed Form.
Scroll down to Embed Form
and click Create Embed Form.
Choose a subscriber group
then click Save and continue.
The embed form has been
created.
Since there is only one field,
i.e. Email, click Fields.
Click the desired field; in this
case, Name.
If this is a required field, make
sure it is indicated as such.
You may also drag a field/s to
any location on the form.
The Name field is now above
the Email field.
Click Save.
Make sure that Double opt-in is
on.
Double opt-in means that the
user confirms the subscription
request twice.
The first time is when the user
submits an email address.
A confirmation email is then
sent to the email address.
The second time is when the
user clicks the link inside the
confirmation email.
This second opt-in confirms
that the user who entered the
email address actually wants
to subscribe.
In the WordPress dashboard,
click Add New under Pages.
Enter the name of your new
page then click Publish.
Click Edit with Thrive Content
Builder.
Click the Thrive Landing Pages
dropdown menu.
Click Choose landing page.
Select Big Picture Video Page
then click Load Landing Page.
Click Save Changes.
Since we will be doing a
double opt-in, we will create a
confirmation page.
Add a new page in the
WordPress dashboard.
Enter the name of your new
page then click Publish.
Click Edit with Thrive Content
Builder.
Click the Thrive Landing Pages
dropdown menu.
Click Choose landing page.
Select Big Confirmation Page
then click Load Landing Page.
1.4
Edit Subject Line and From
Name Here.
Close the window and click
Save Changes.
Copy the URL of the
confirmation page.
Paste it in MailerLite and click
Save.
Click Confirmation Email.
Click Edit for Subject.
Modify the Subject and click
Save.
The Subject should coincide
with the Subject Line of the
confirmation page.
Click Edit for Sender.
Change Sender Name.
Change Sender Email if
necessary and click Save.
The Sender Email should
coincide with the From Name
Here of the confirmation
page.
Click Edit to modify the email
content.
Use the elements on the right
side to edit/design your email.
For this tutorial, we are only
going to change this.
Click this part or the edit icon.
Change the text using the
editor on the right.
Click Save.
Click Done Editing.
Lastly, we are going to create
a thank you page.
A thank you page is important
to continue interaction with a
user.
Use the thank you page to
prod a user to engage further
with your brand.
Add a new page in the
WordPress dashboard.
Enter the name of your new
page then click Publish.
Click Edit with Thrive Content
Builder.
Click the Thrive Landing Pages
dropdown menu.
Click Choose landing page.
Select Big Picture Download
Page.
Click Load Landing Page.
Click Save Changes.
Copy the URL of the thank you
page.
In MailerLite, click
Confirmation Thank You page.
Scroll down until you see Or
use your own landing page.
Paste the URL of the thank you
page and click Save.
Click Subscribe Form.
Click Show HTML.
Press CTRL+C to copy to
clipboard.
Edit your landing page with
Thrive Content Builder.
Scroll down and click any
portion of the signup form.
Click Connect with Service.
Click Create a new
Connection.
Choose HTML form code.
Click Go to the next step.
Paste the HTML code here.
Click Generate Fields.
Scroll down to see all the fields.
Edit Field Label / Description.
Edit Validation for applicable
fields; in this case, Email.
Tick the check boxes under
Required Field if applicable.
Click Save.
Click any part of the form to fix
the layout.
Change Horizontal to Vertical.
Click Edit Components then
Submit Button.
Change Button Text from
“Download now”…
to “Sign me up!” then close
the window.
Click Save Changes.
Click Close Thrive Content
Builder.
Let us now test our work.
Fill up the form and click Sign
me up!.
You should now be in the
confirmation page.
Scroll down to see the
instructions further.
In your inbox, you should see
this email .
Open it and click Yes,
subscribe me to this list.
You should now be in the
thank you page.

MailerLite-Thrive Themes Connection Using HTML Code