Download as PDF, PPTX

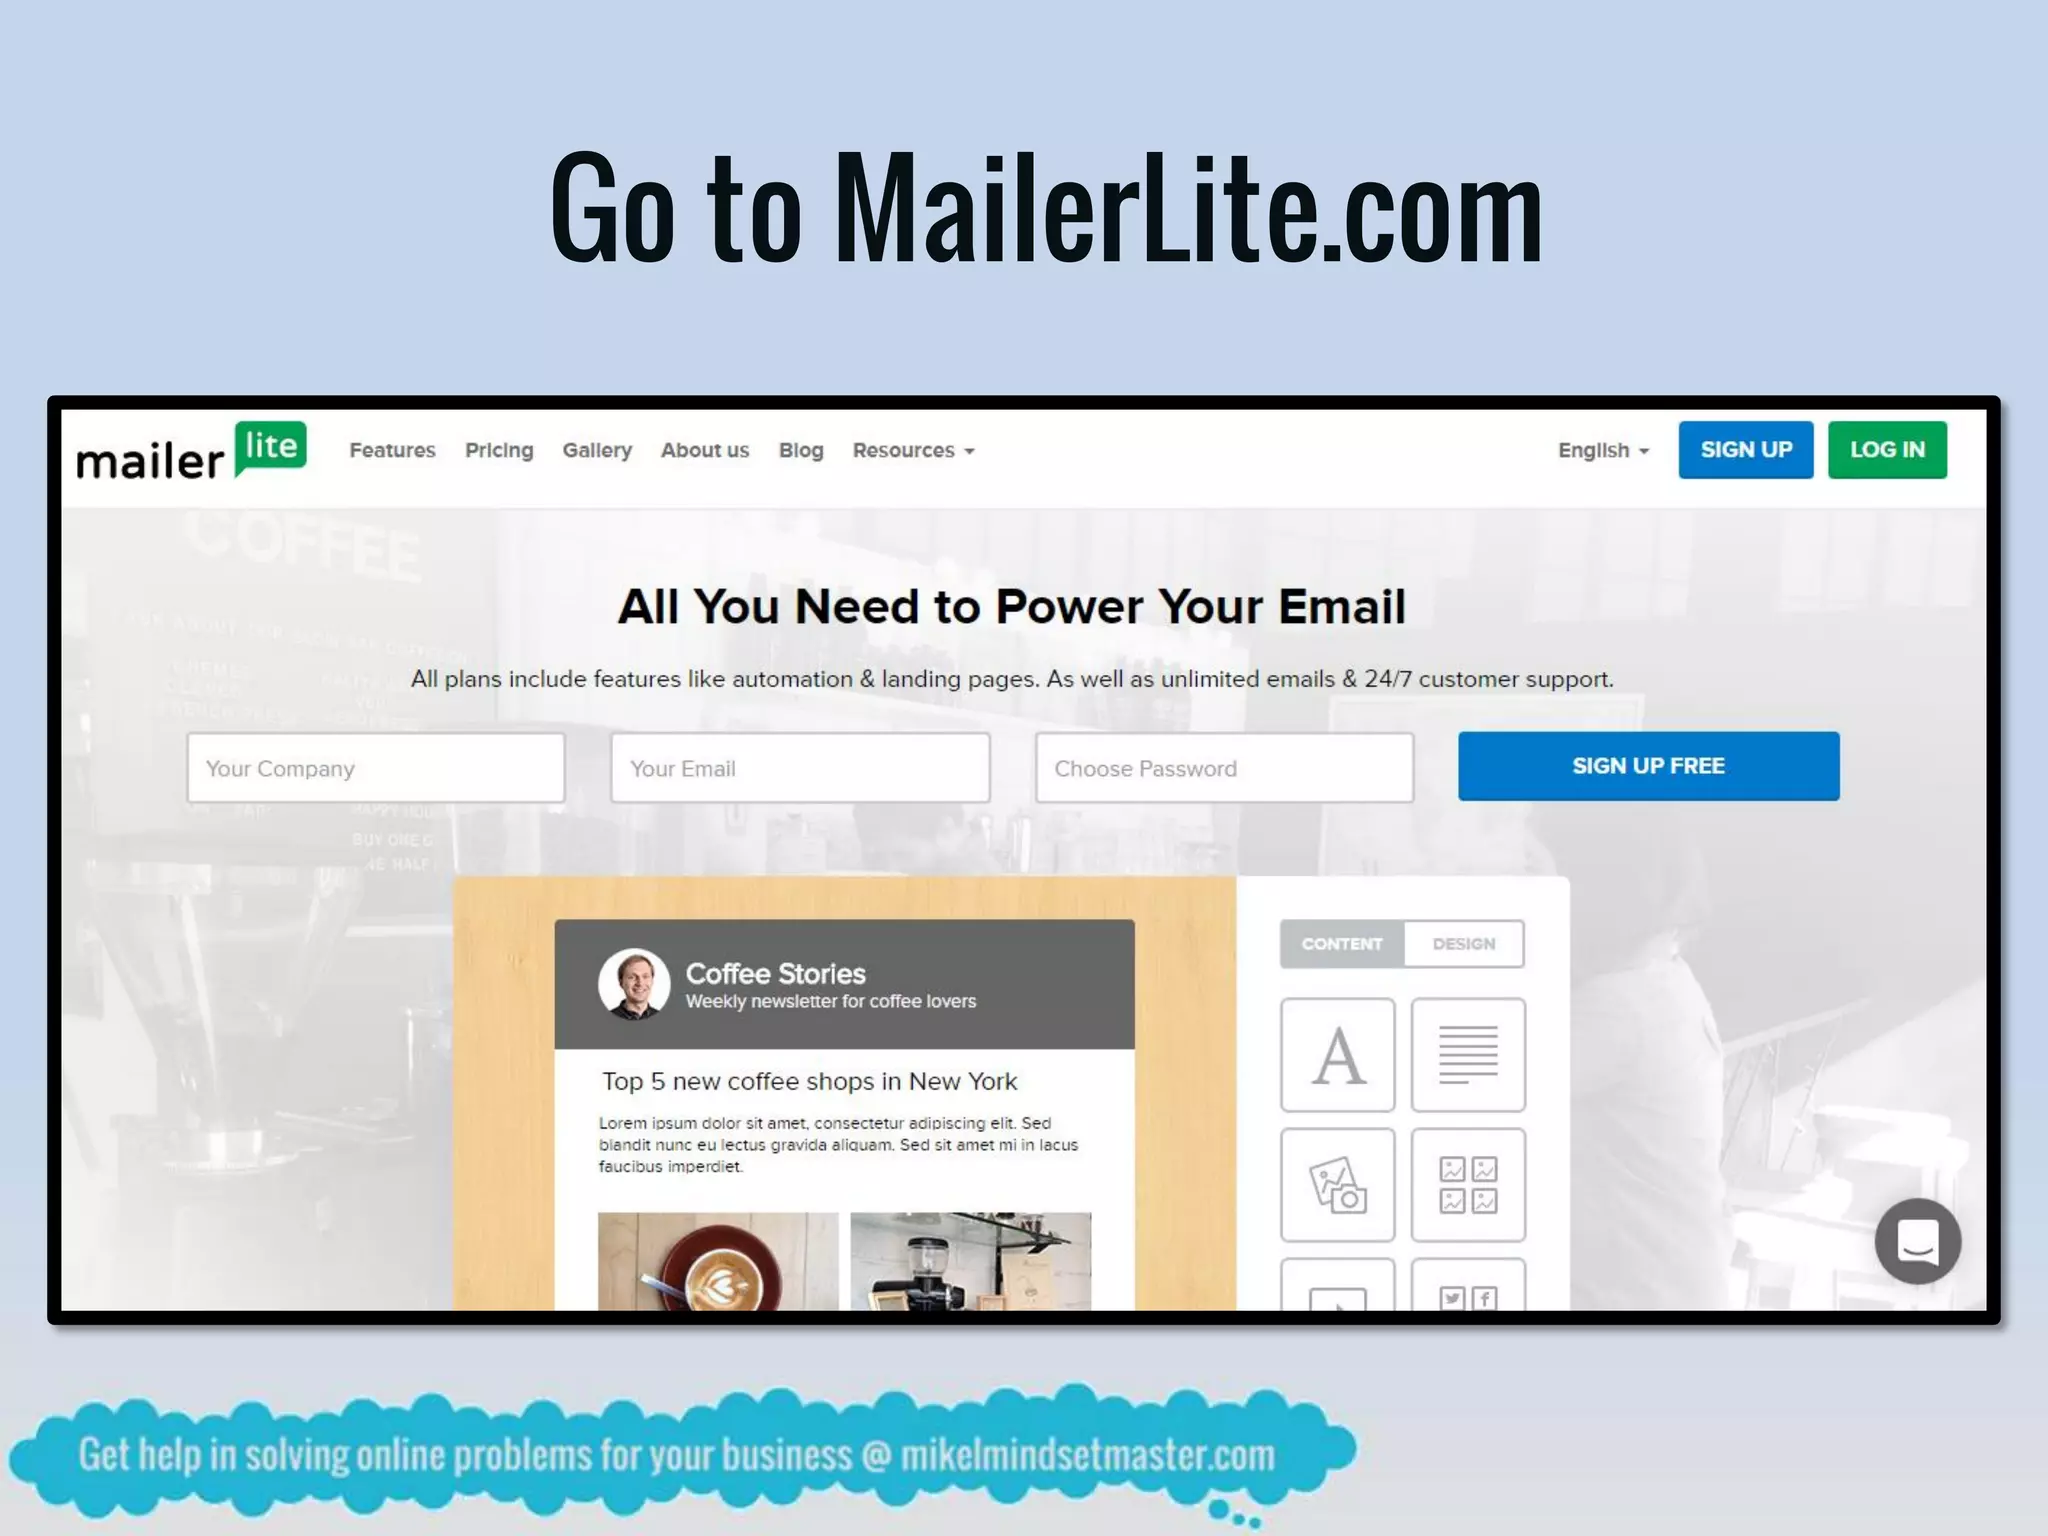
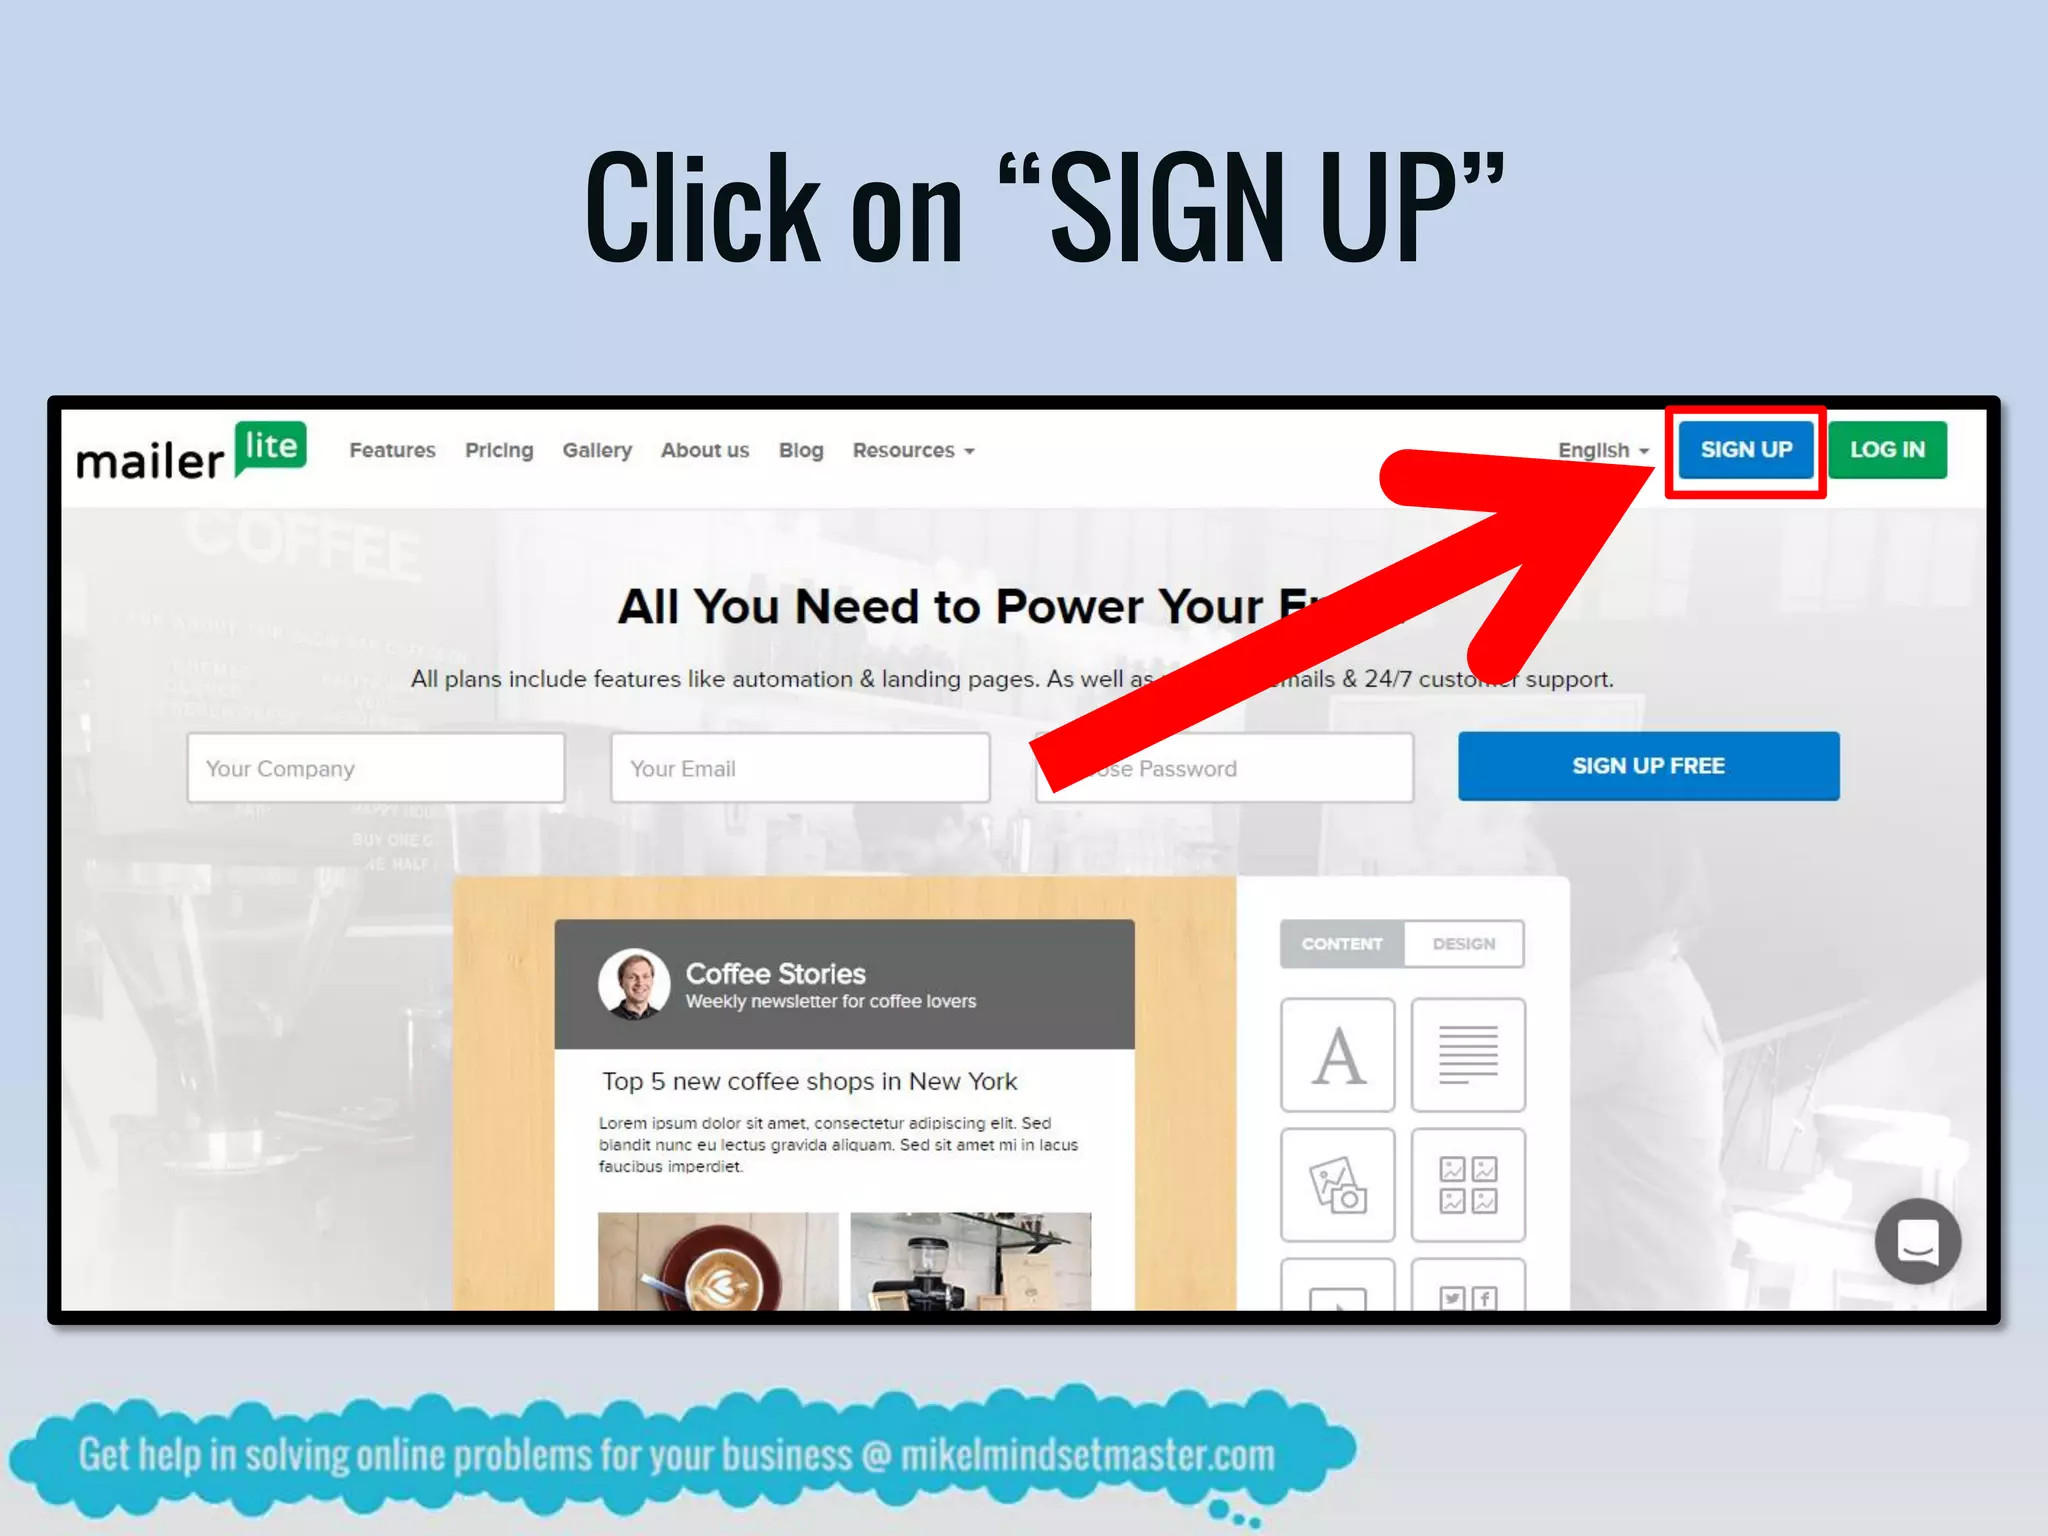
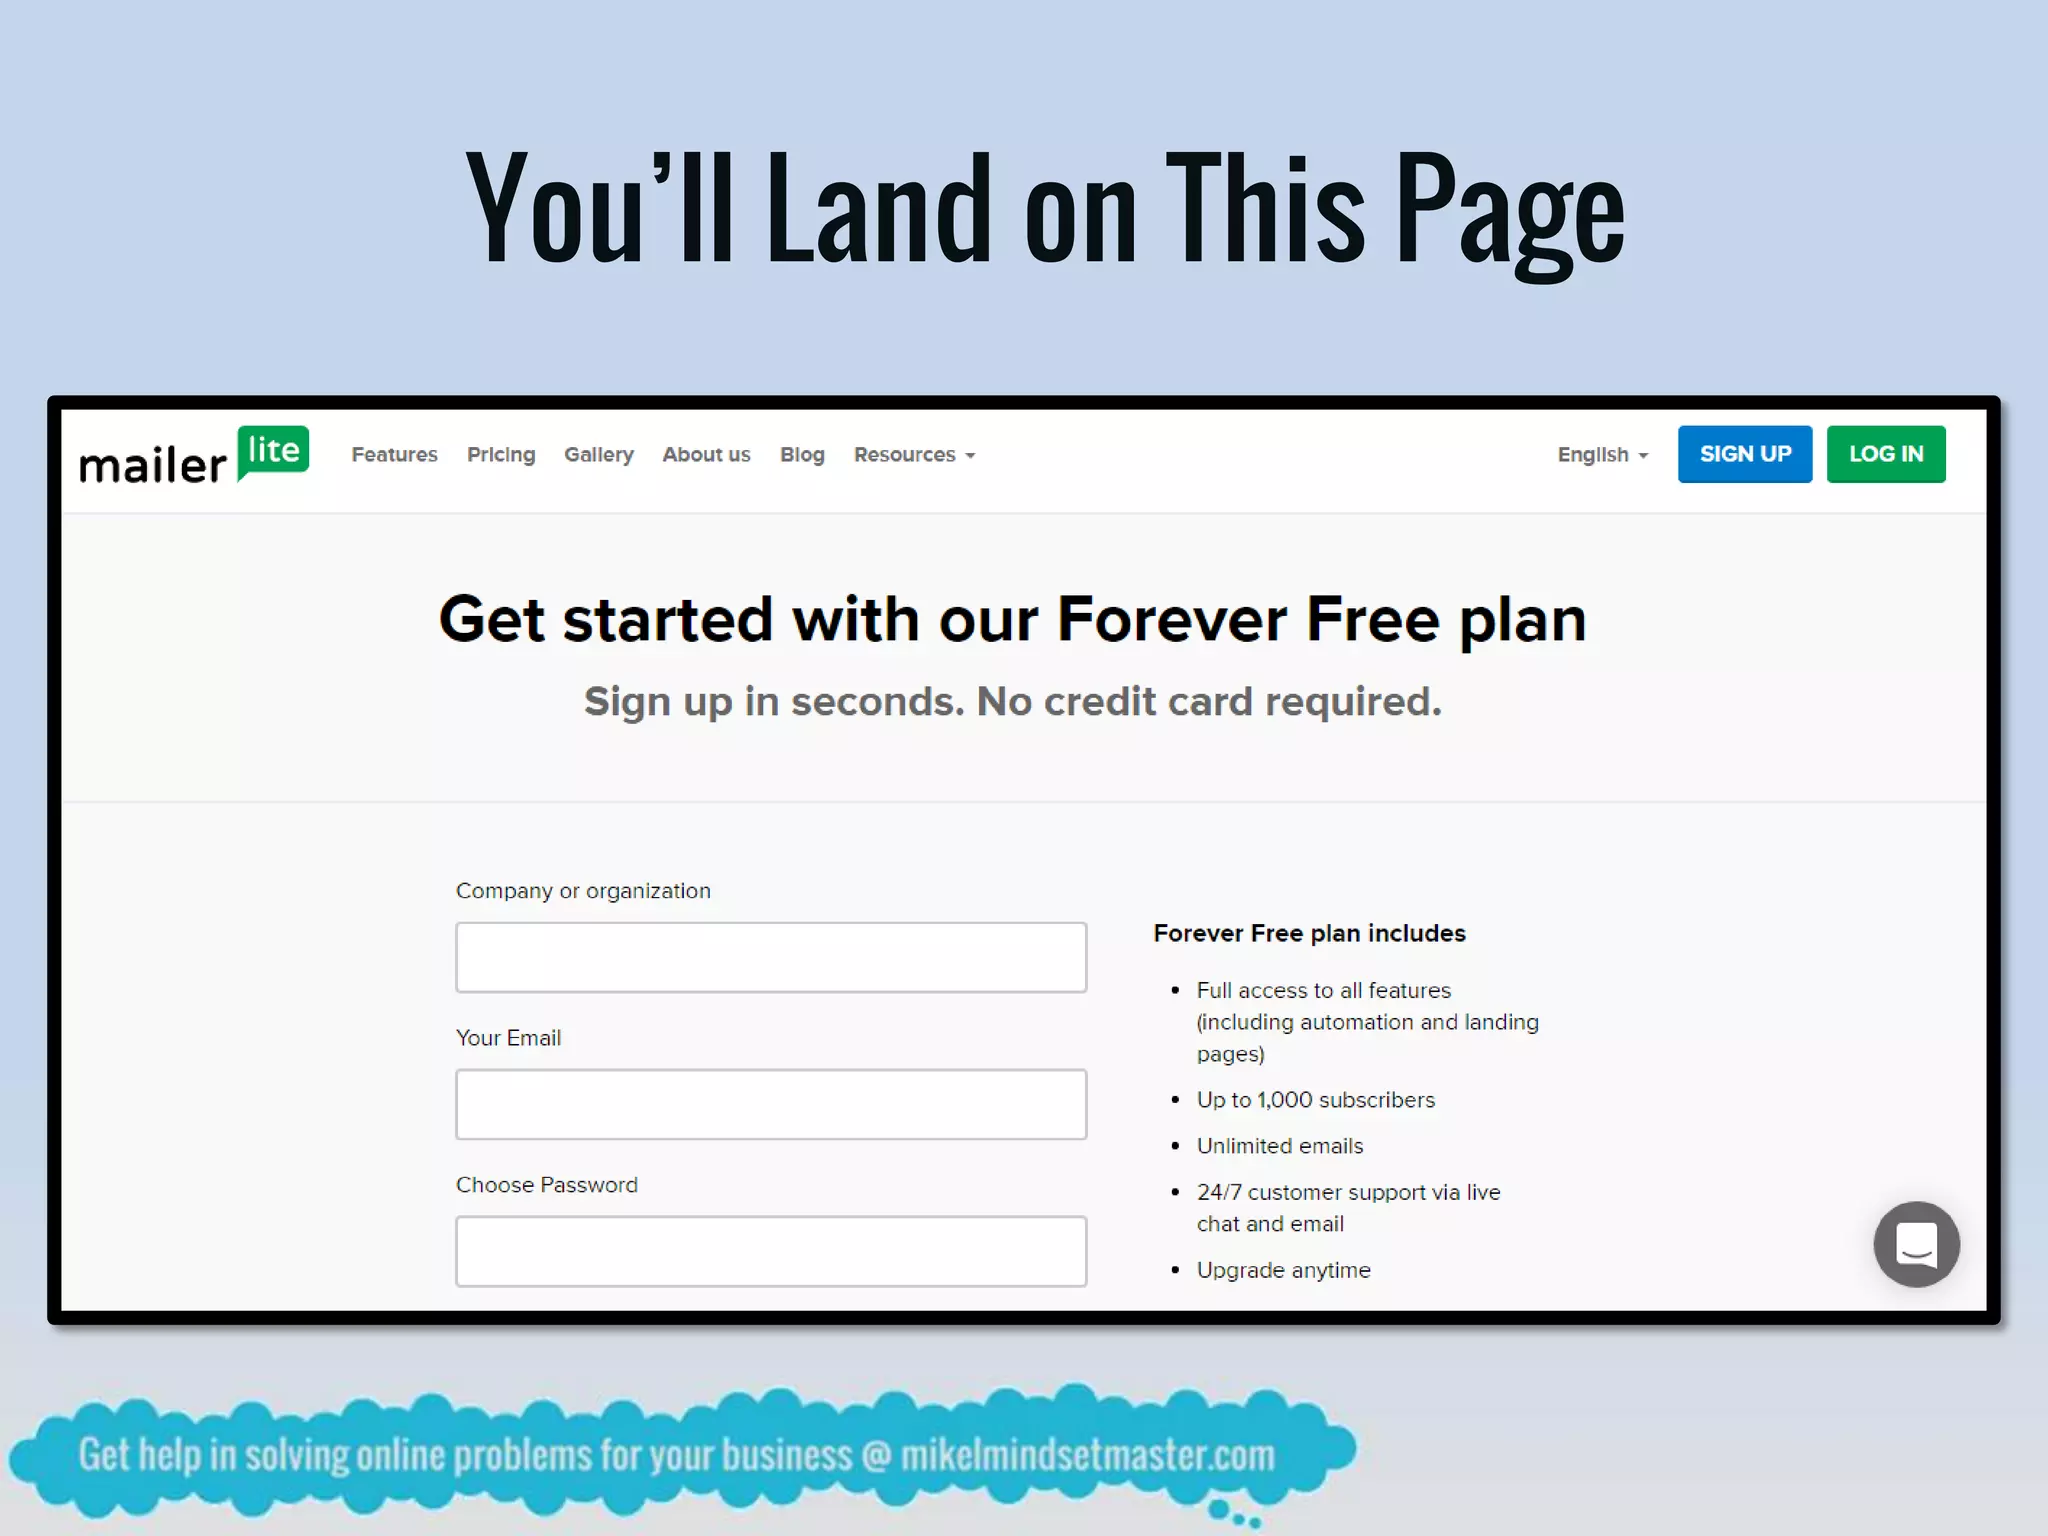
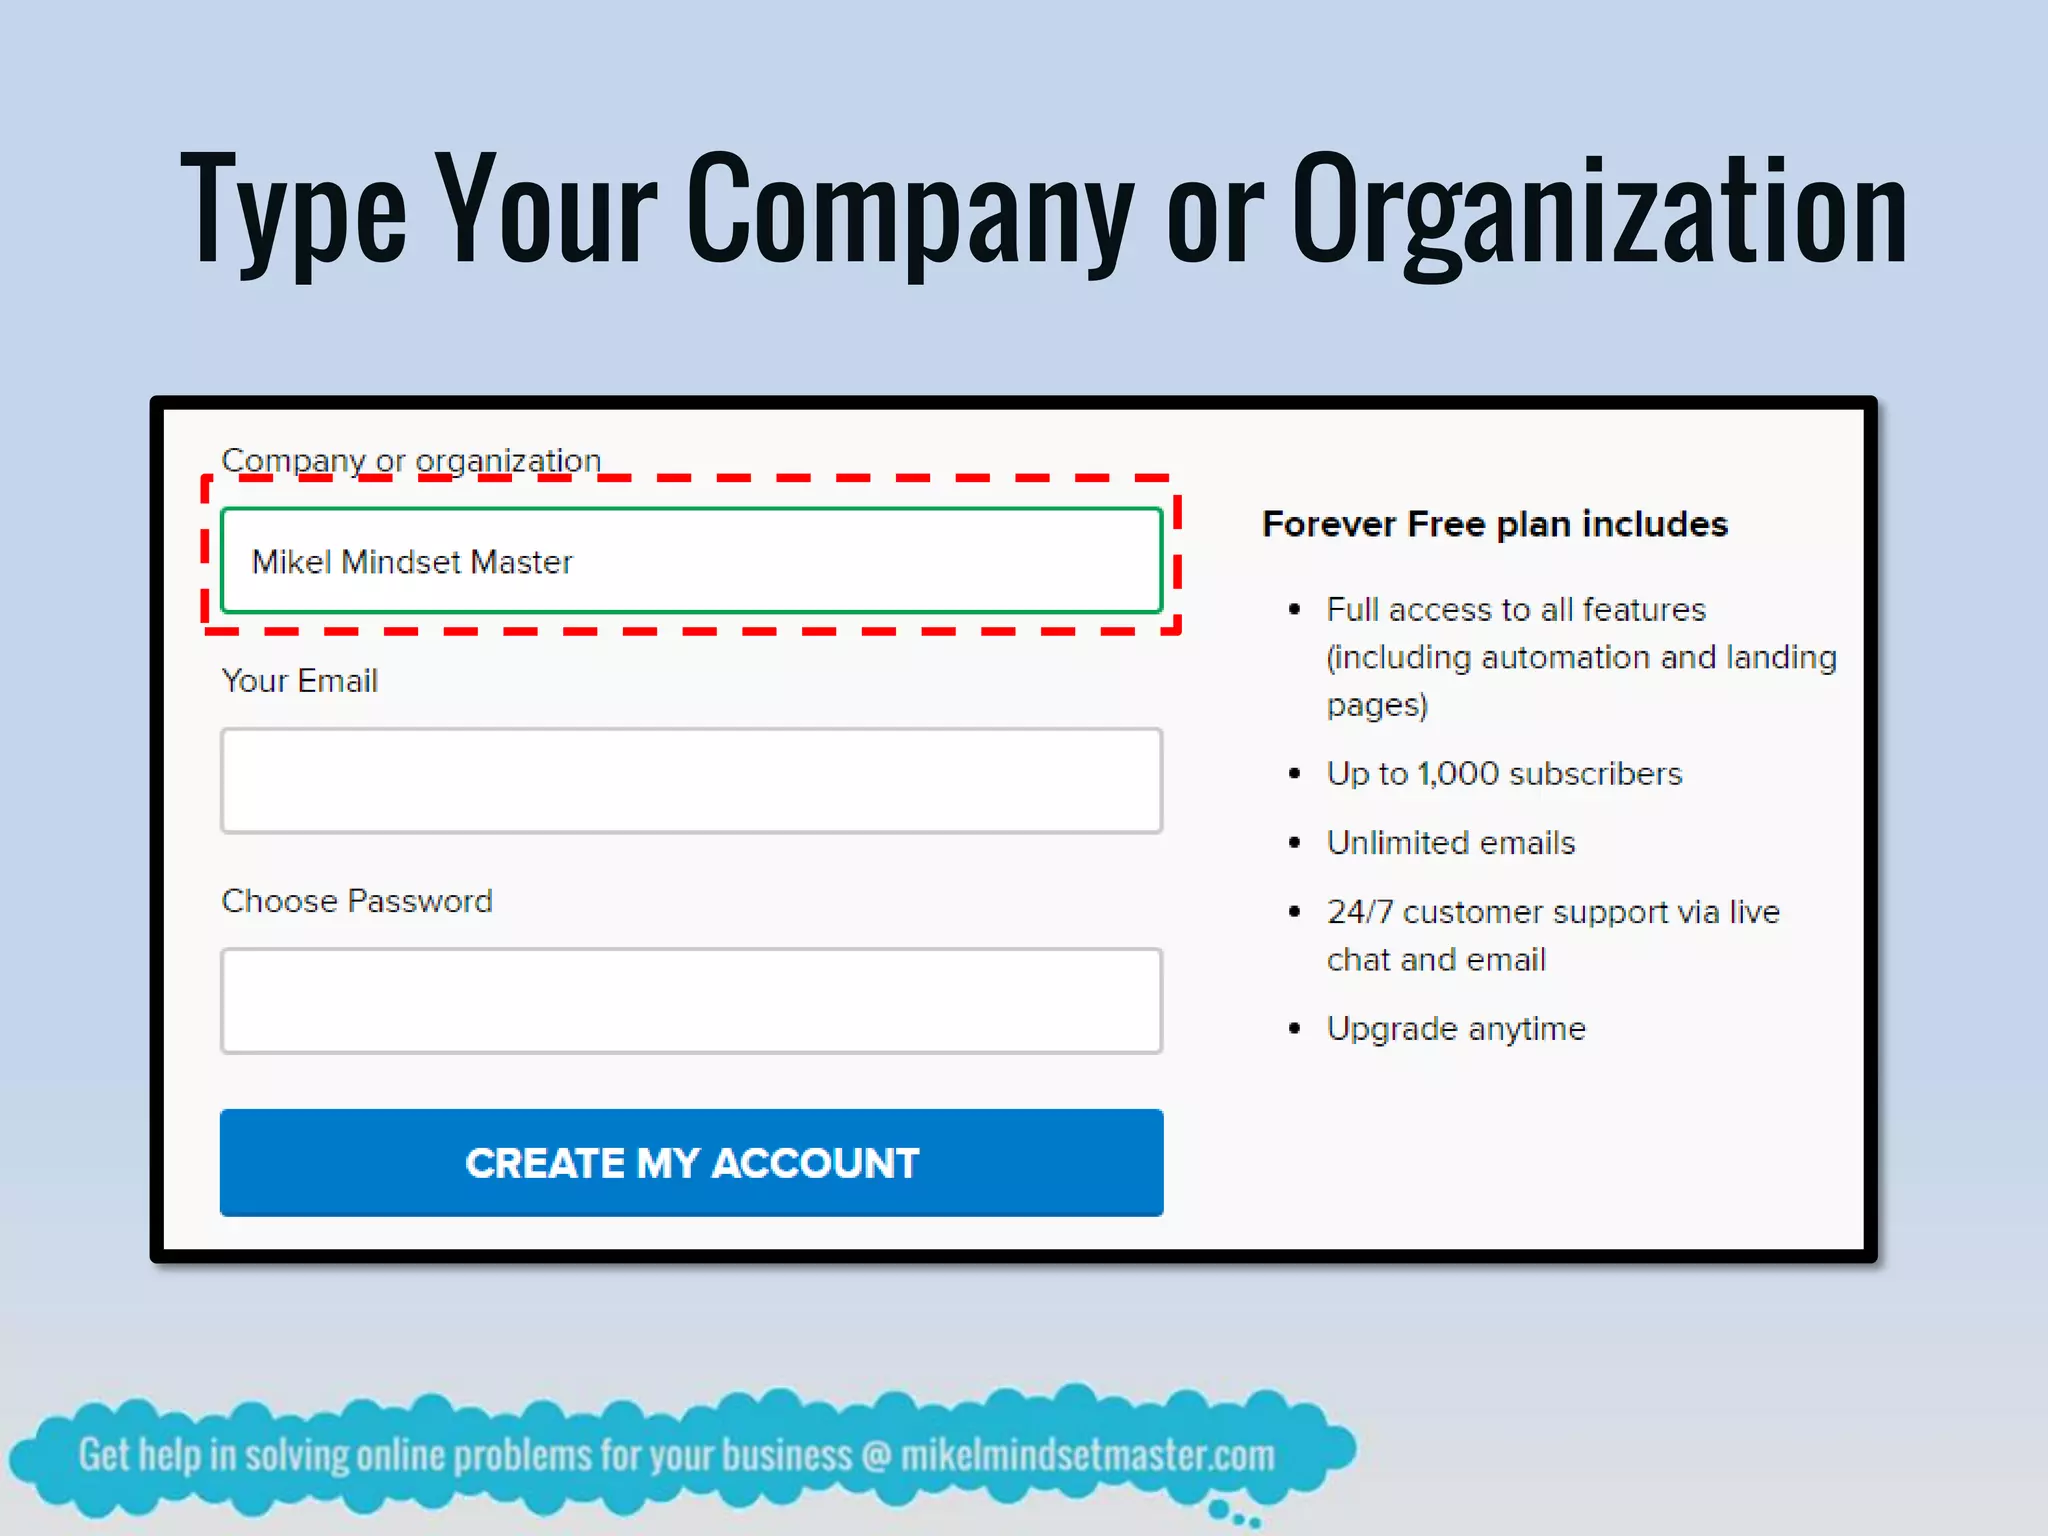
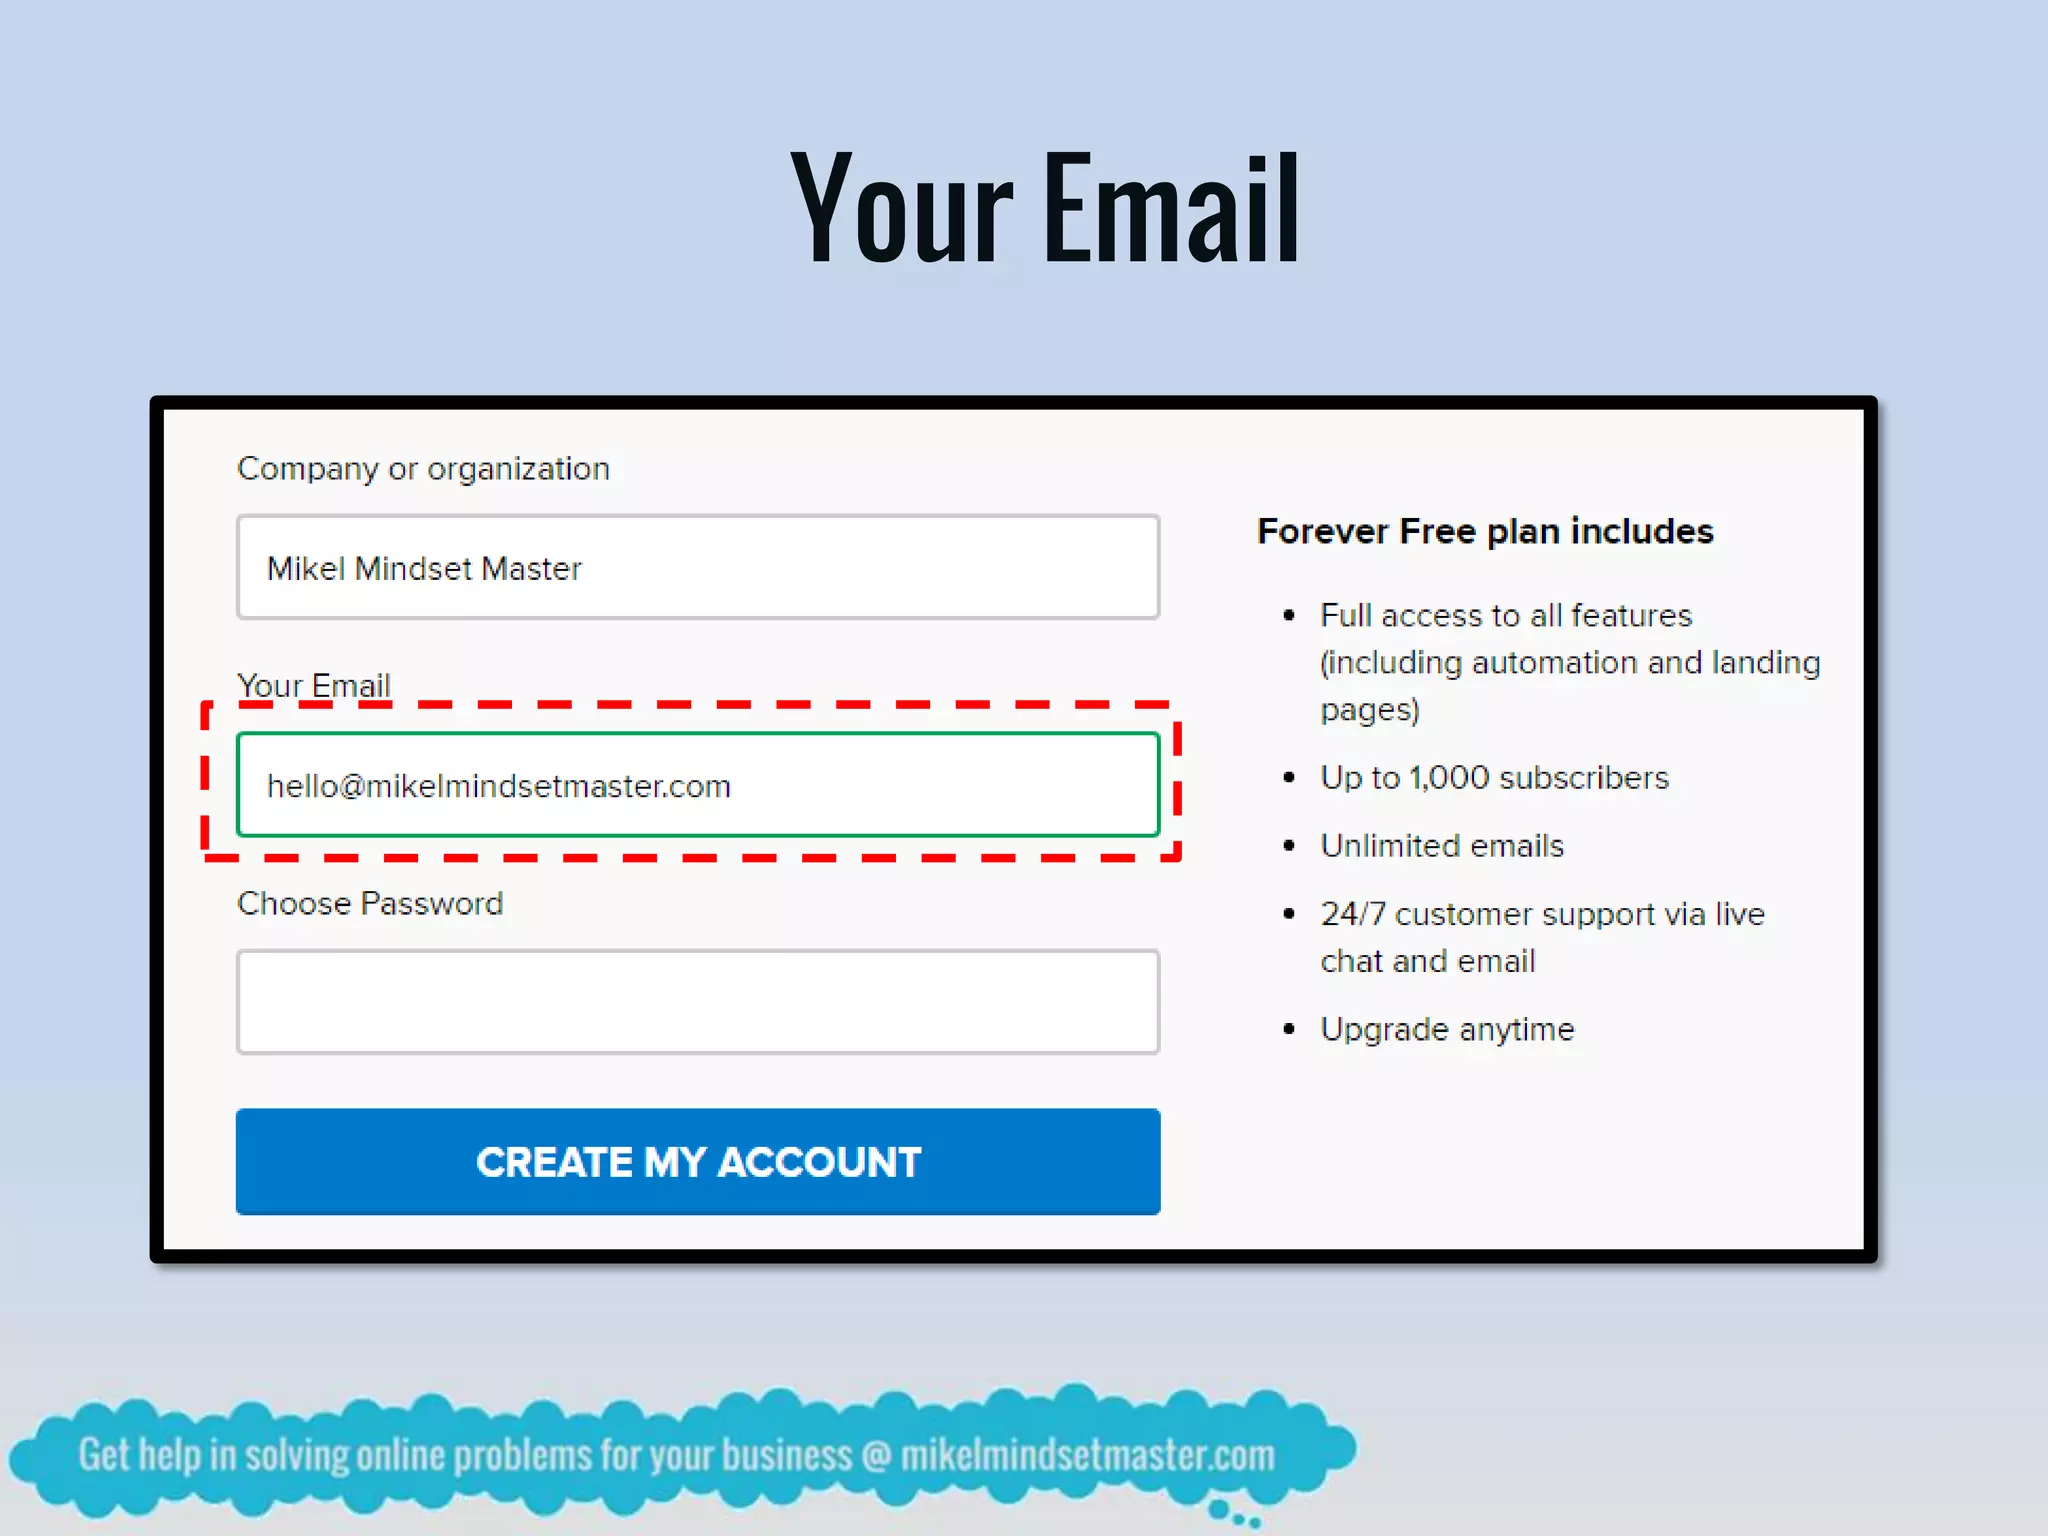
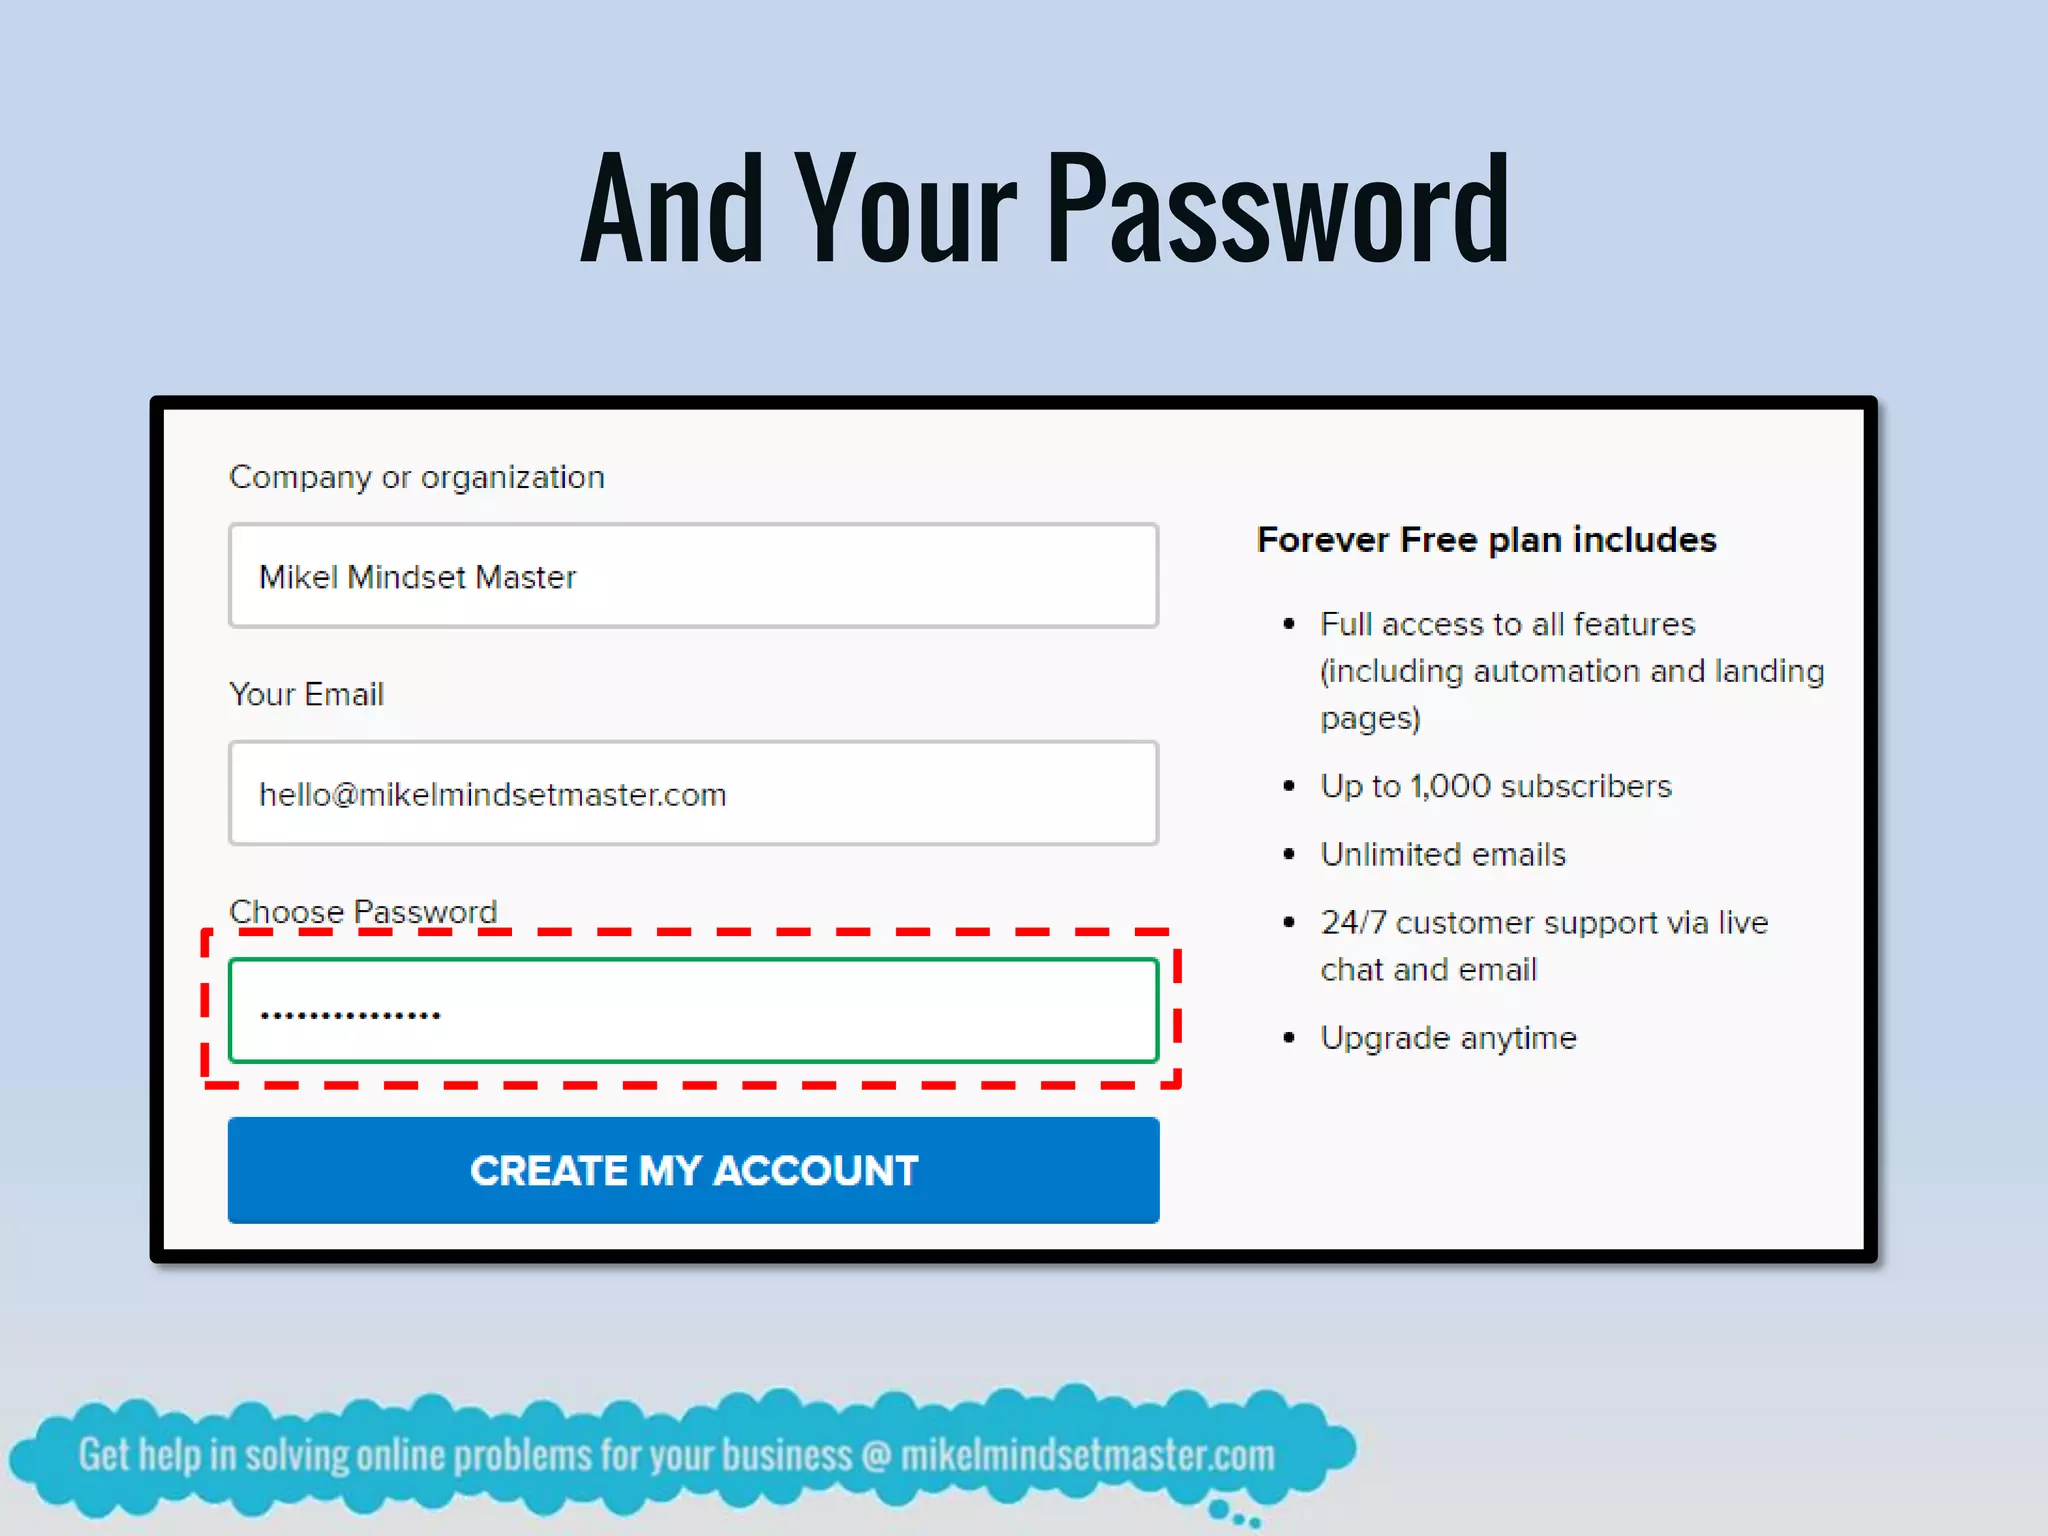
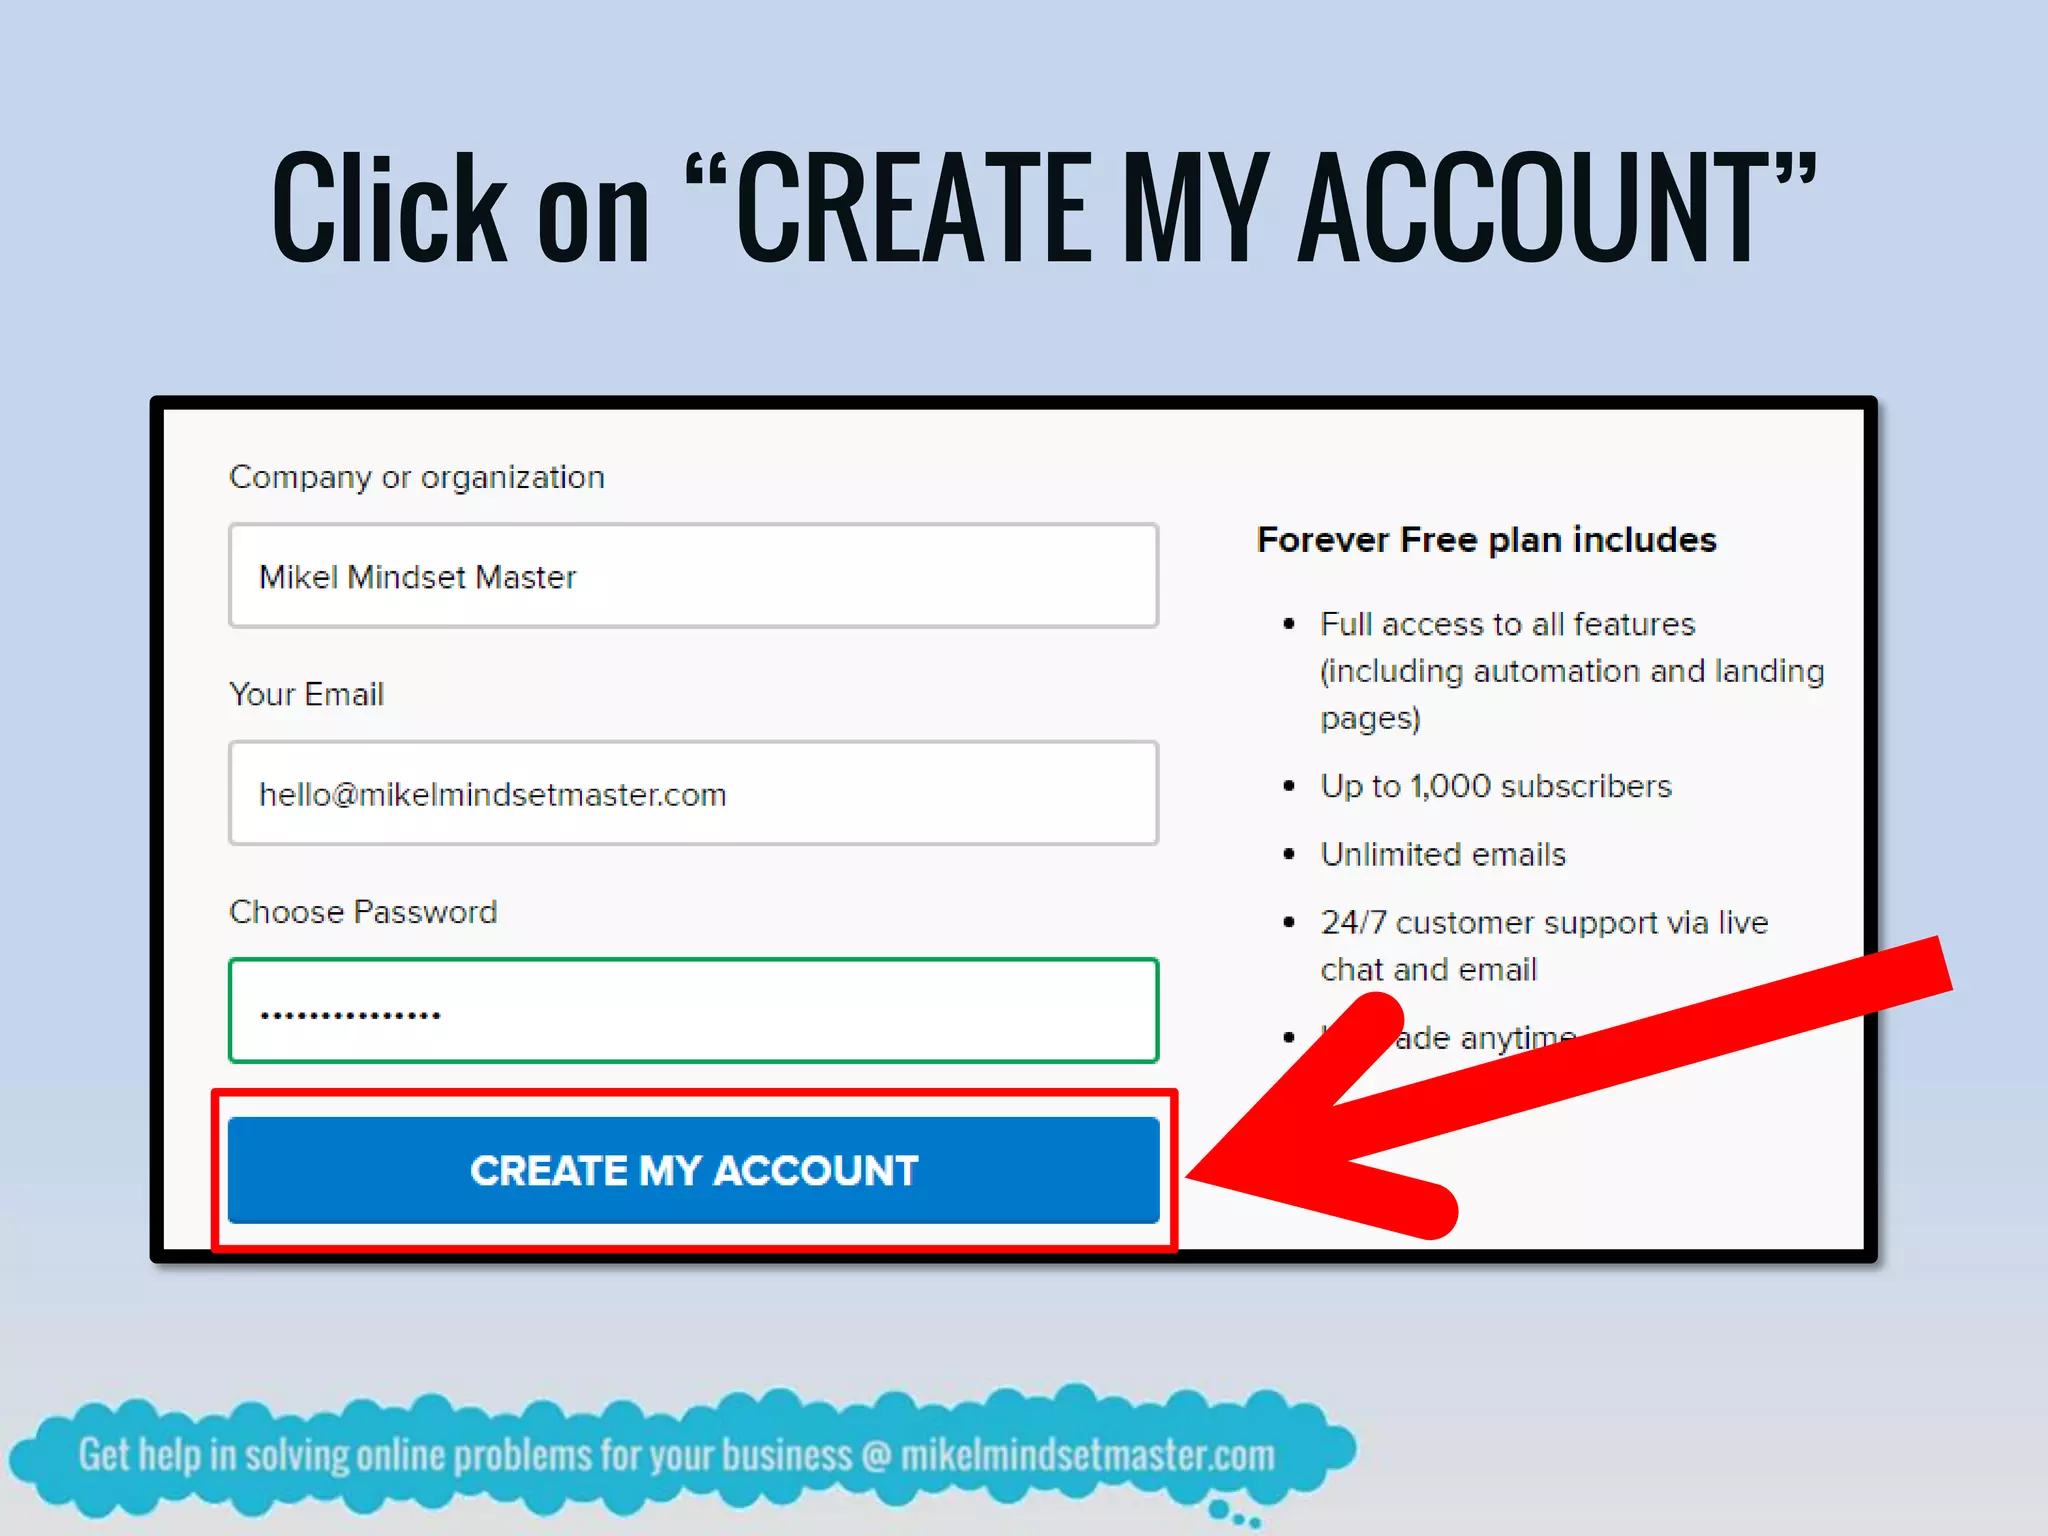
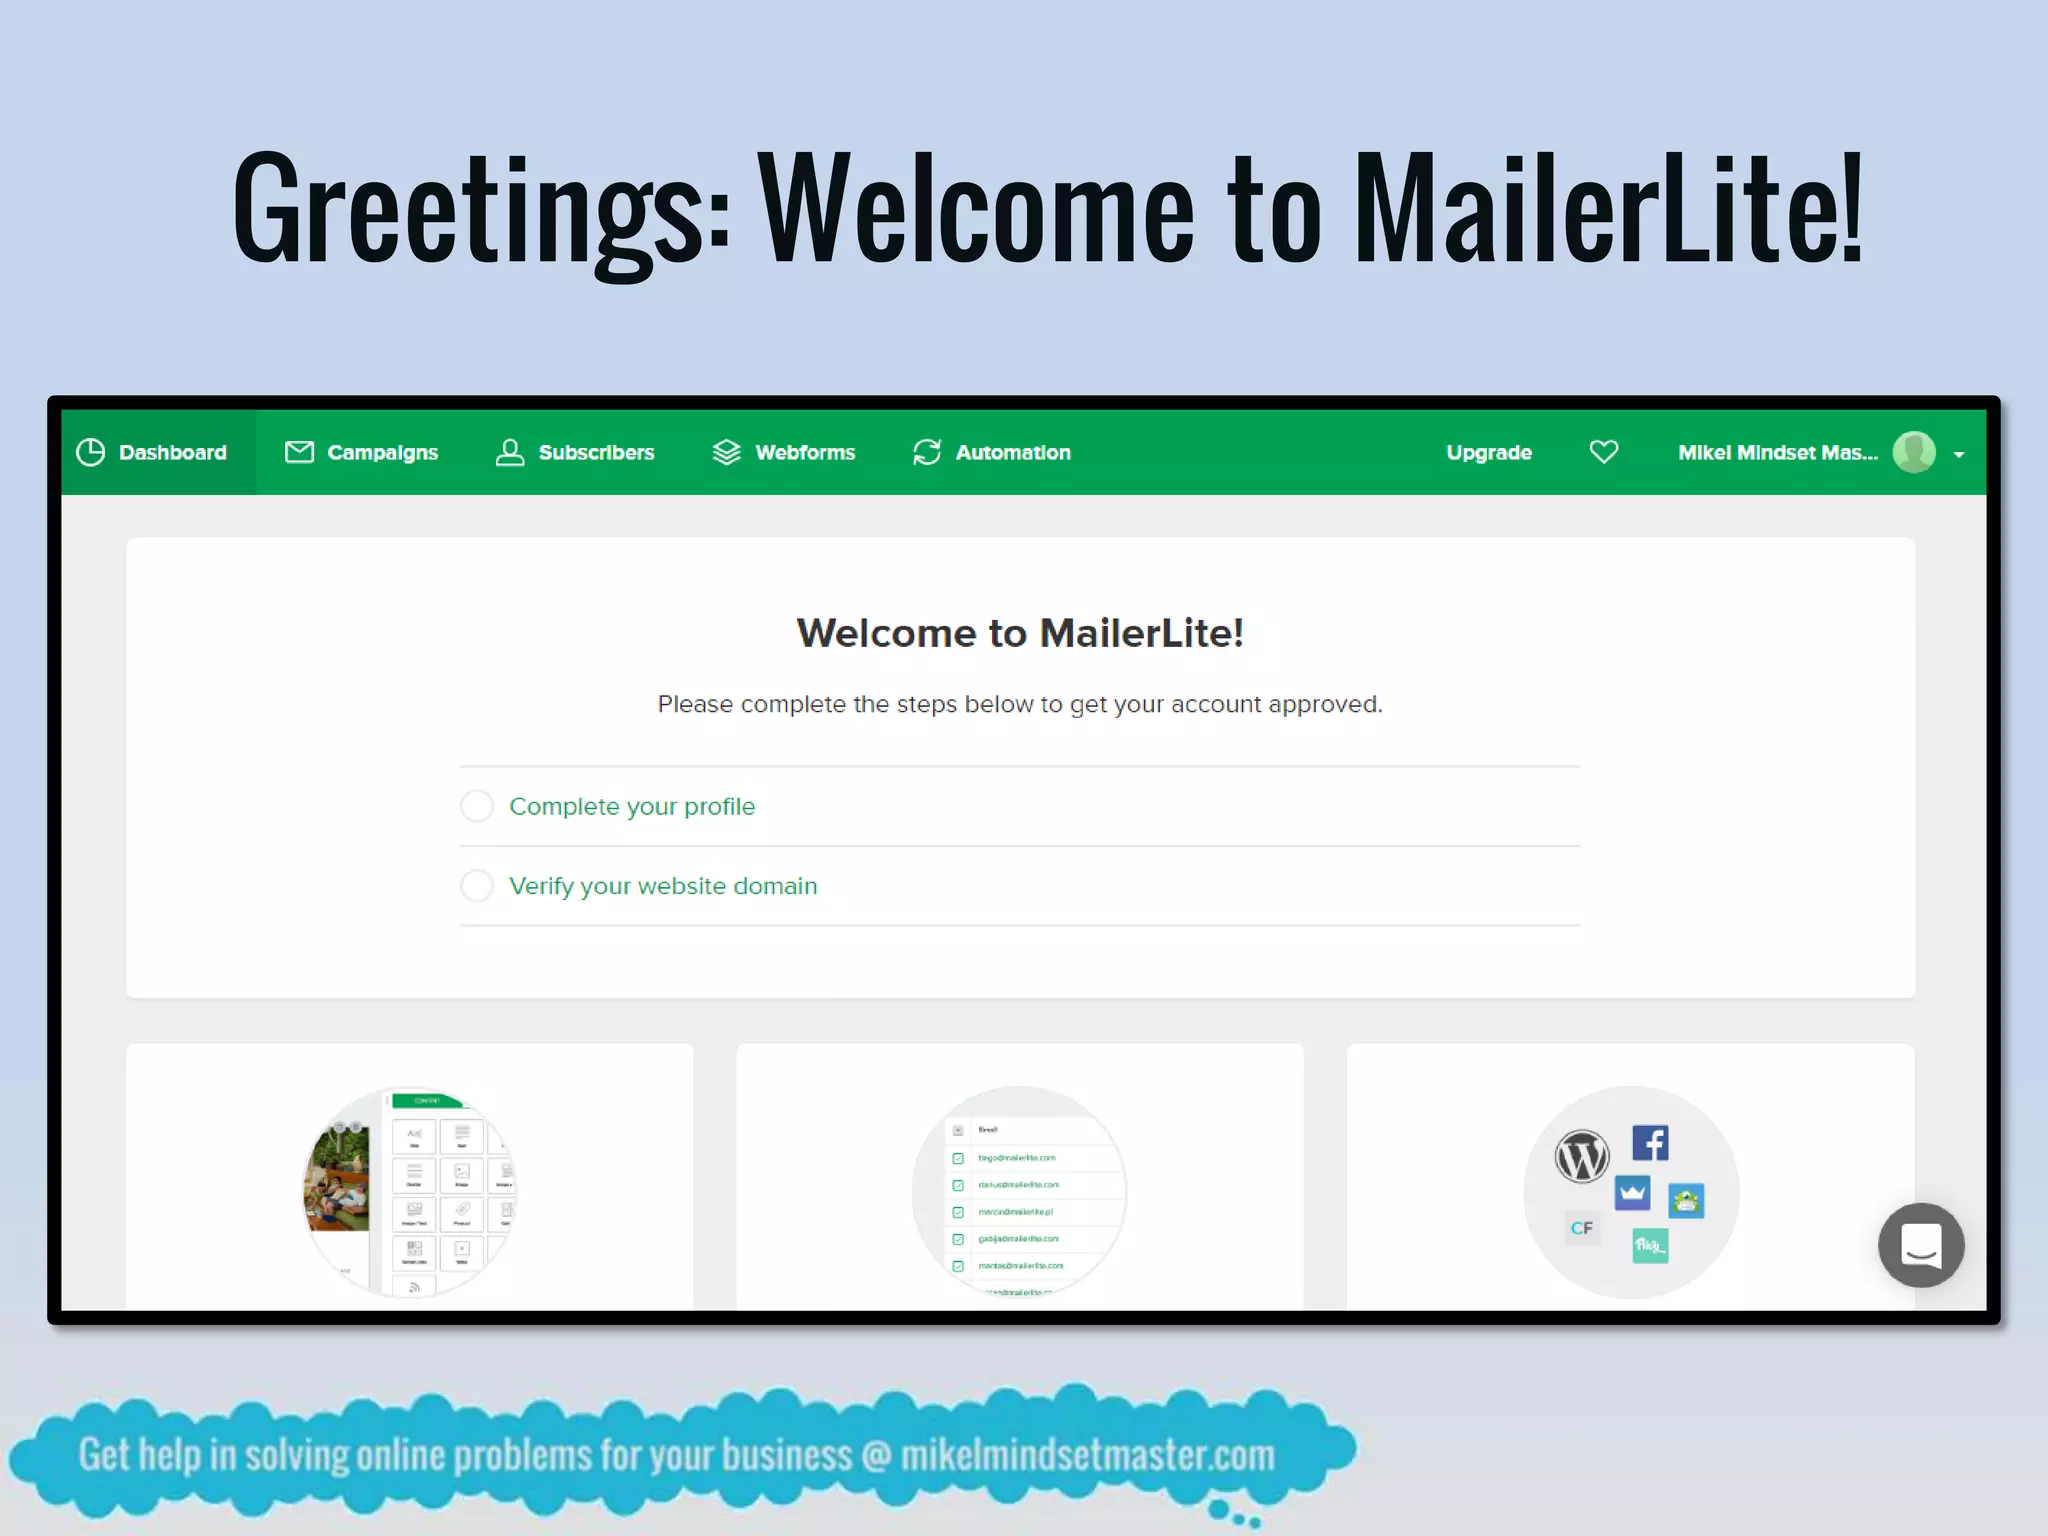
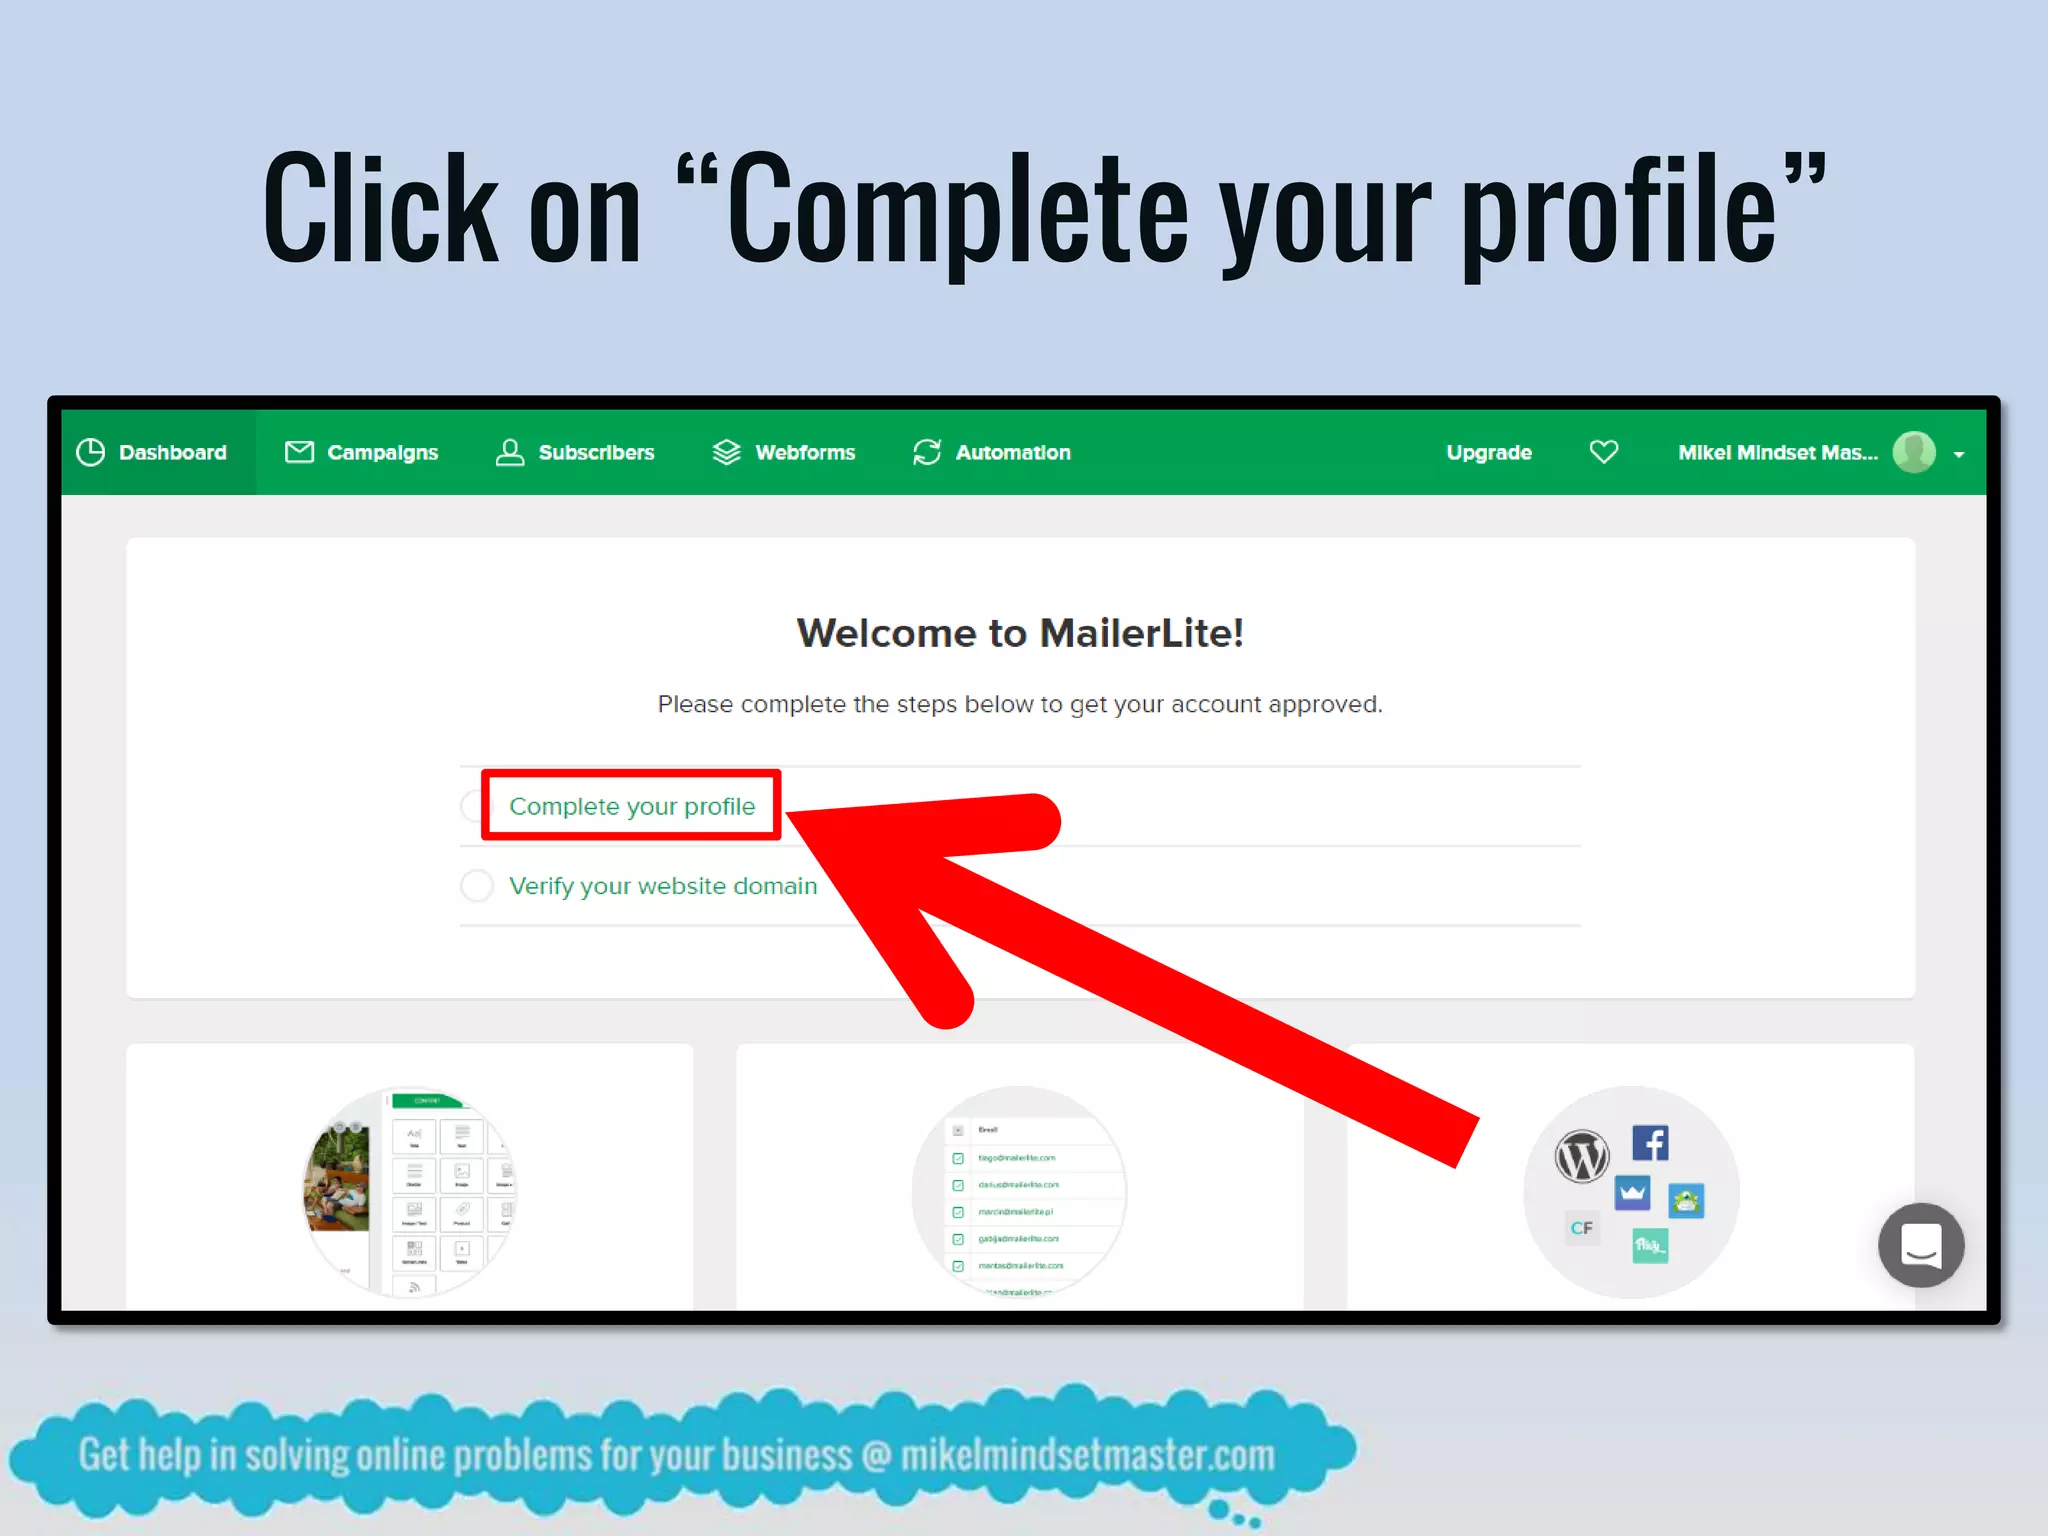
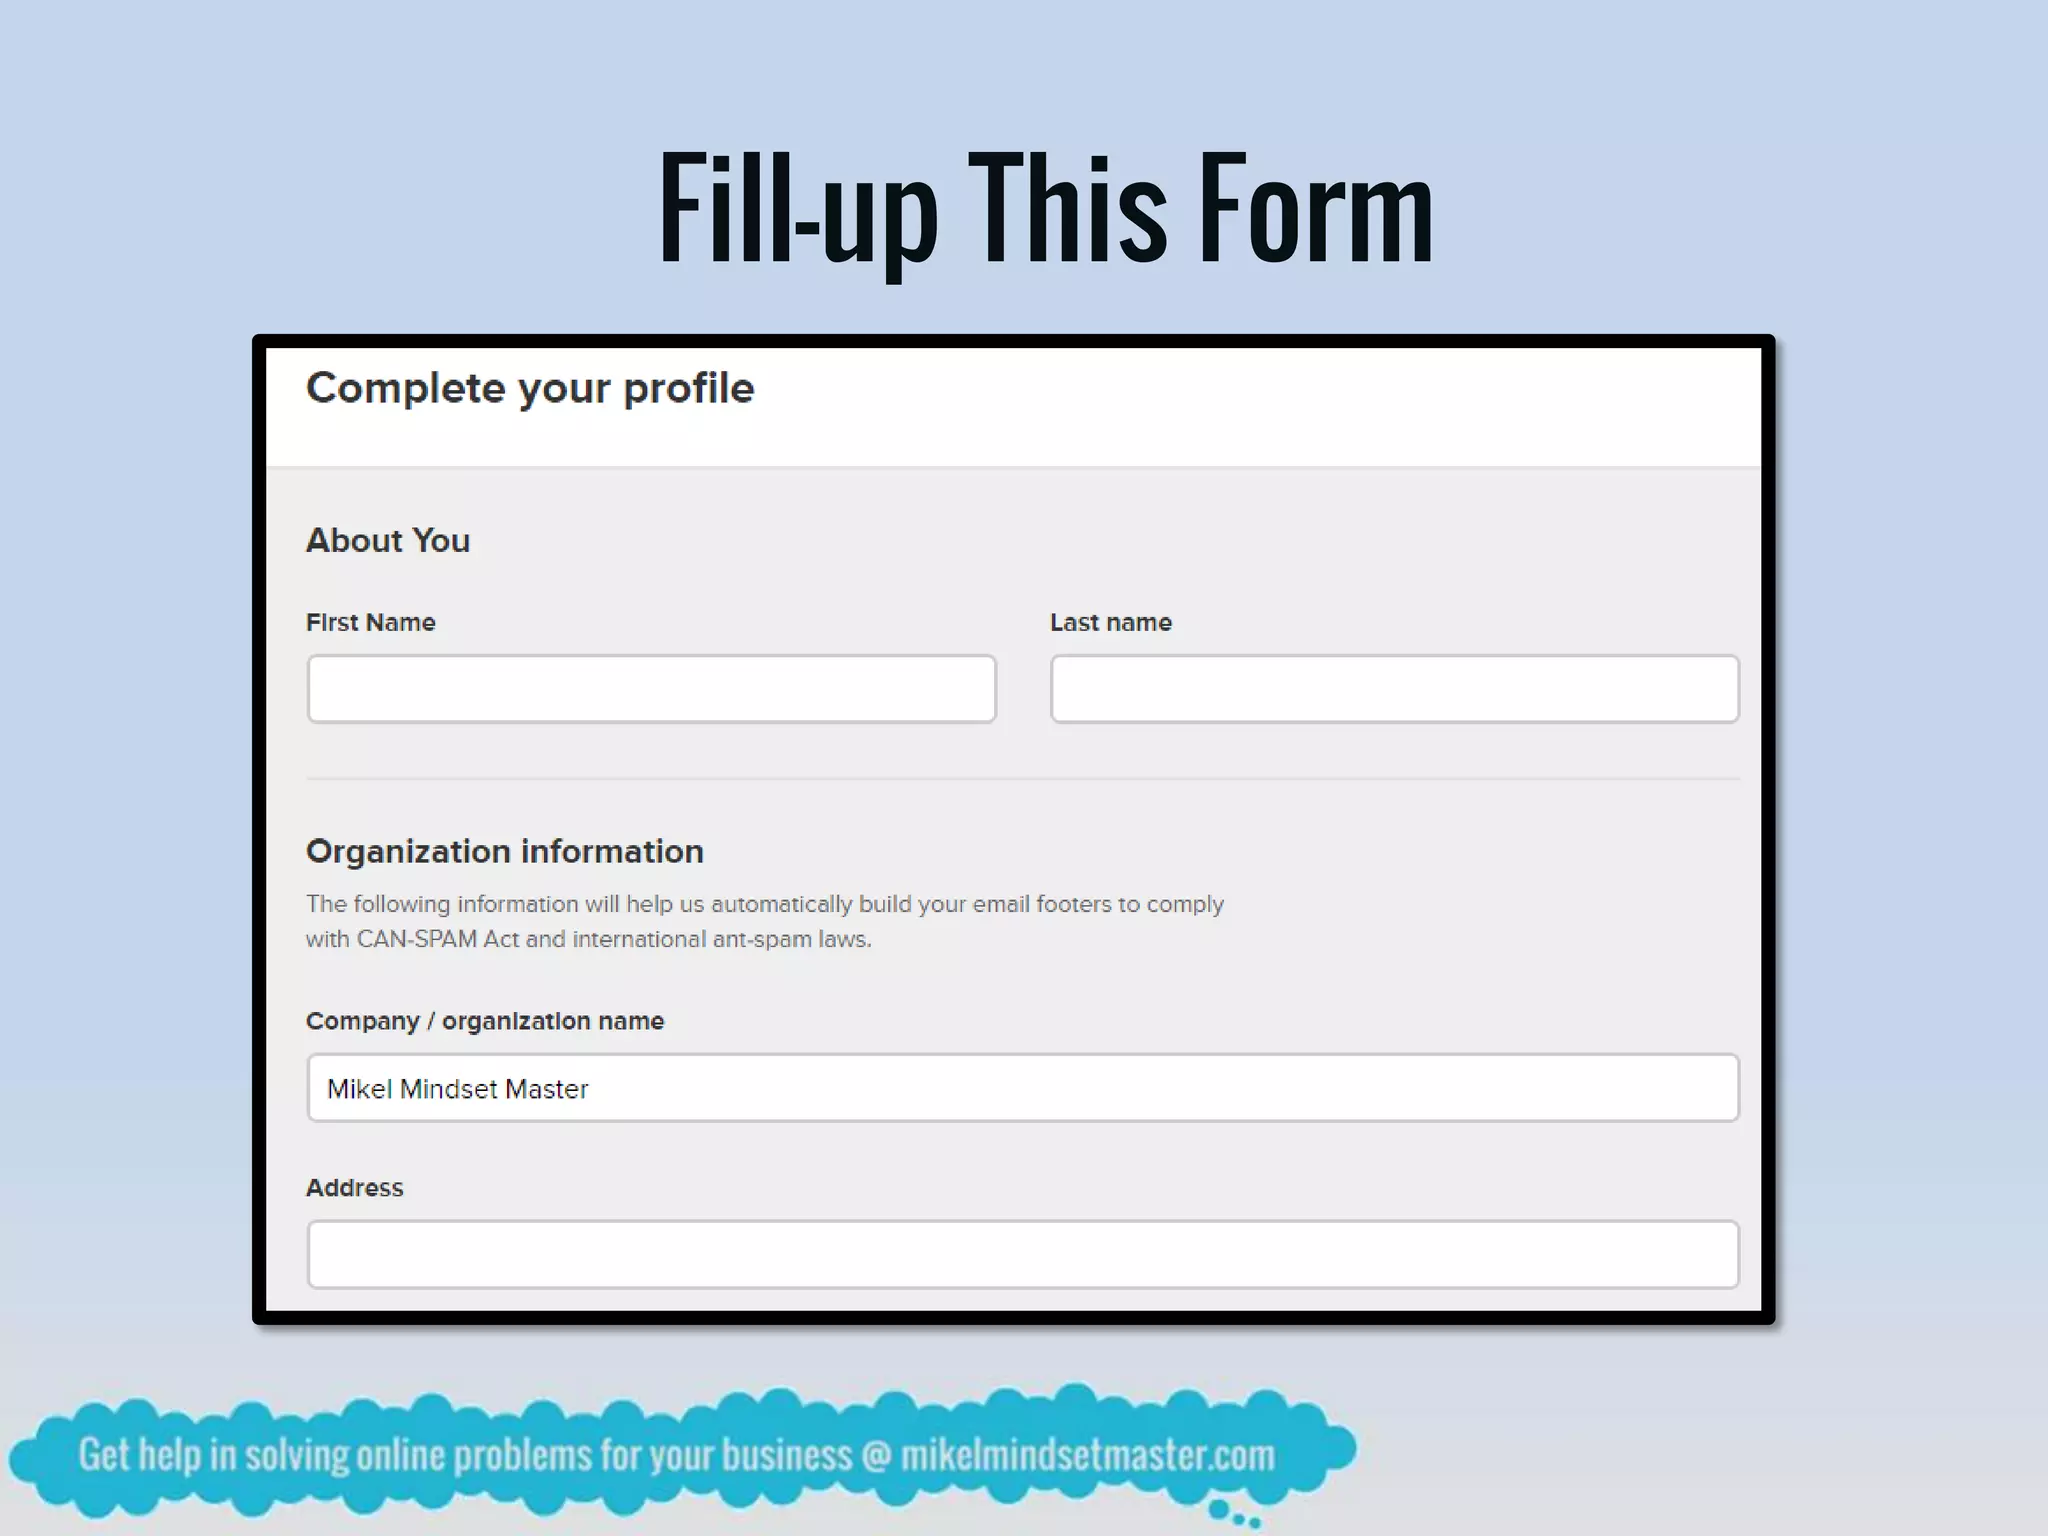
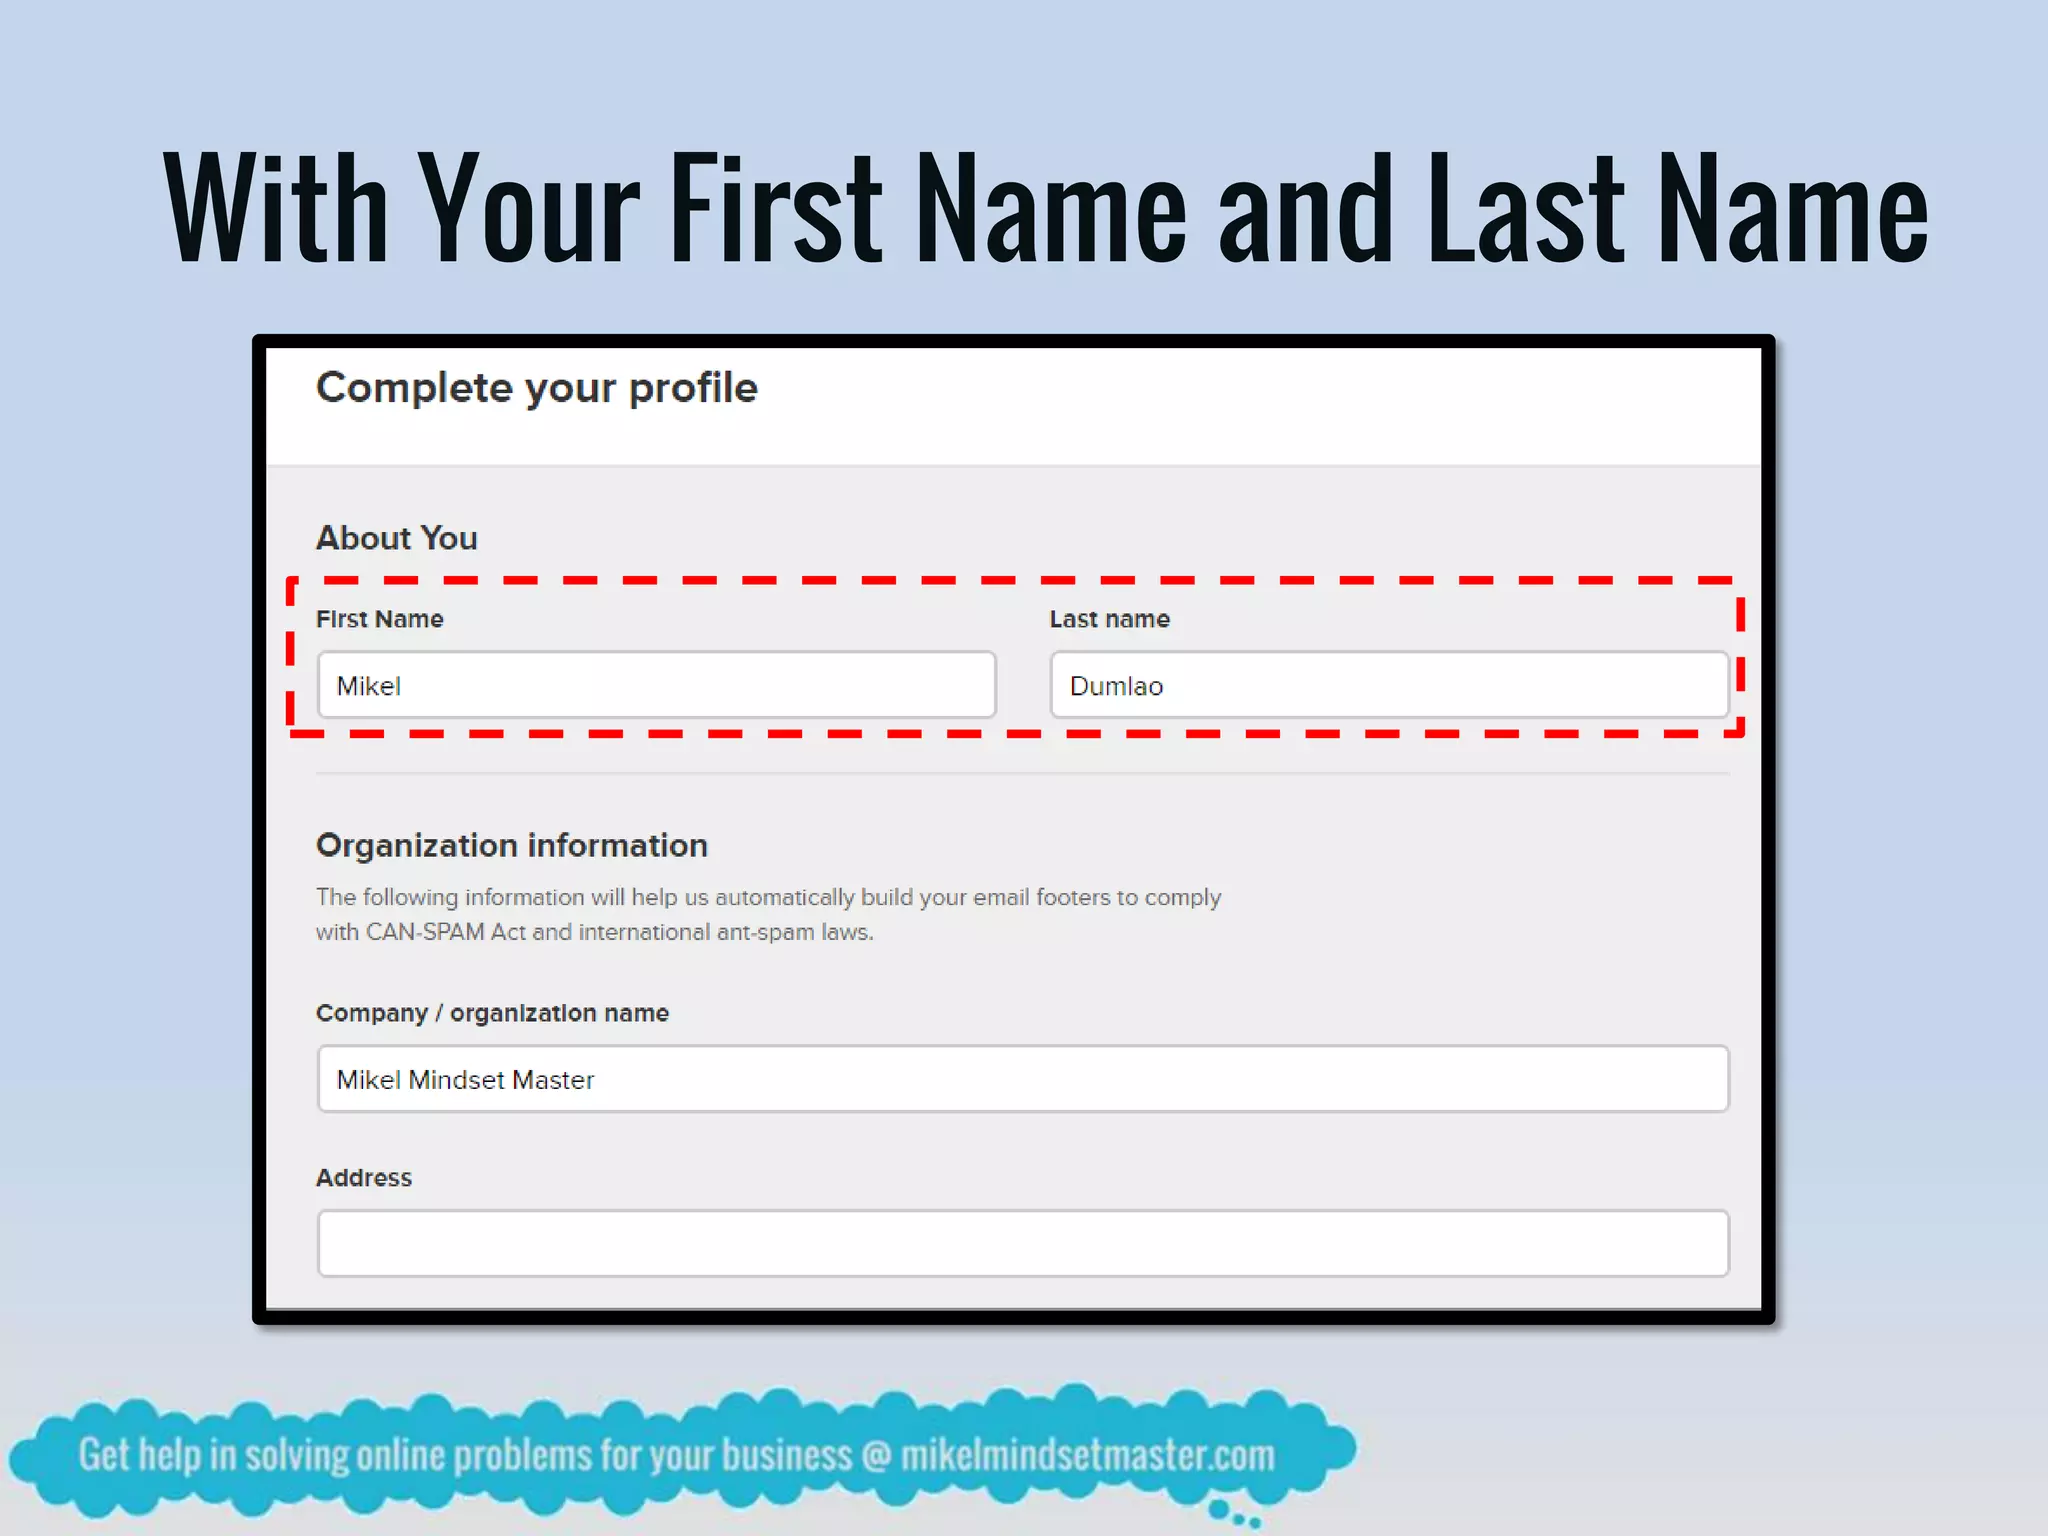
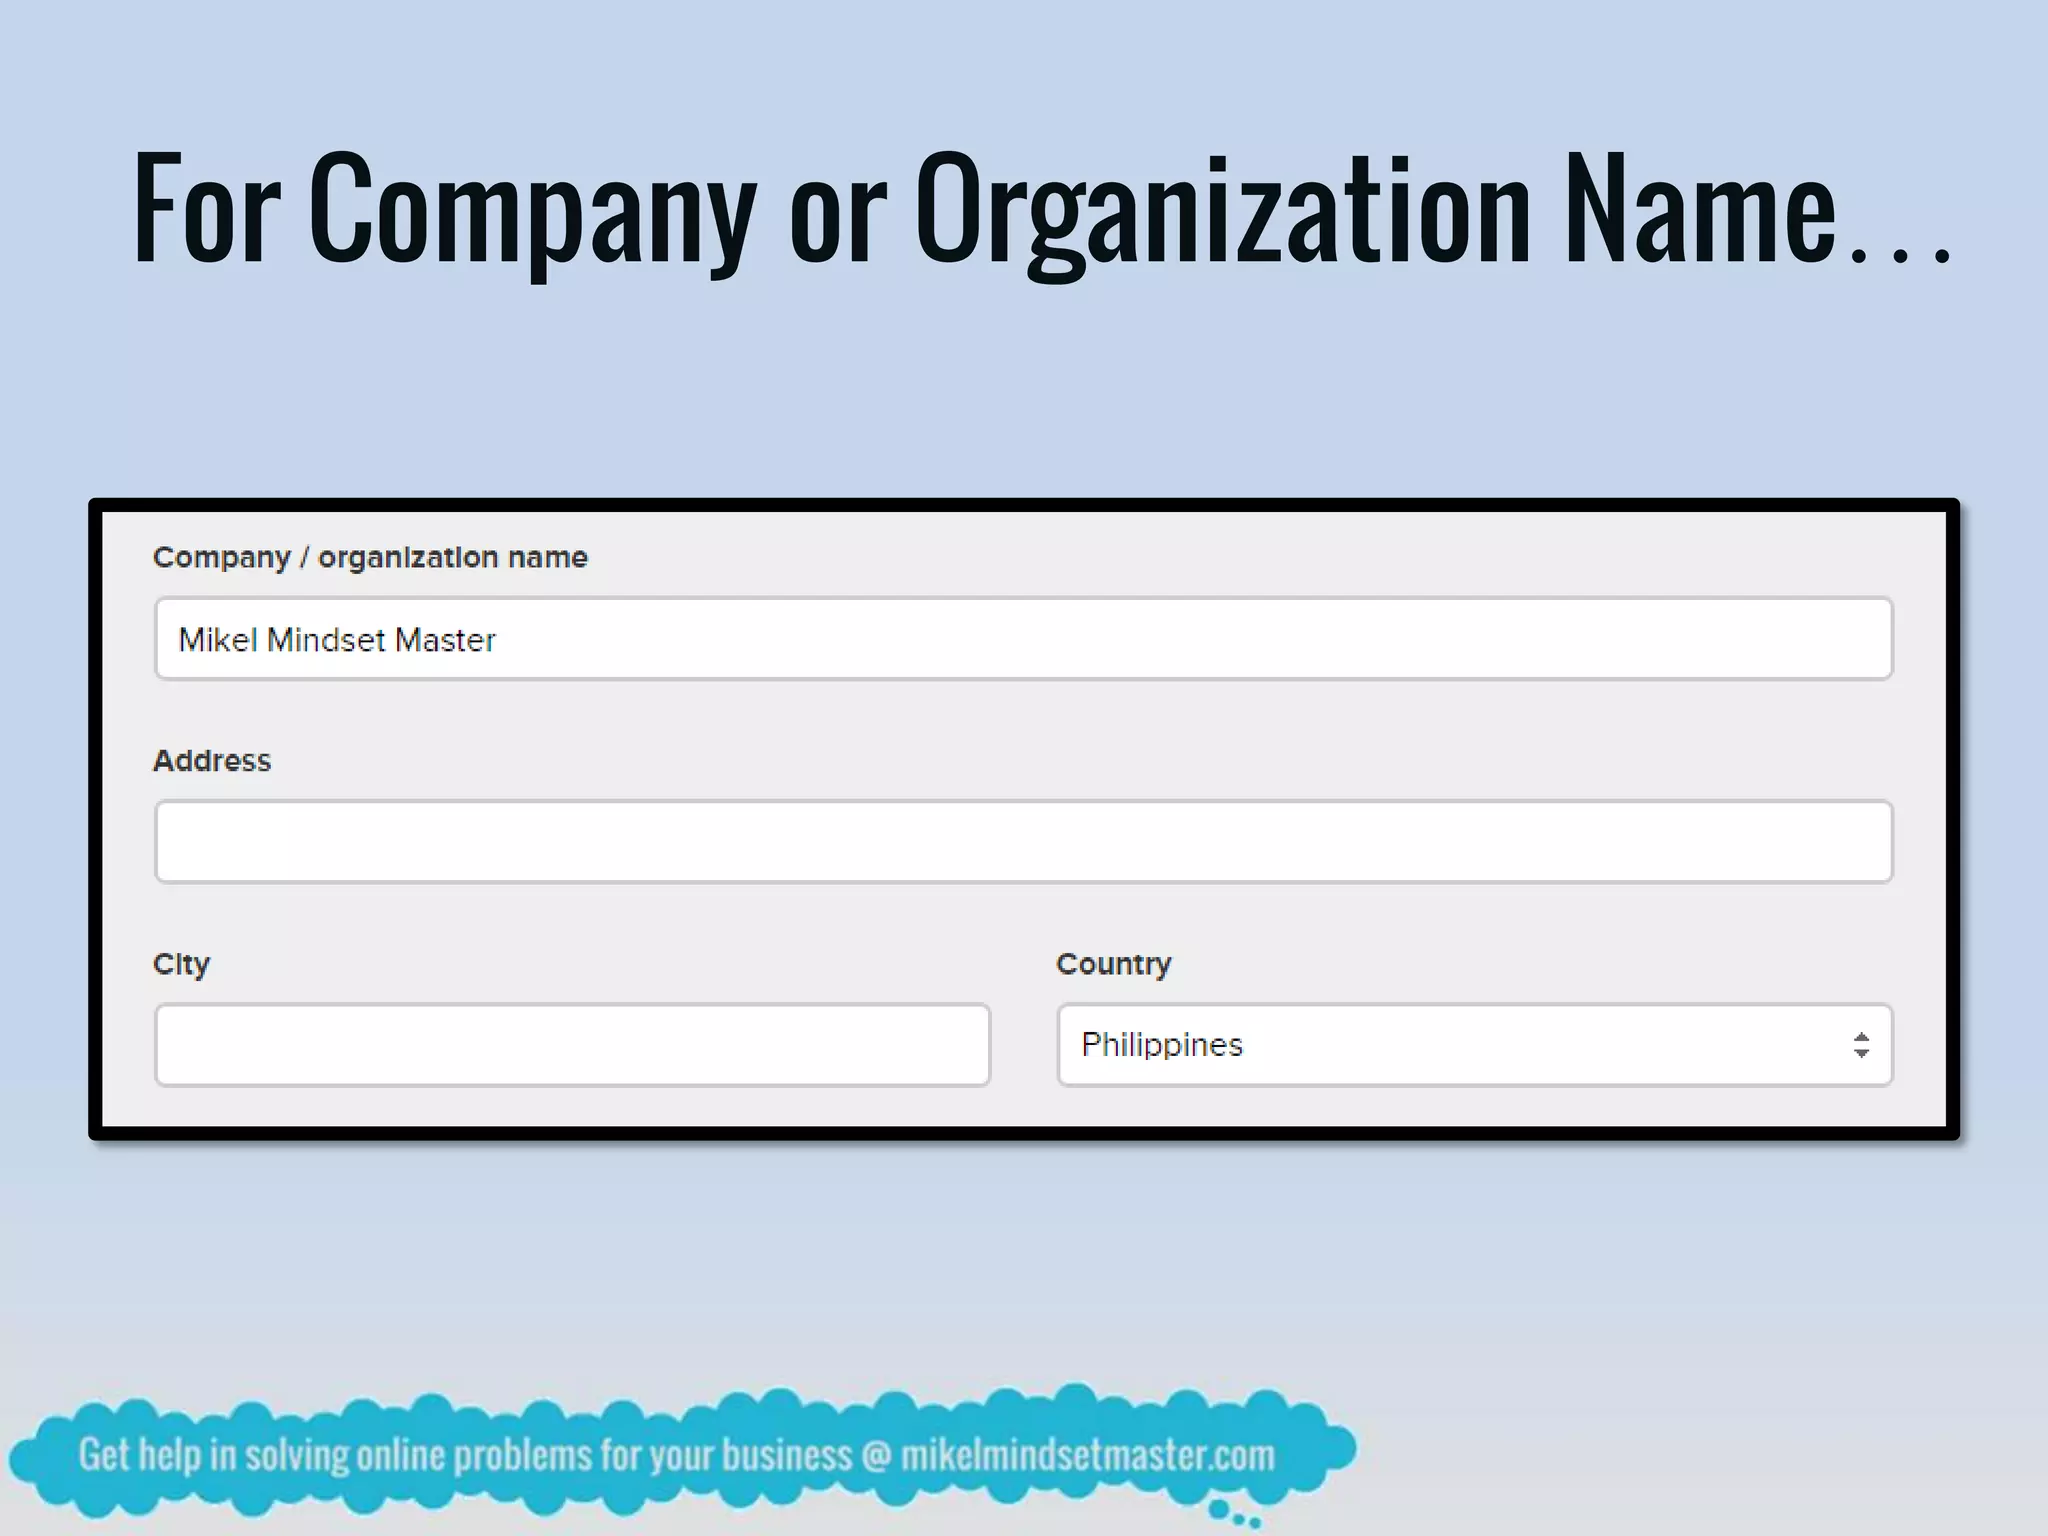
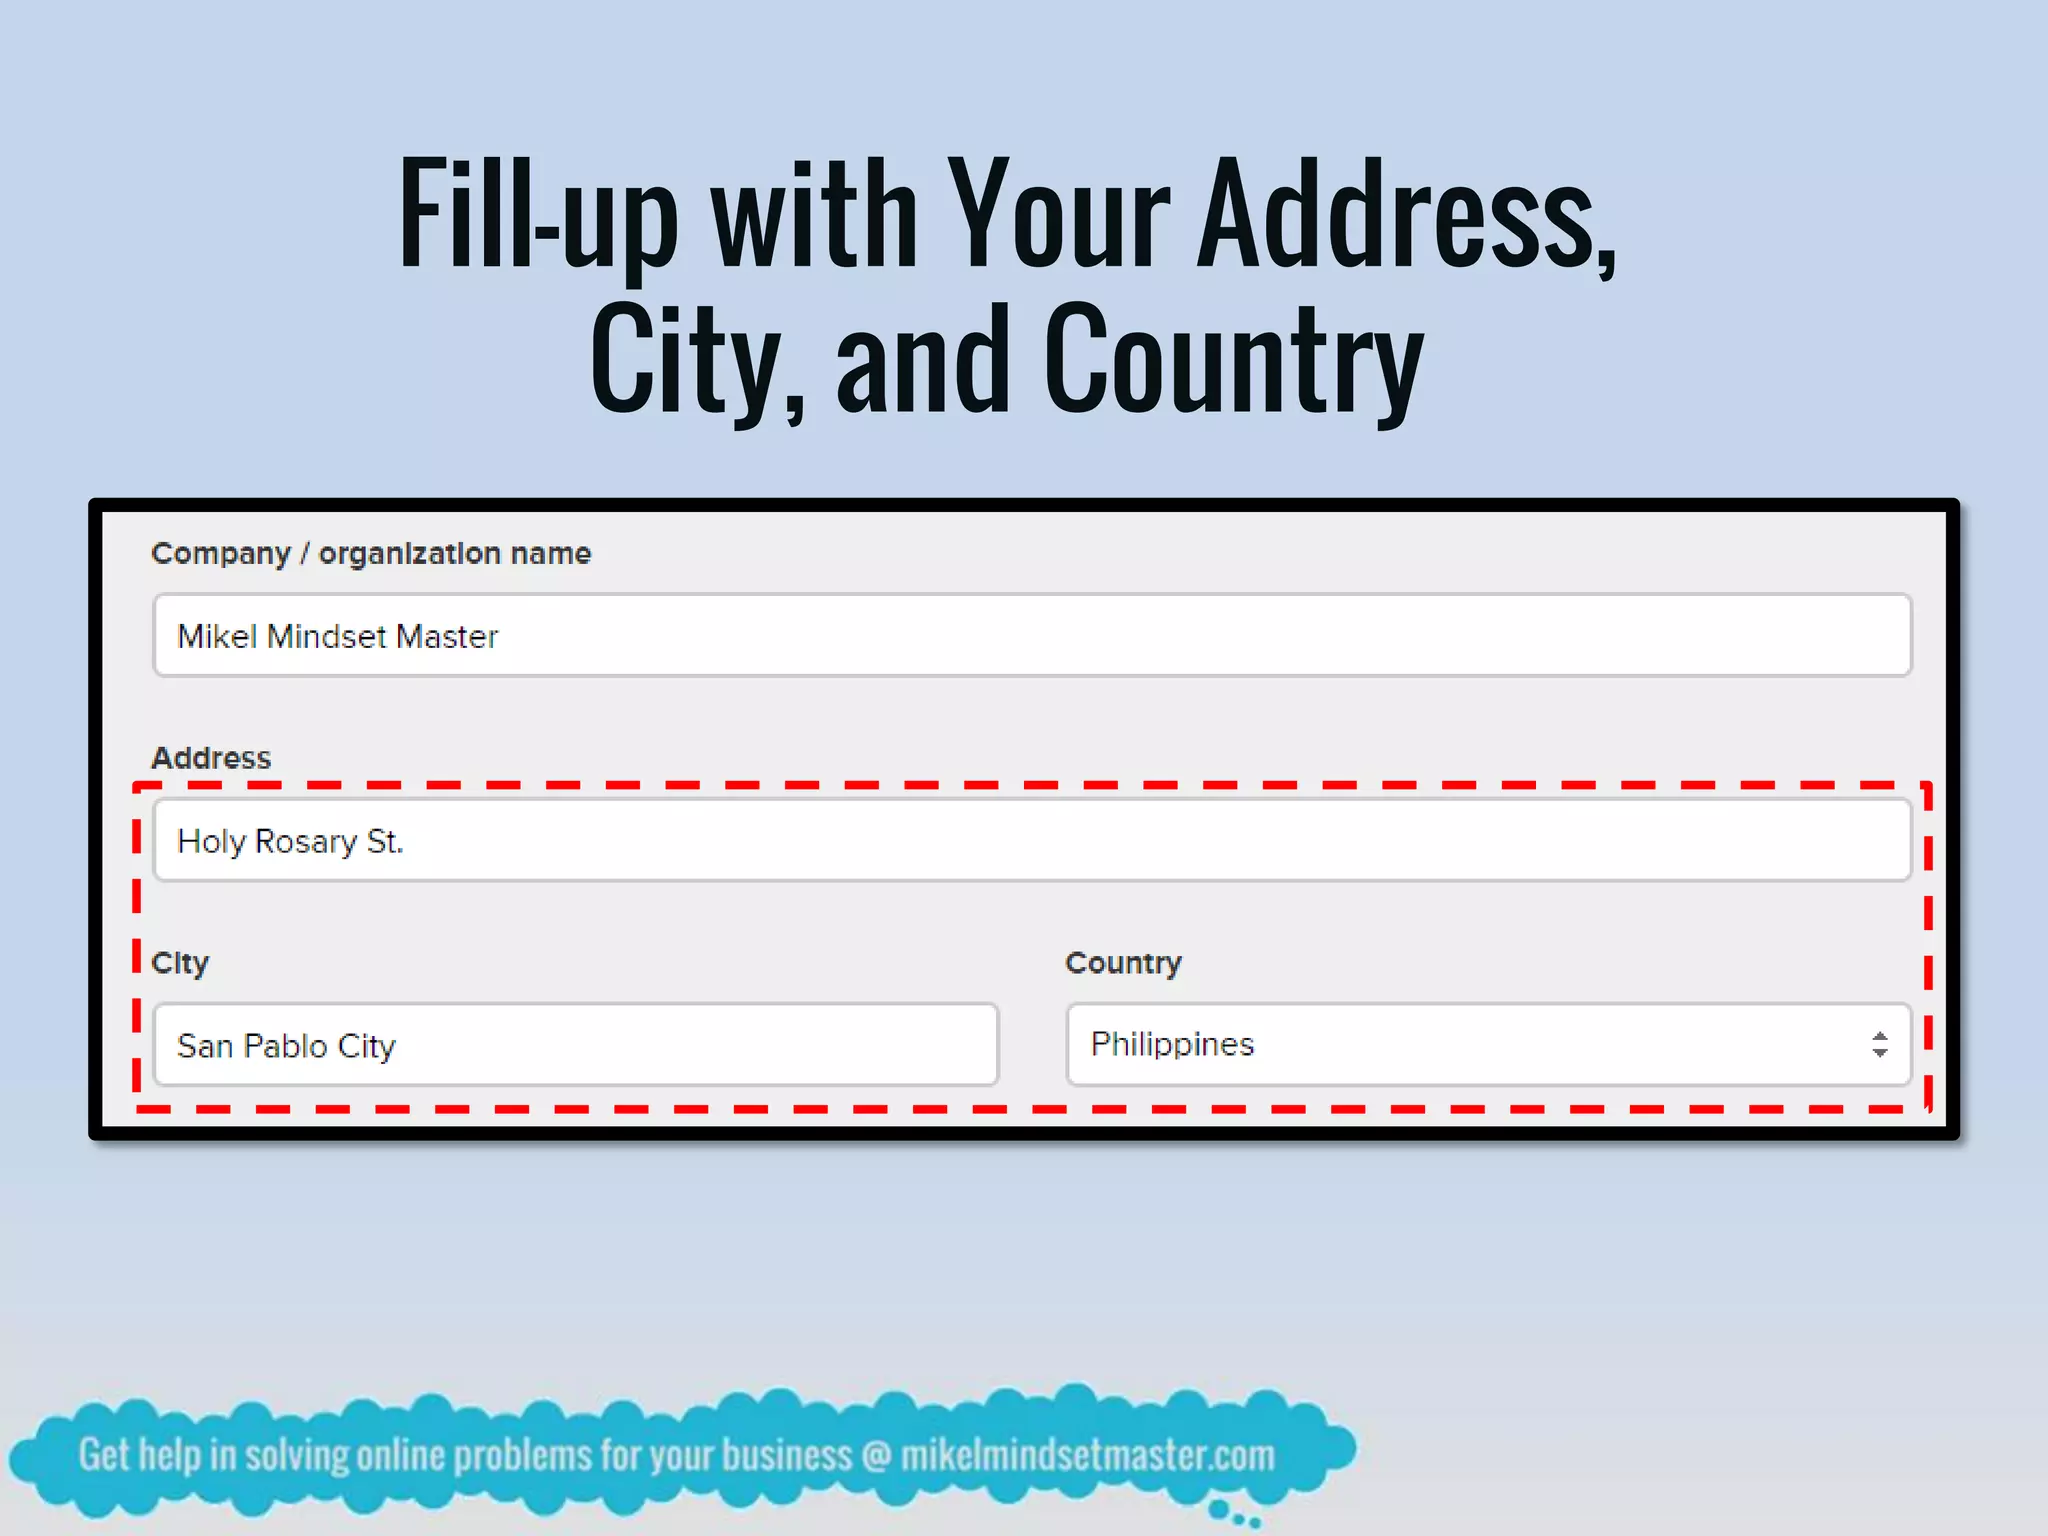
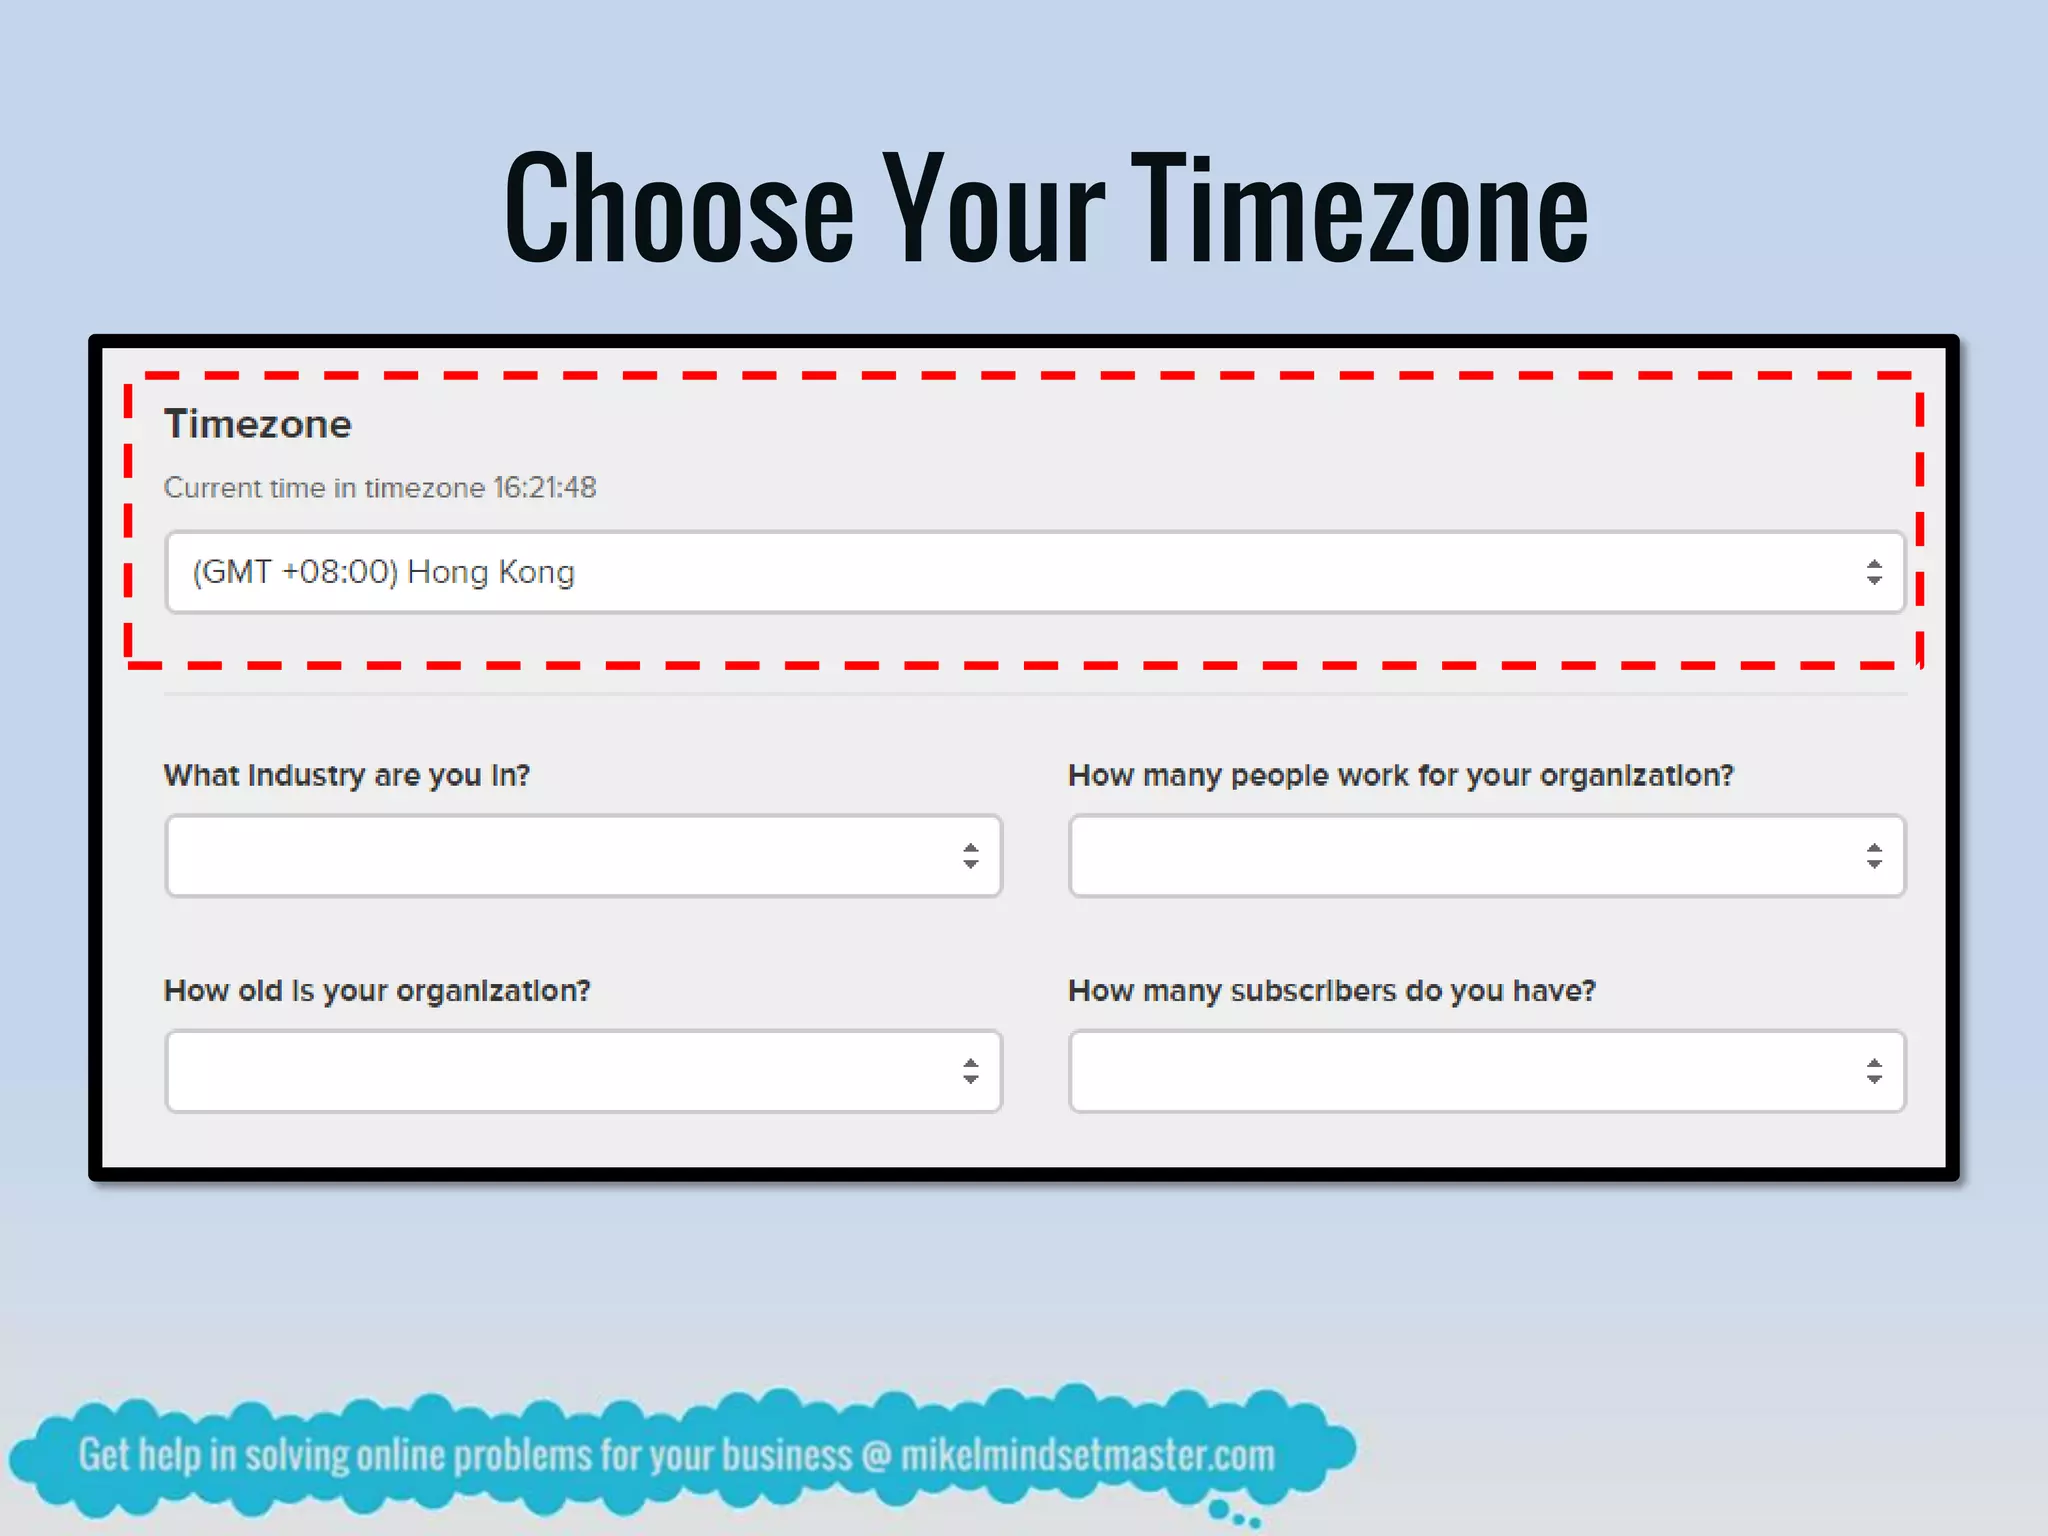
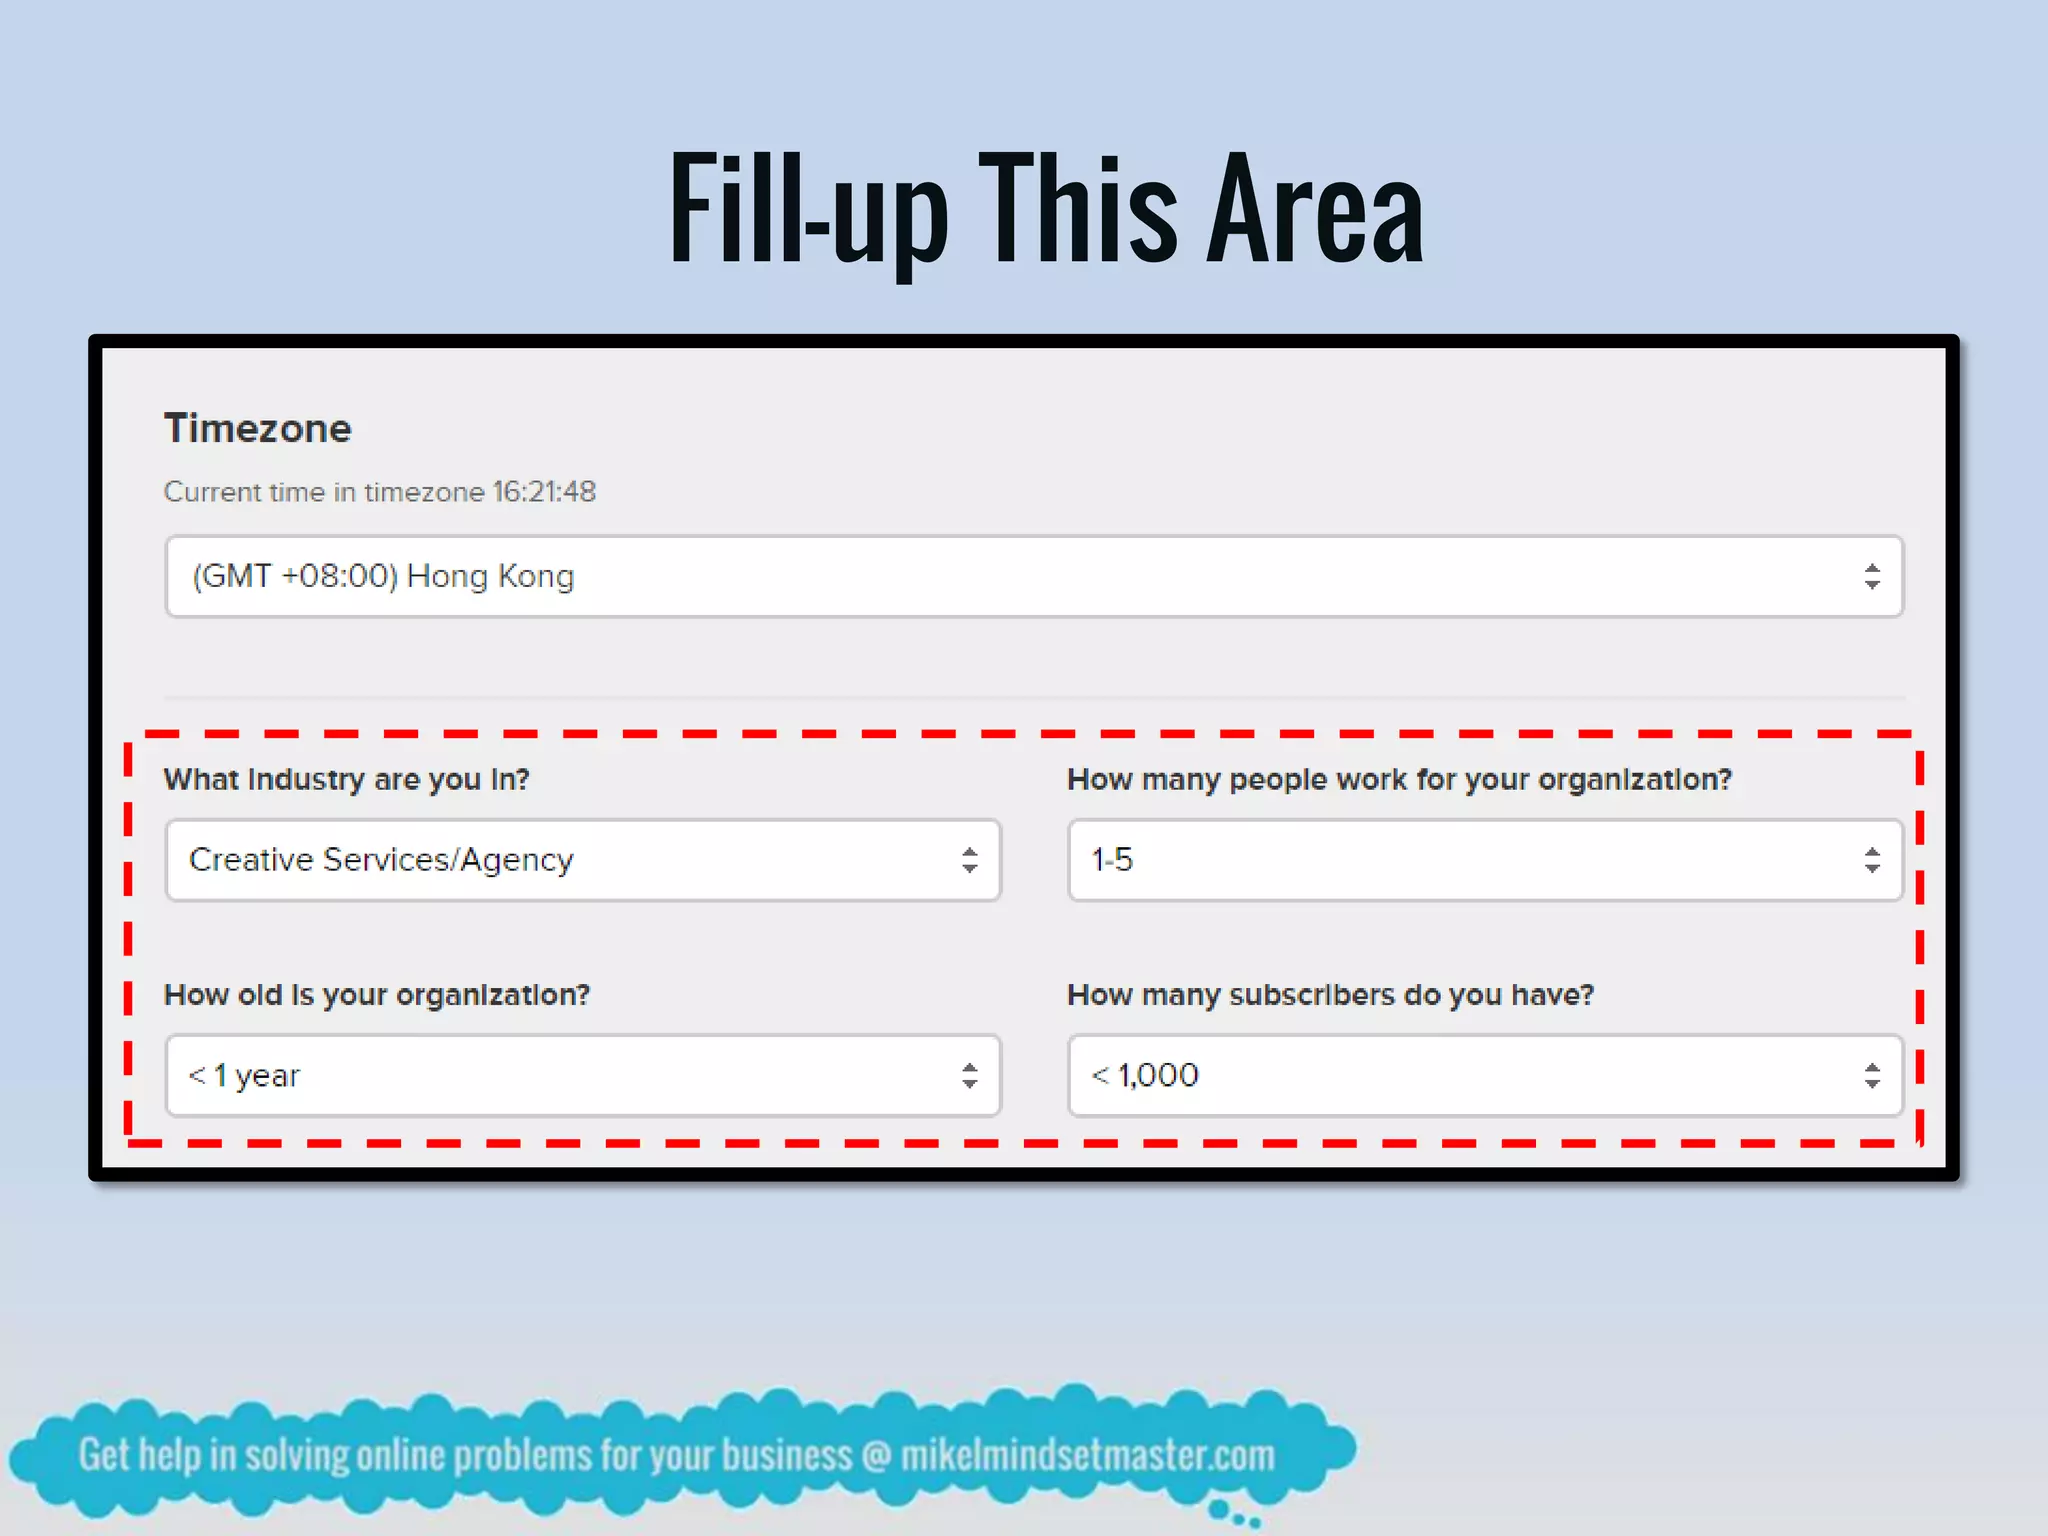
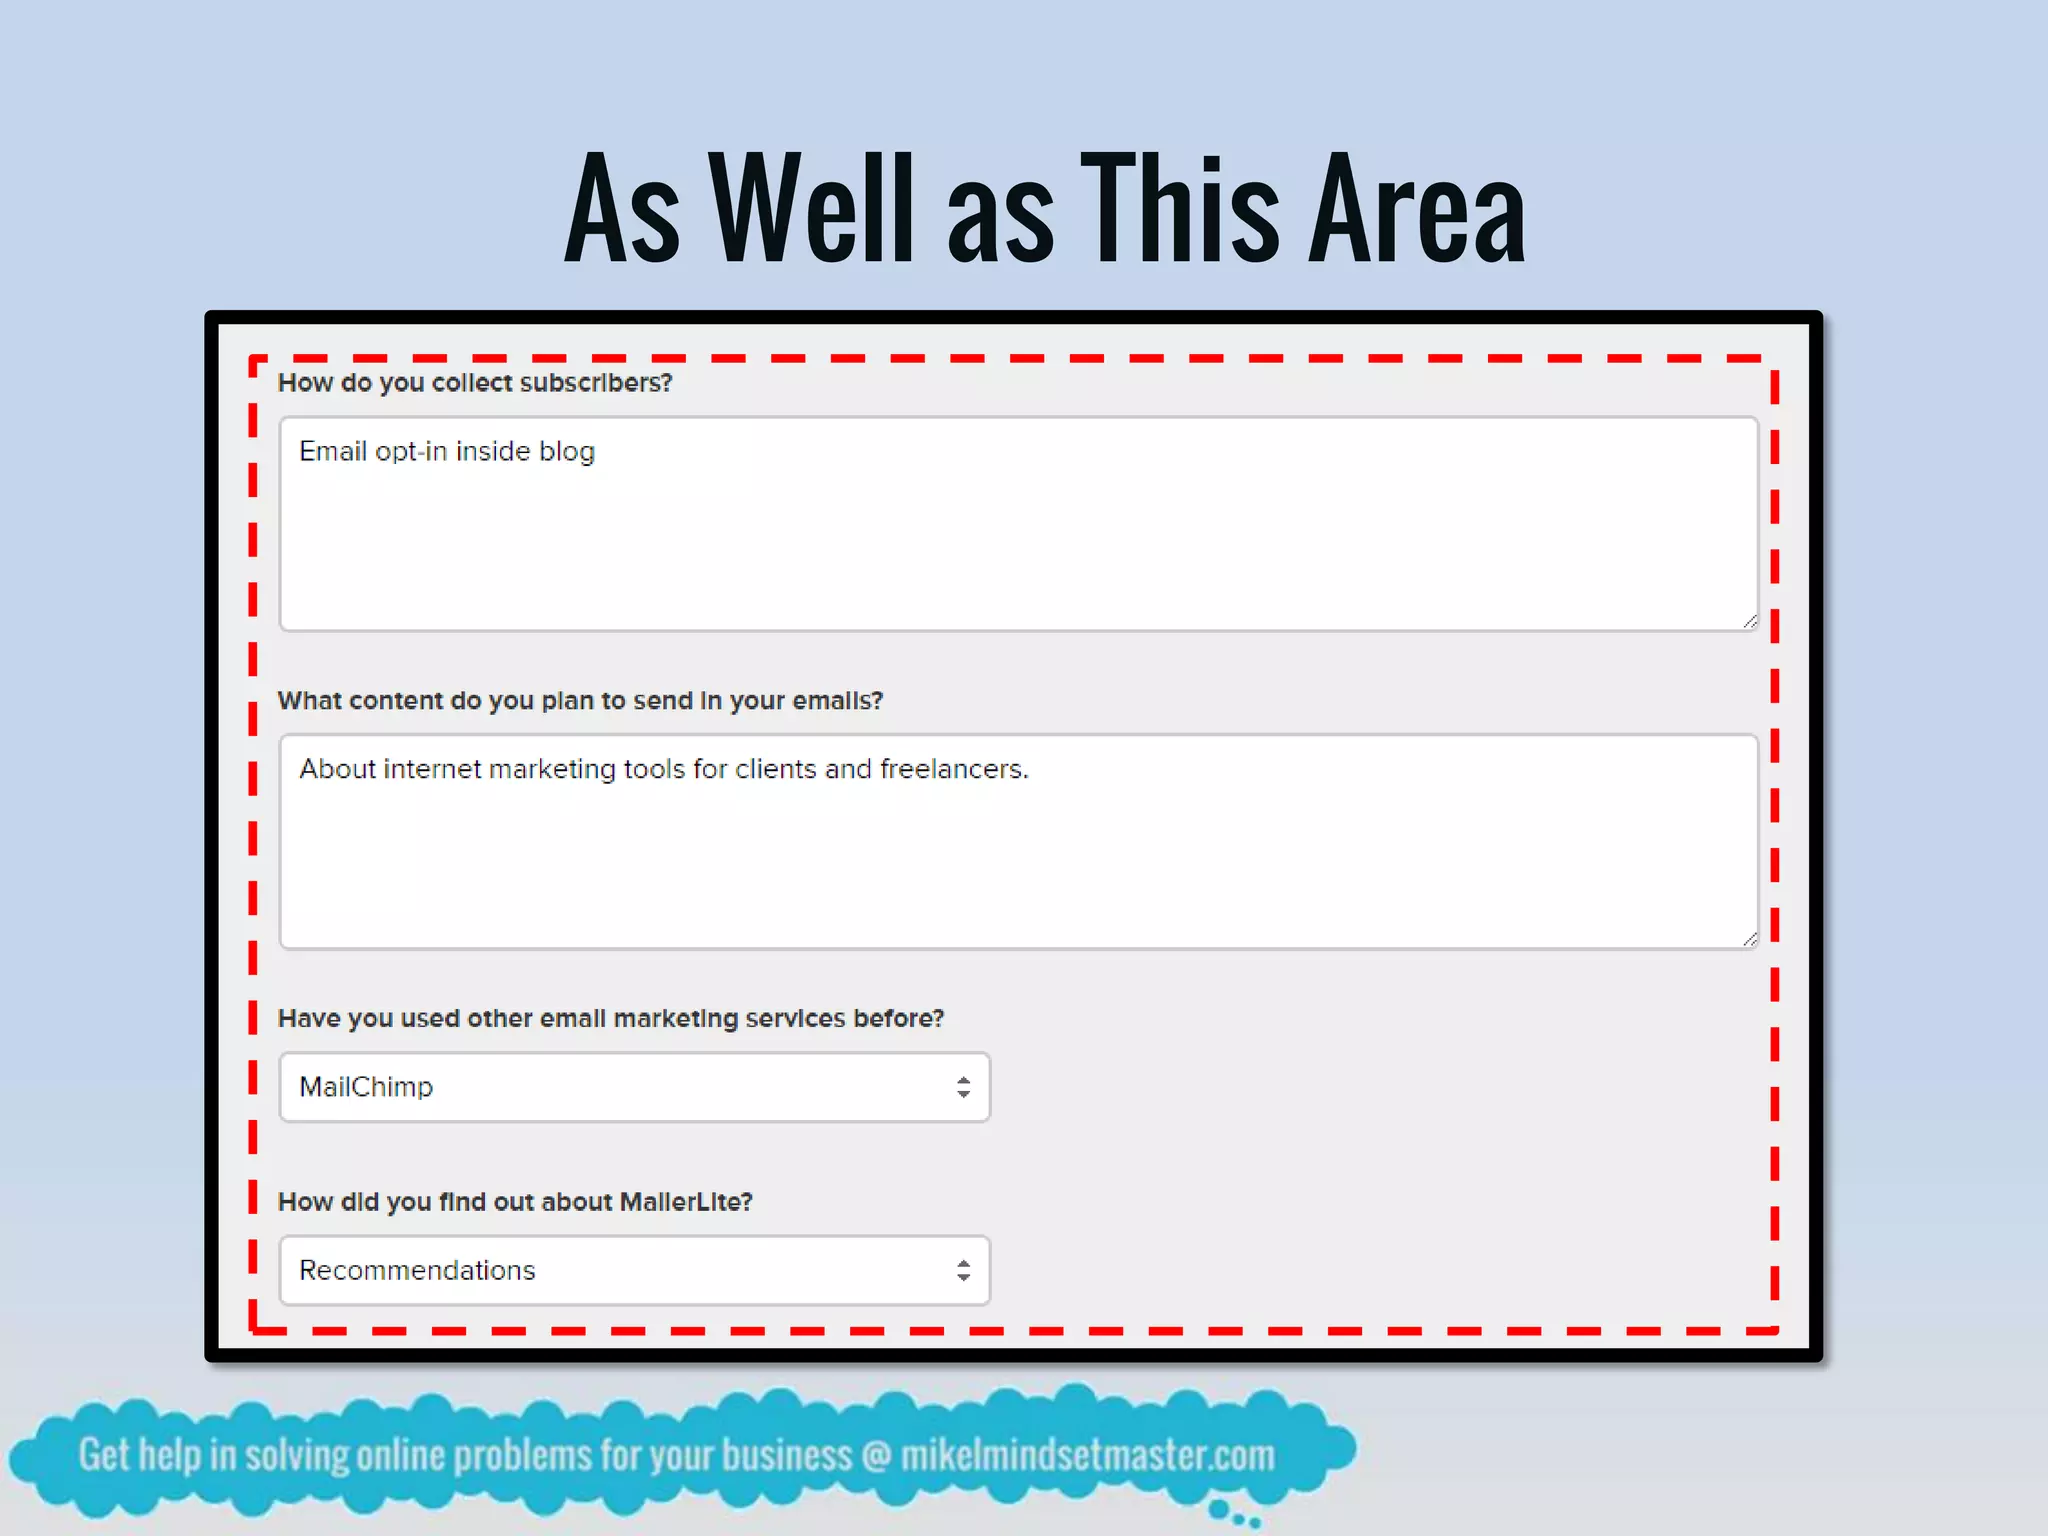
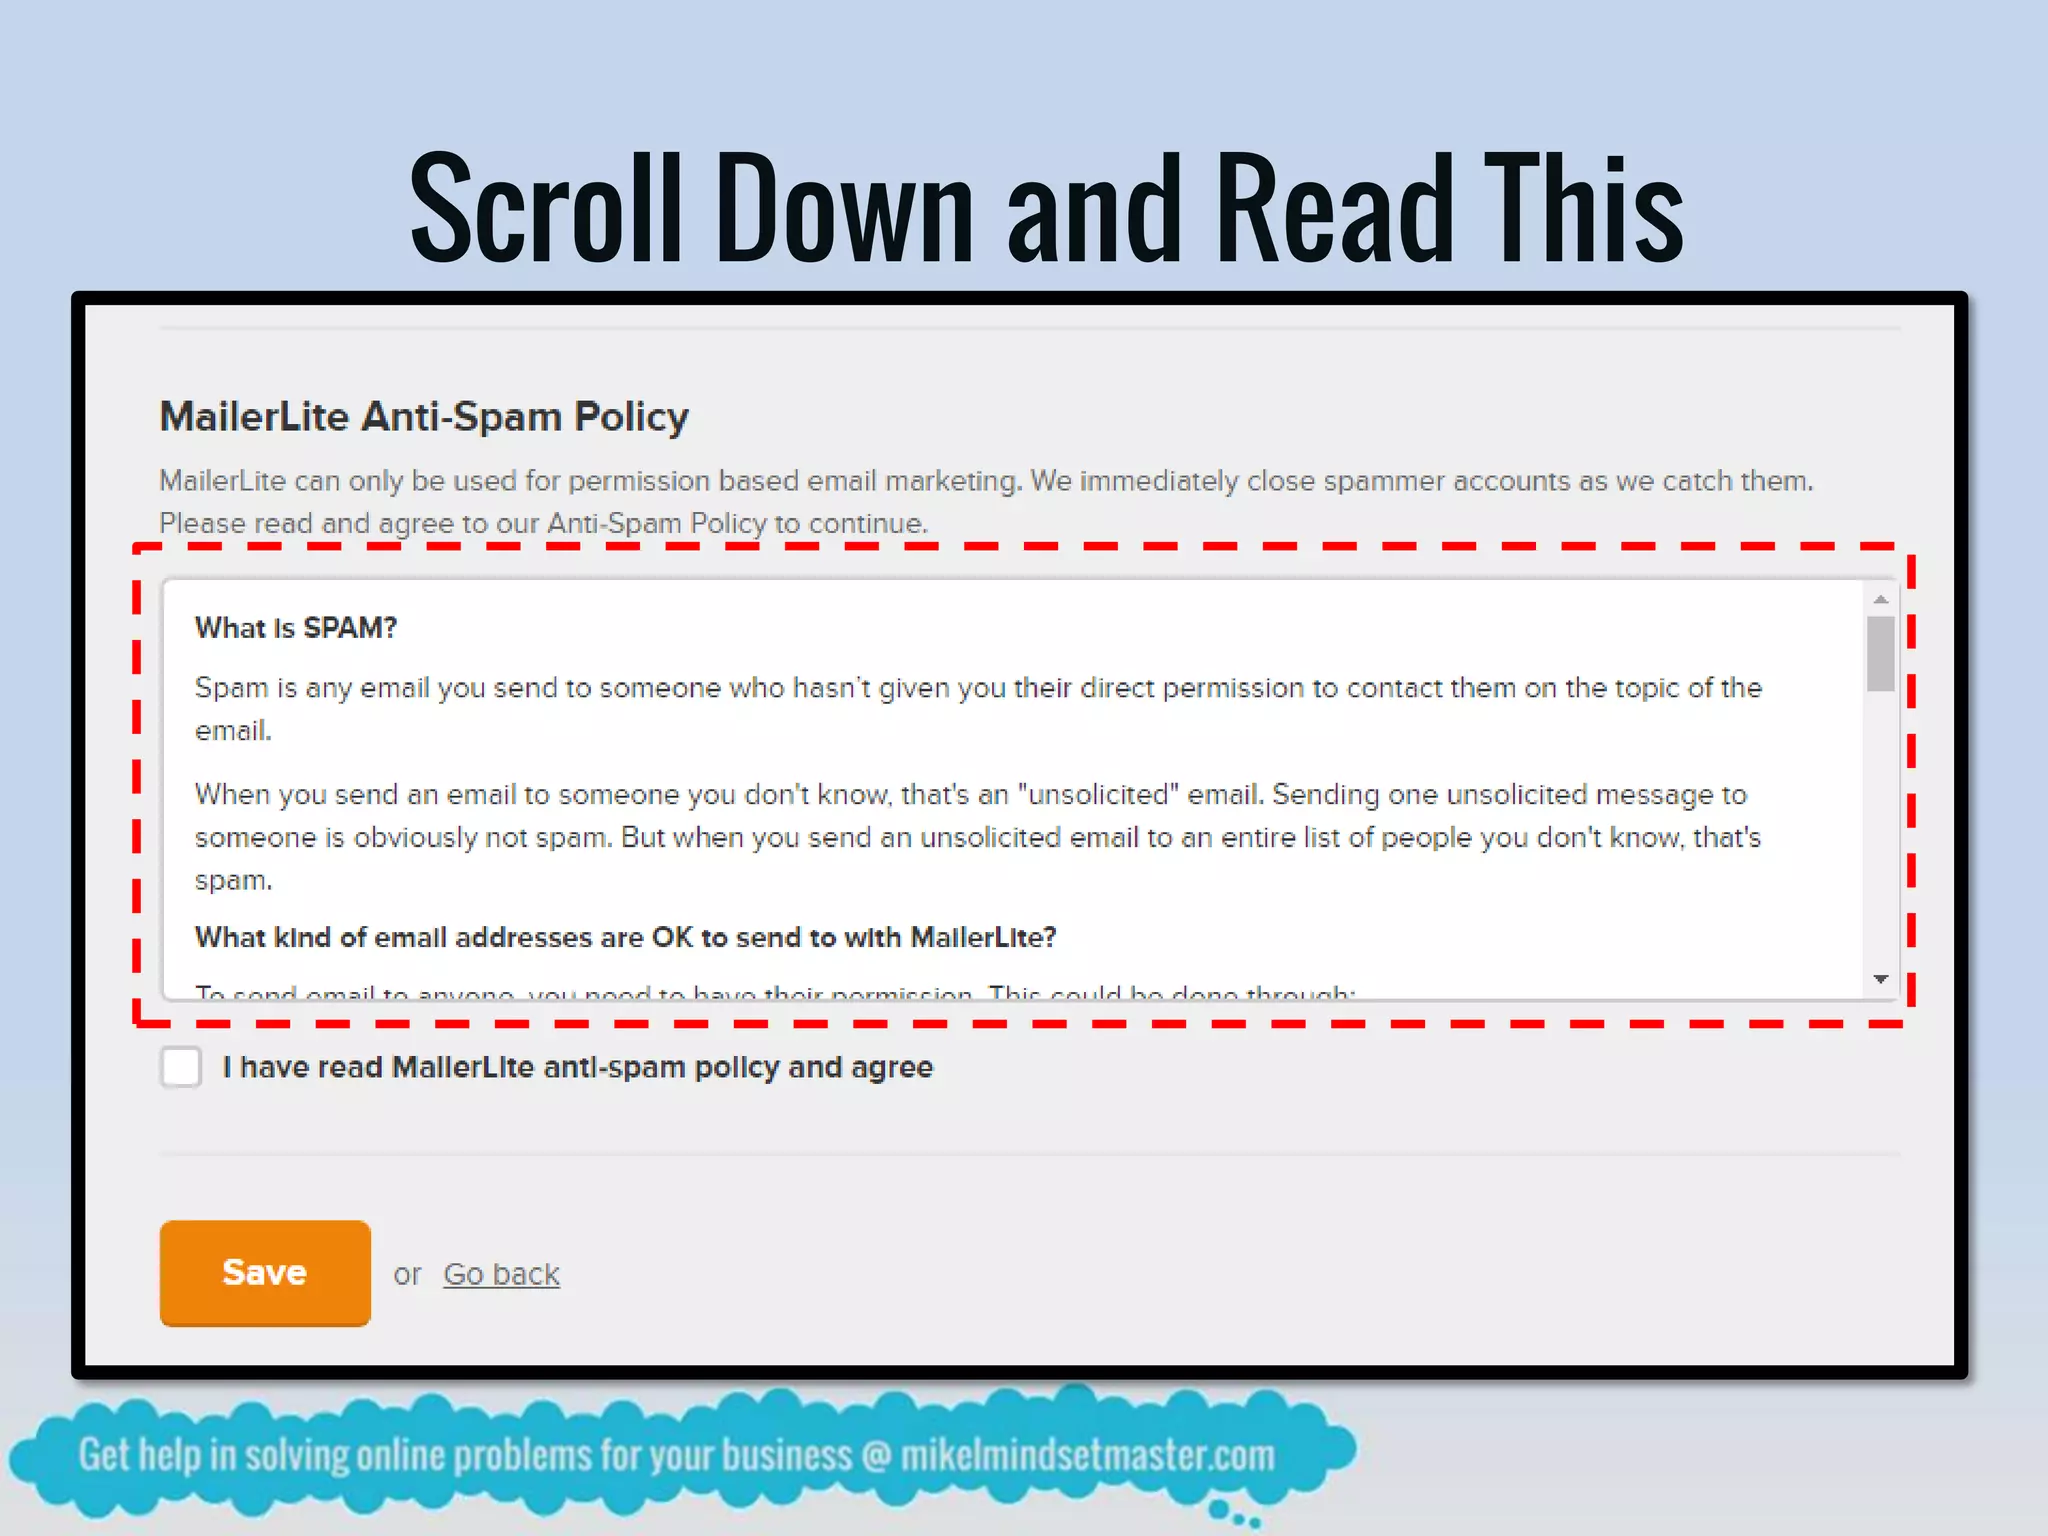
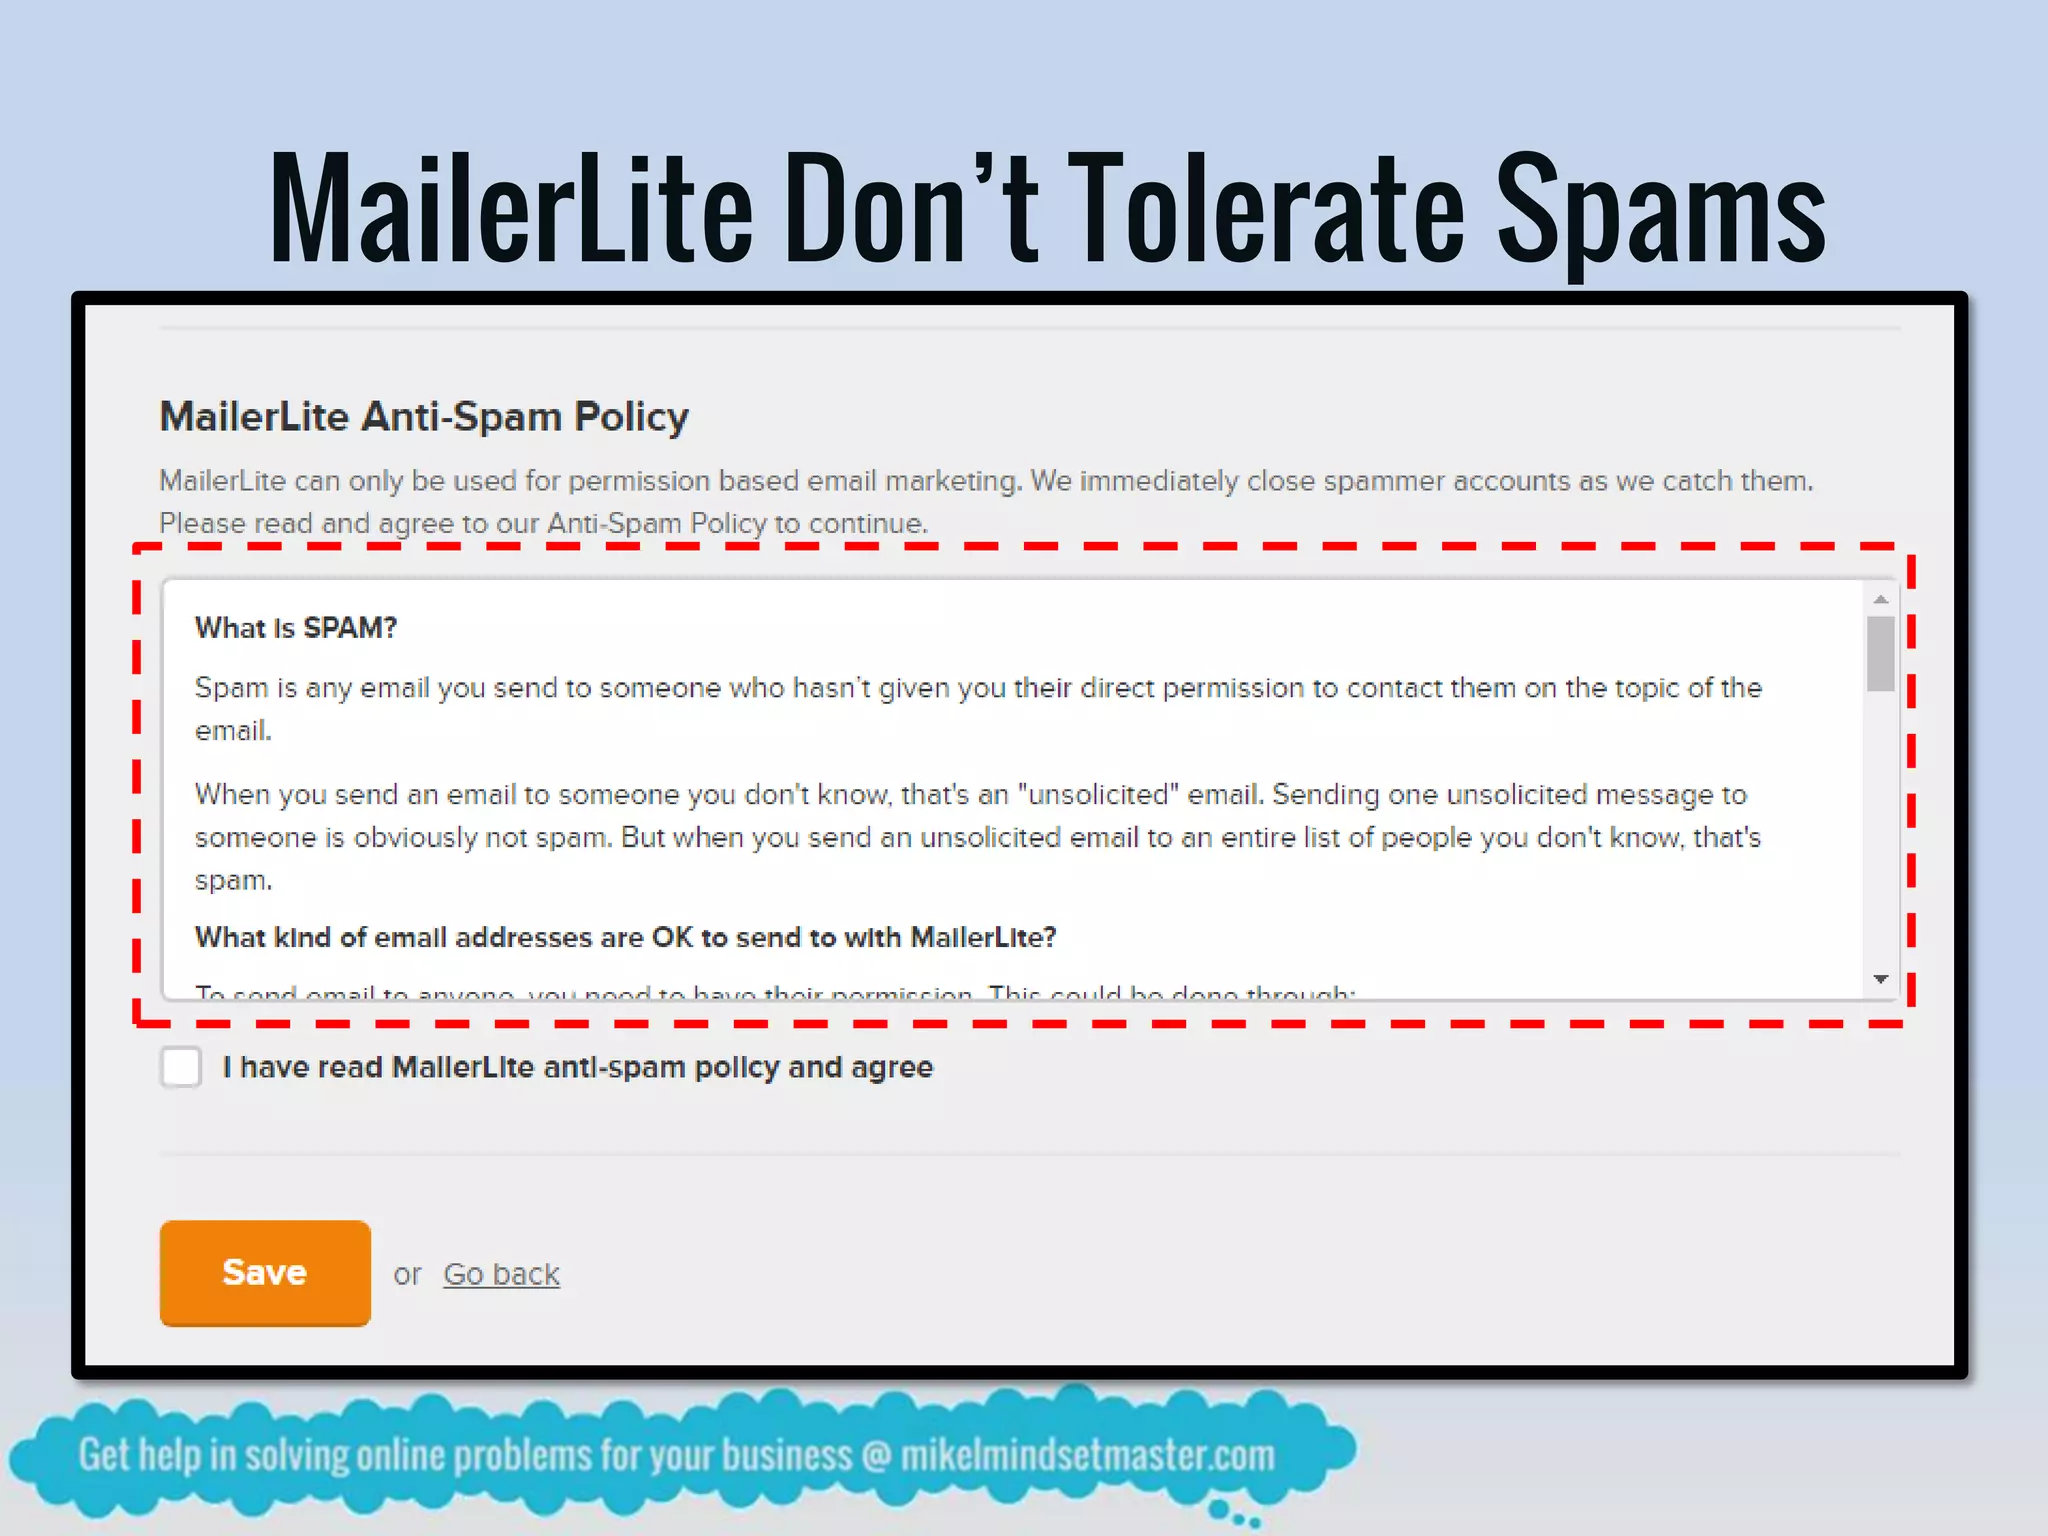
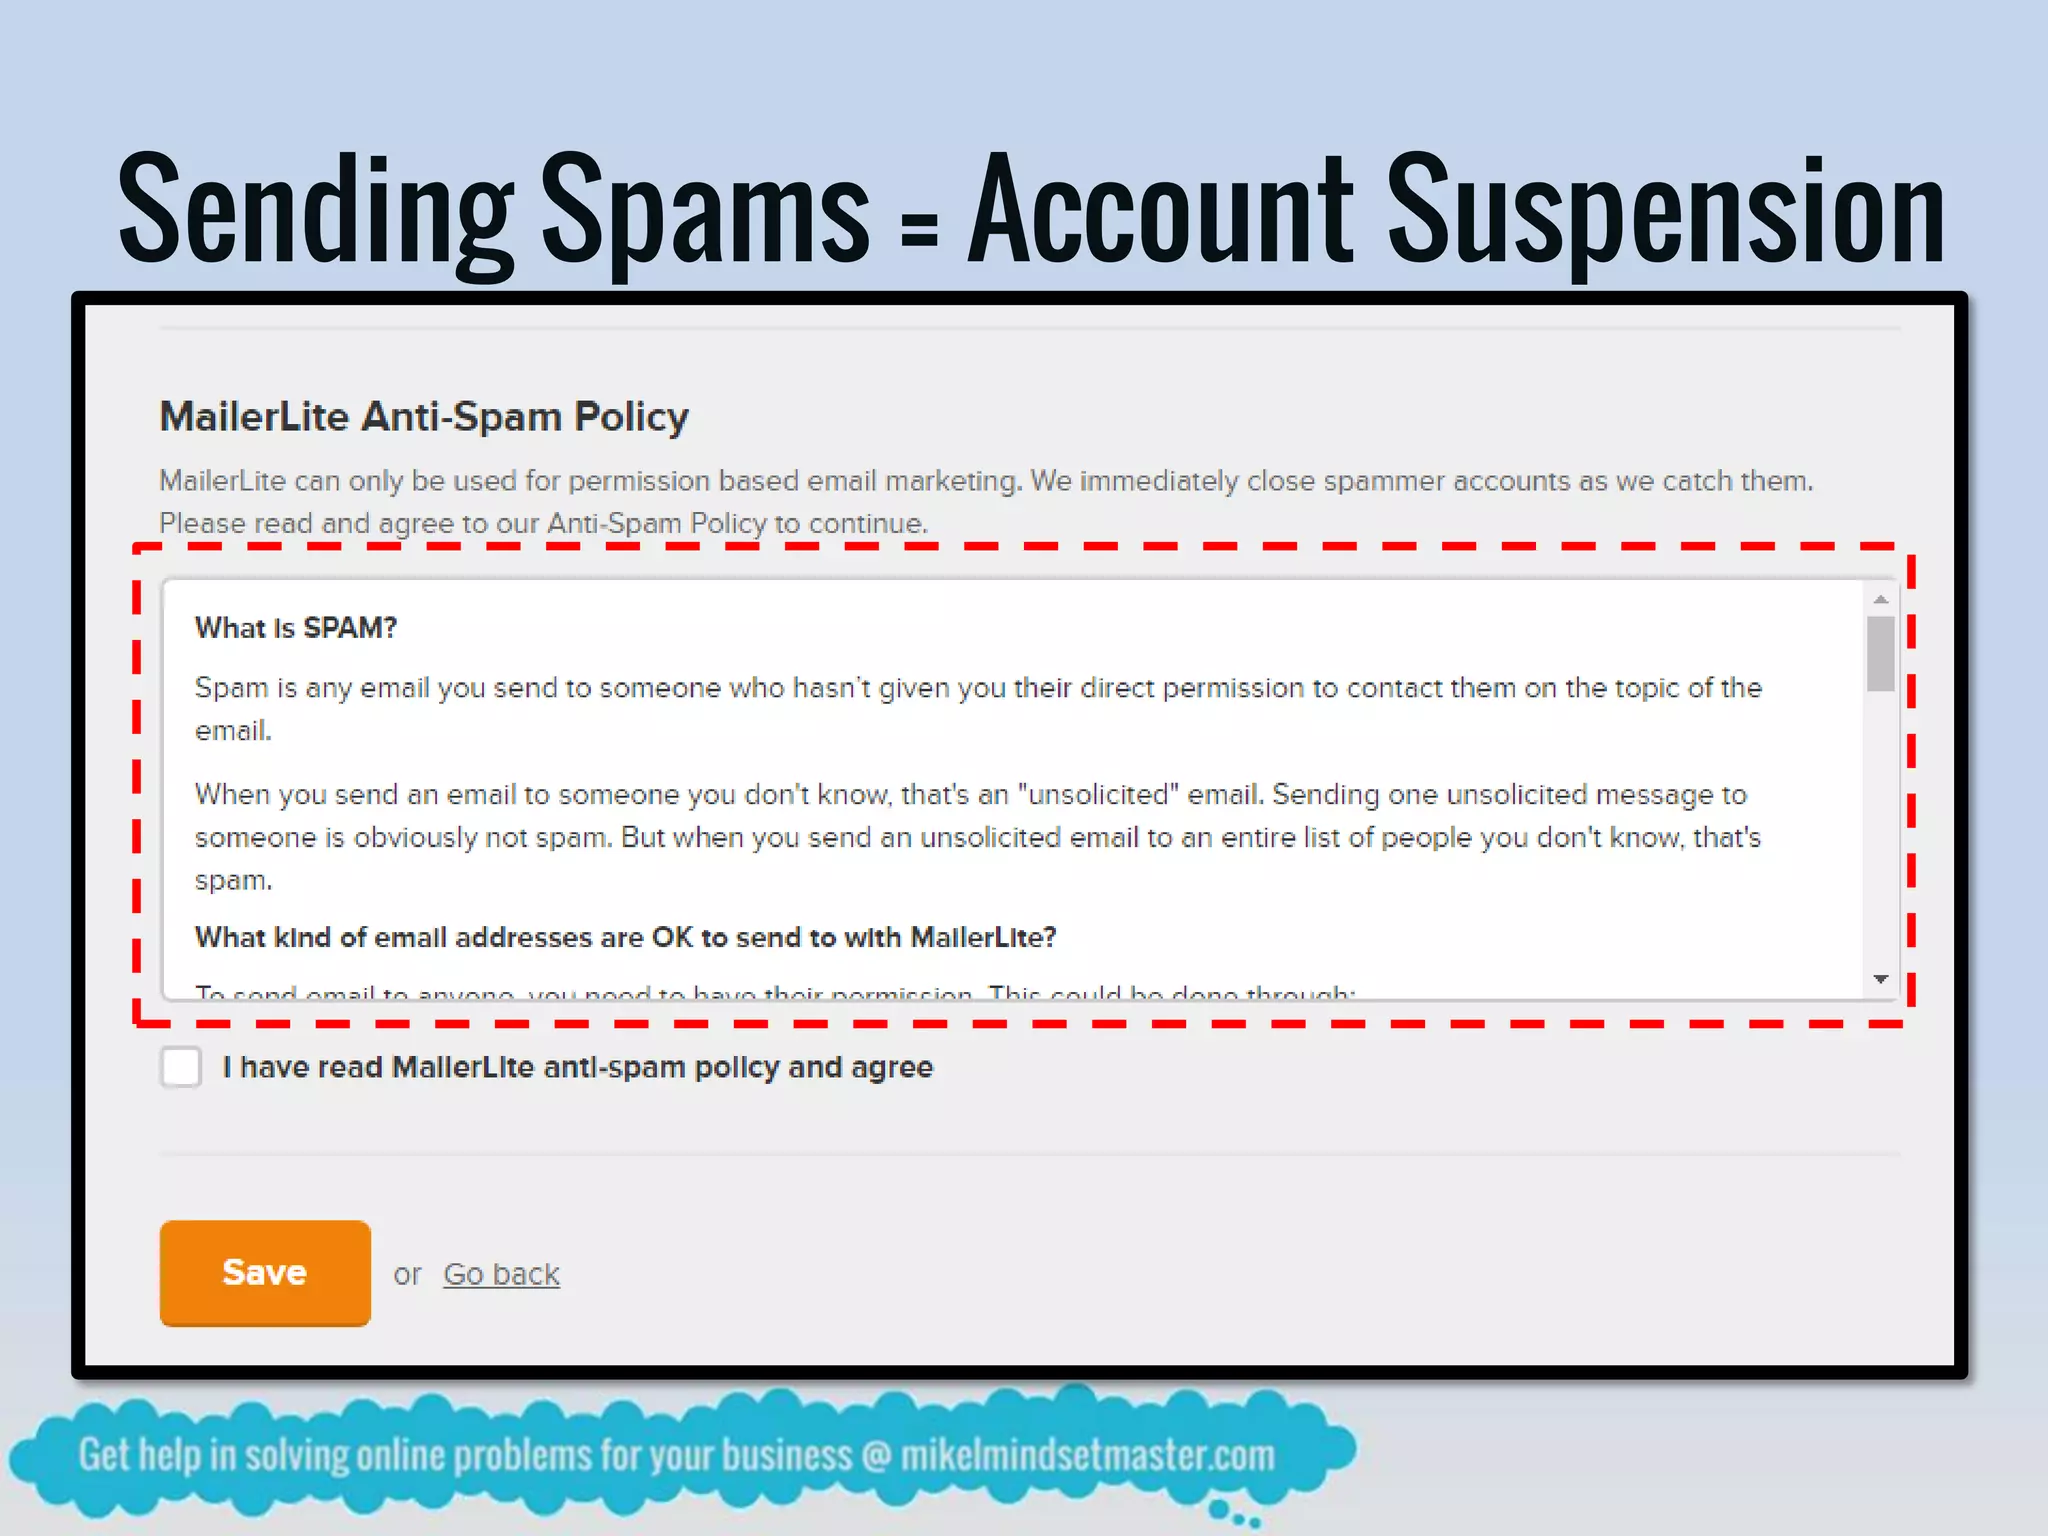
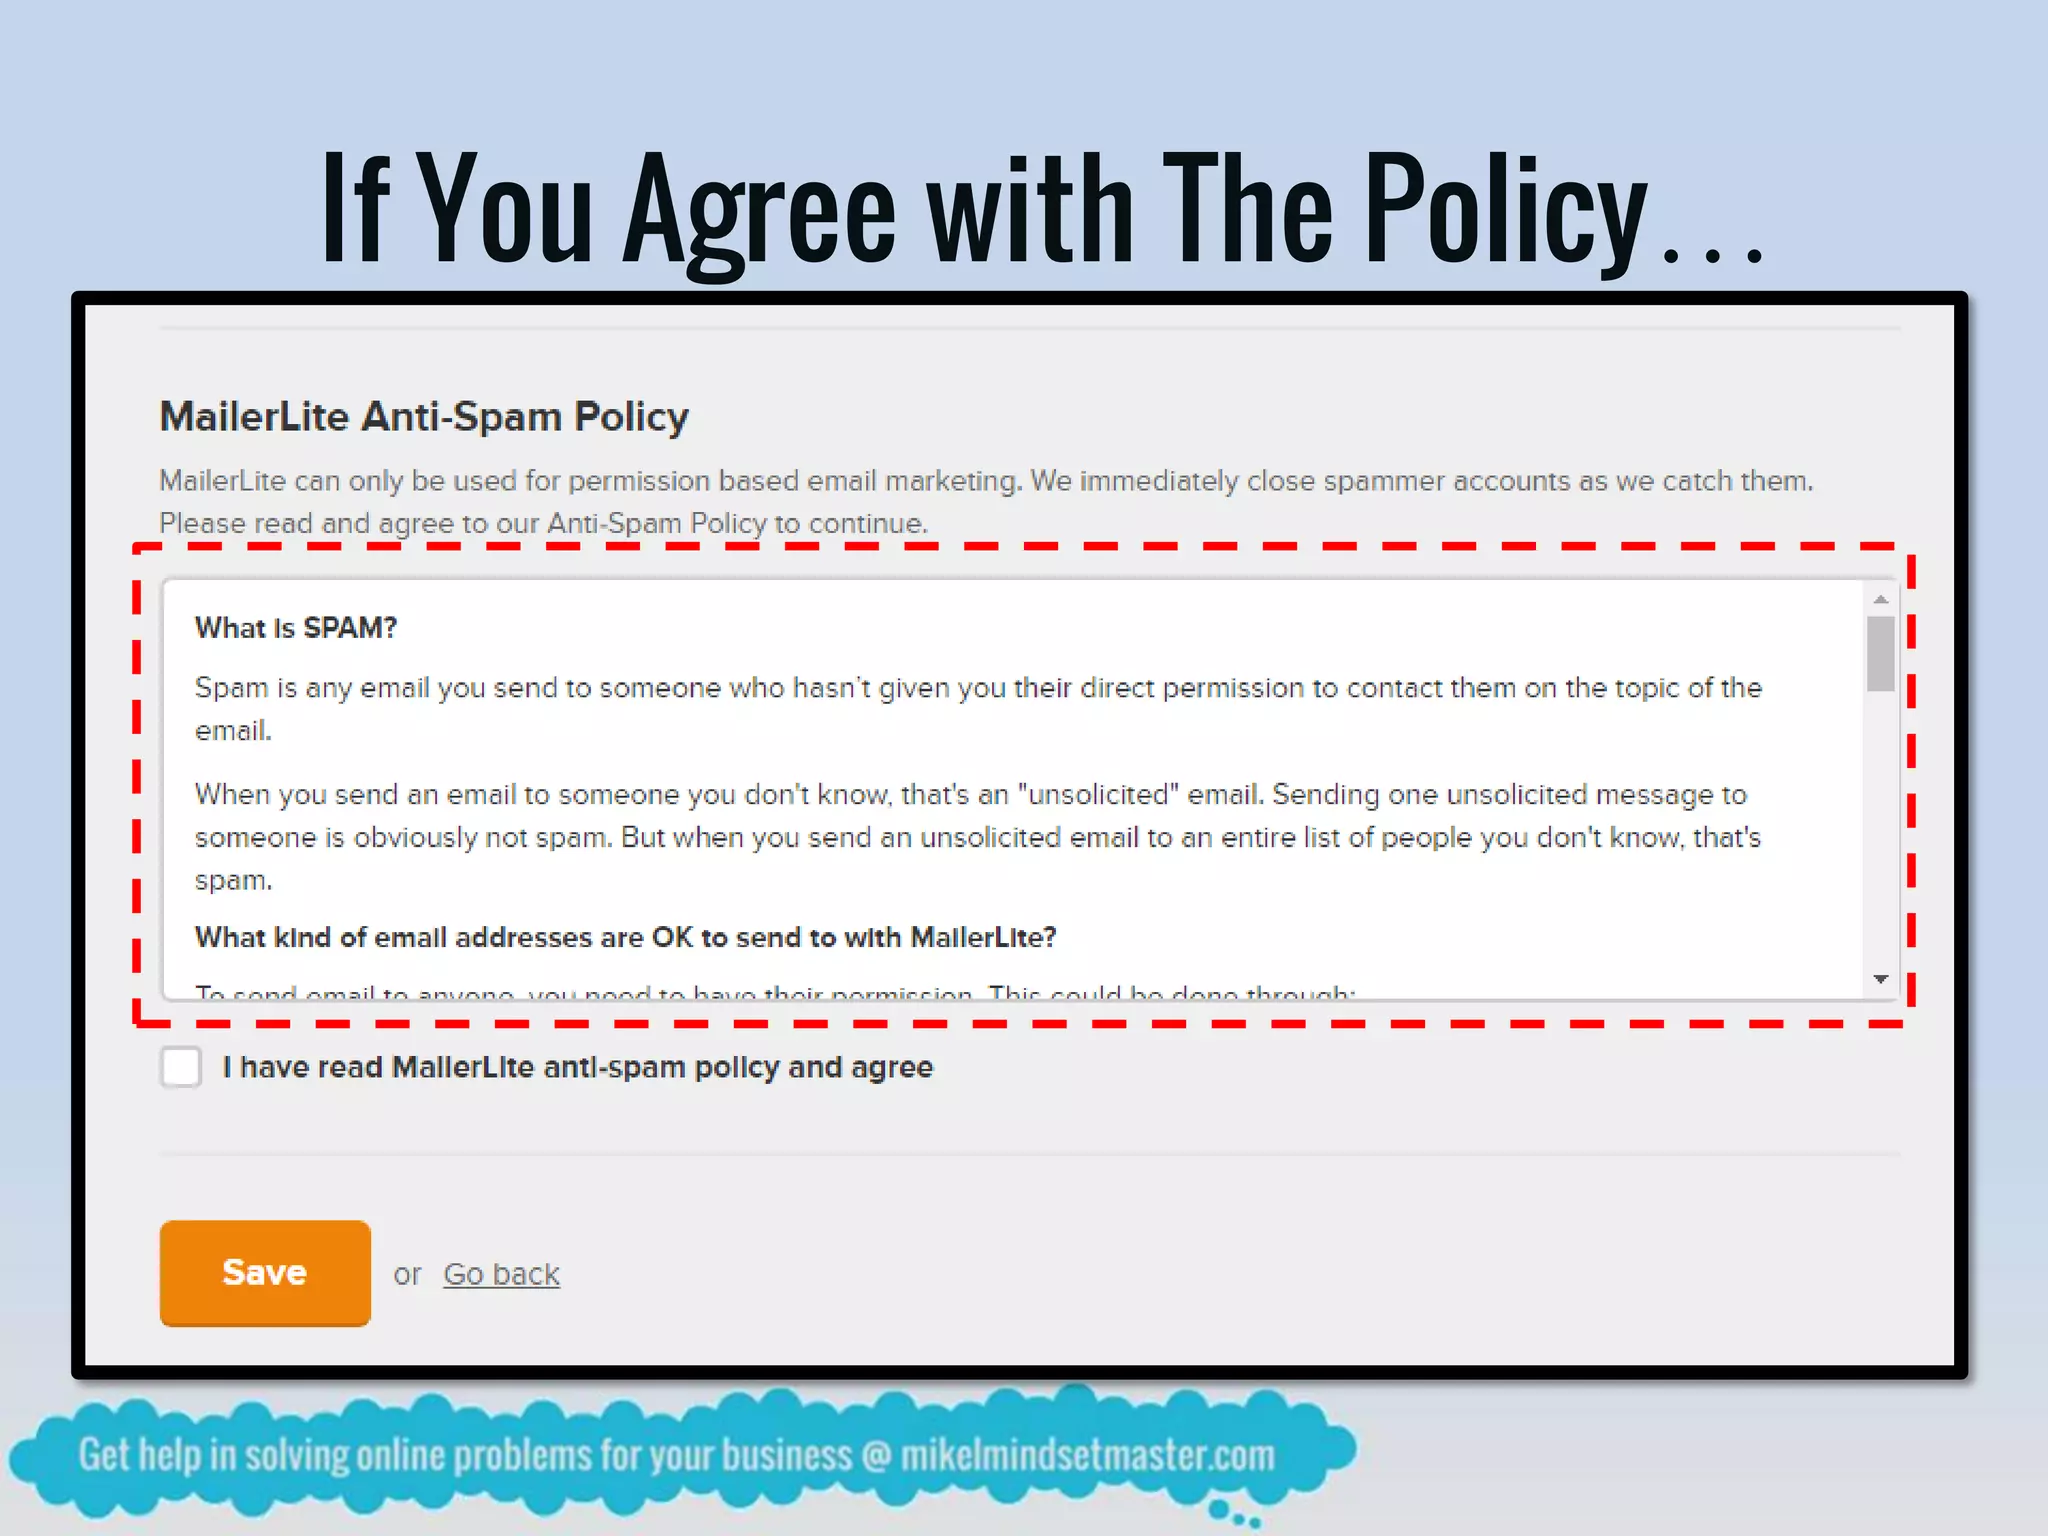

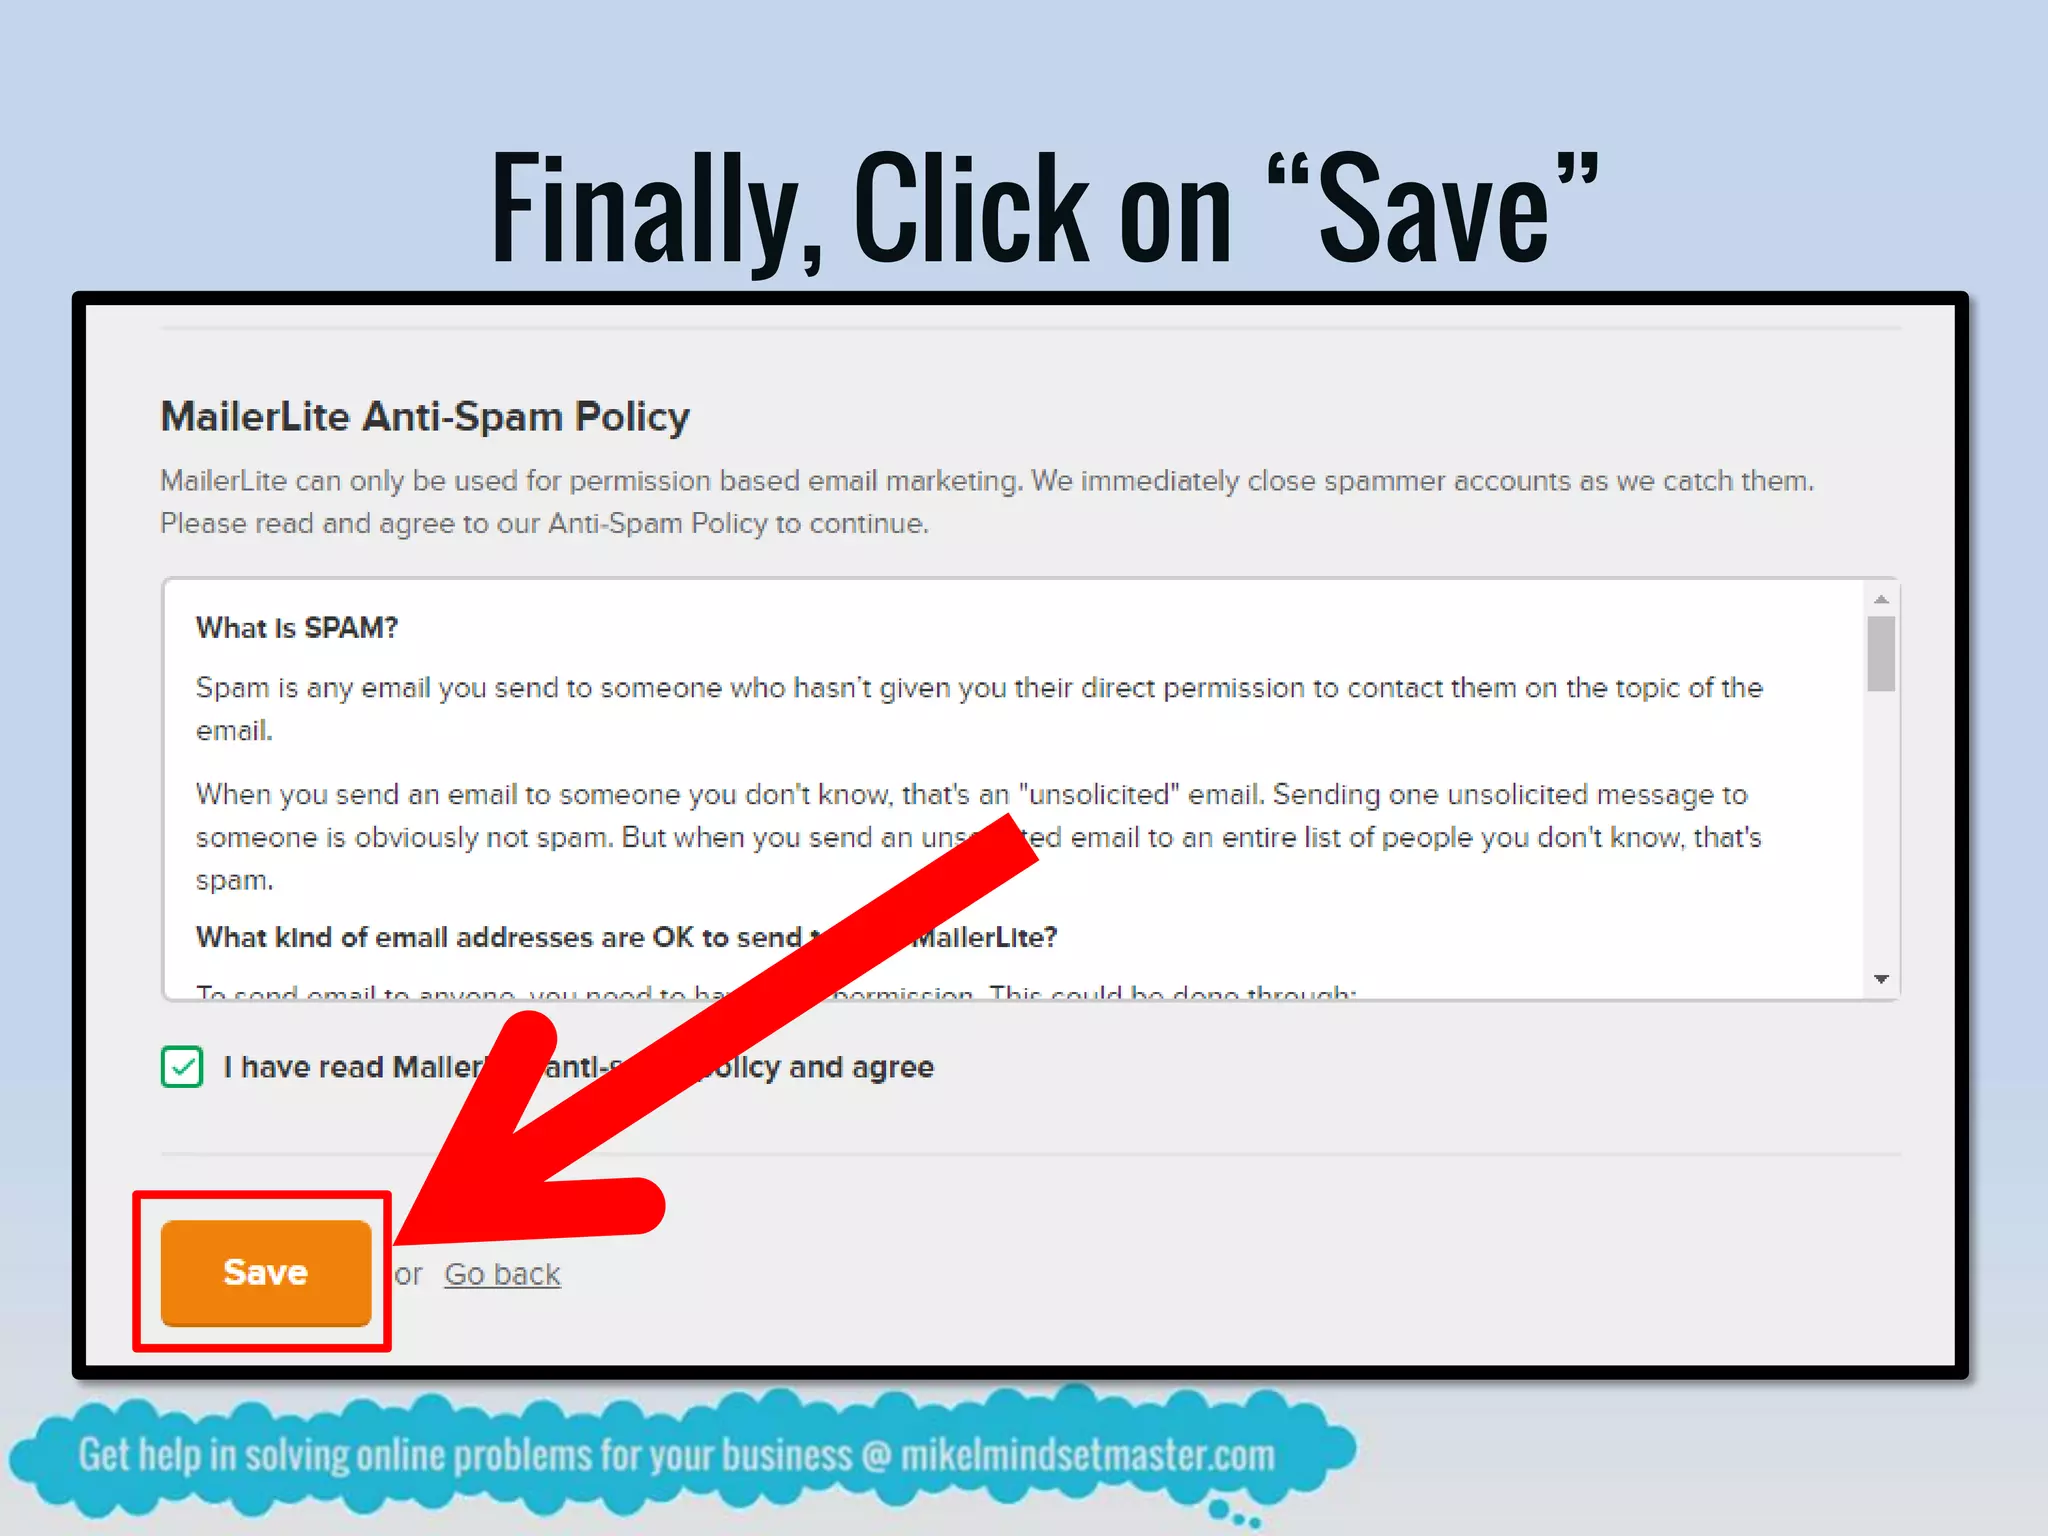
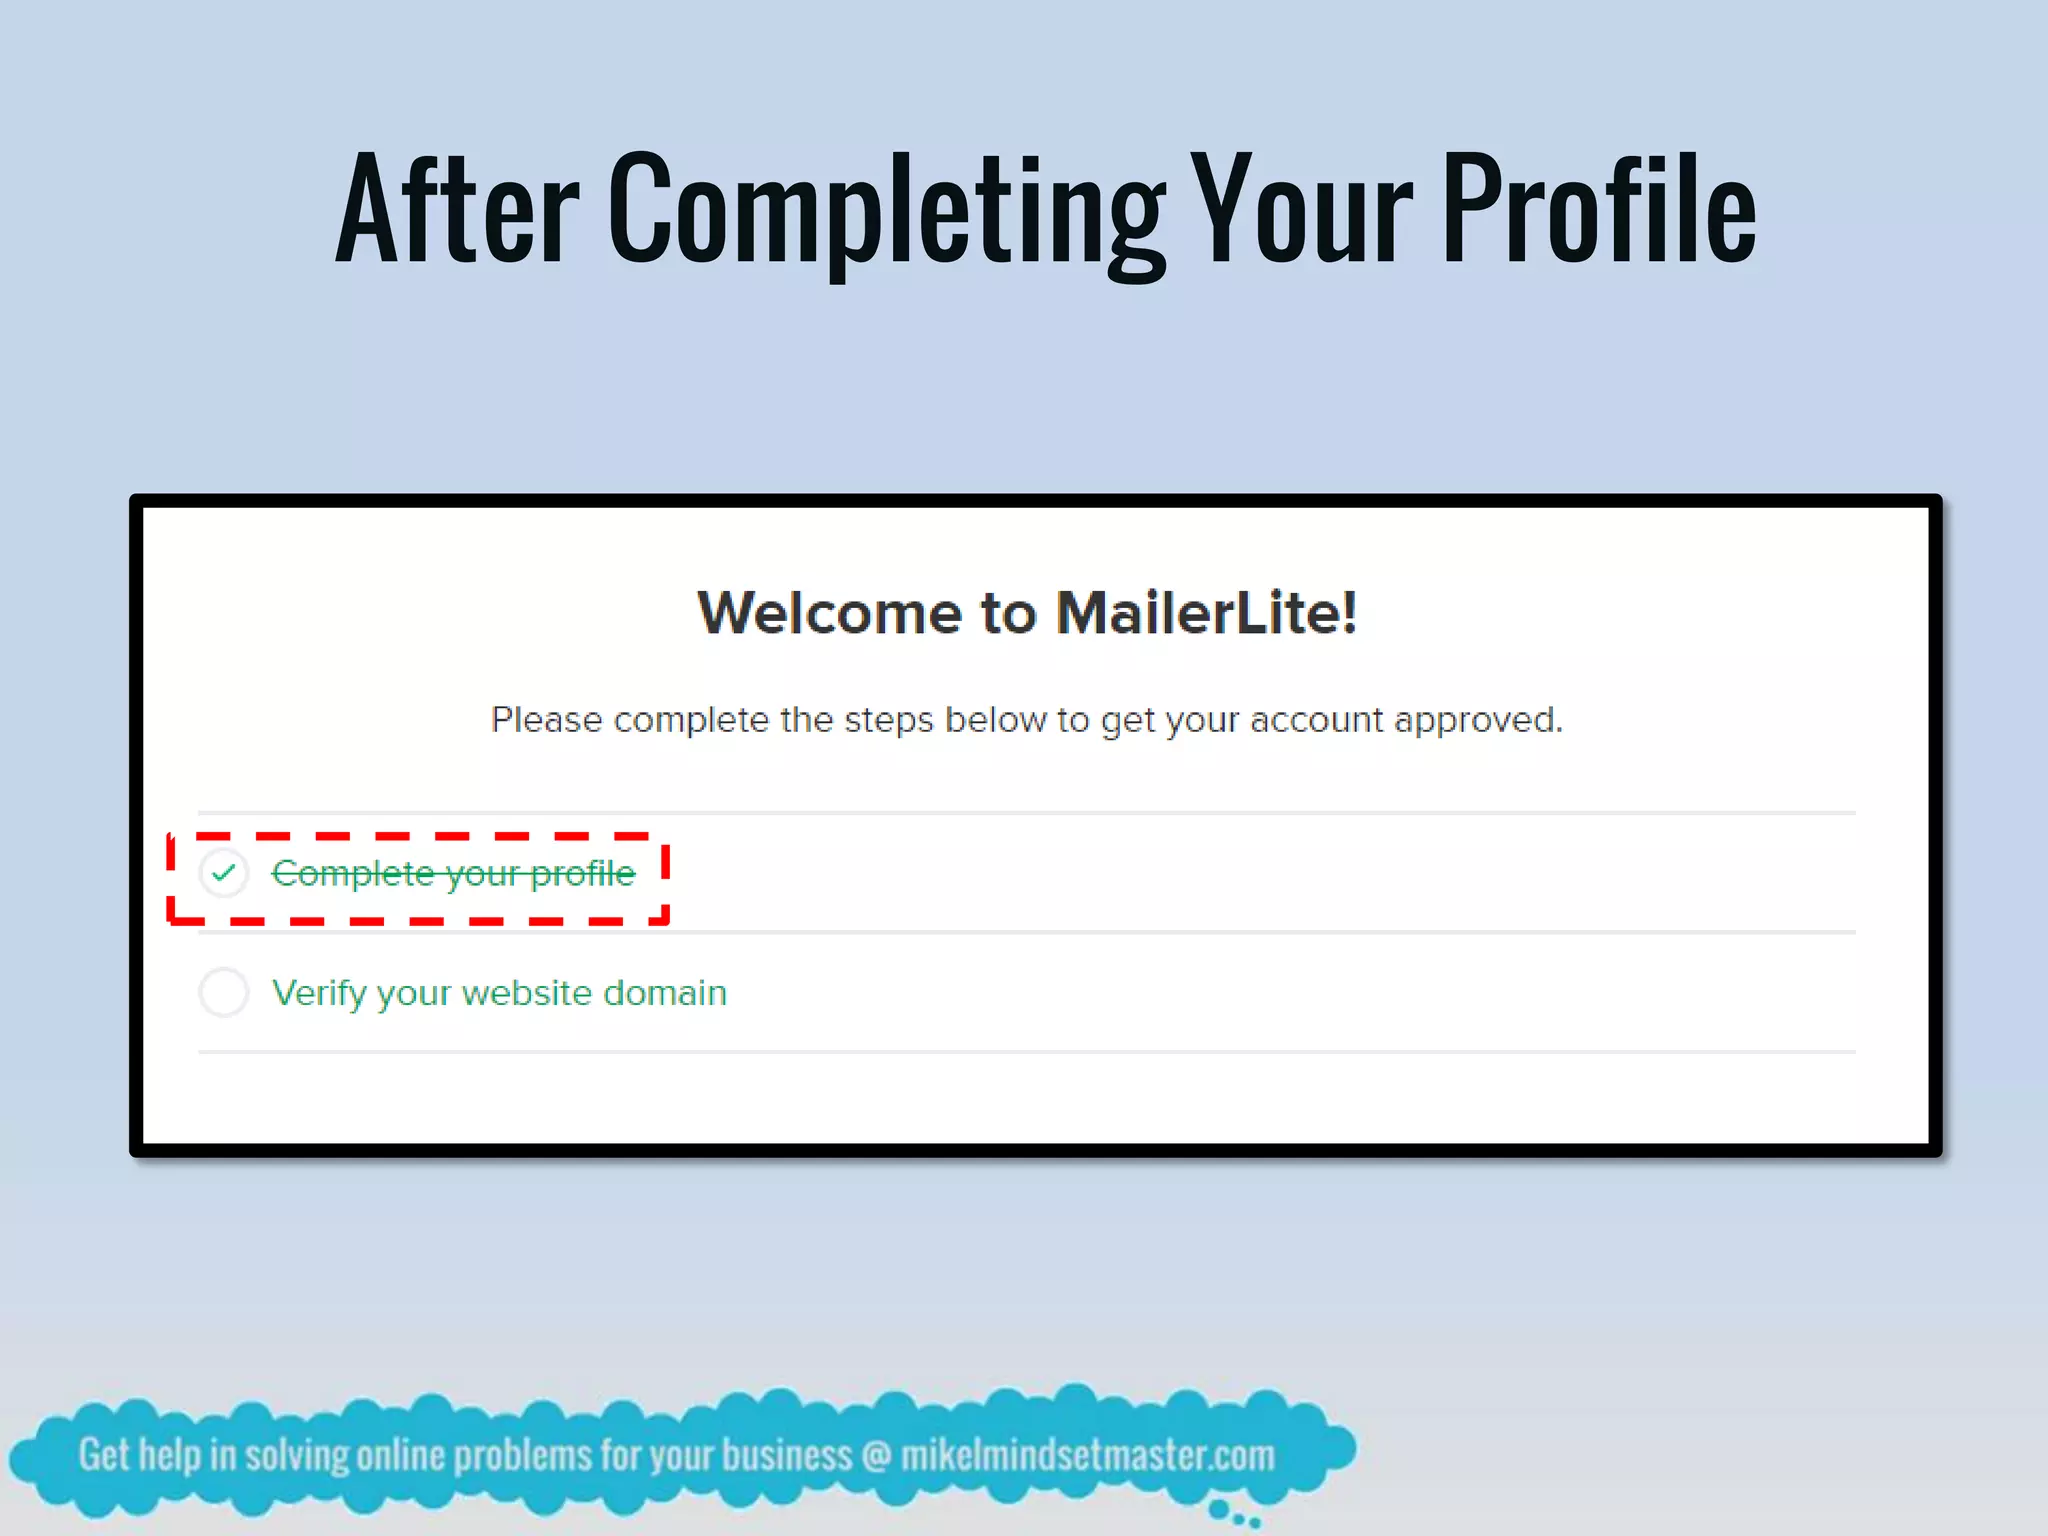
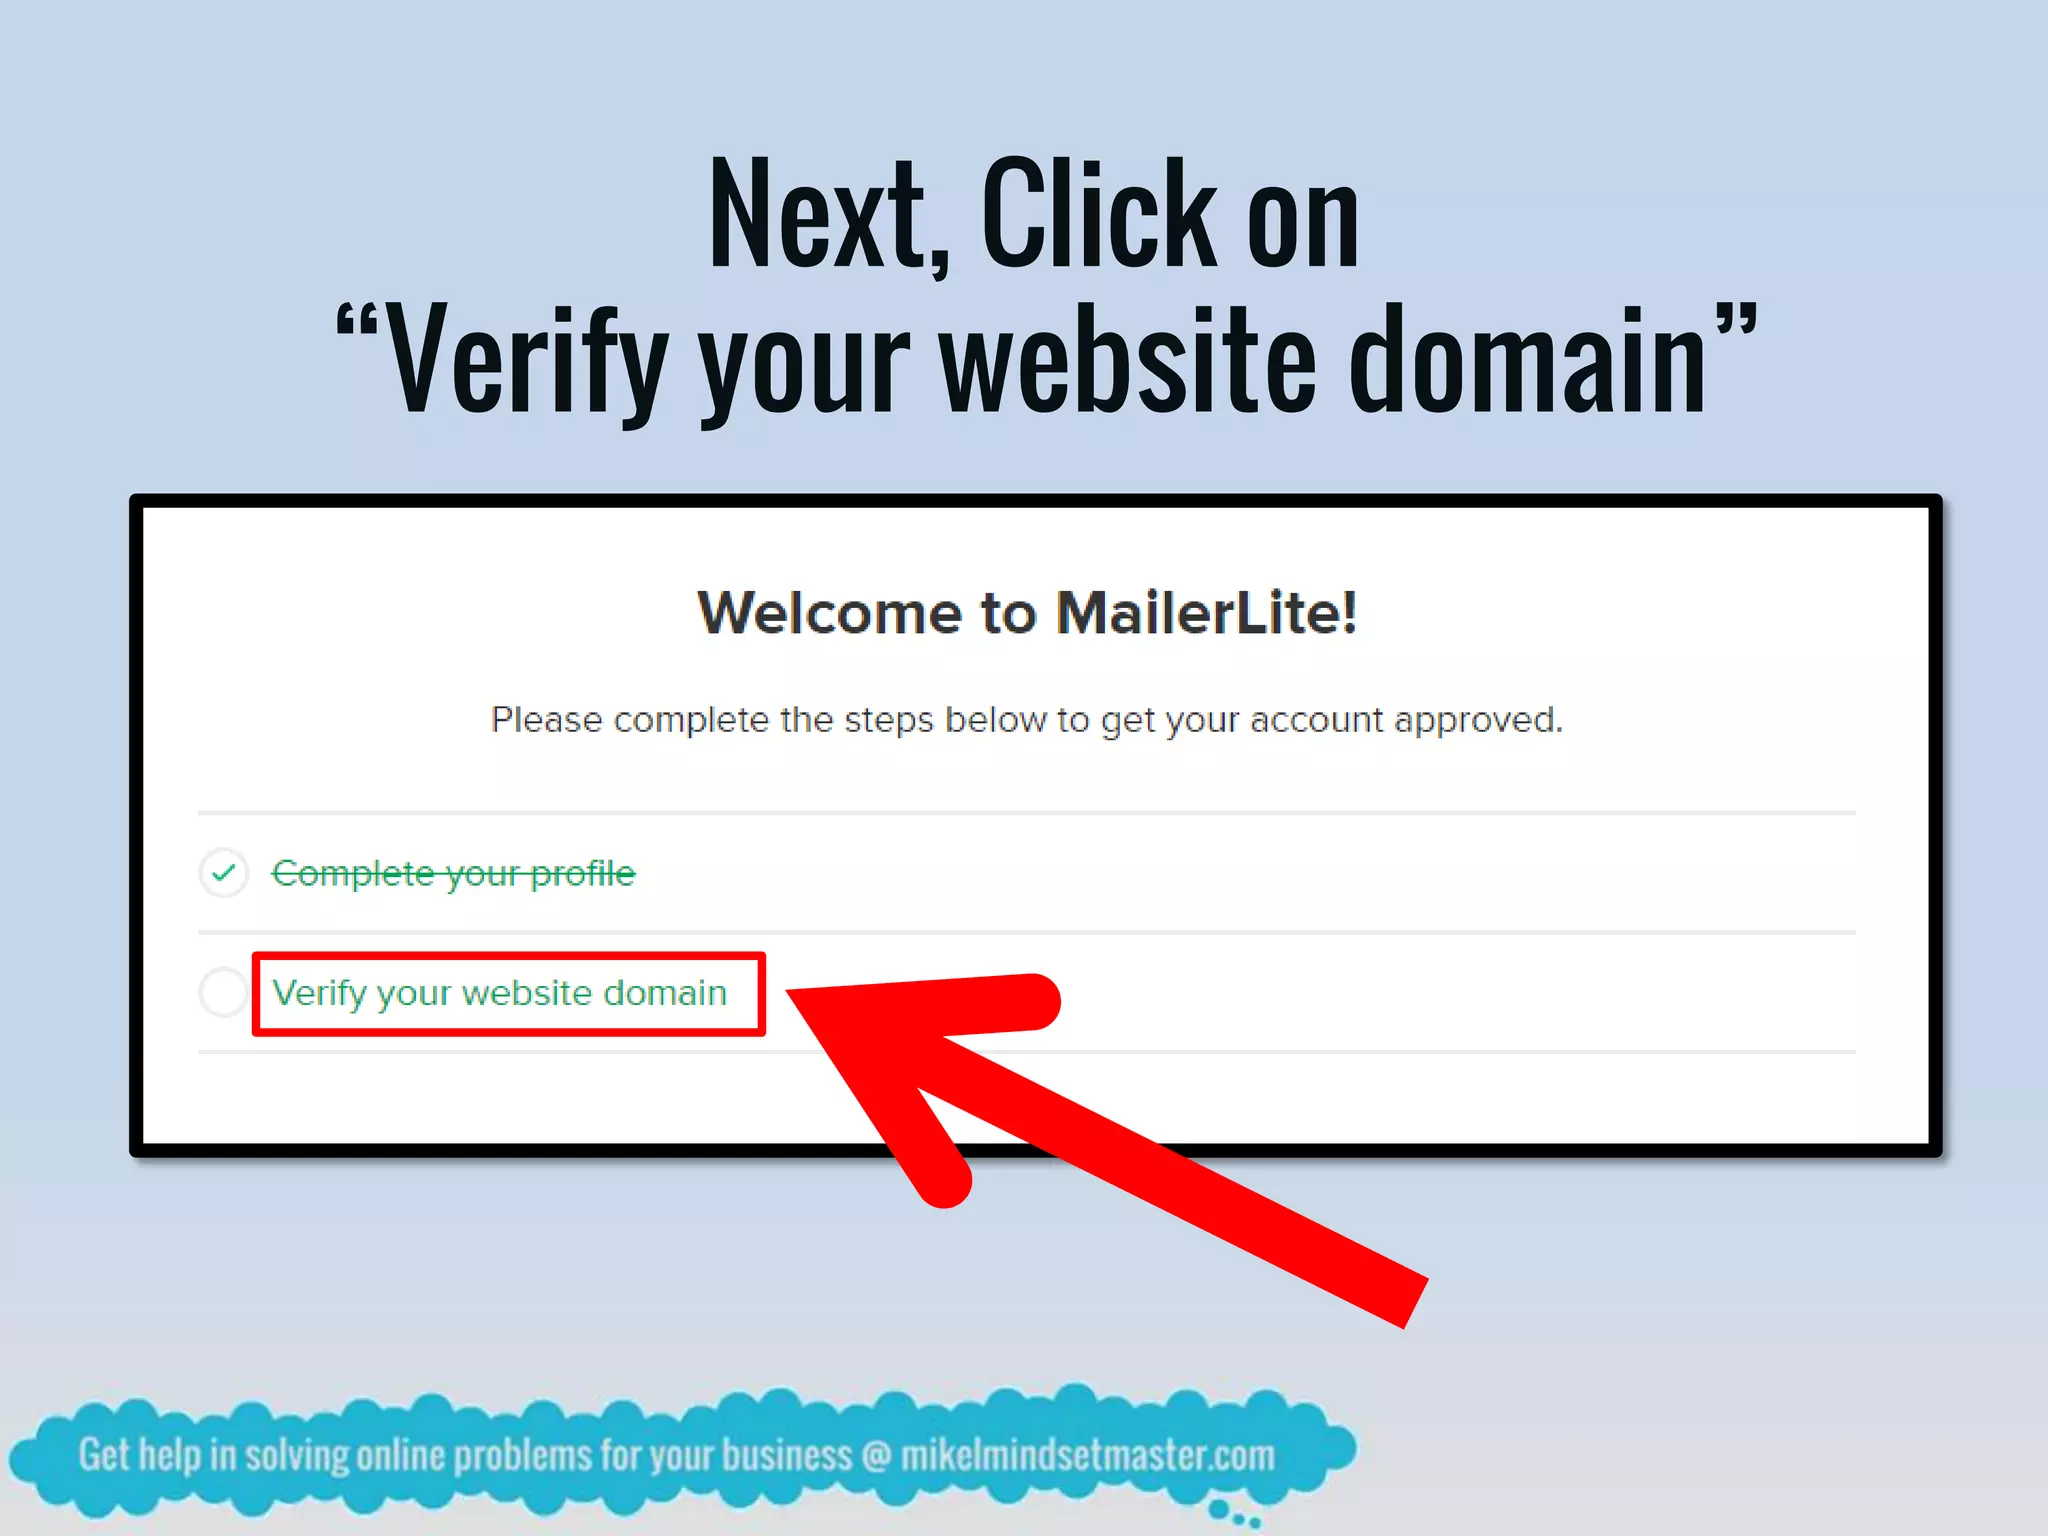


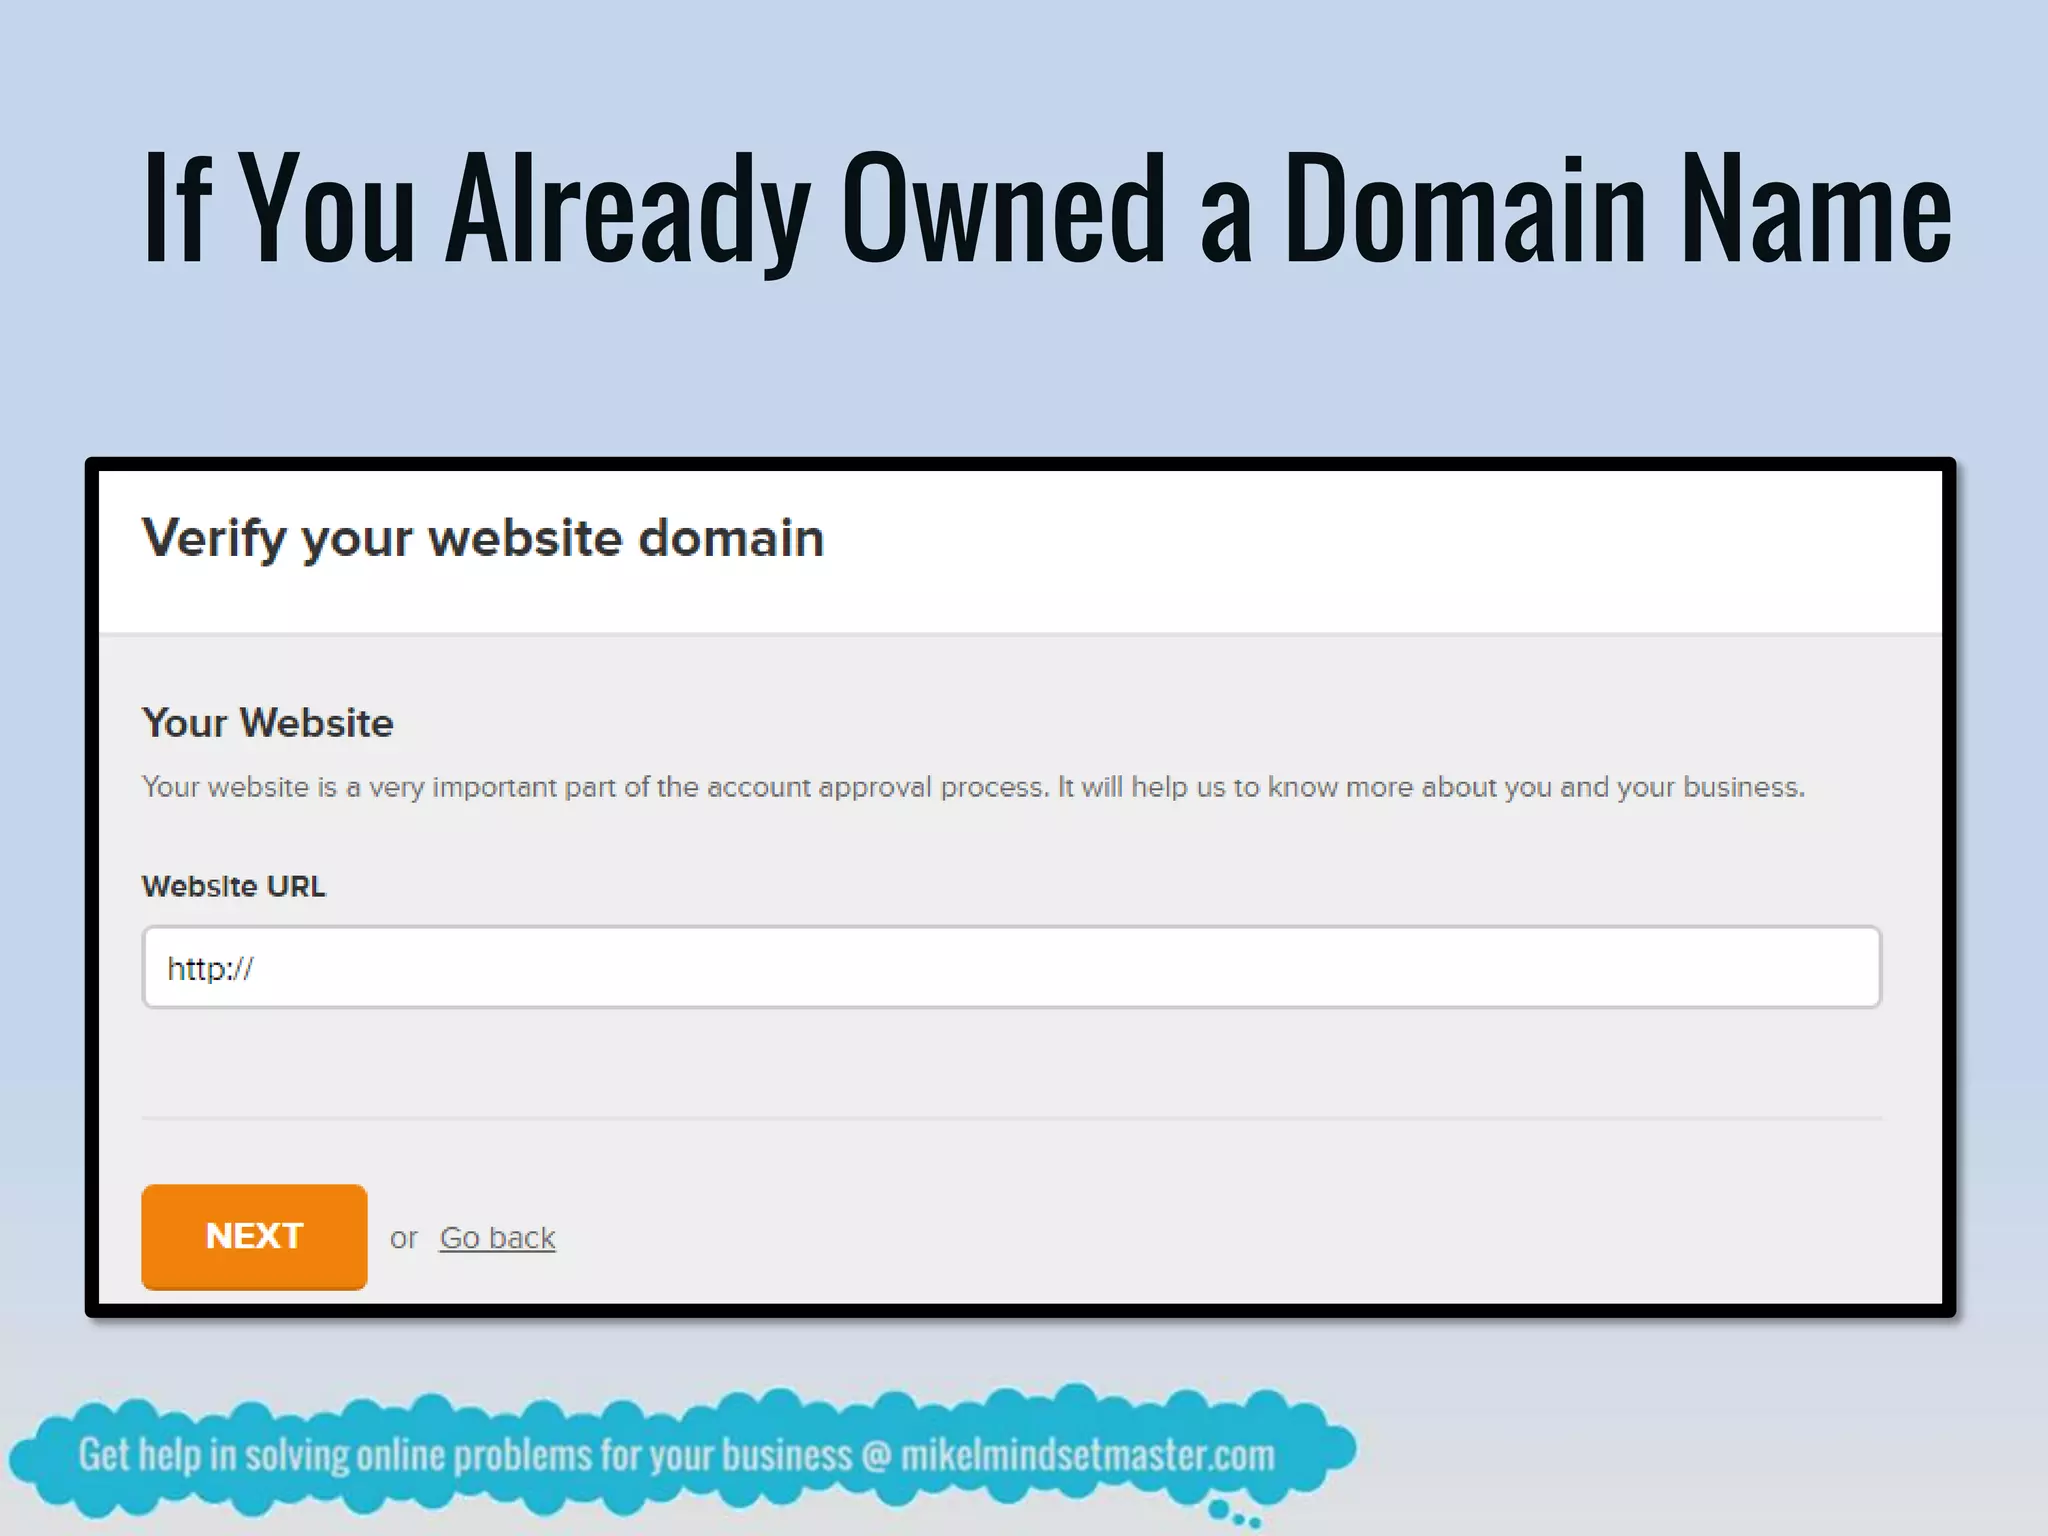
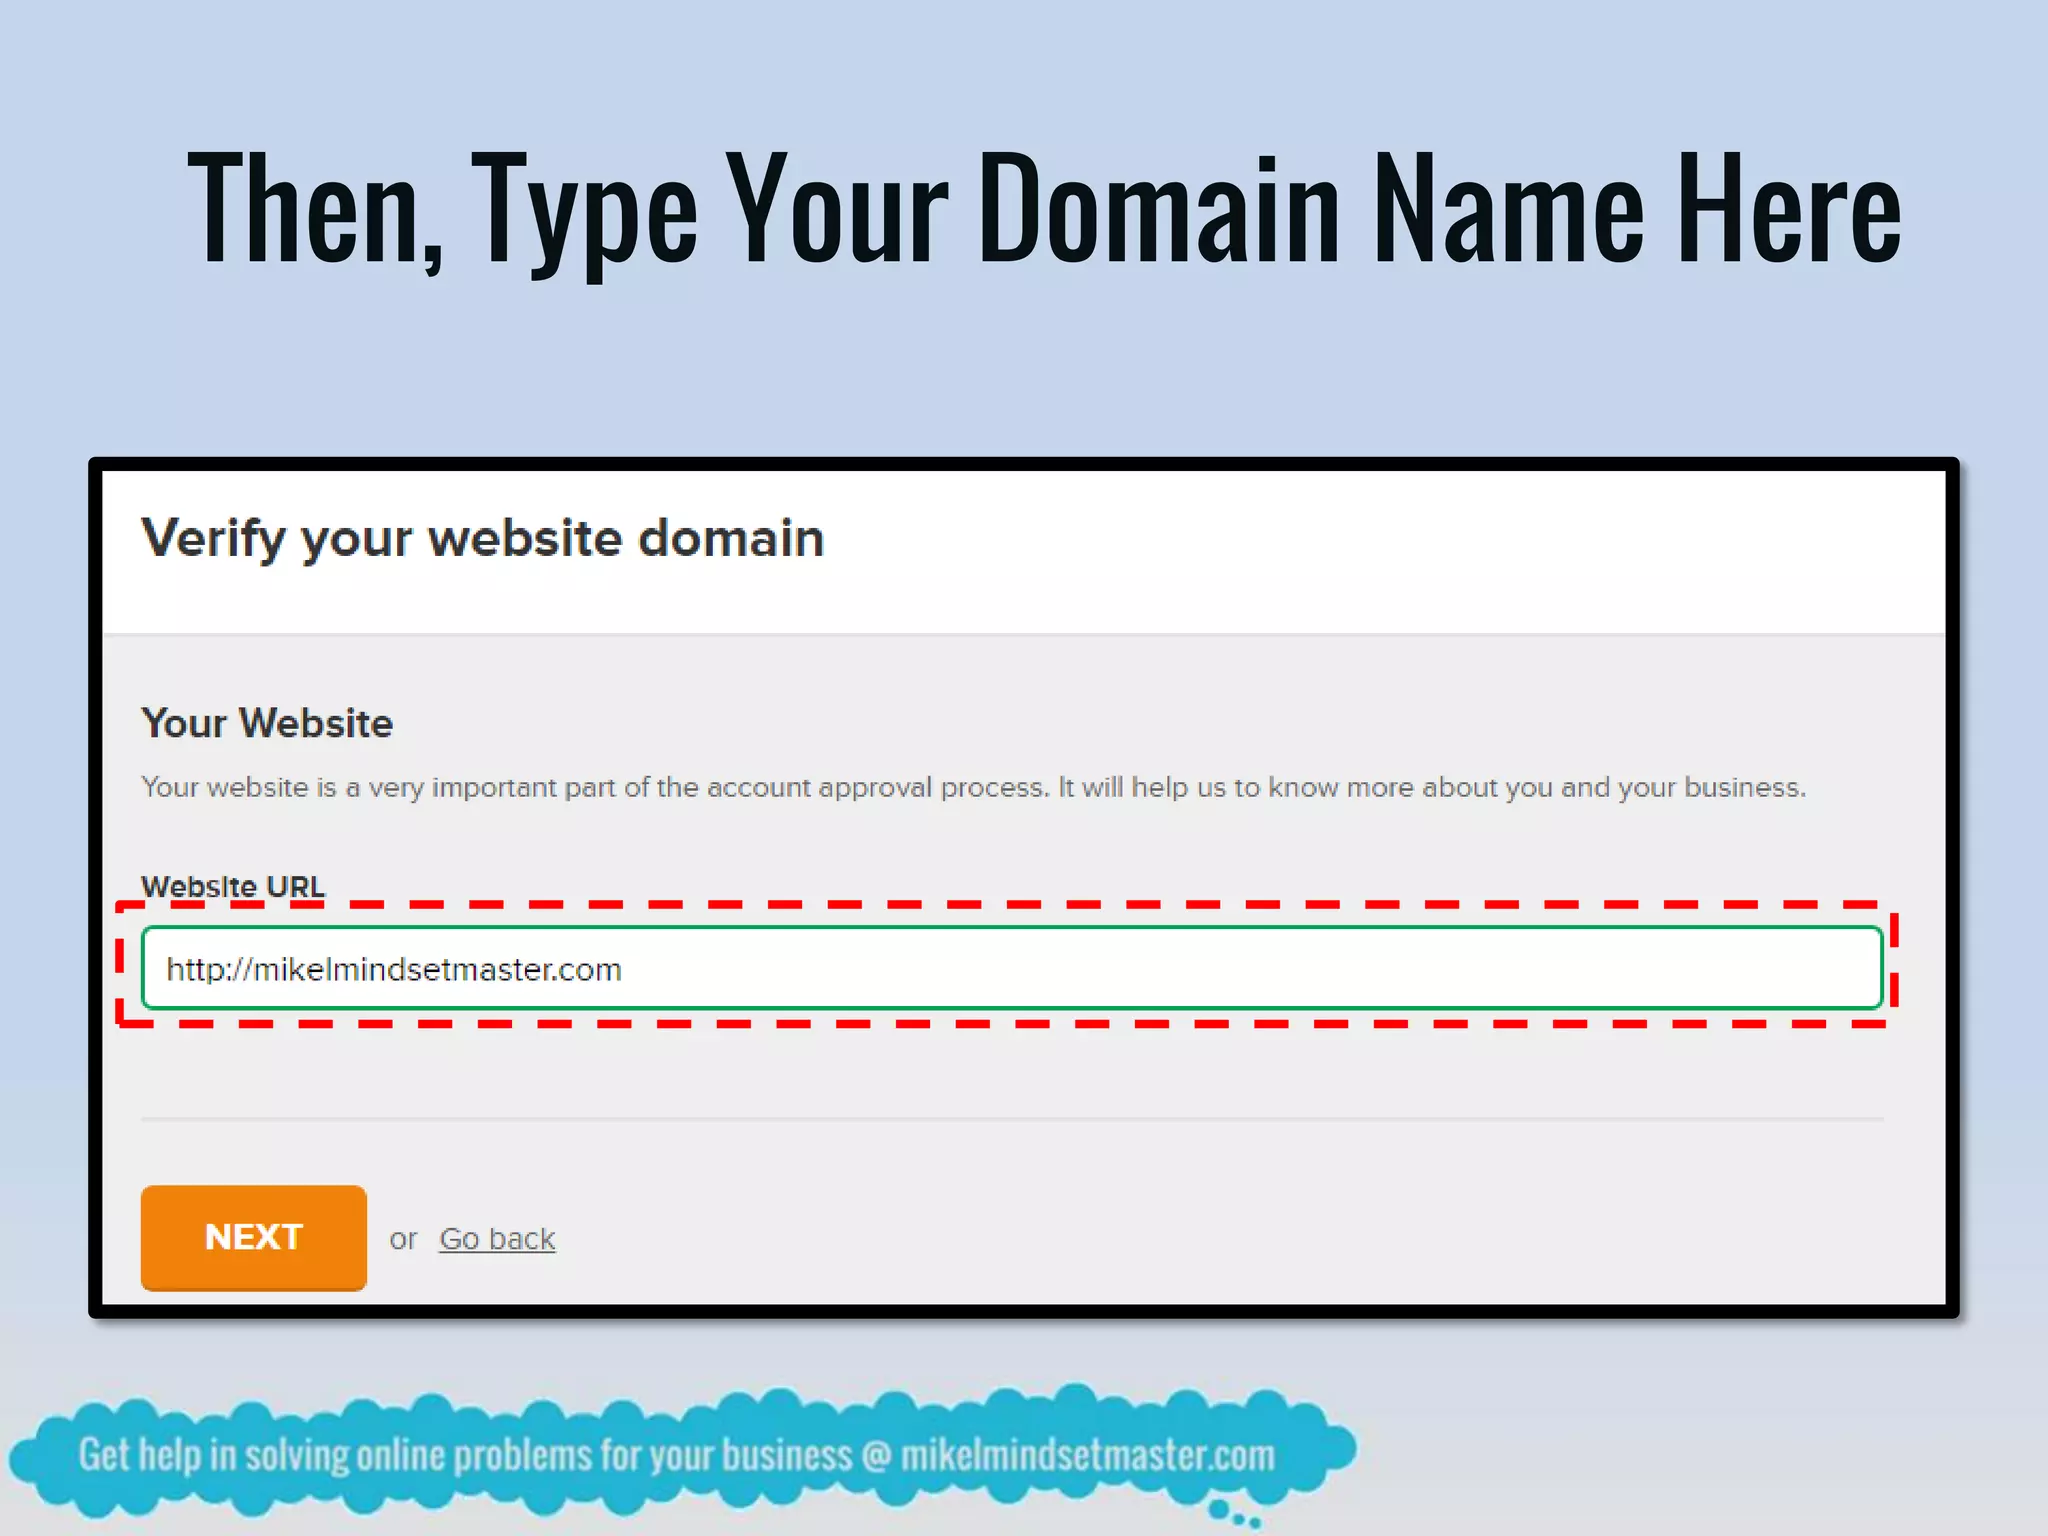
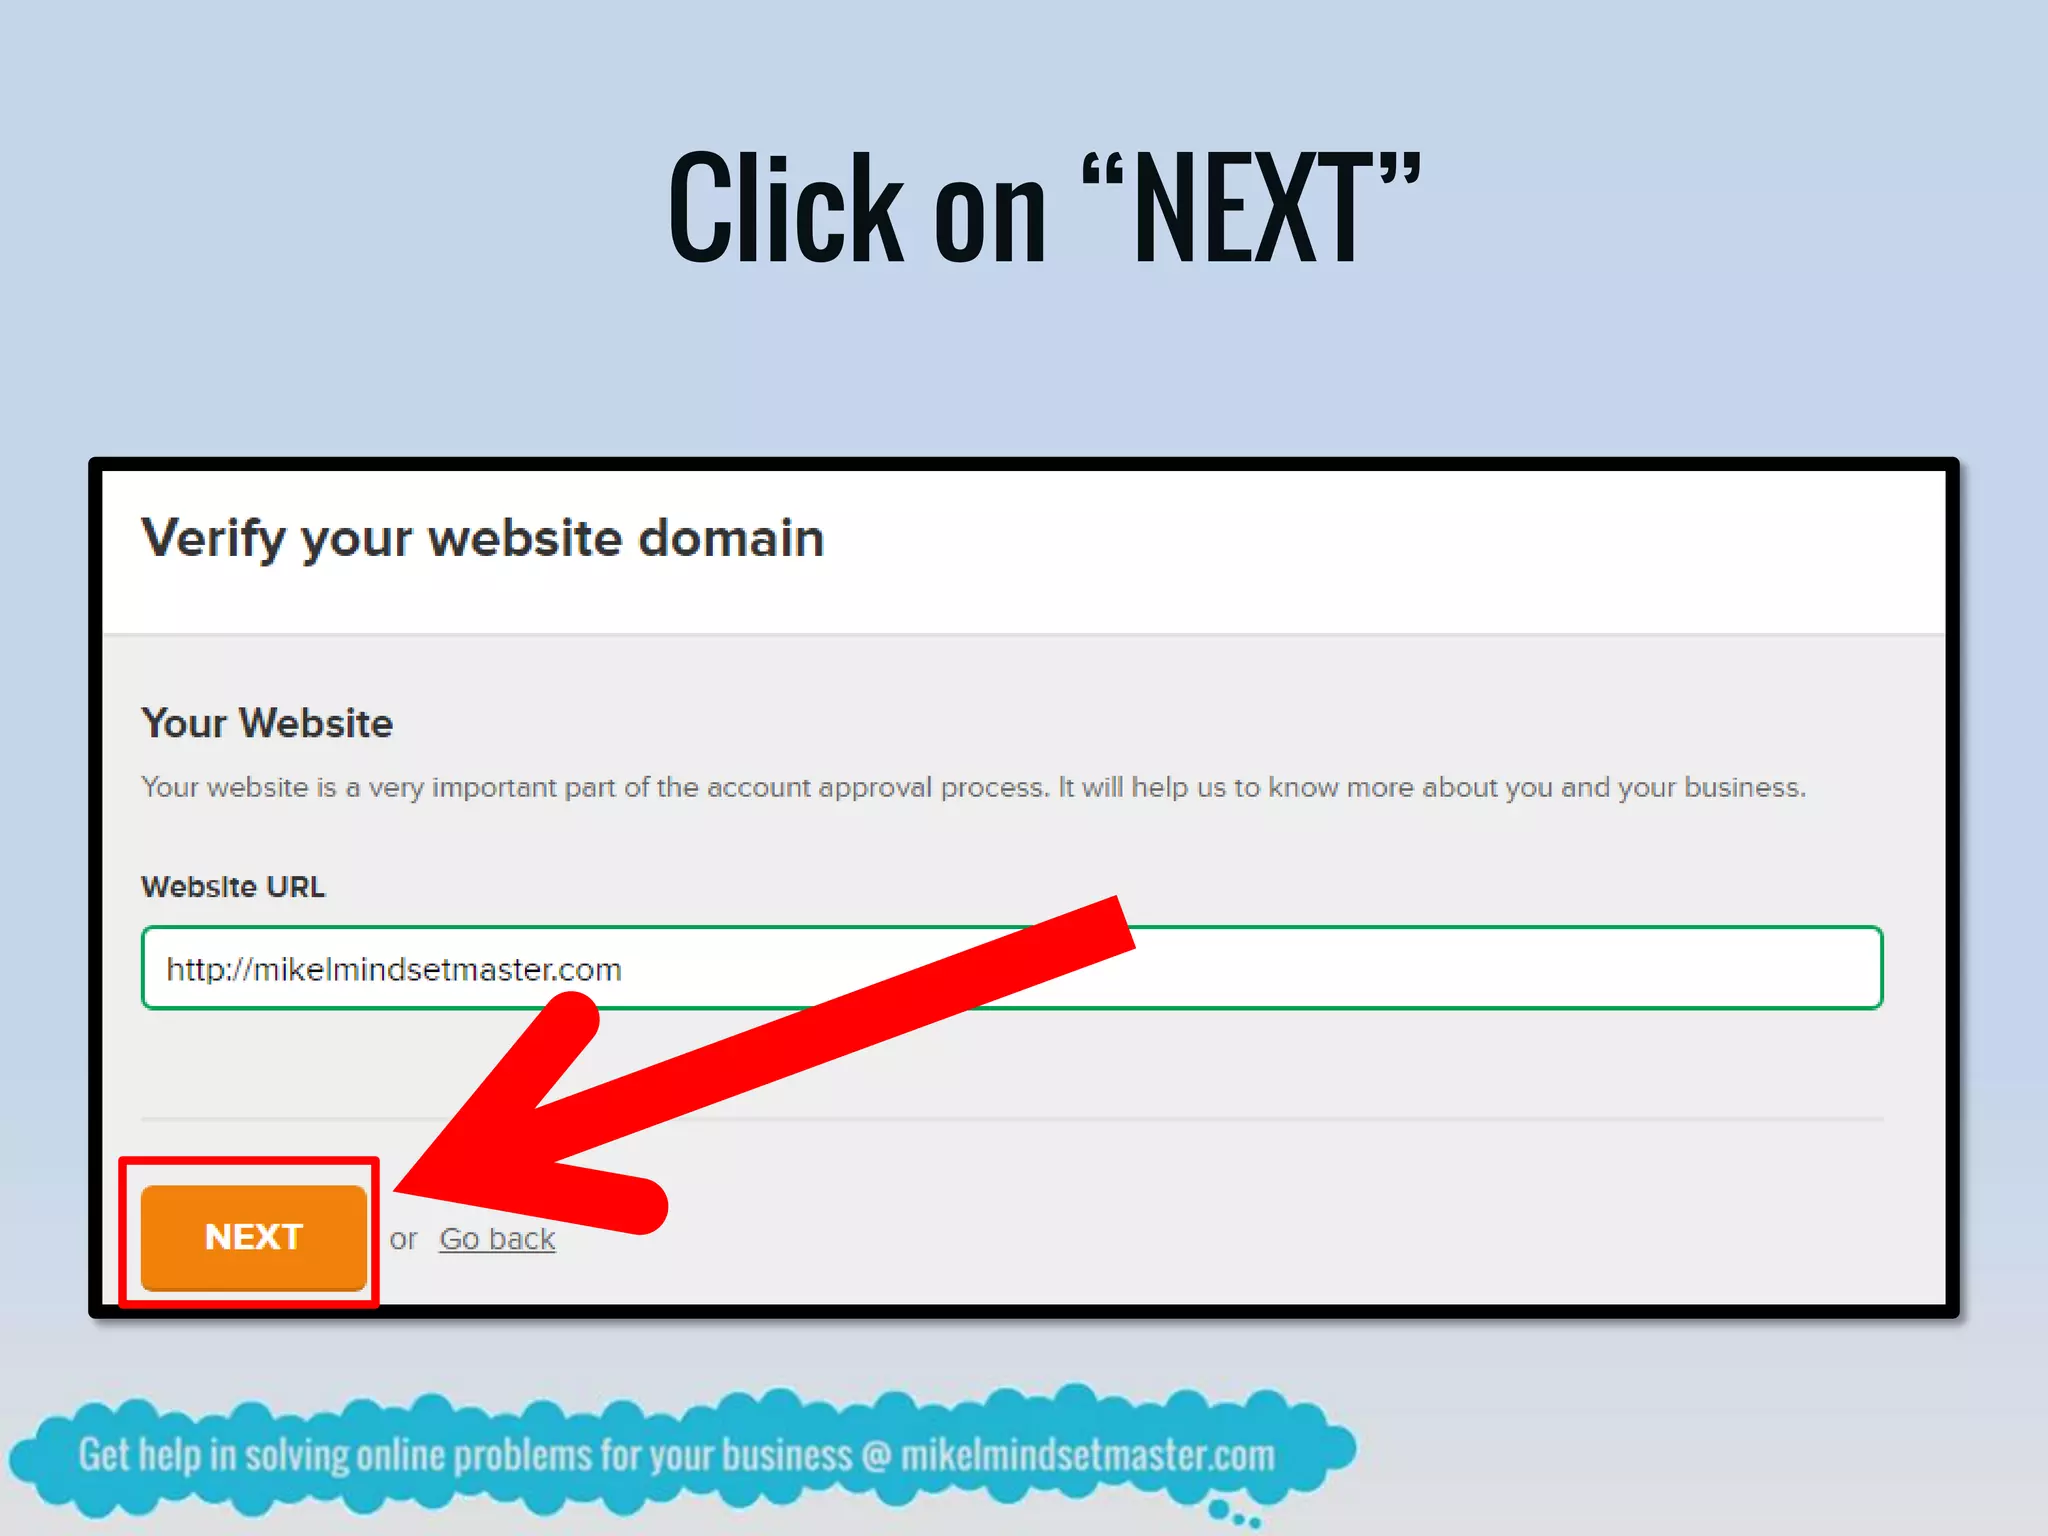
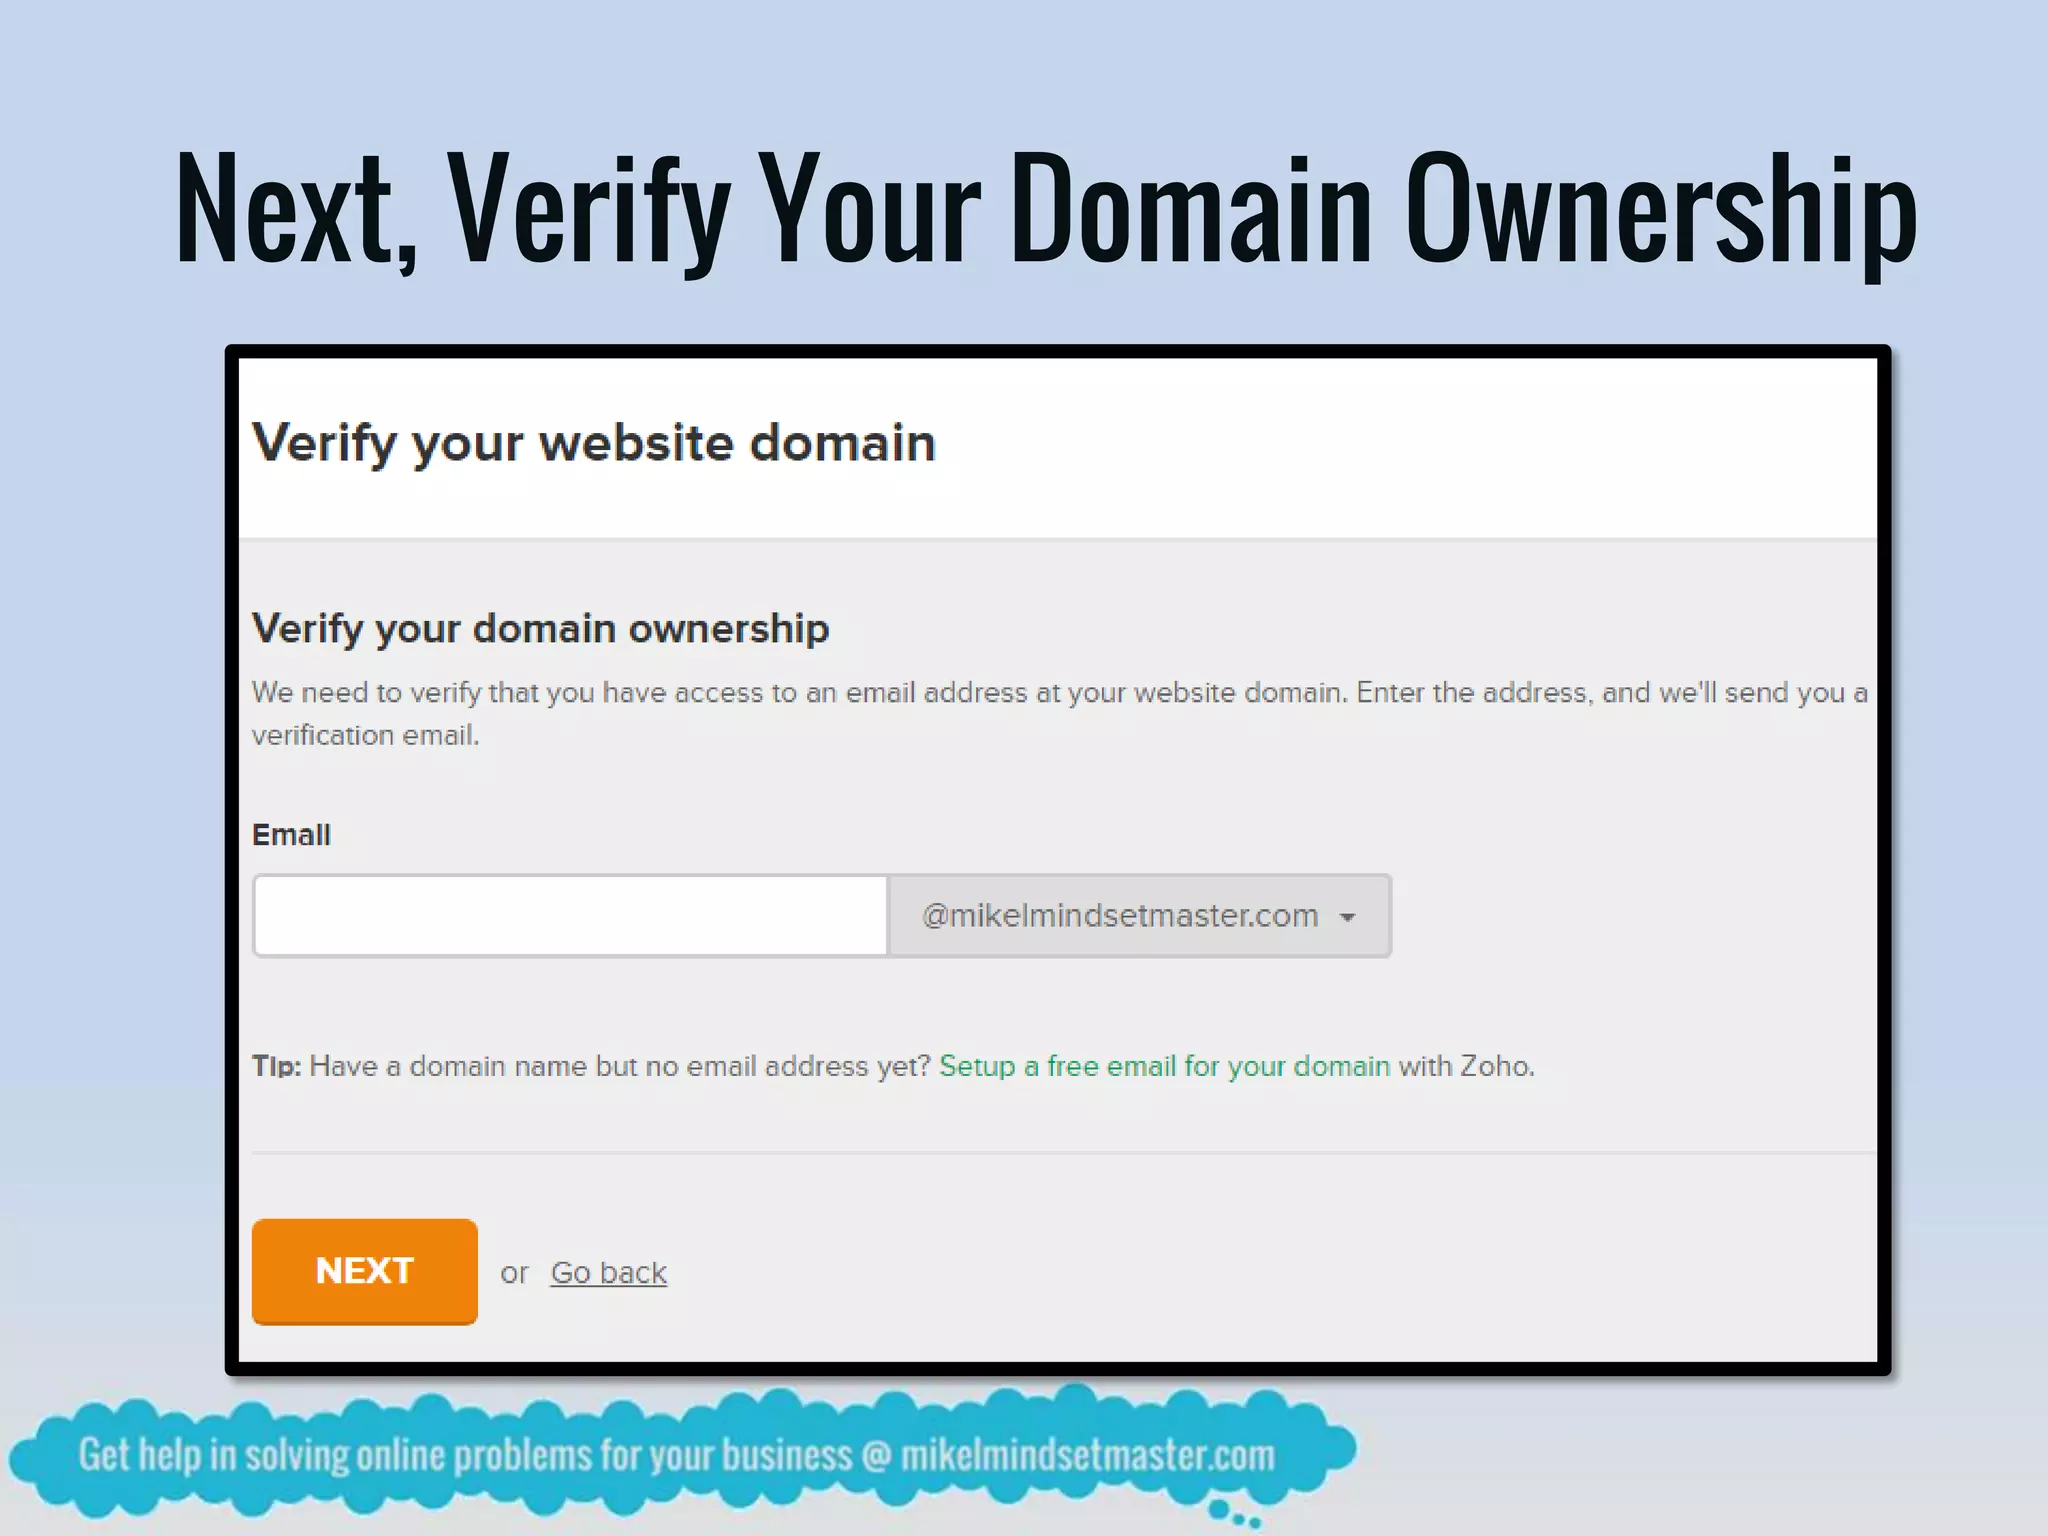
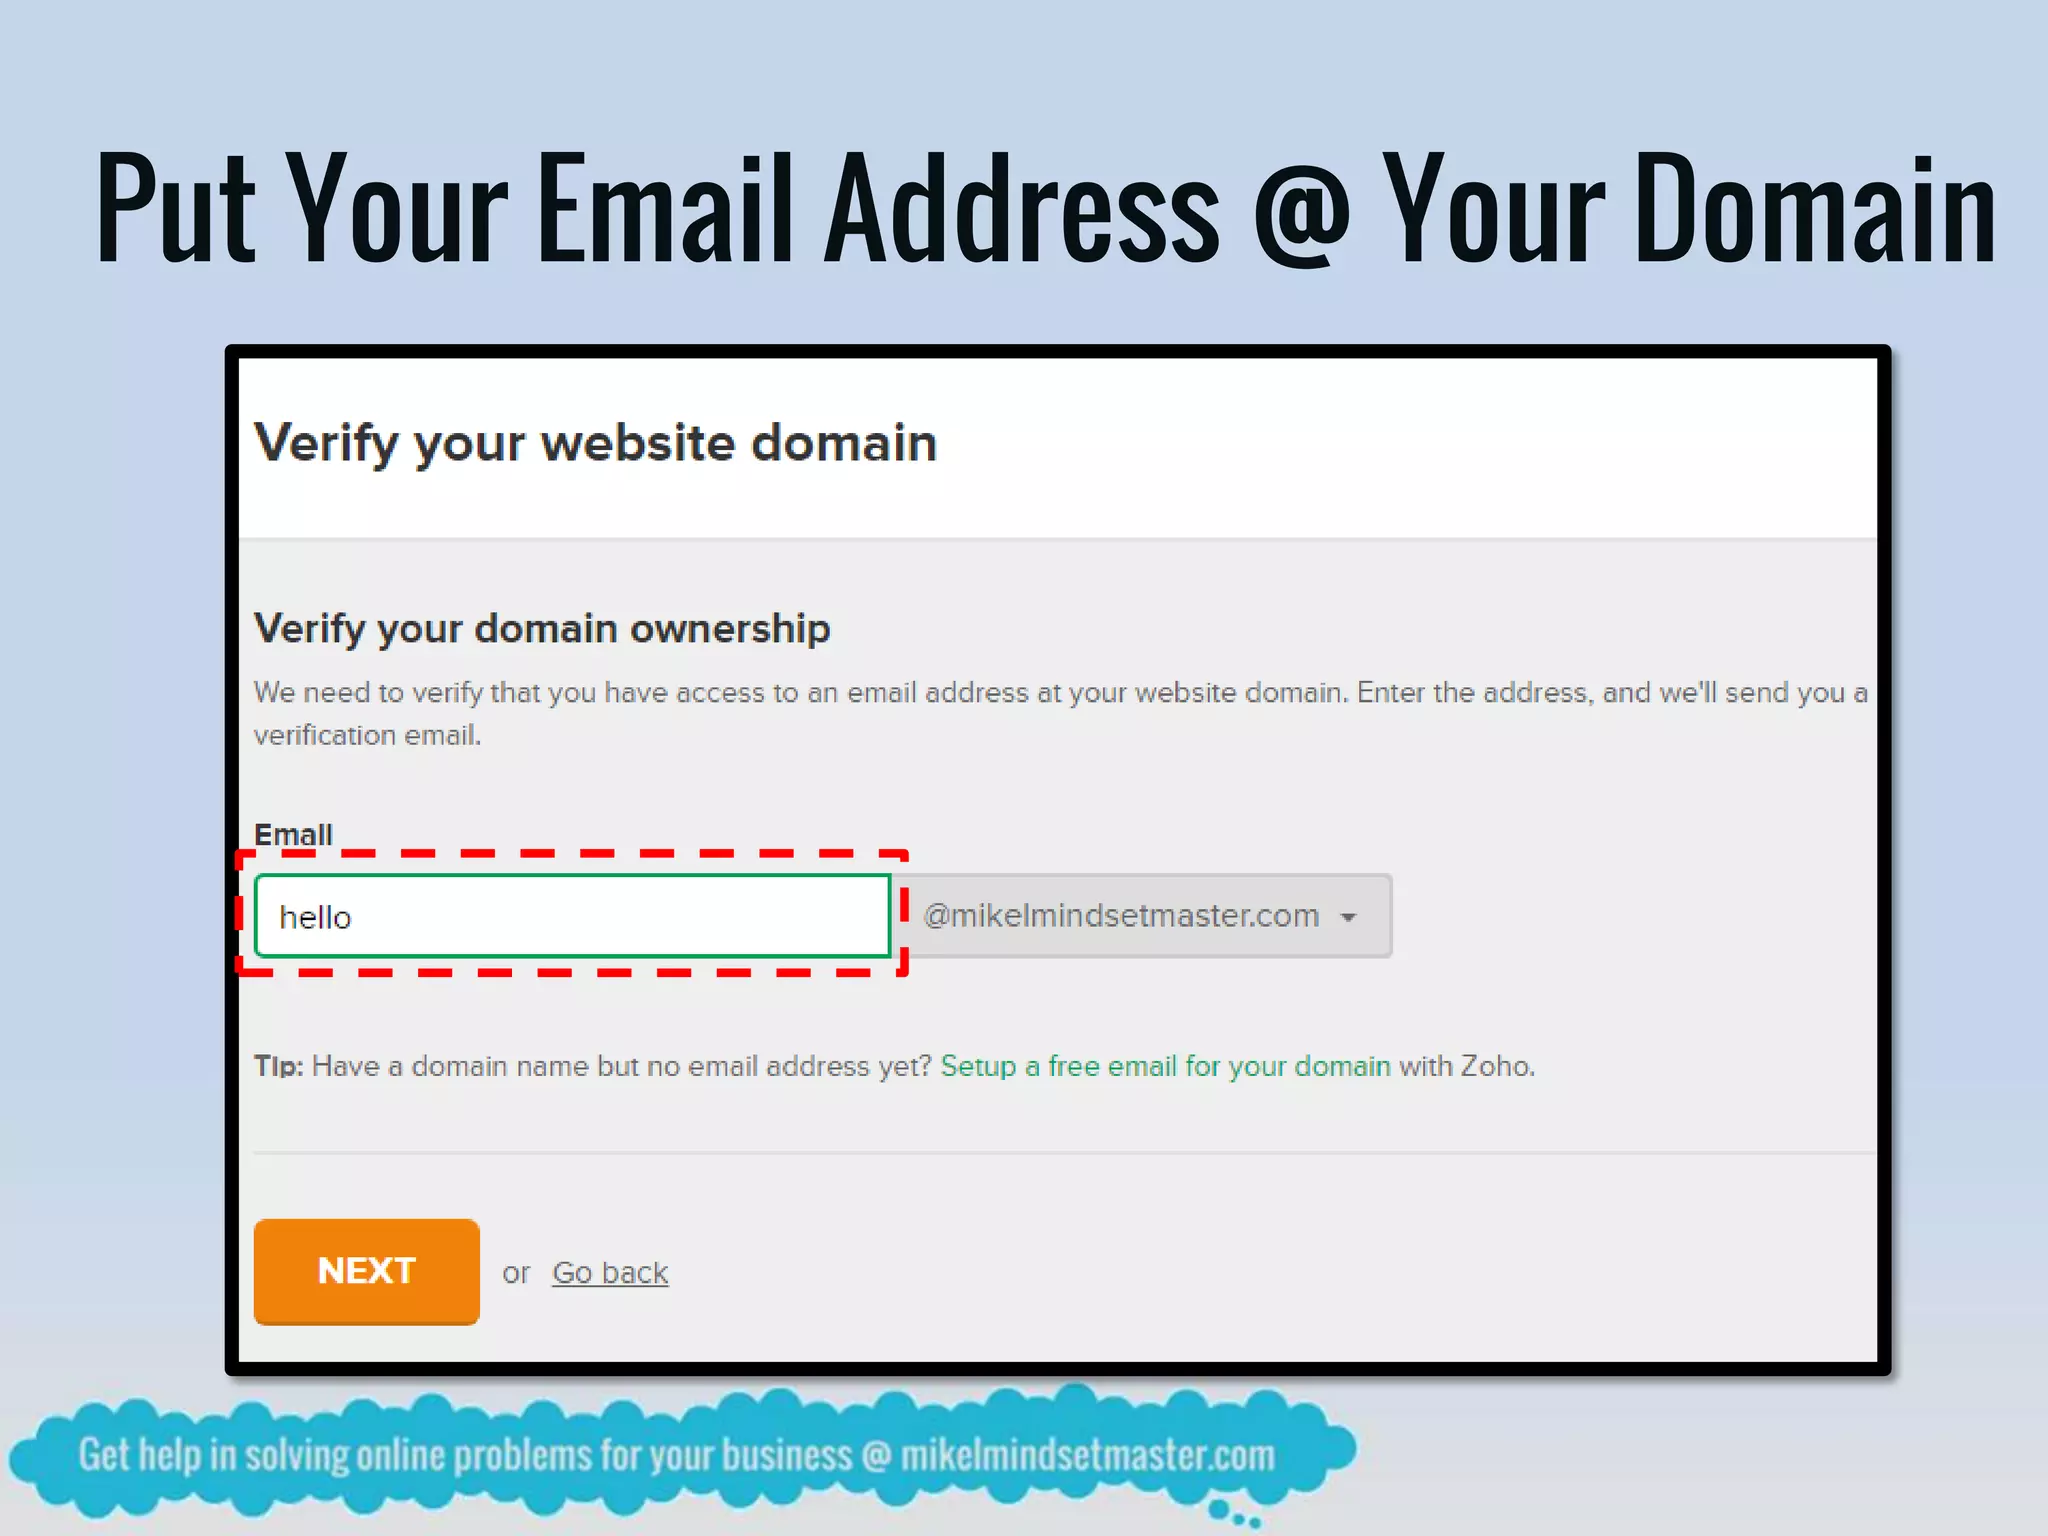
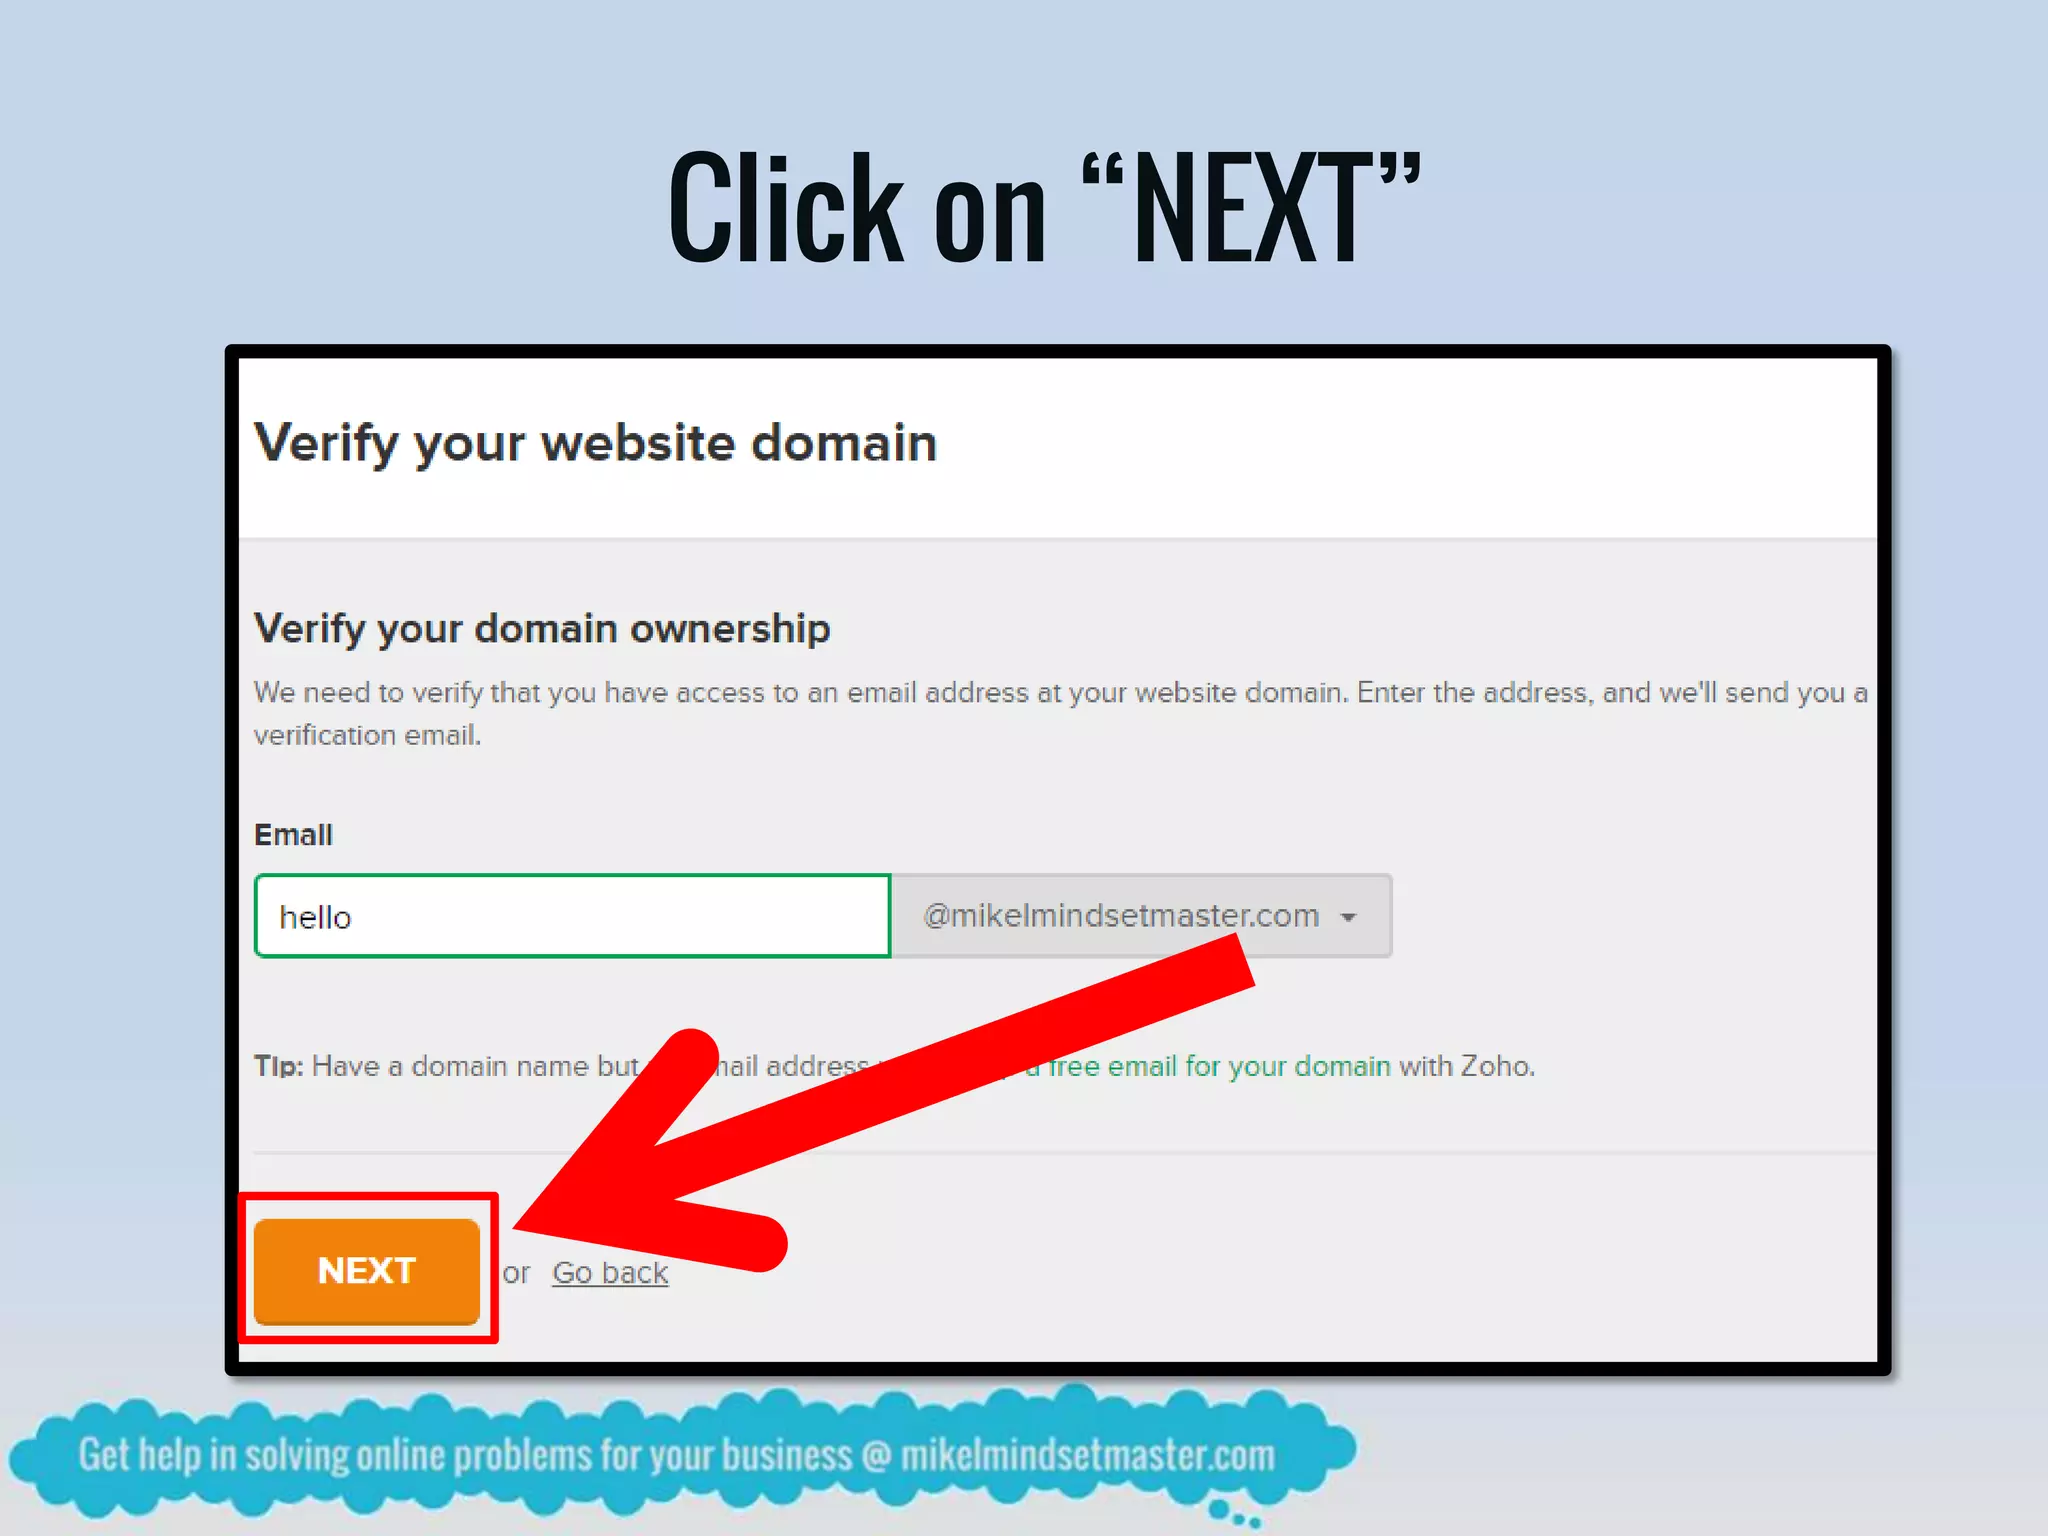
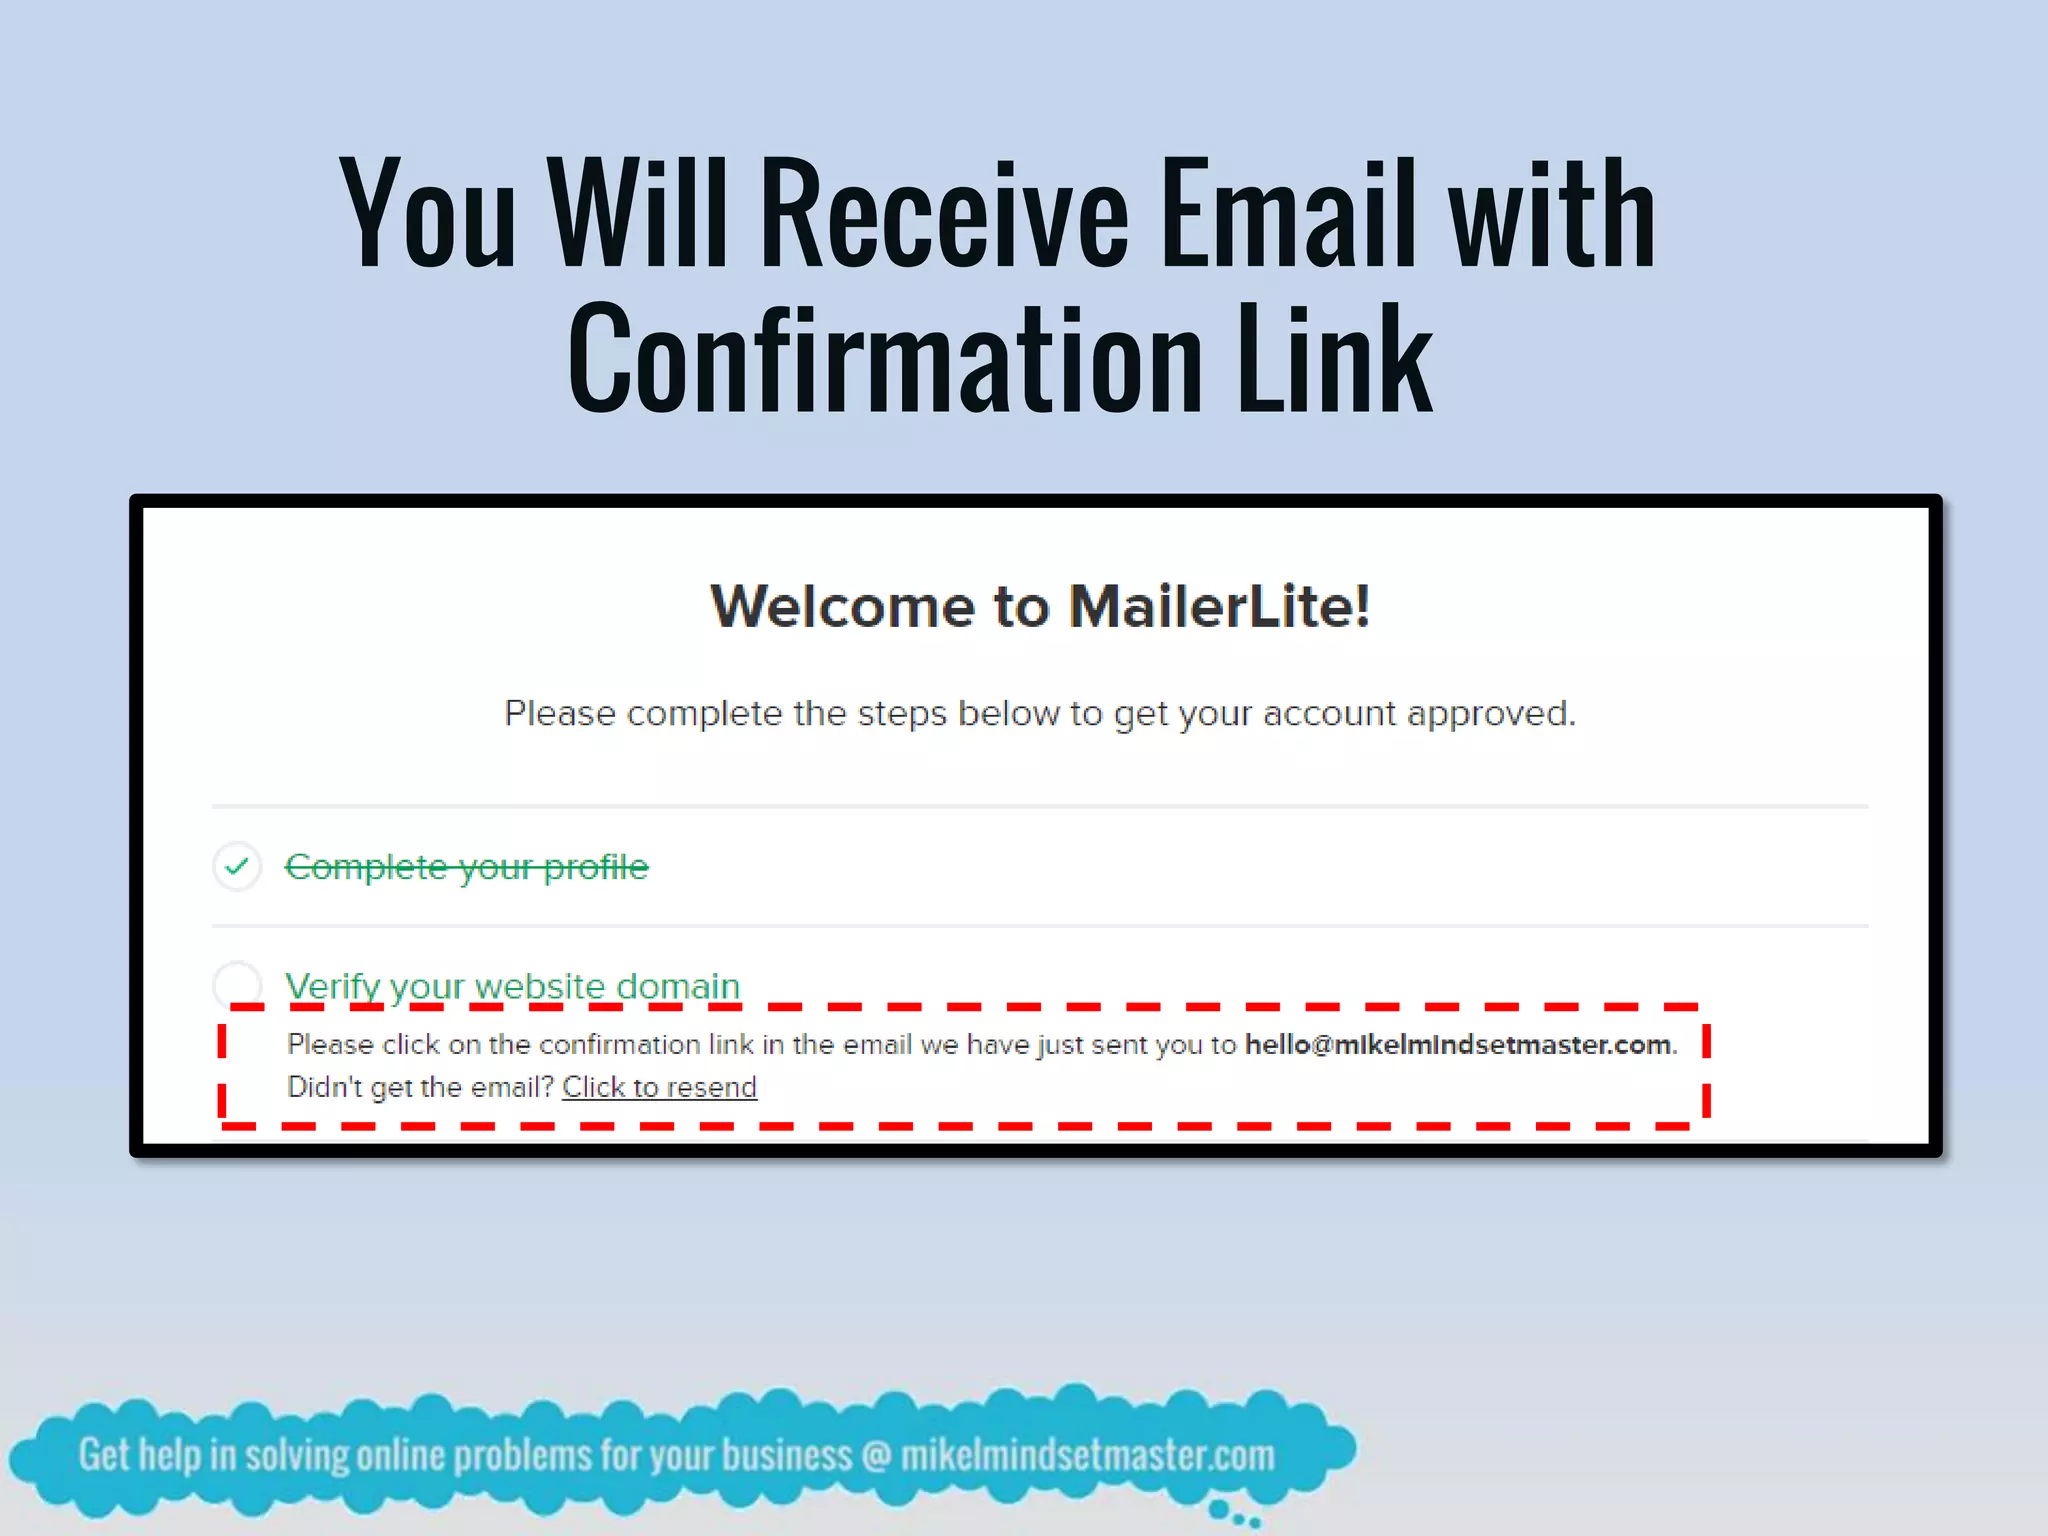

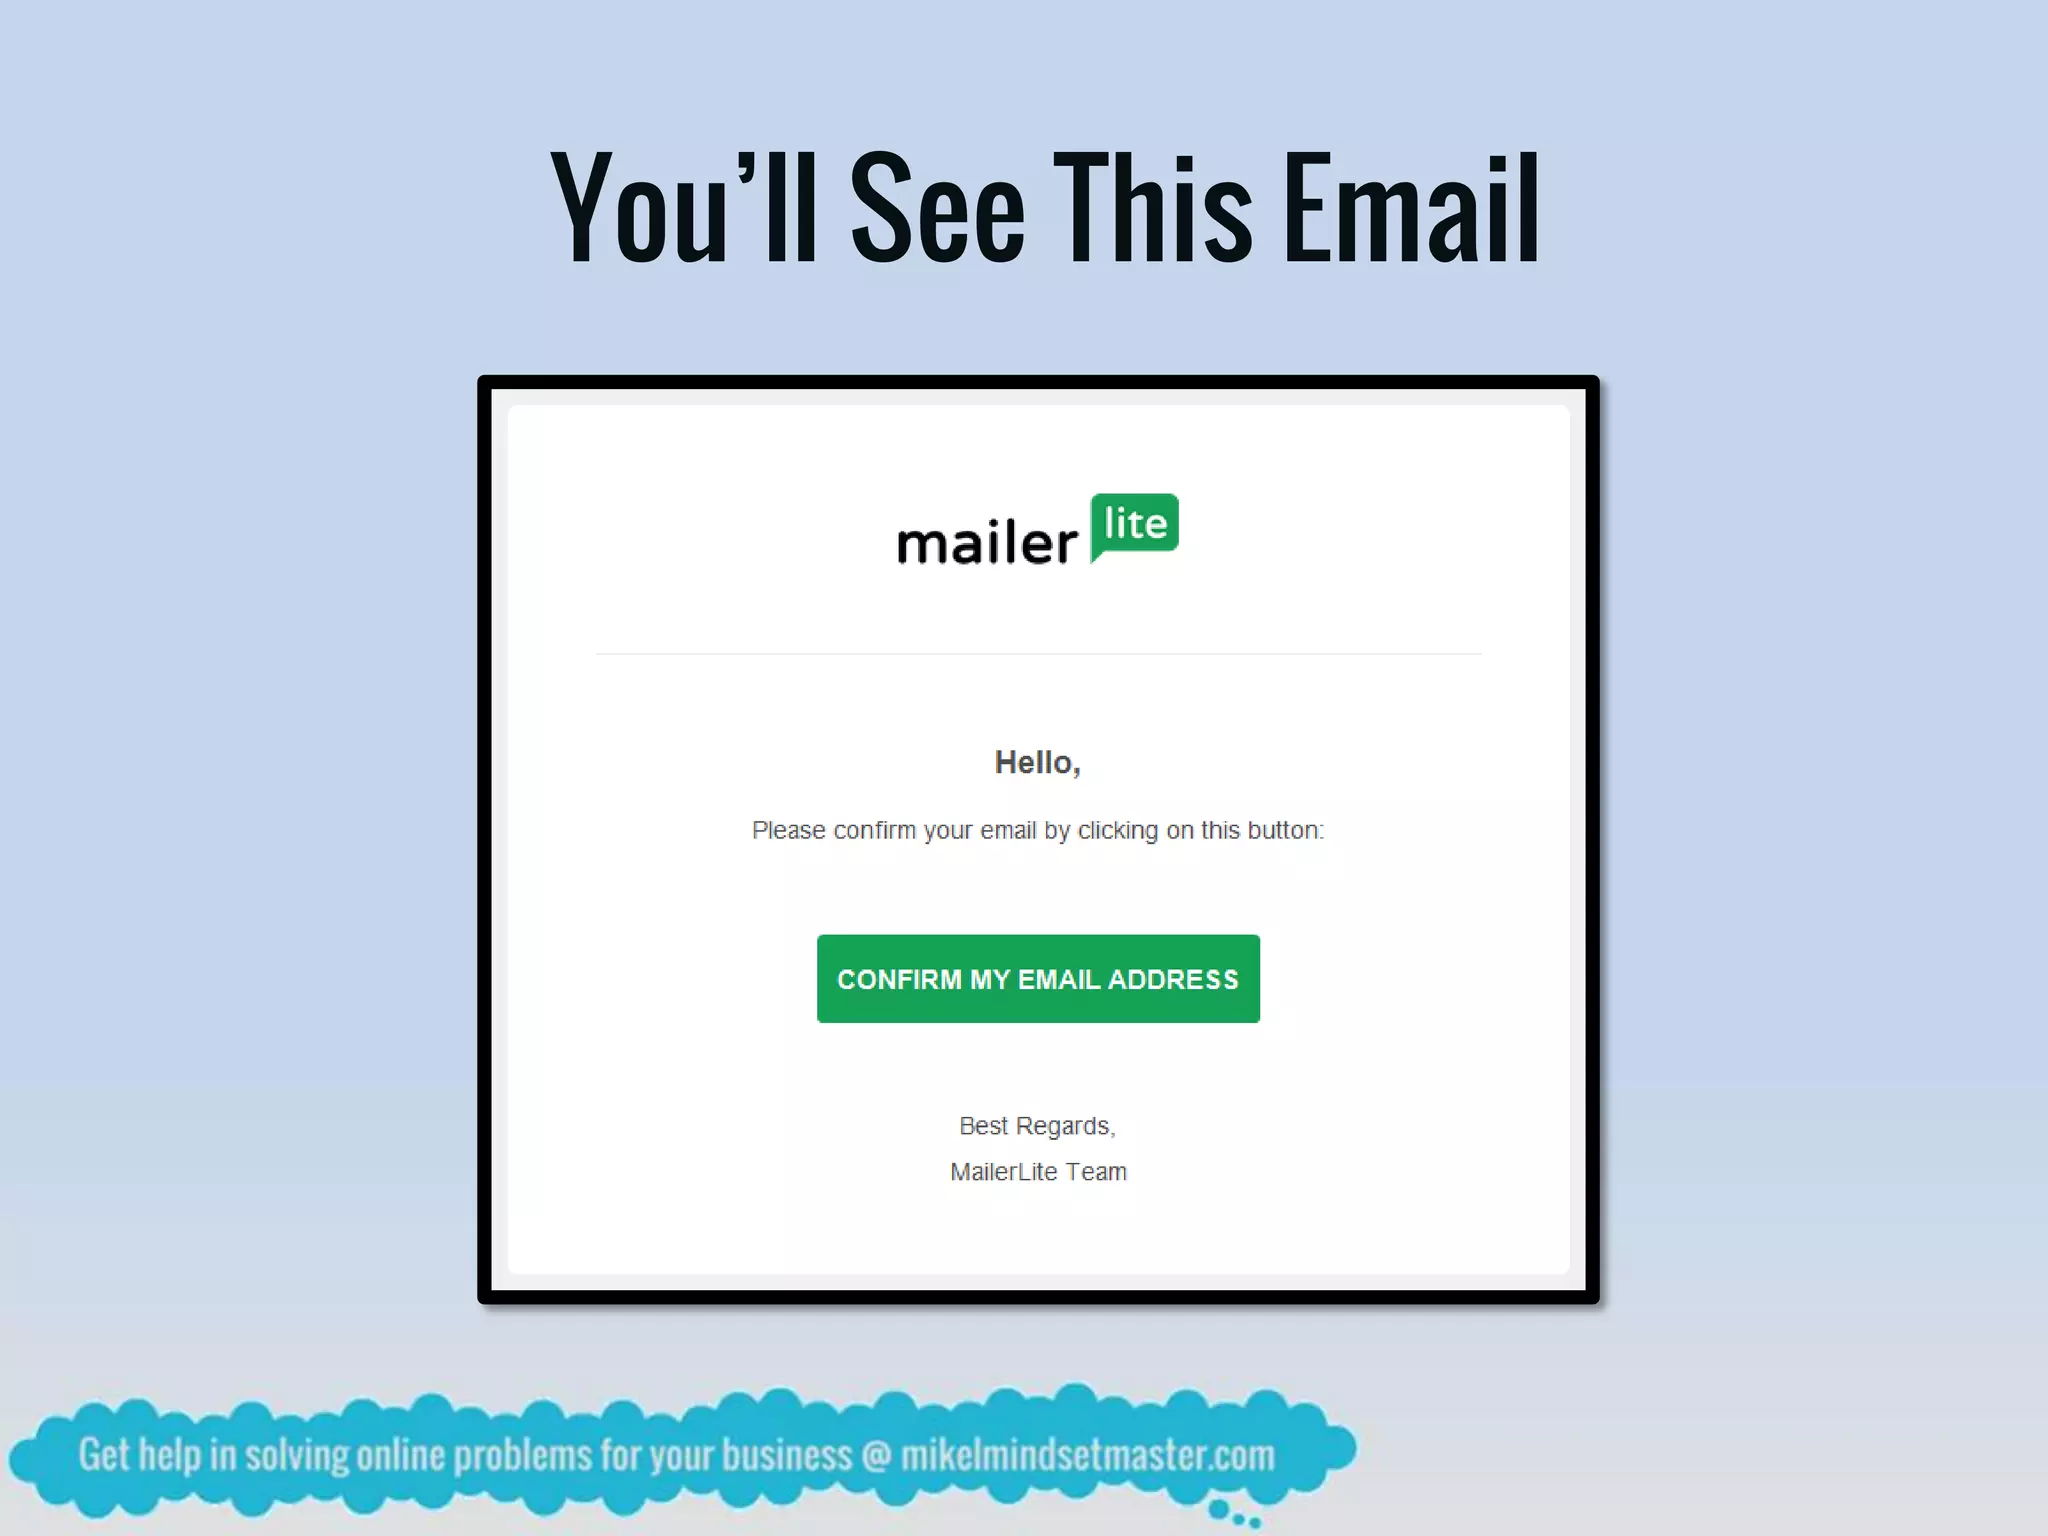
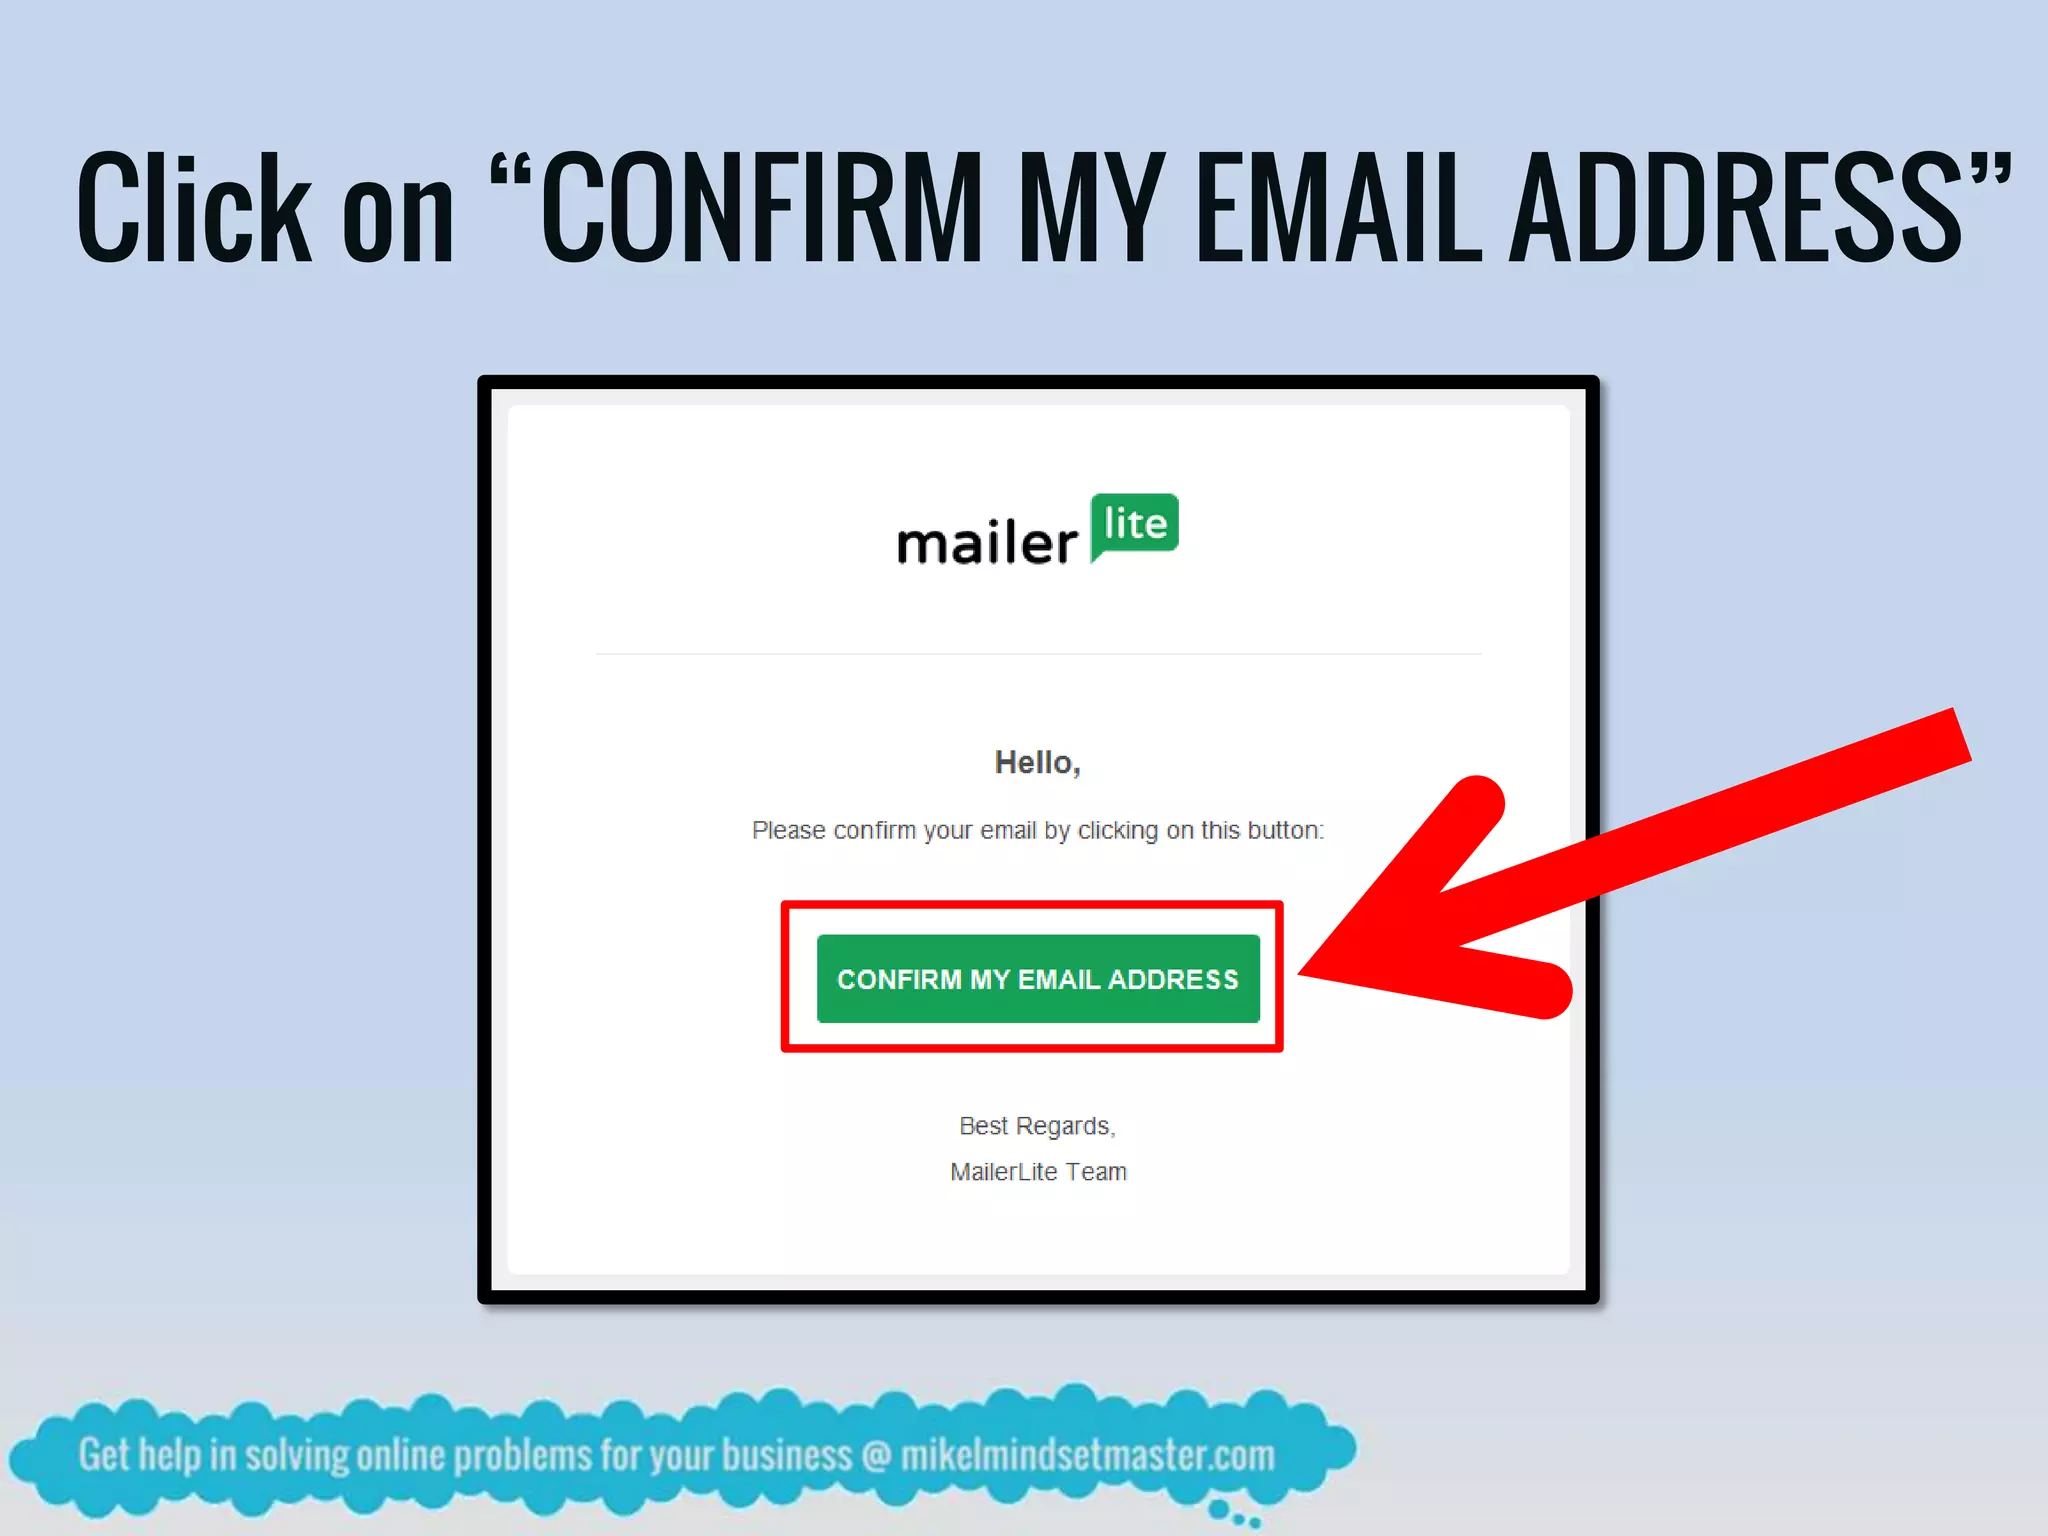
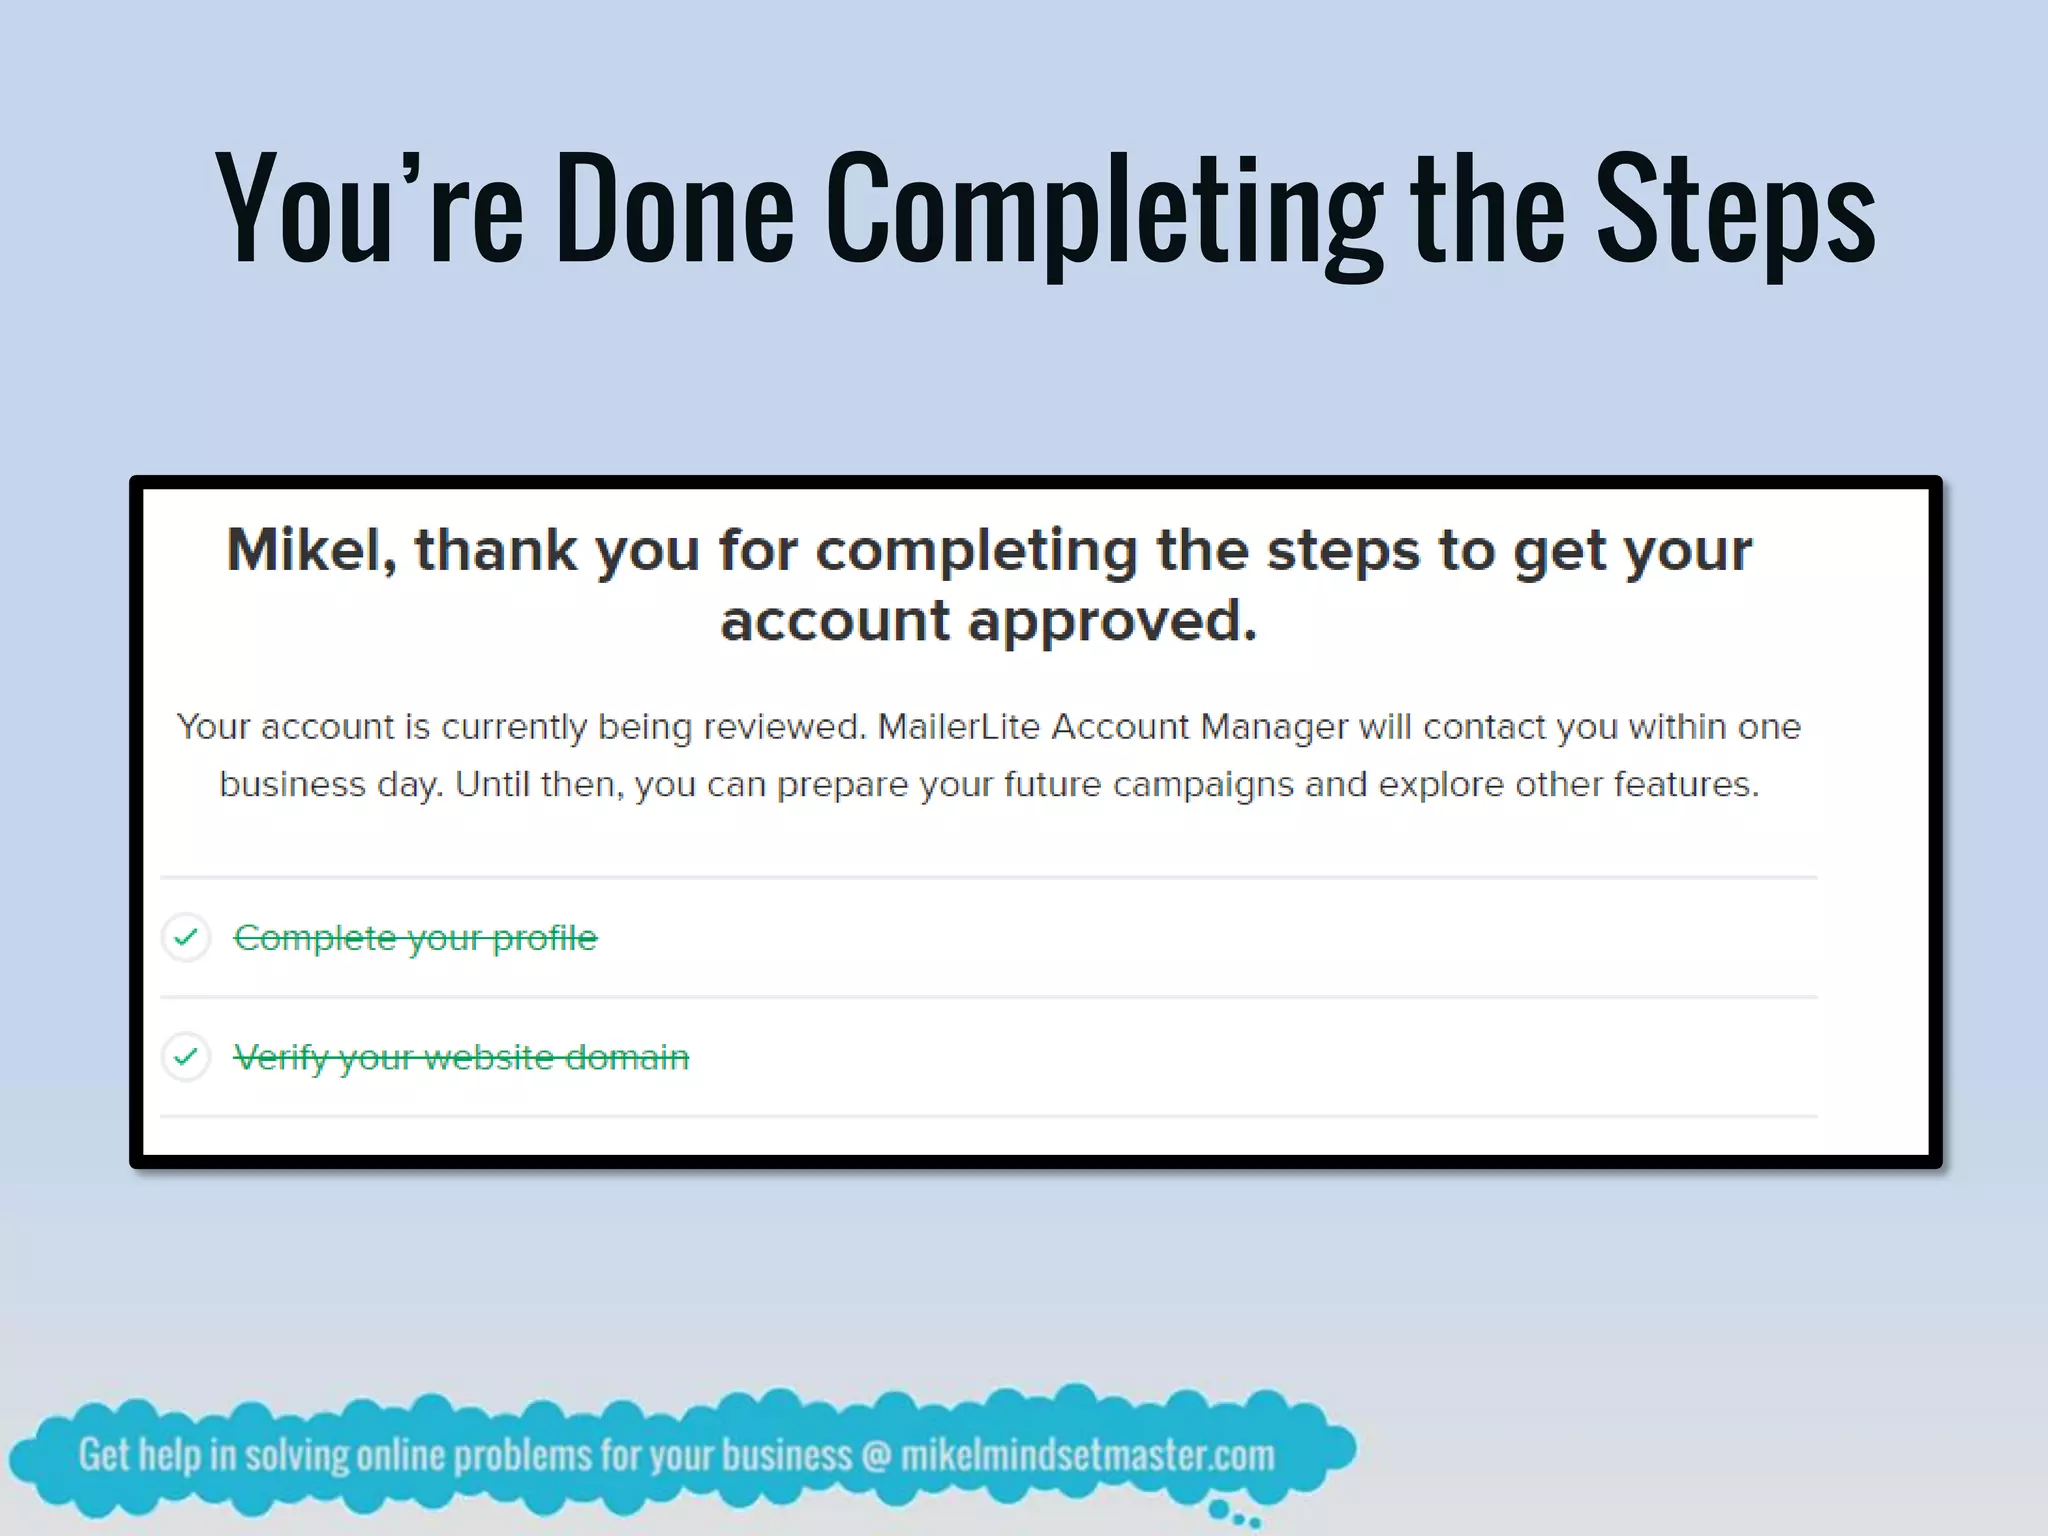


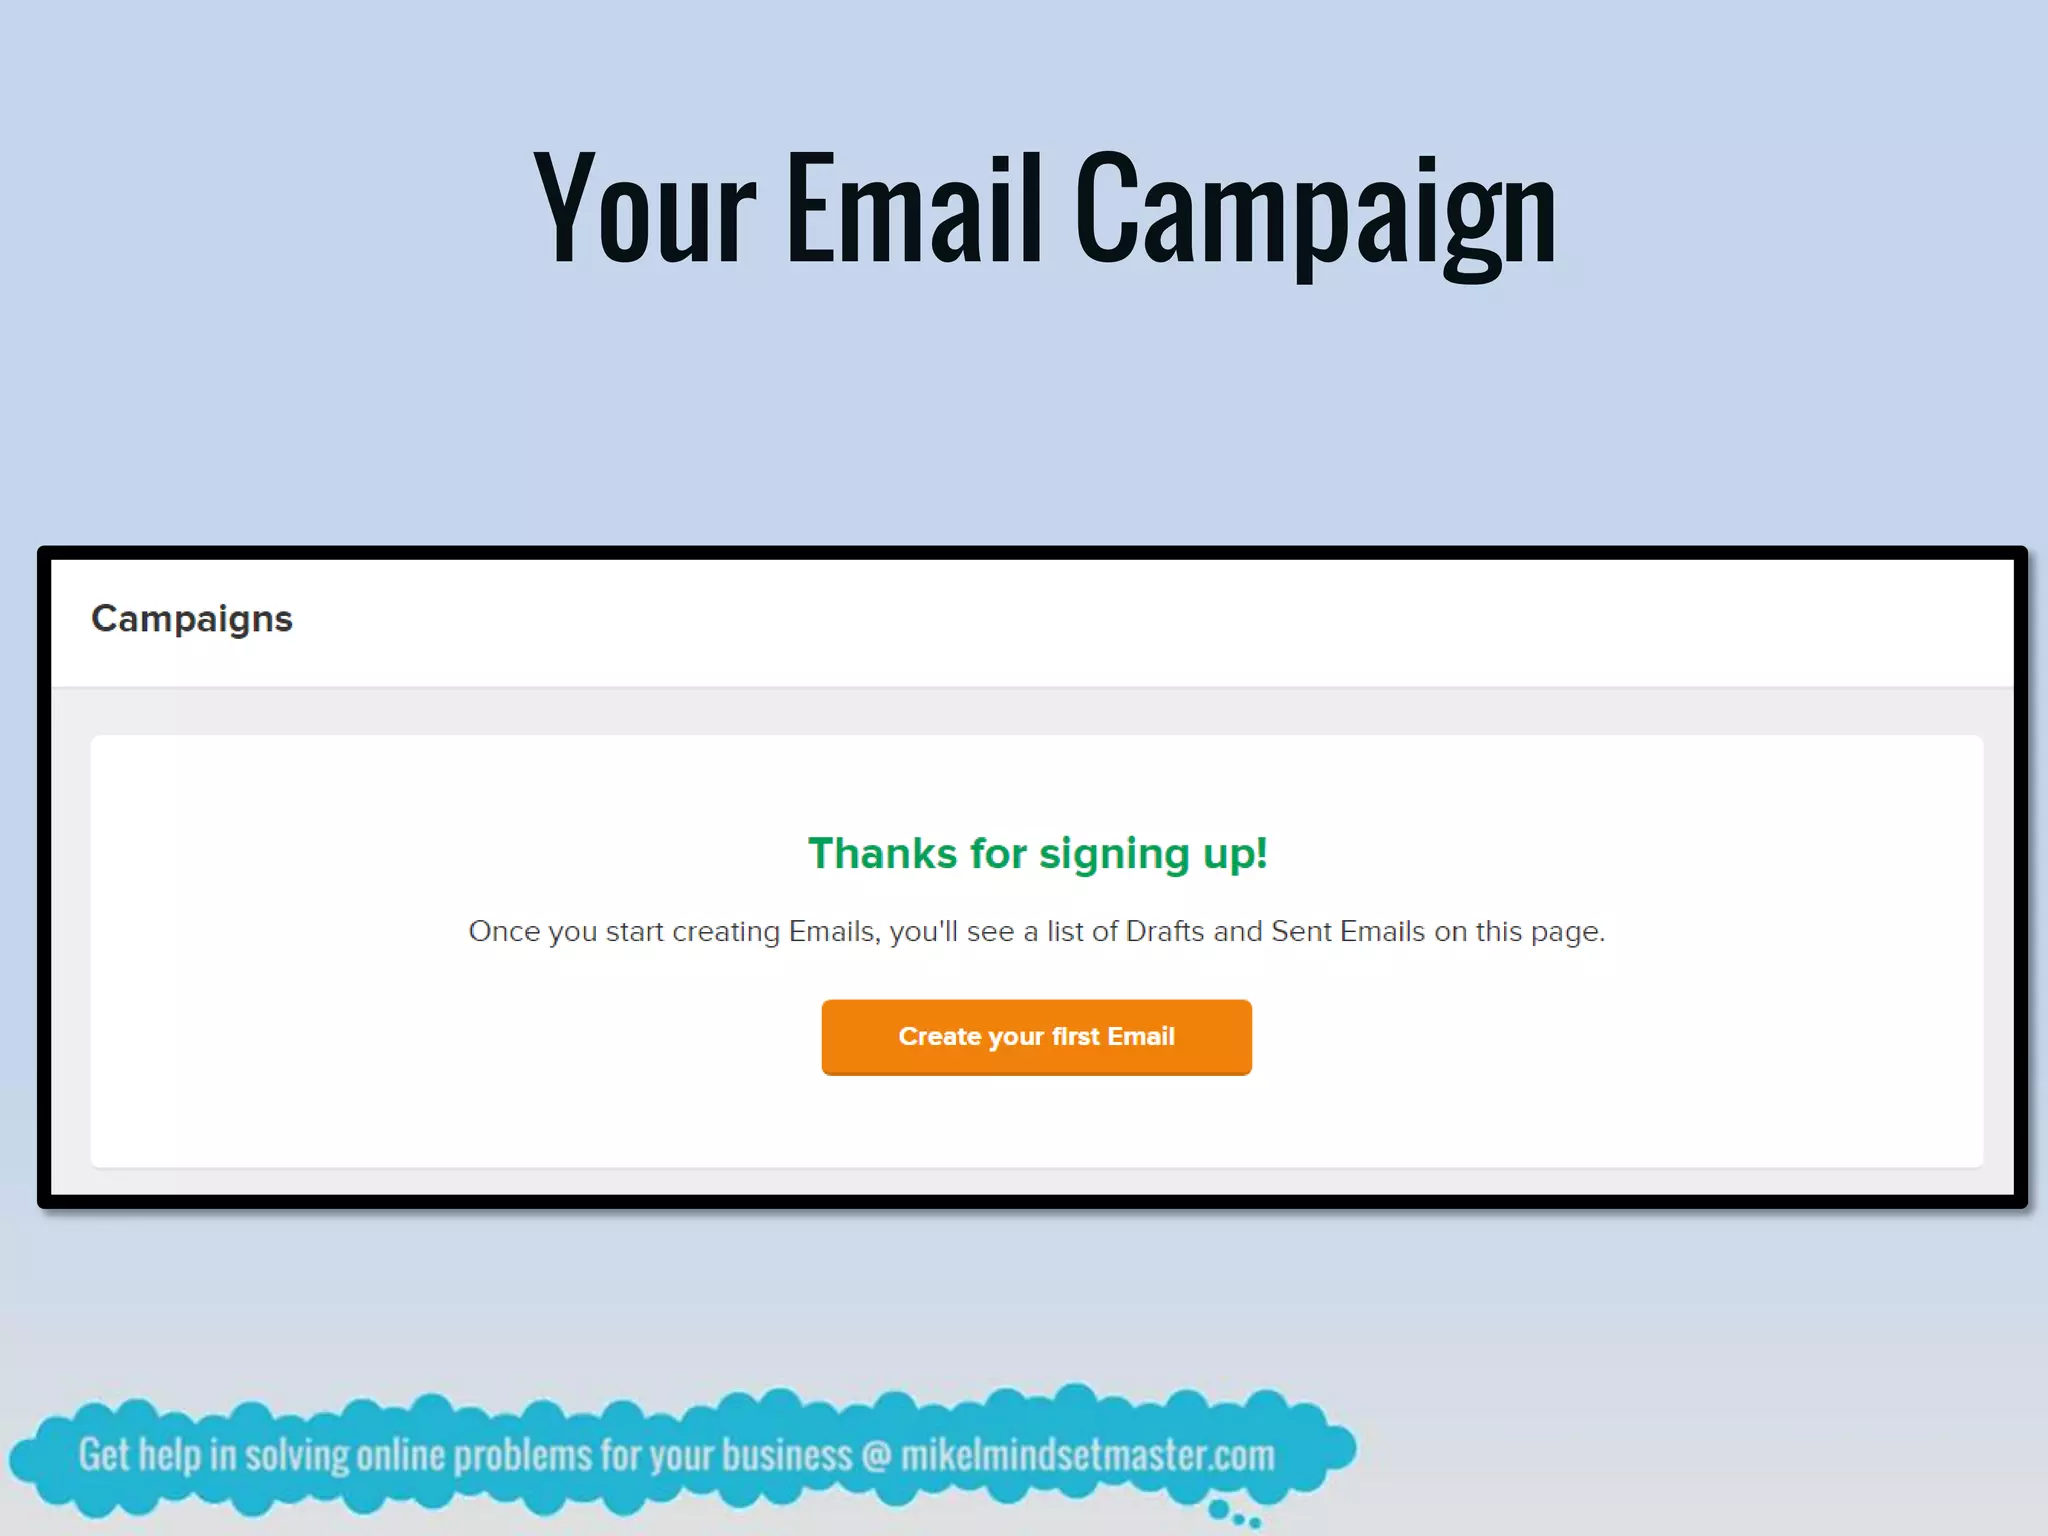
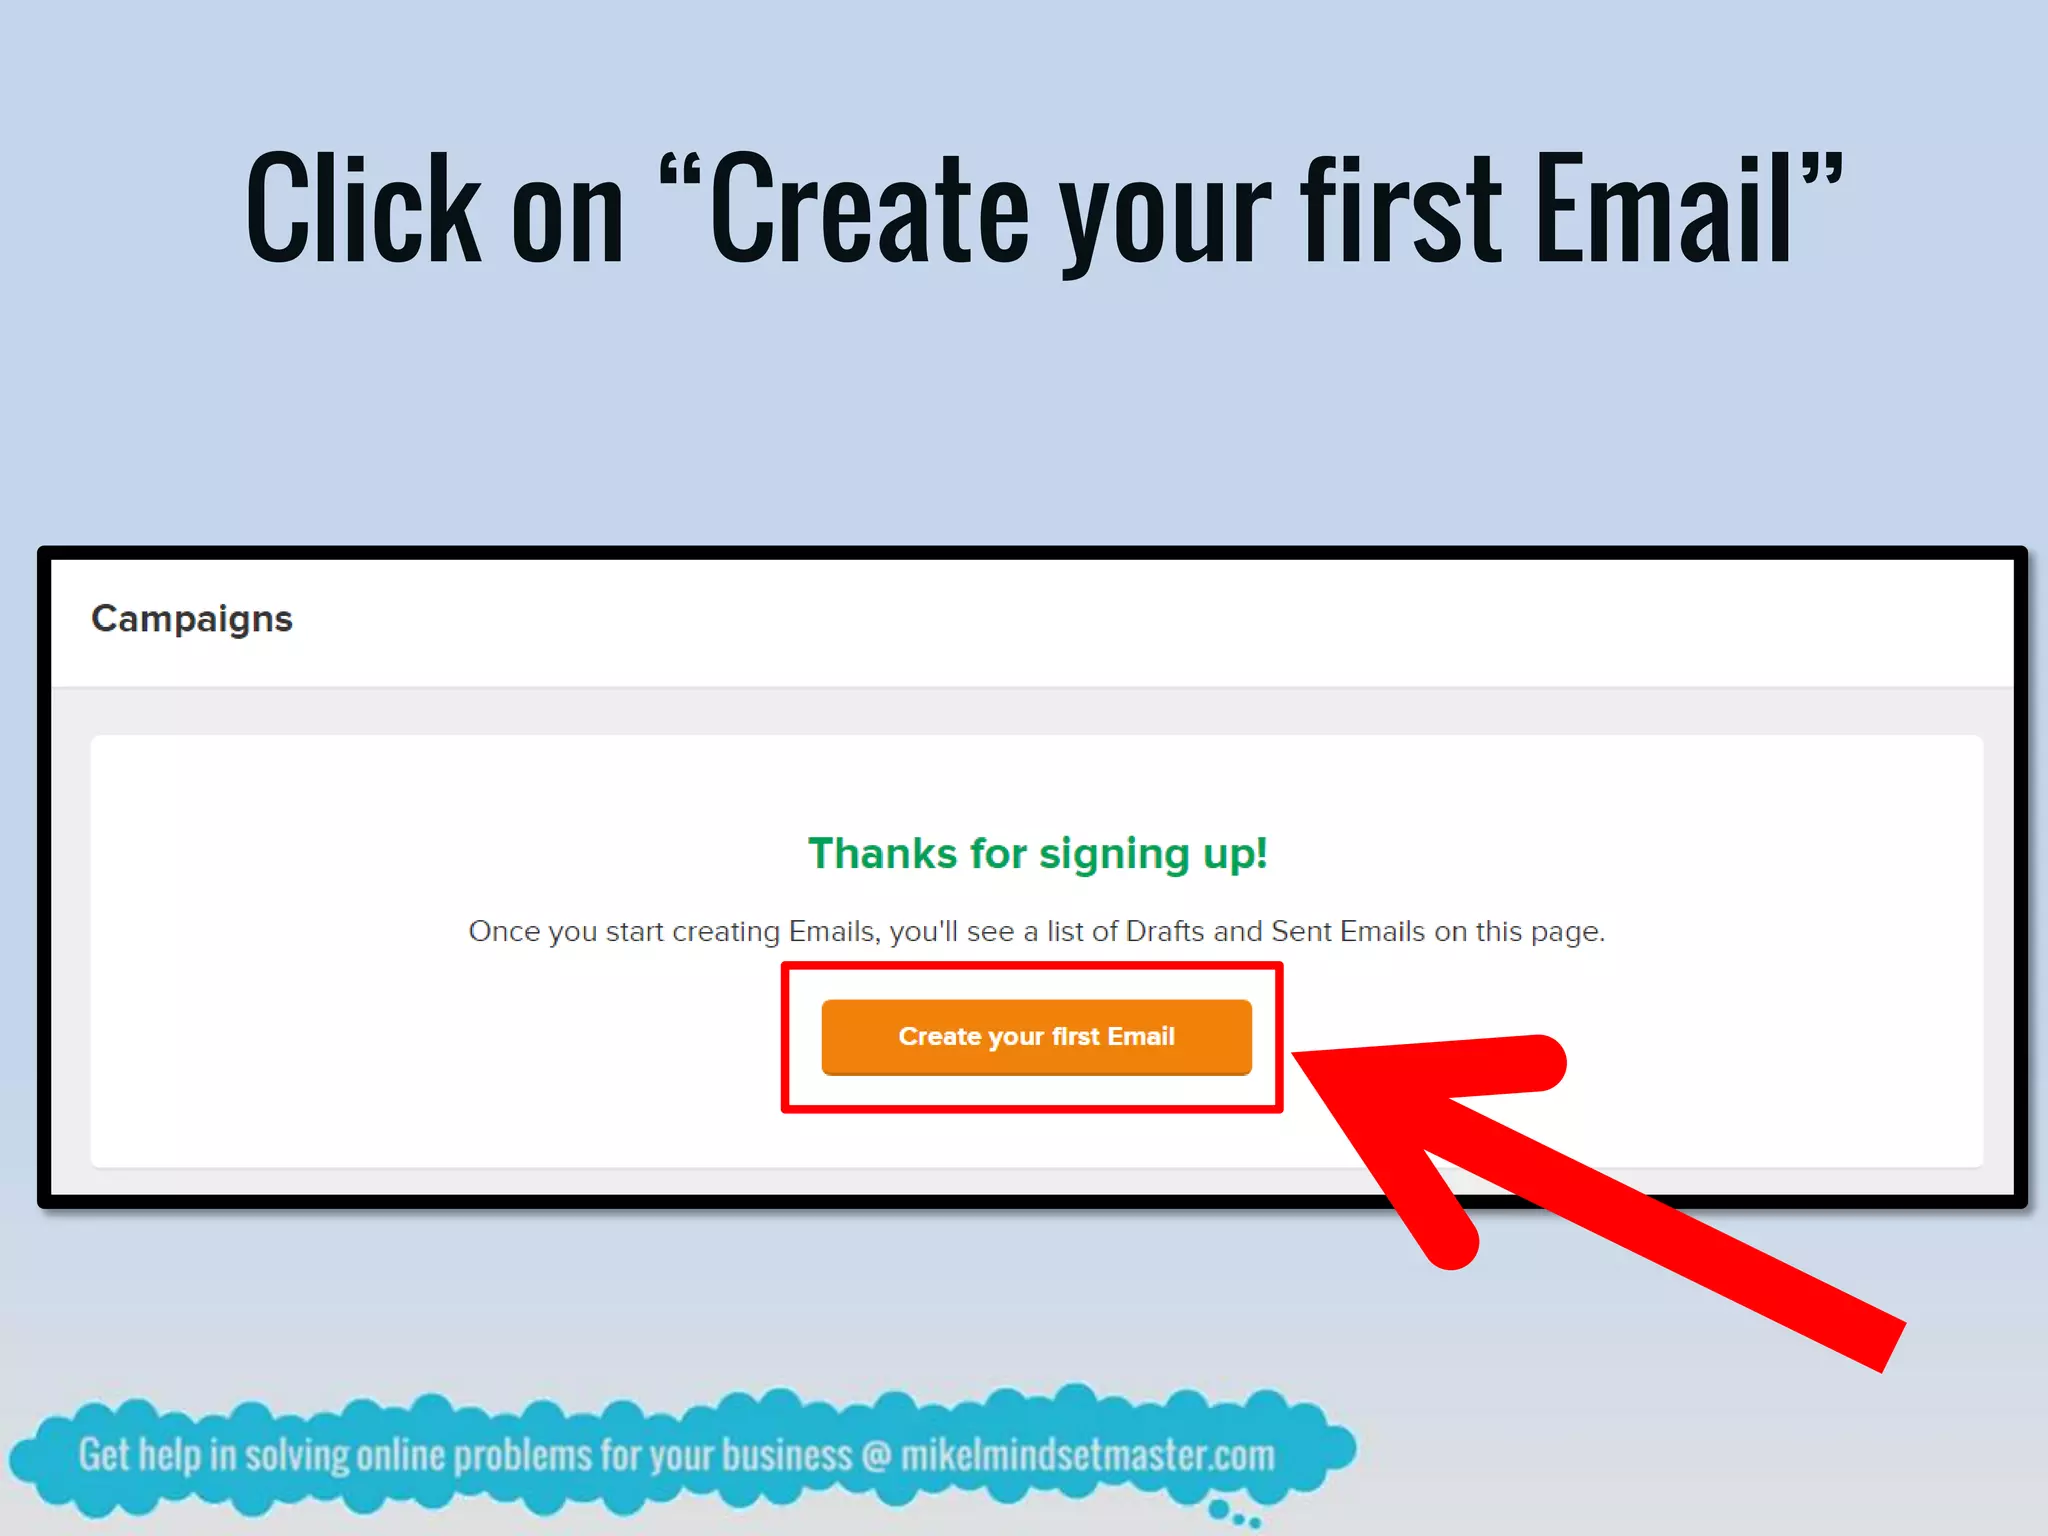
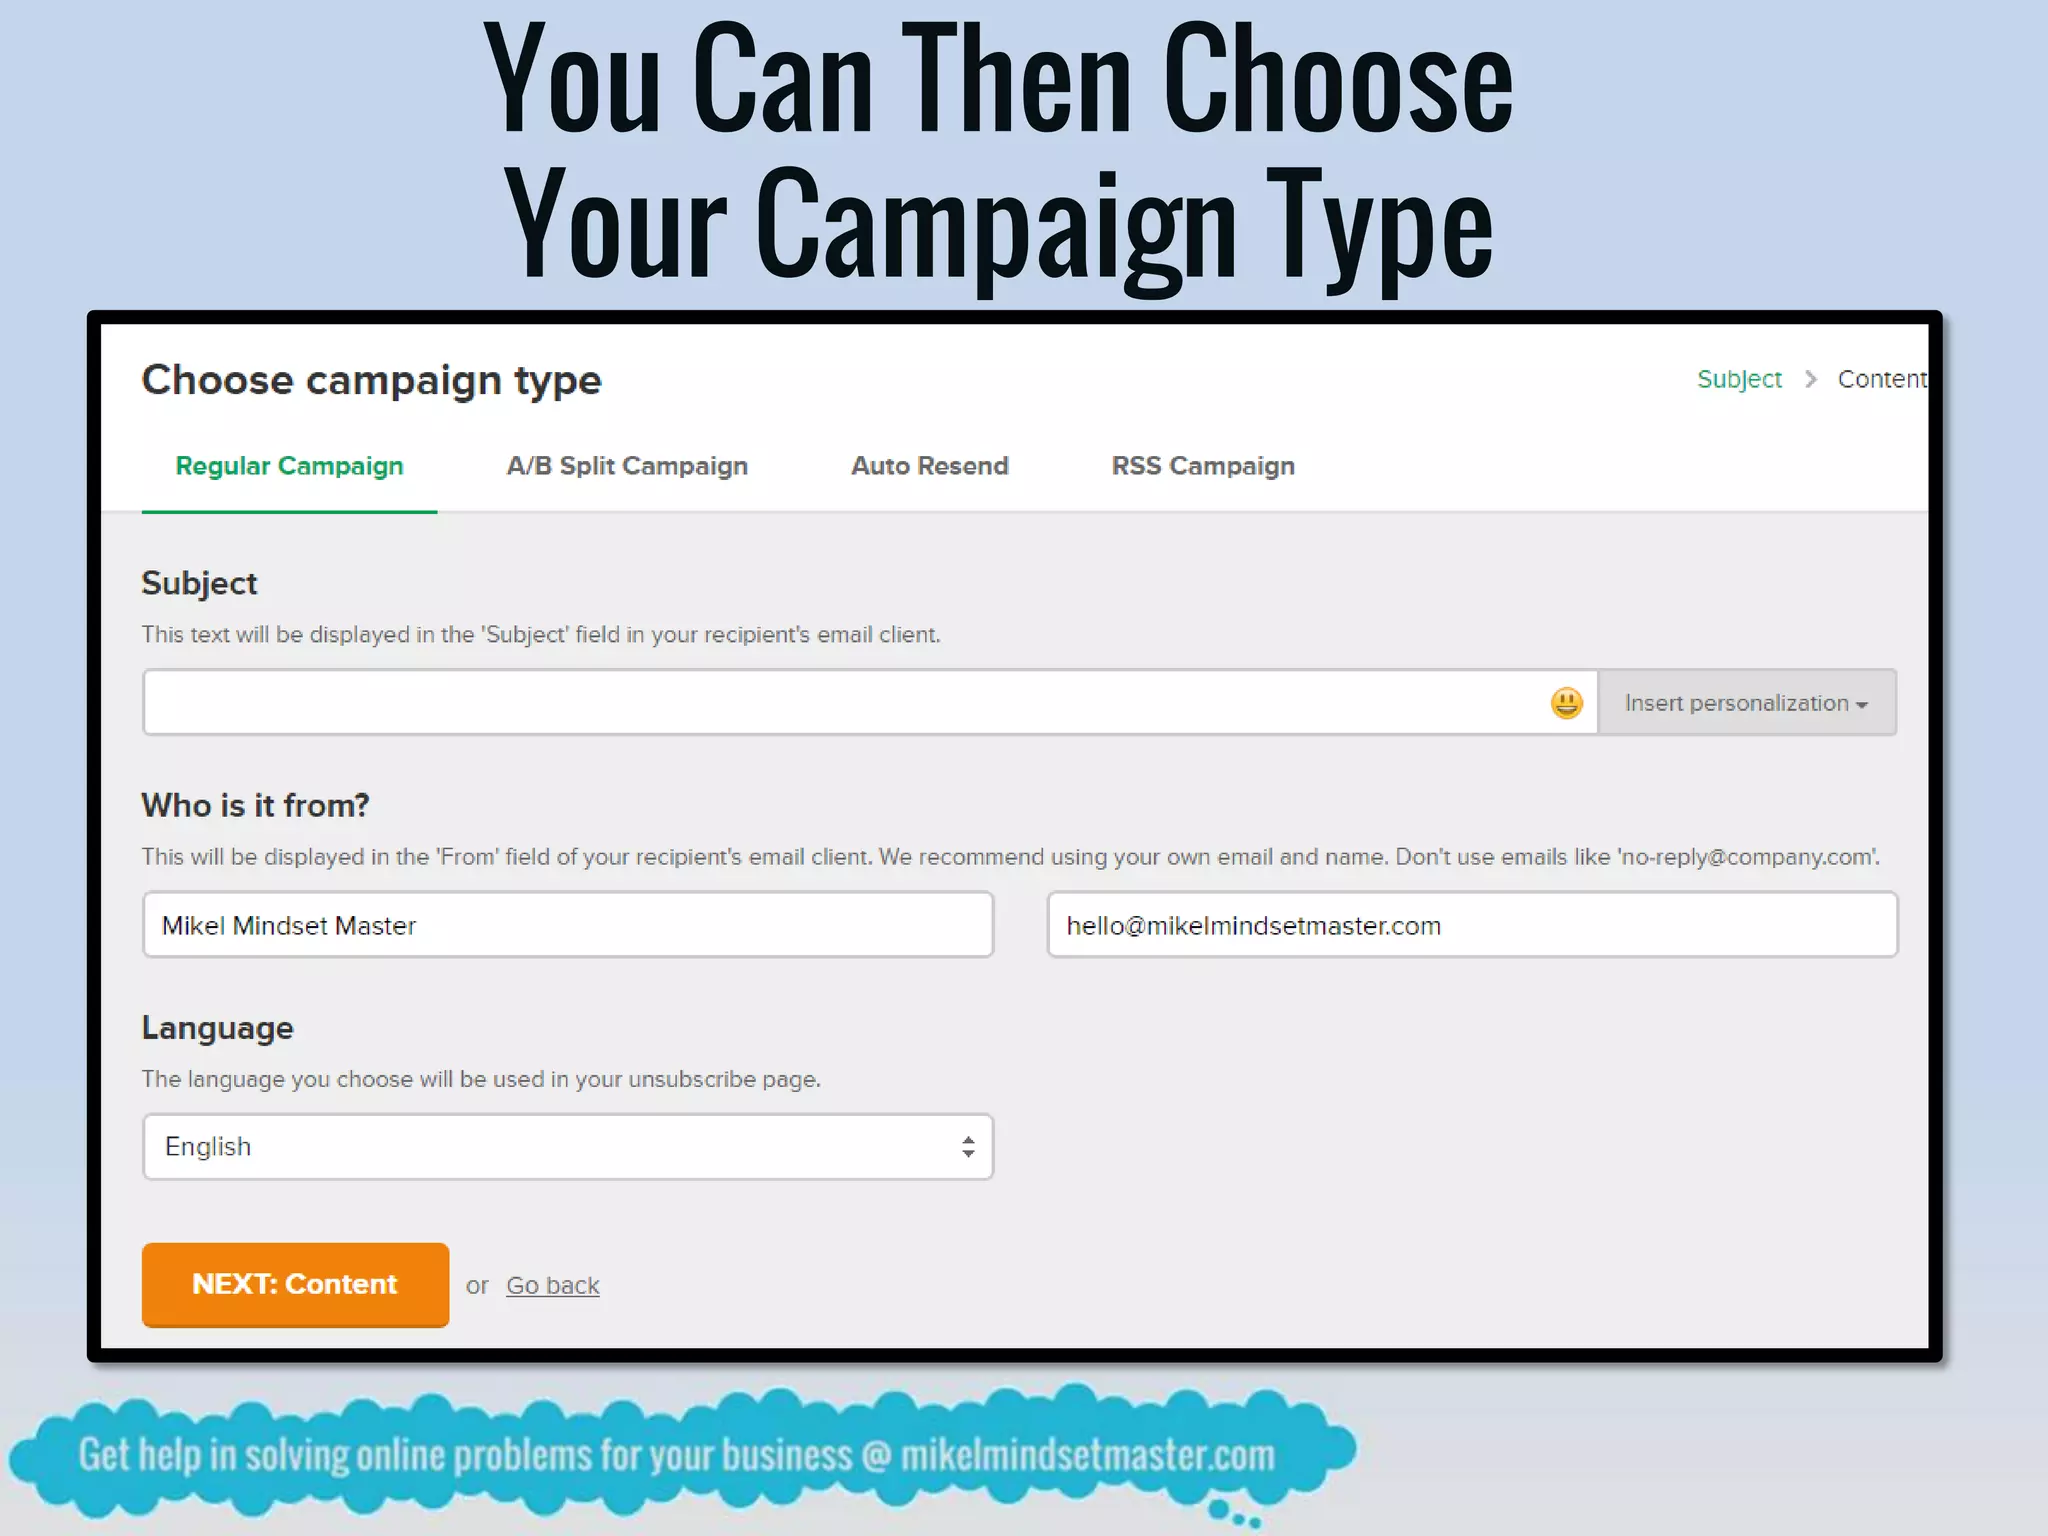
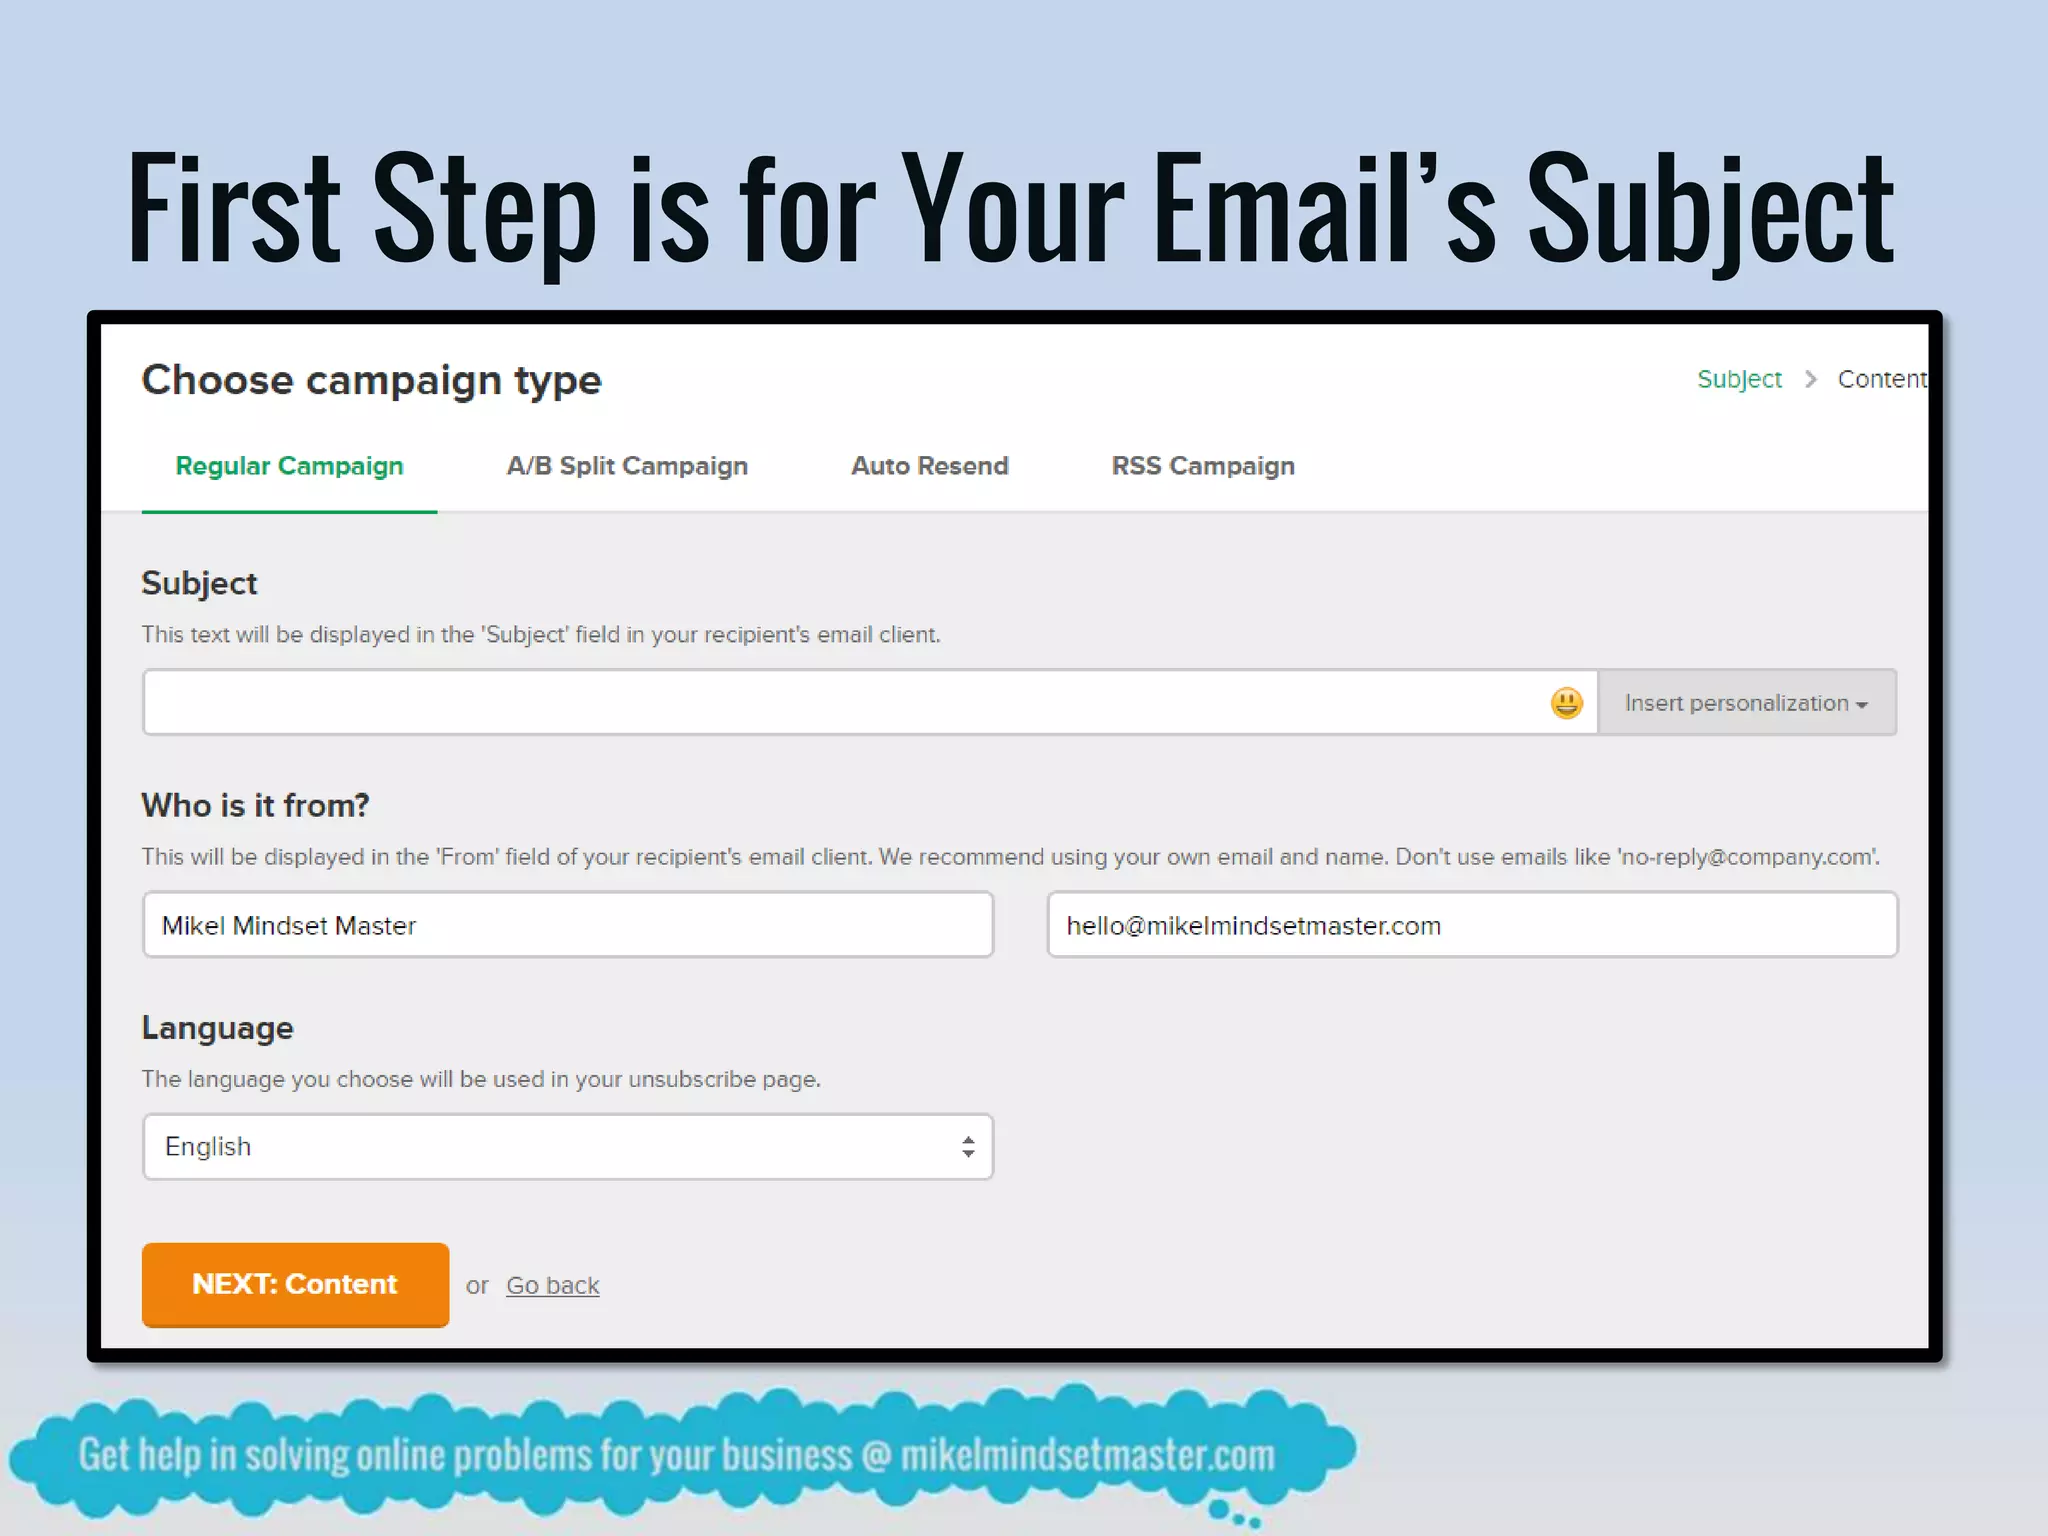
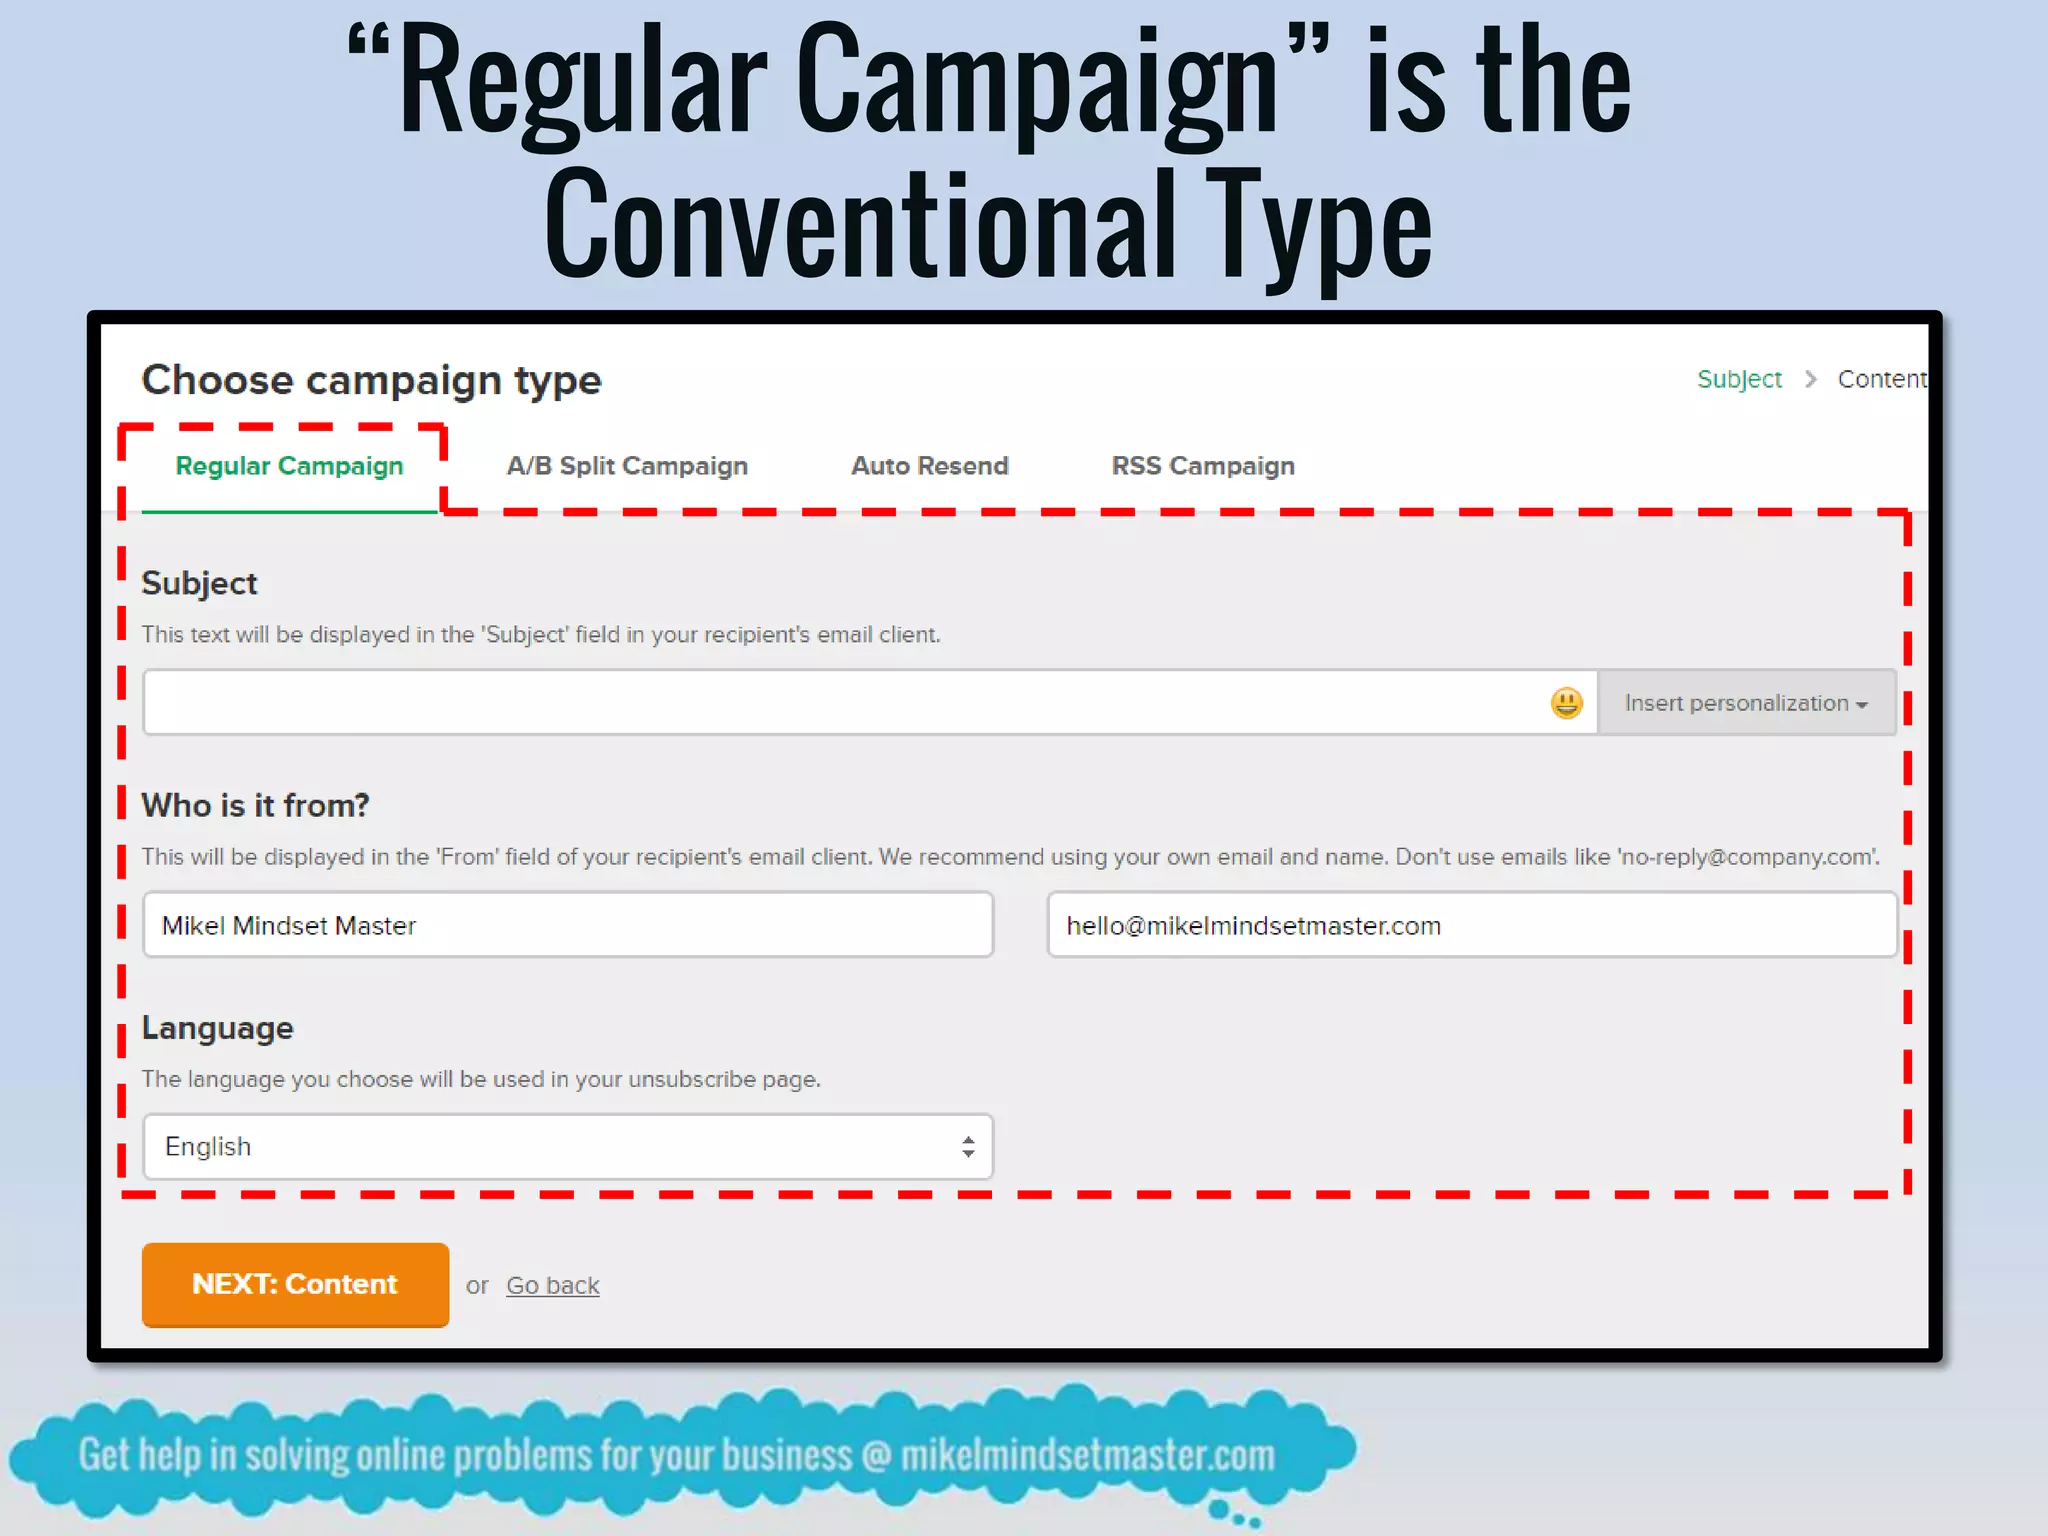
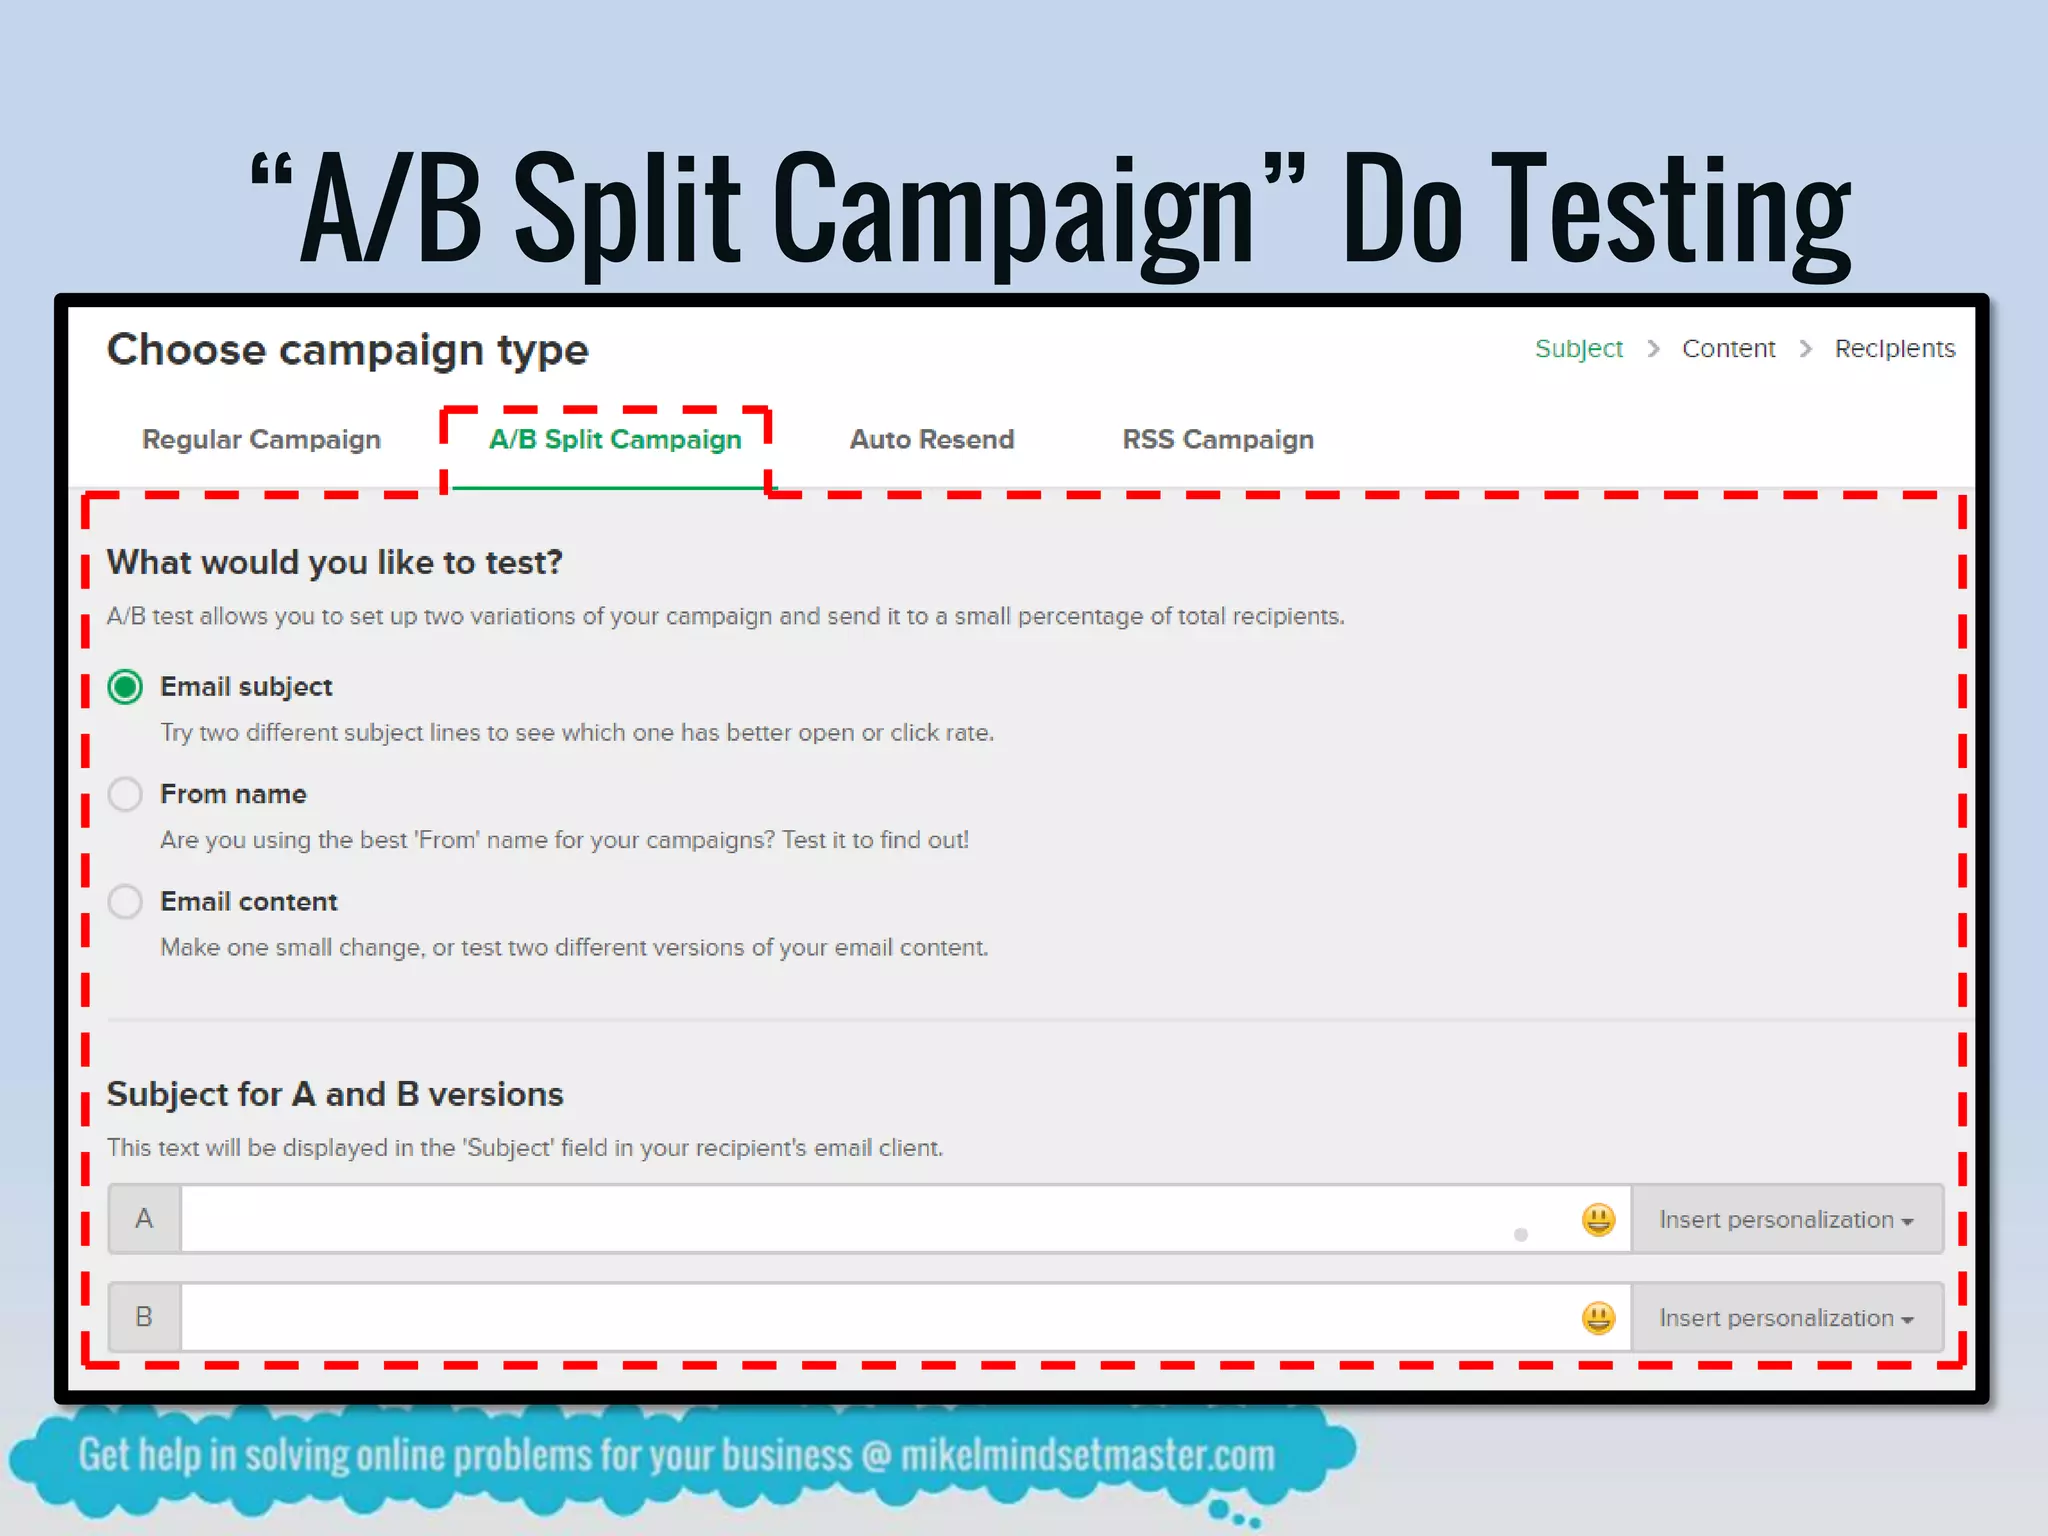
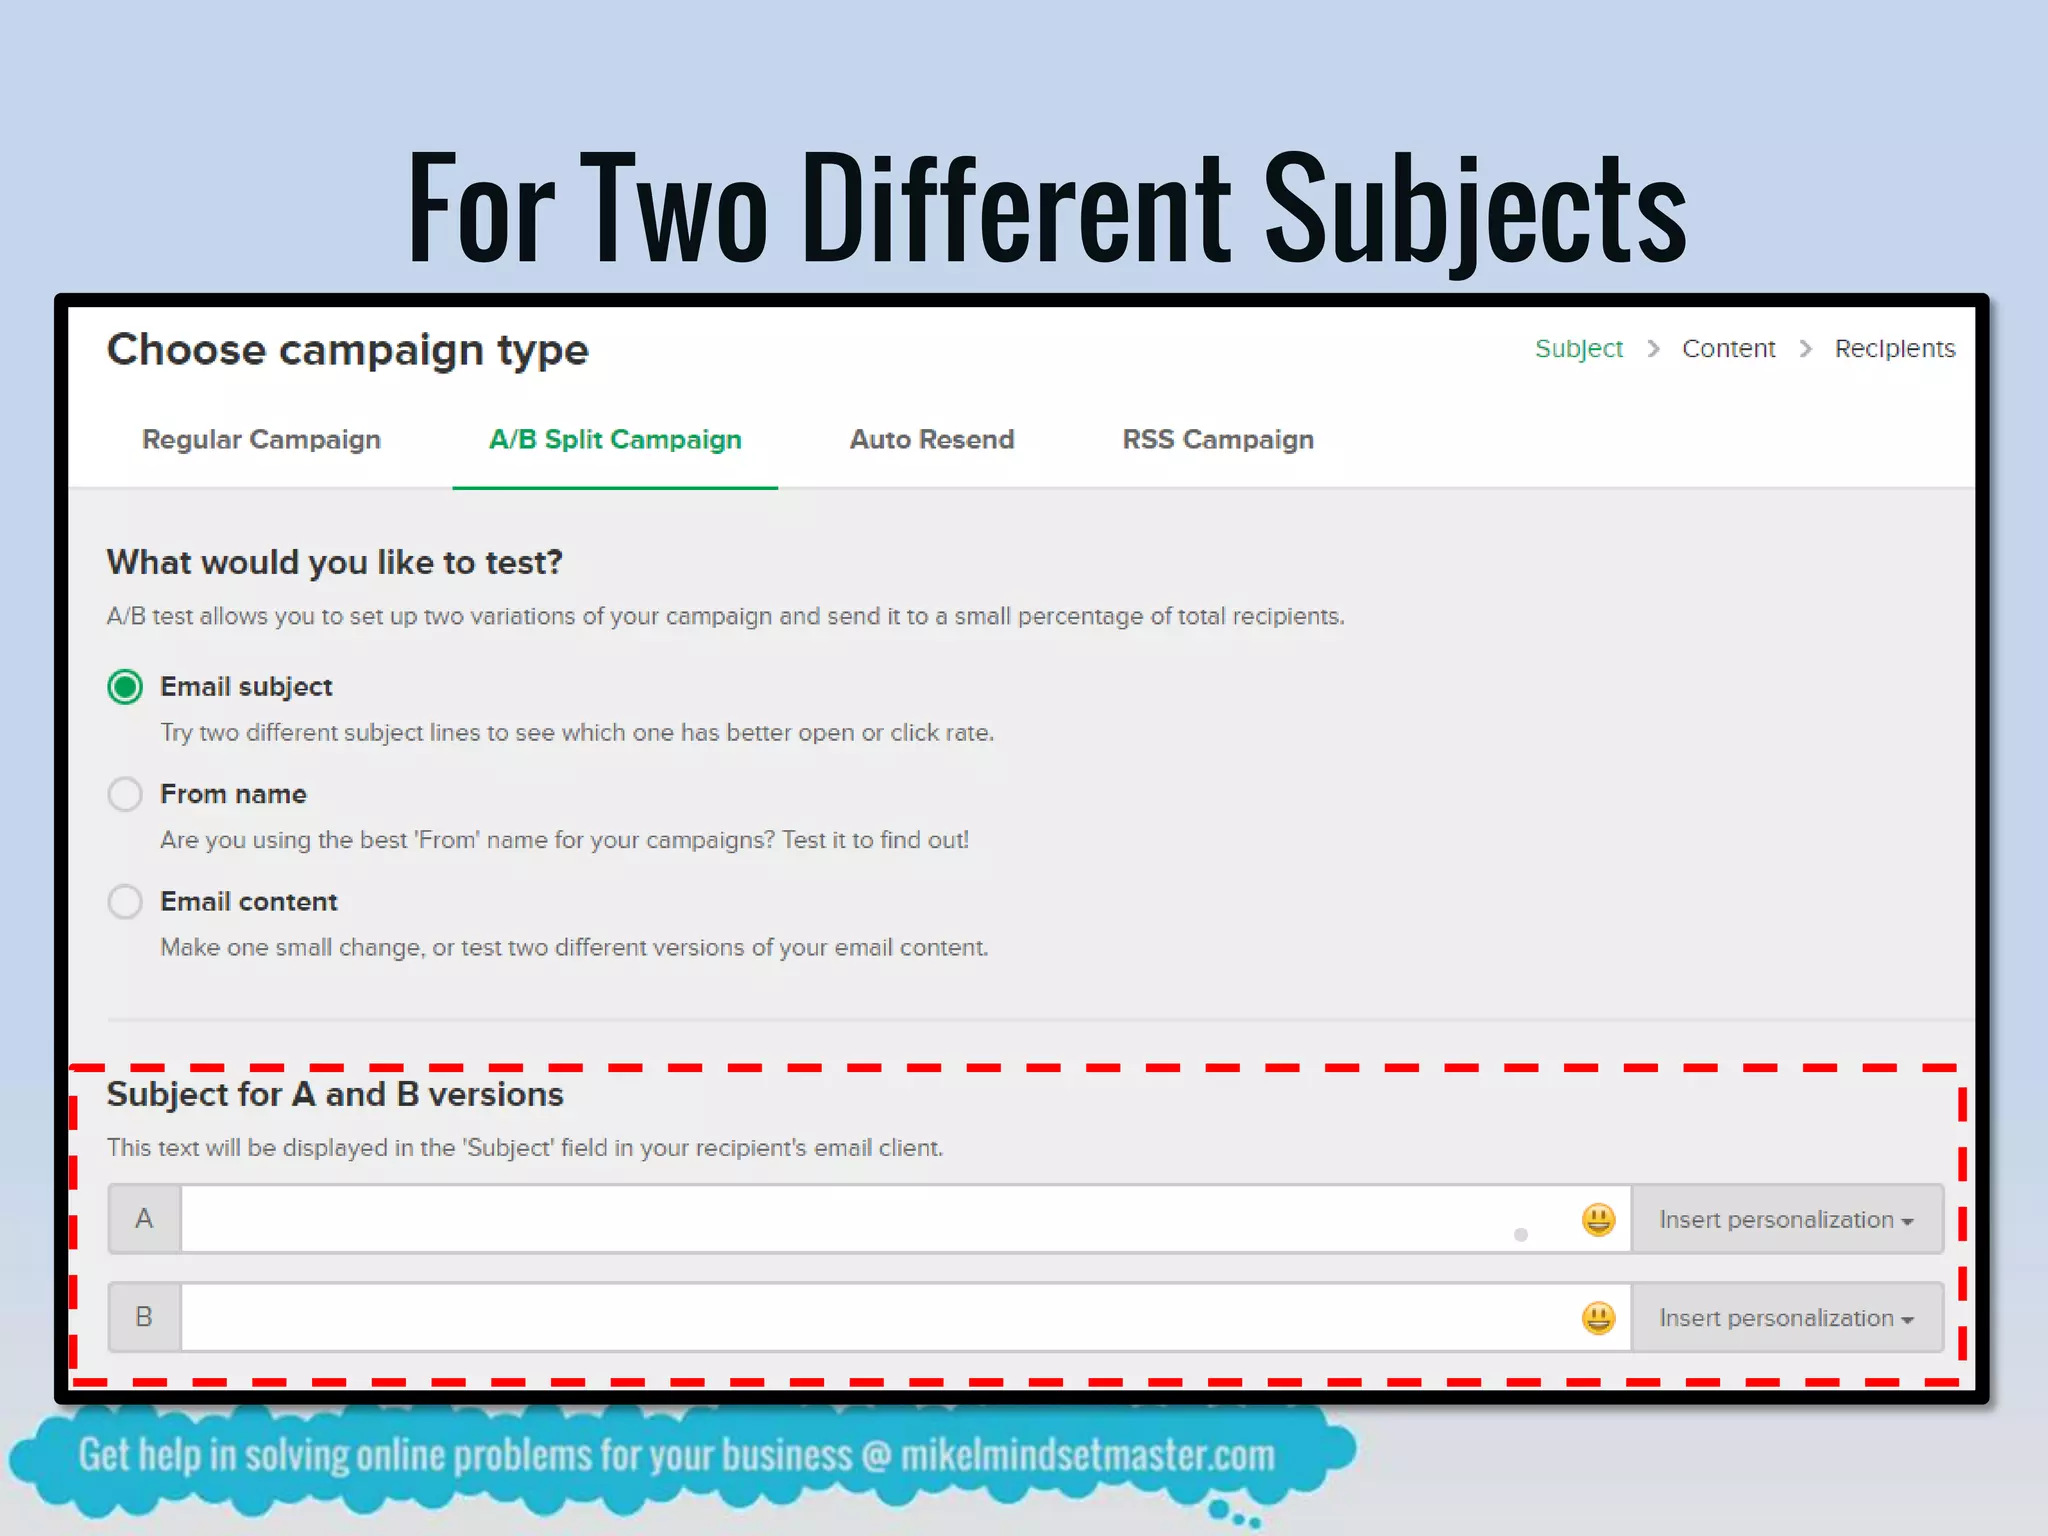
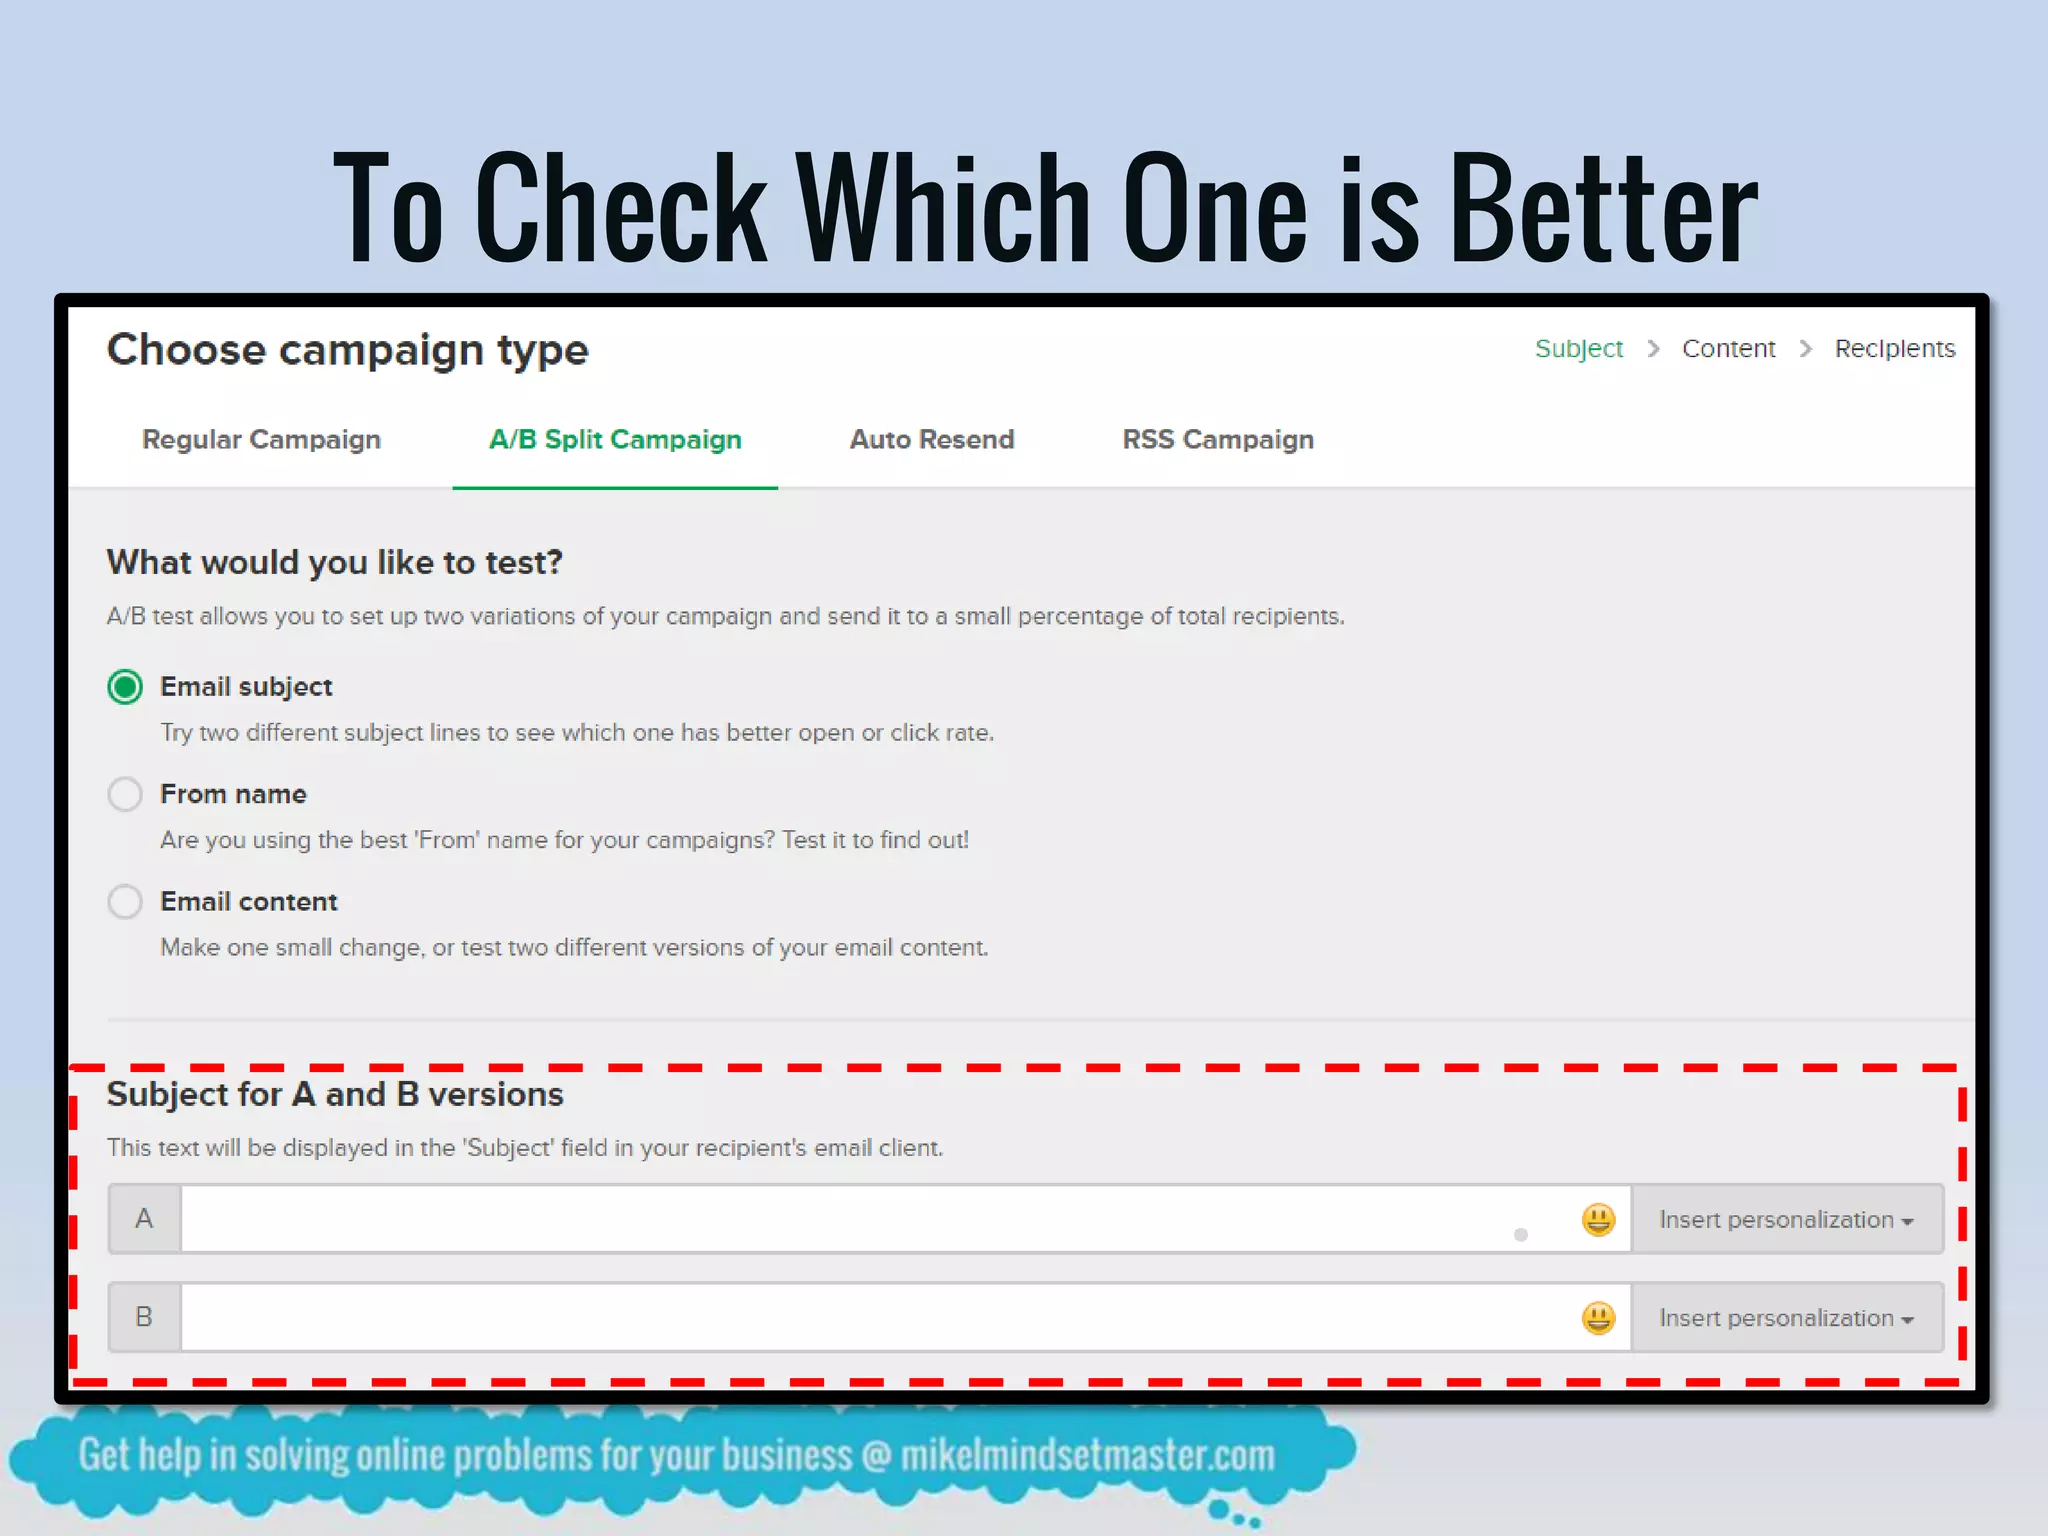
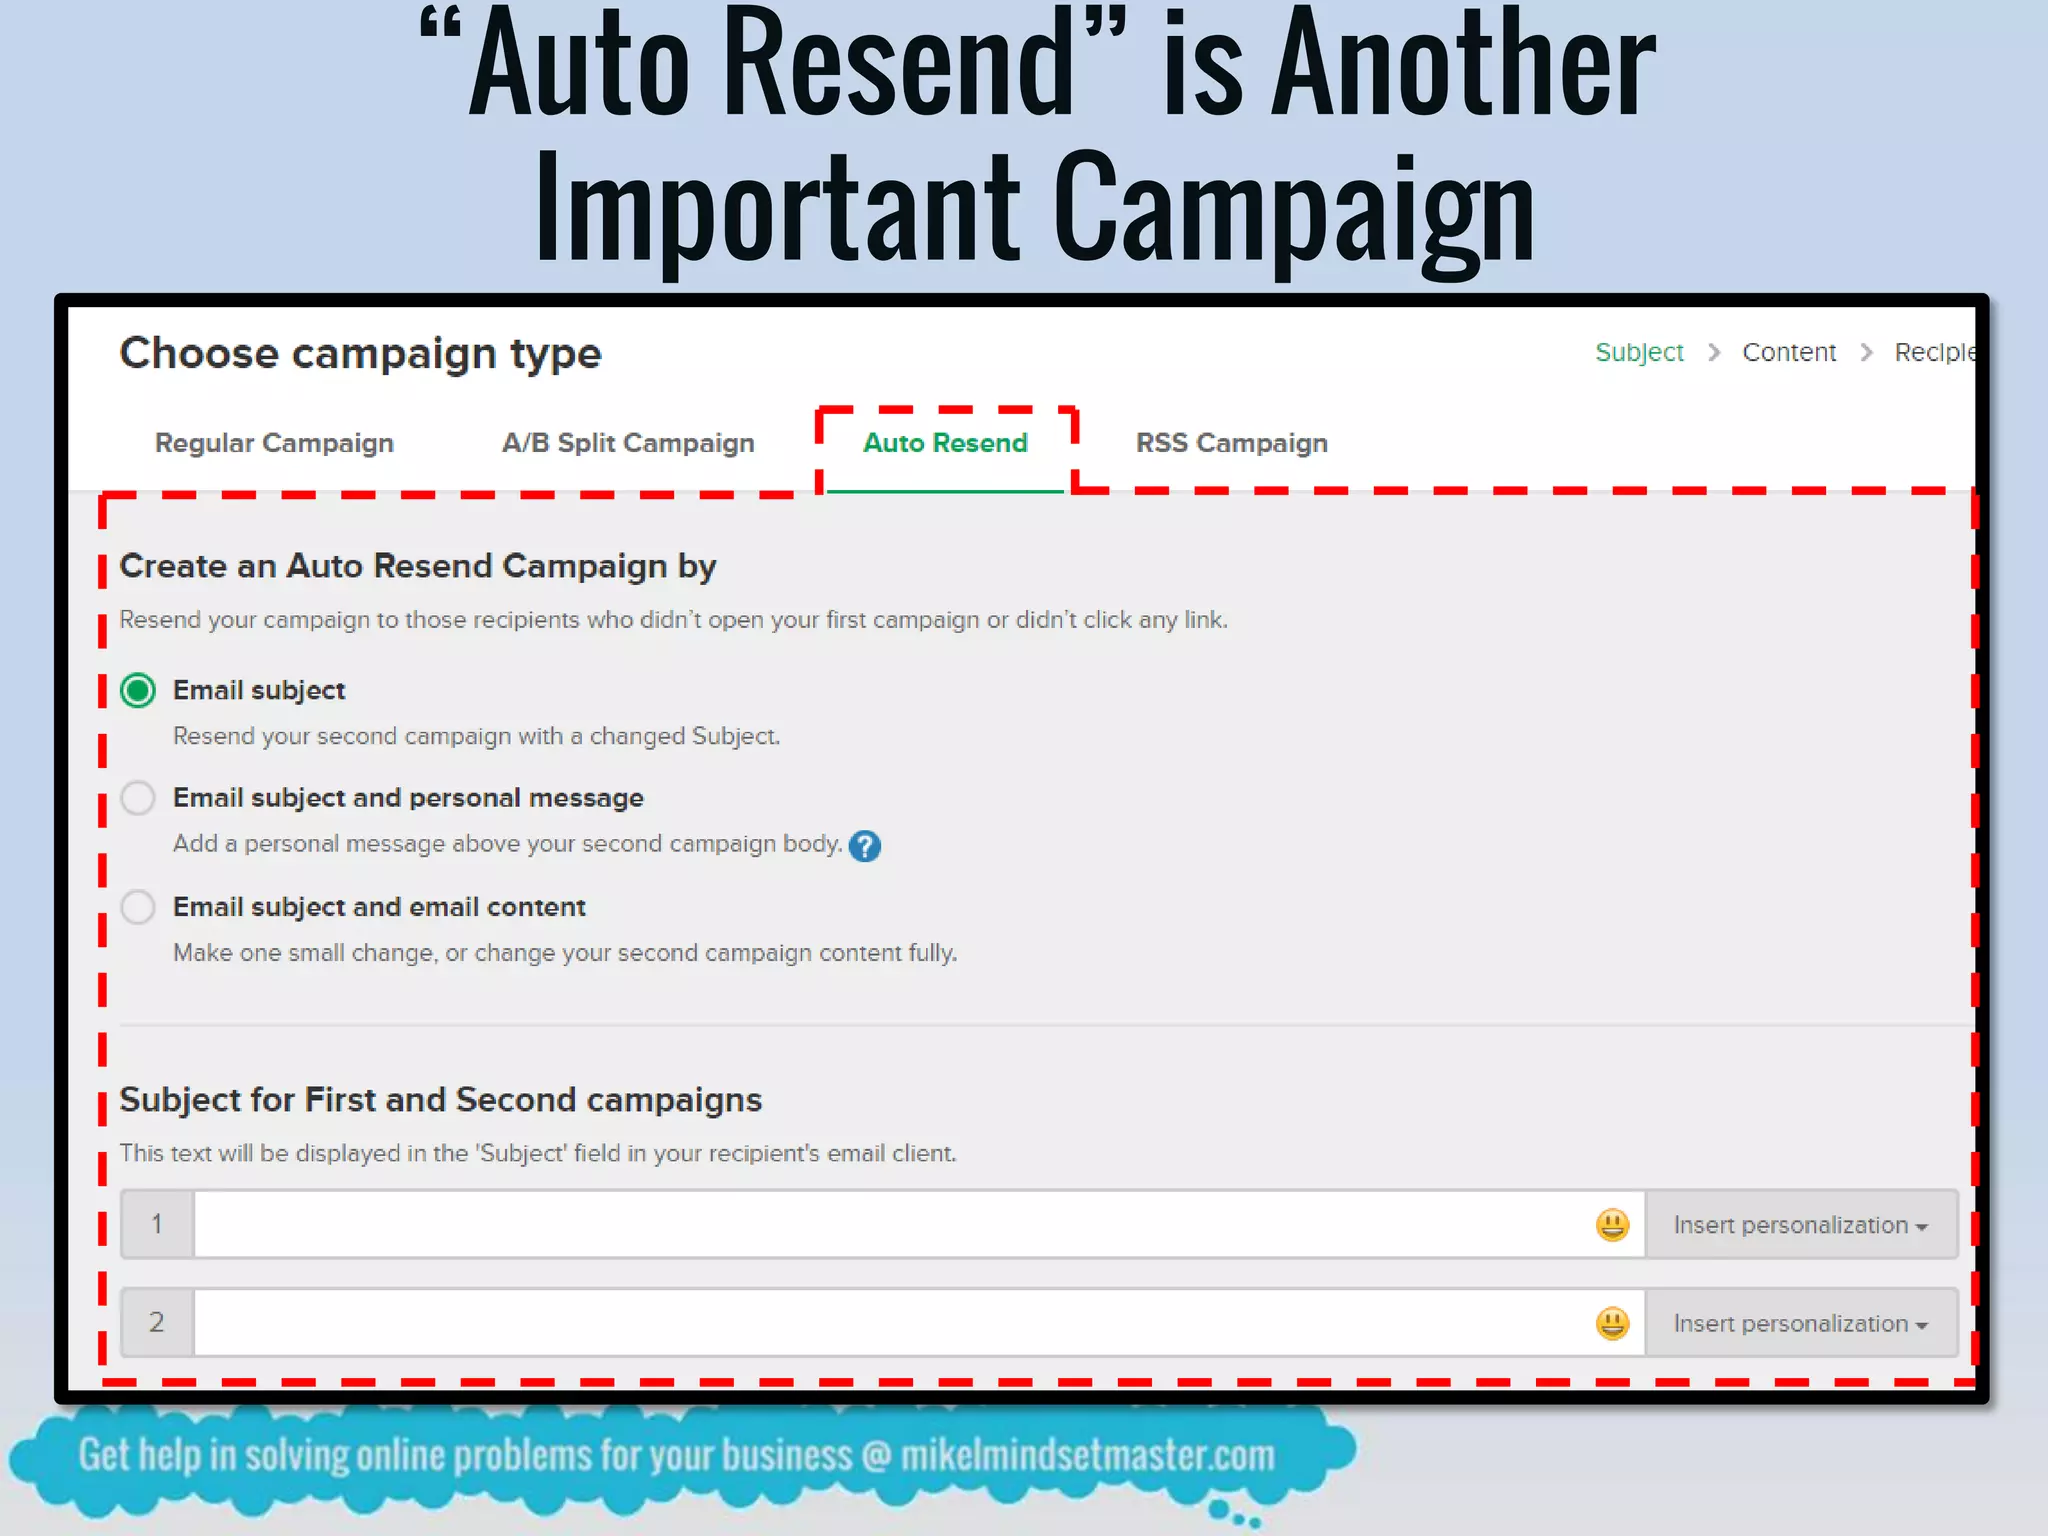
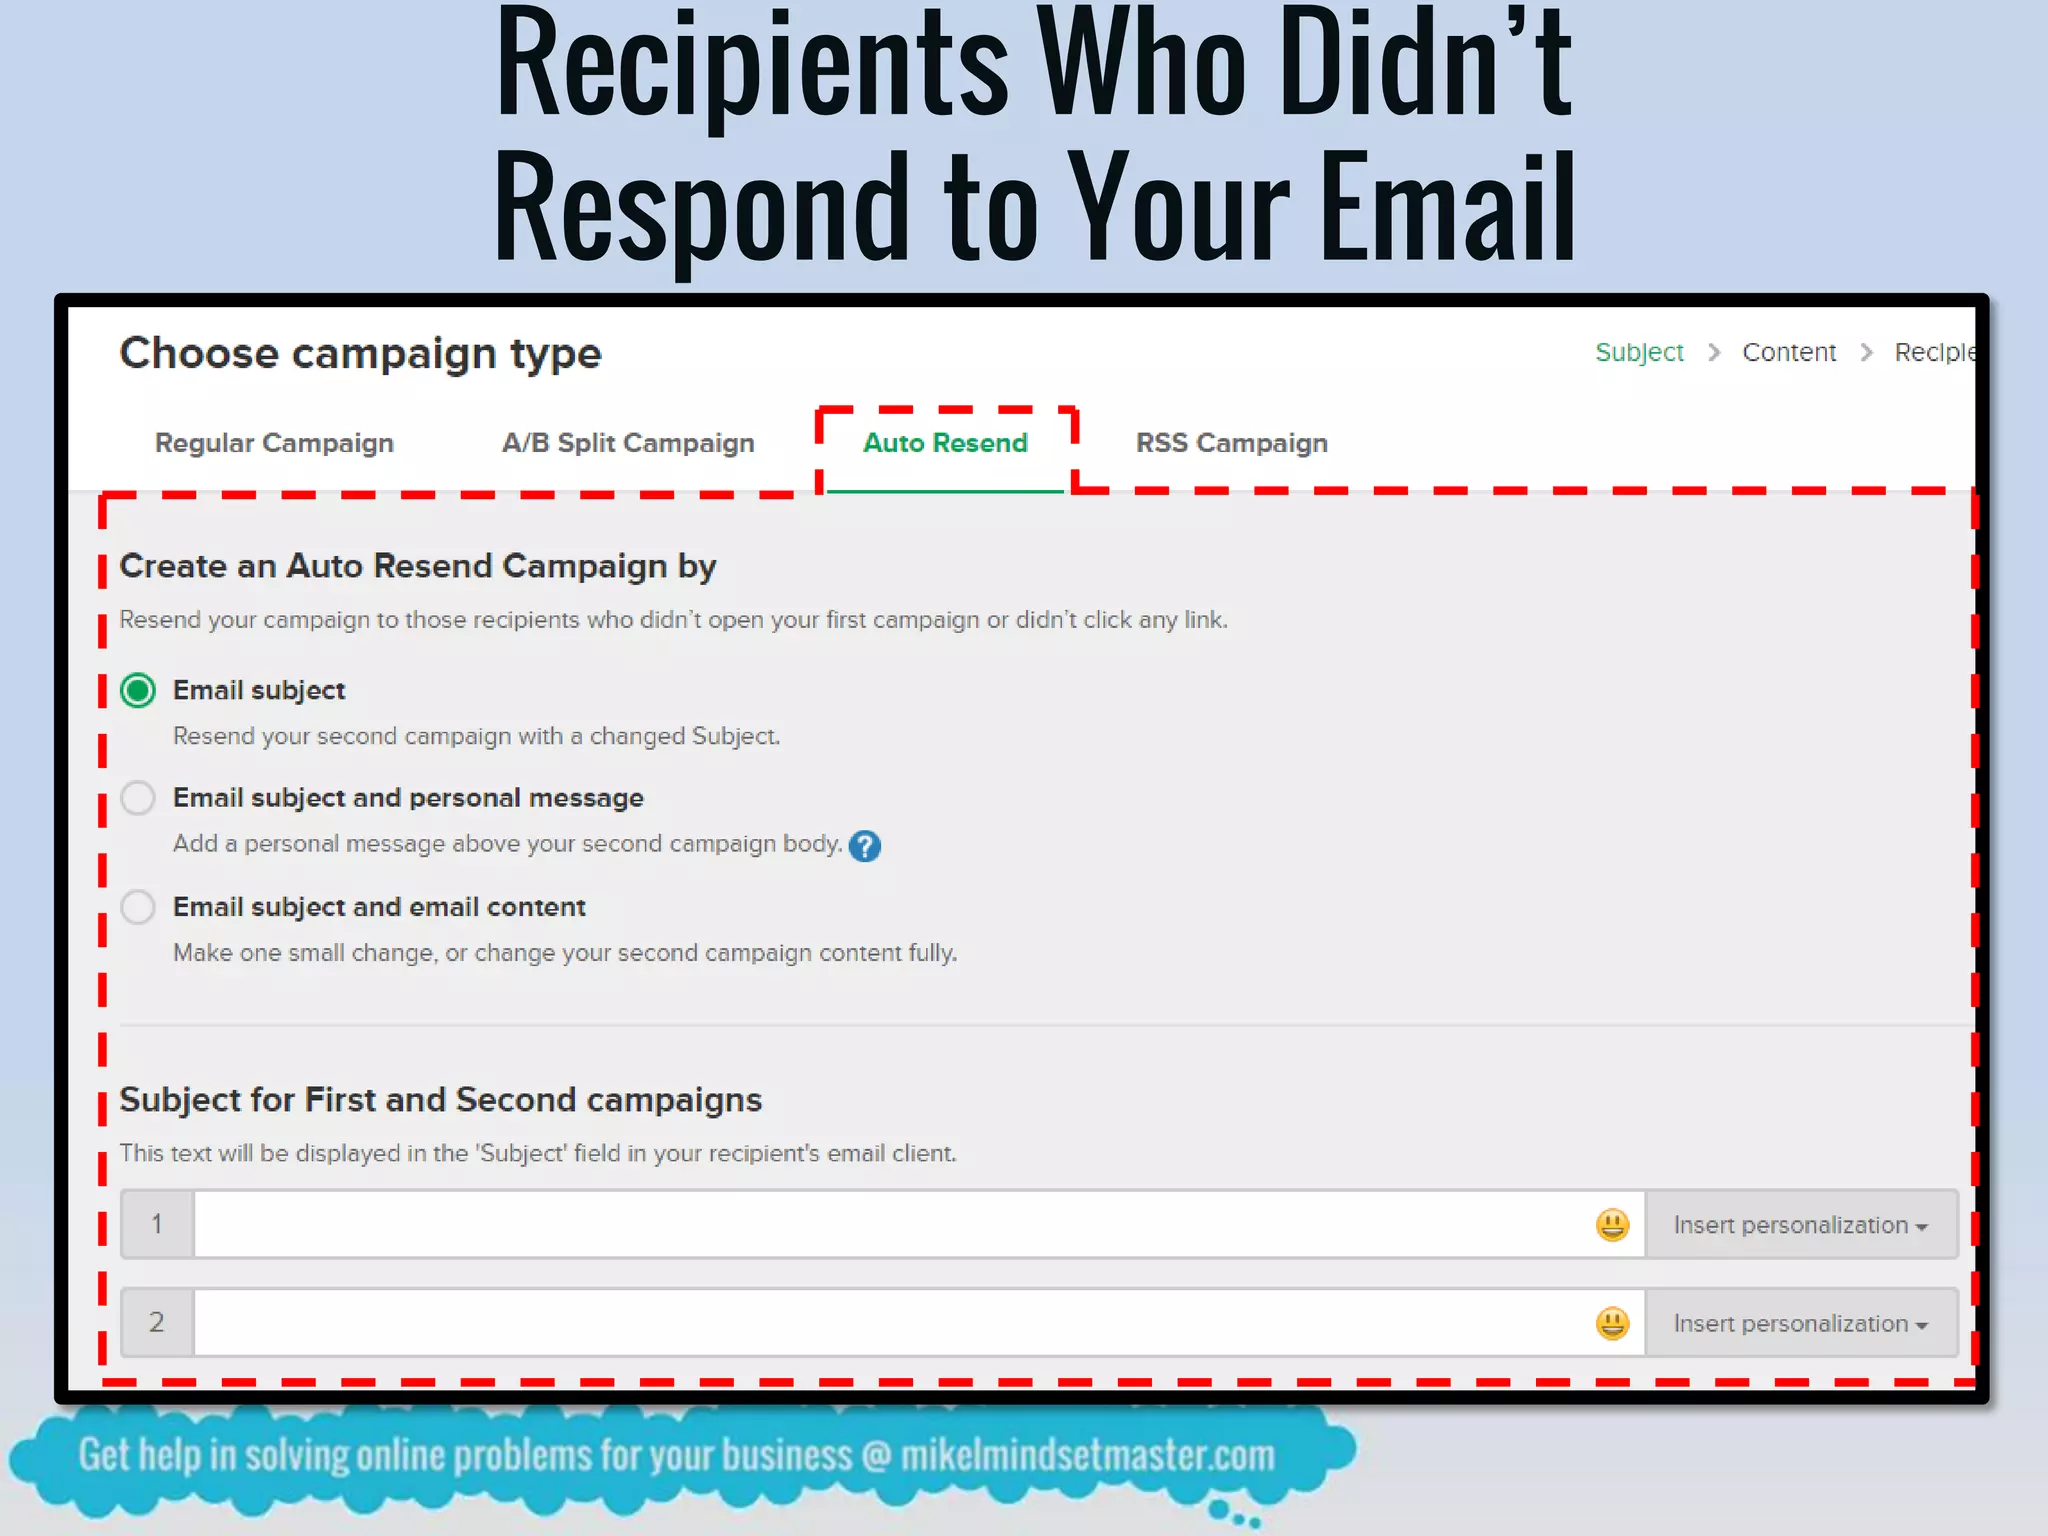

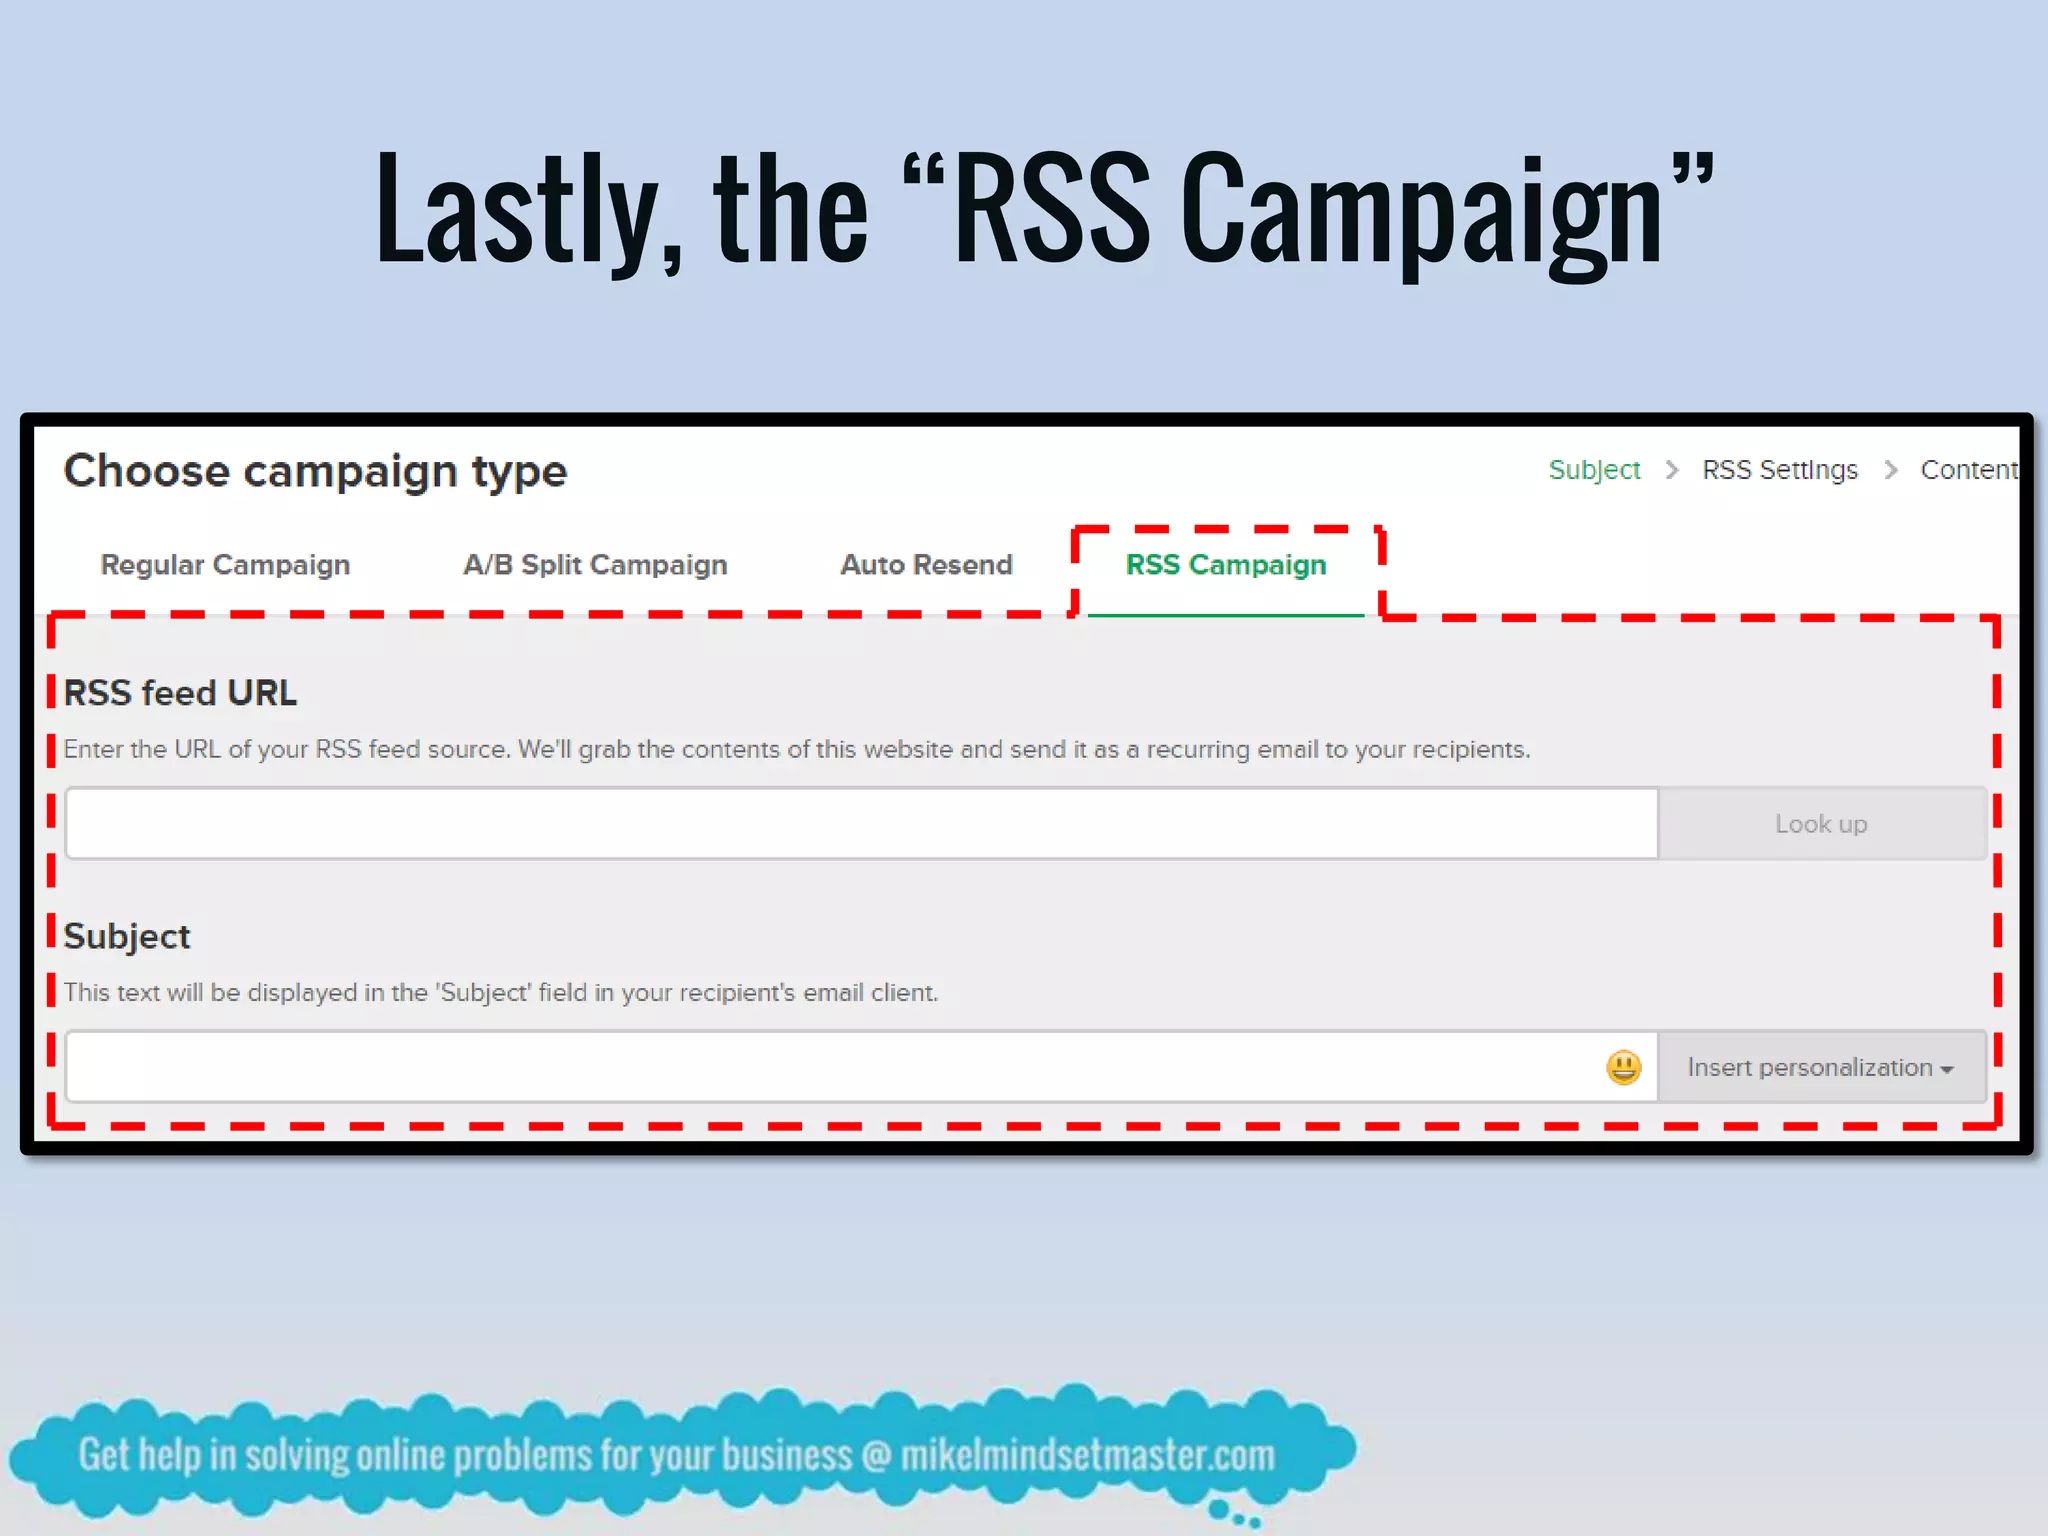
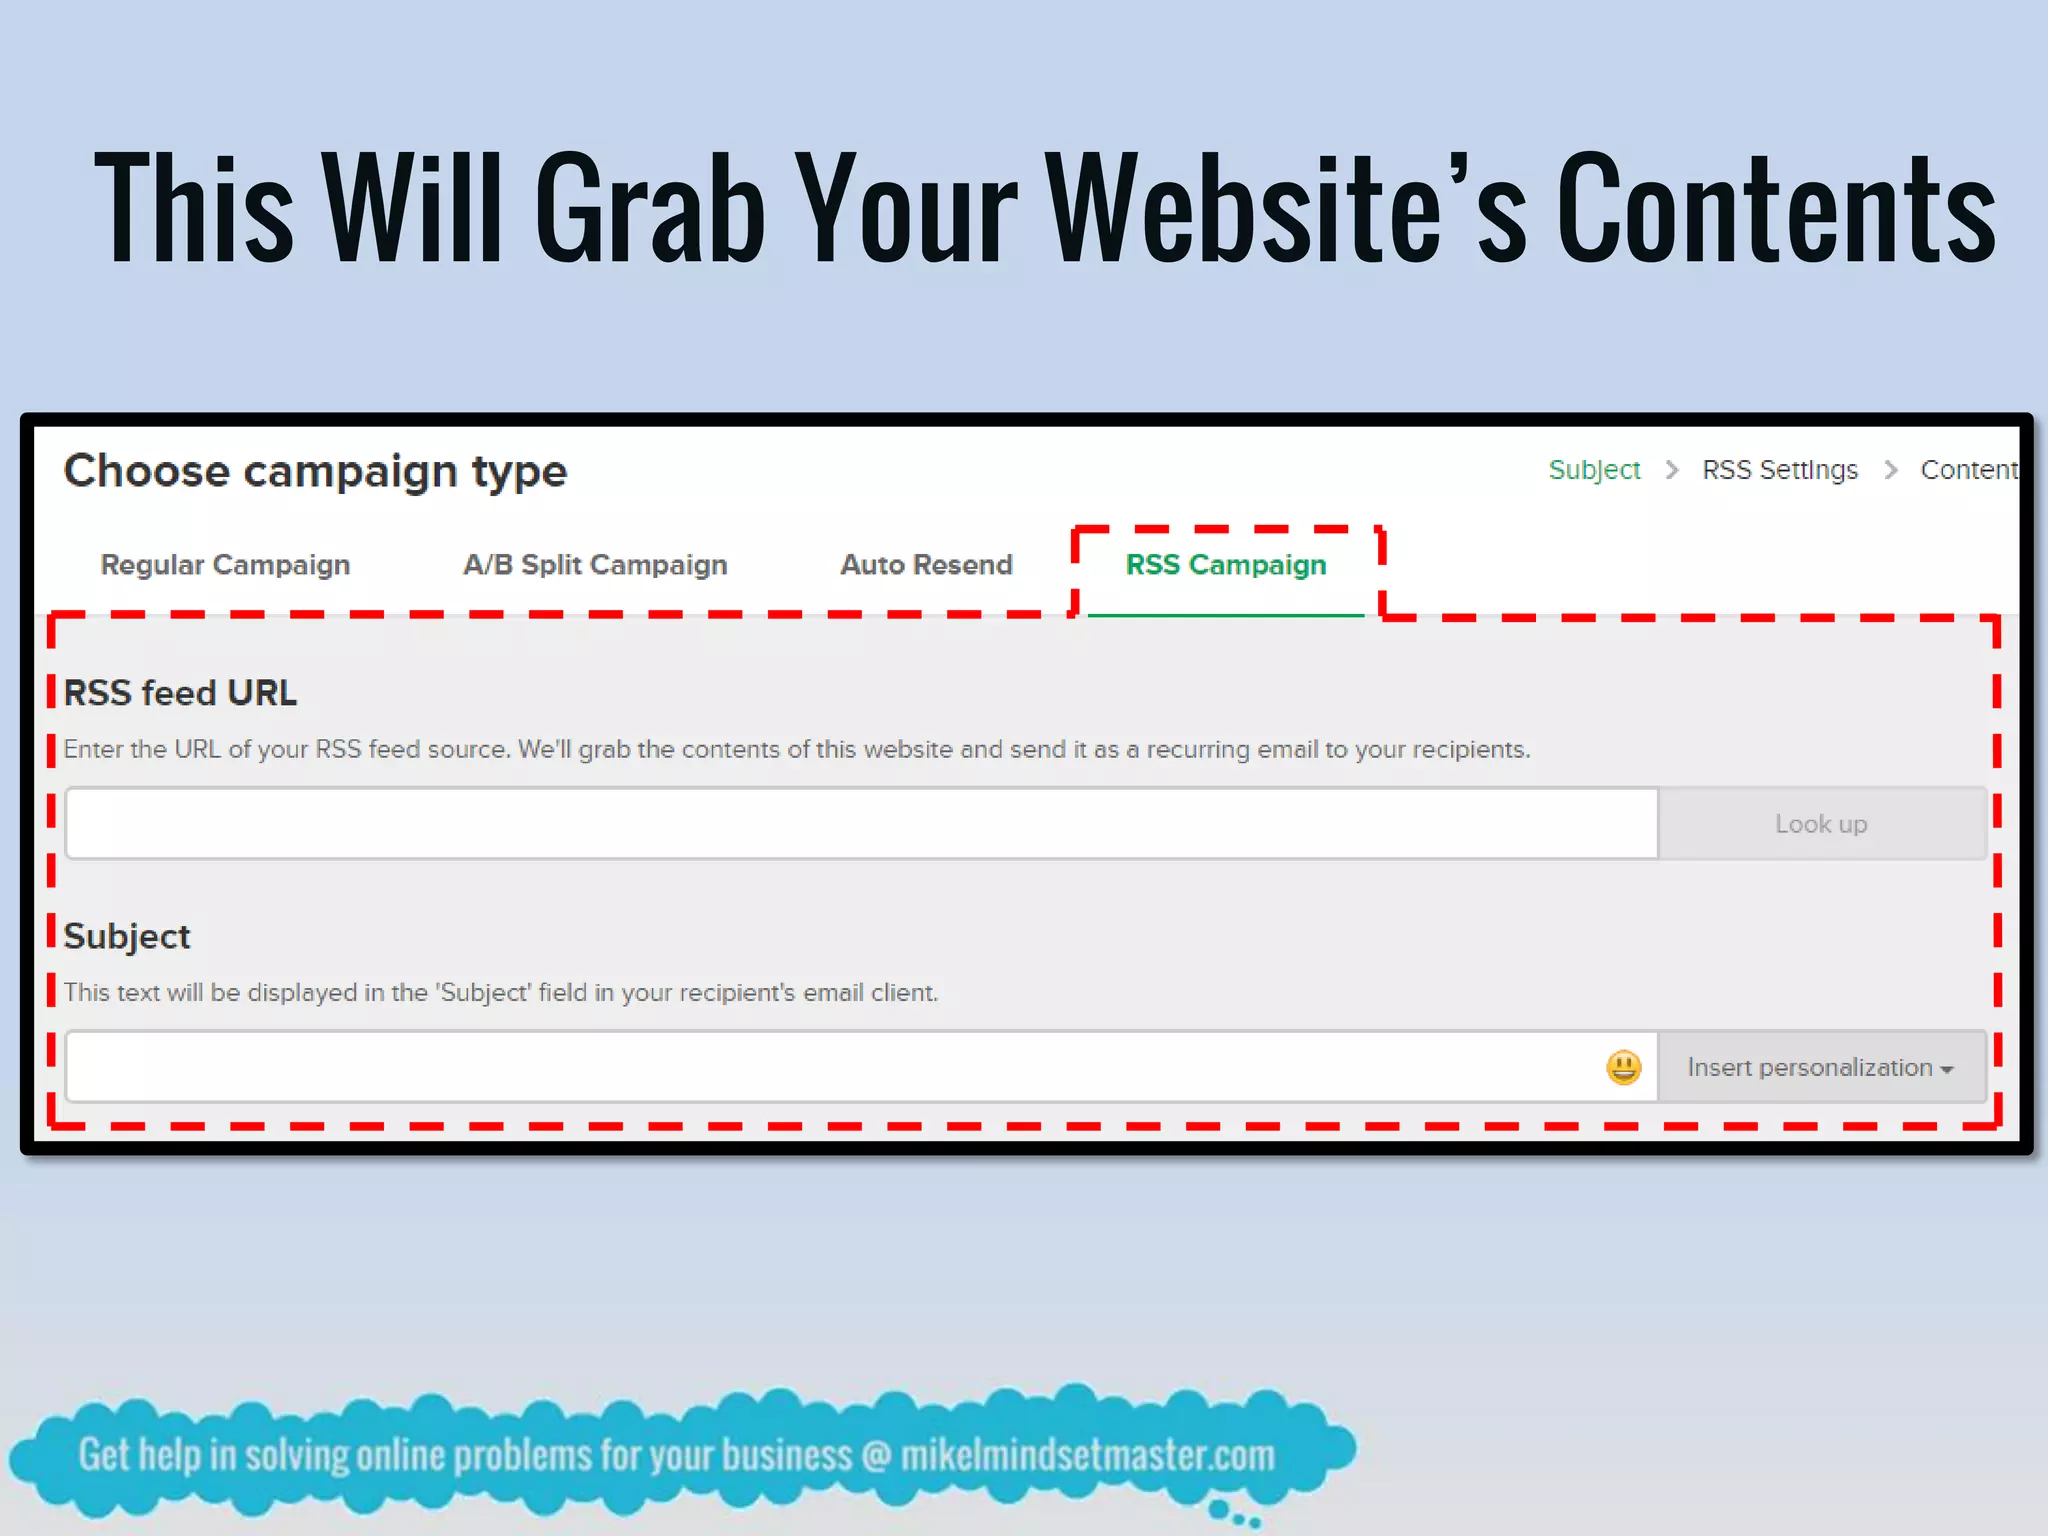


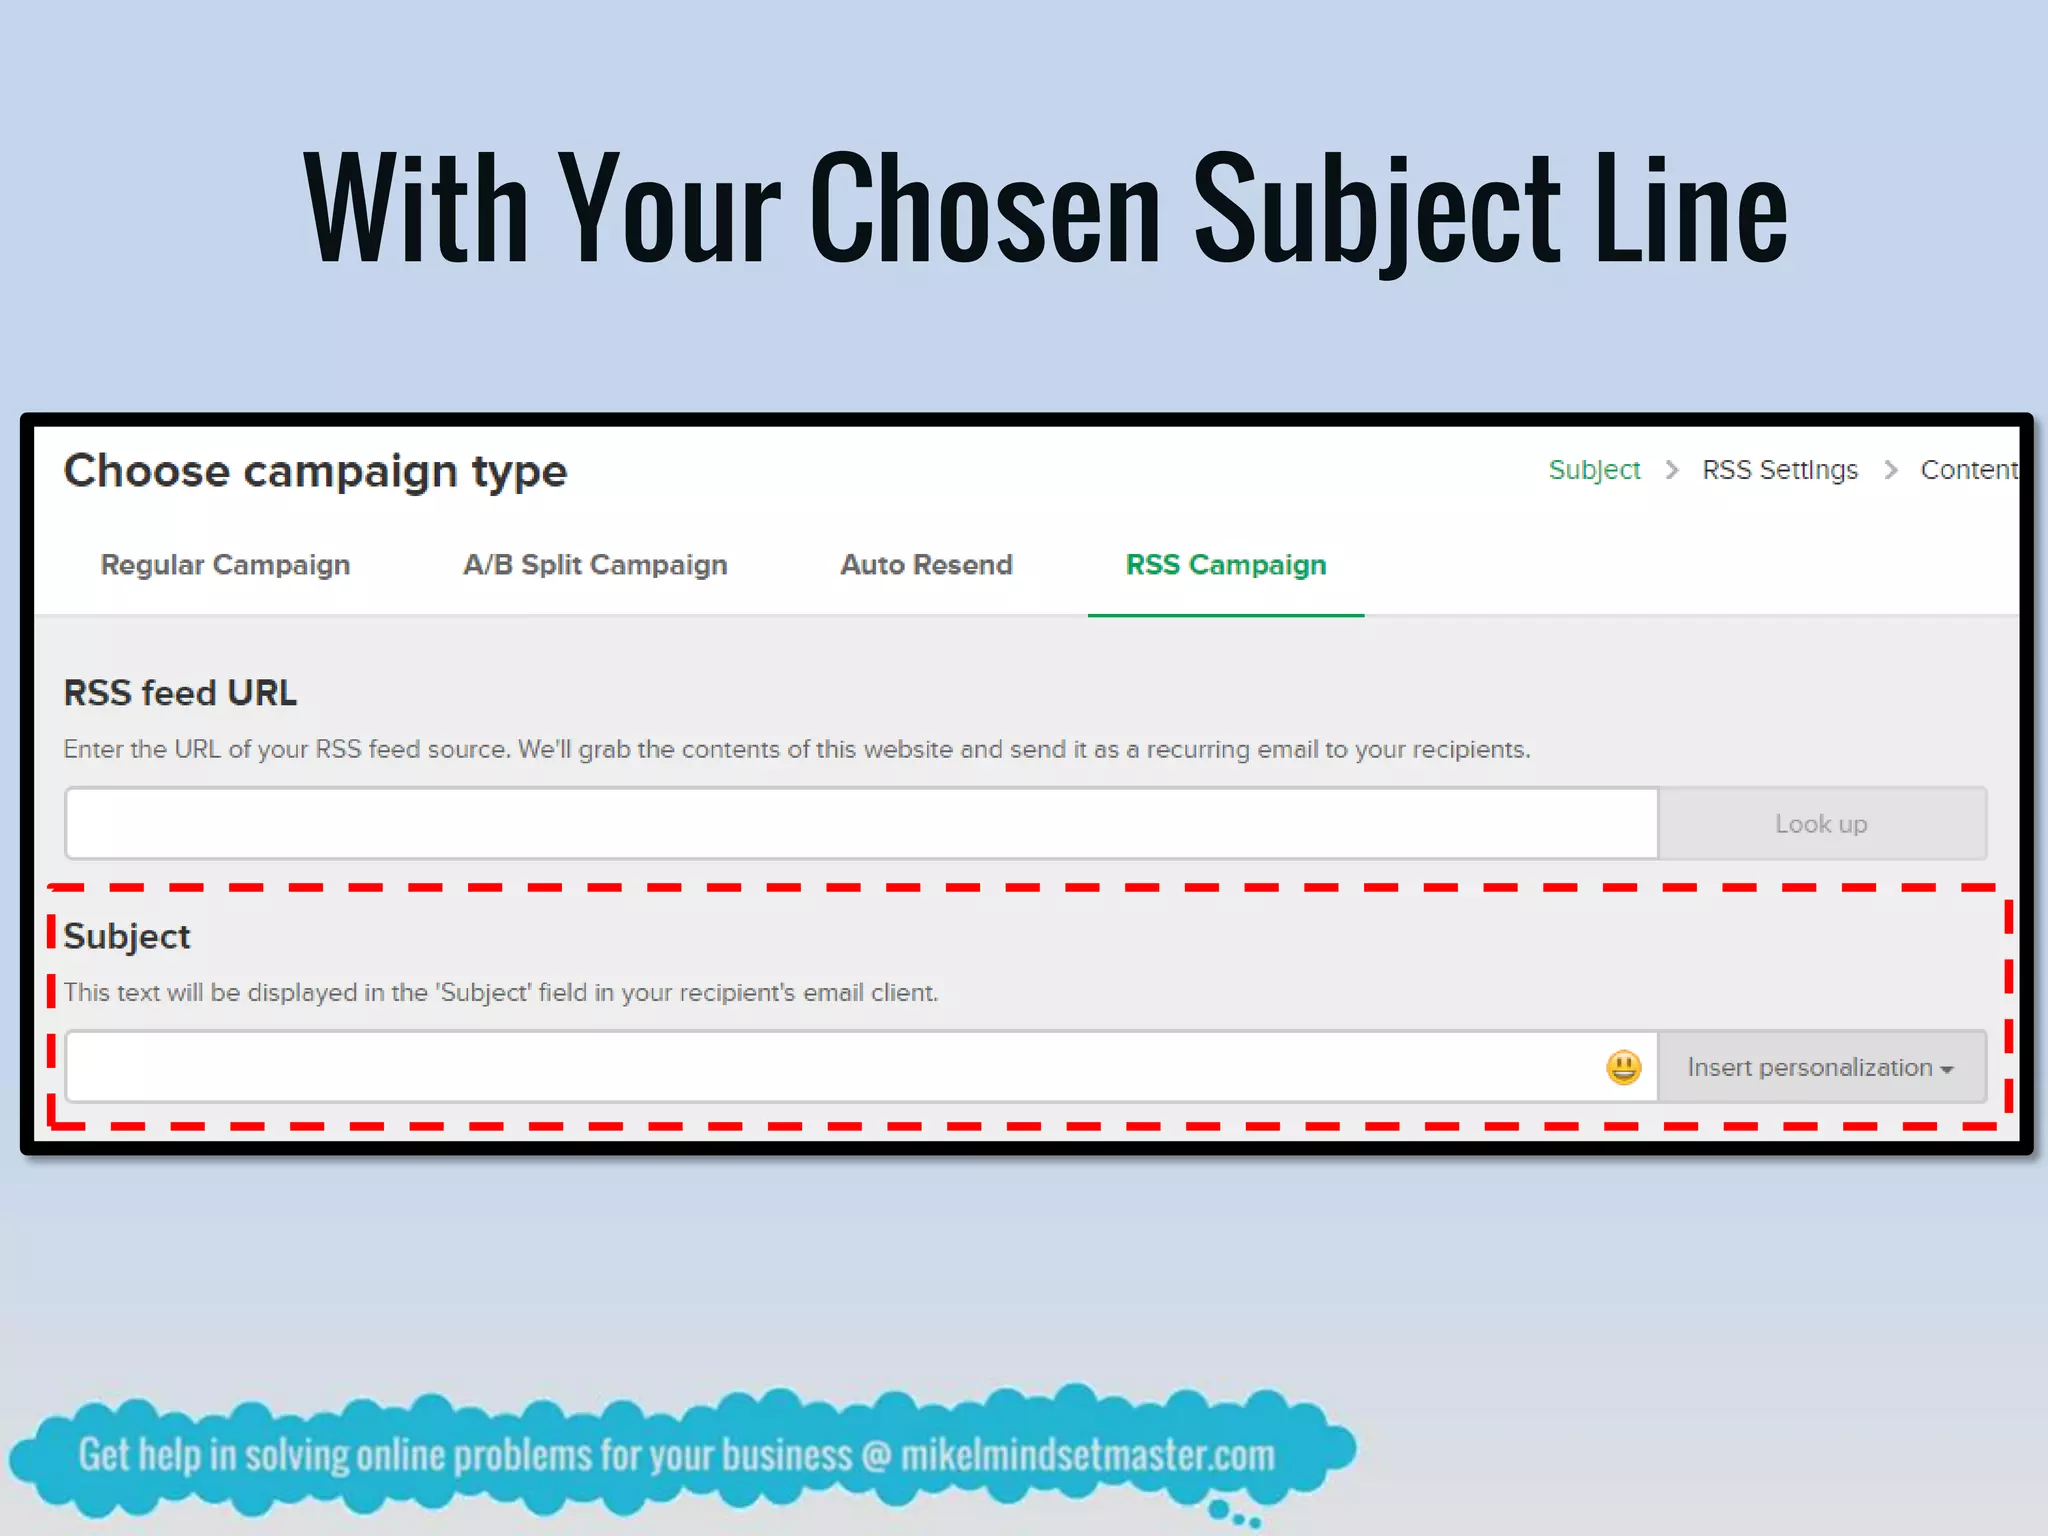
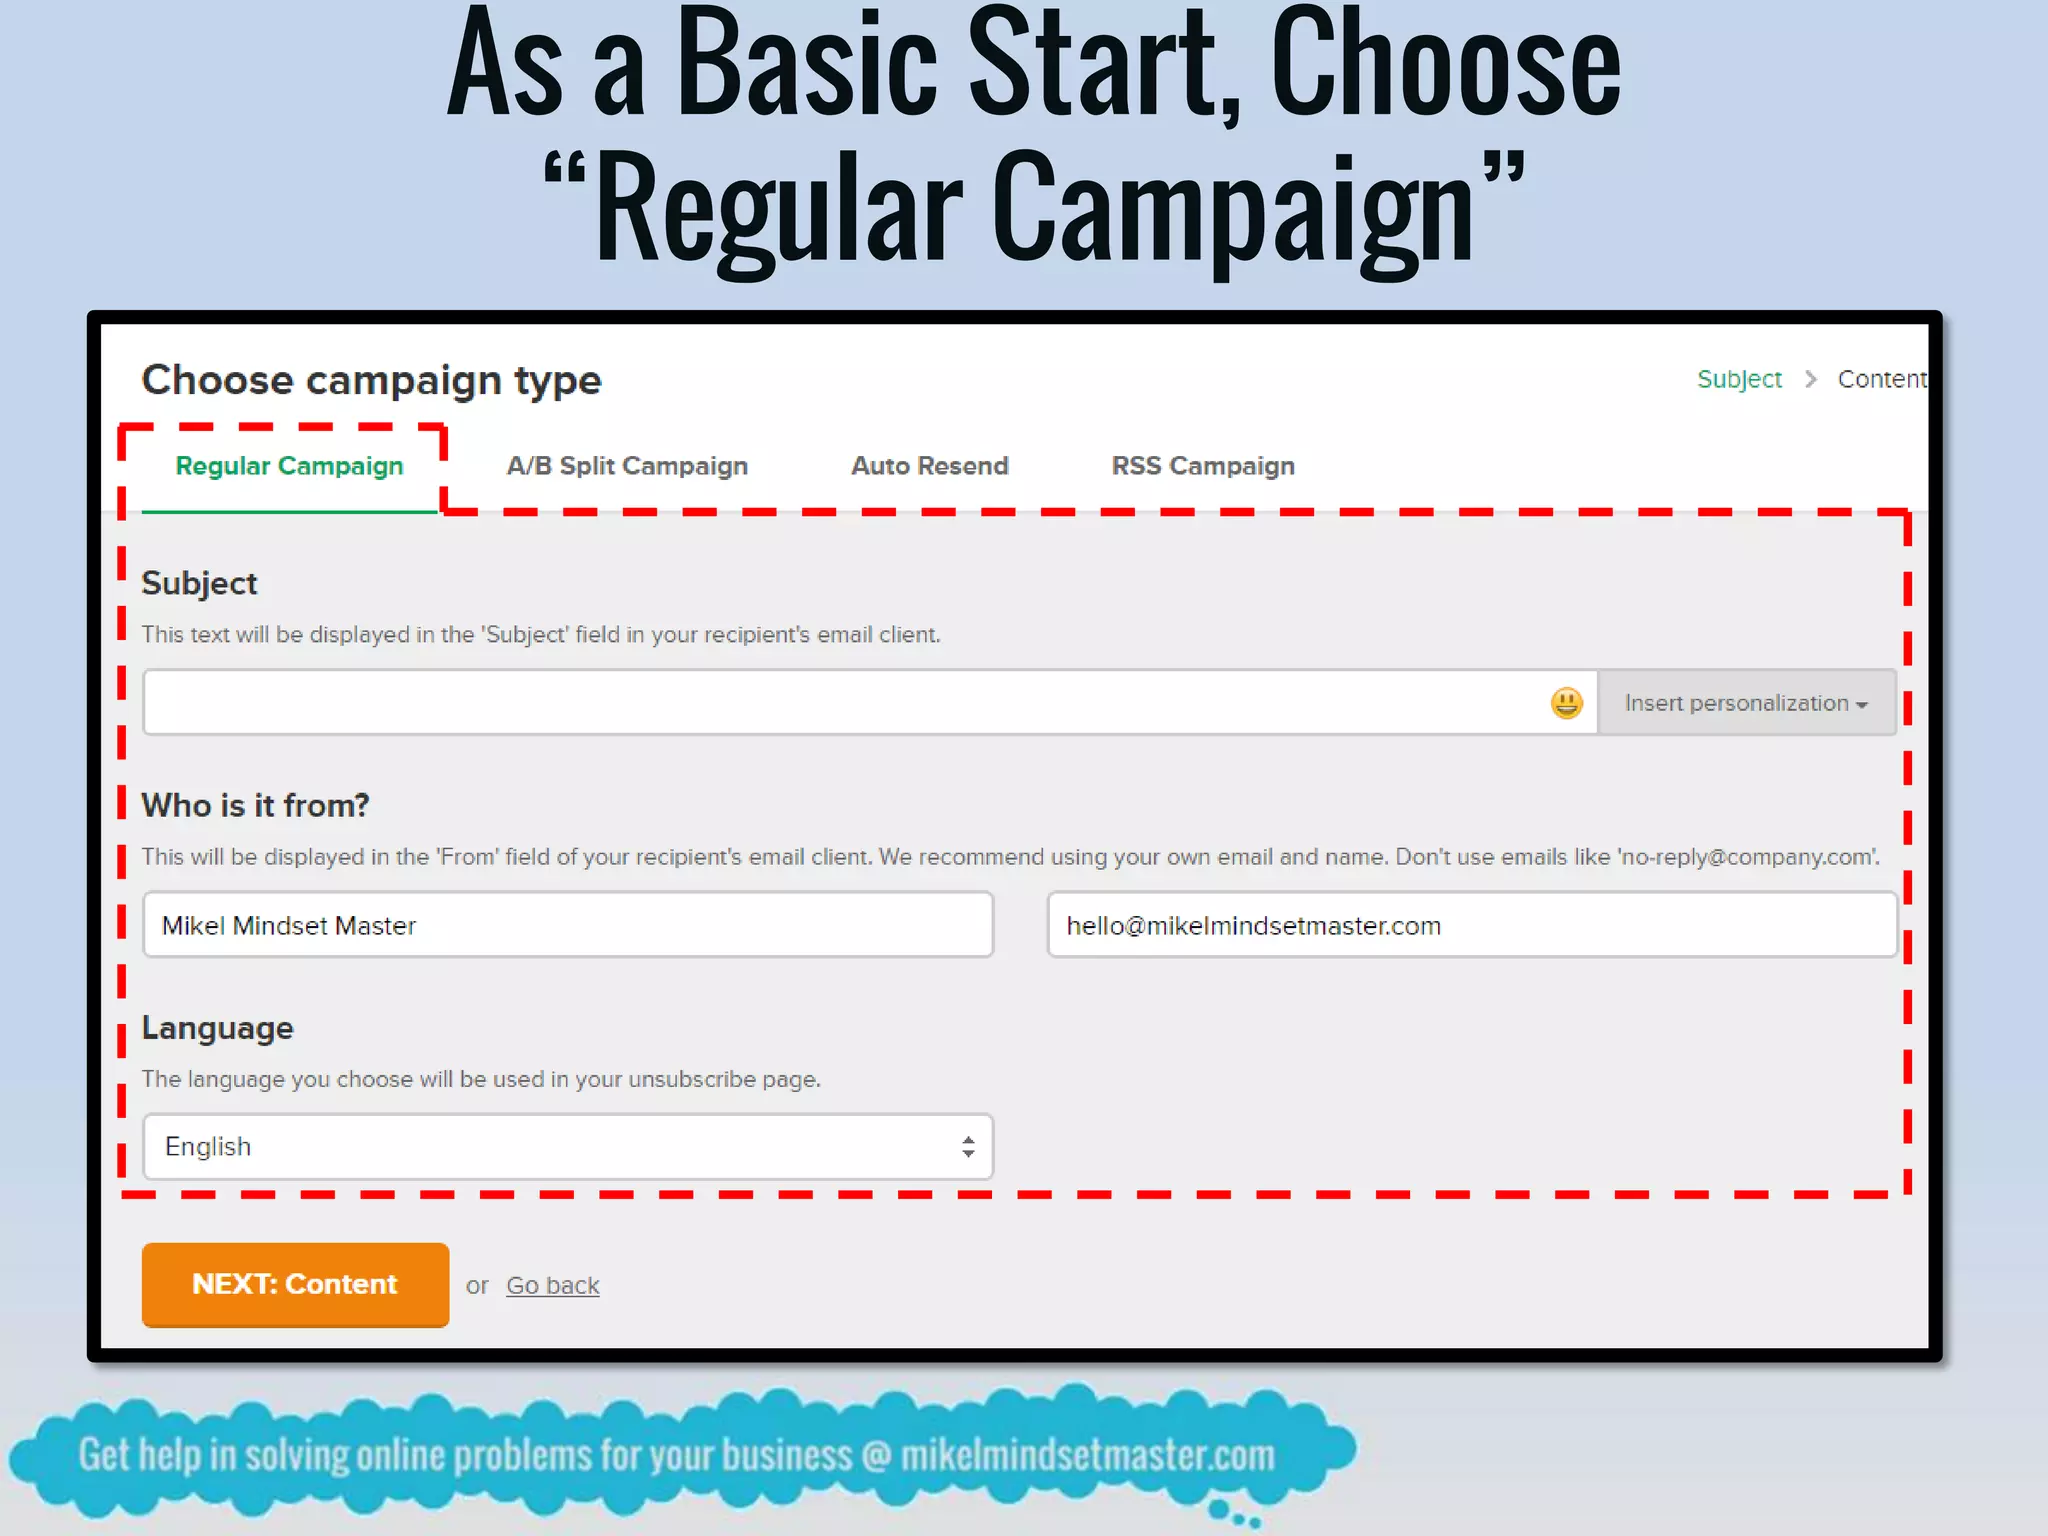
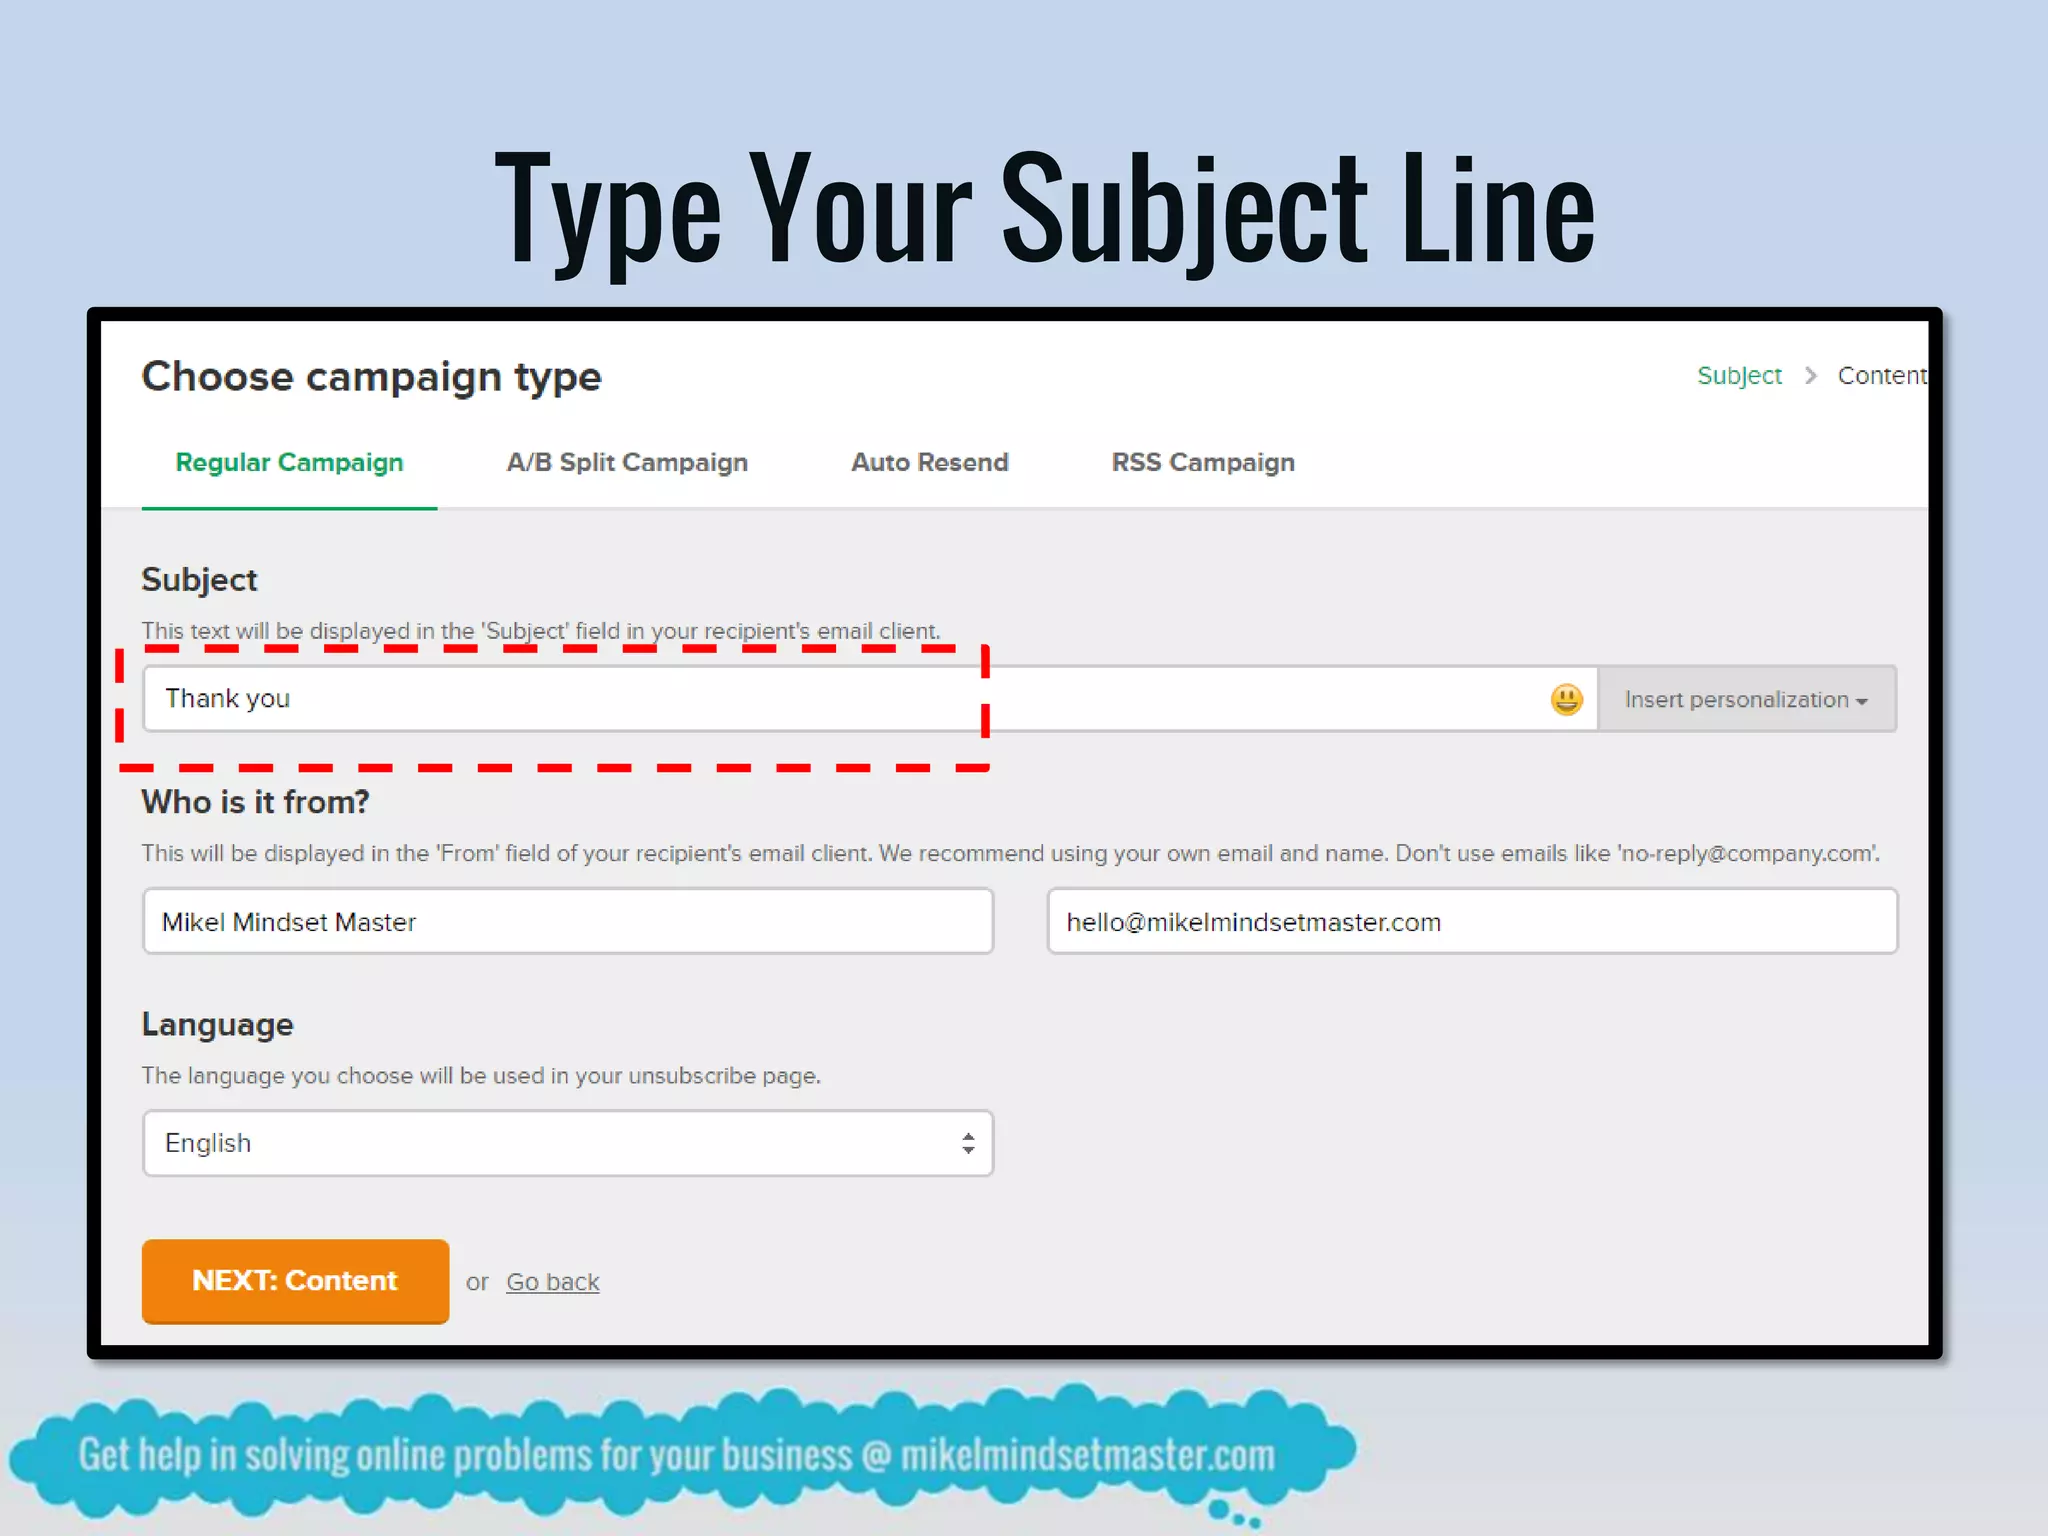
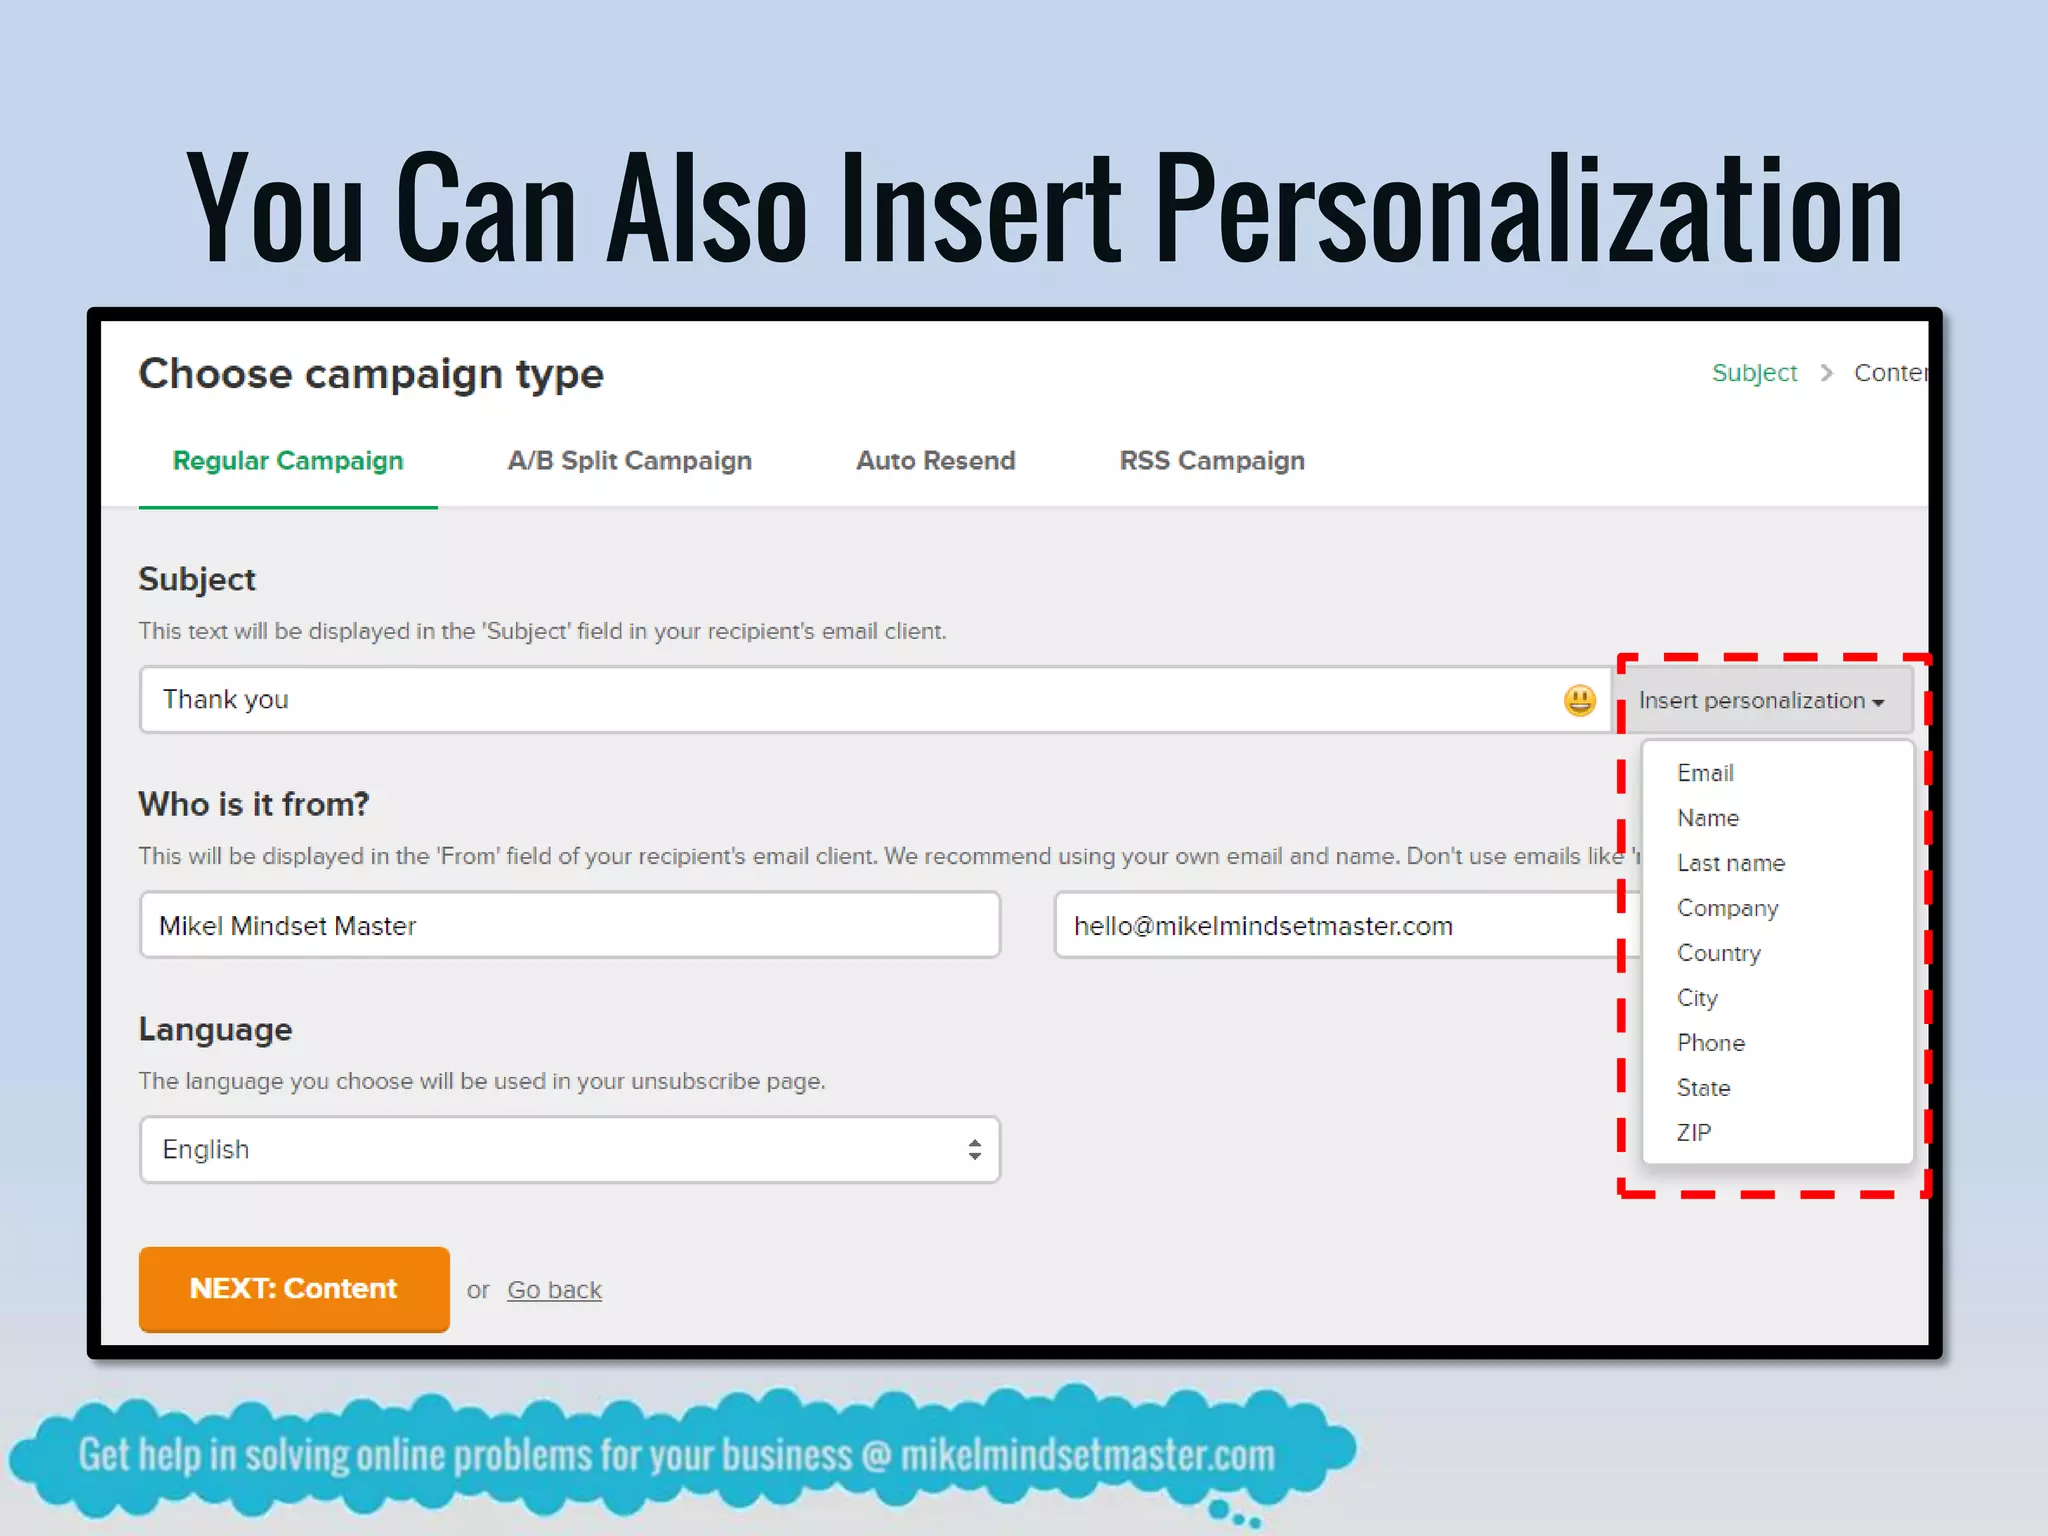
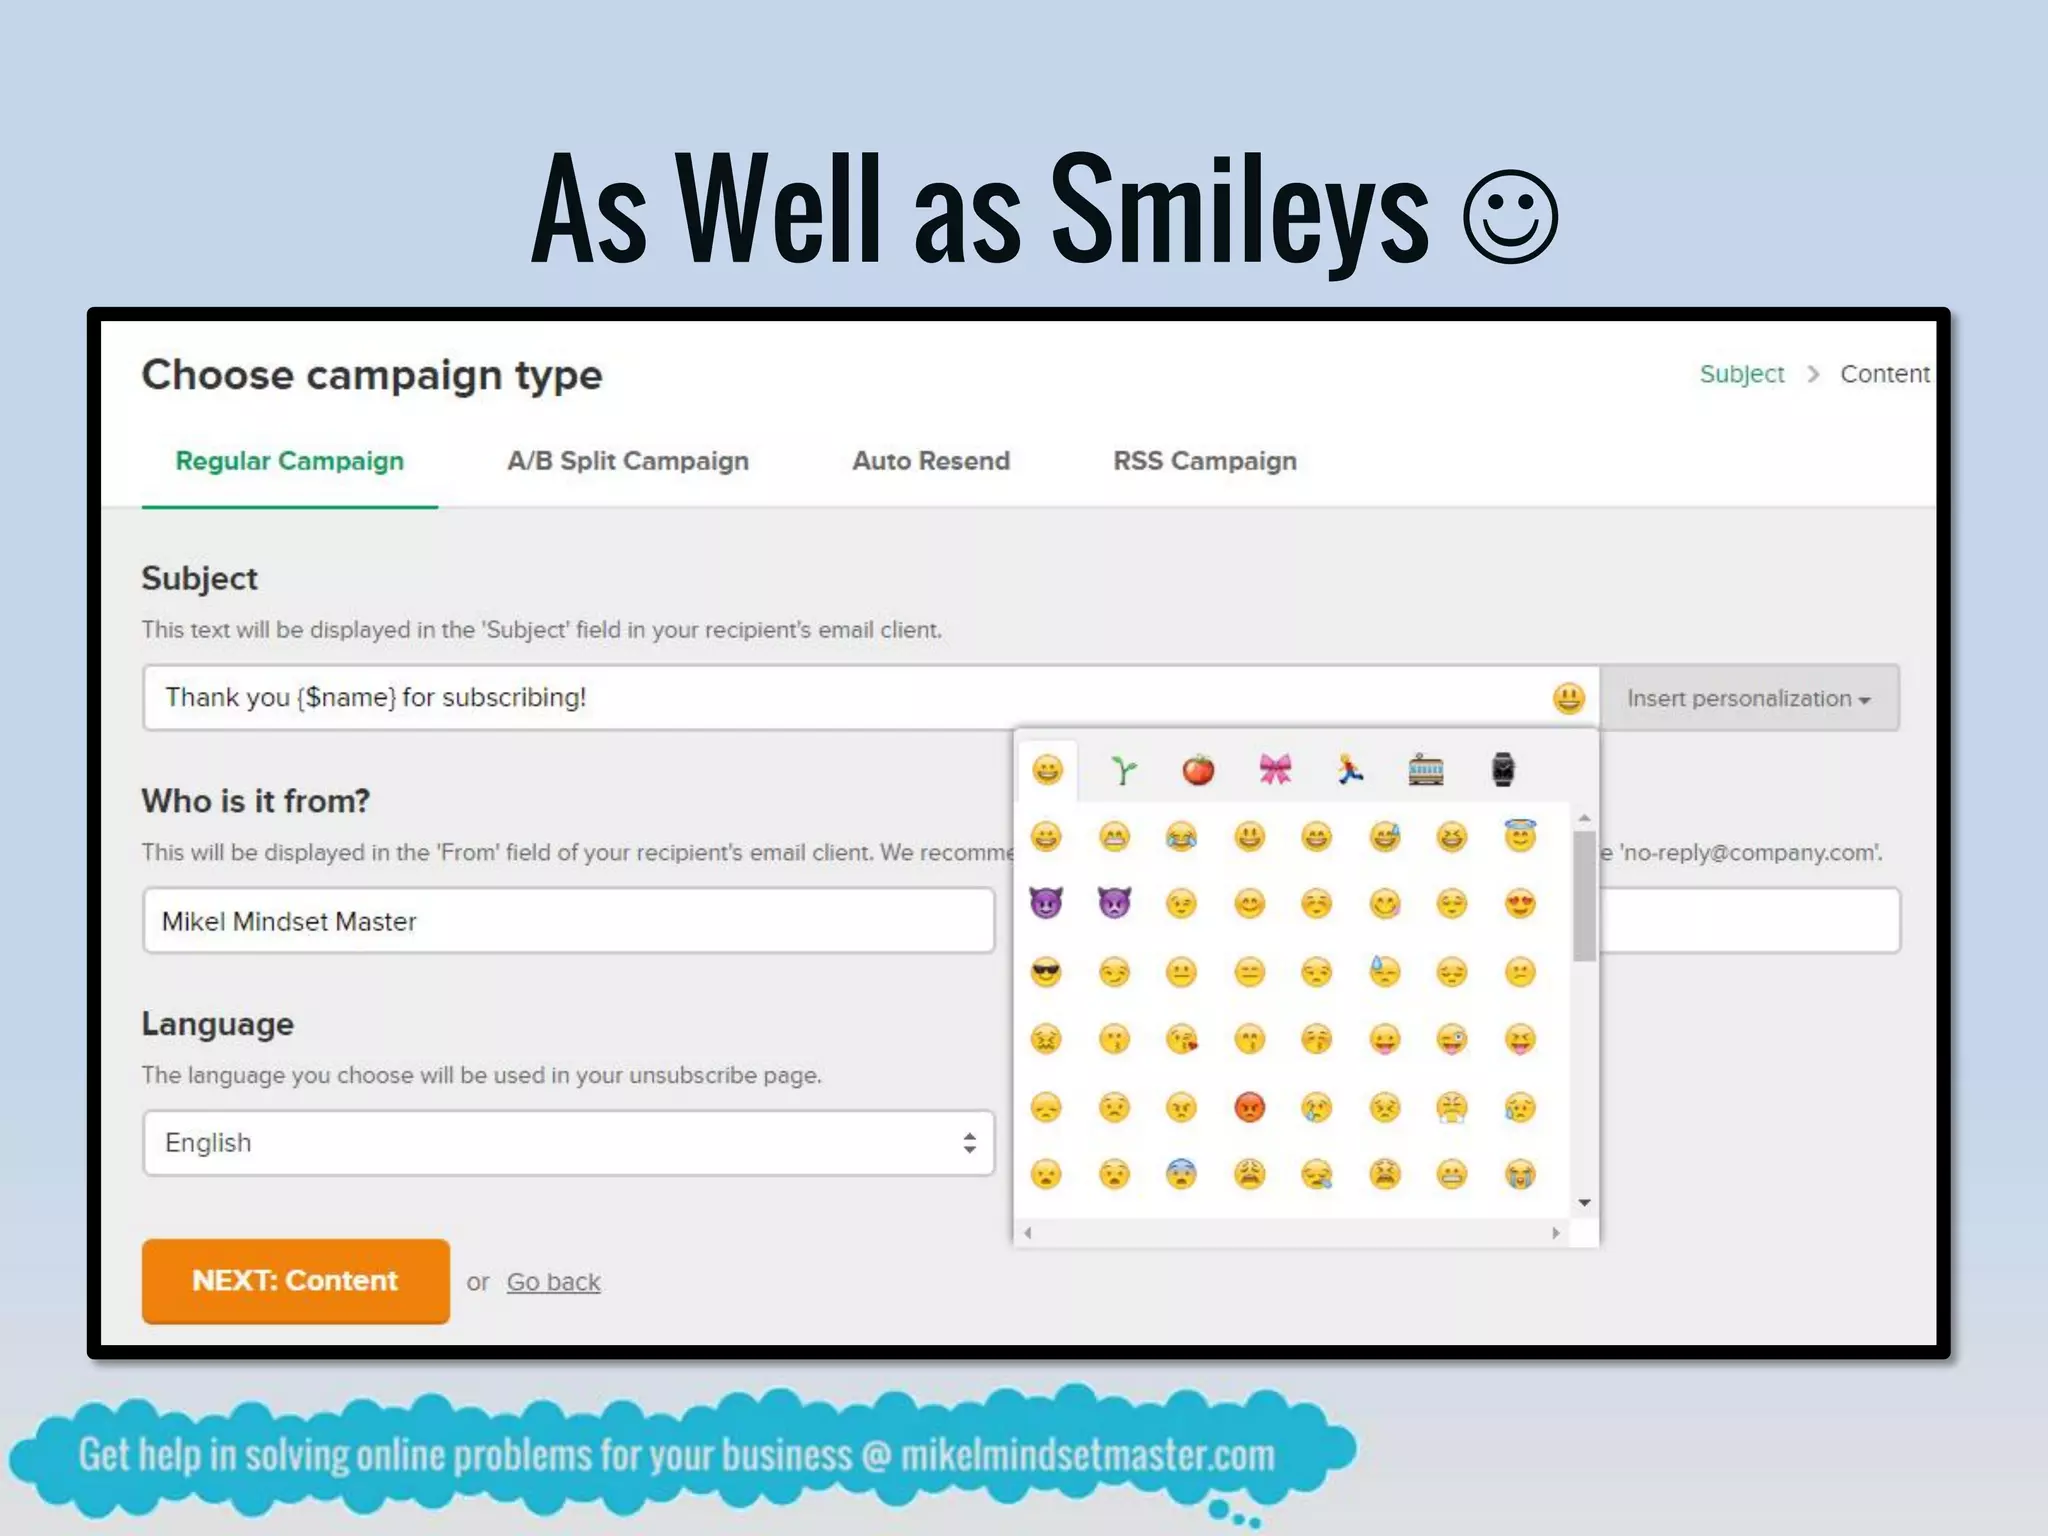
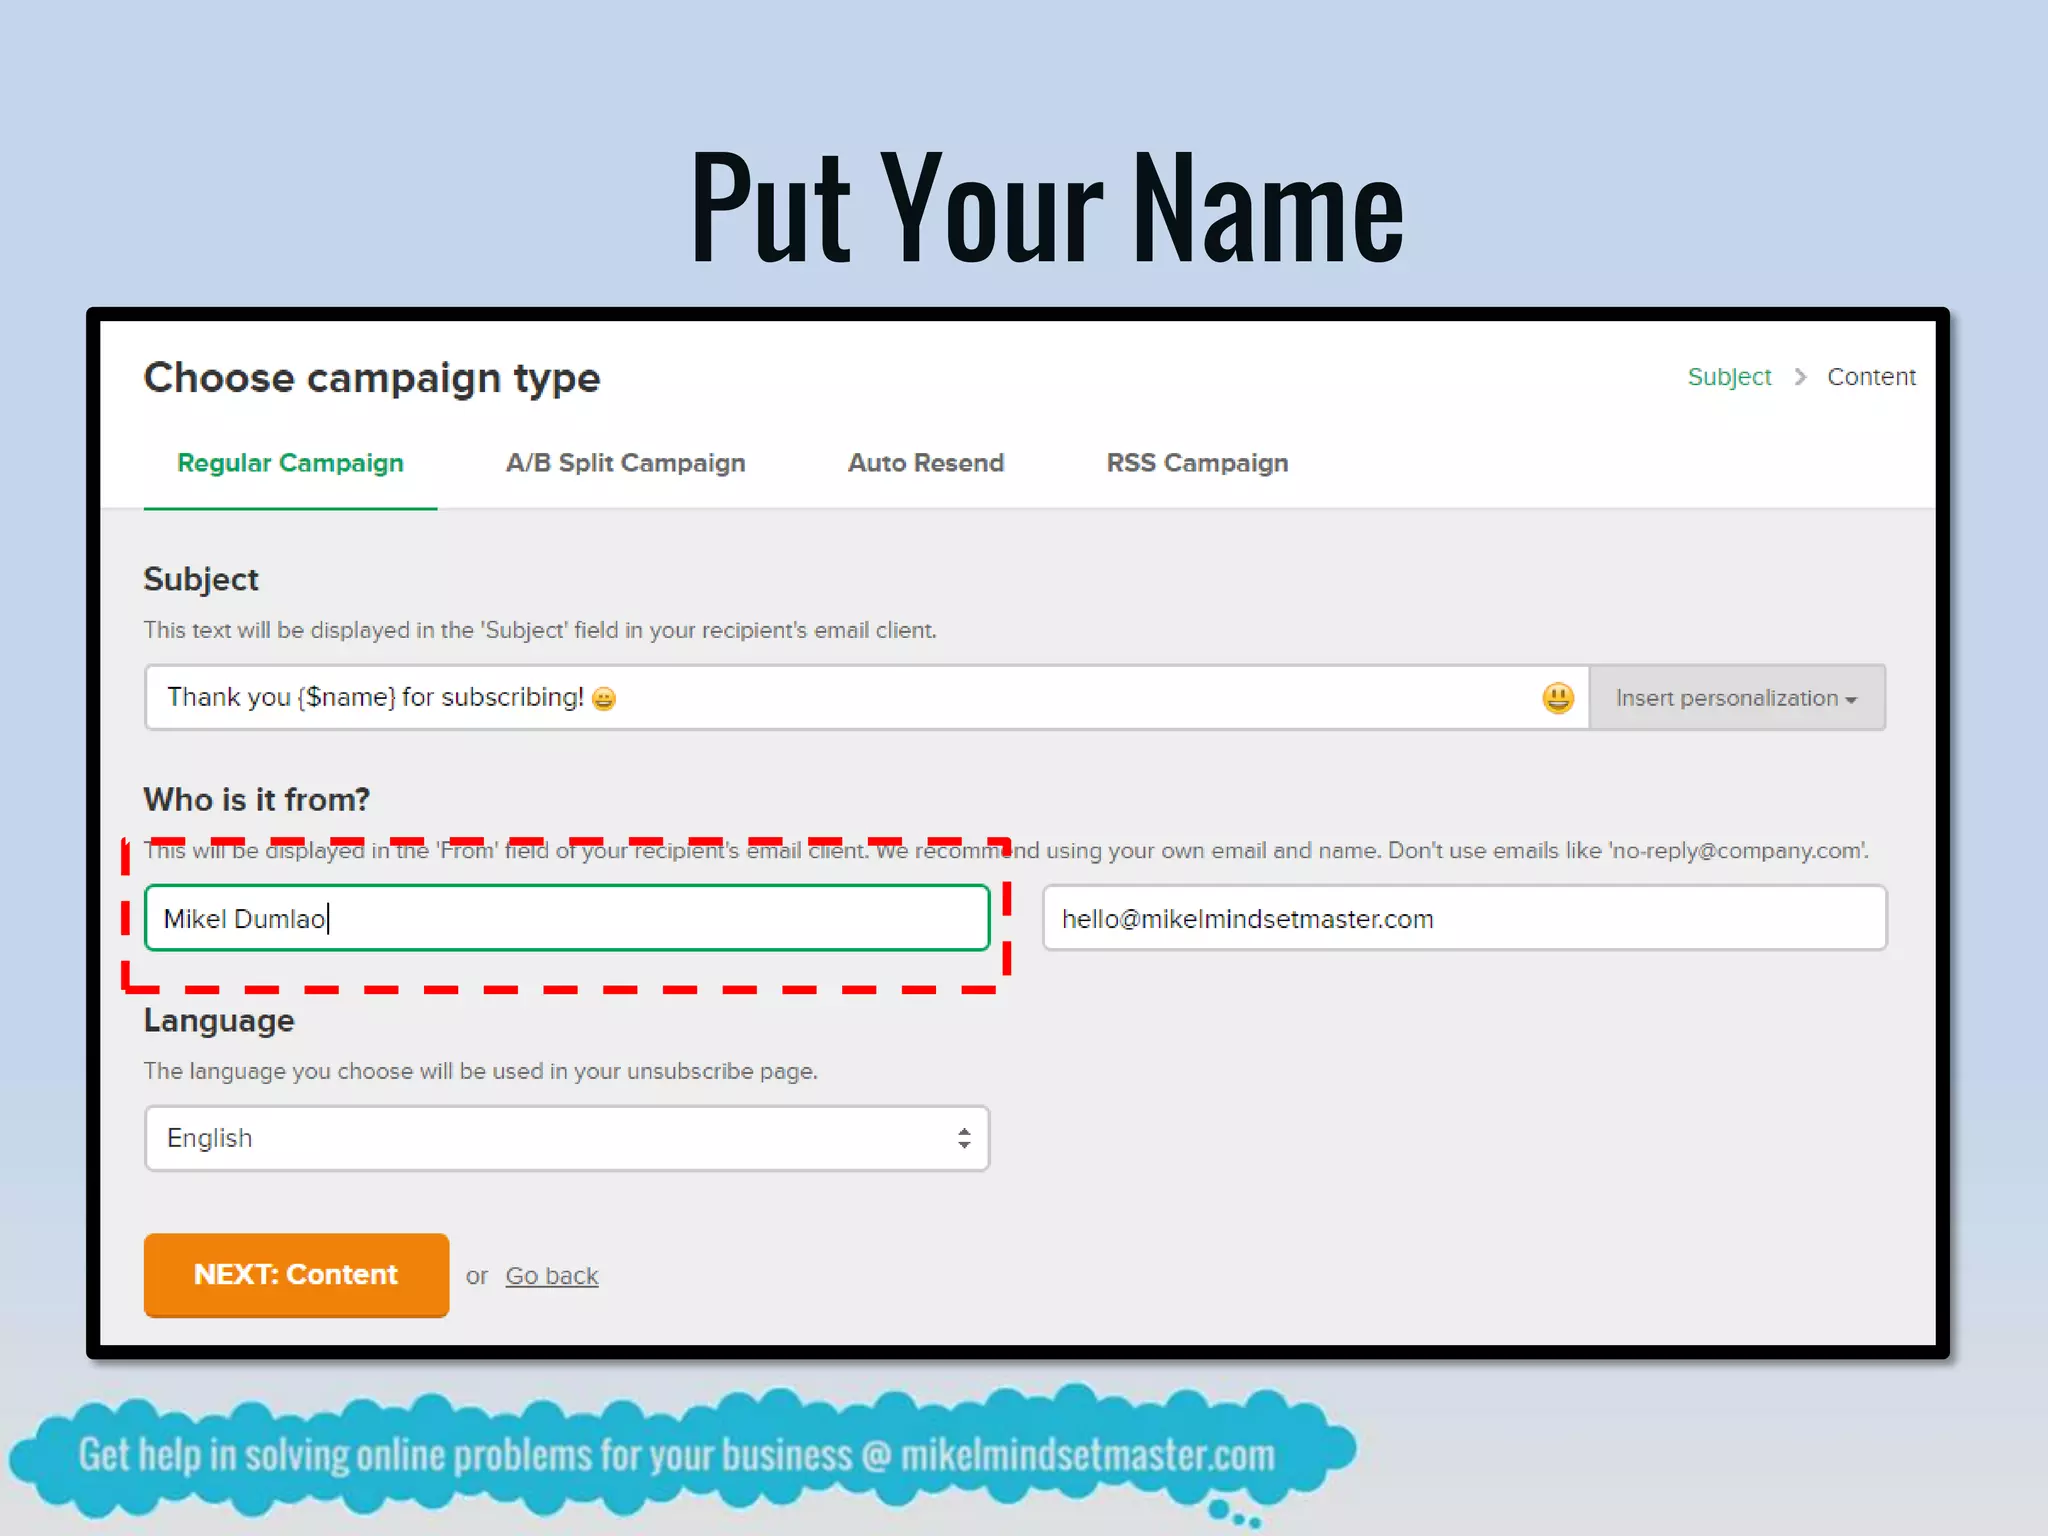
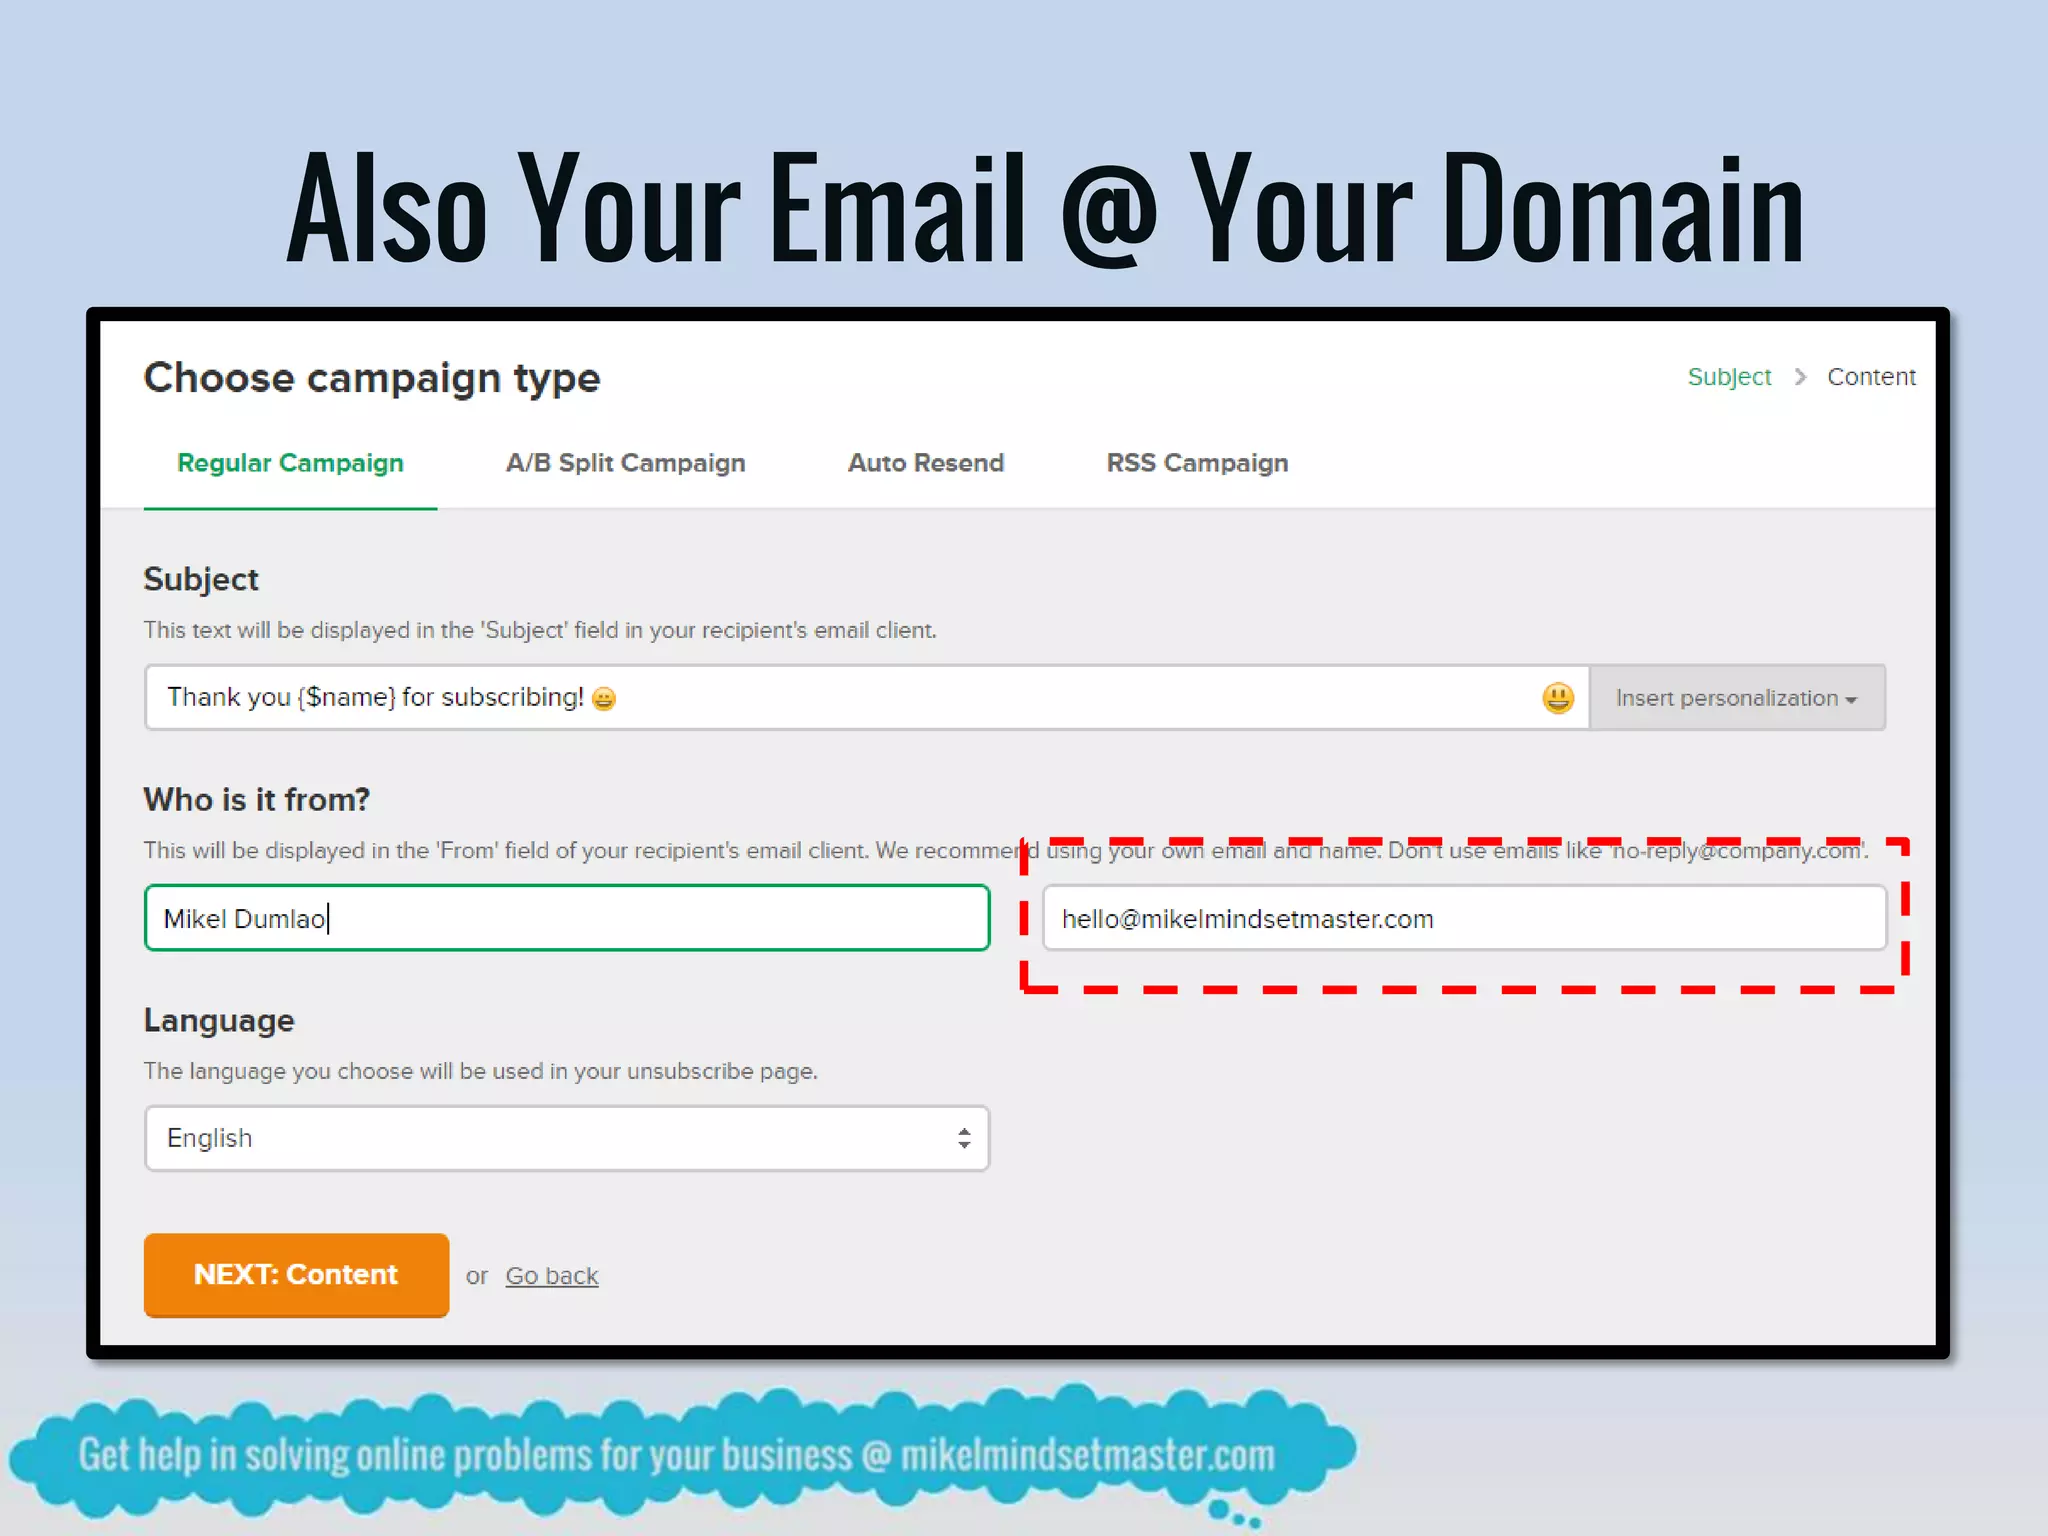
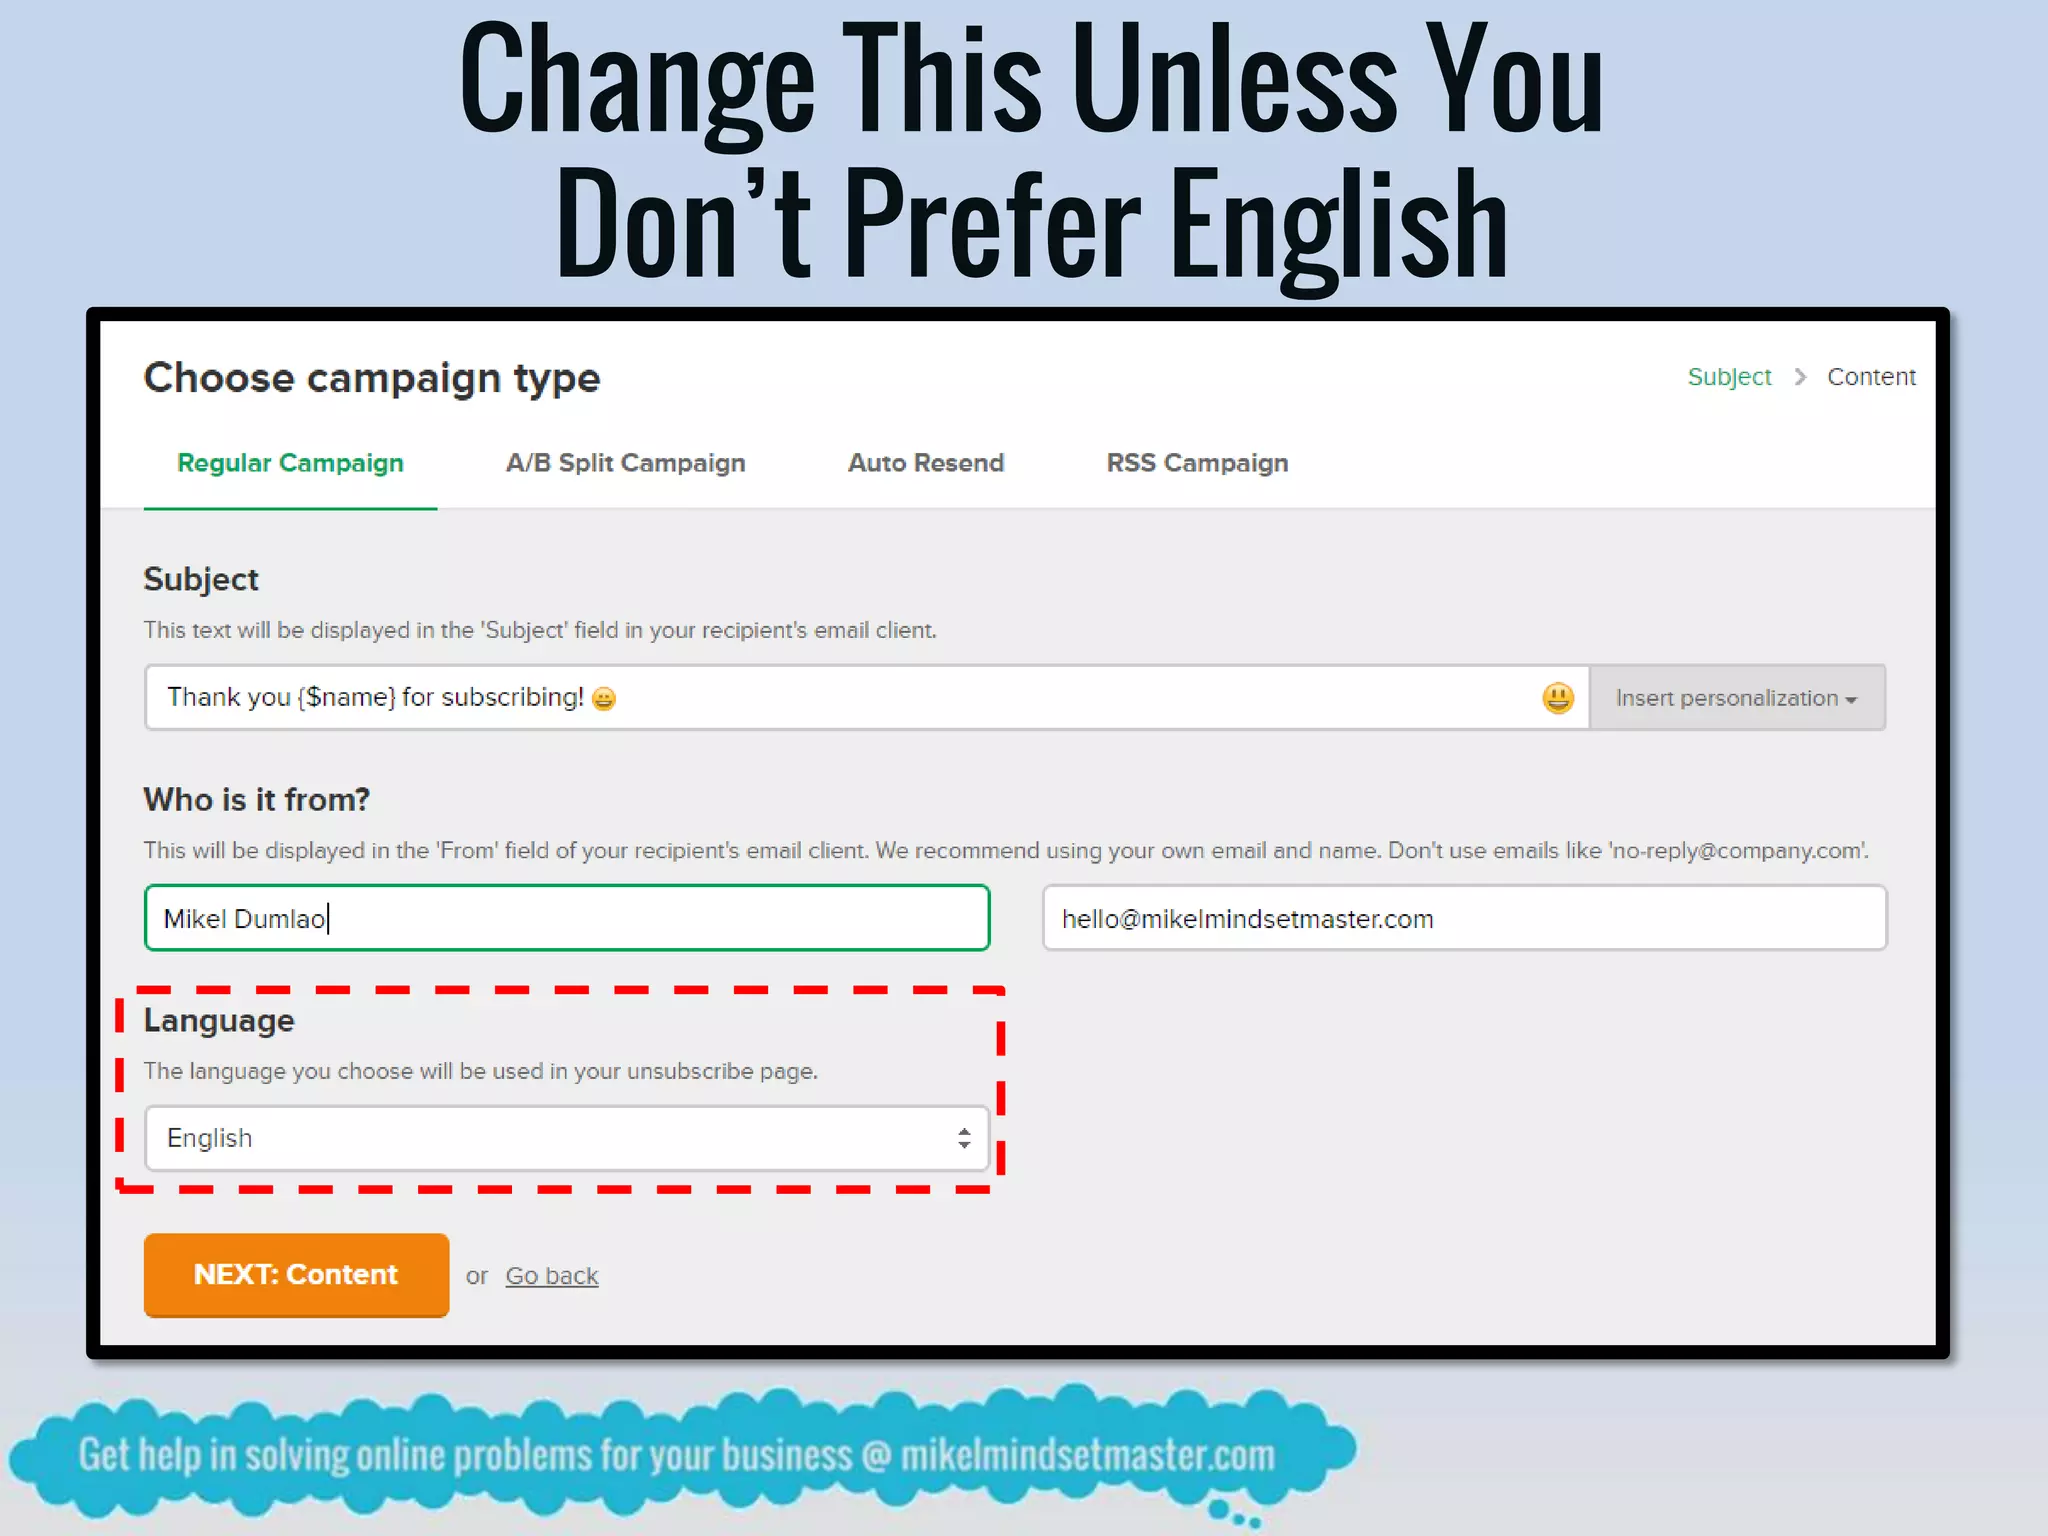
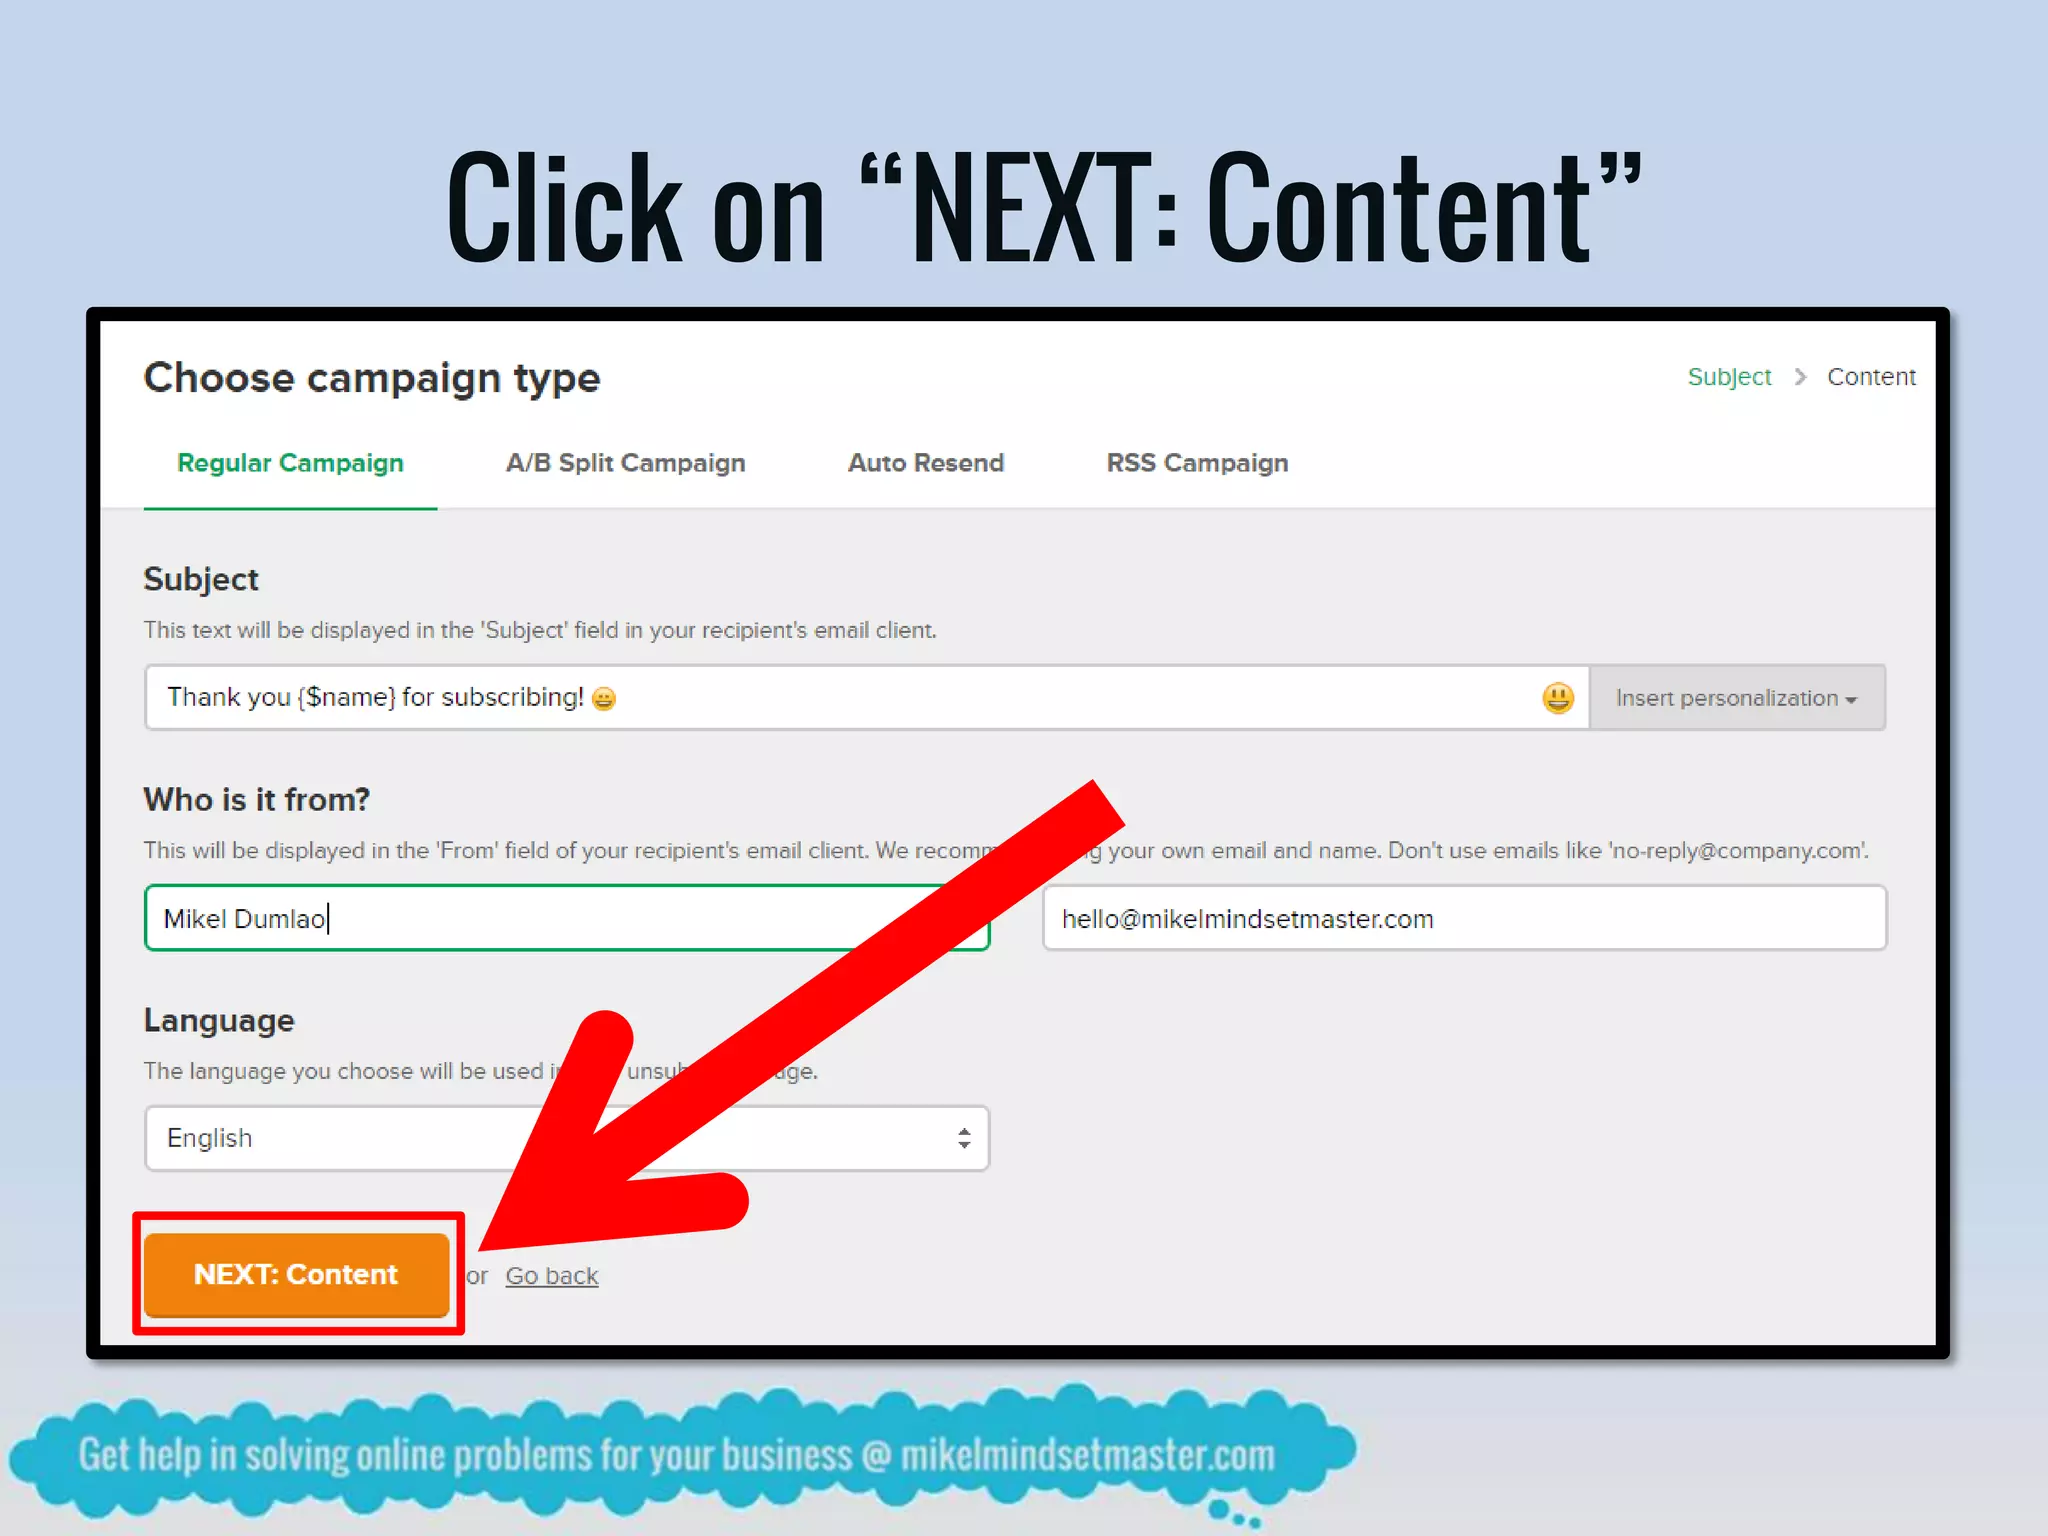
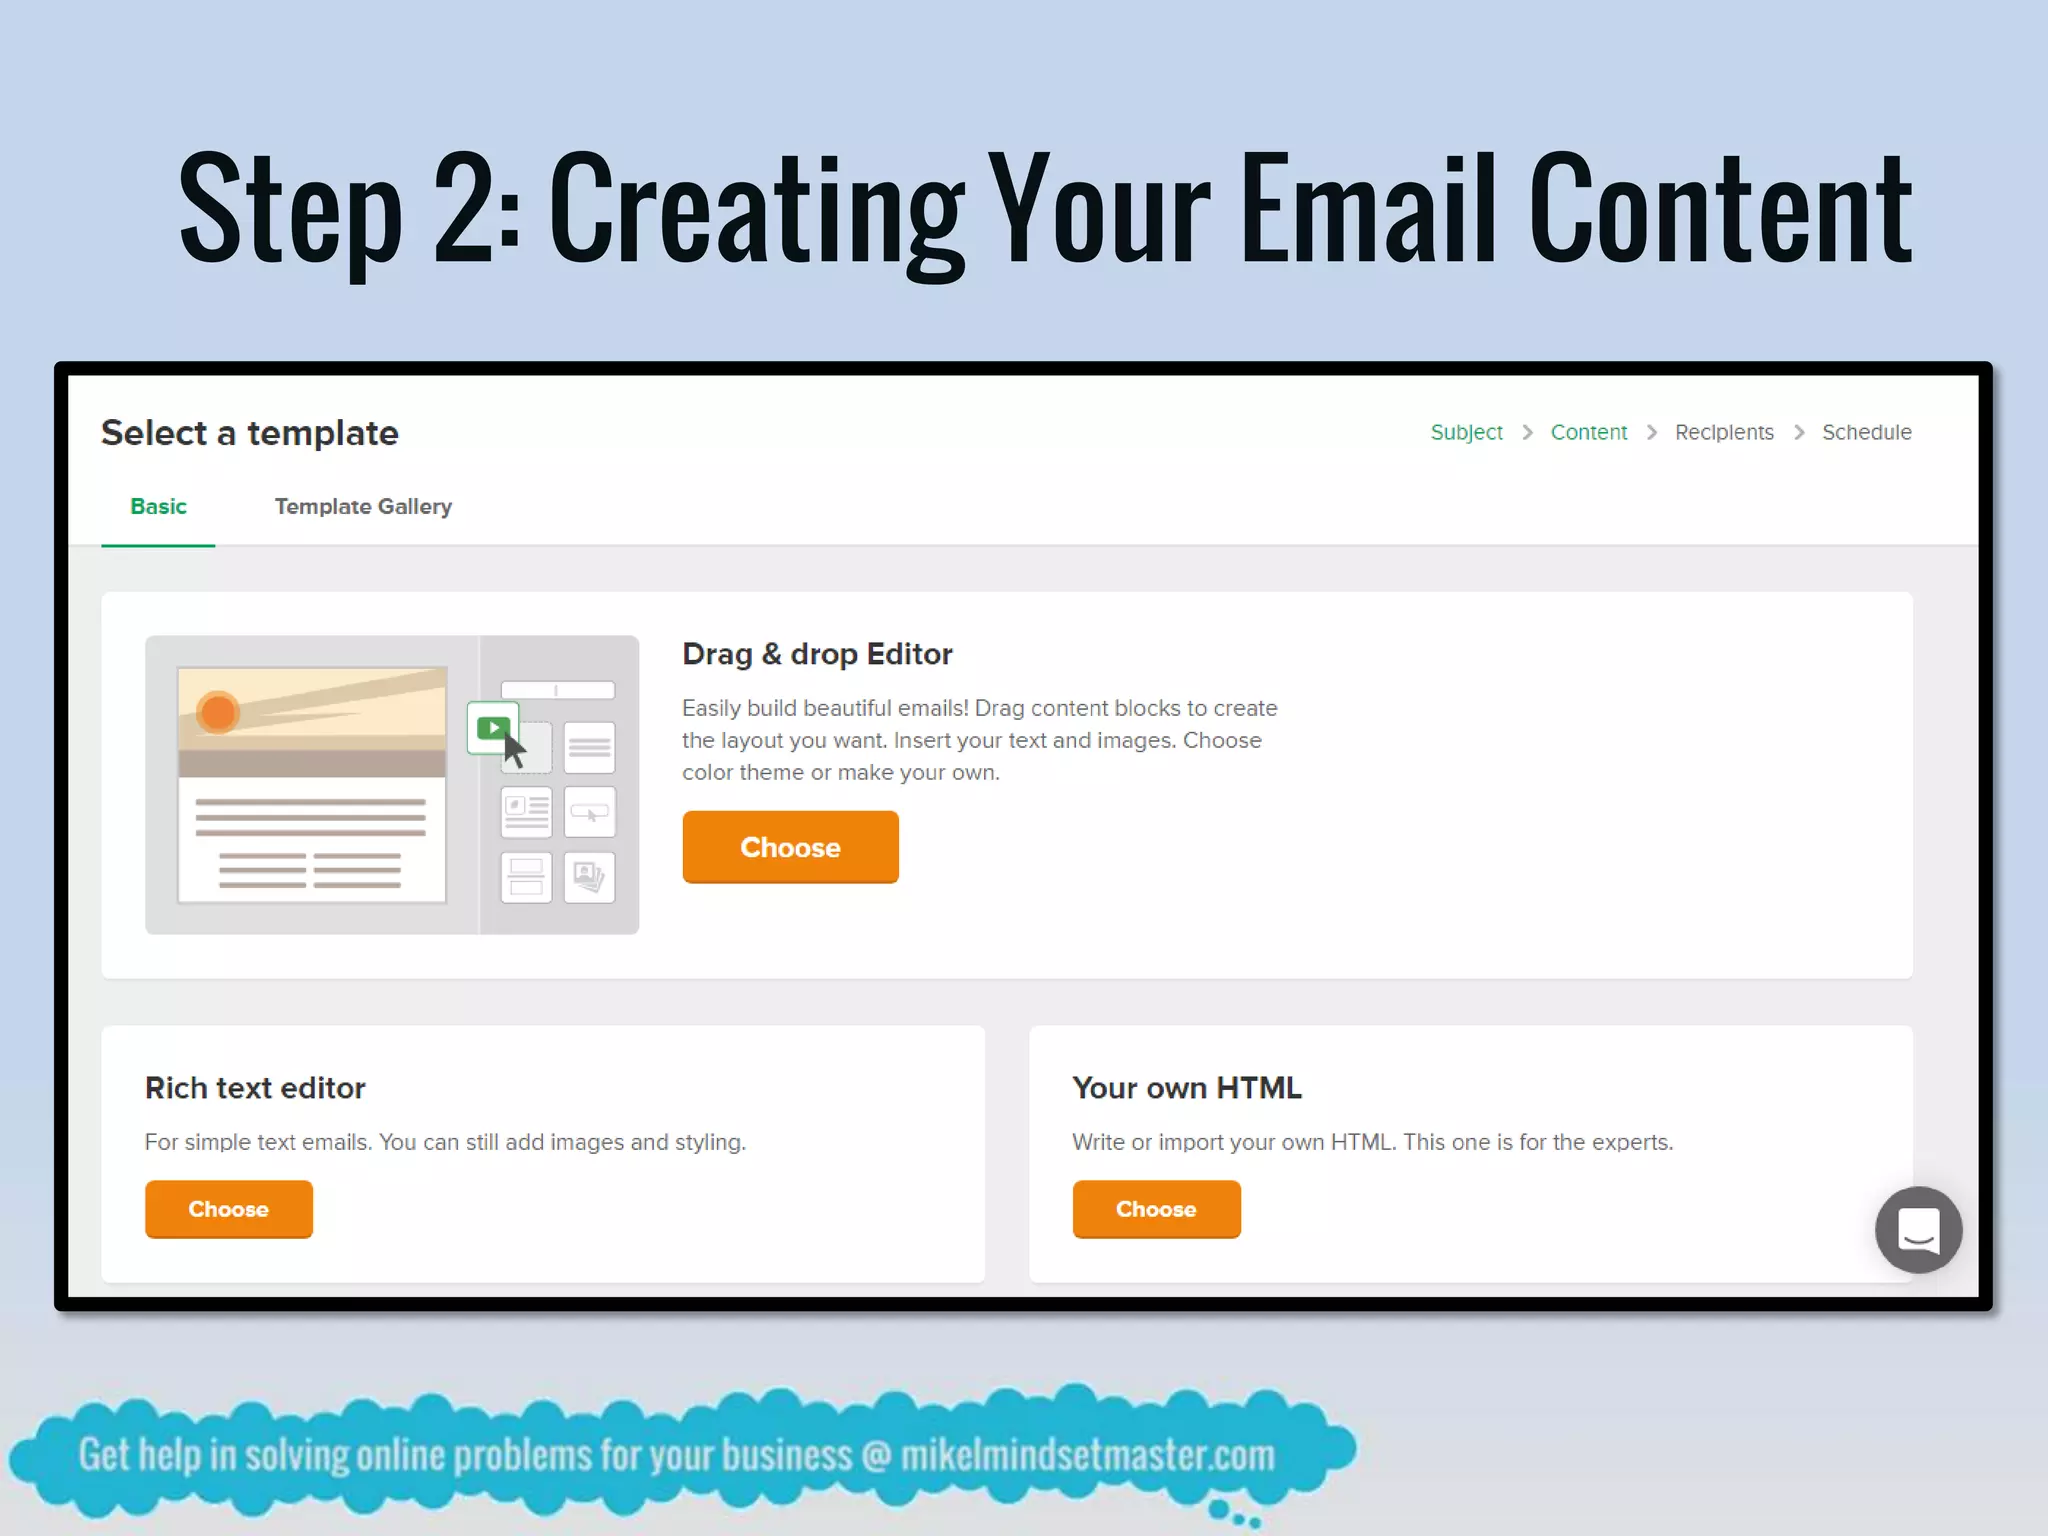
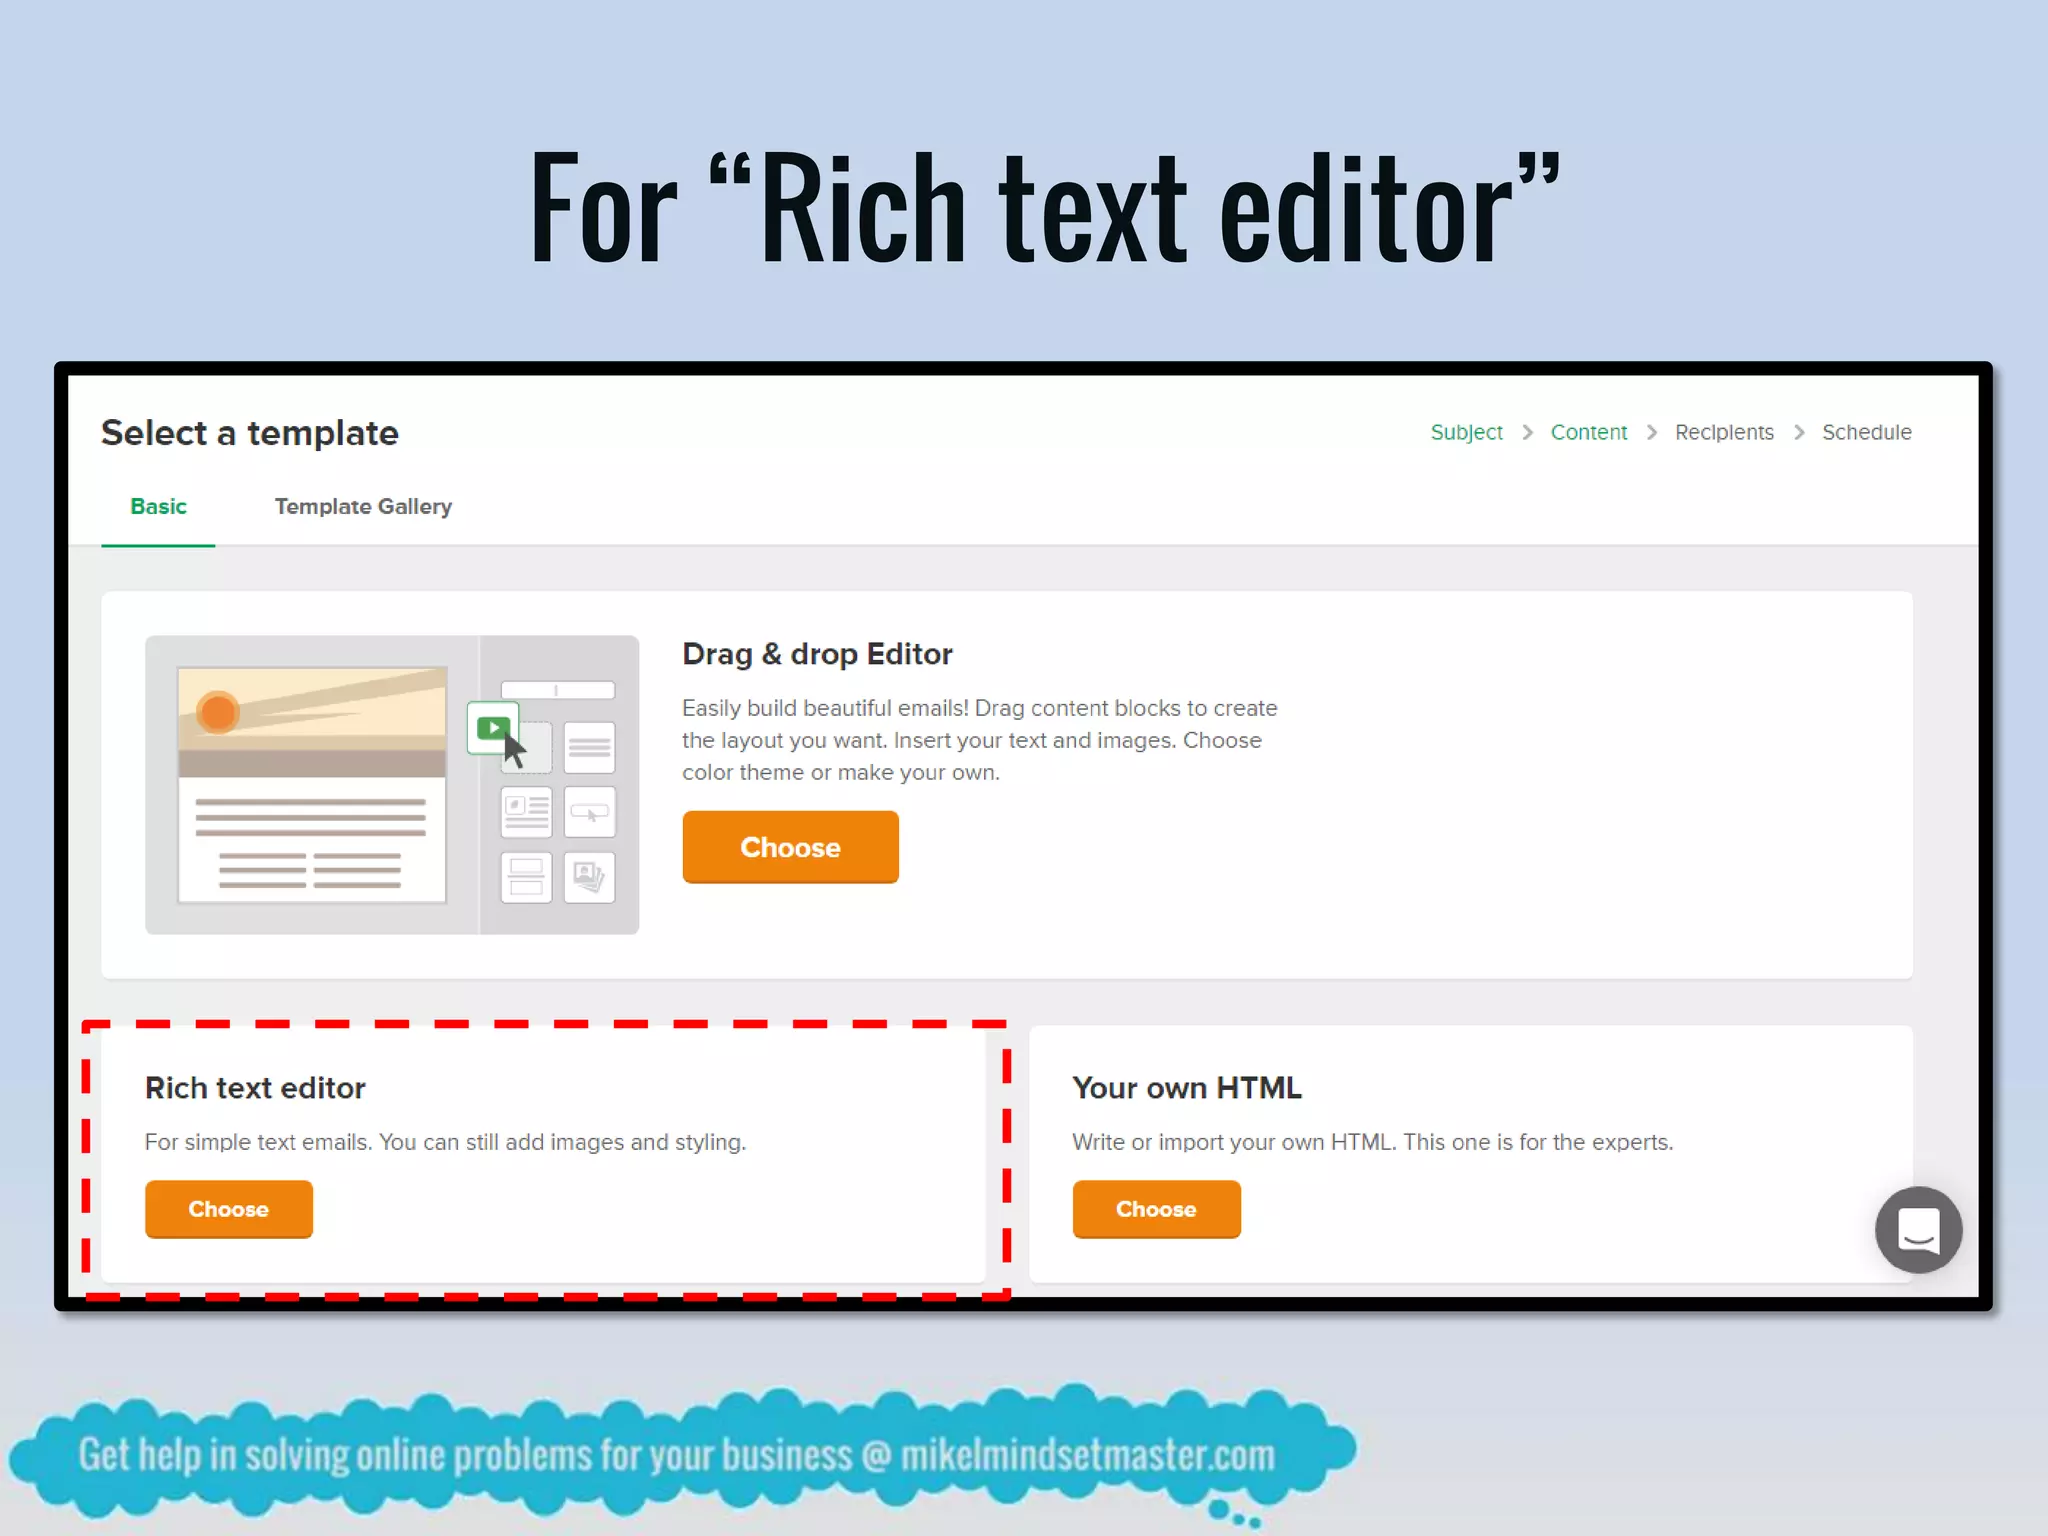
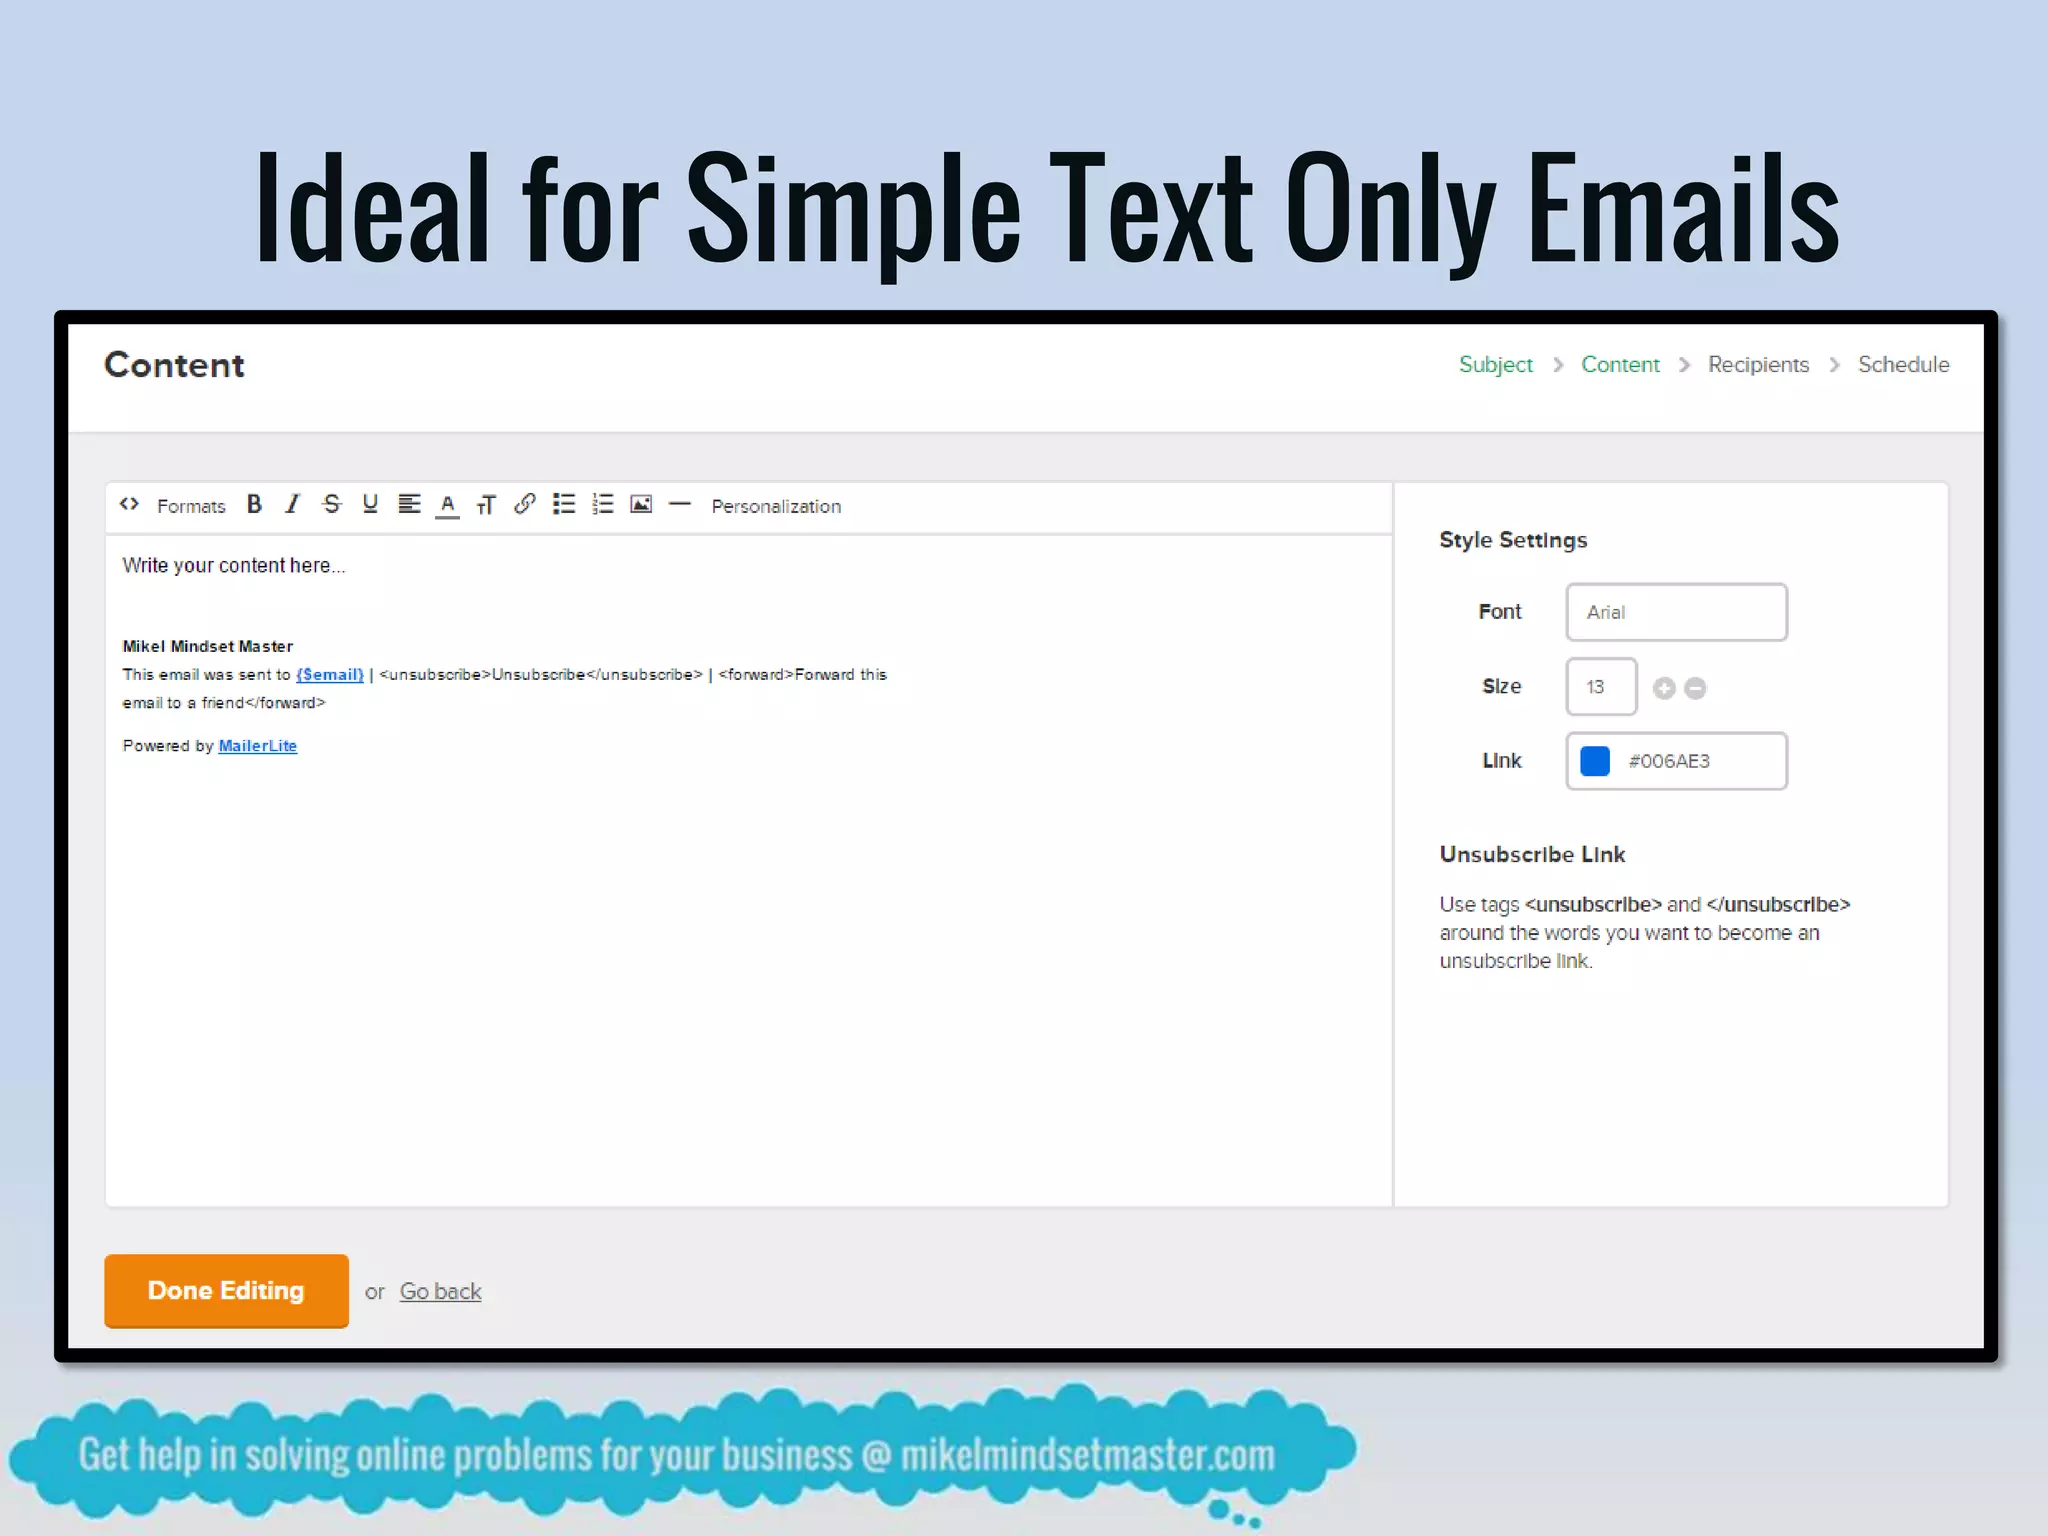
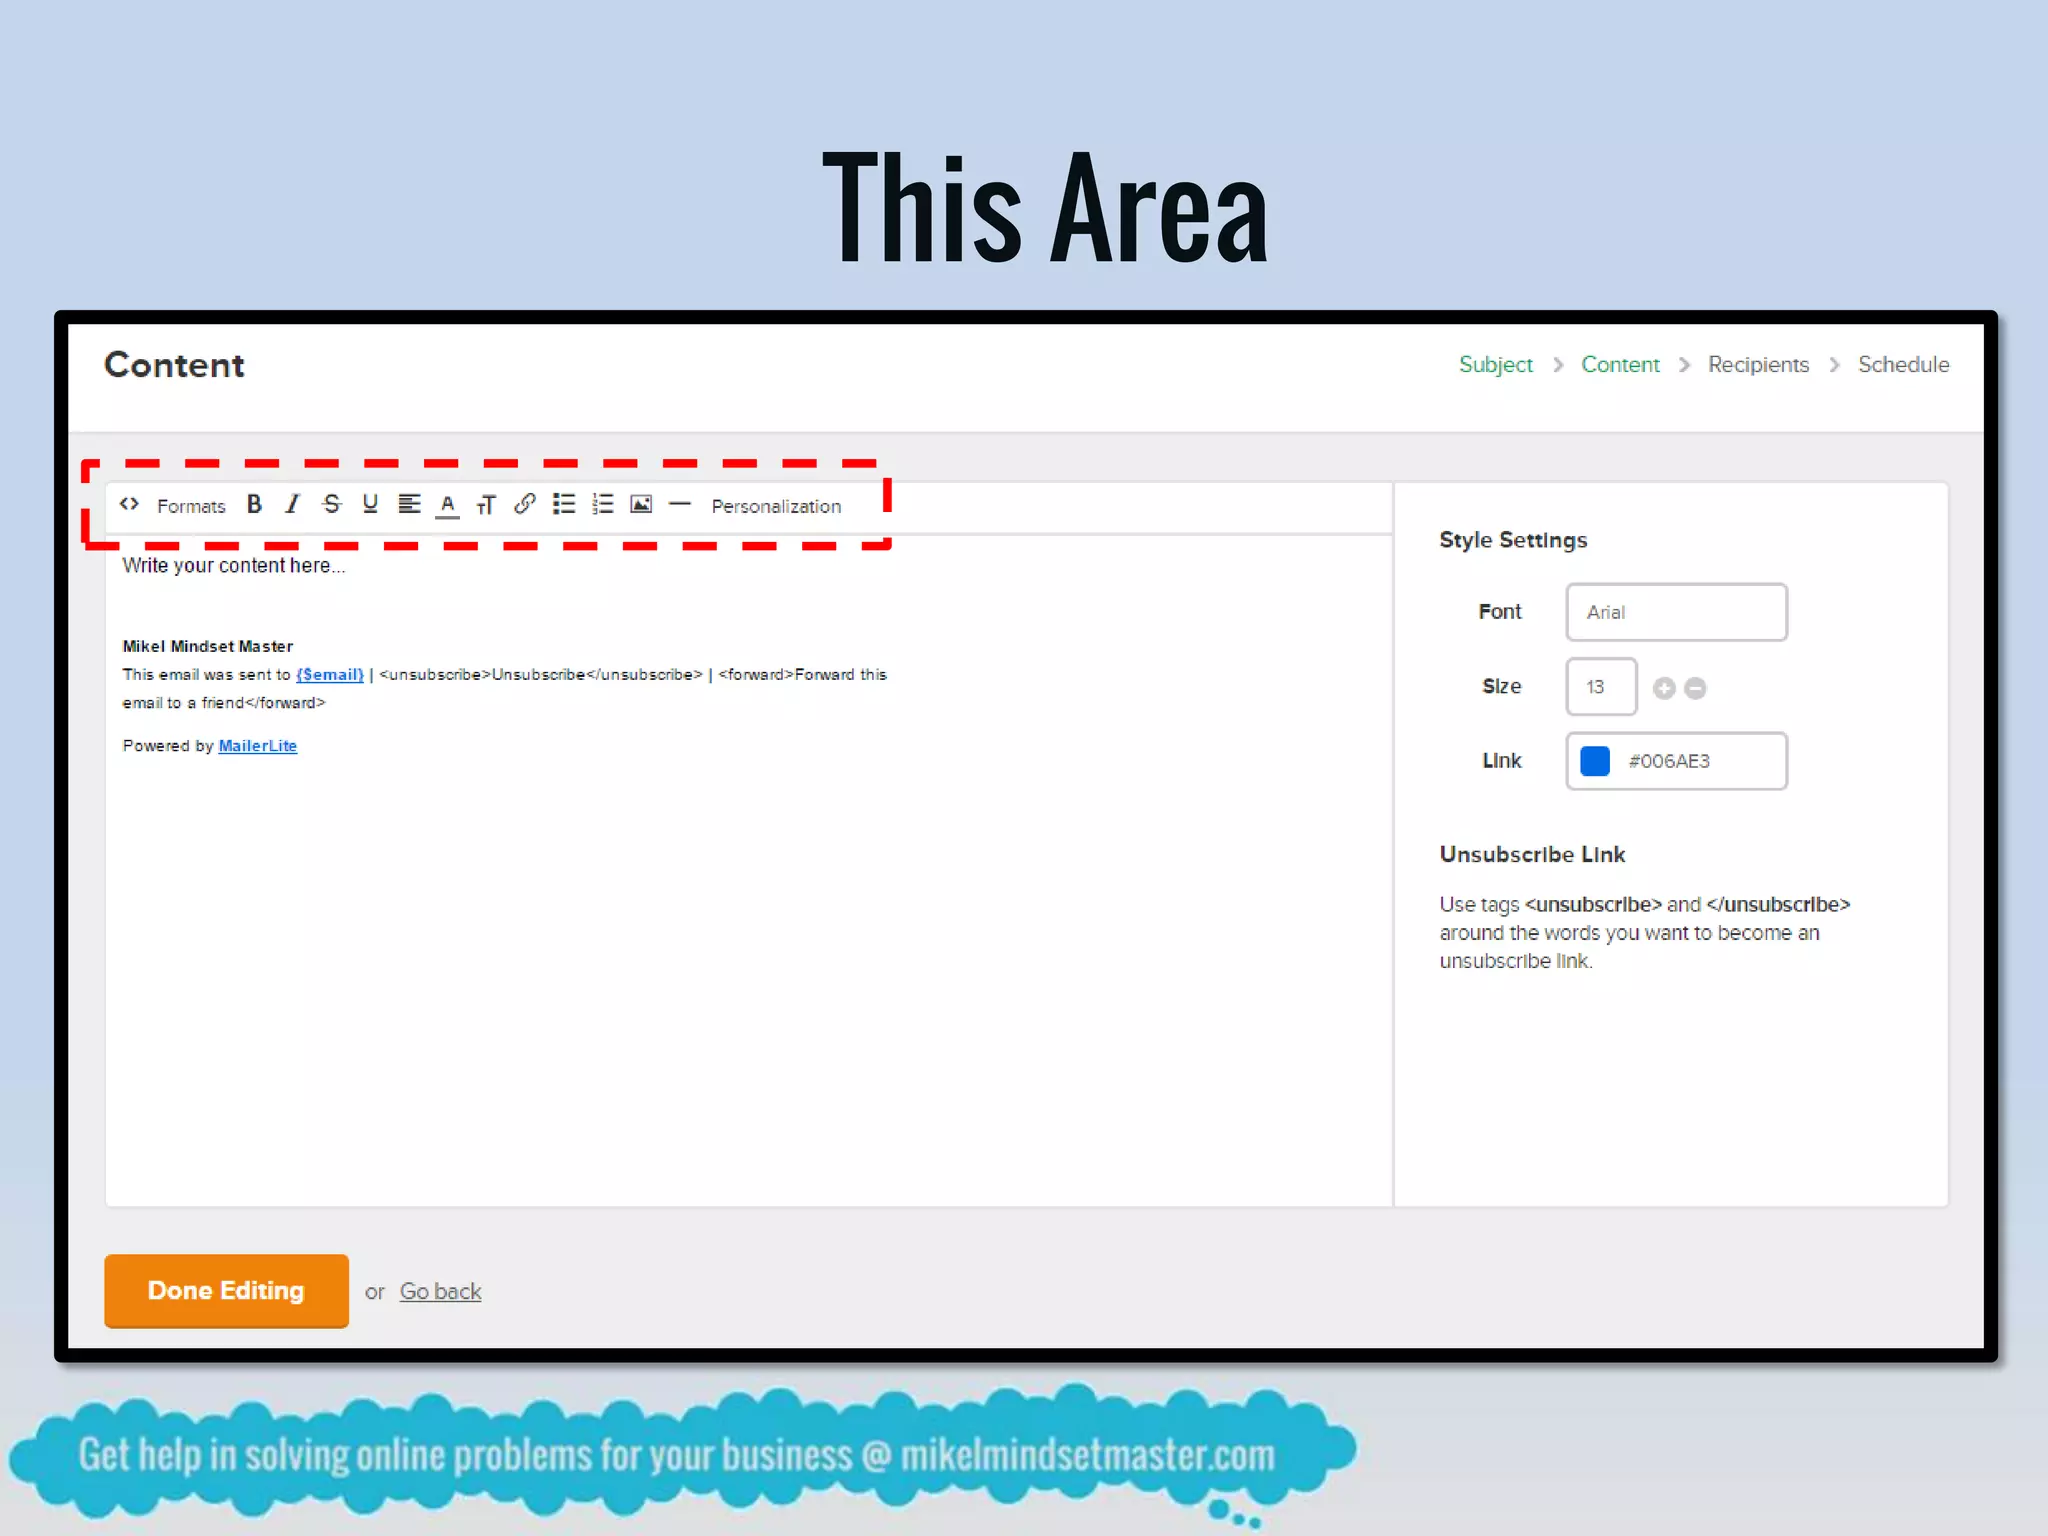
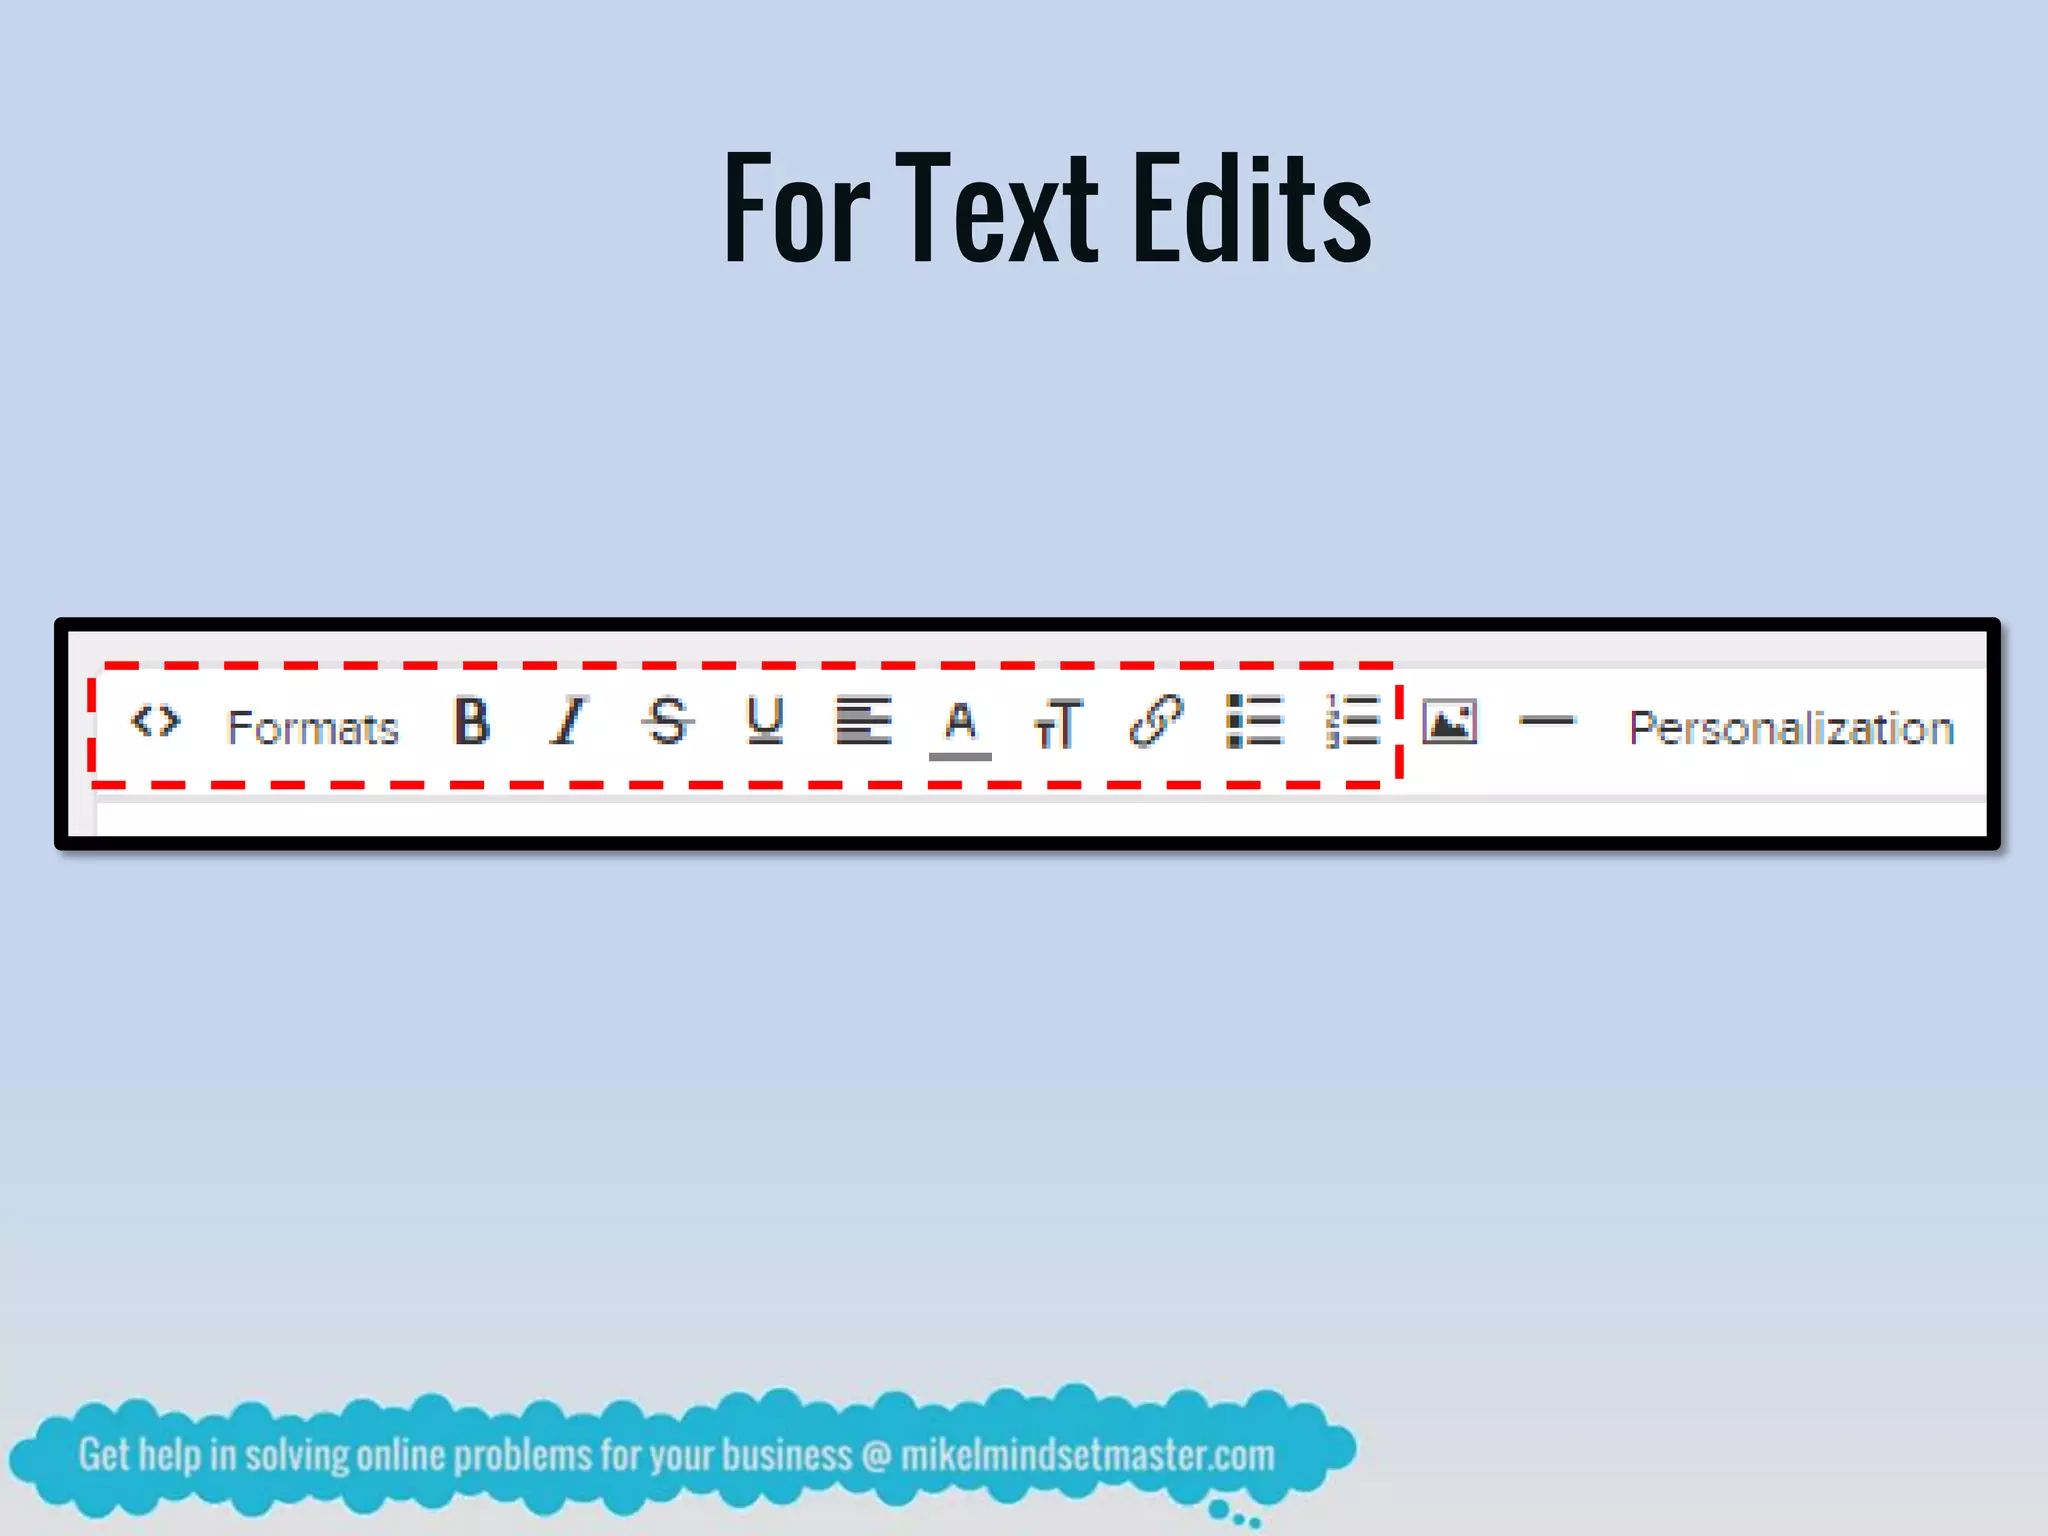
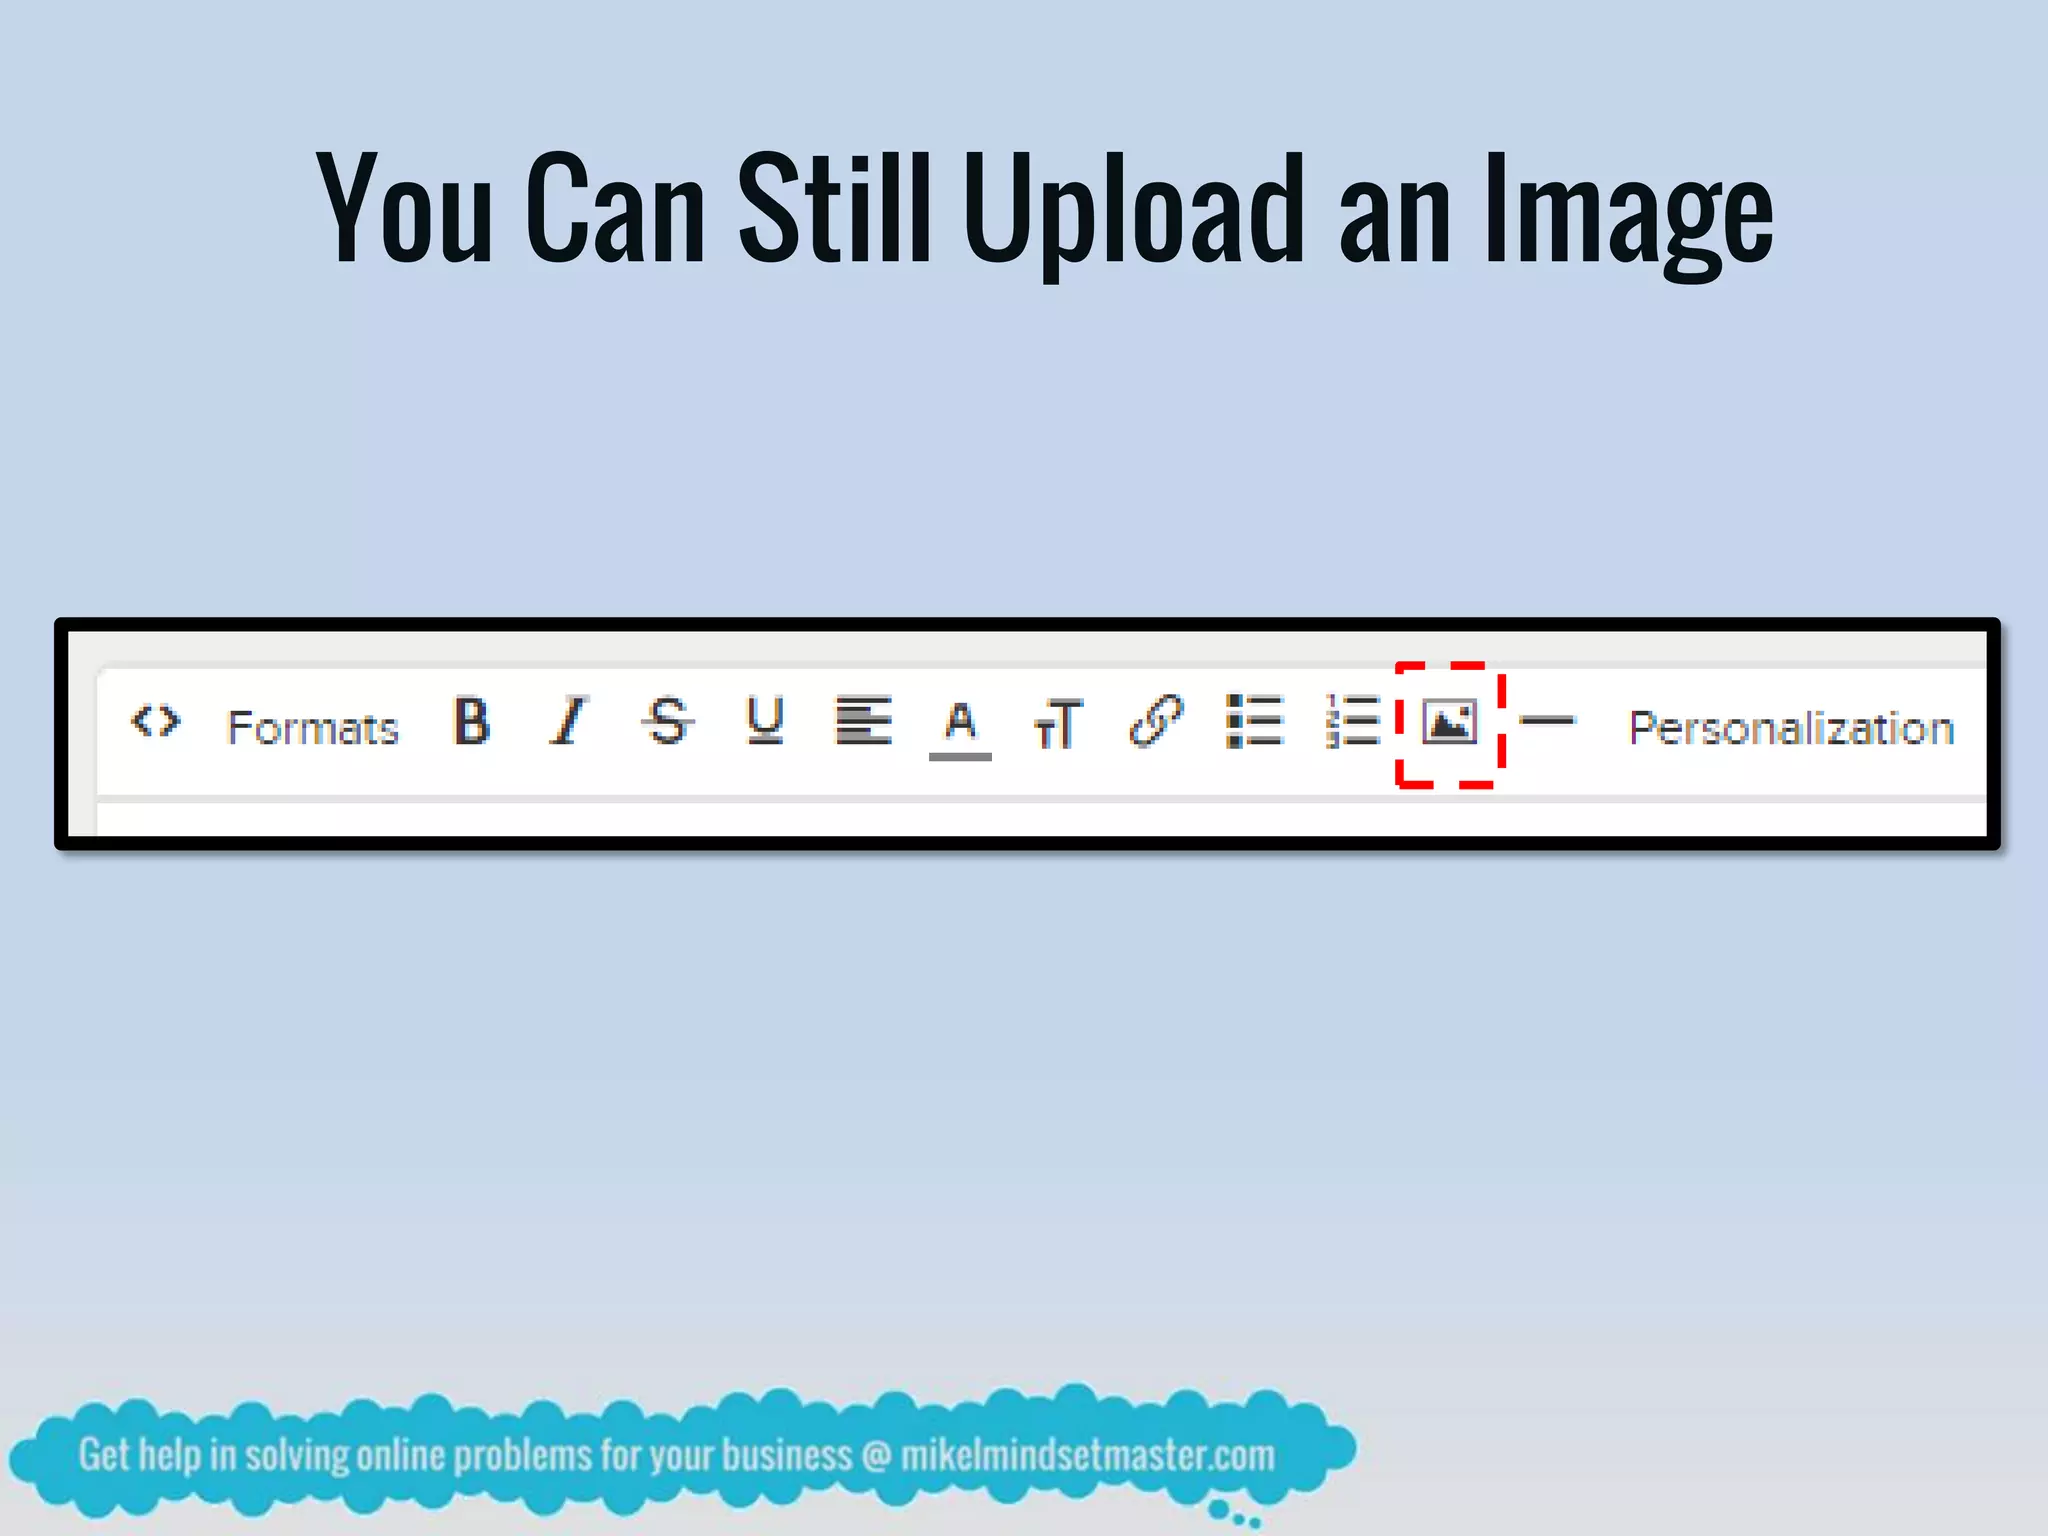
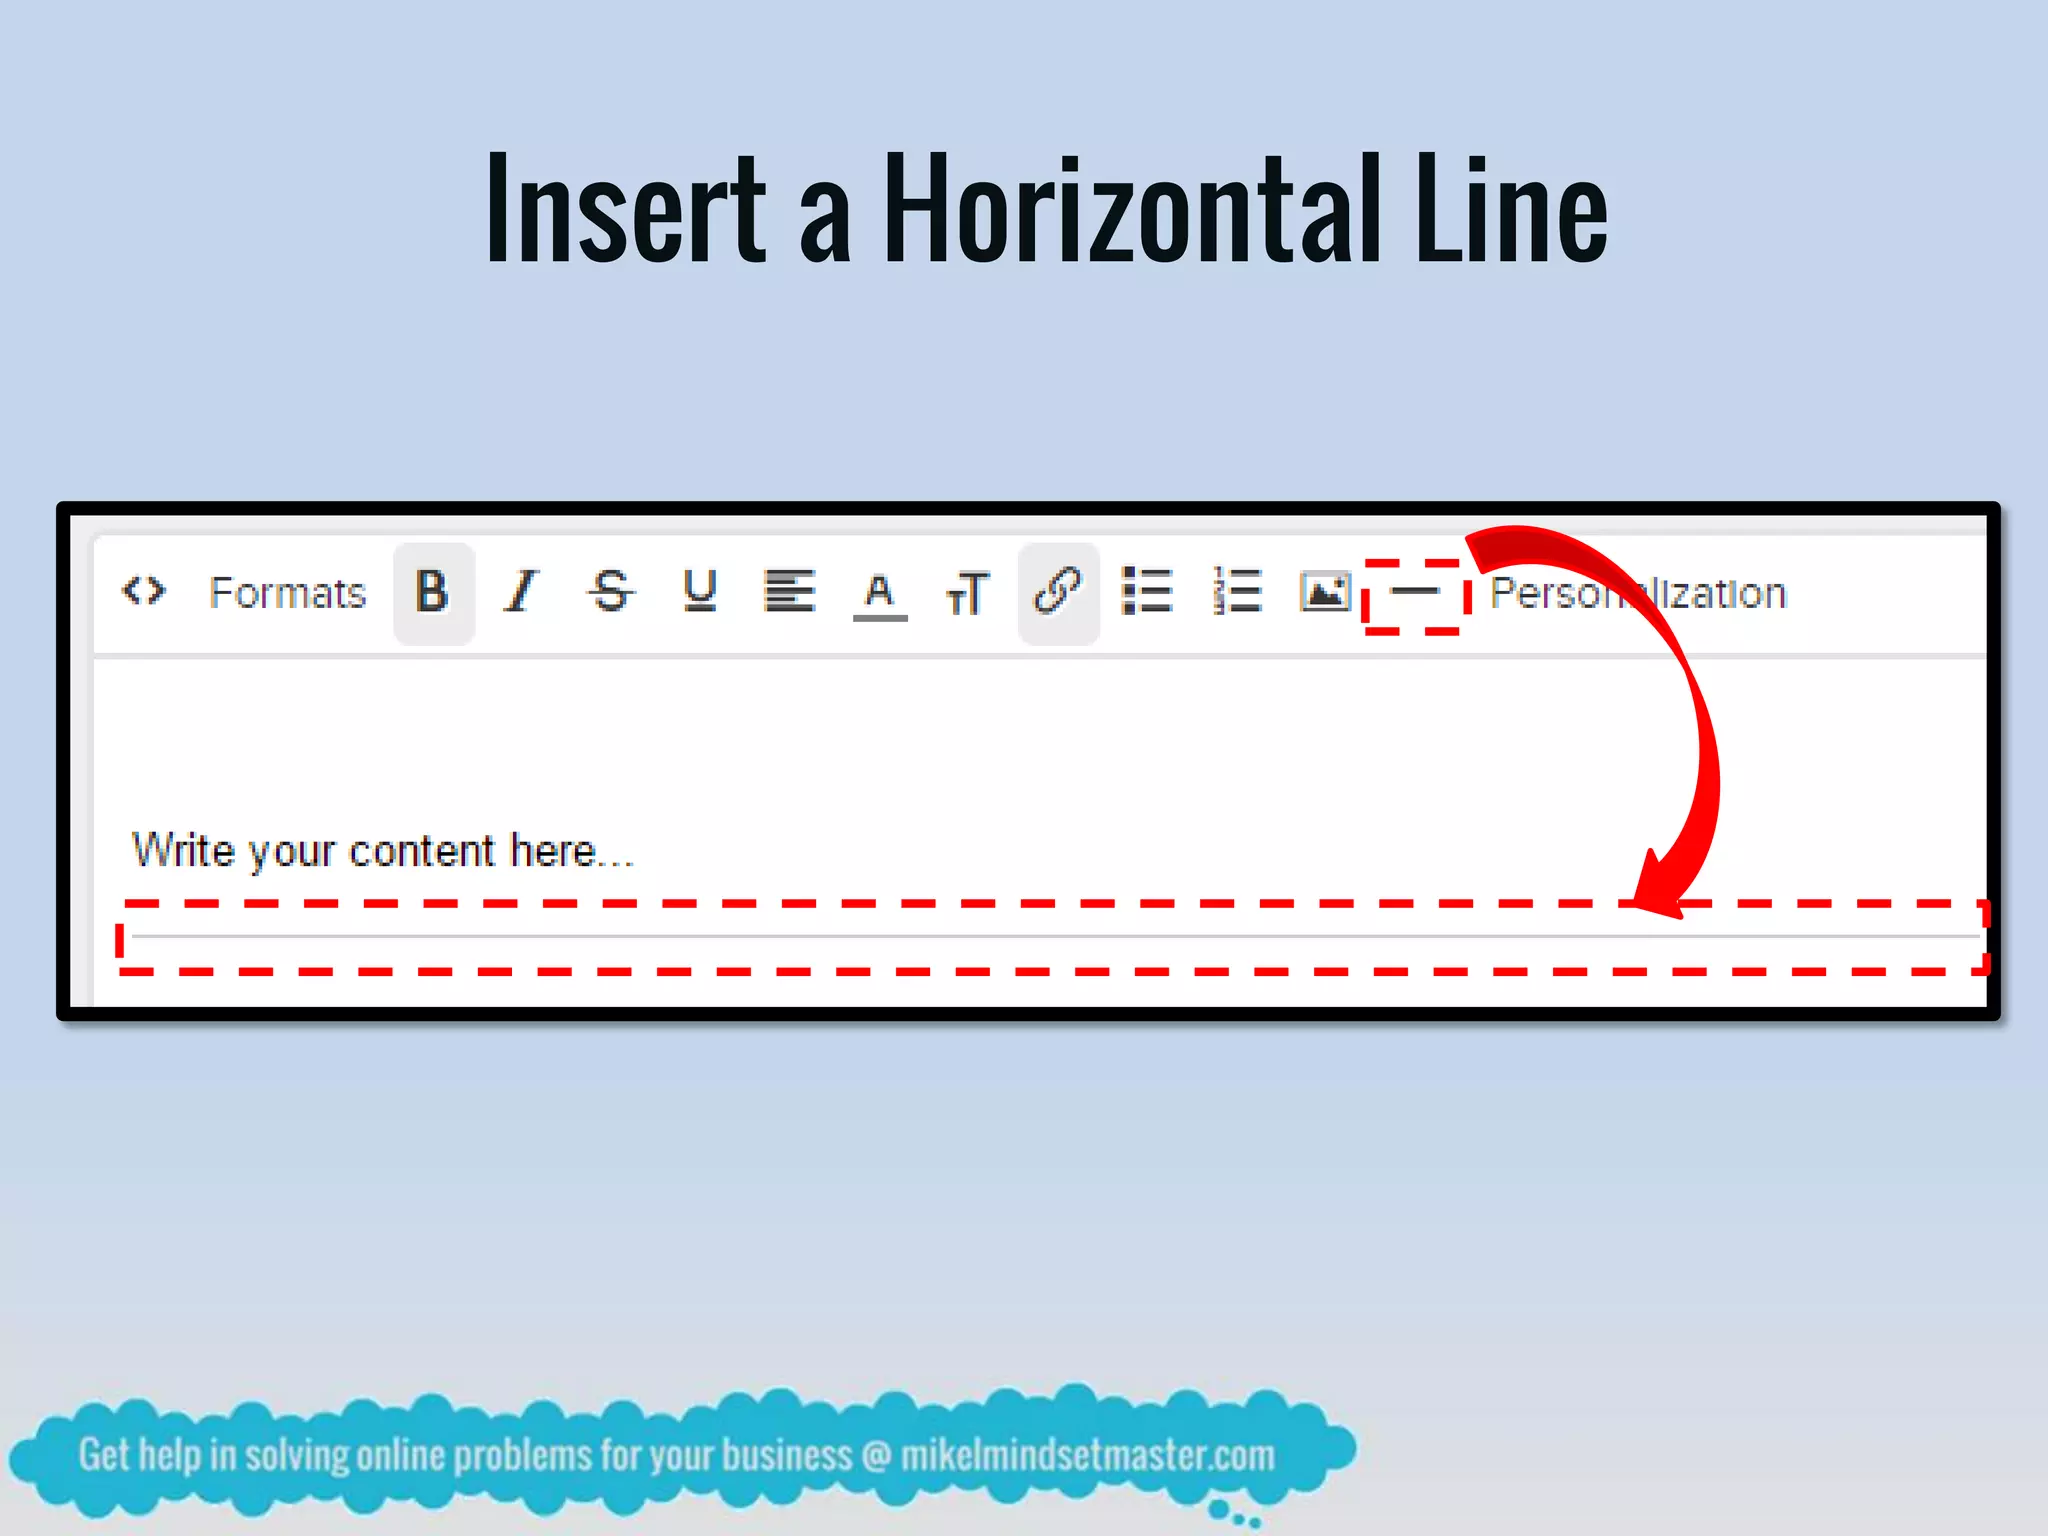
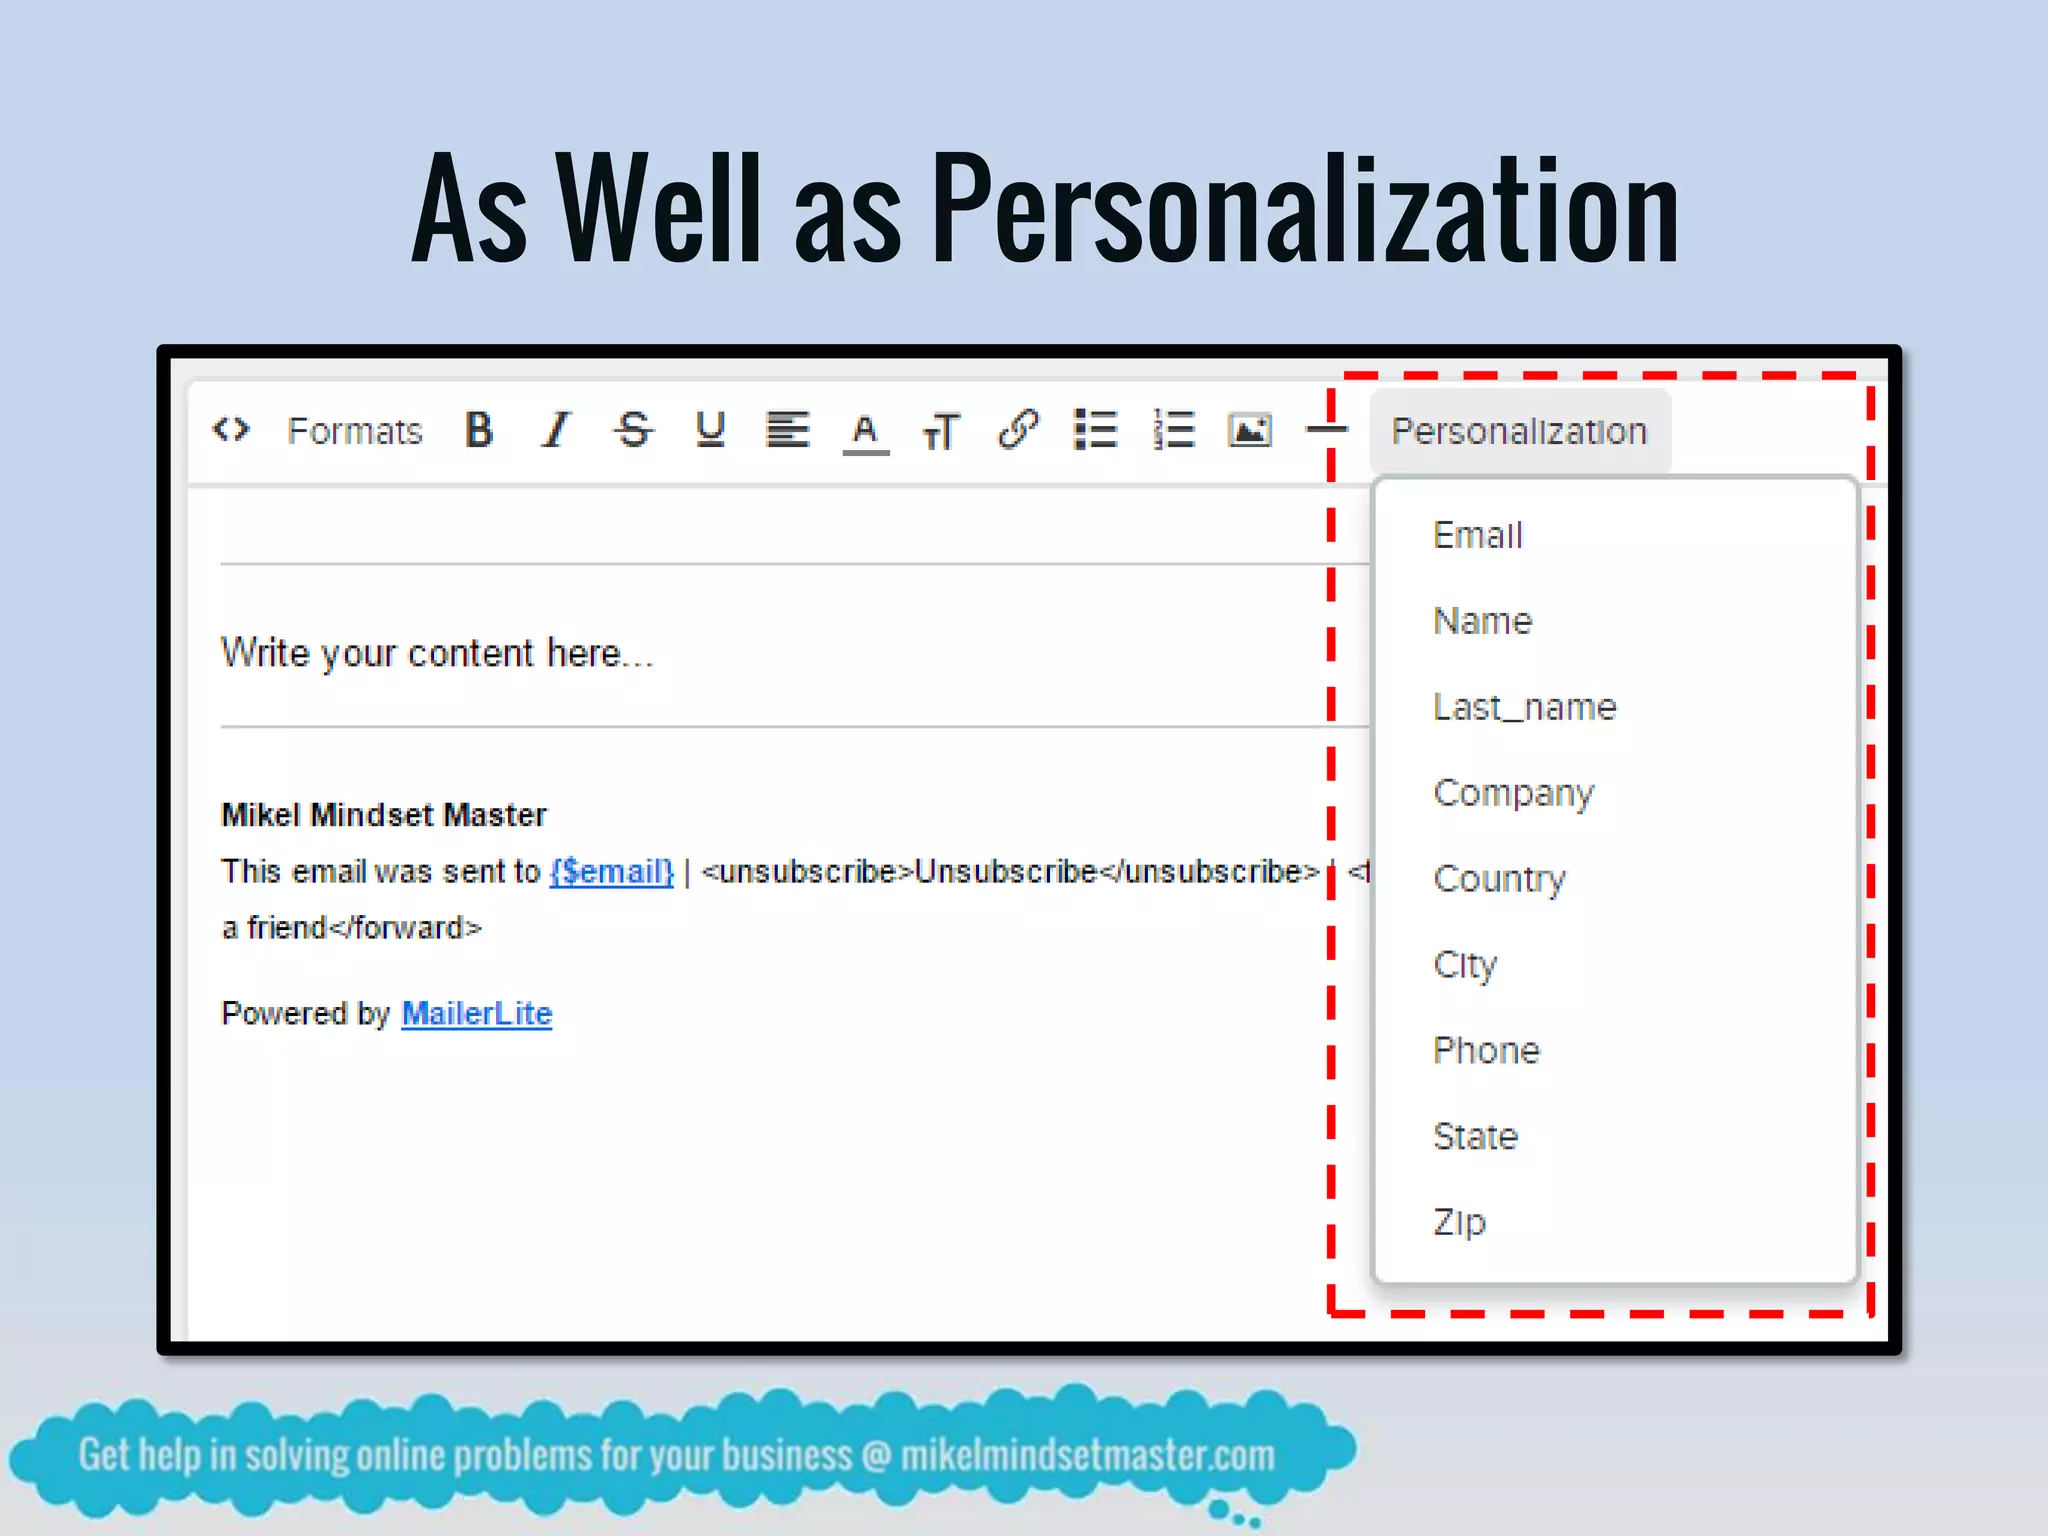
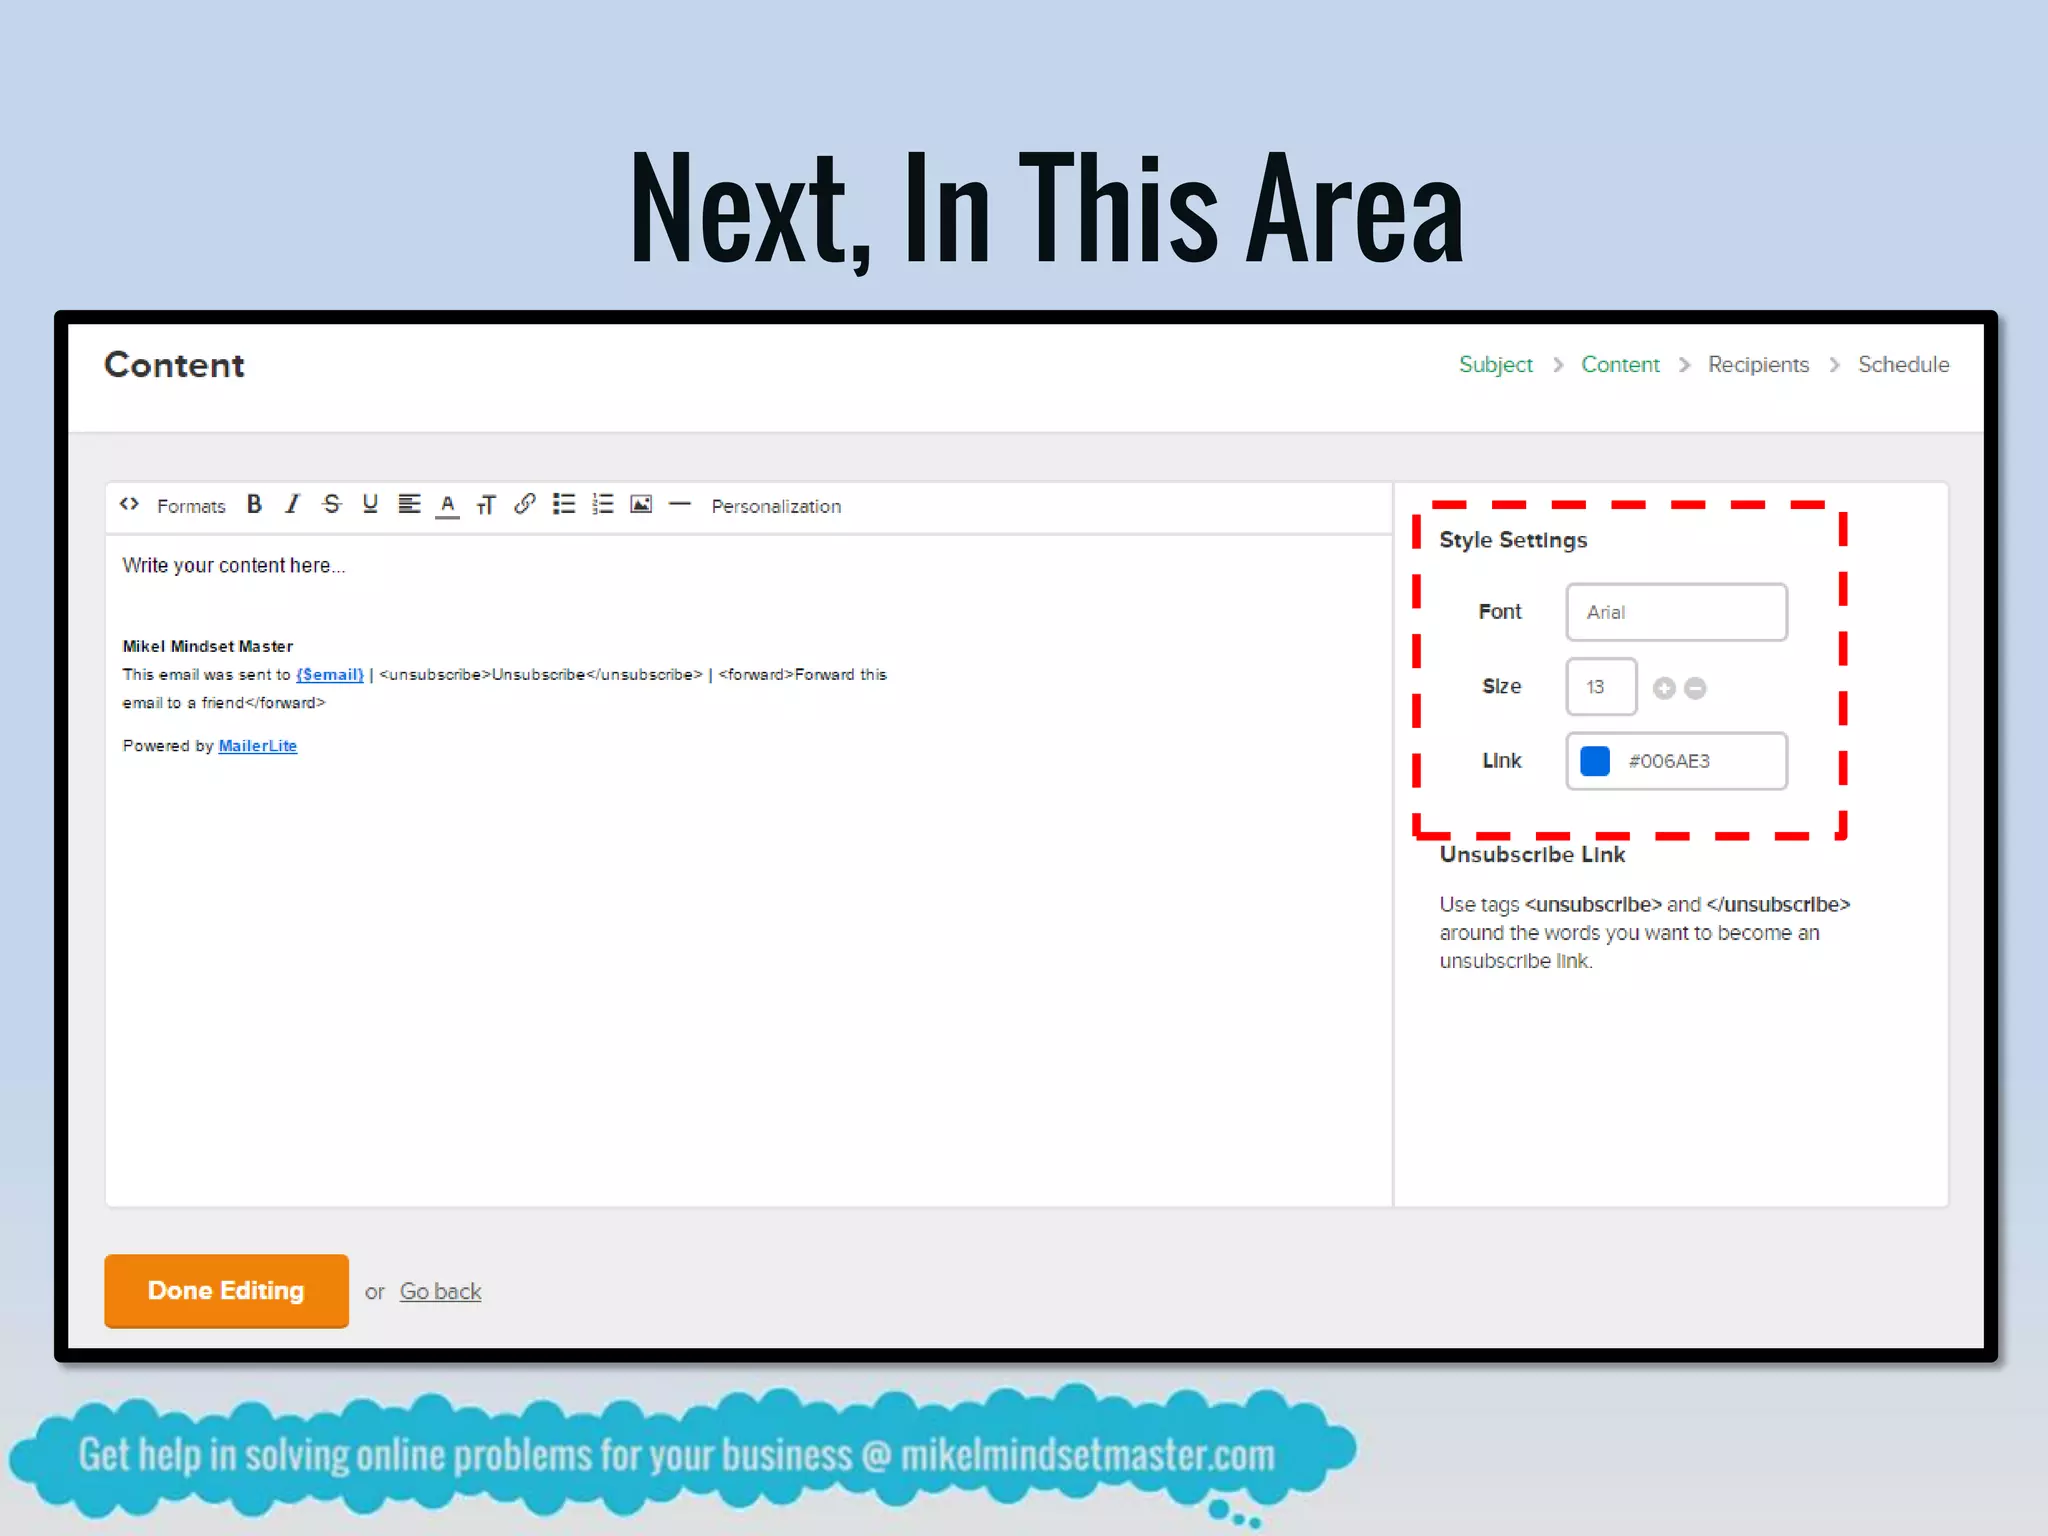
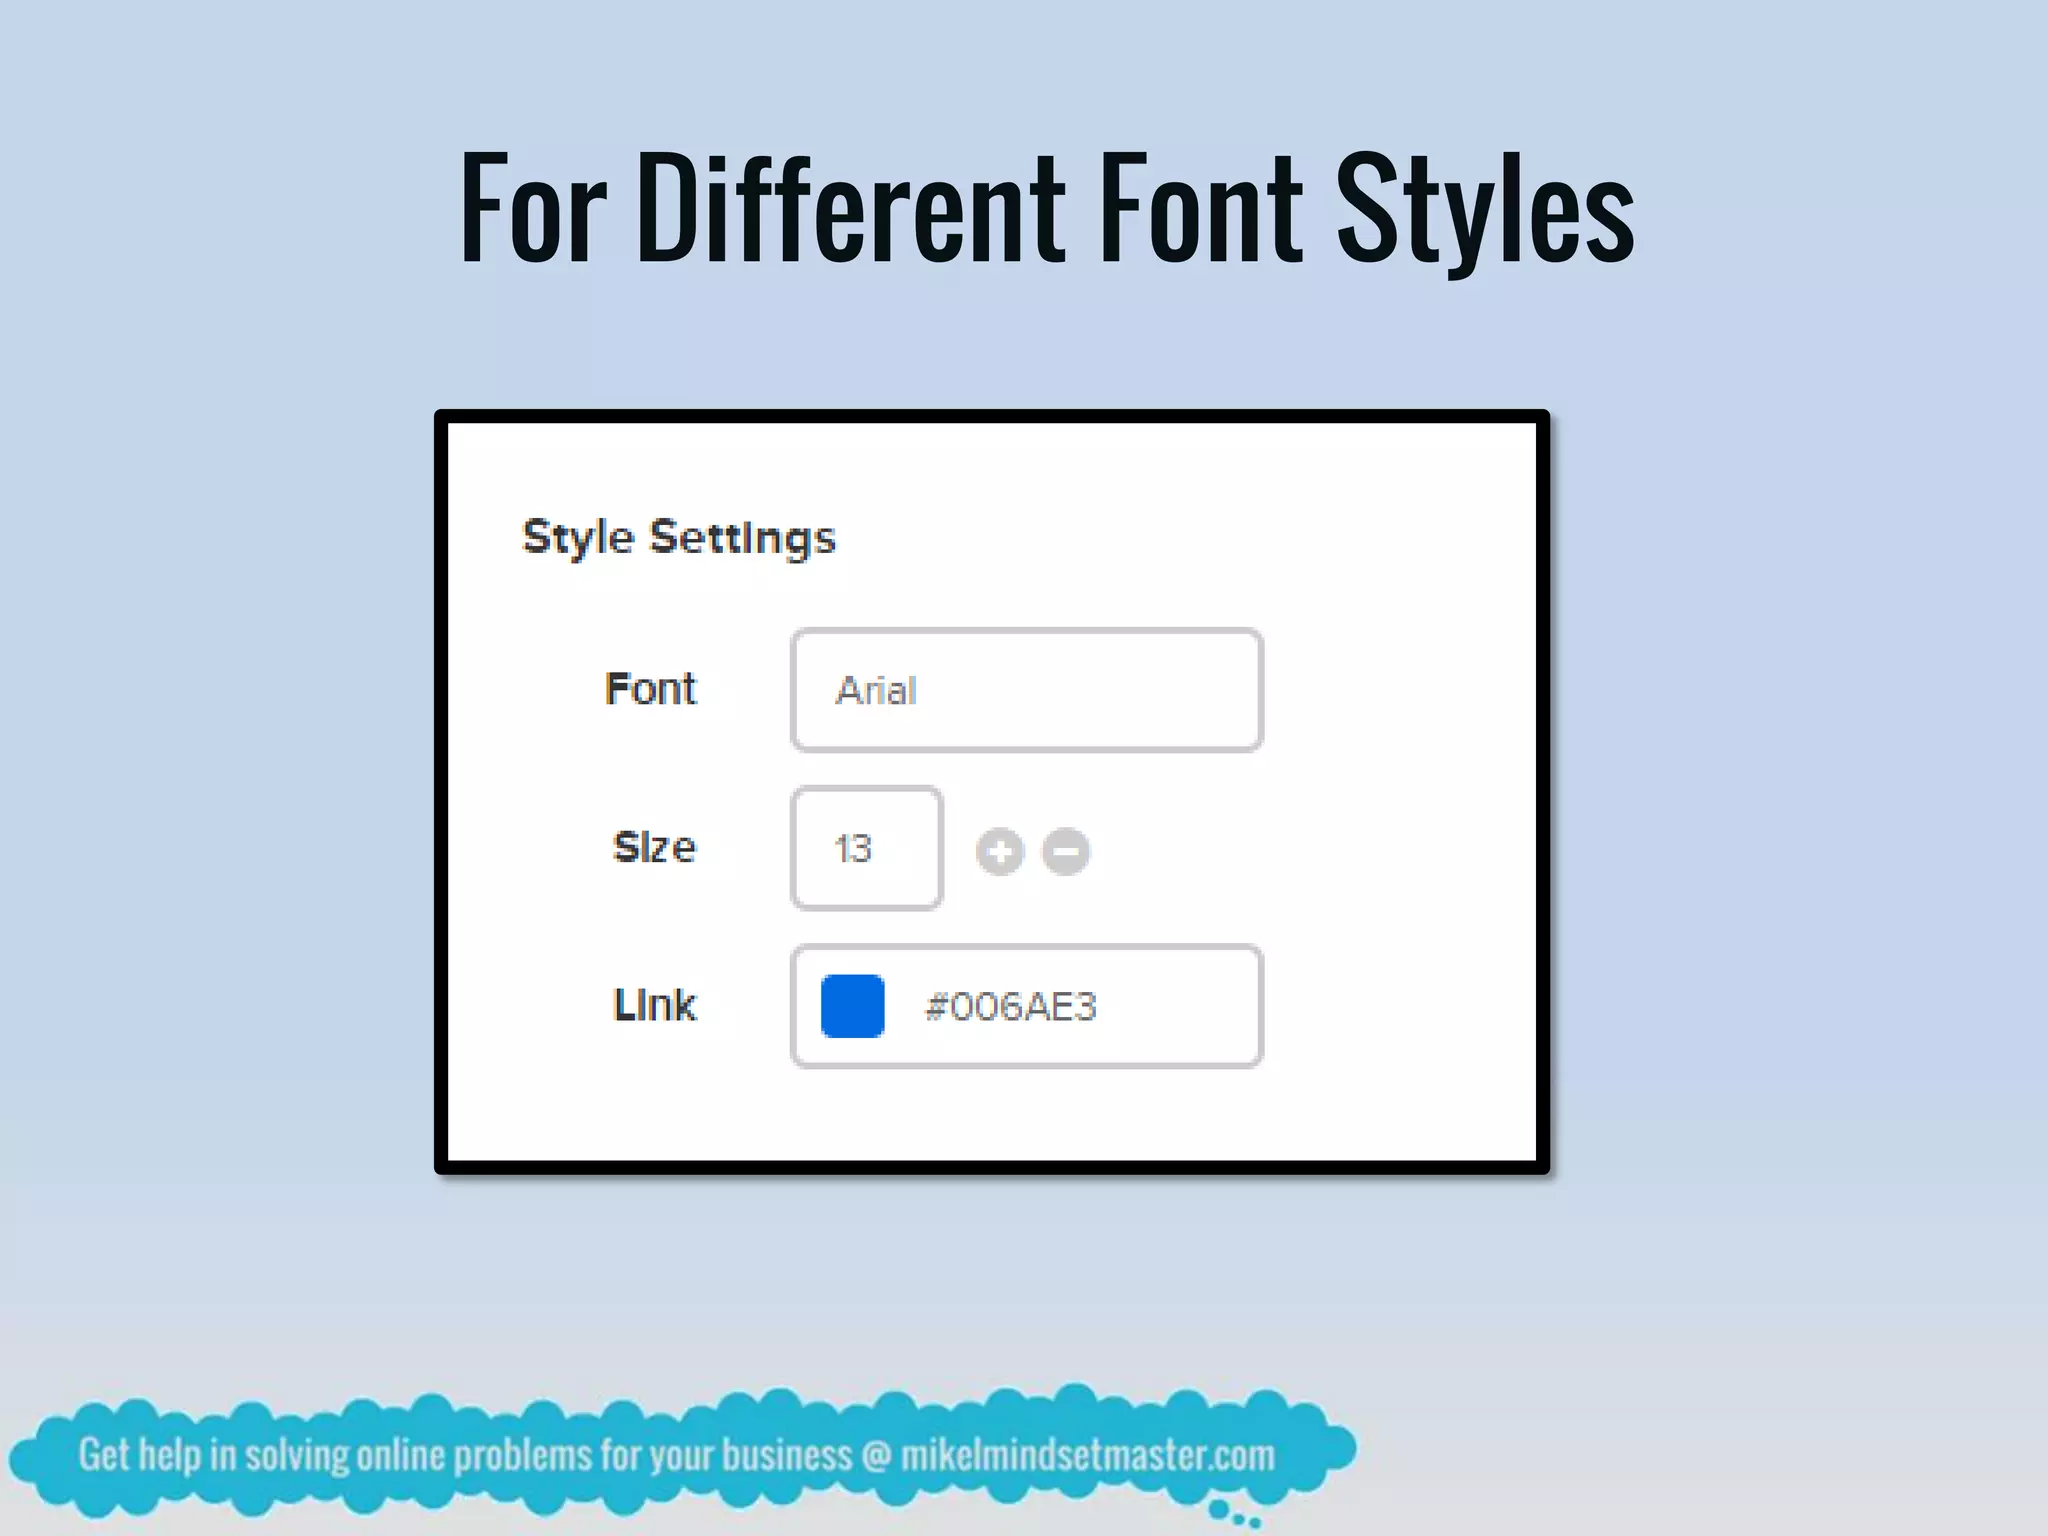
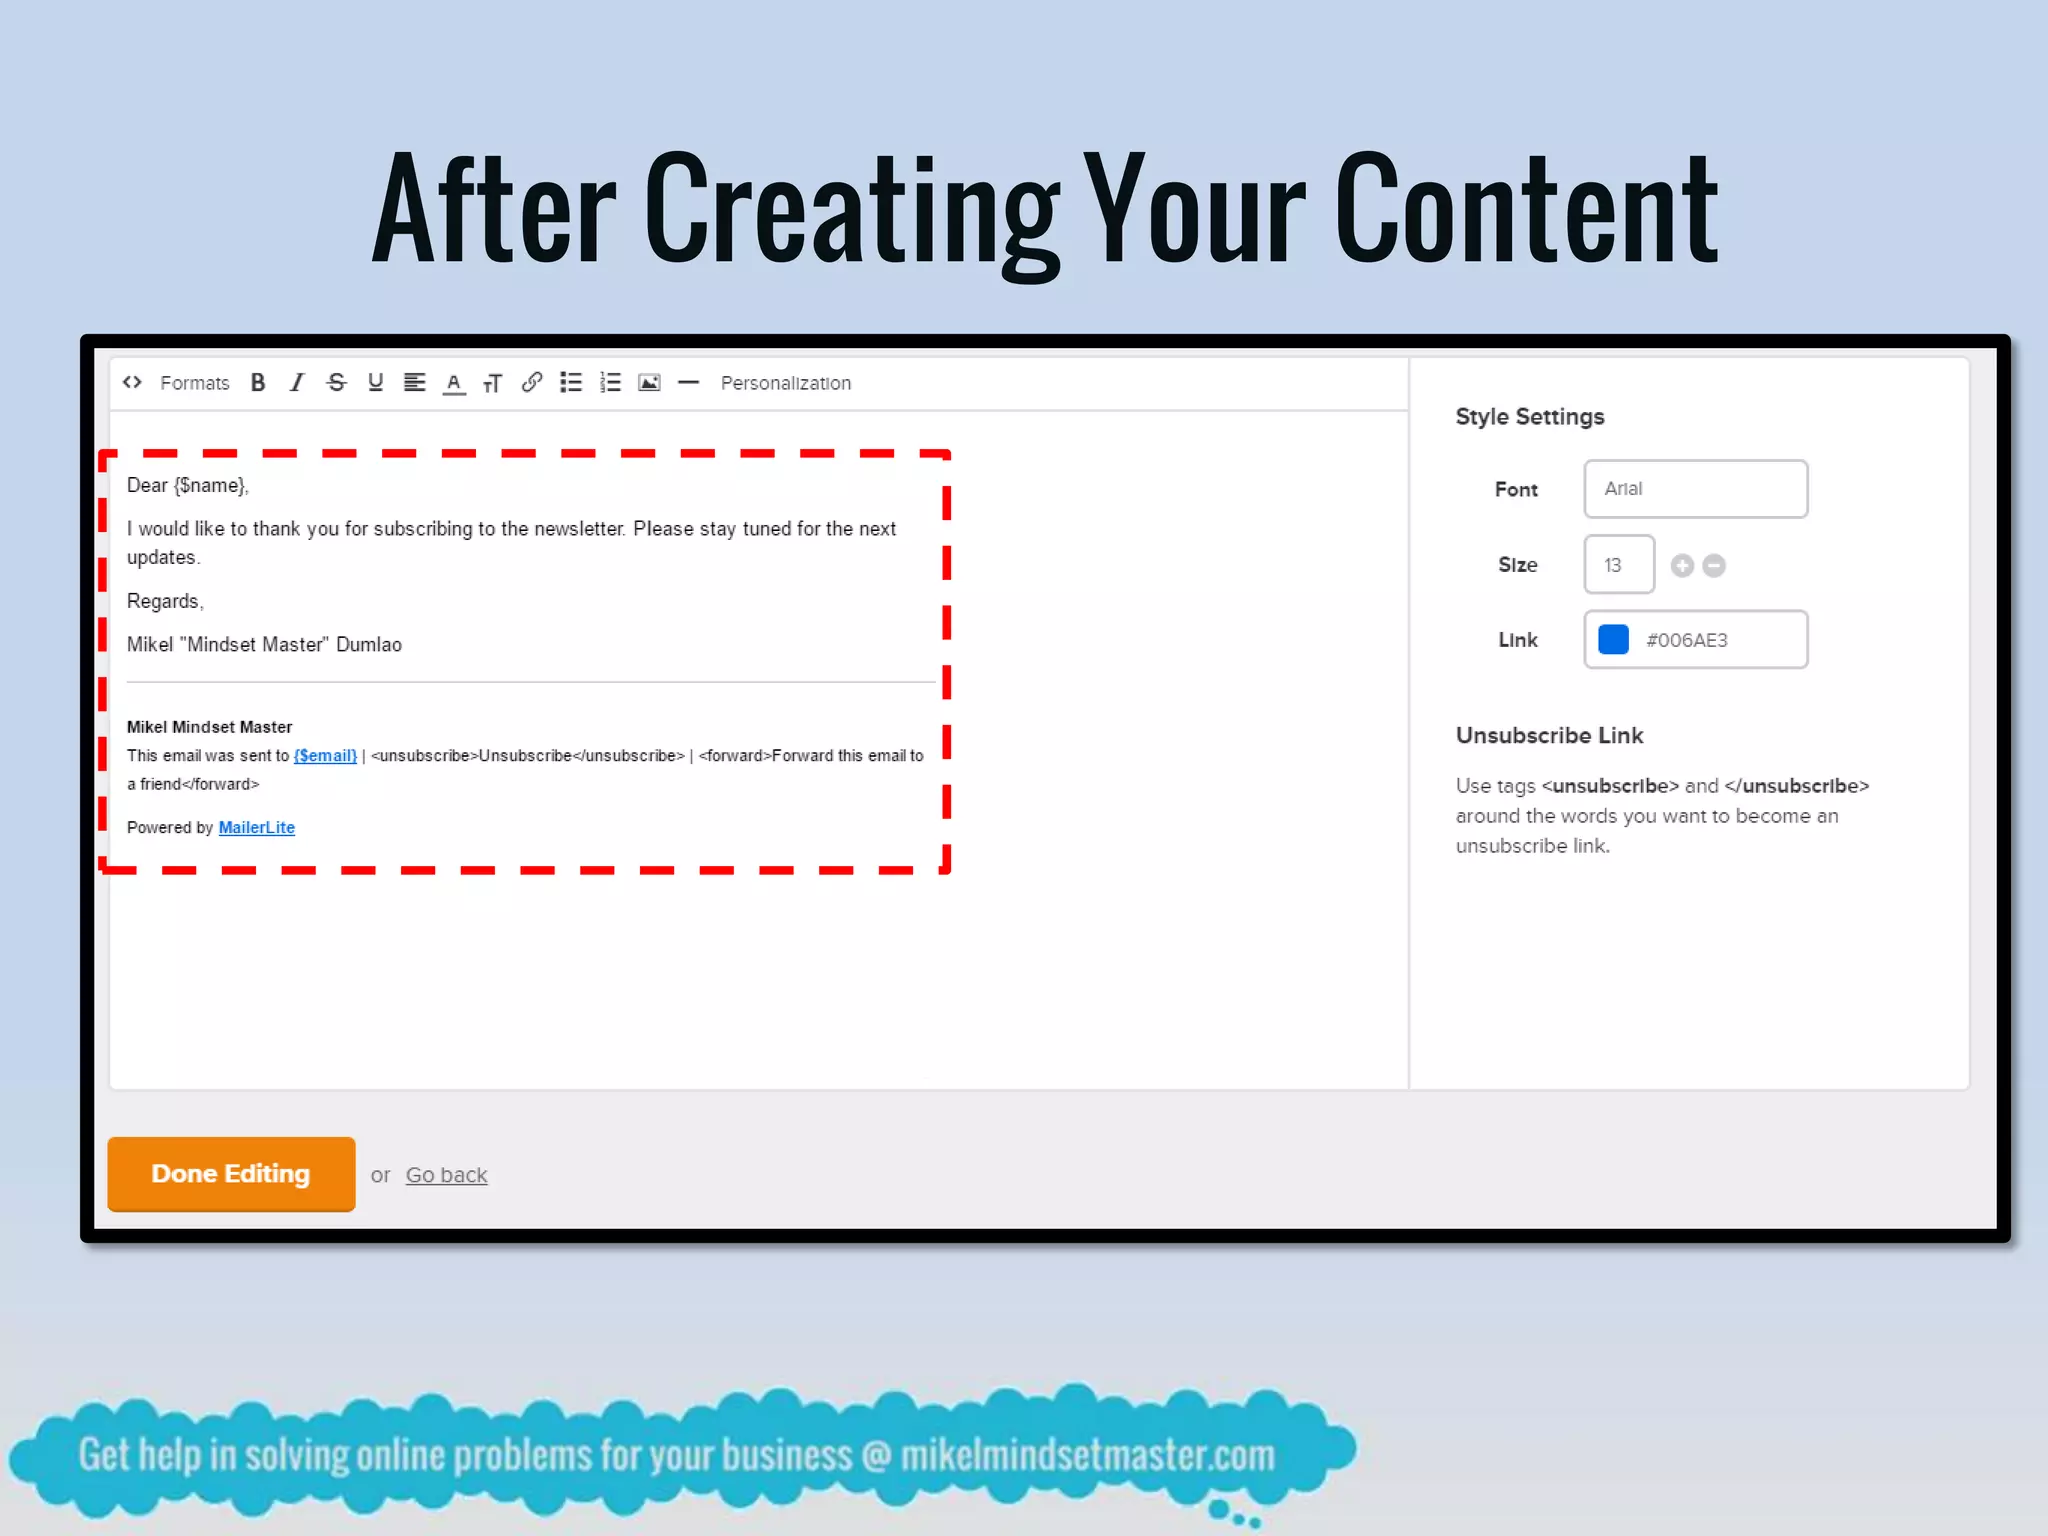
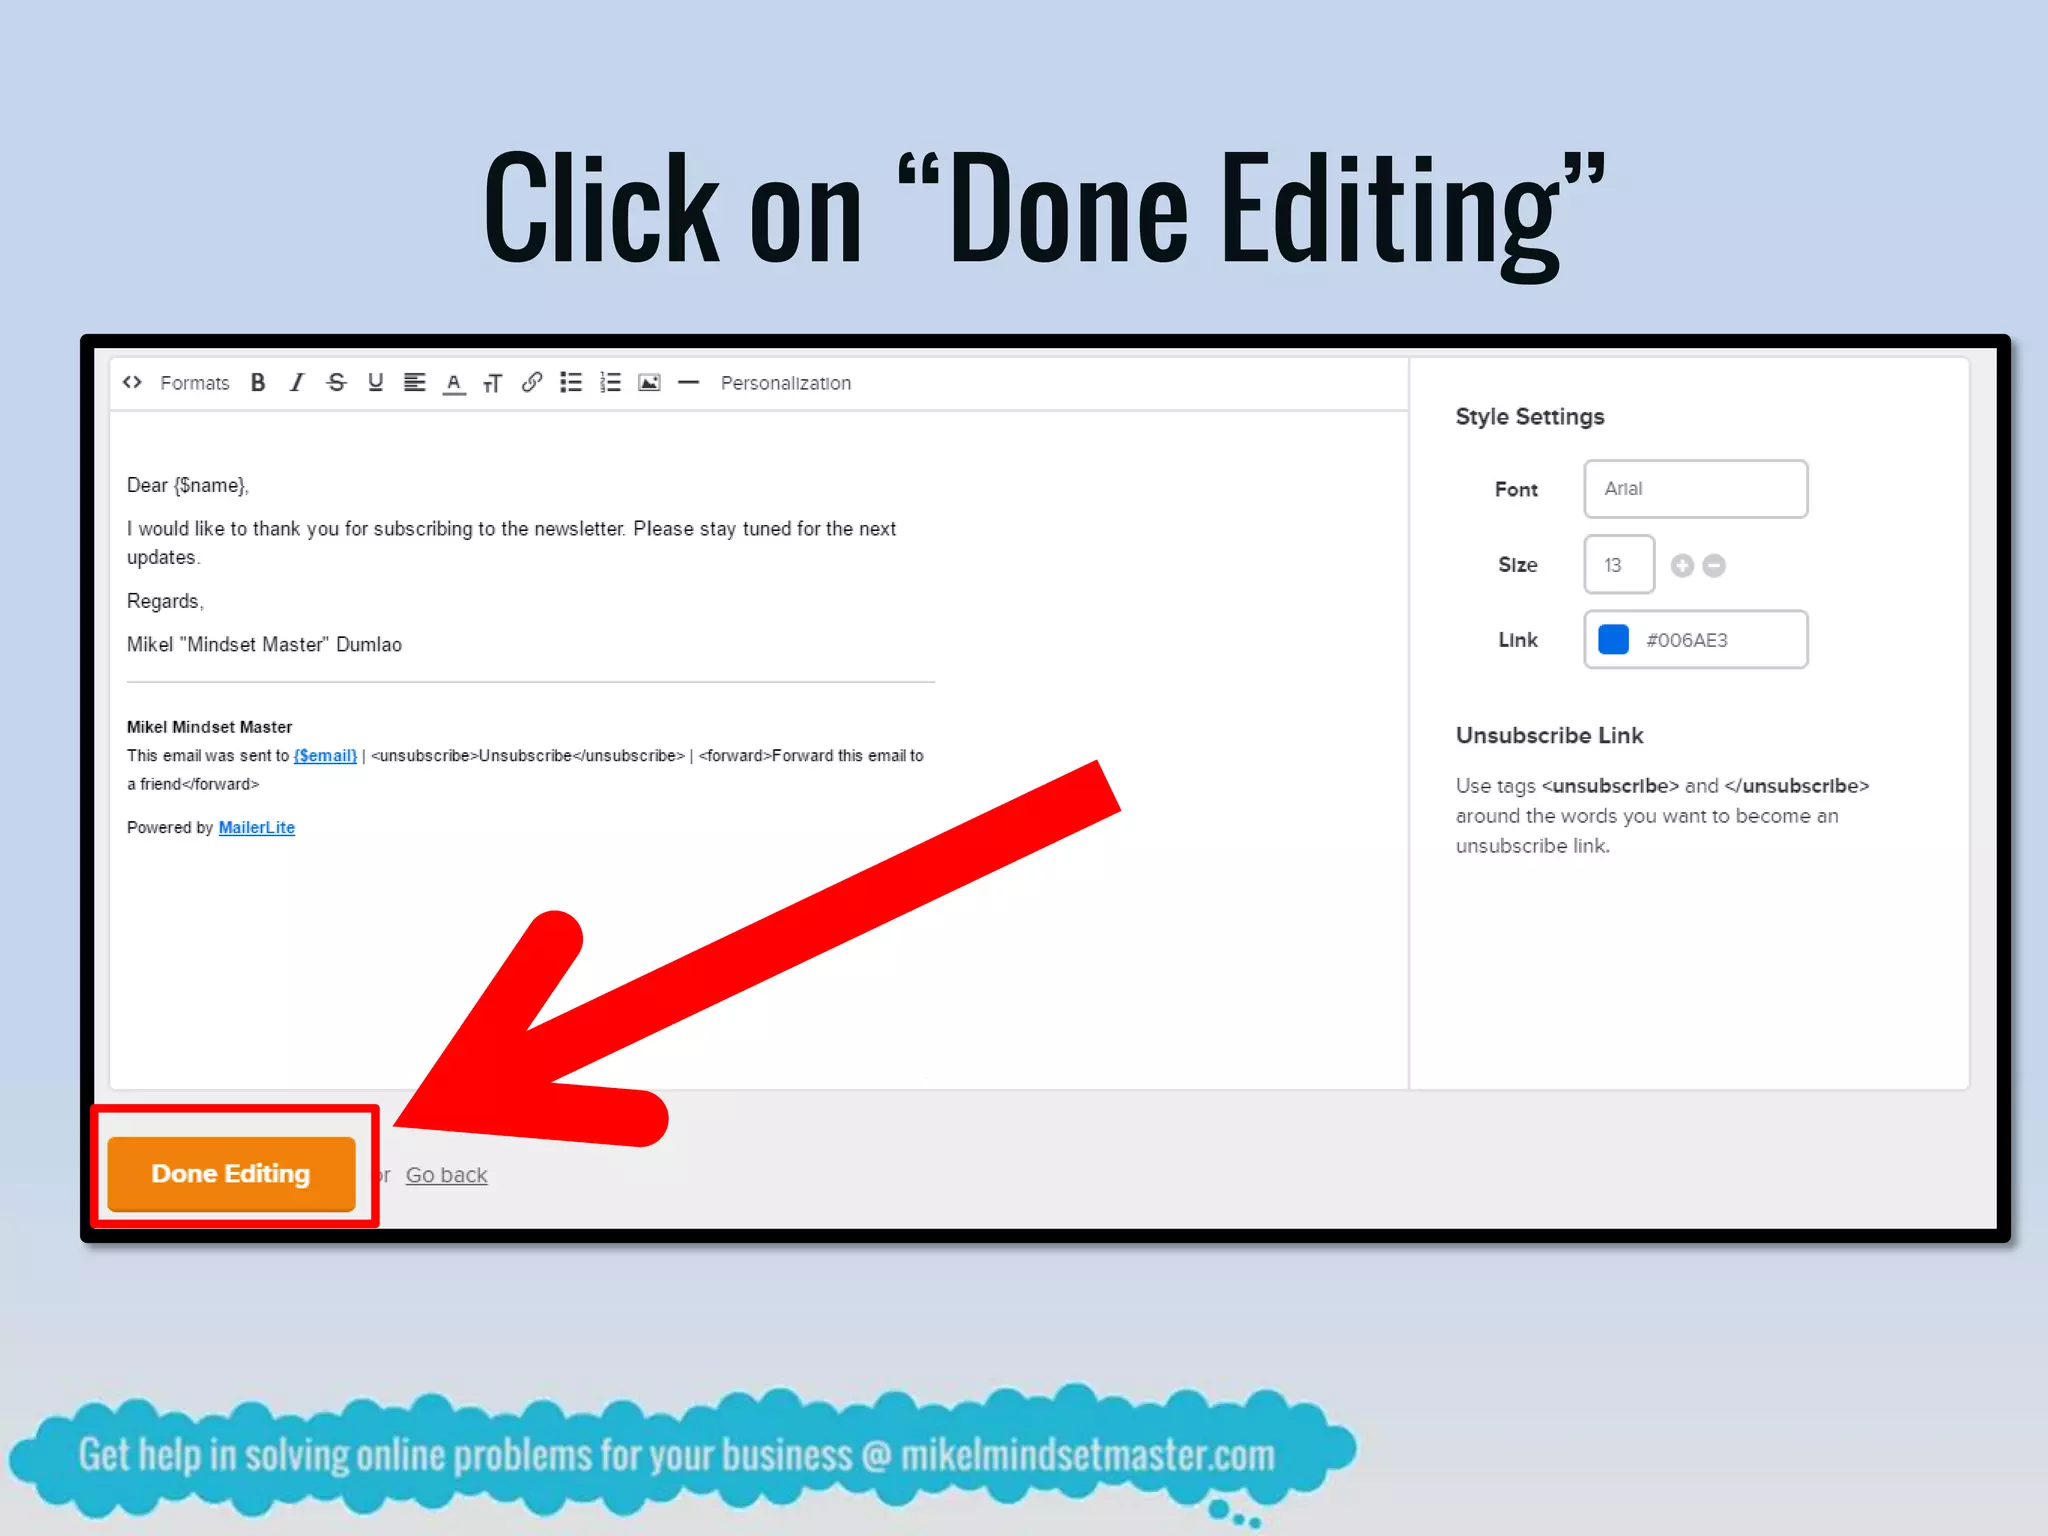
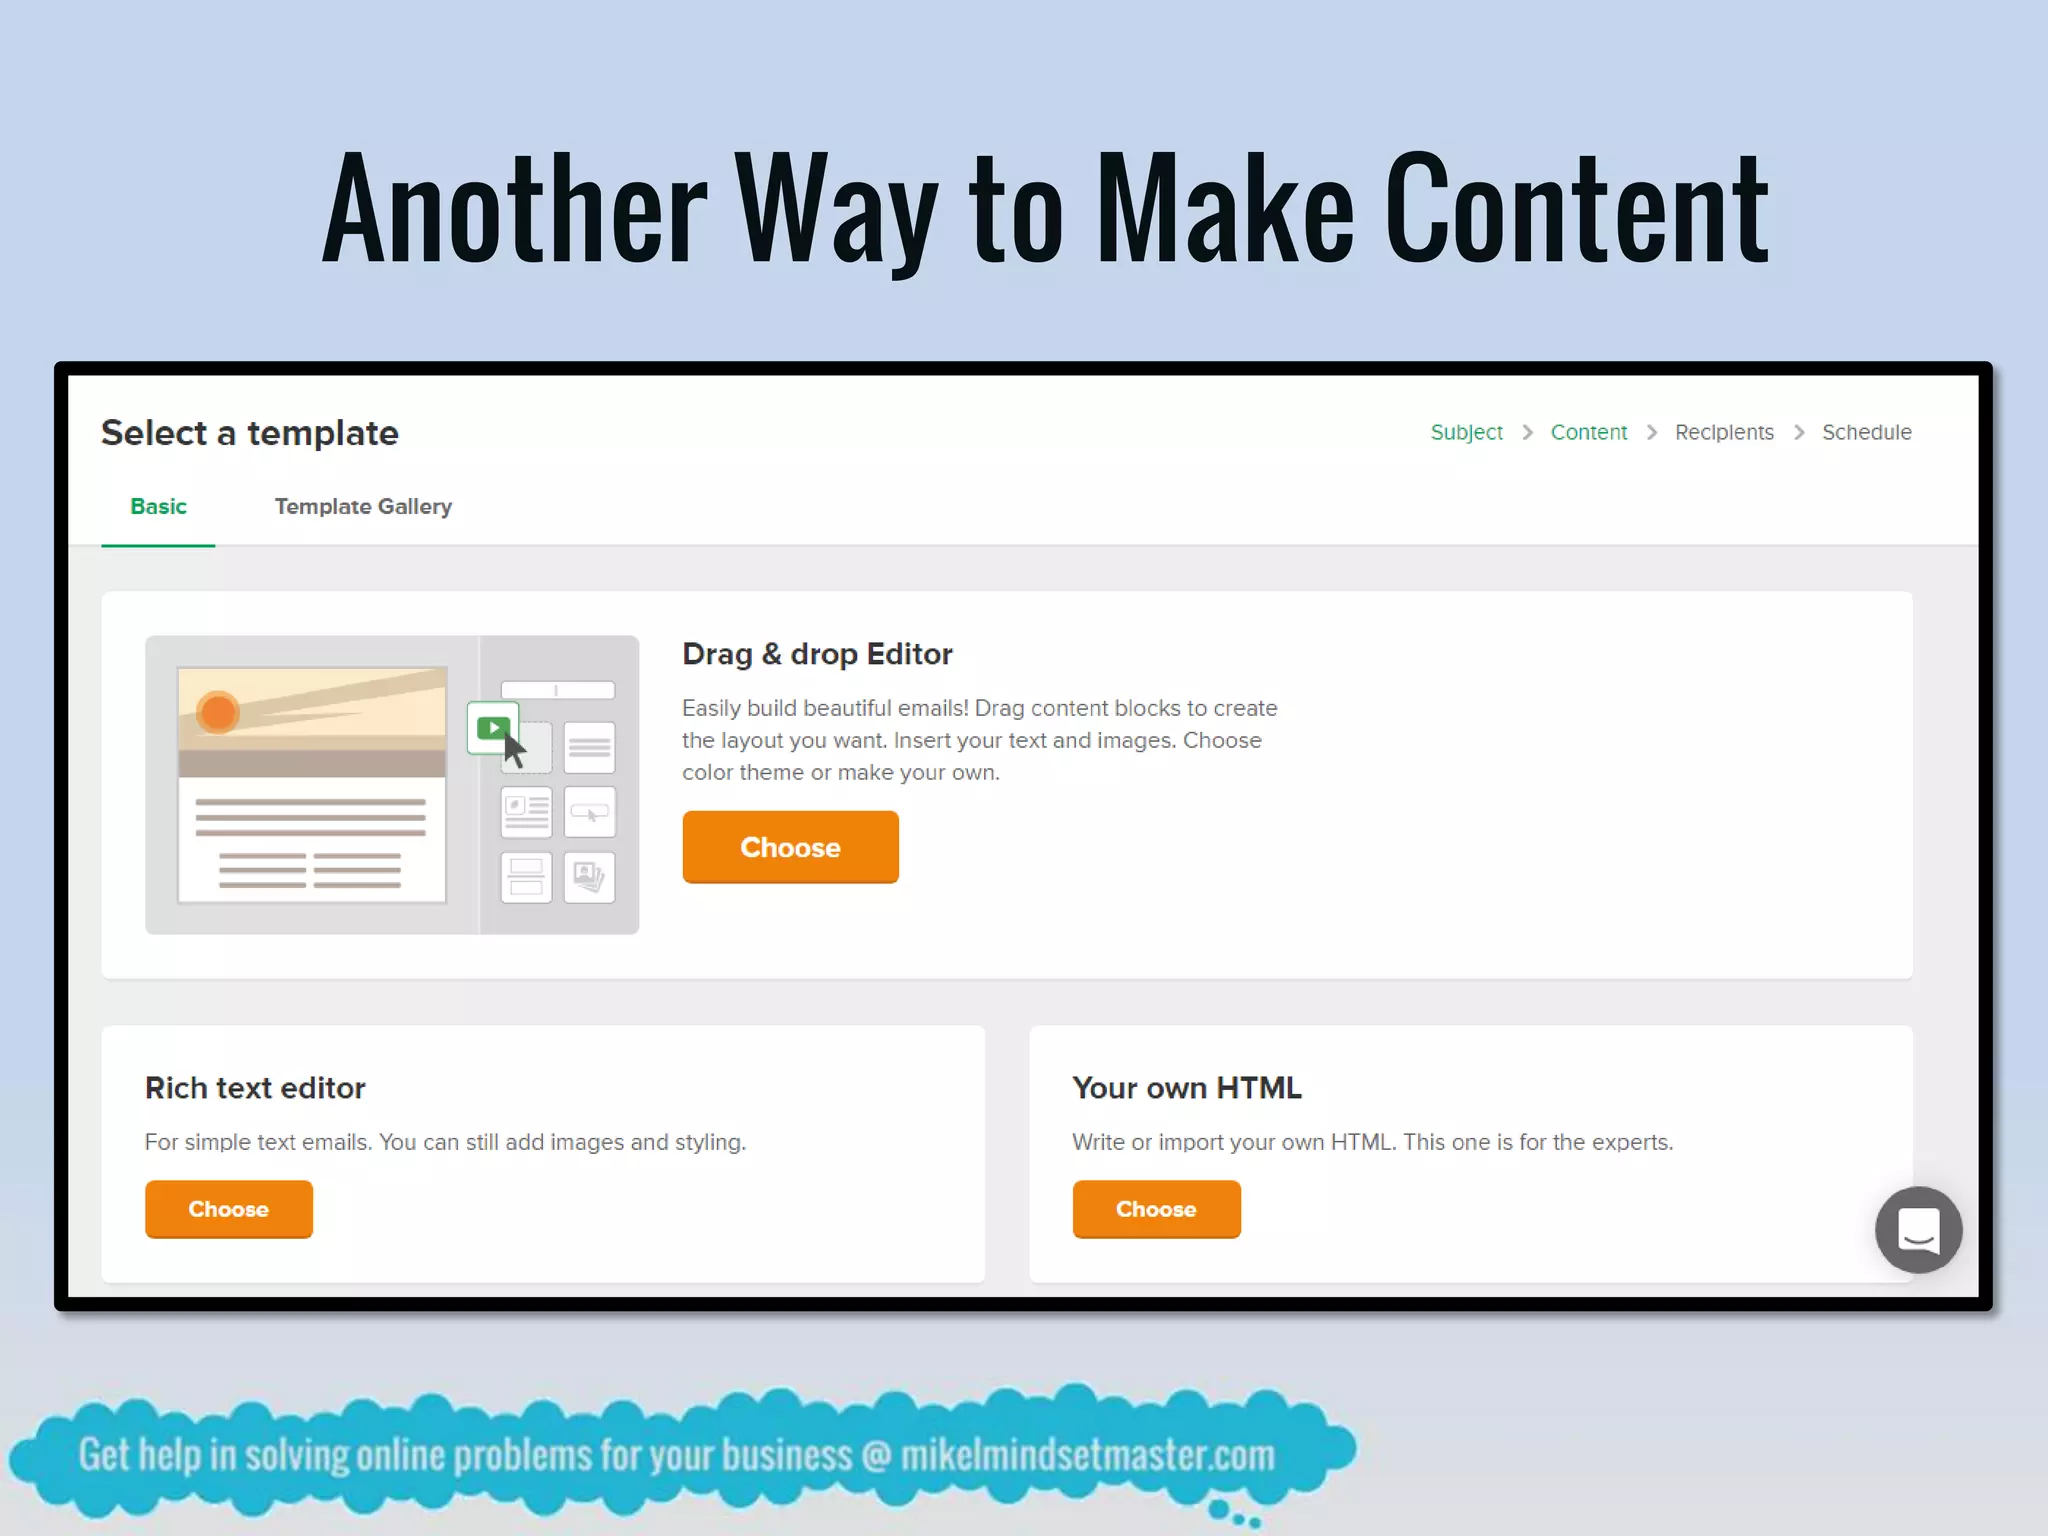
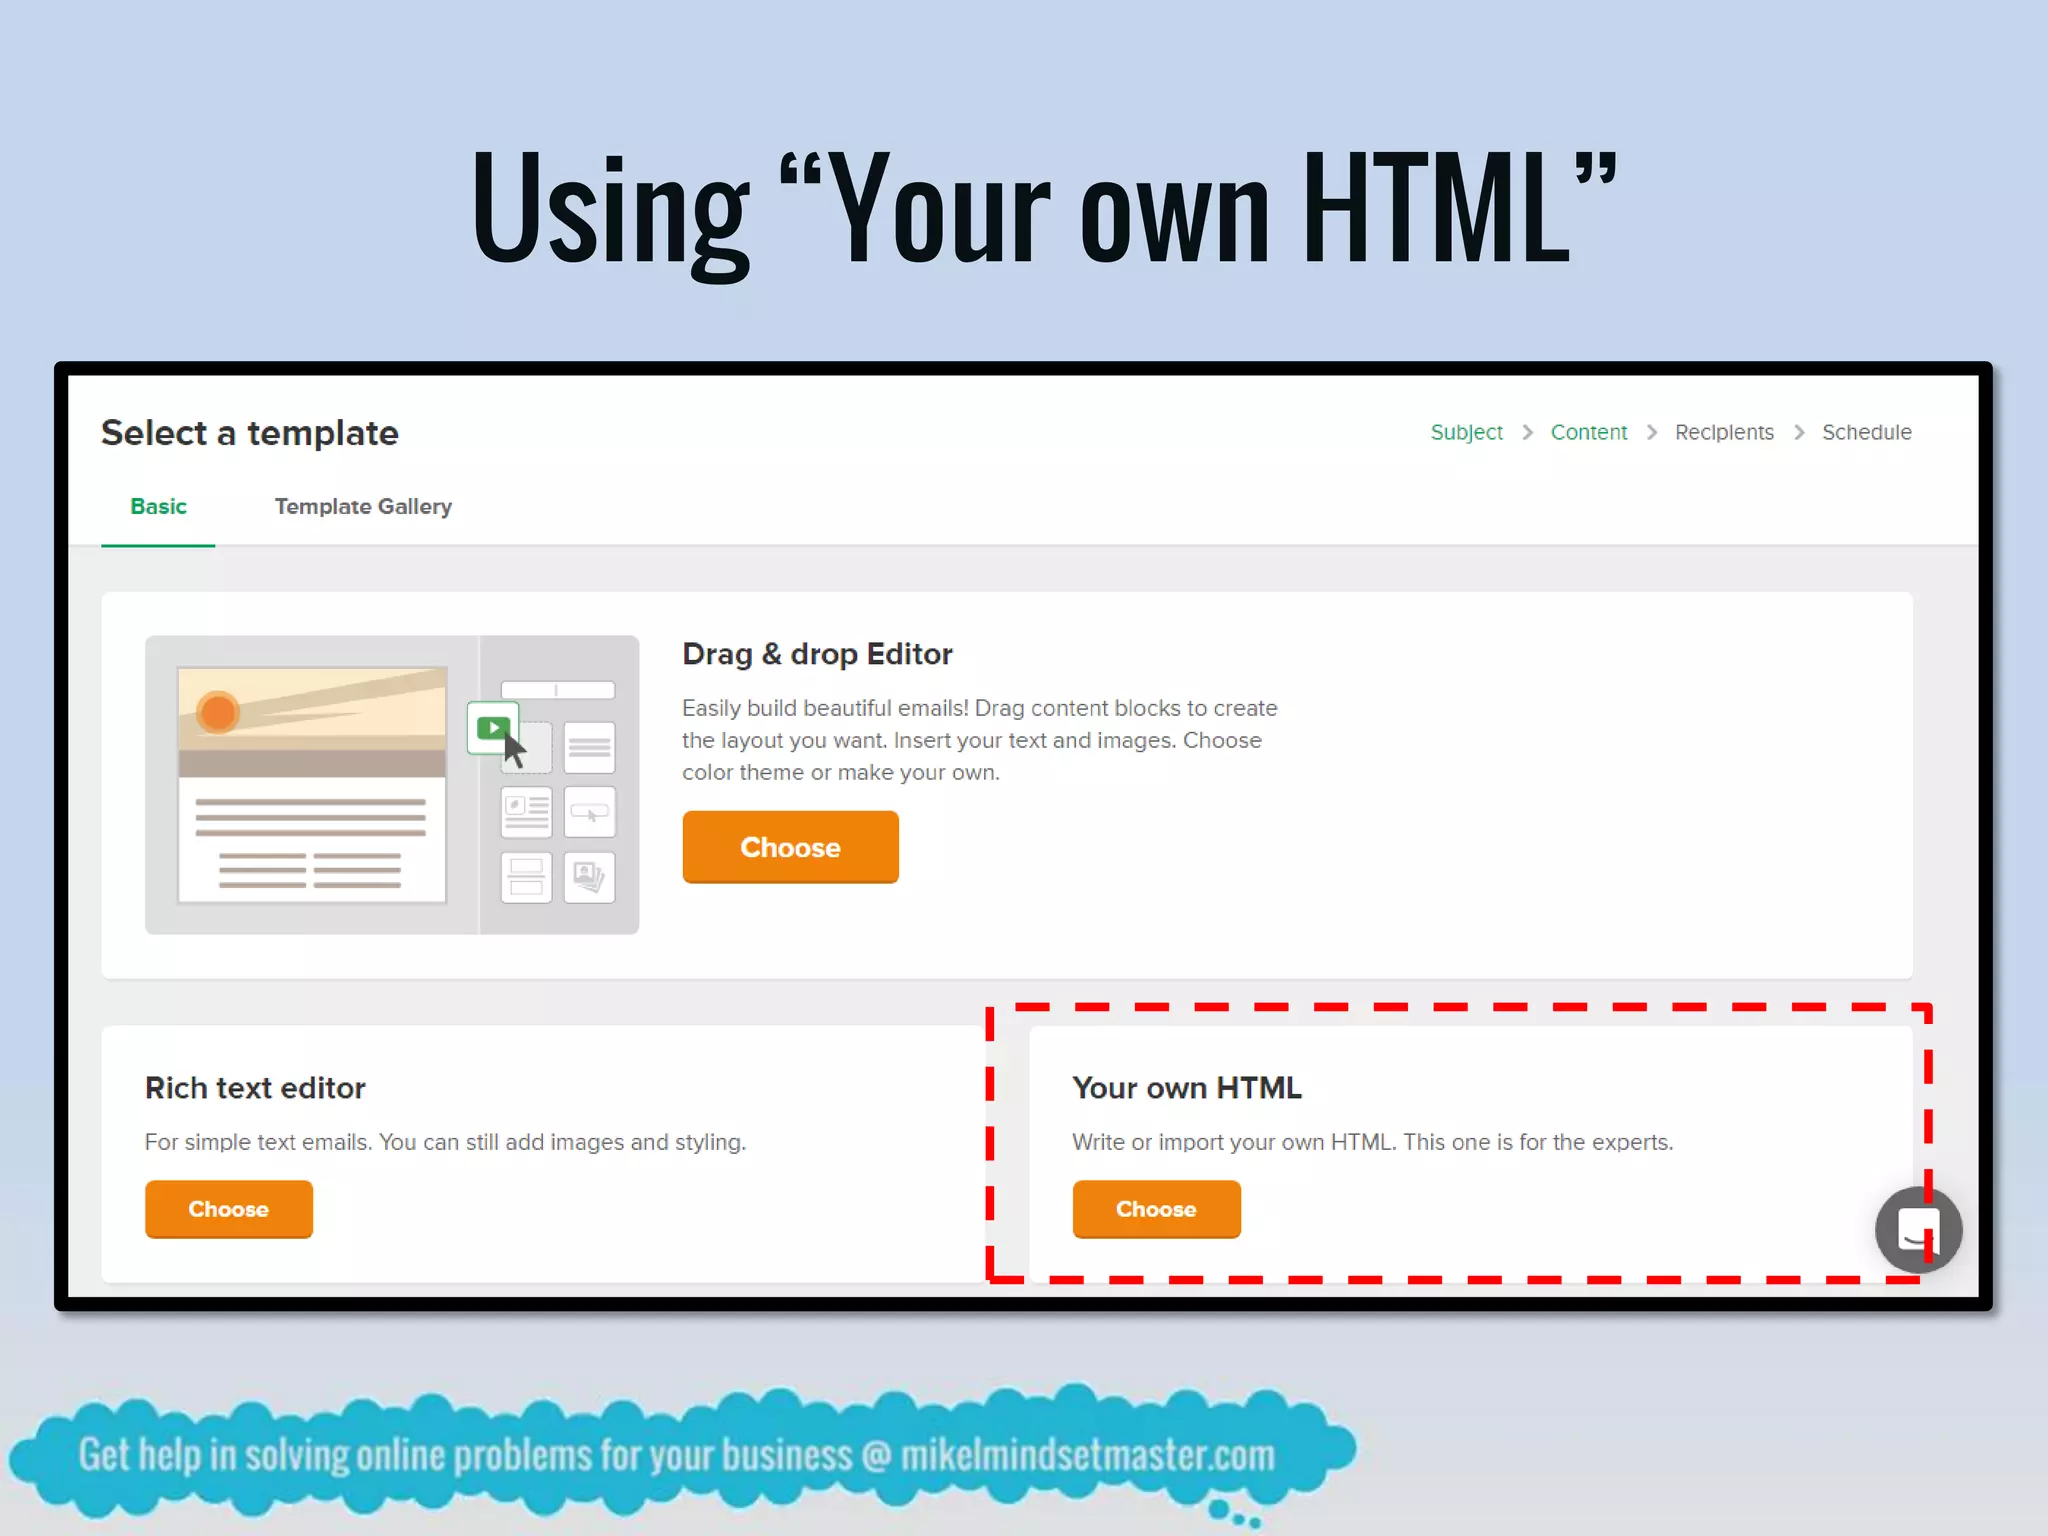
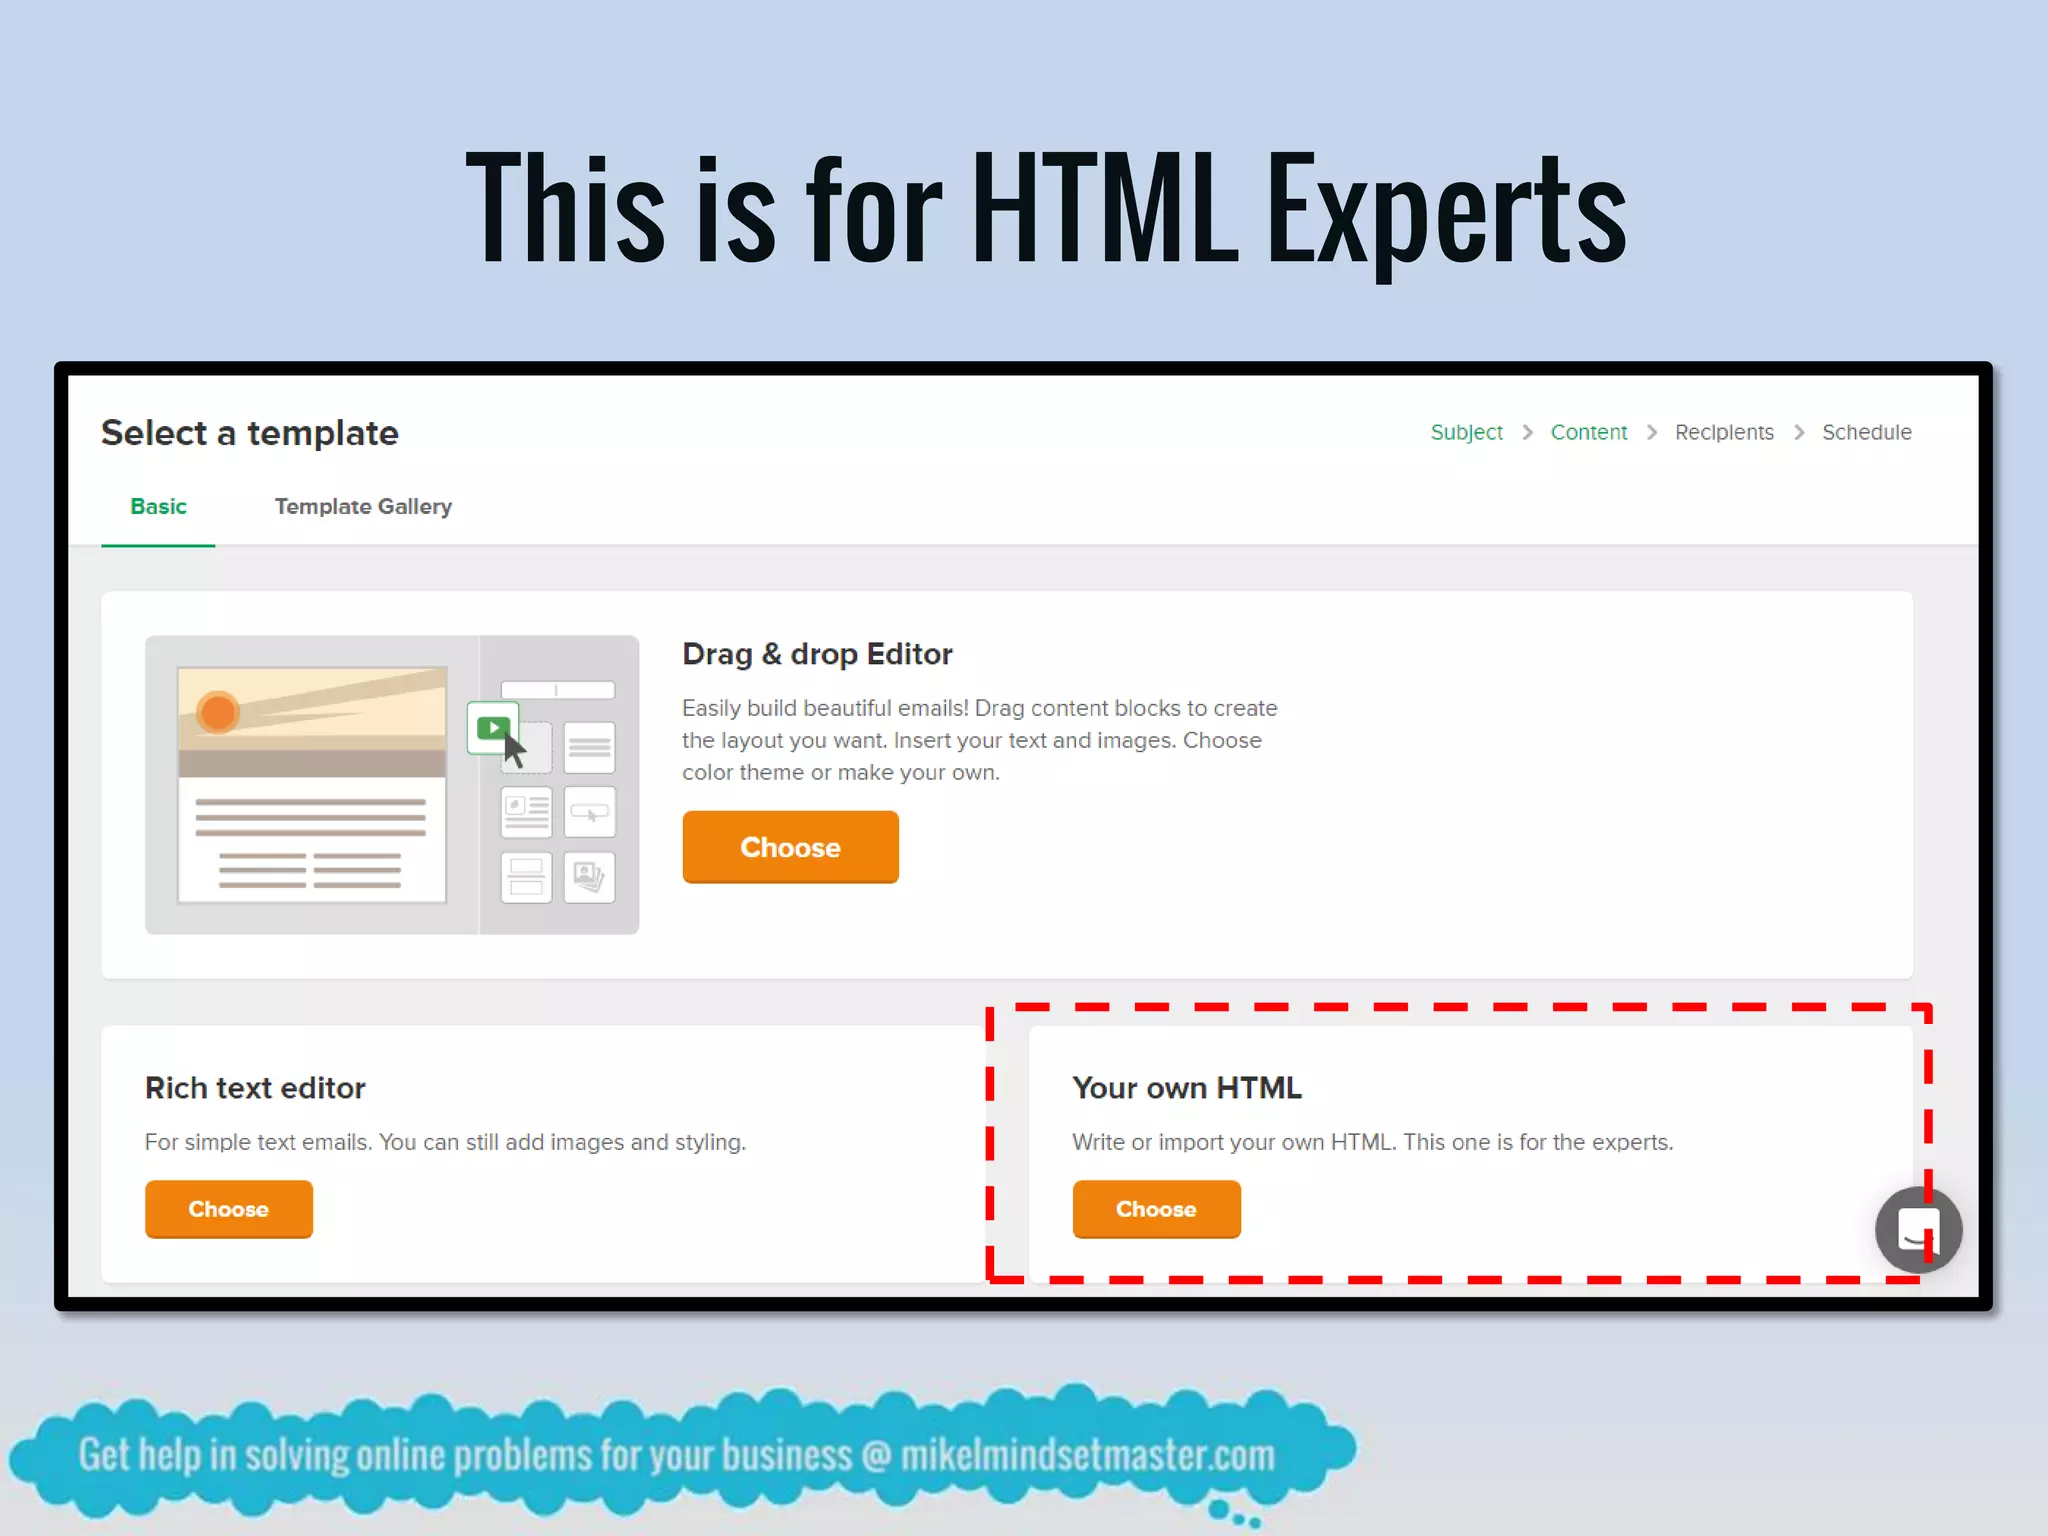
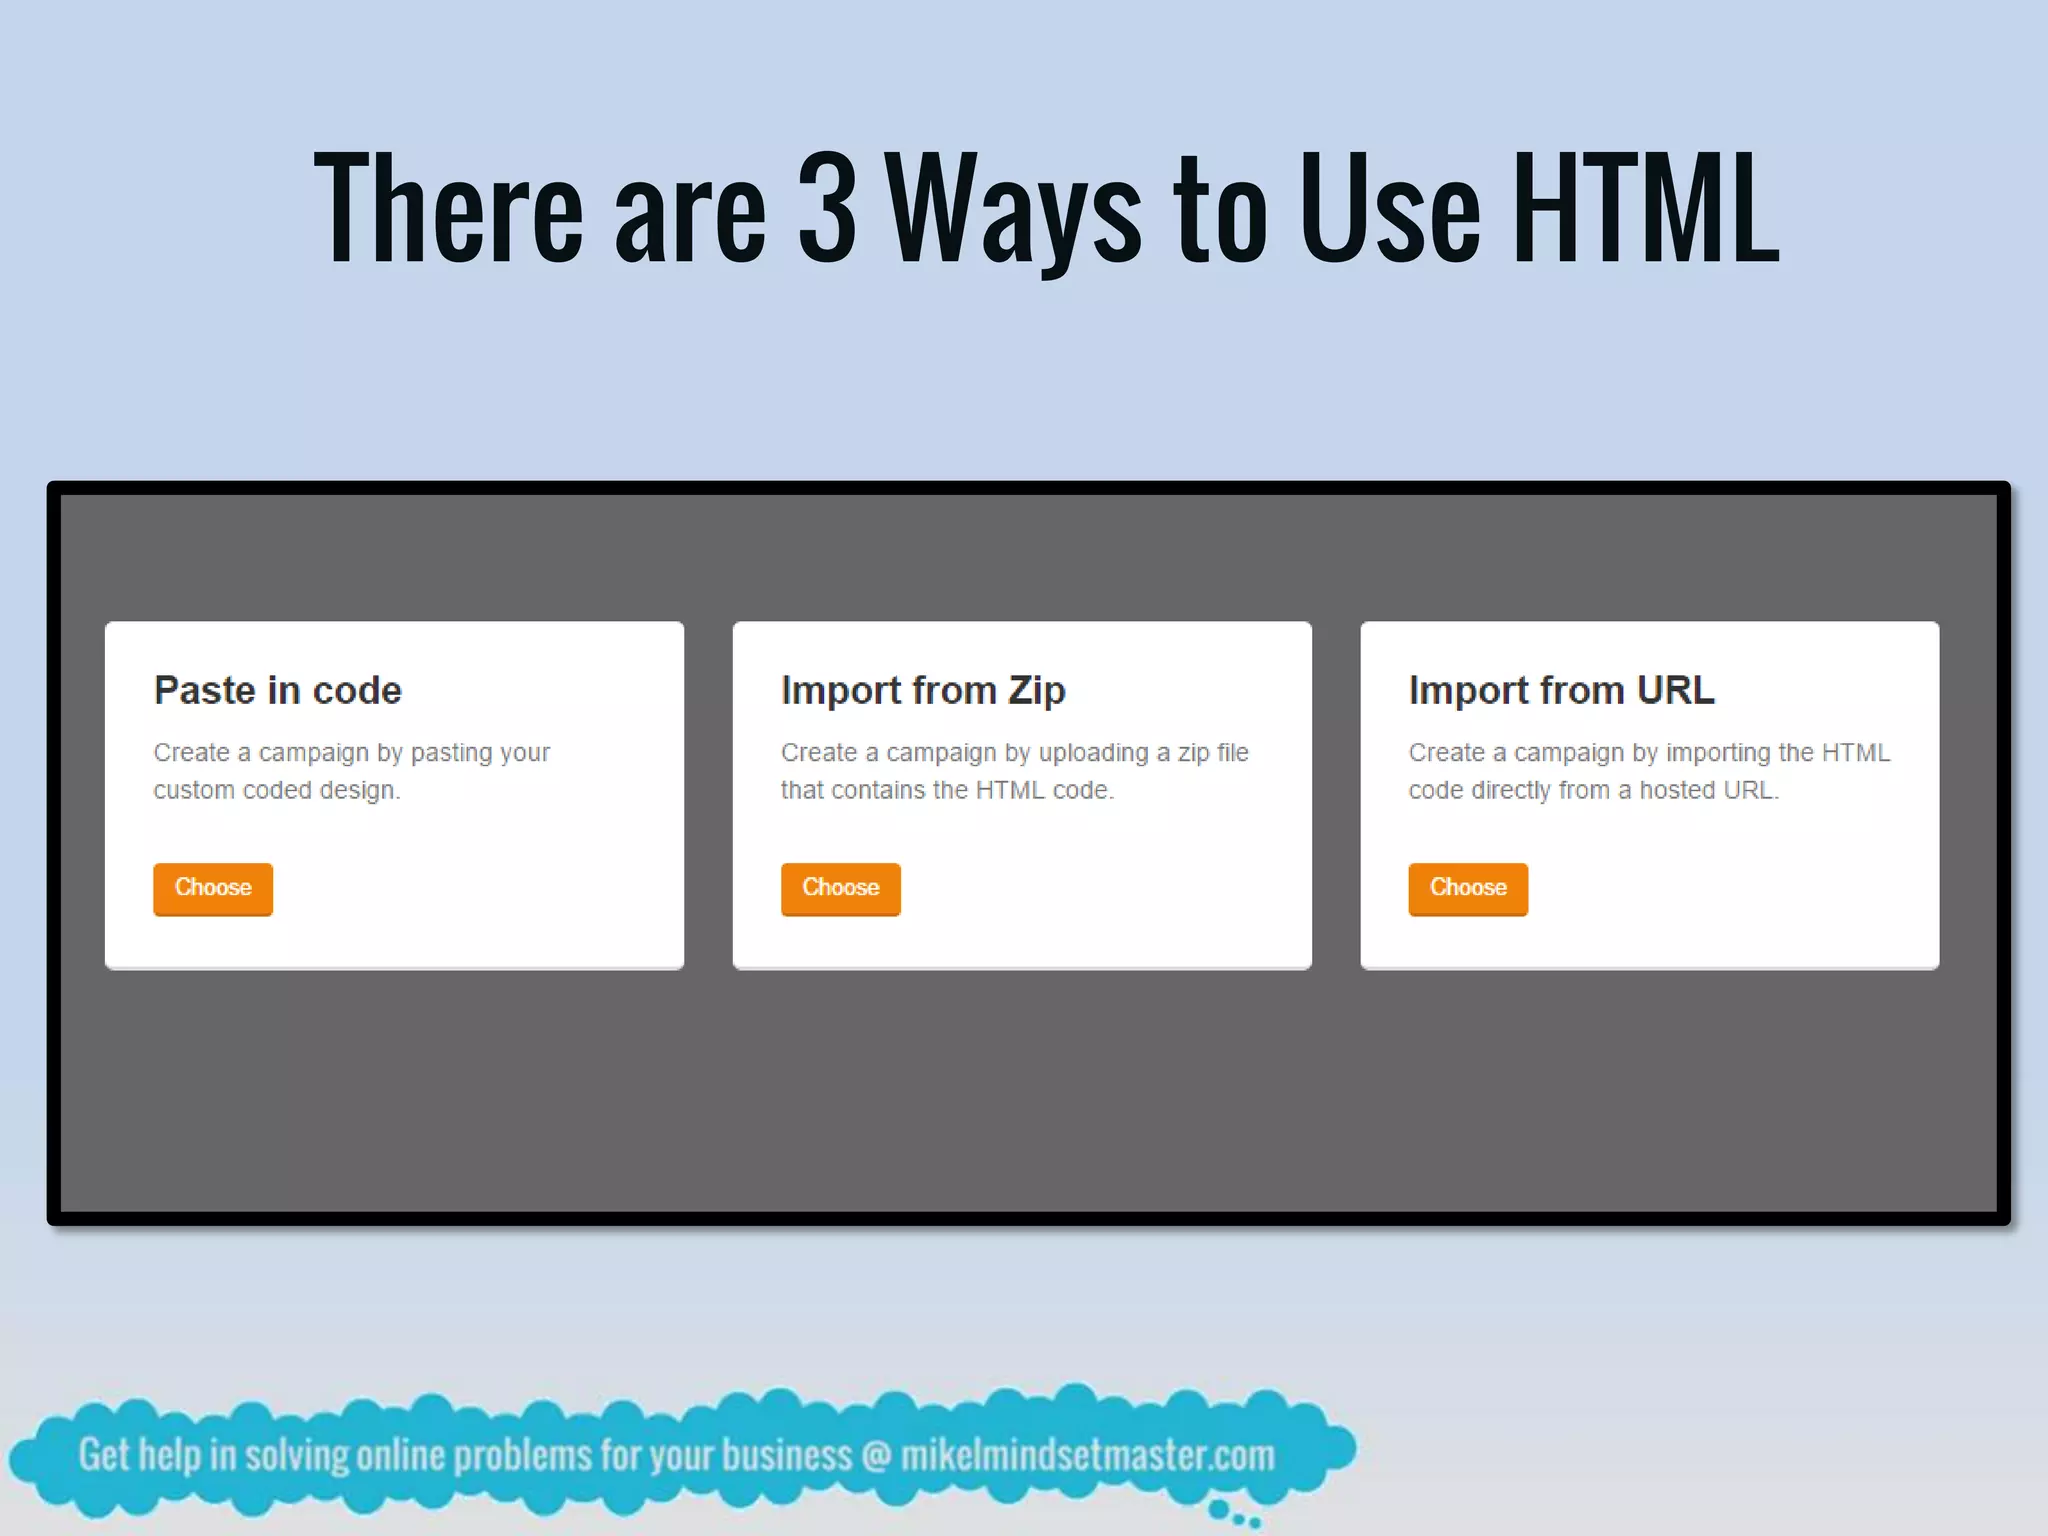

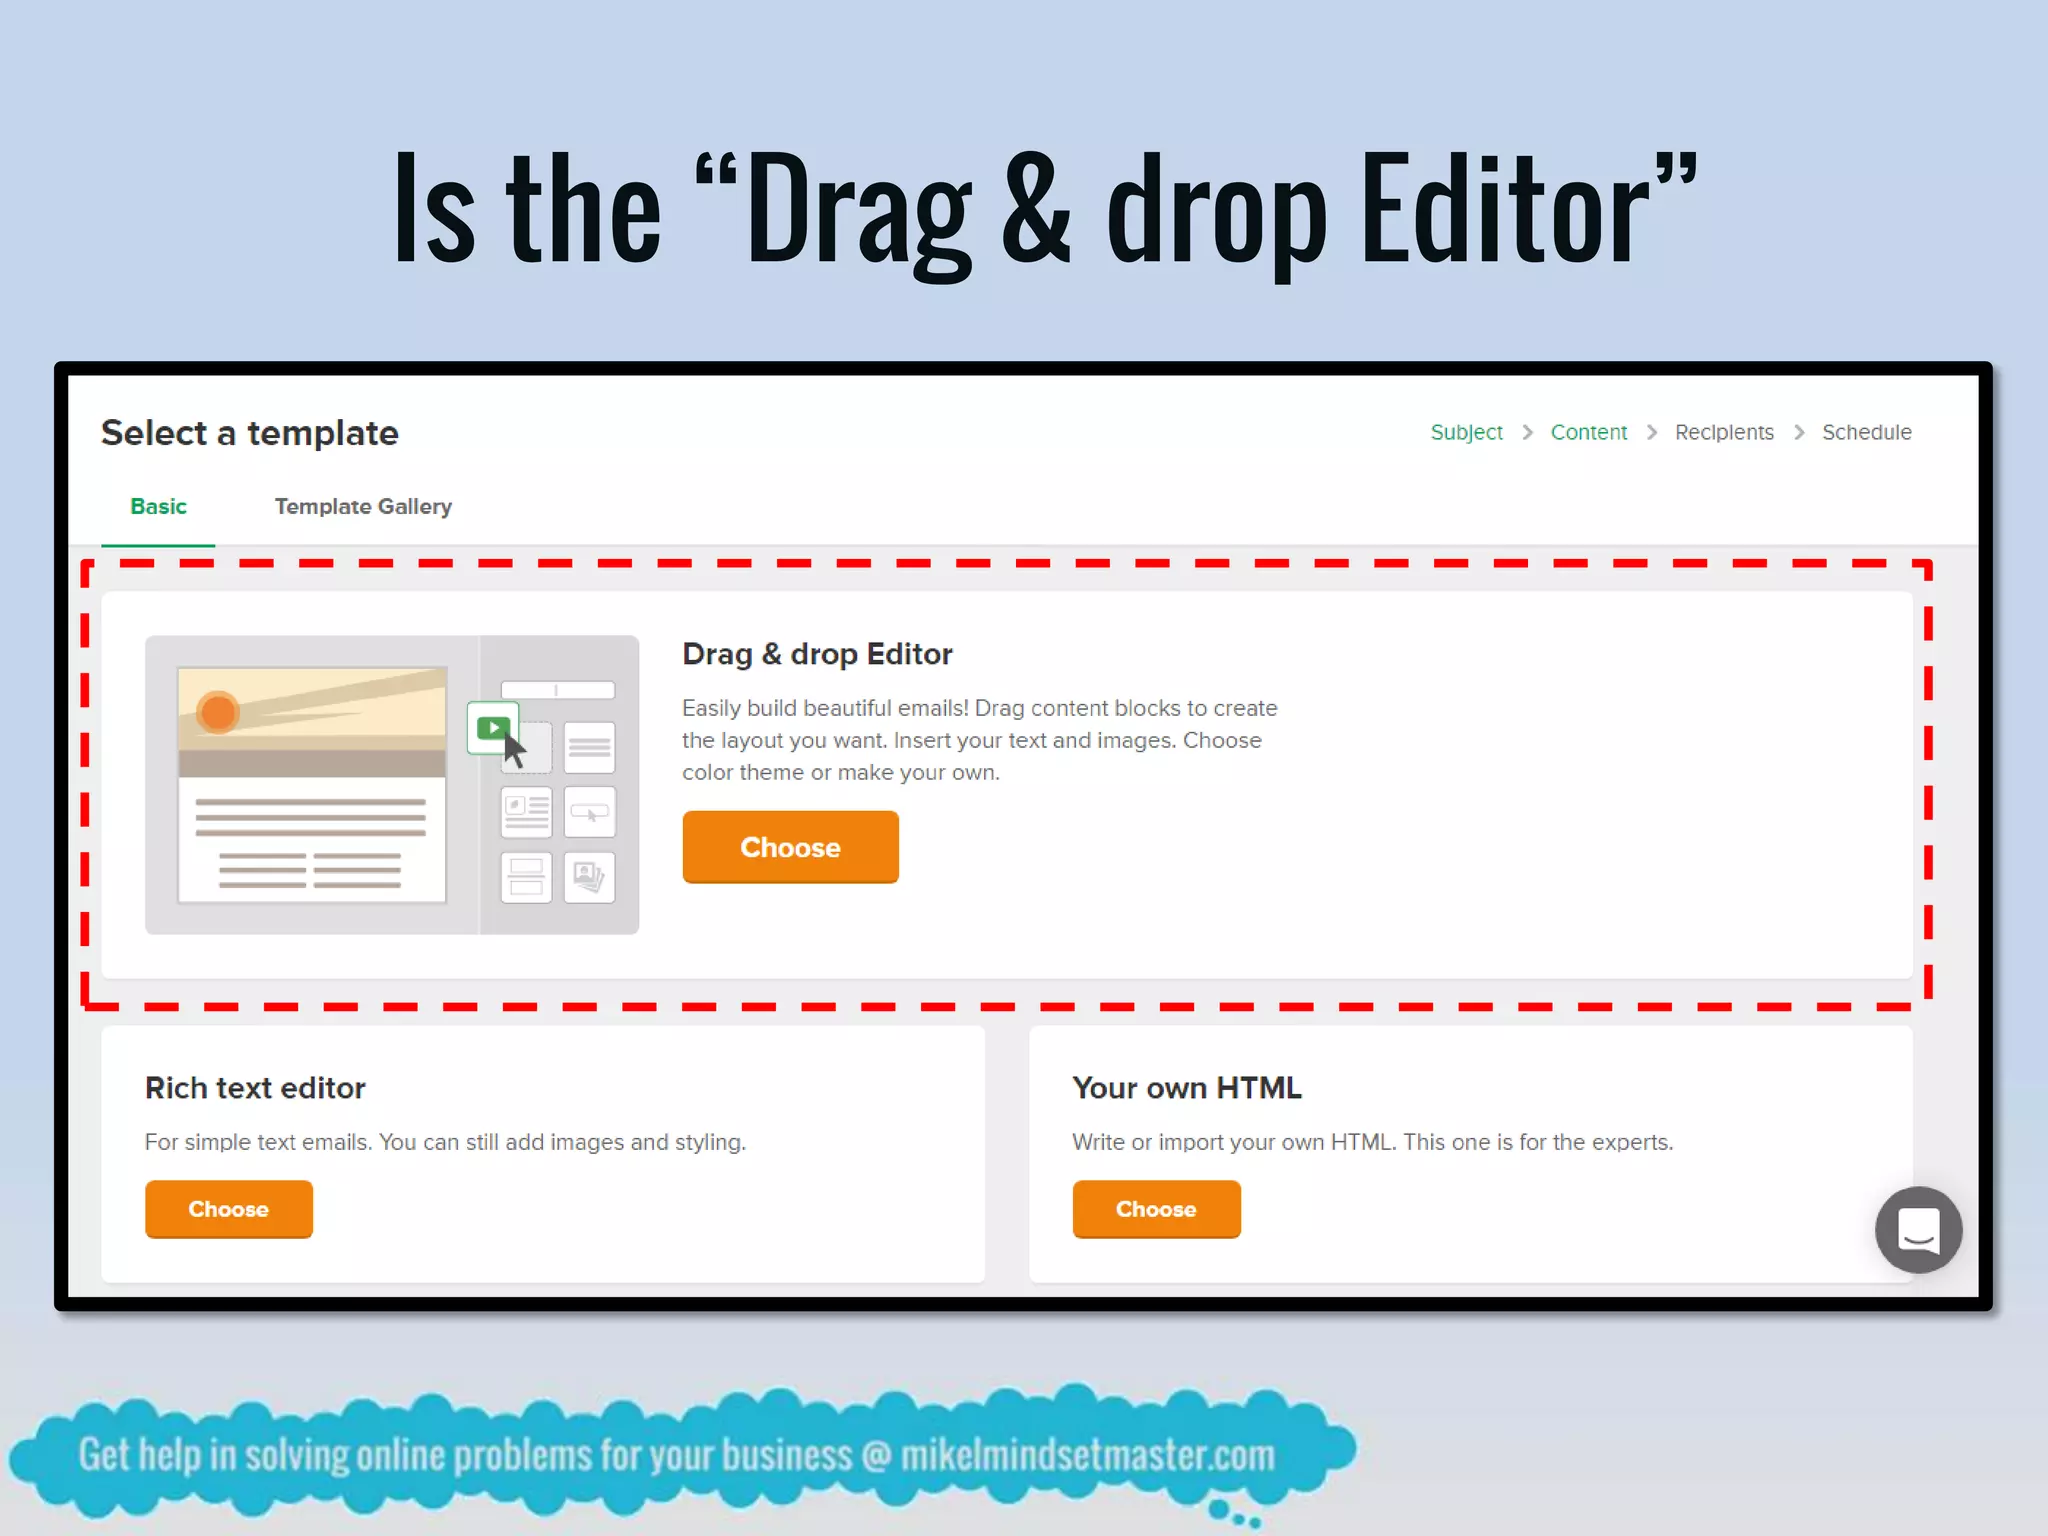
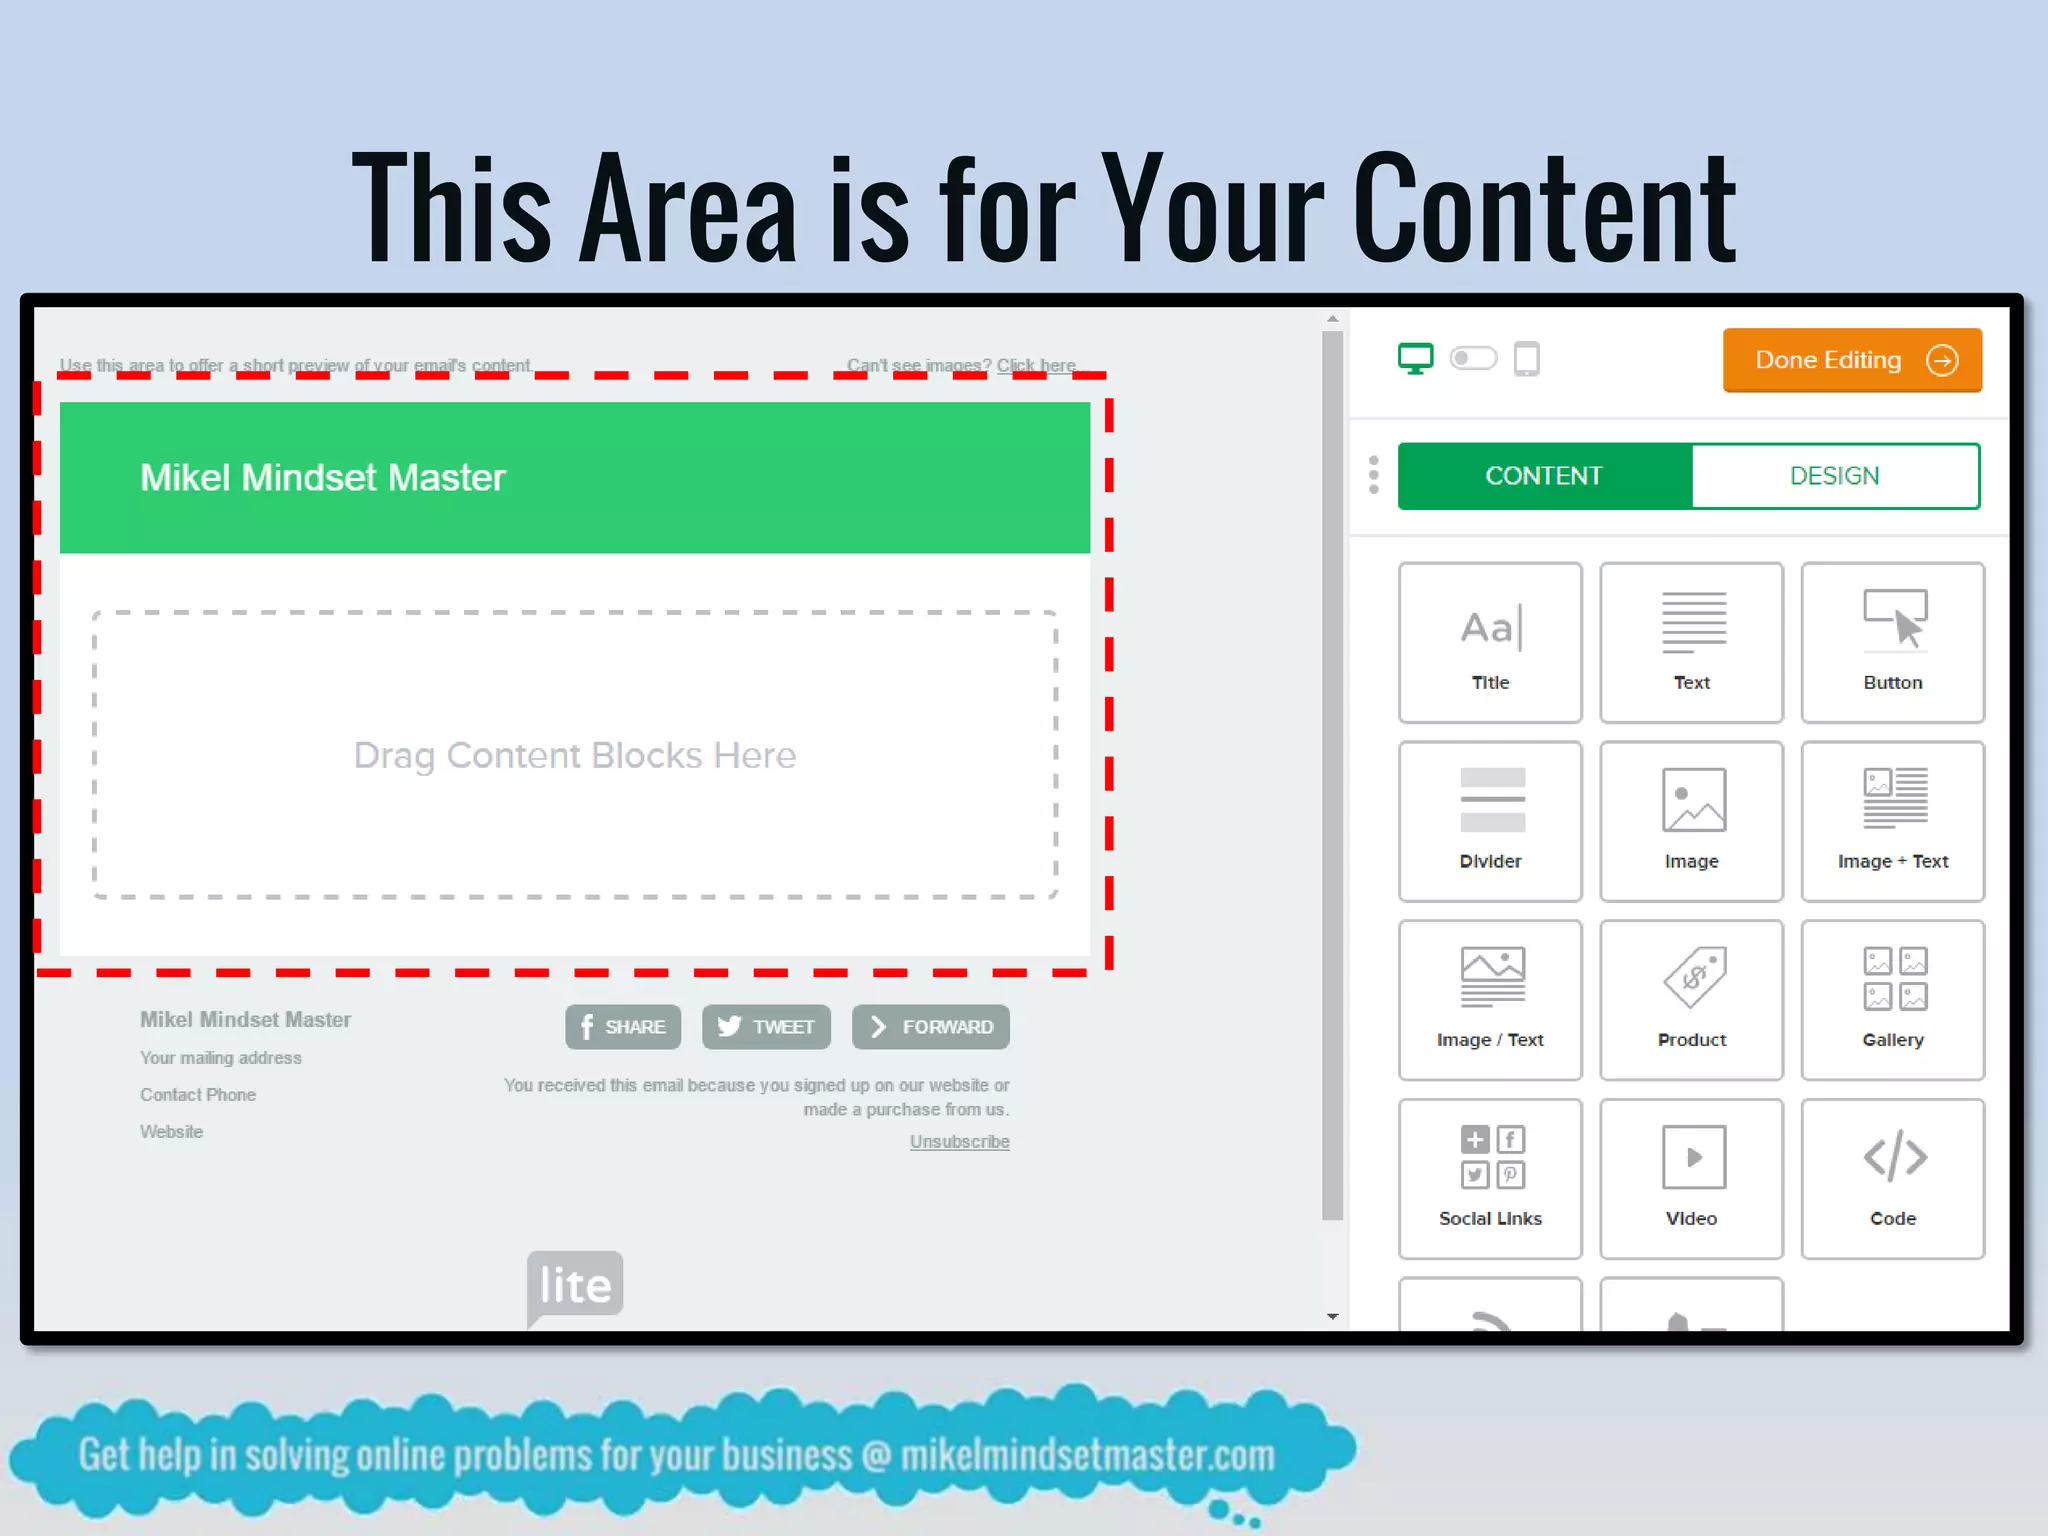
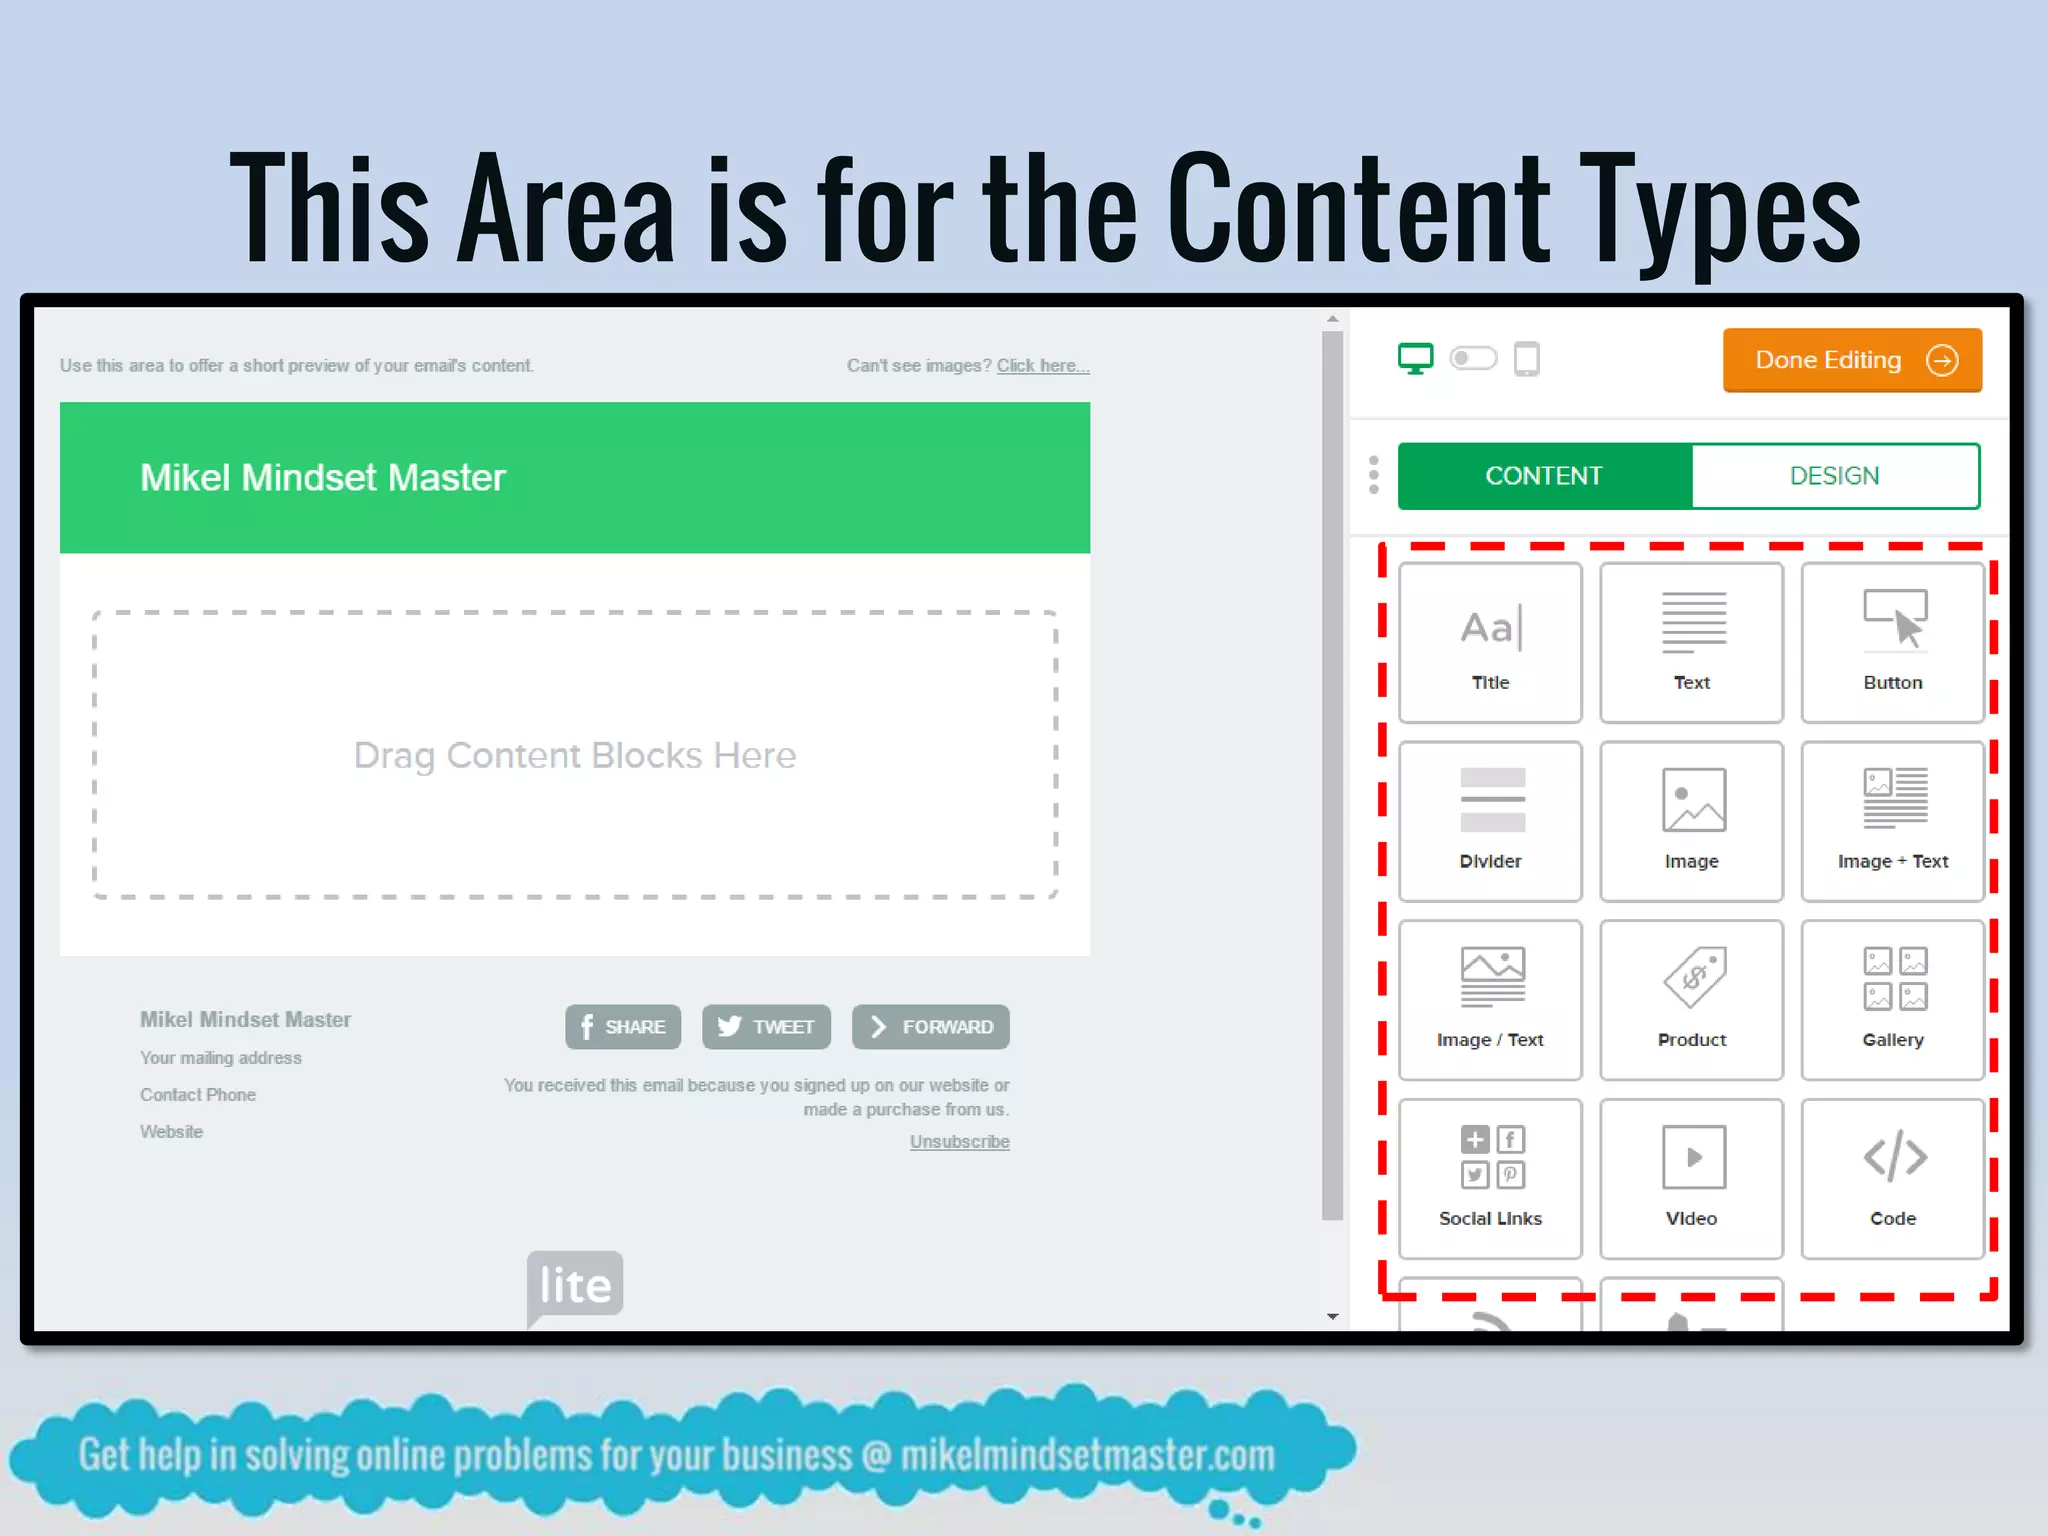

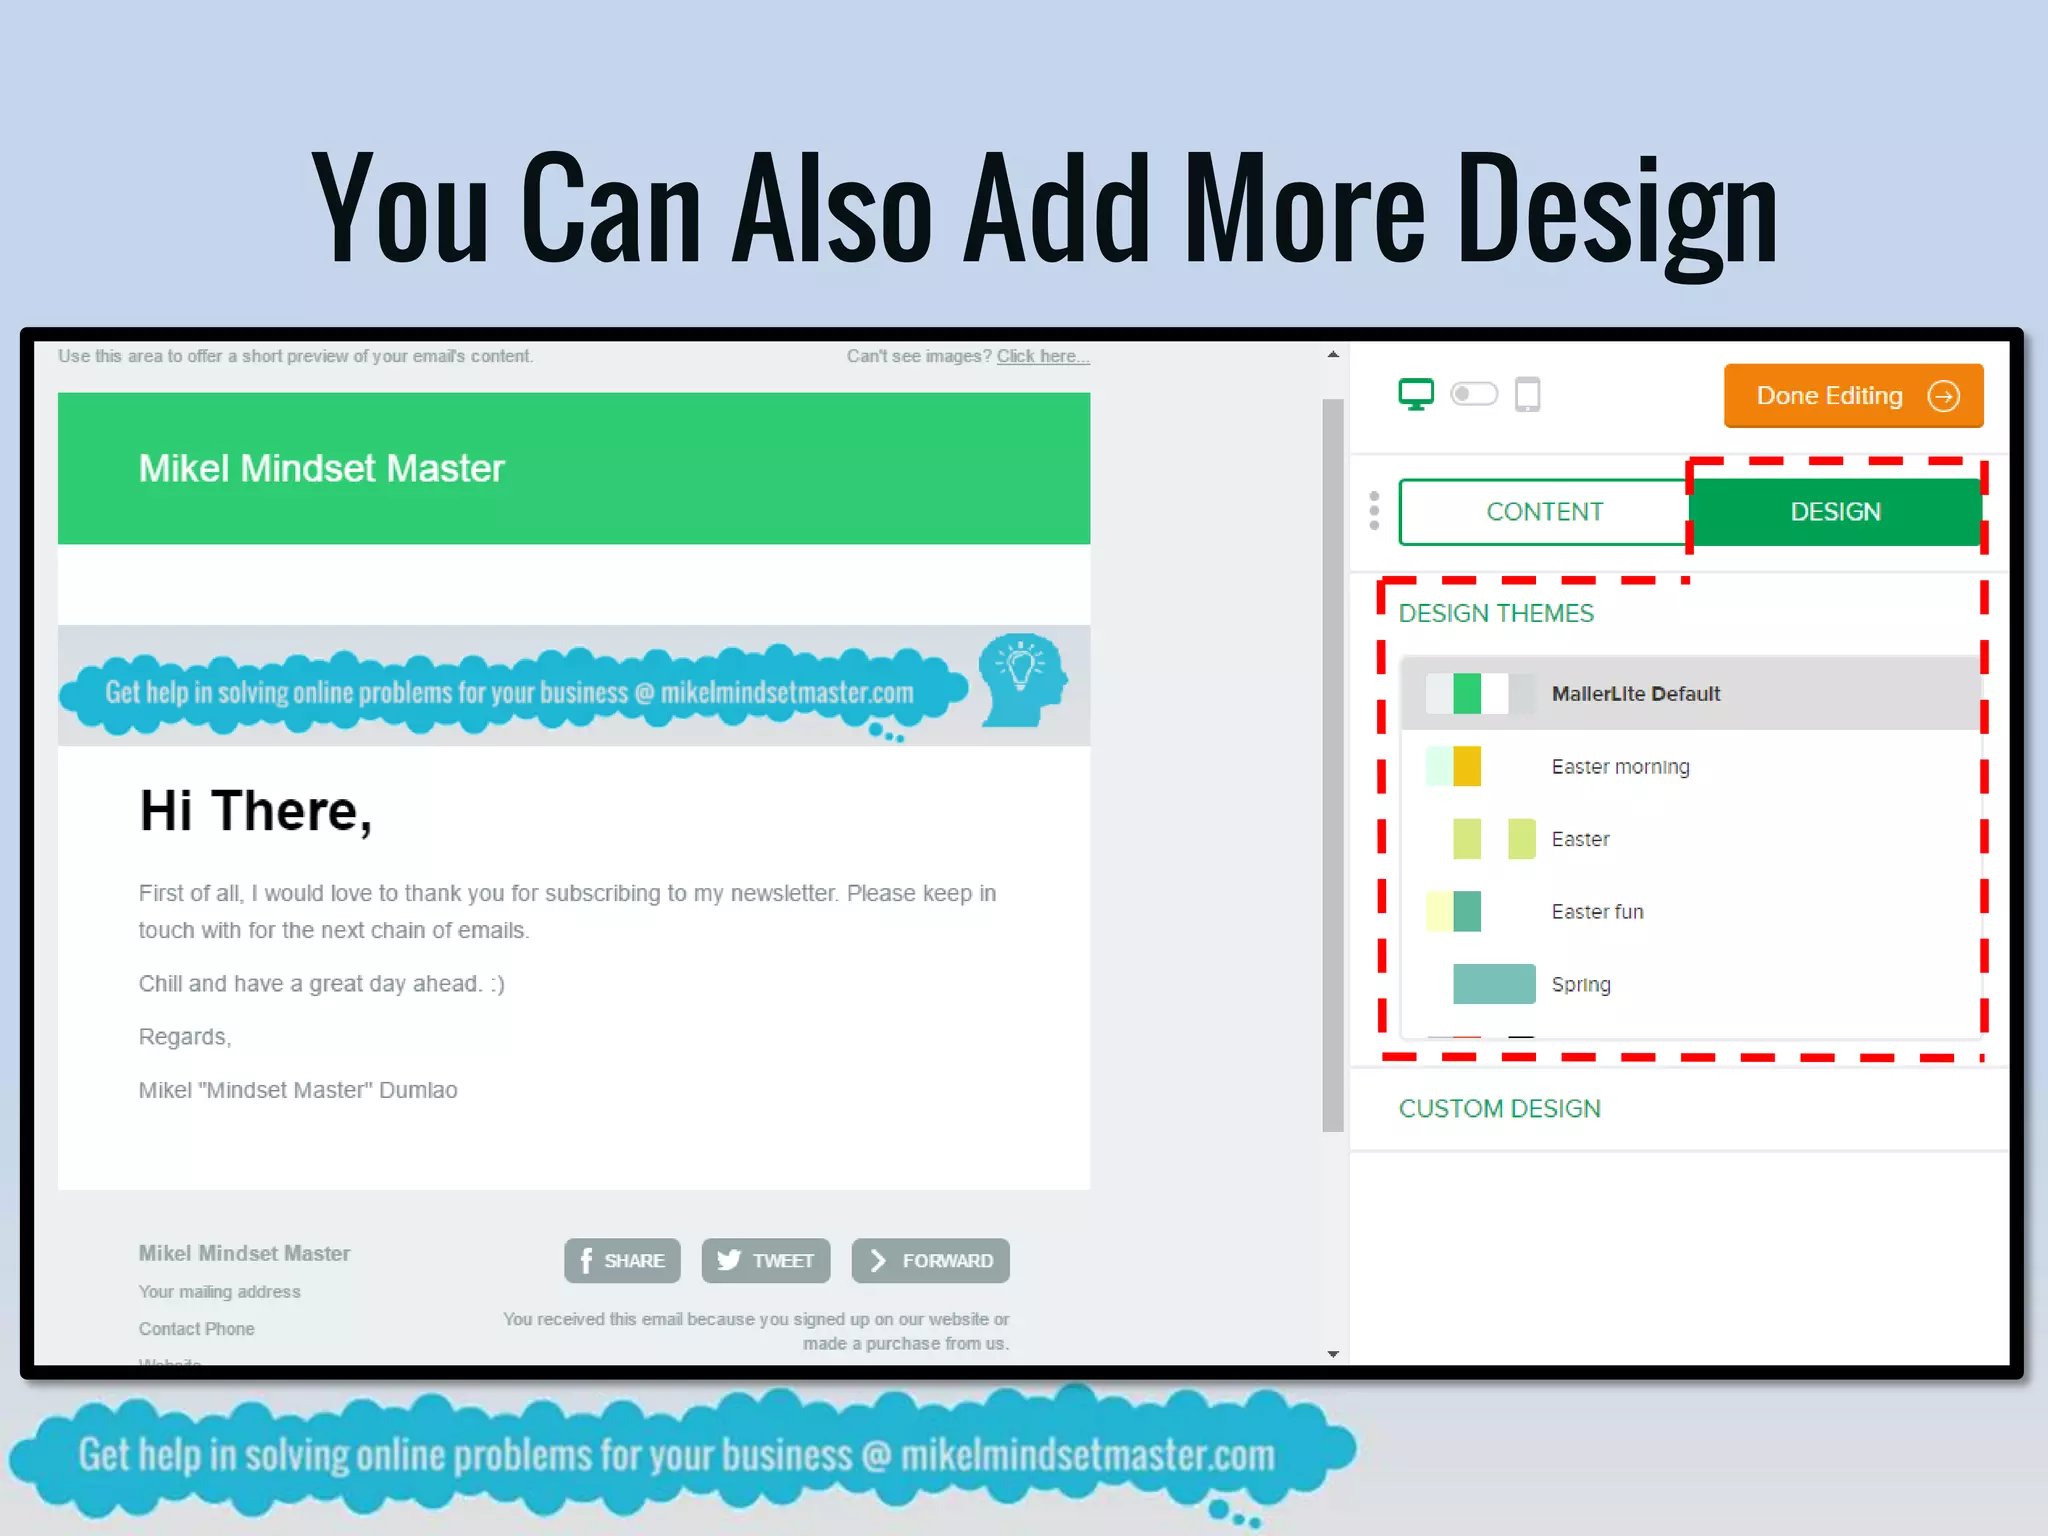
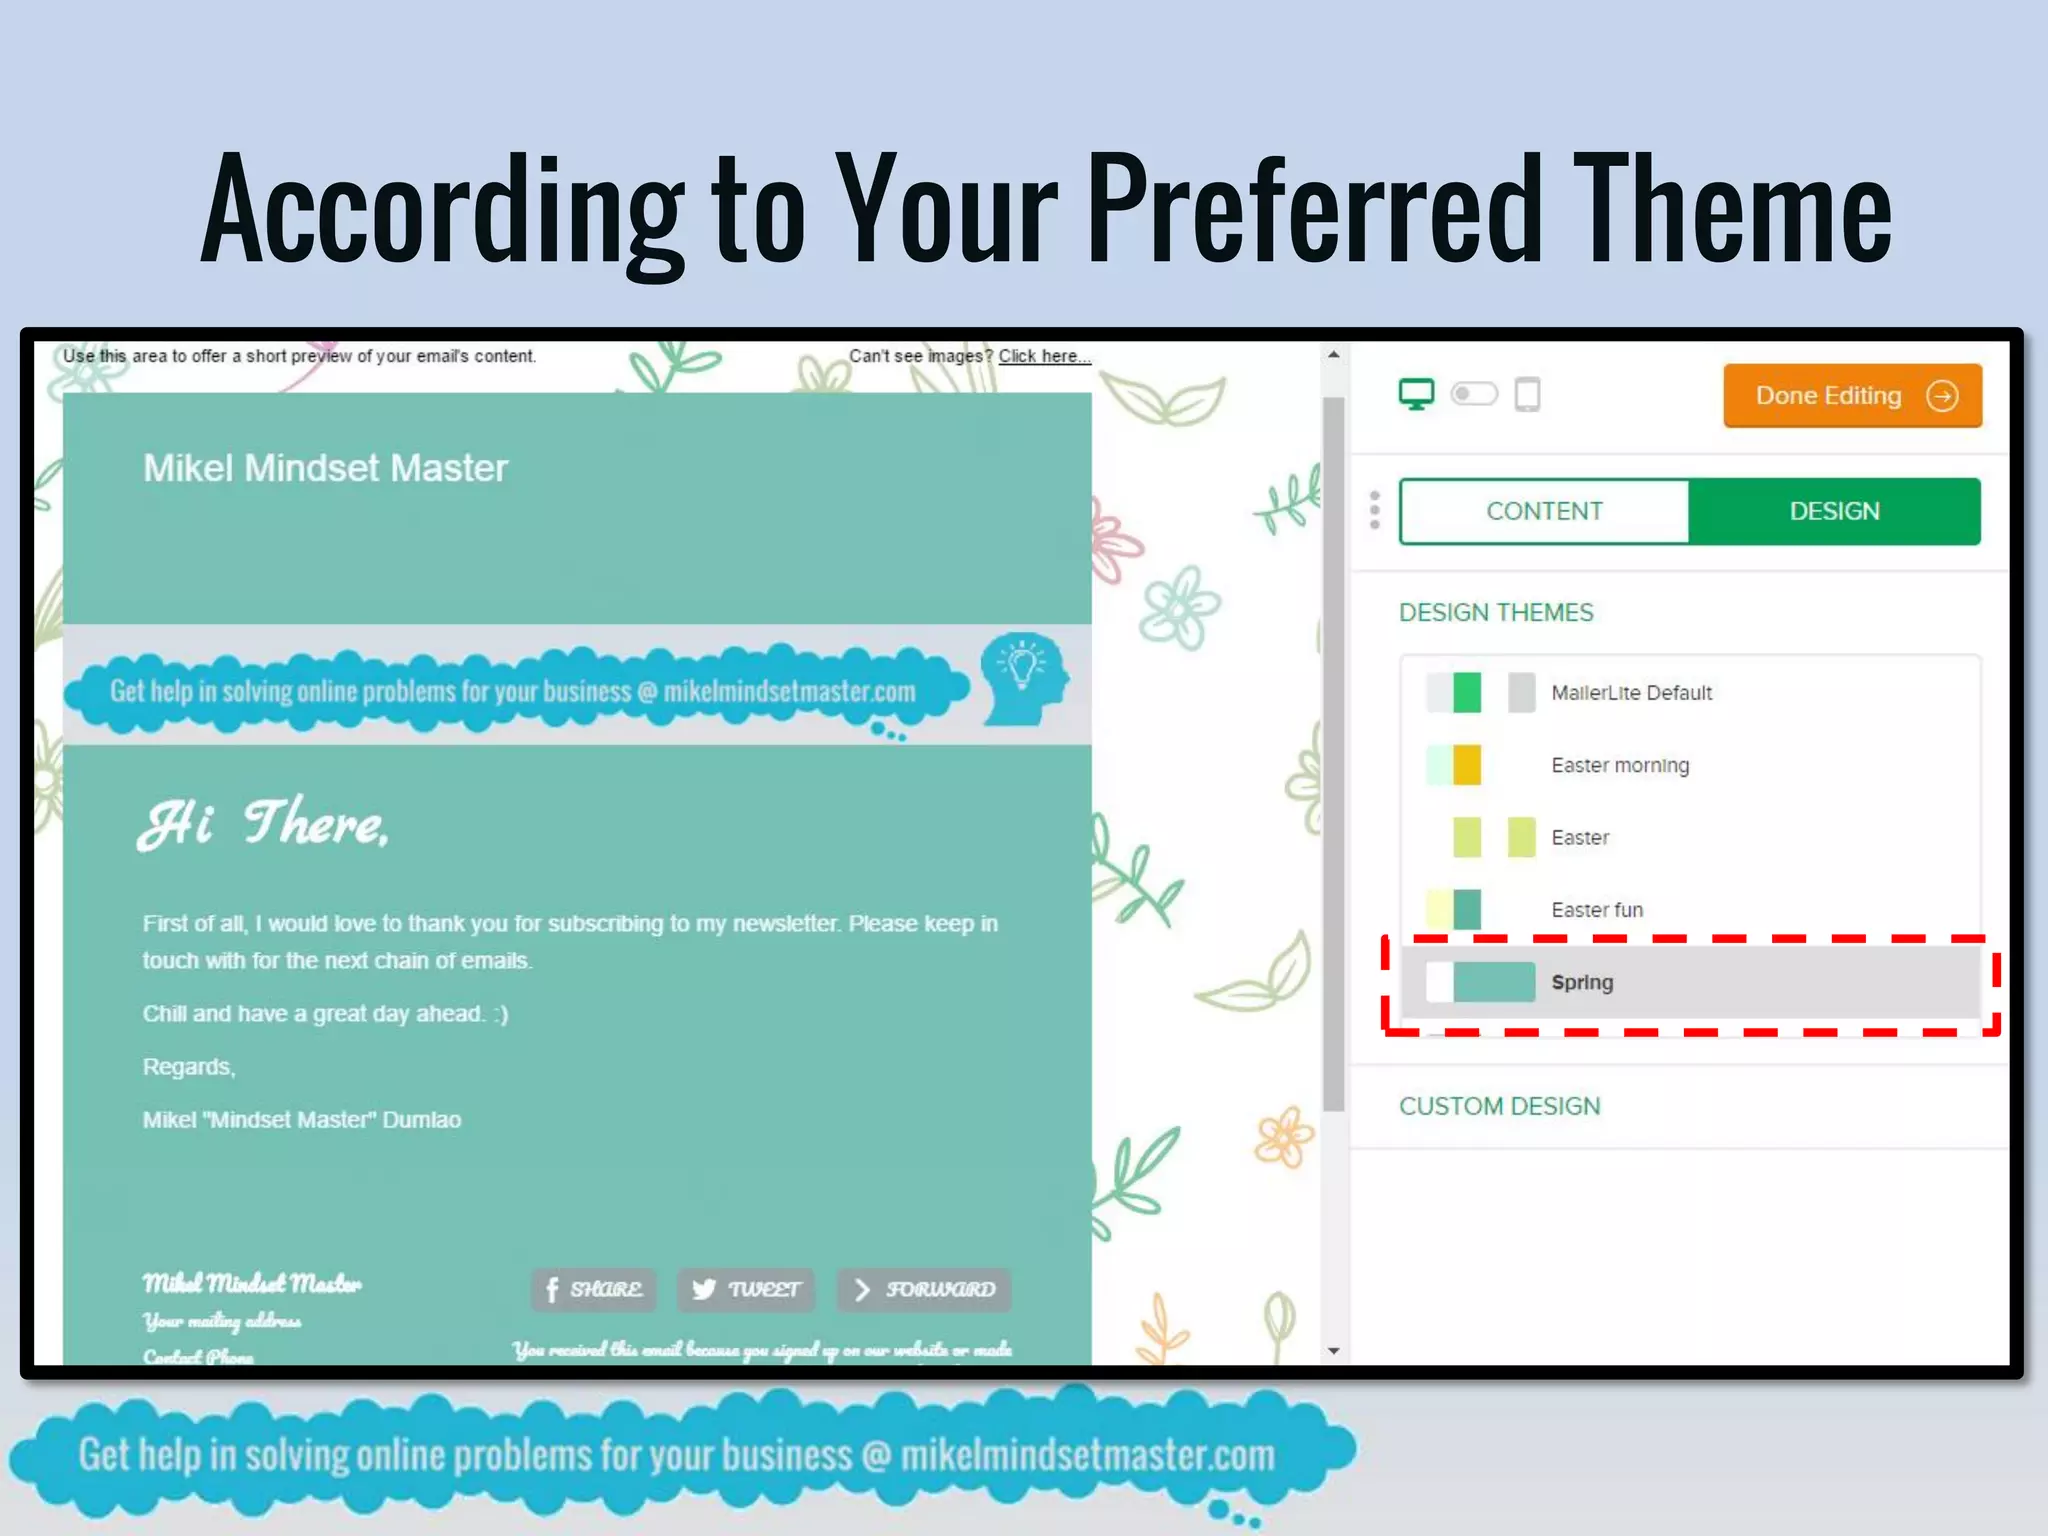
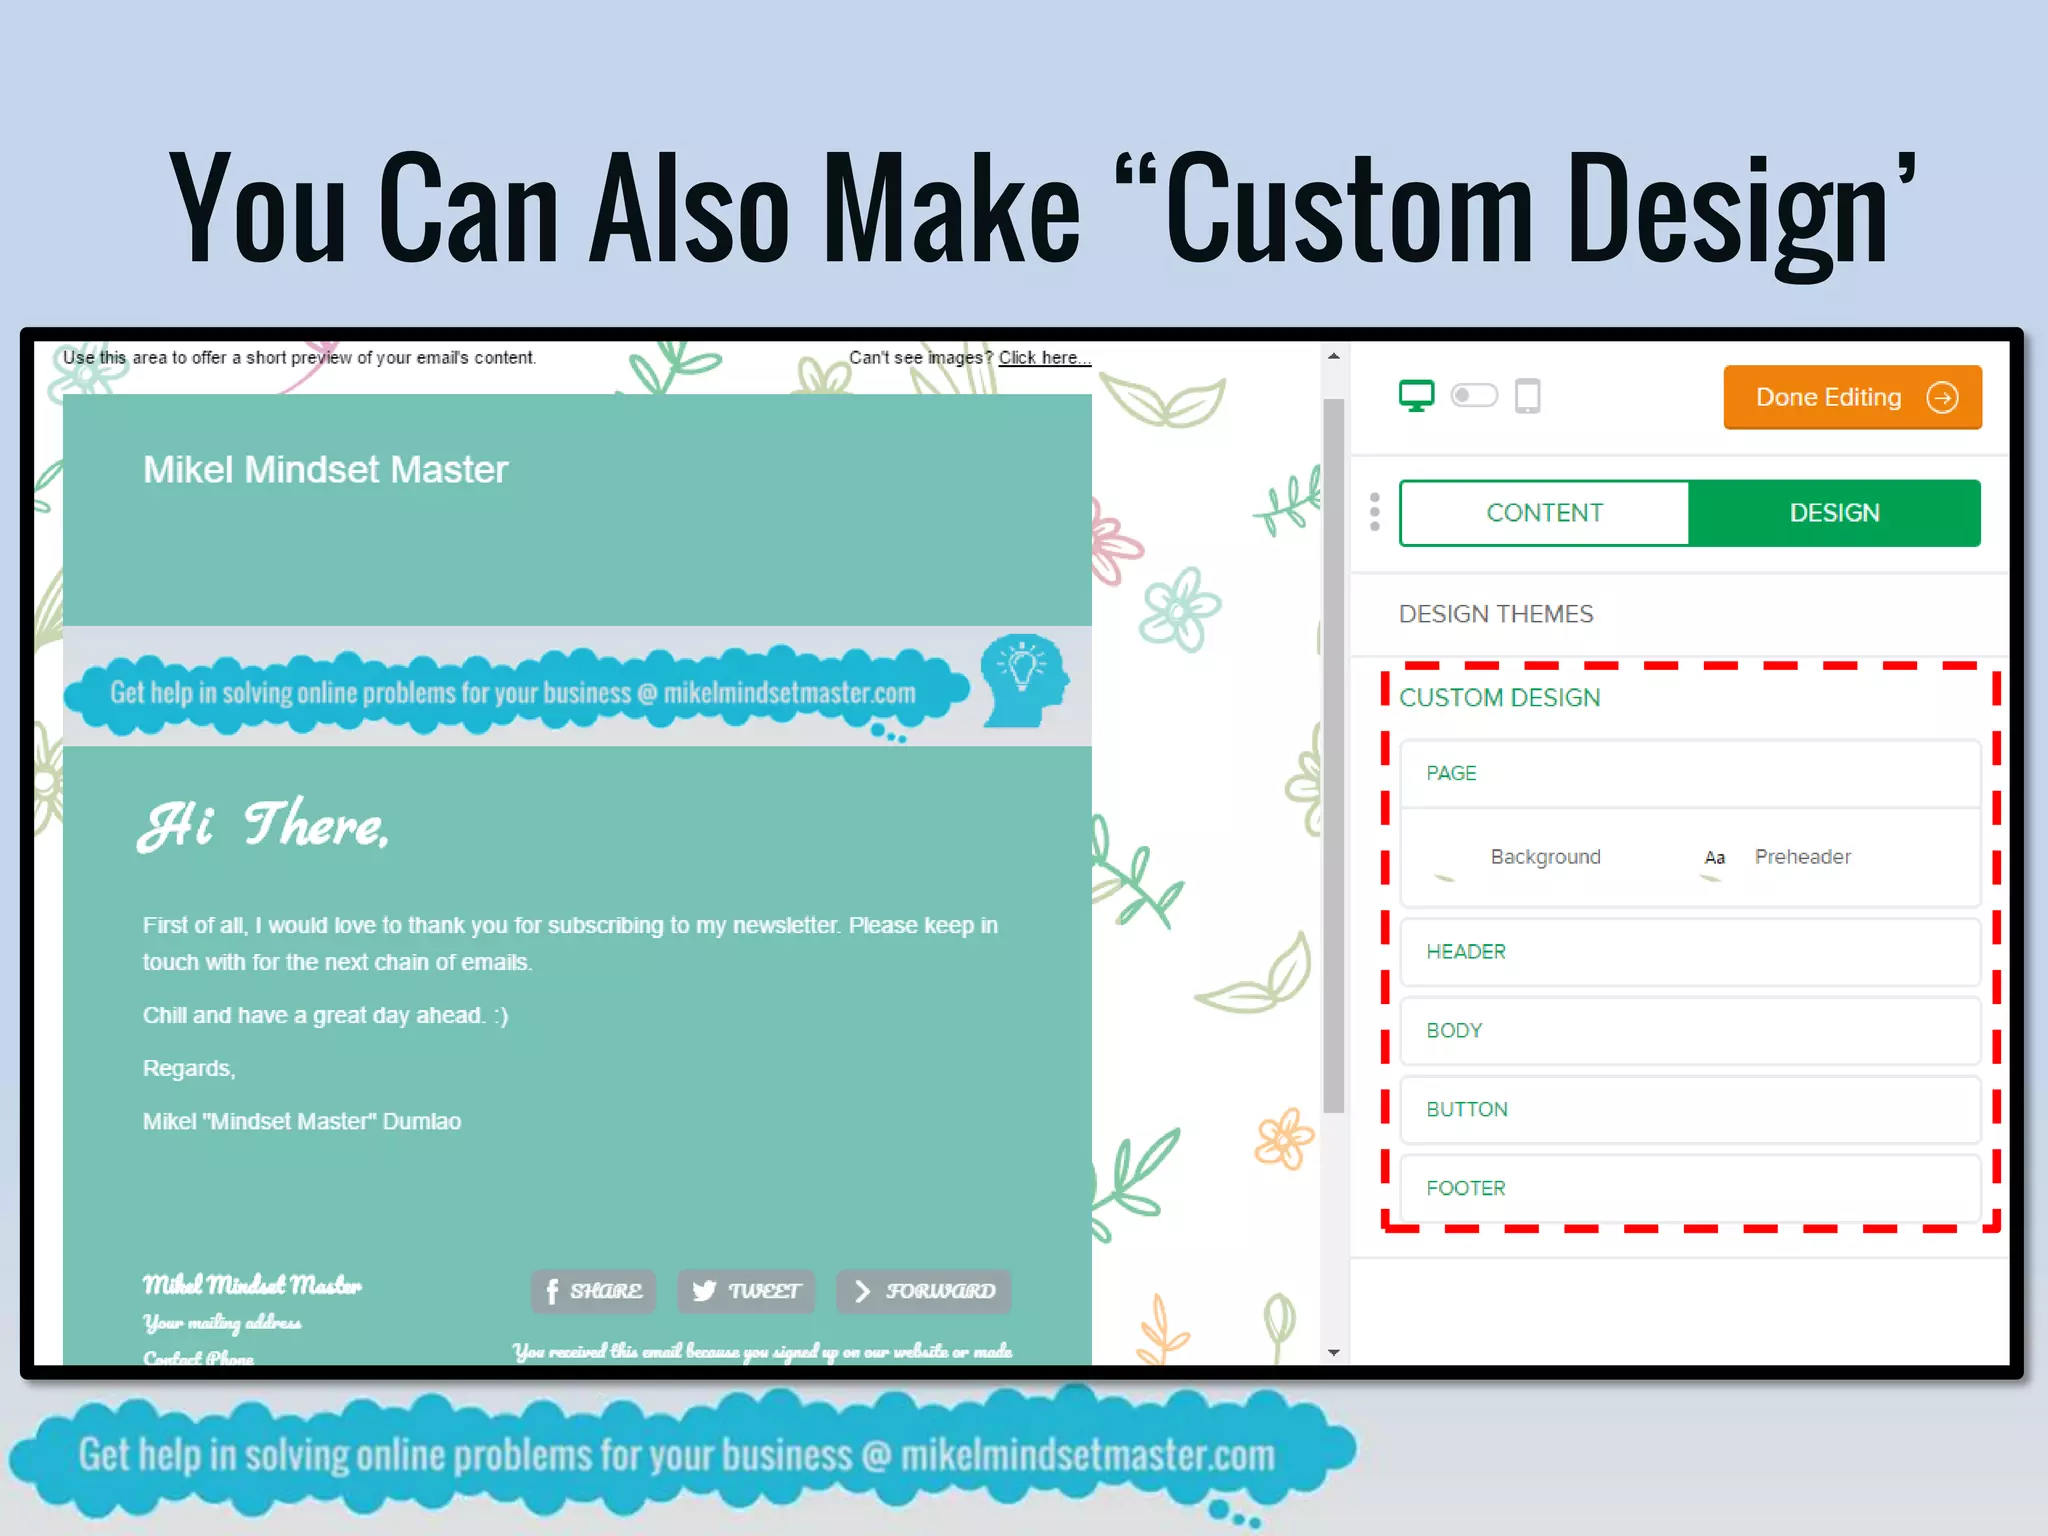
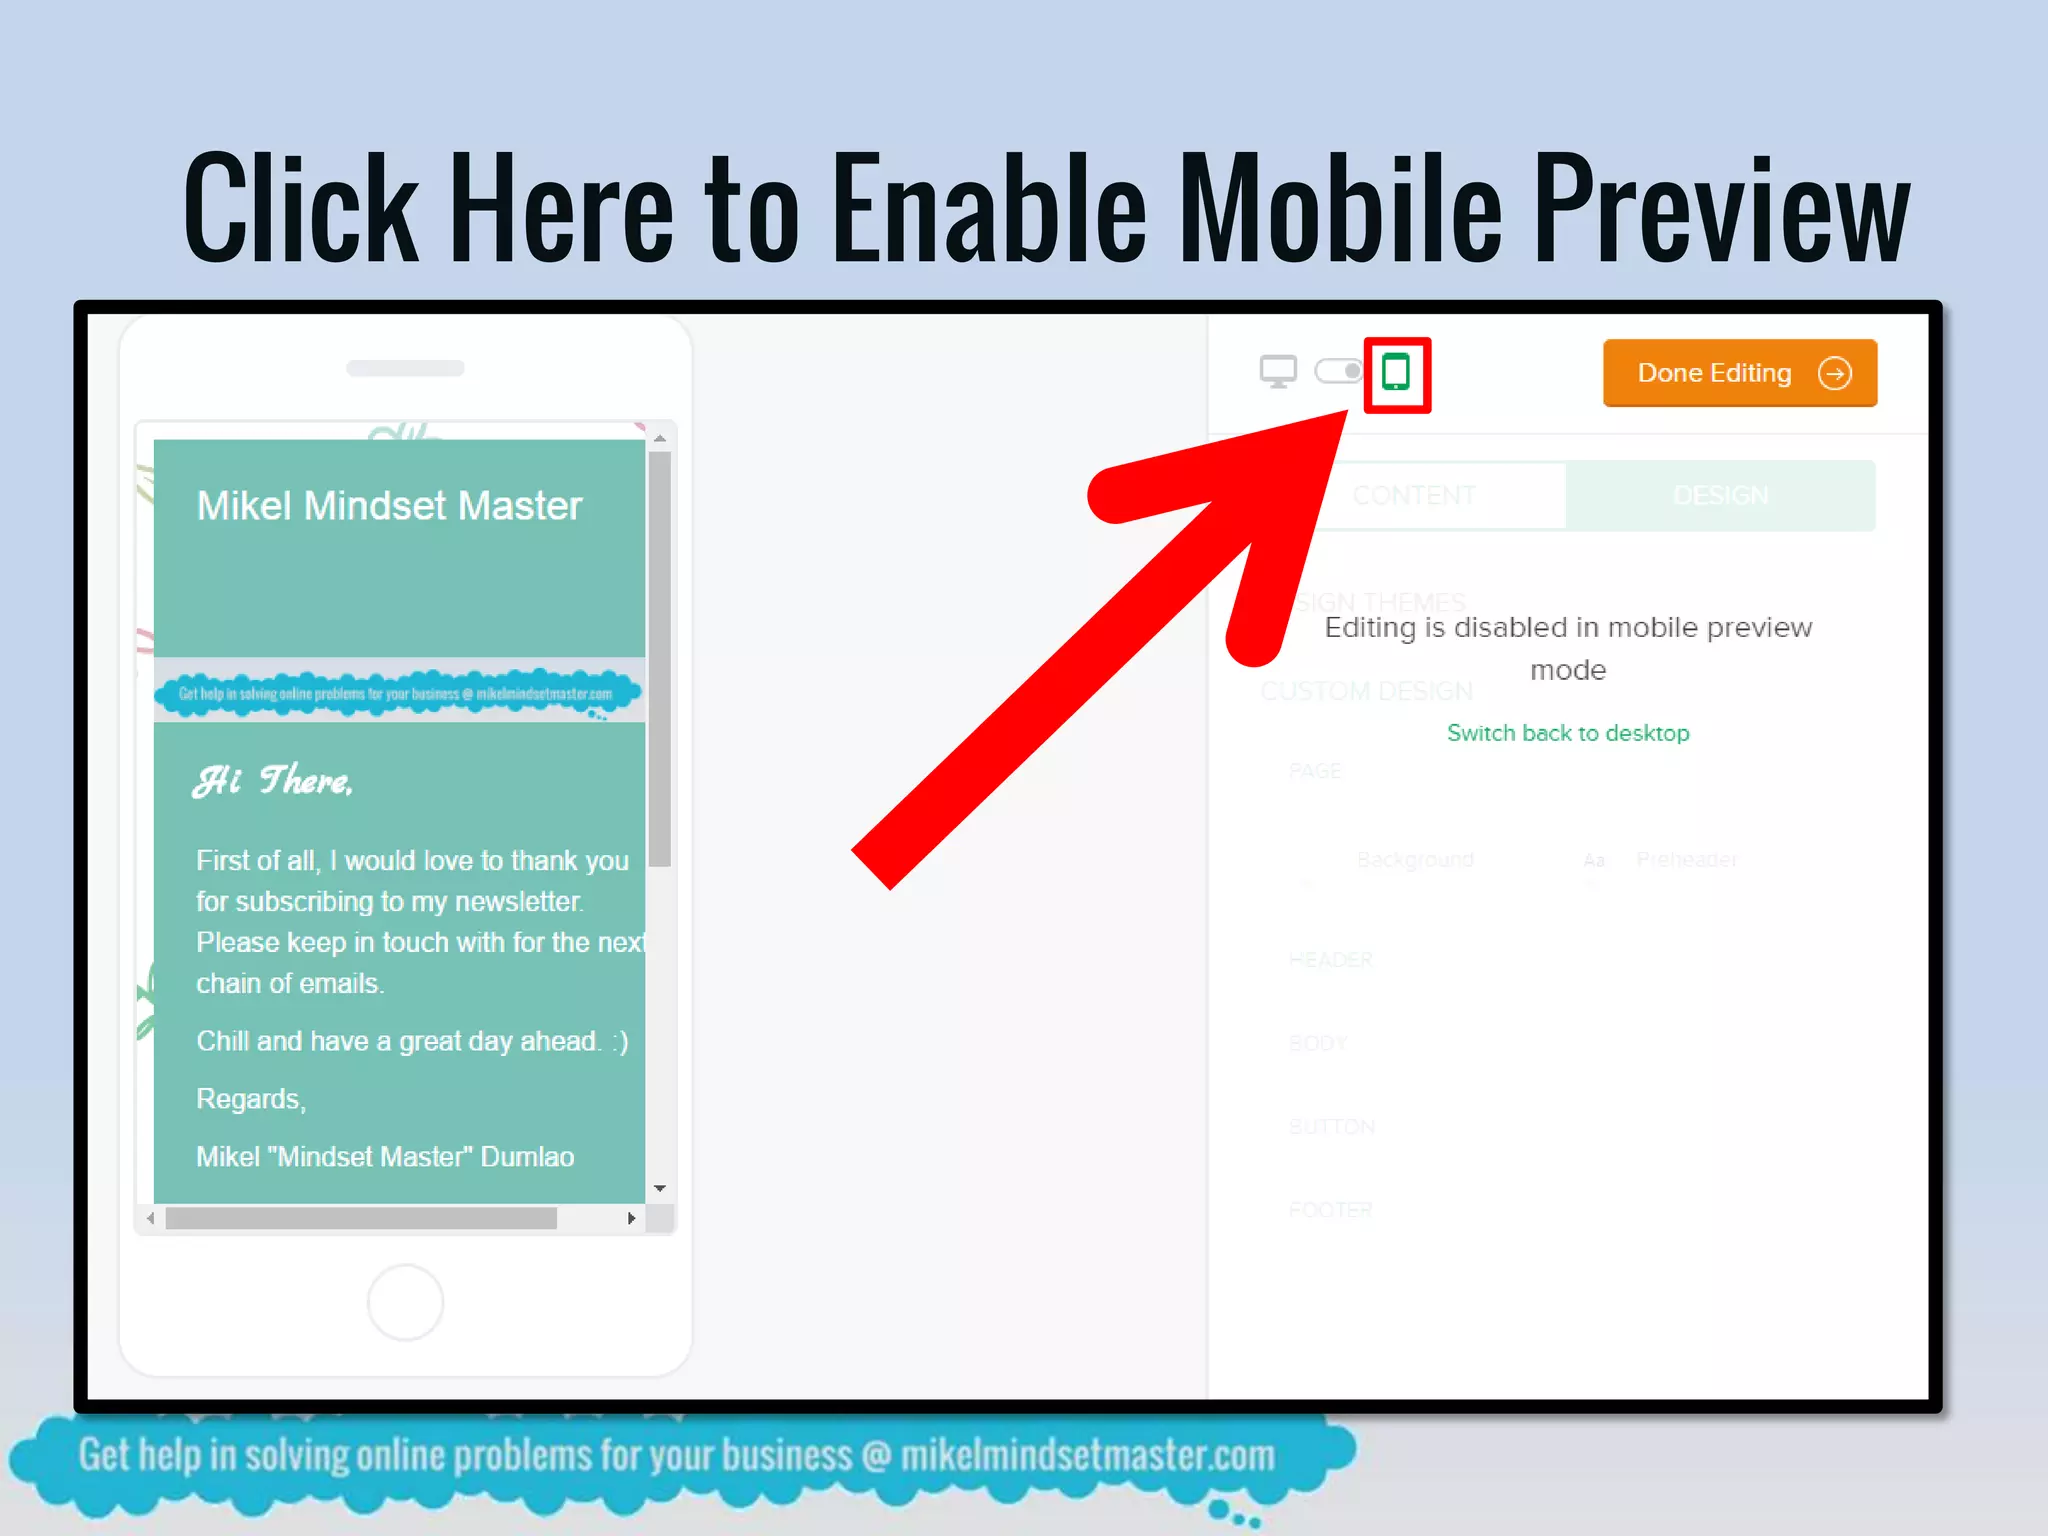
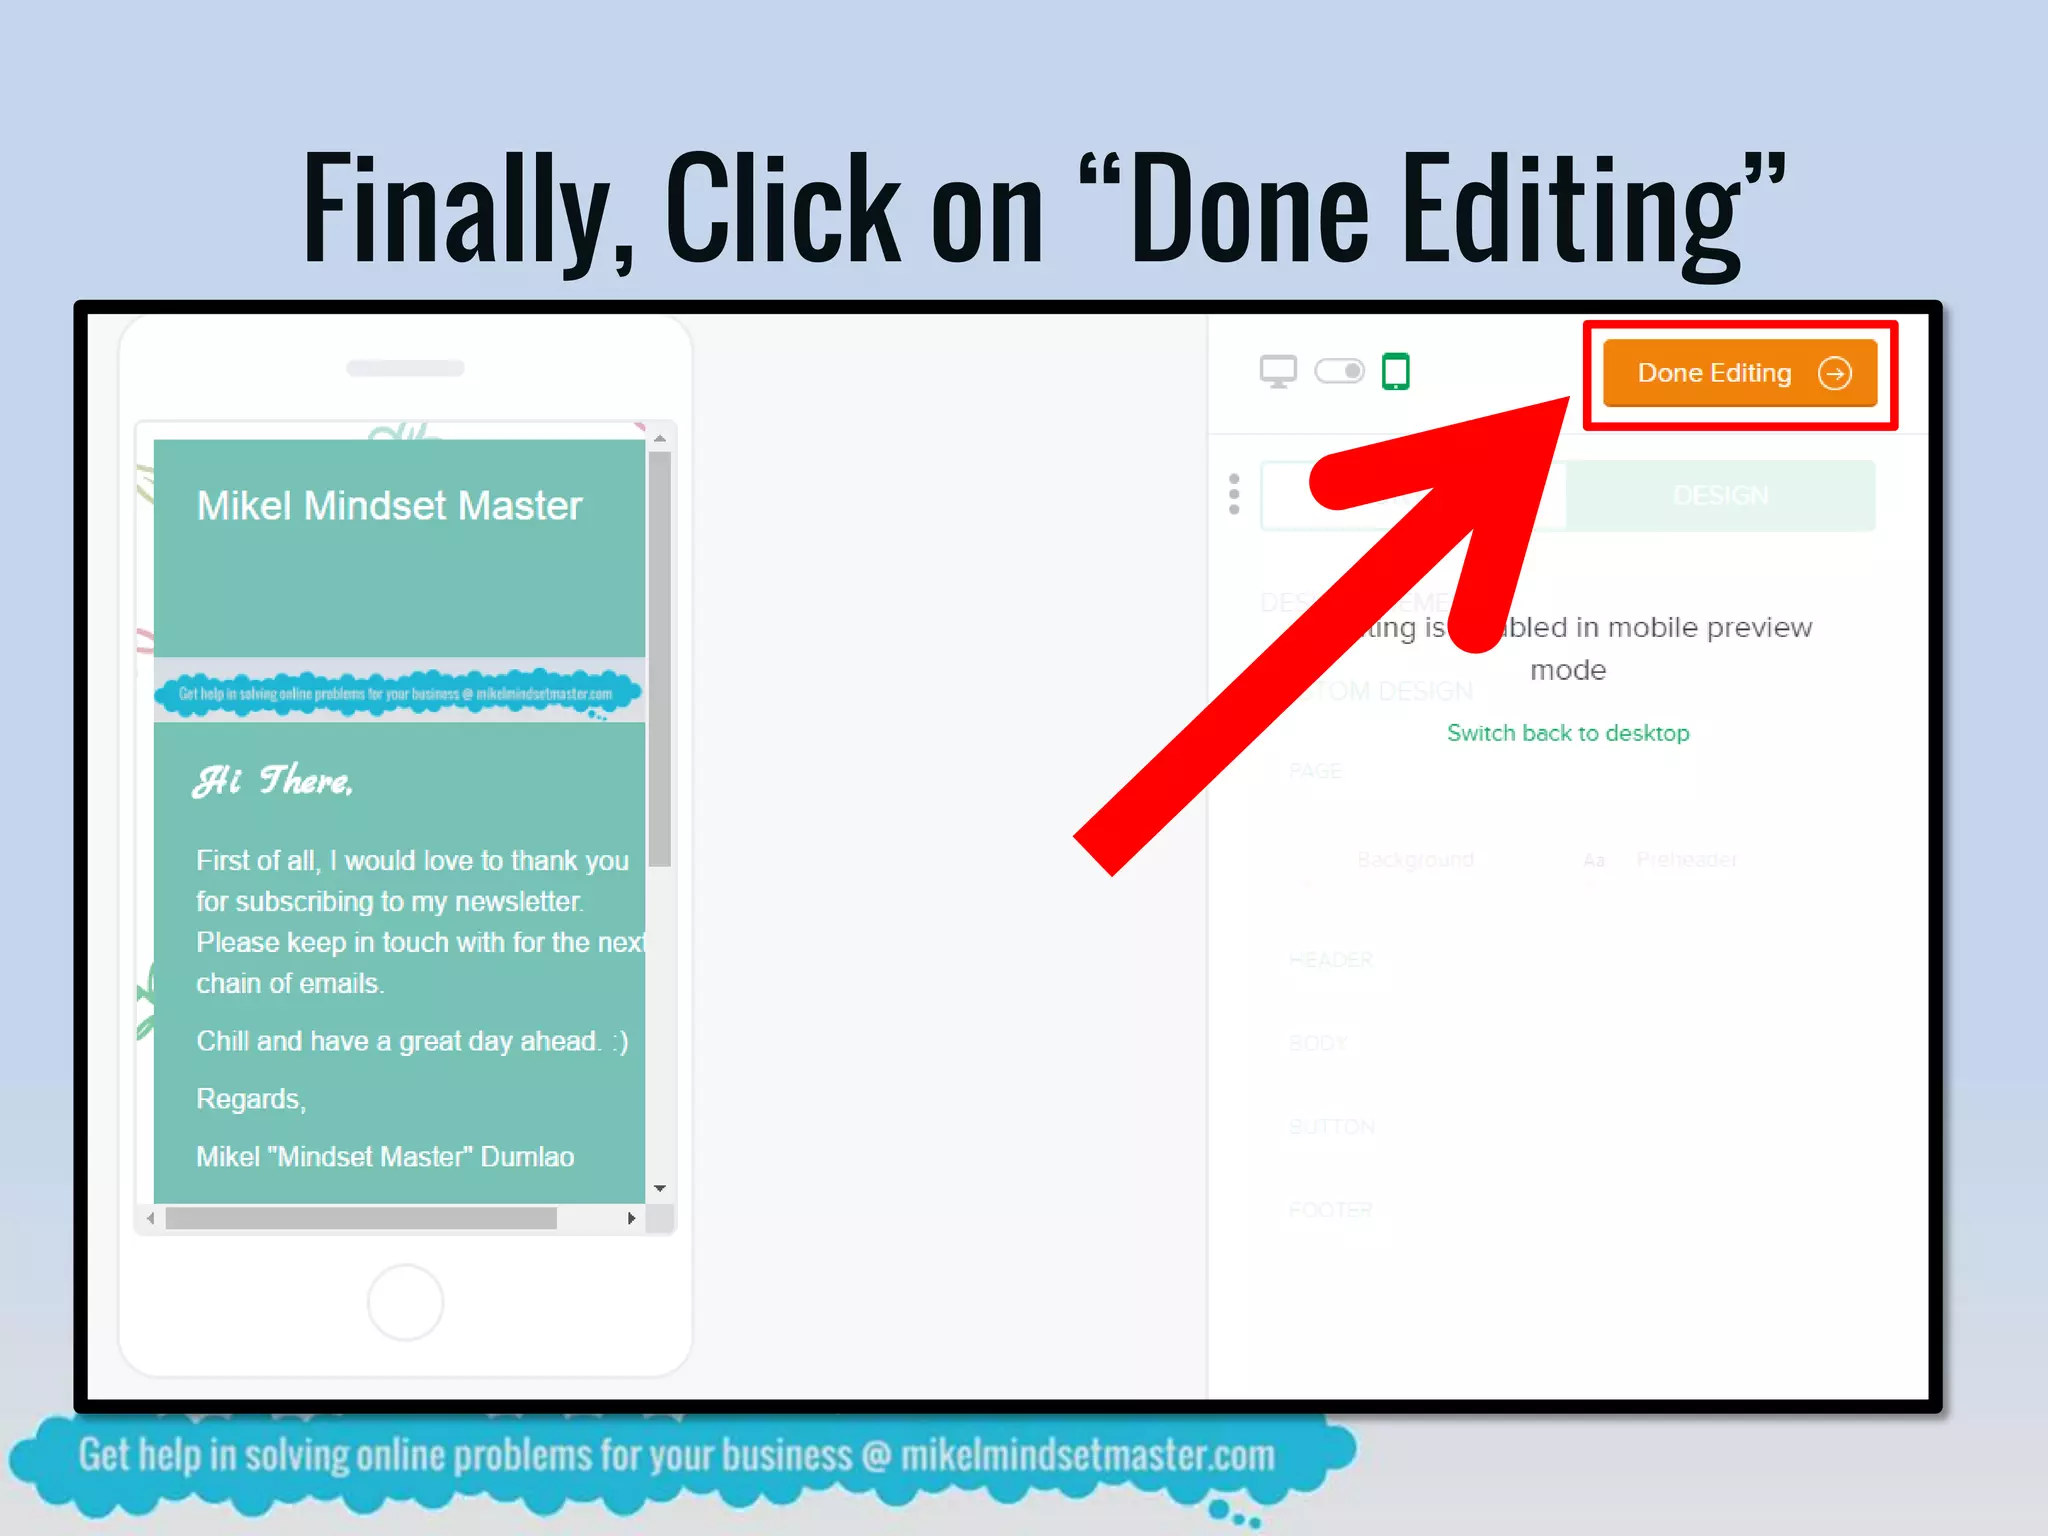
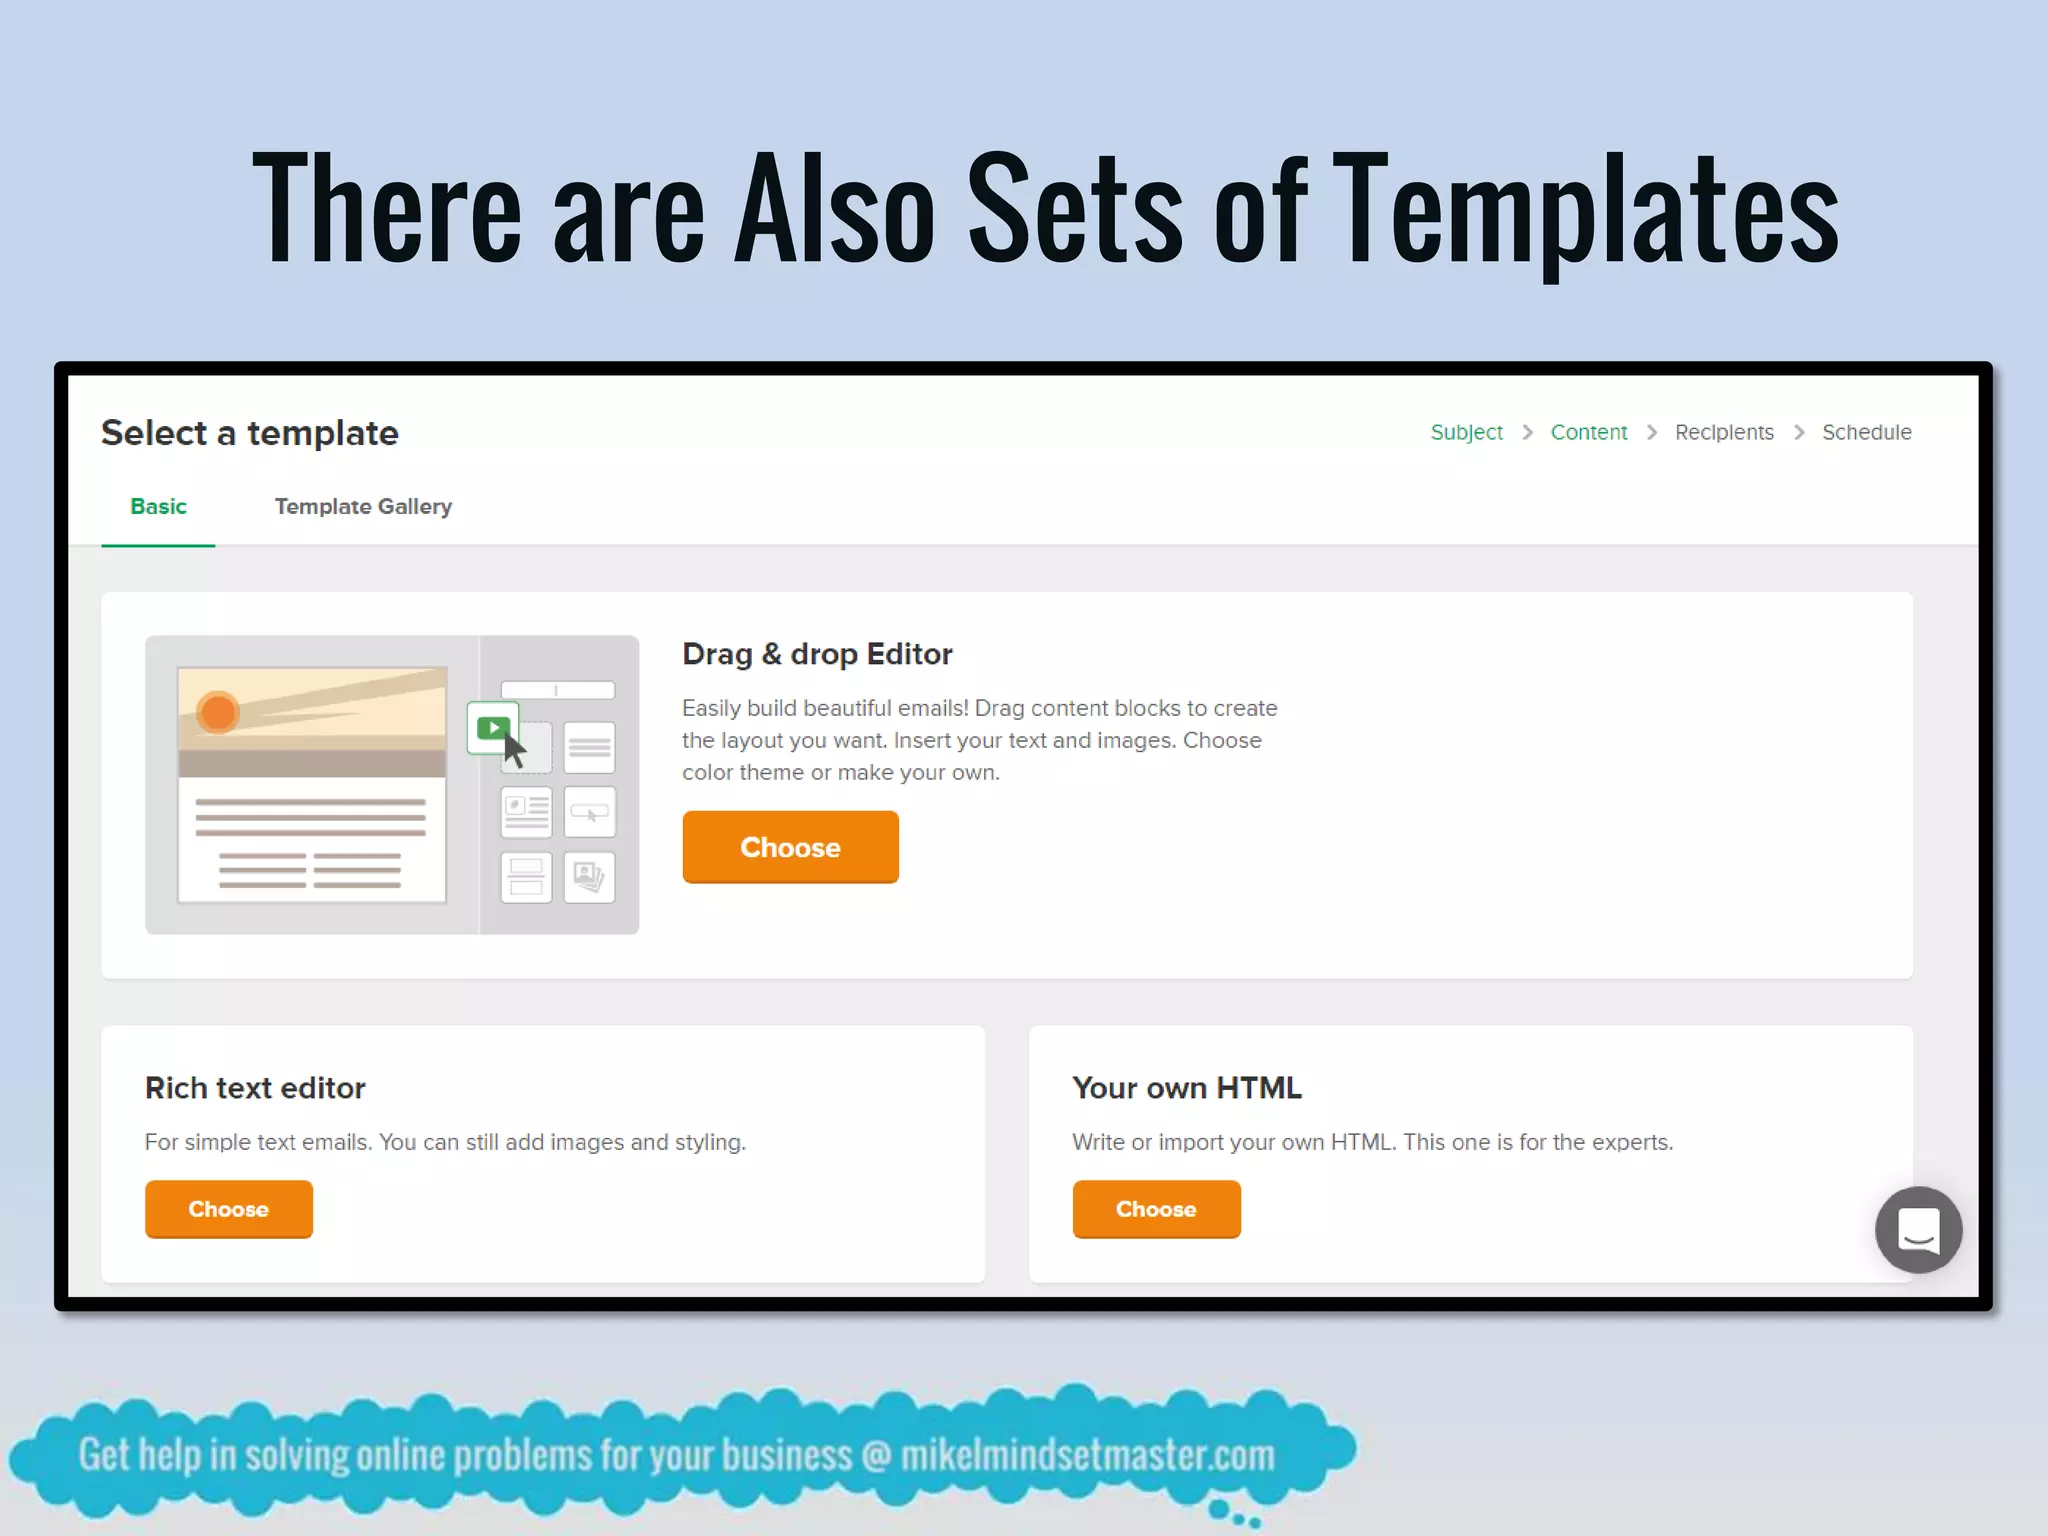

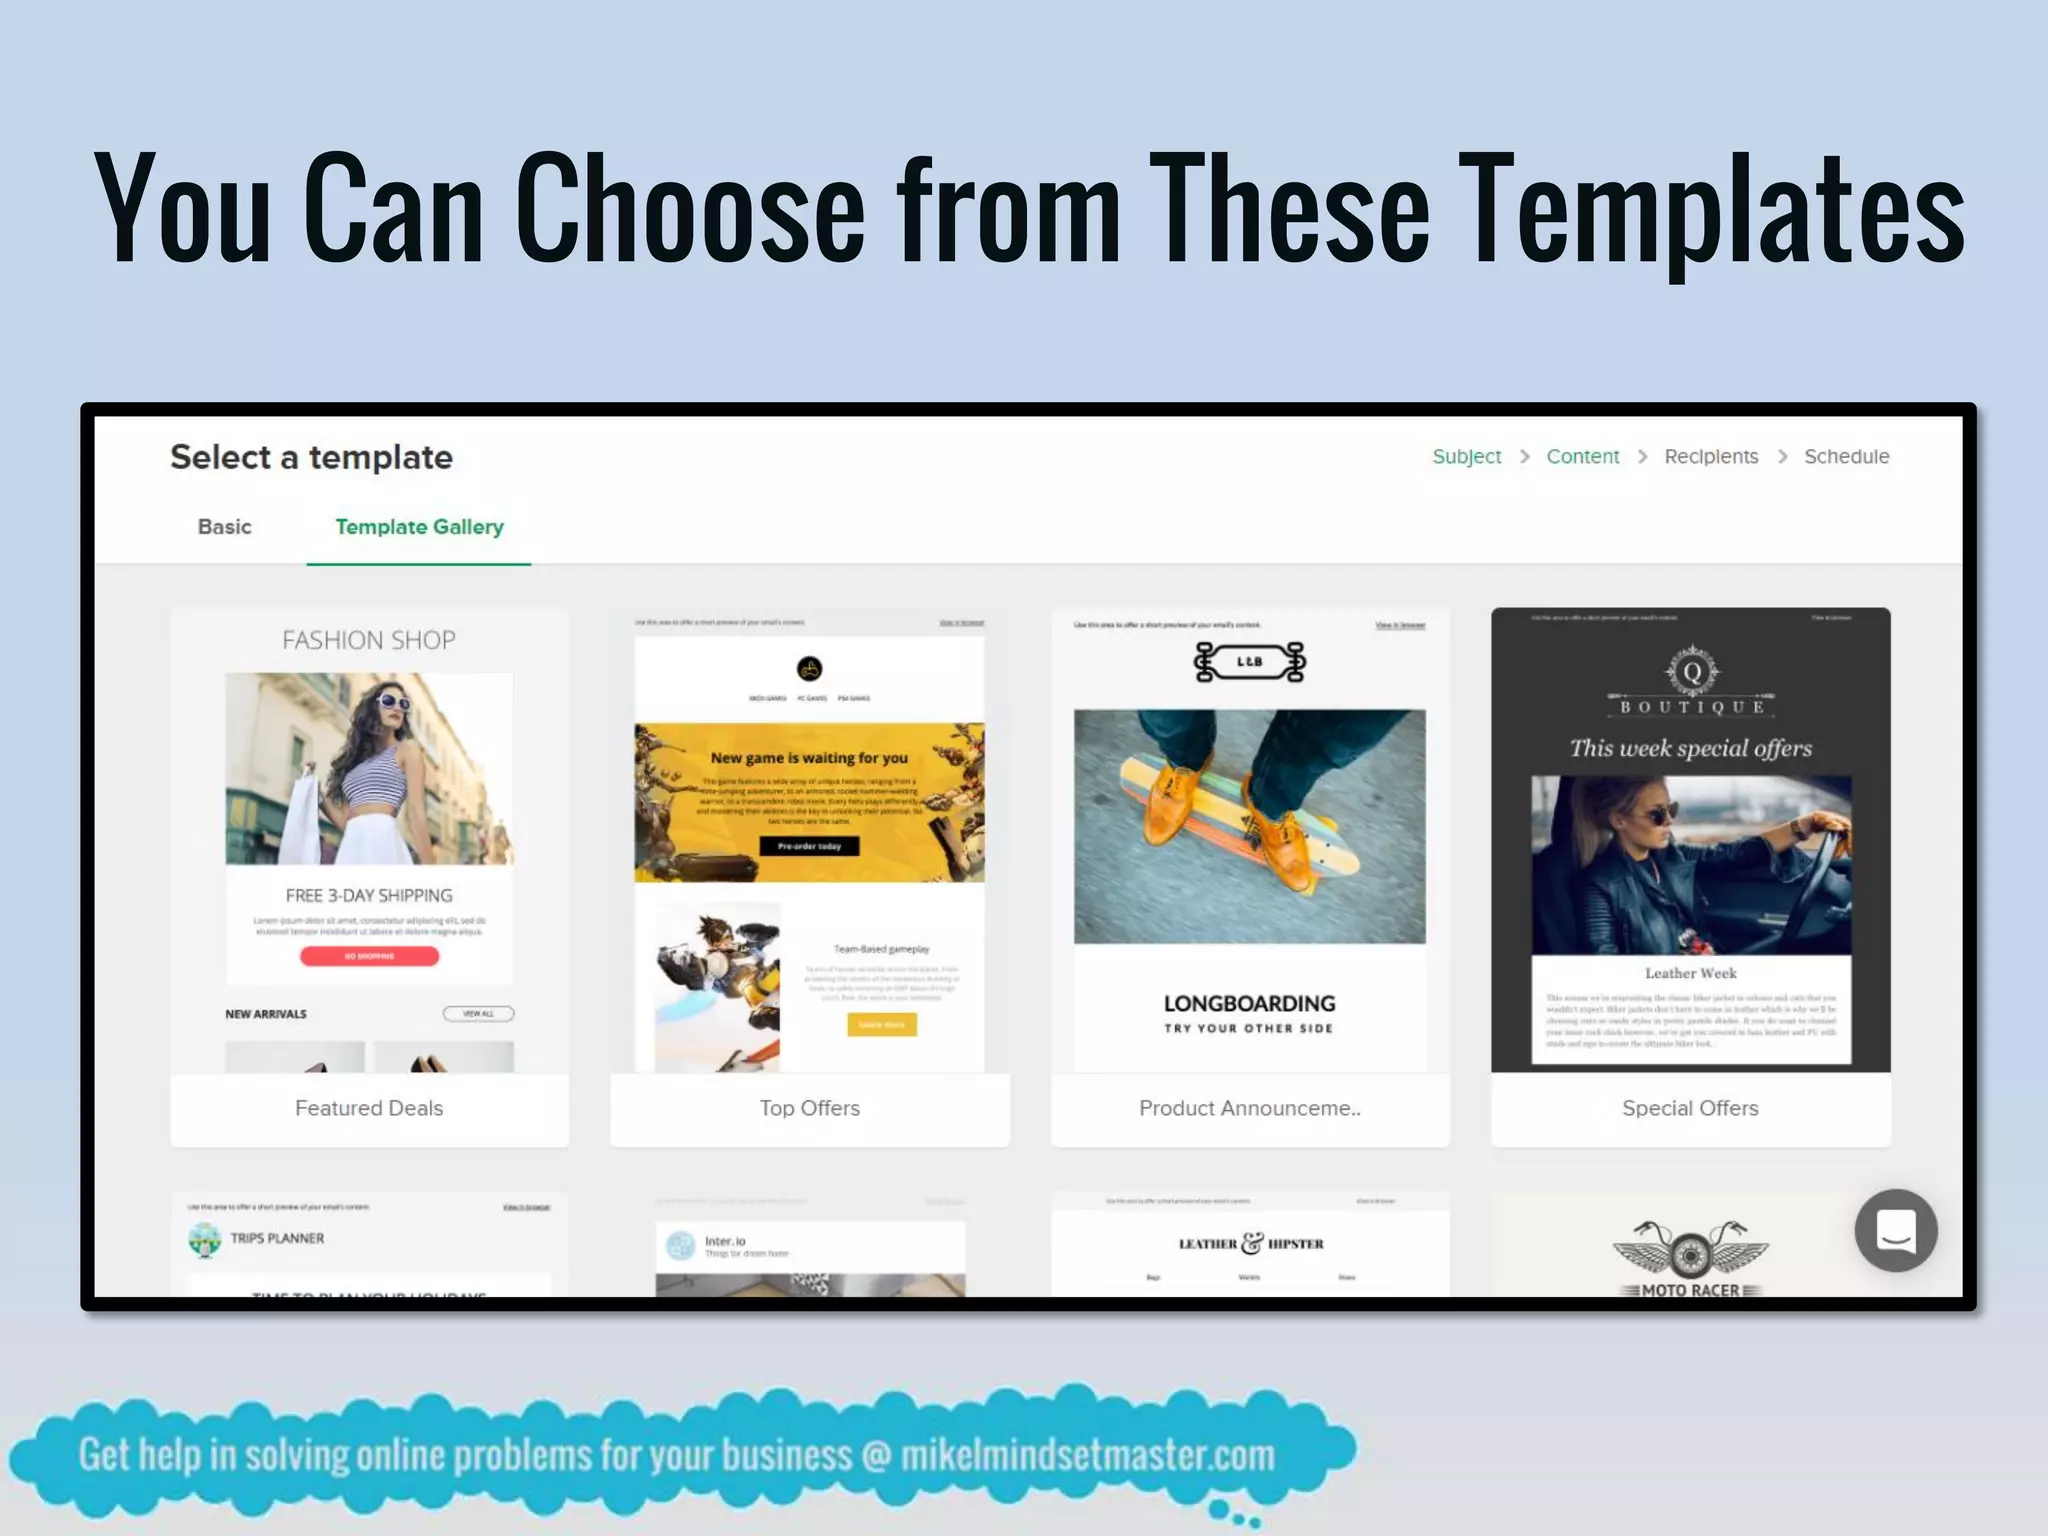


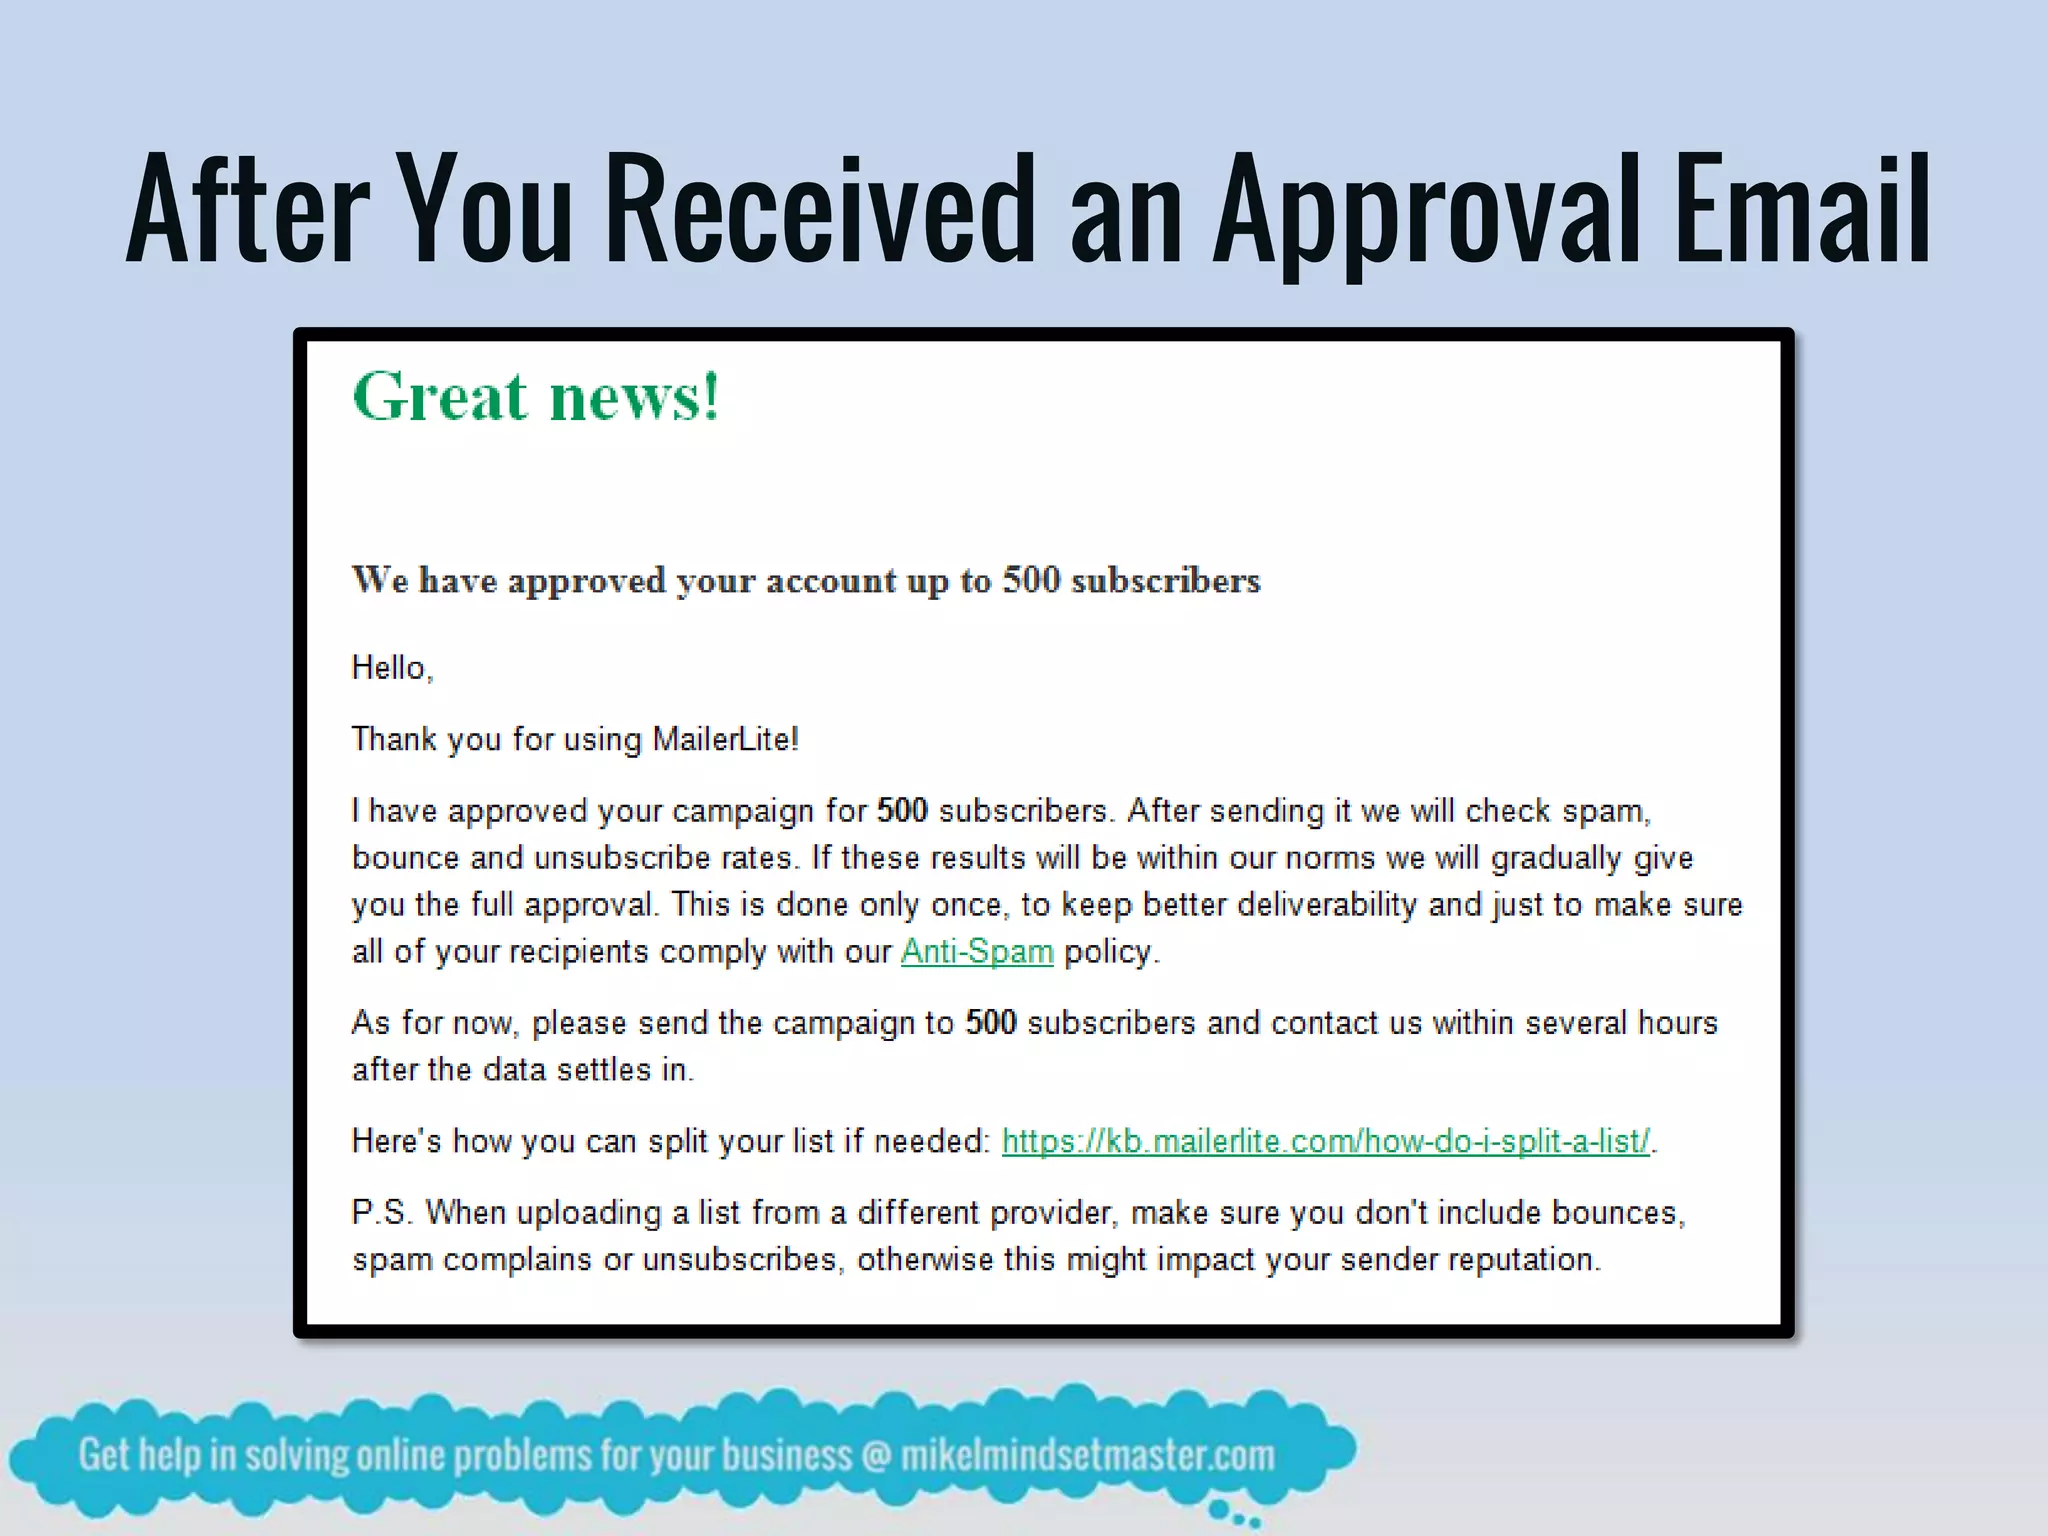
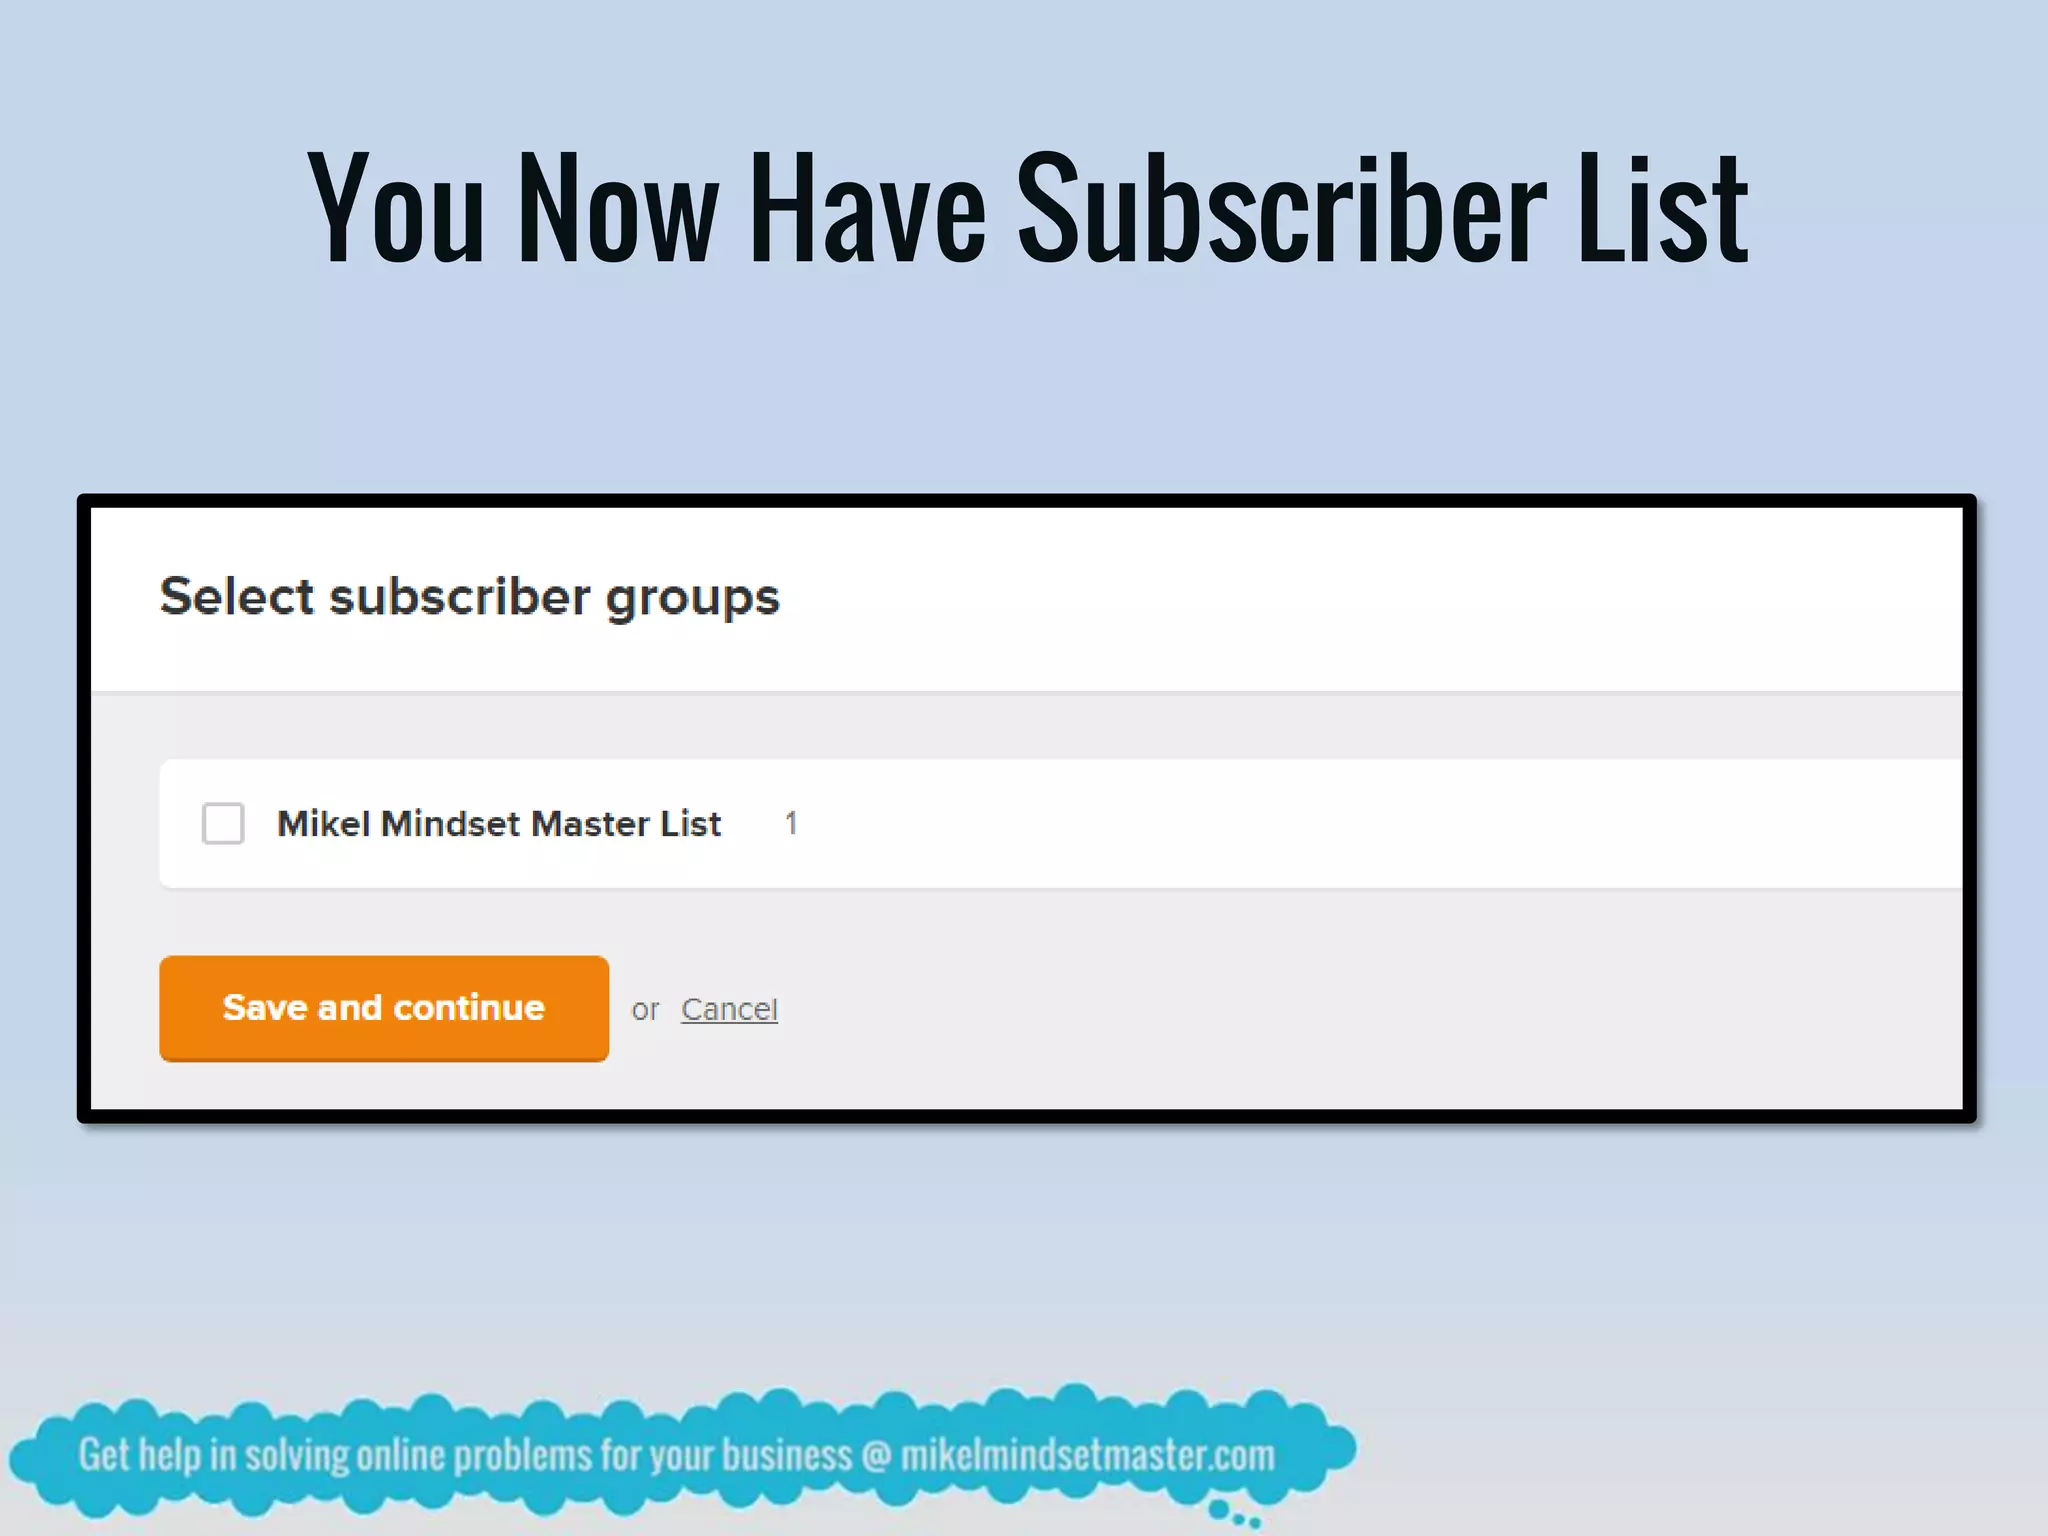
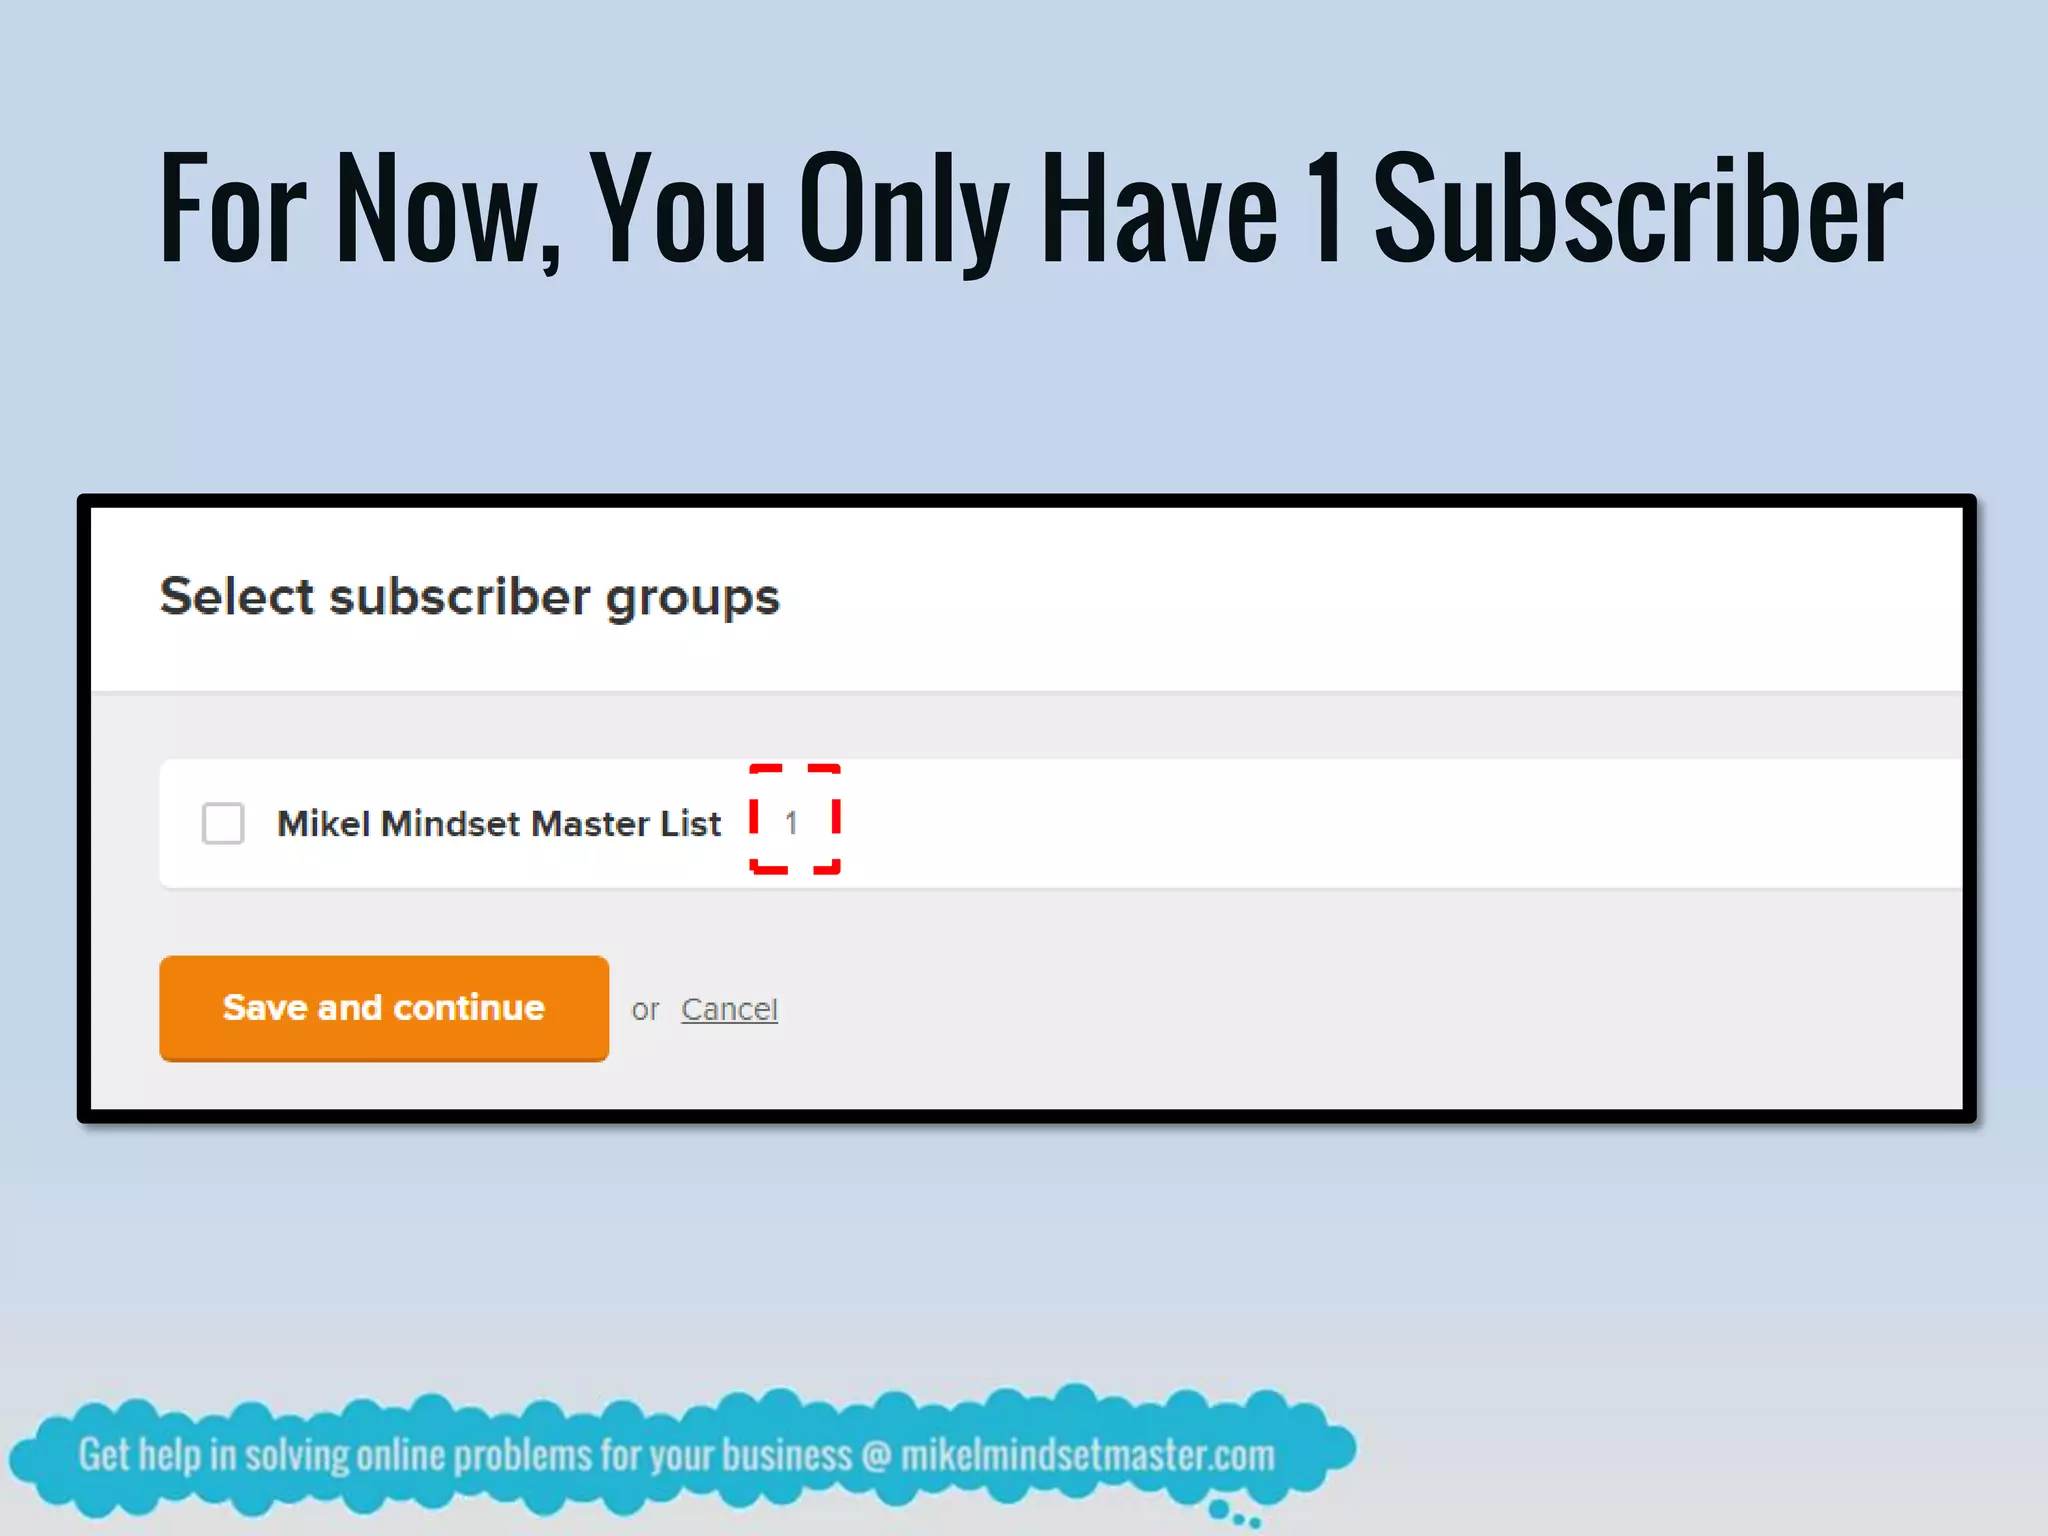
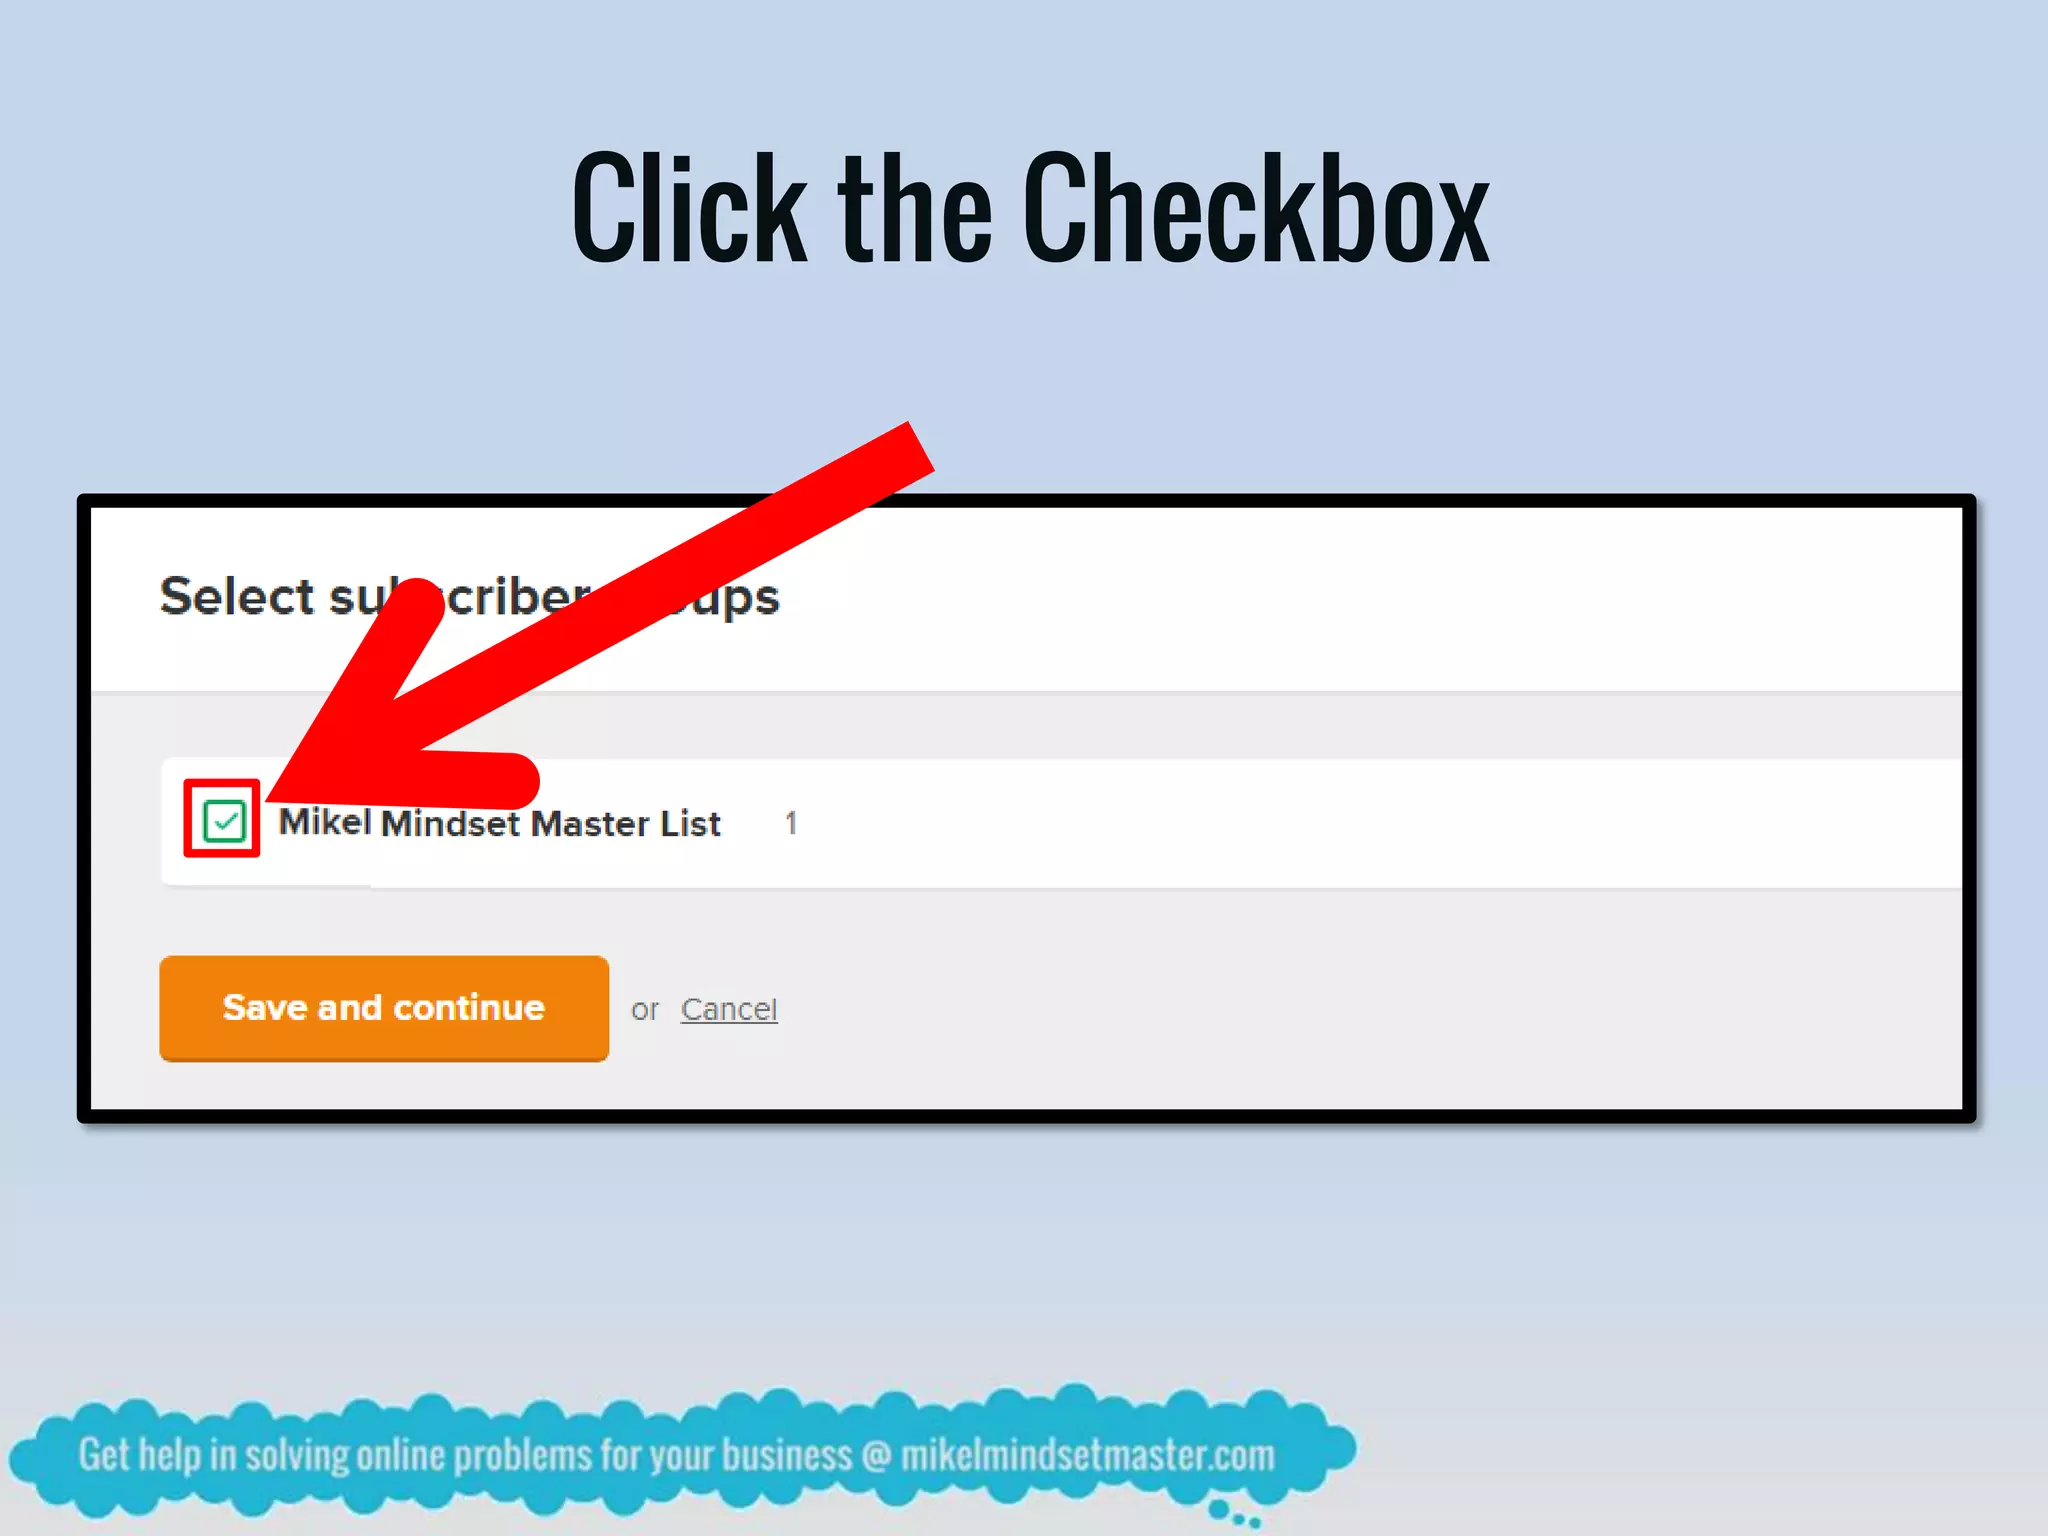
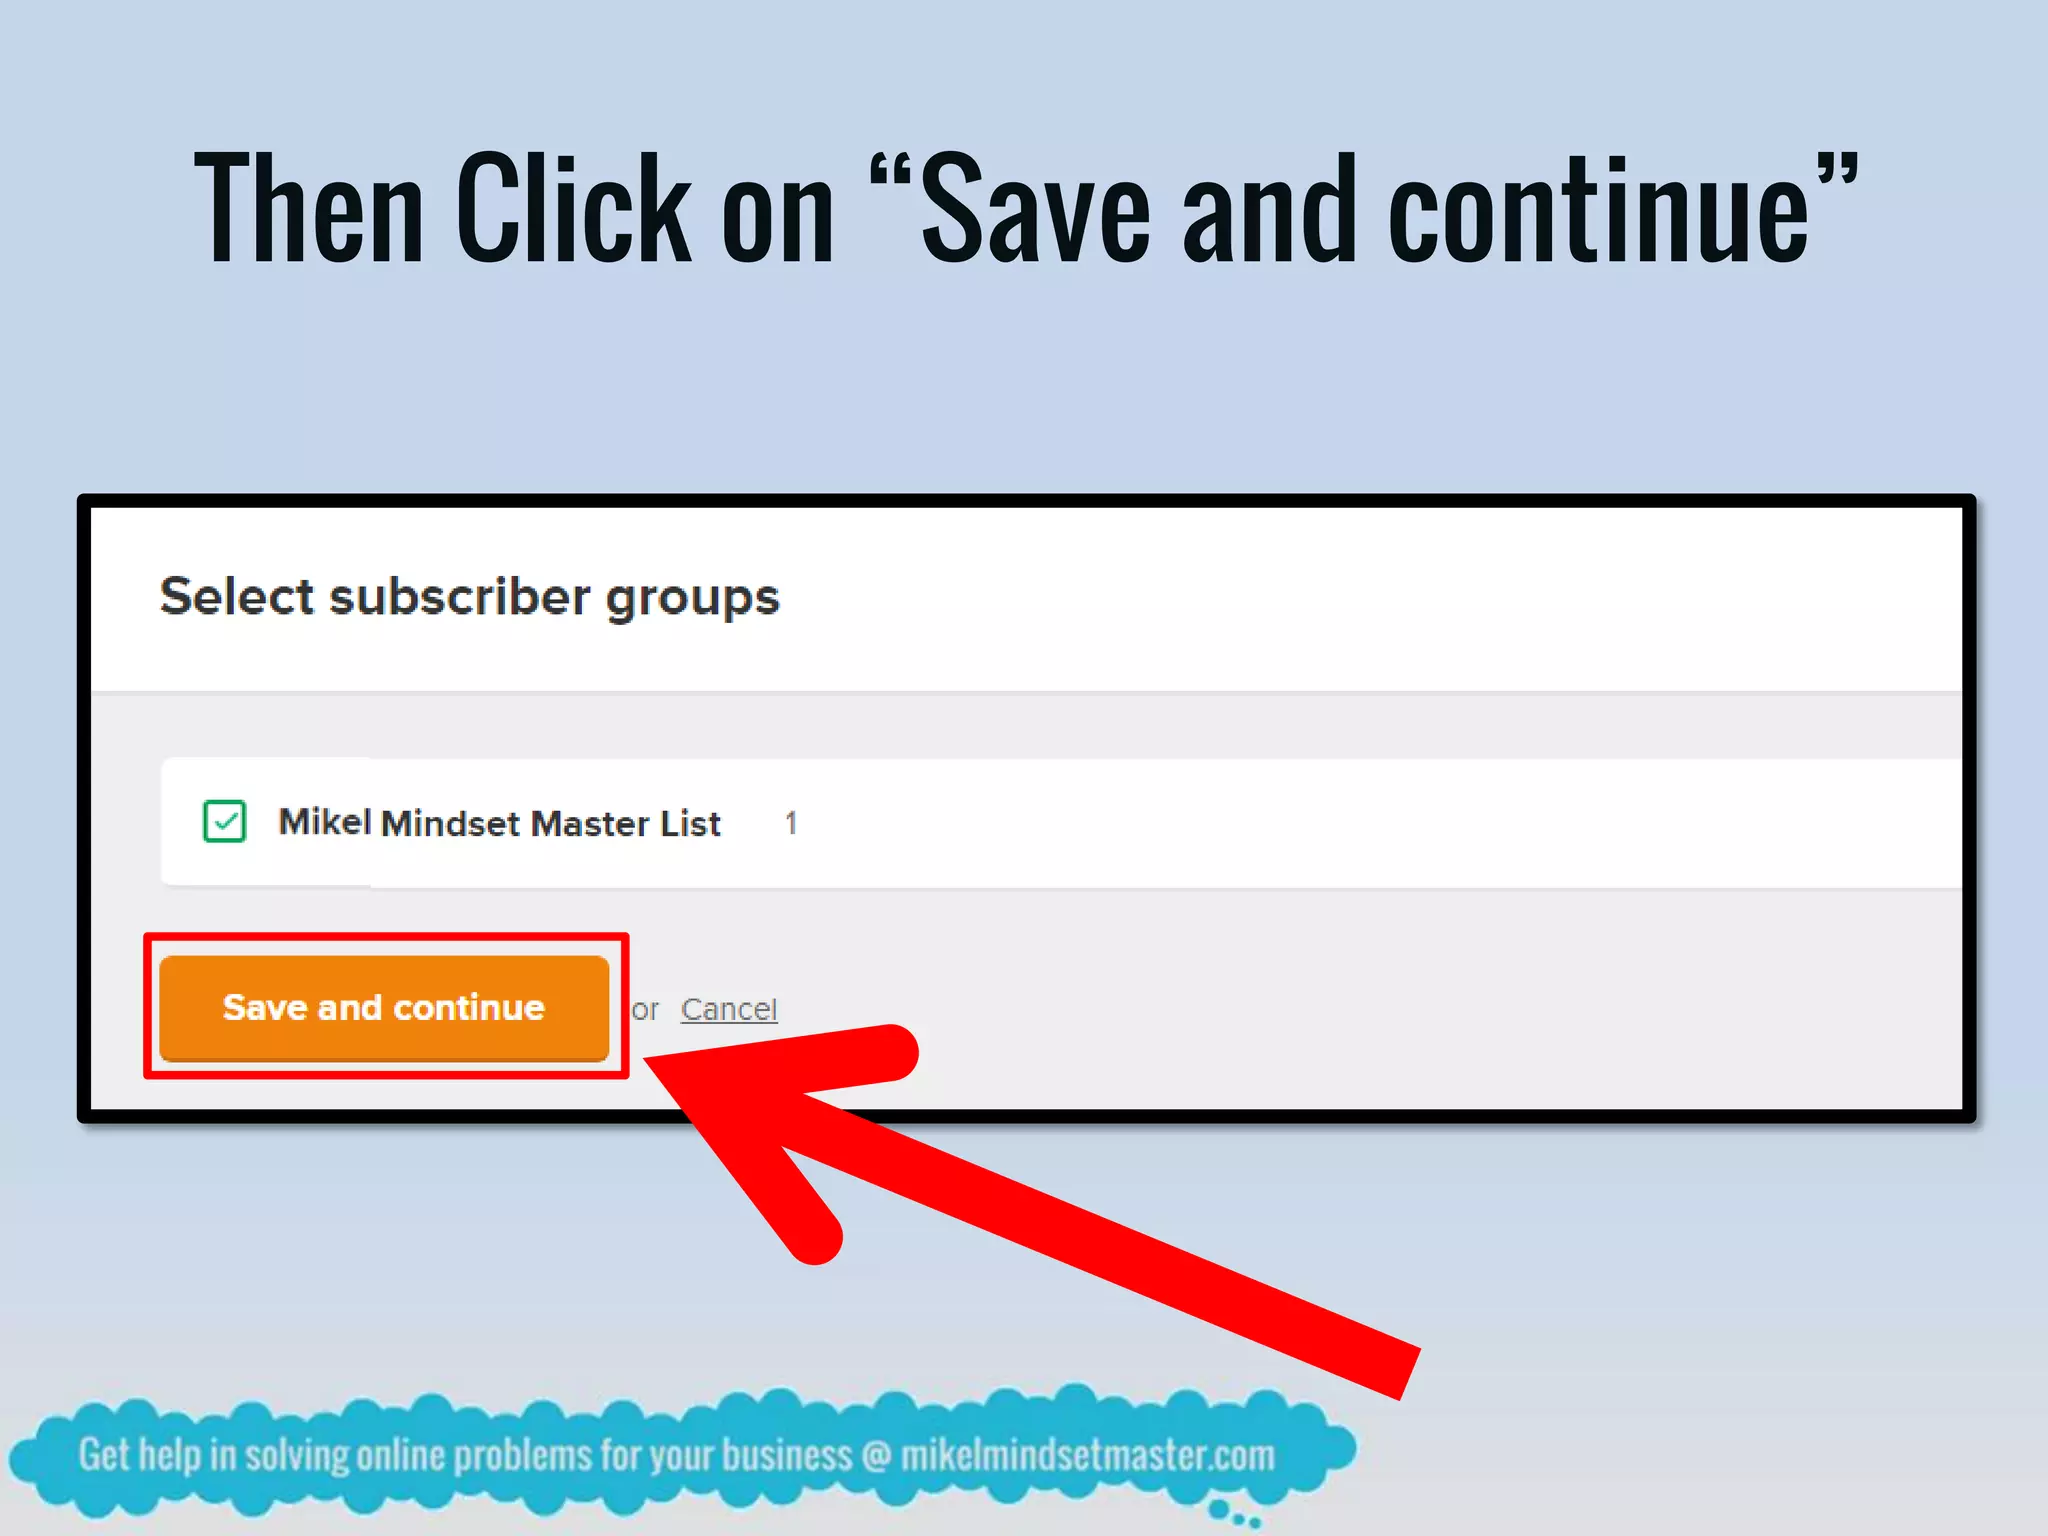
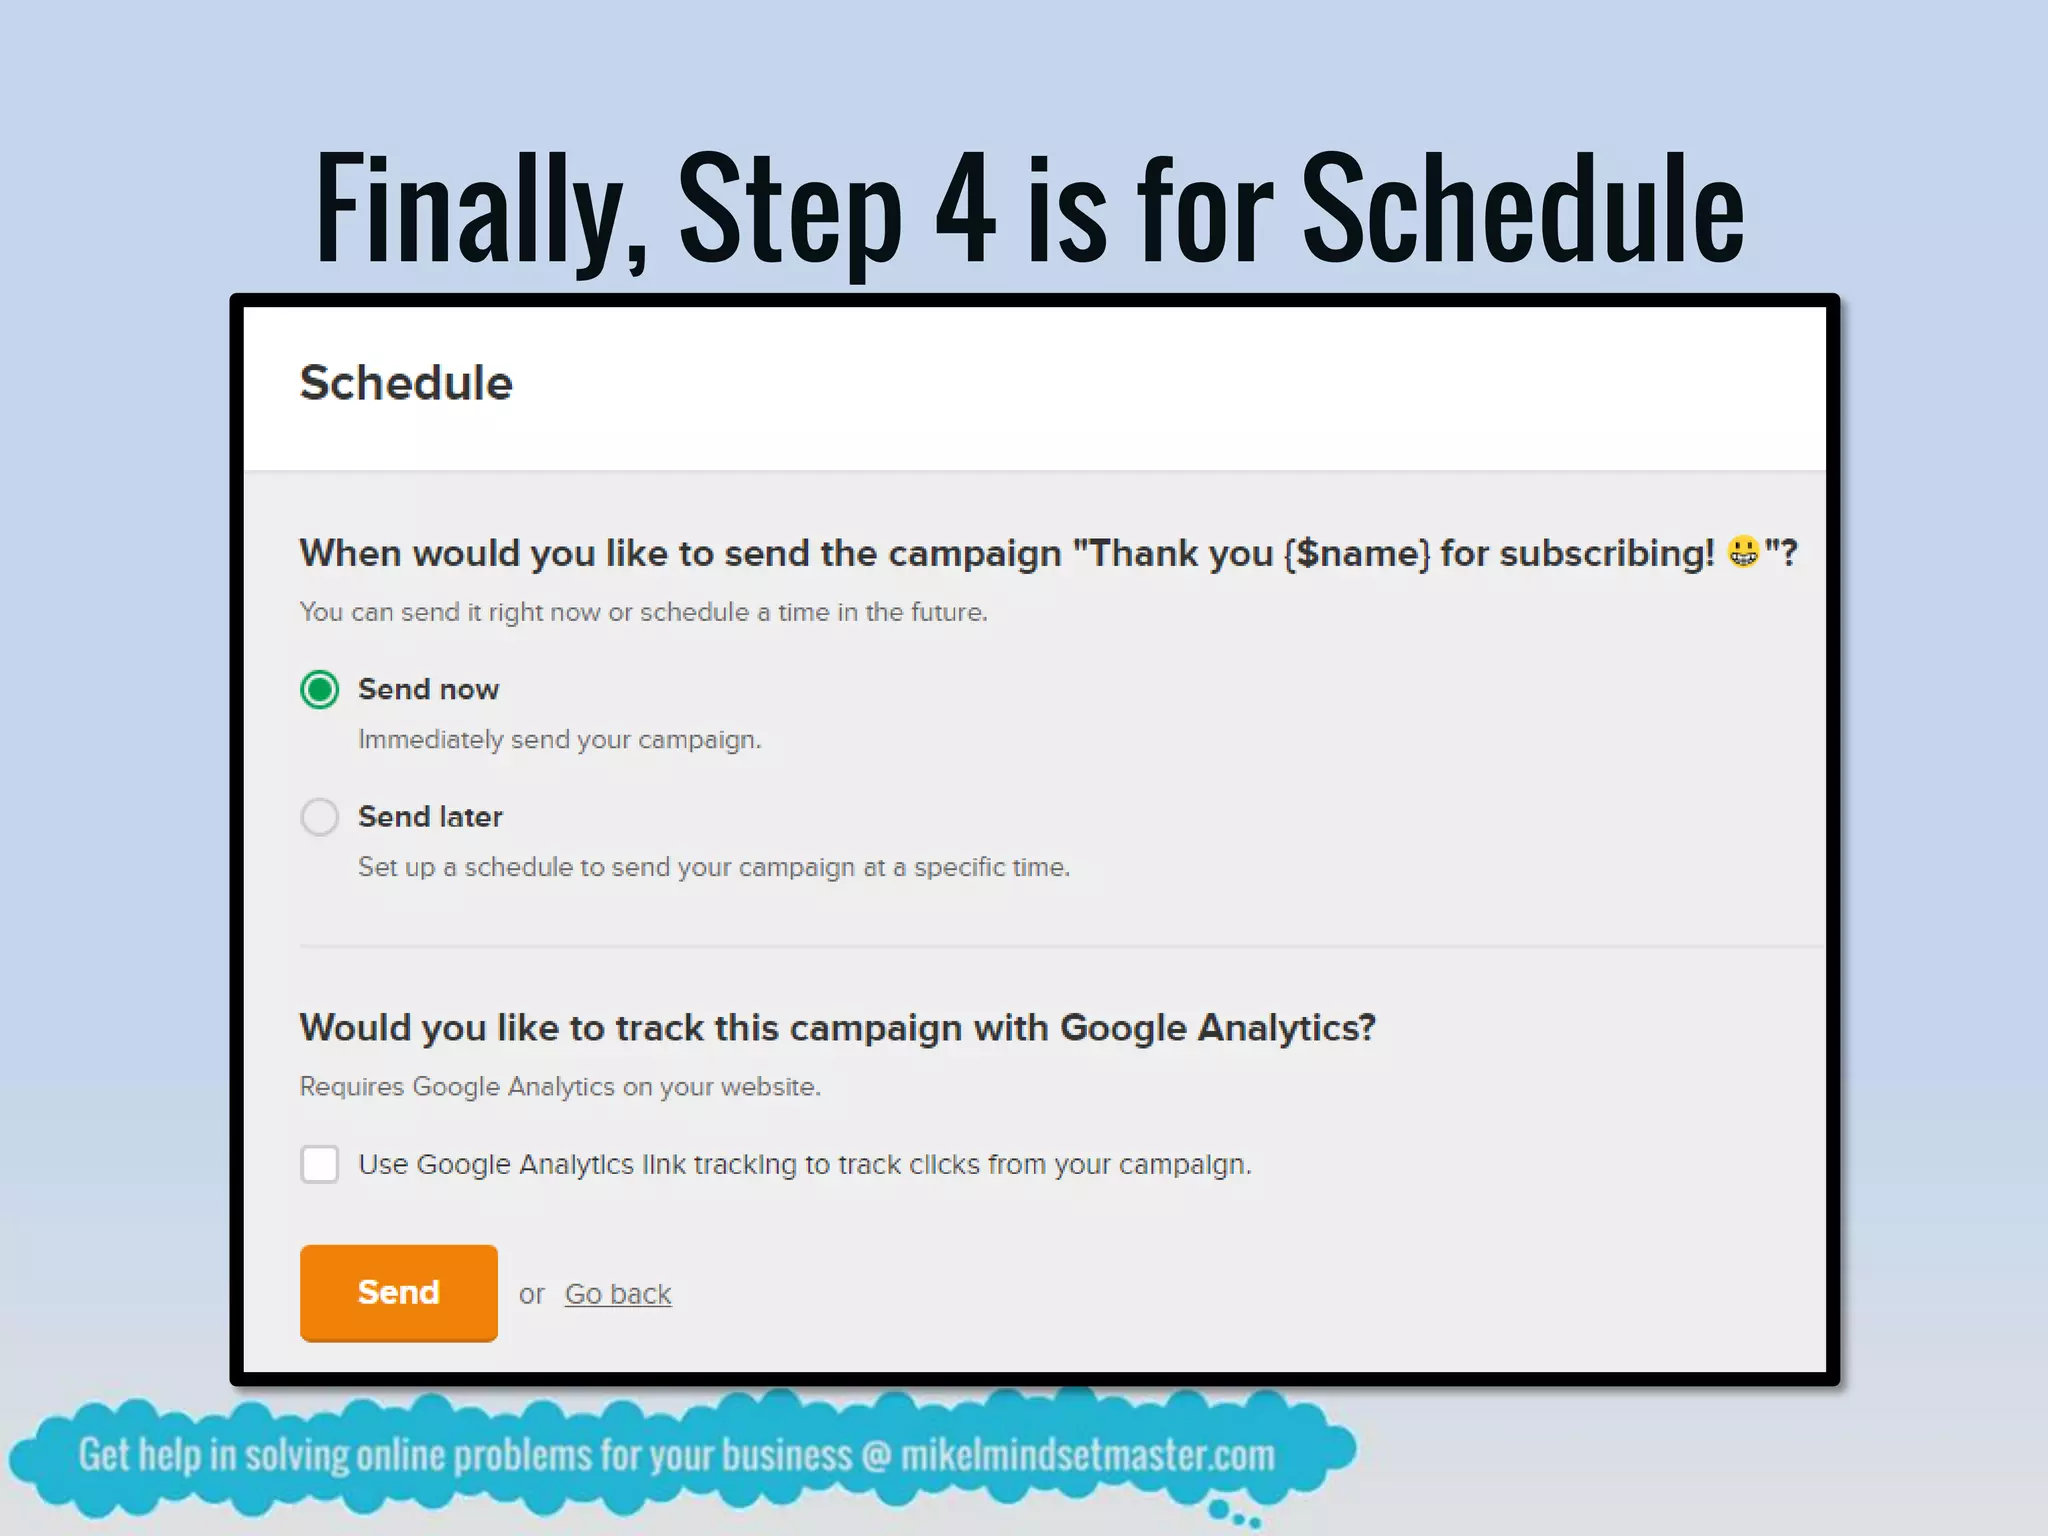
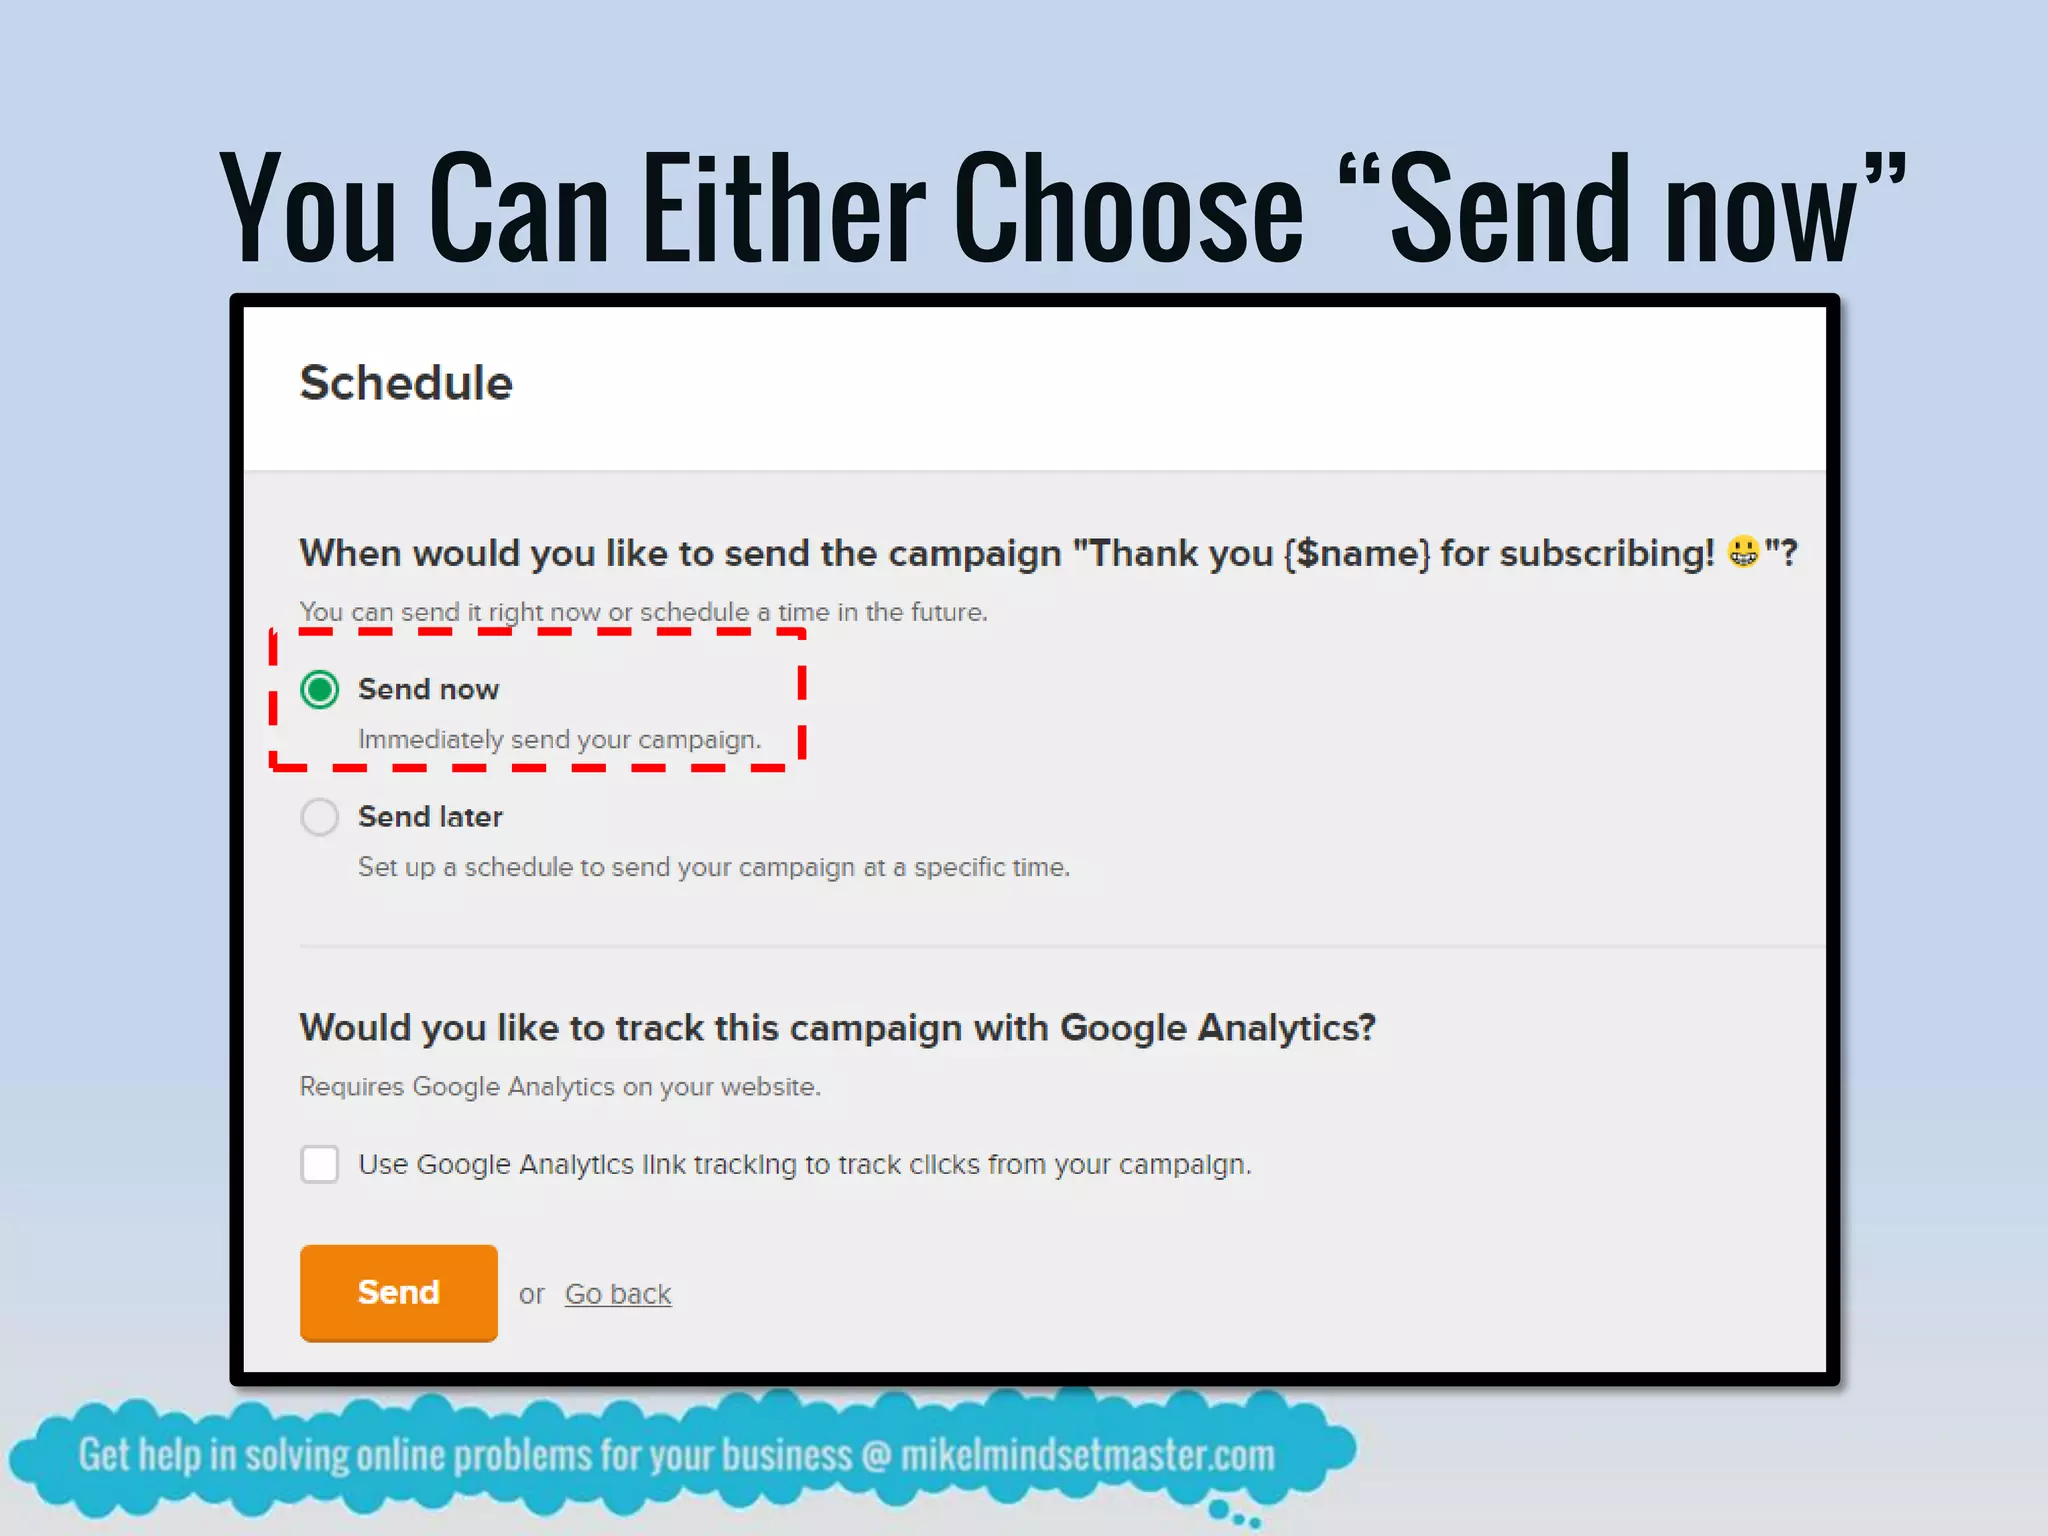
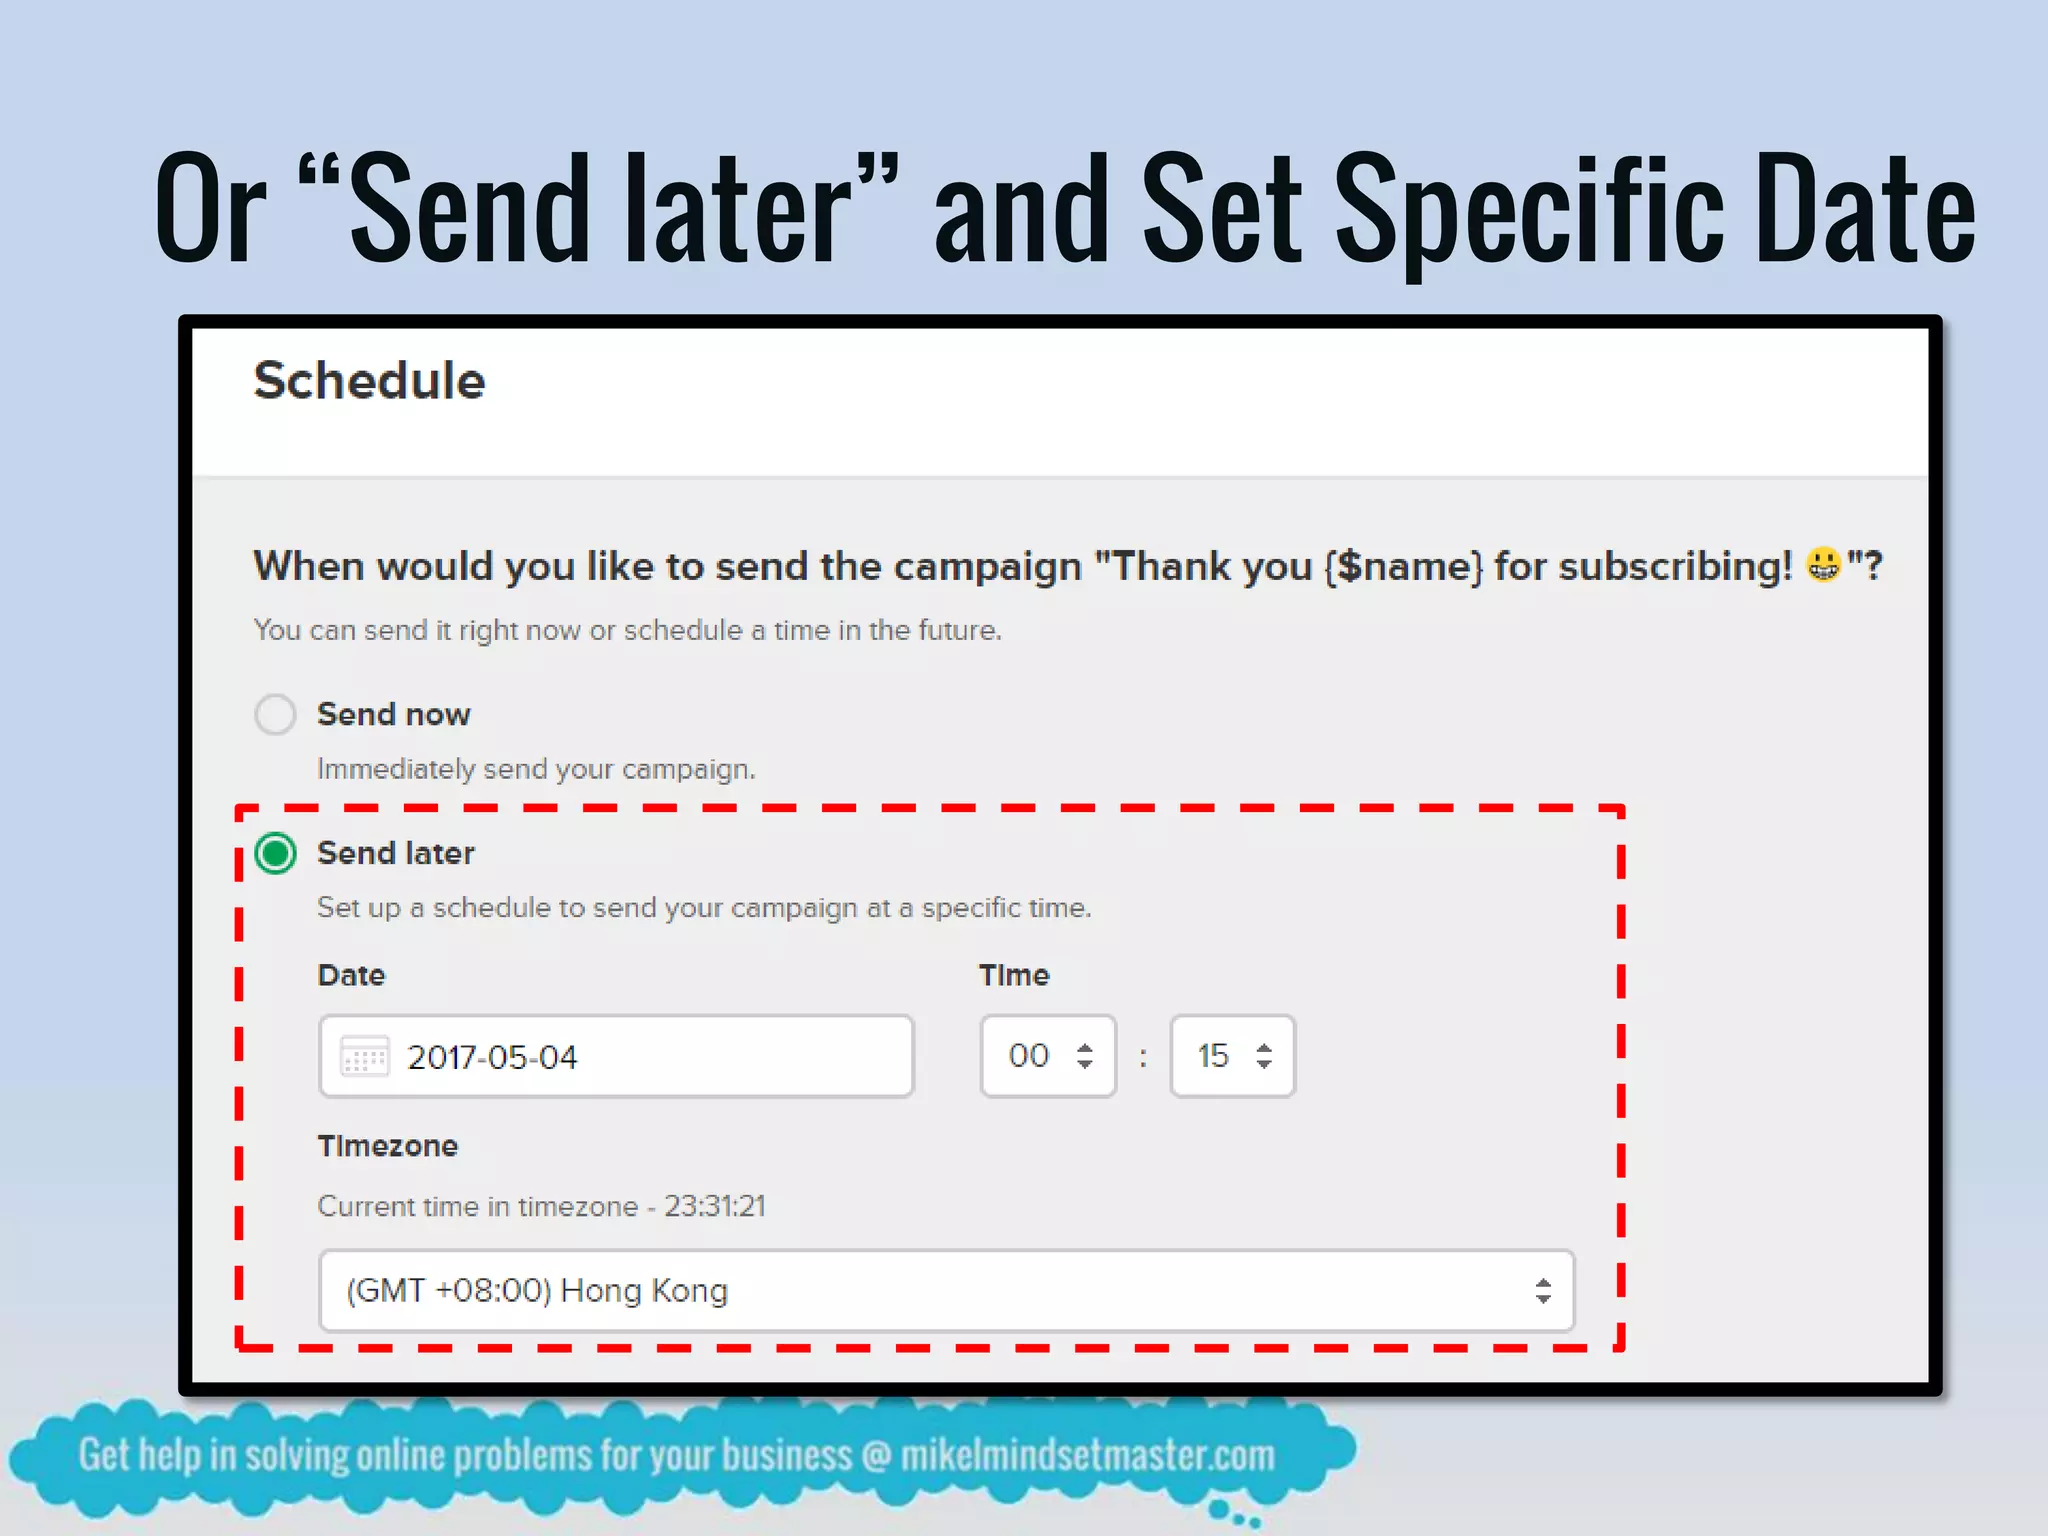
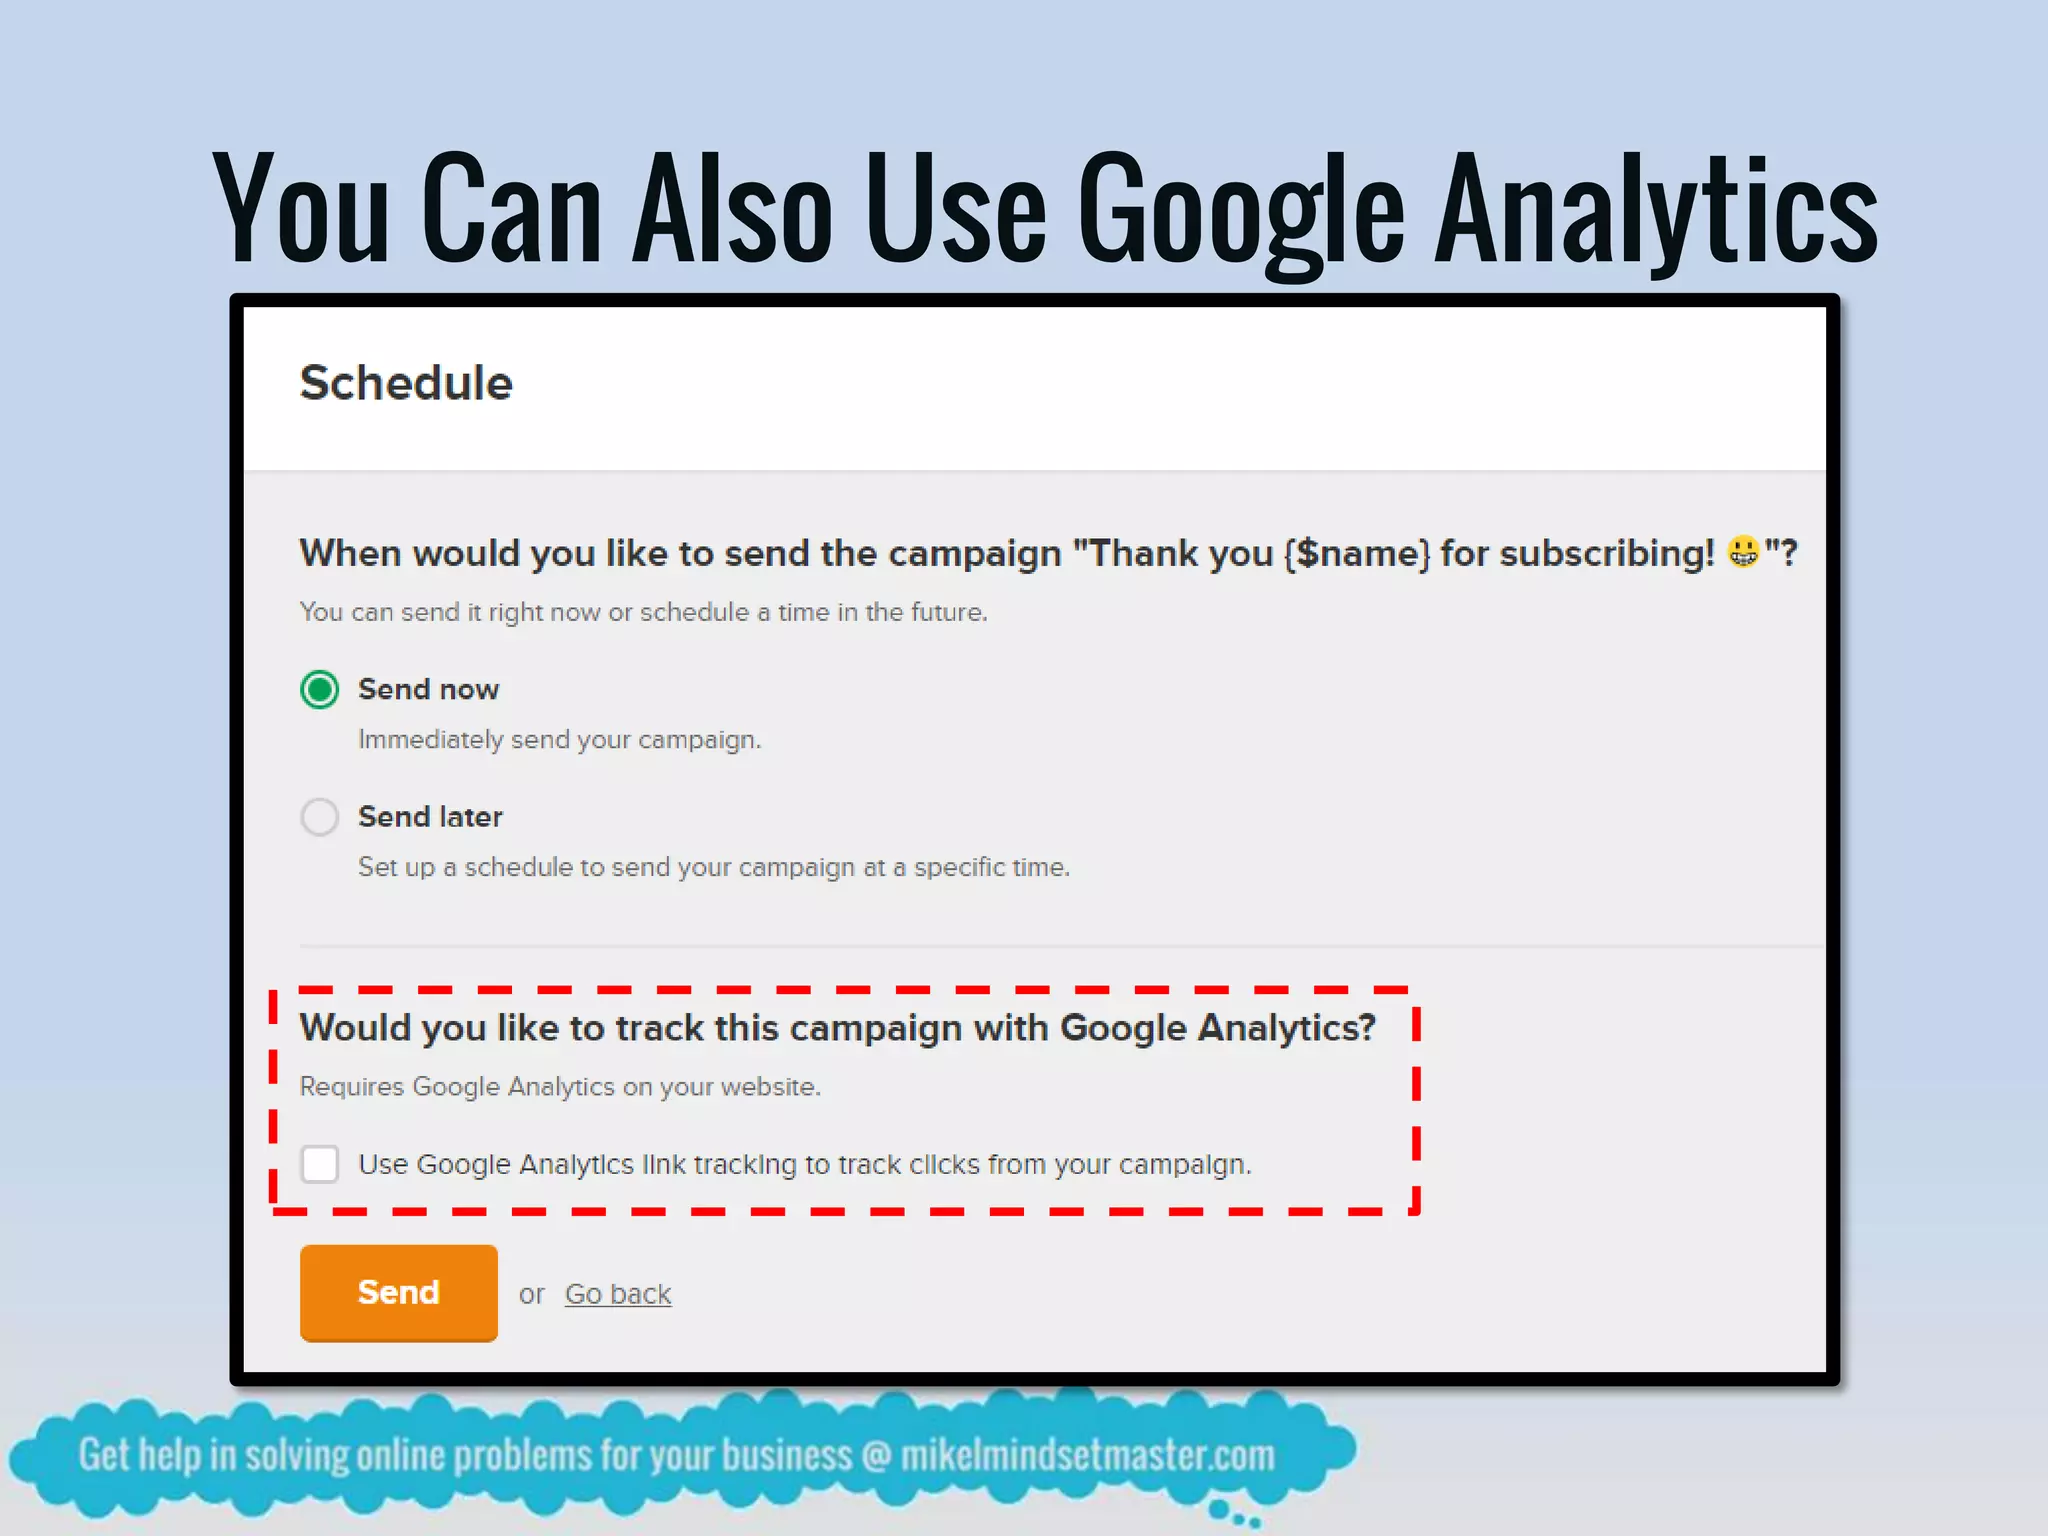
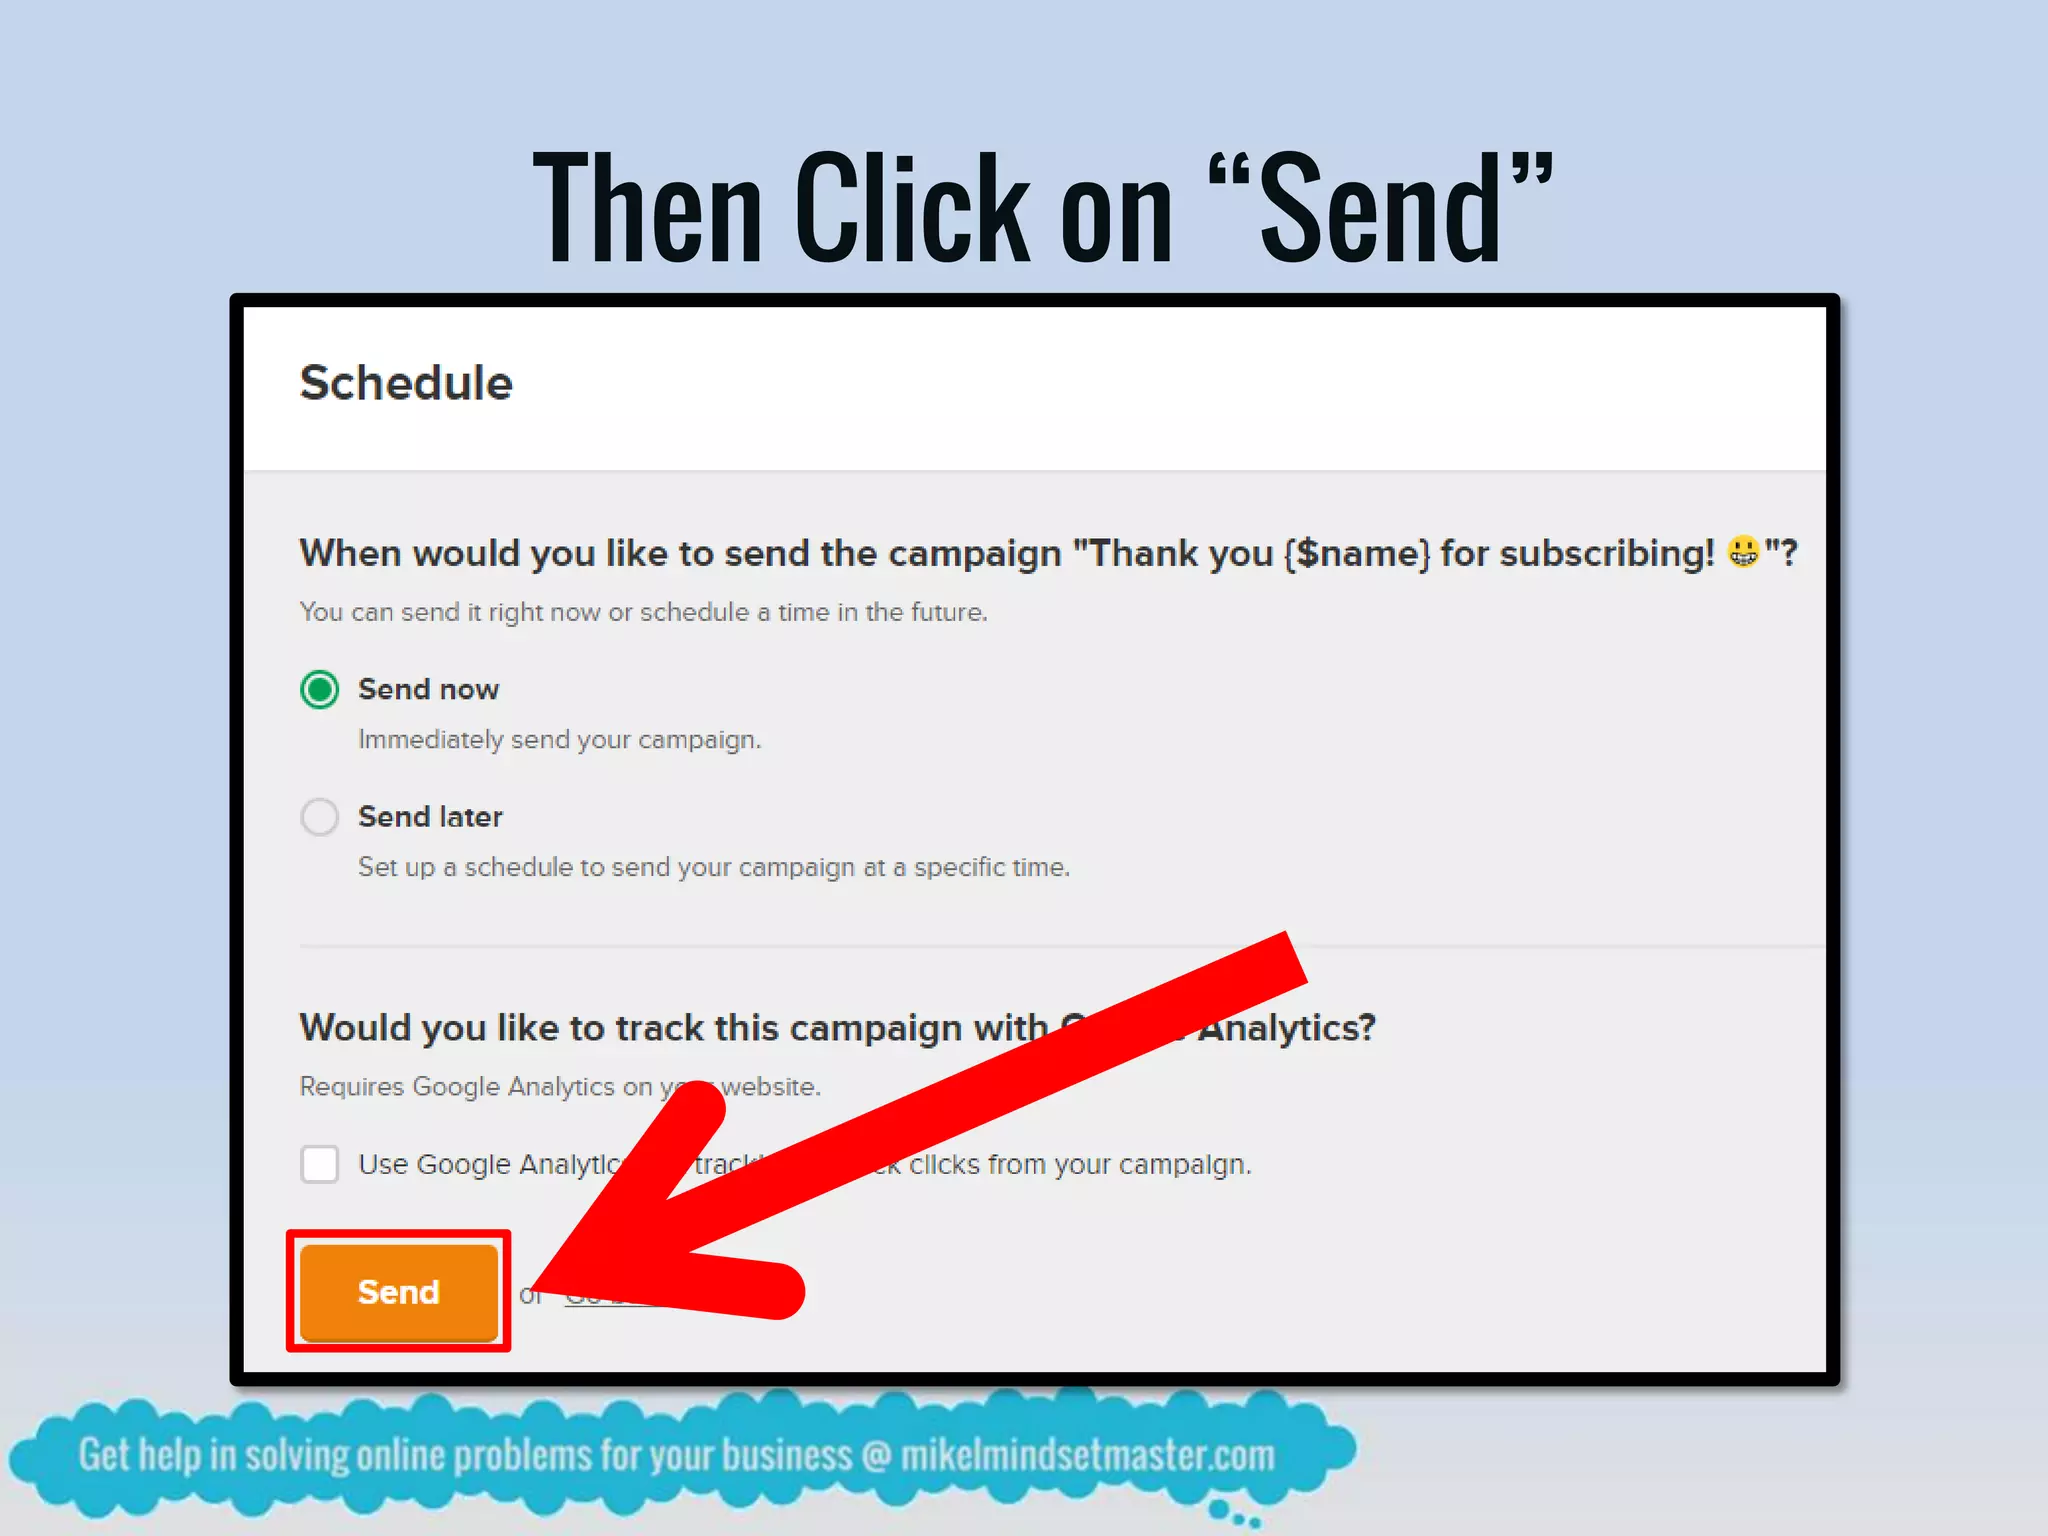
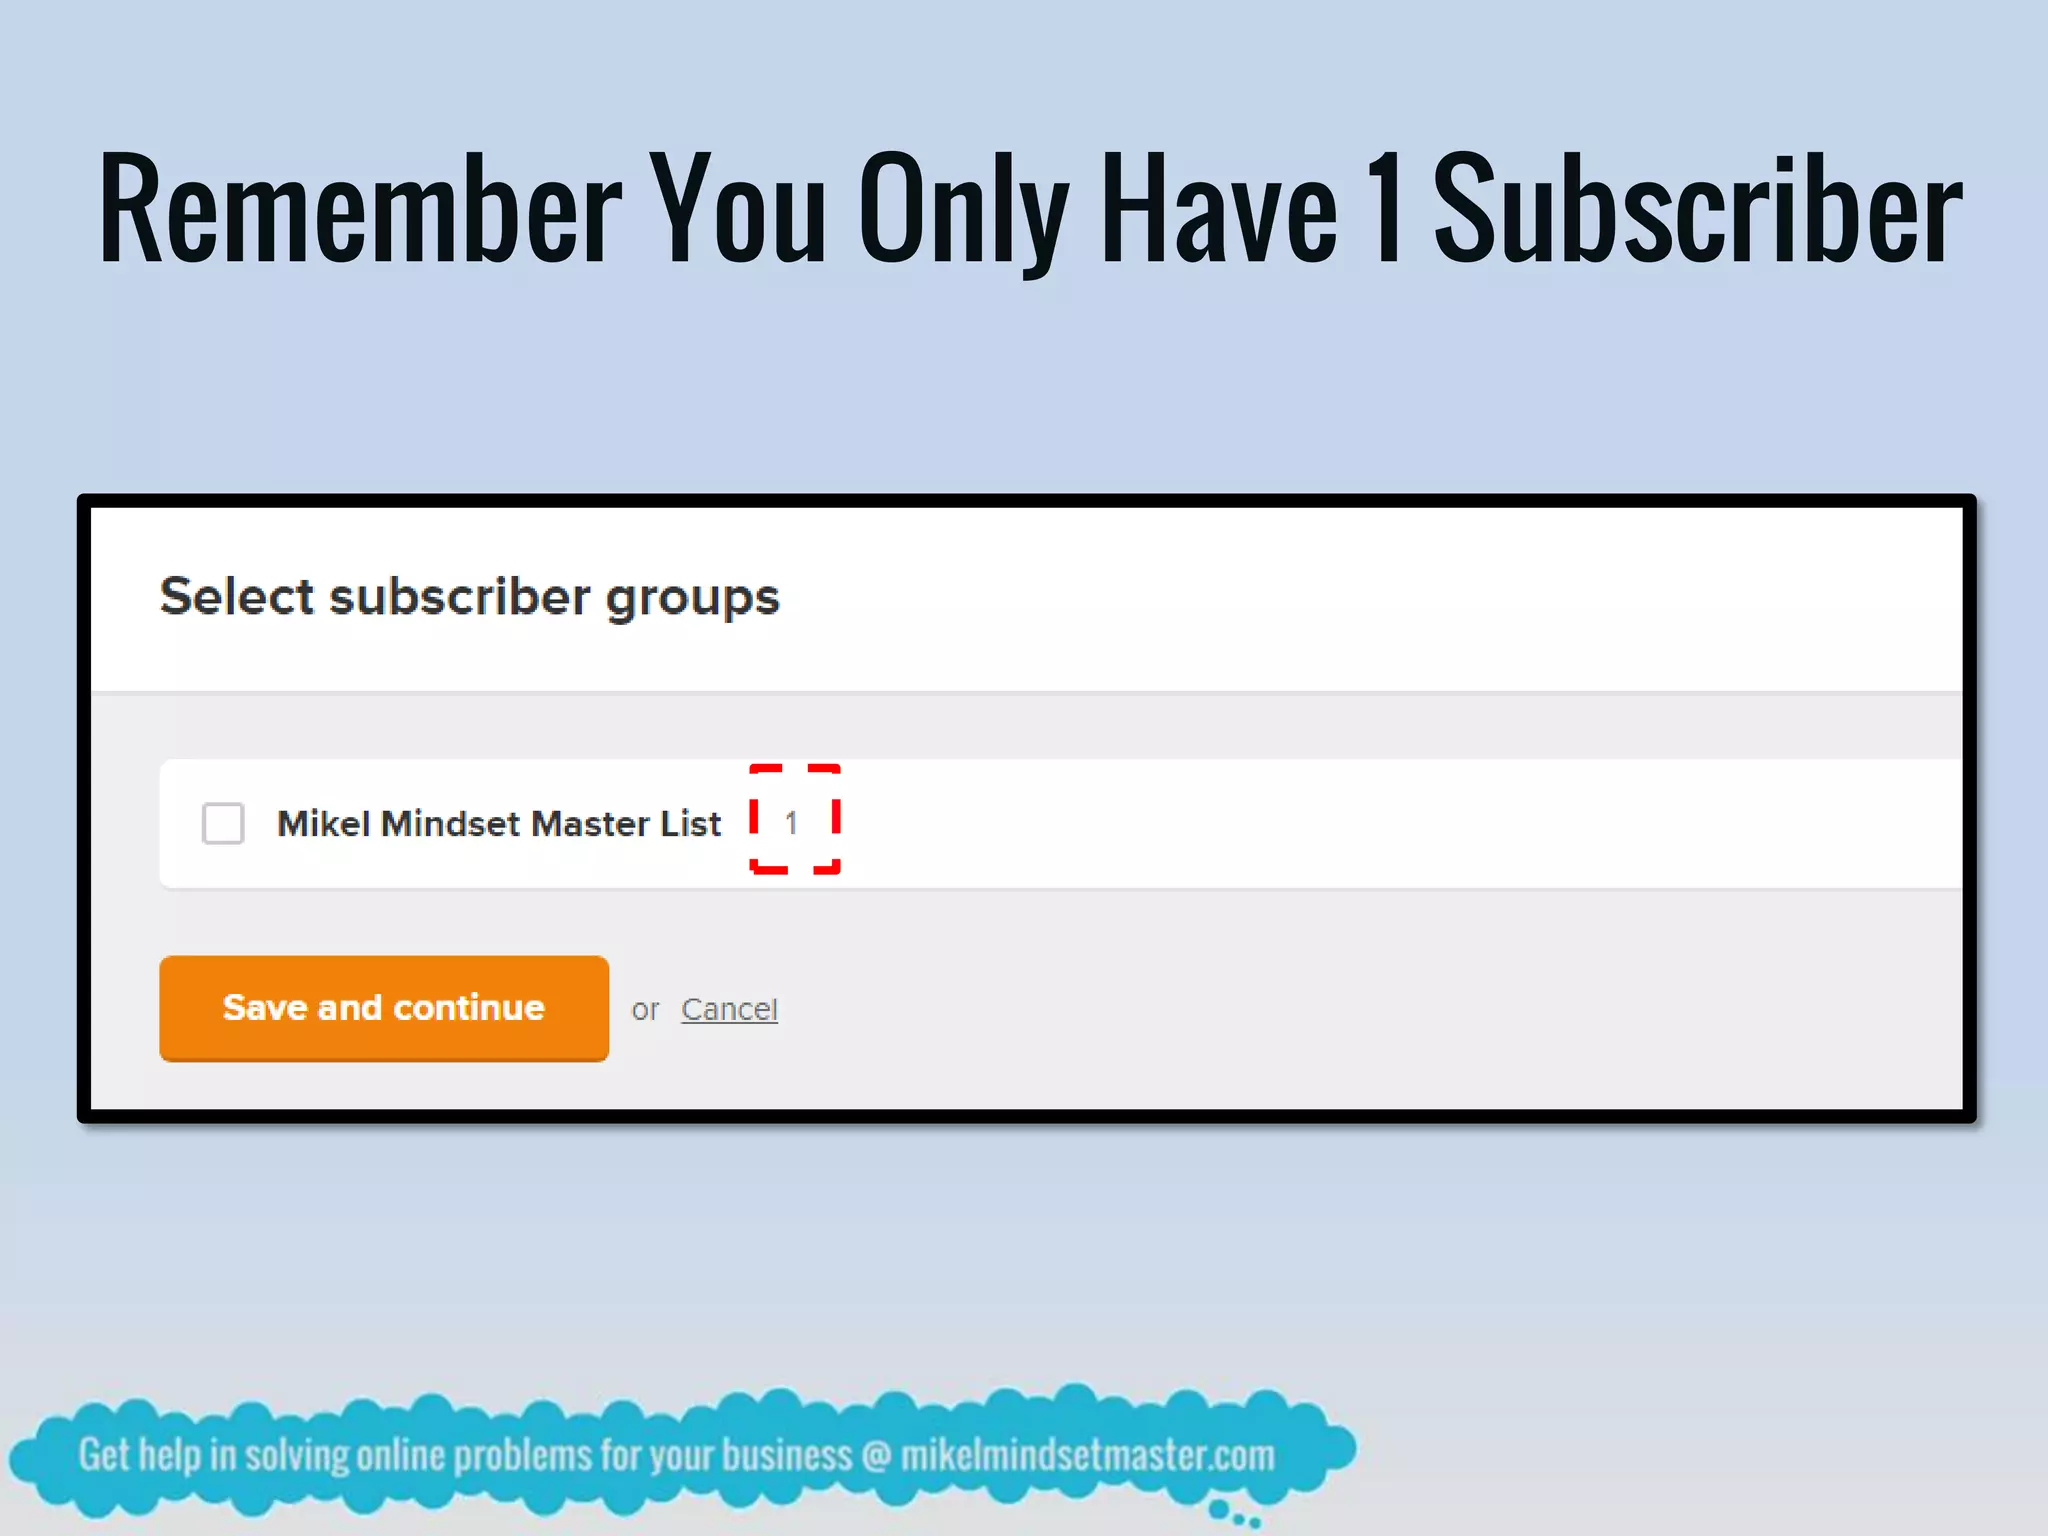

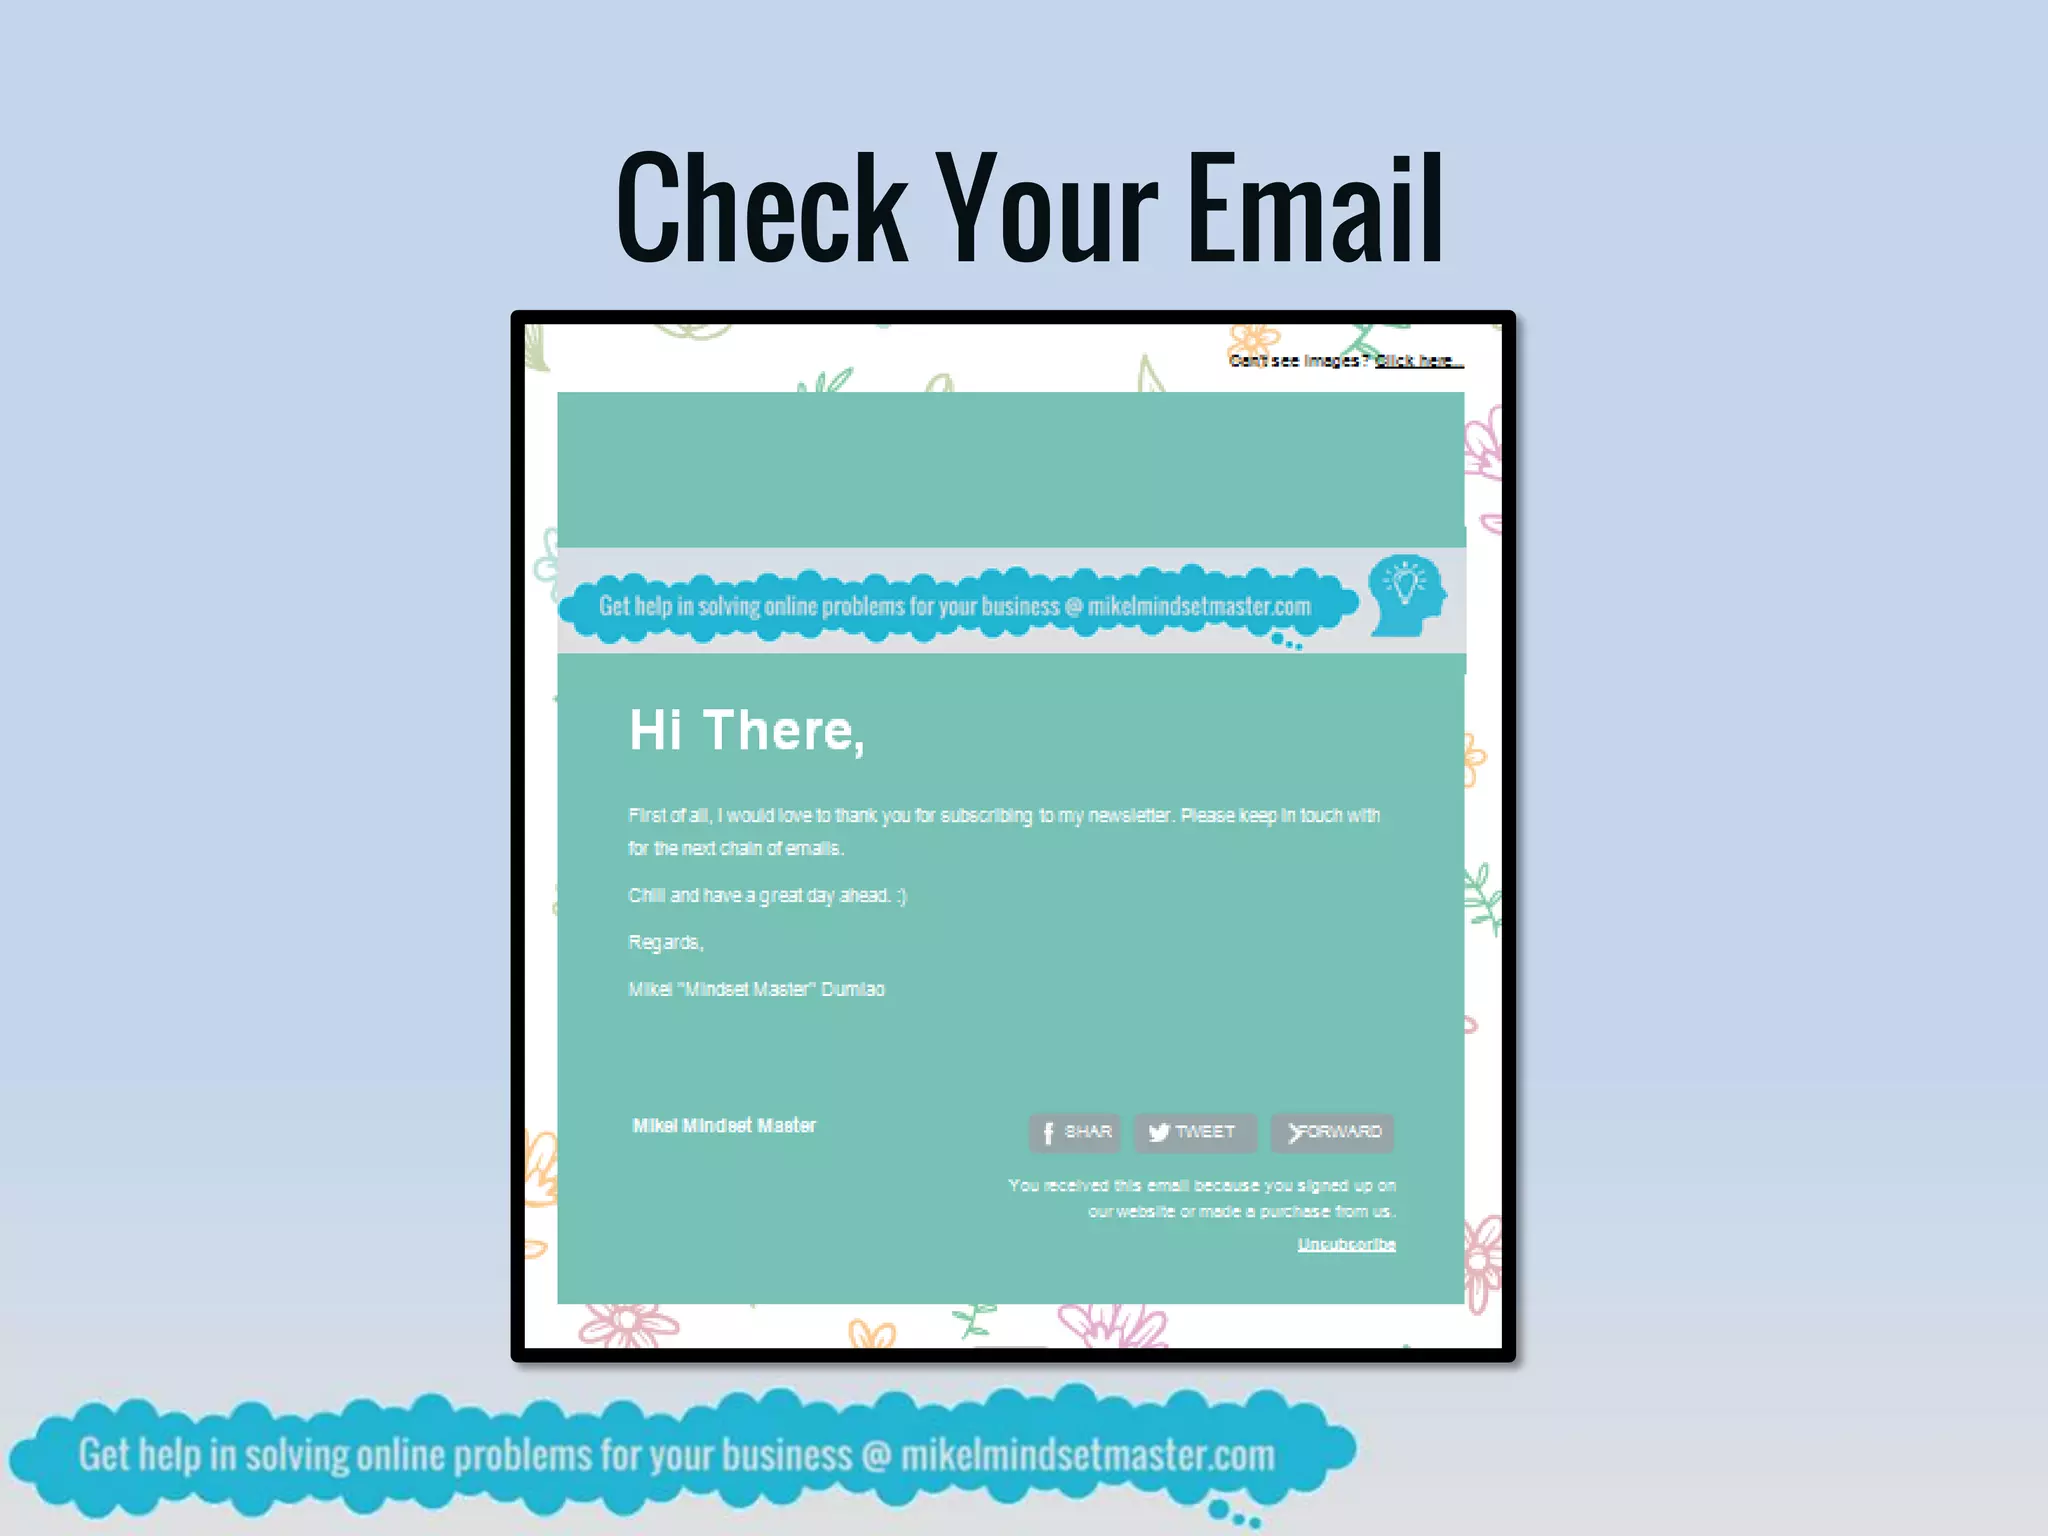

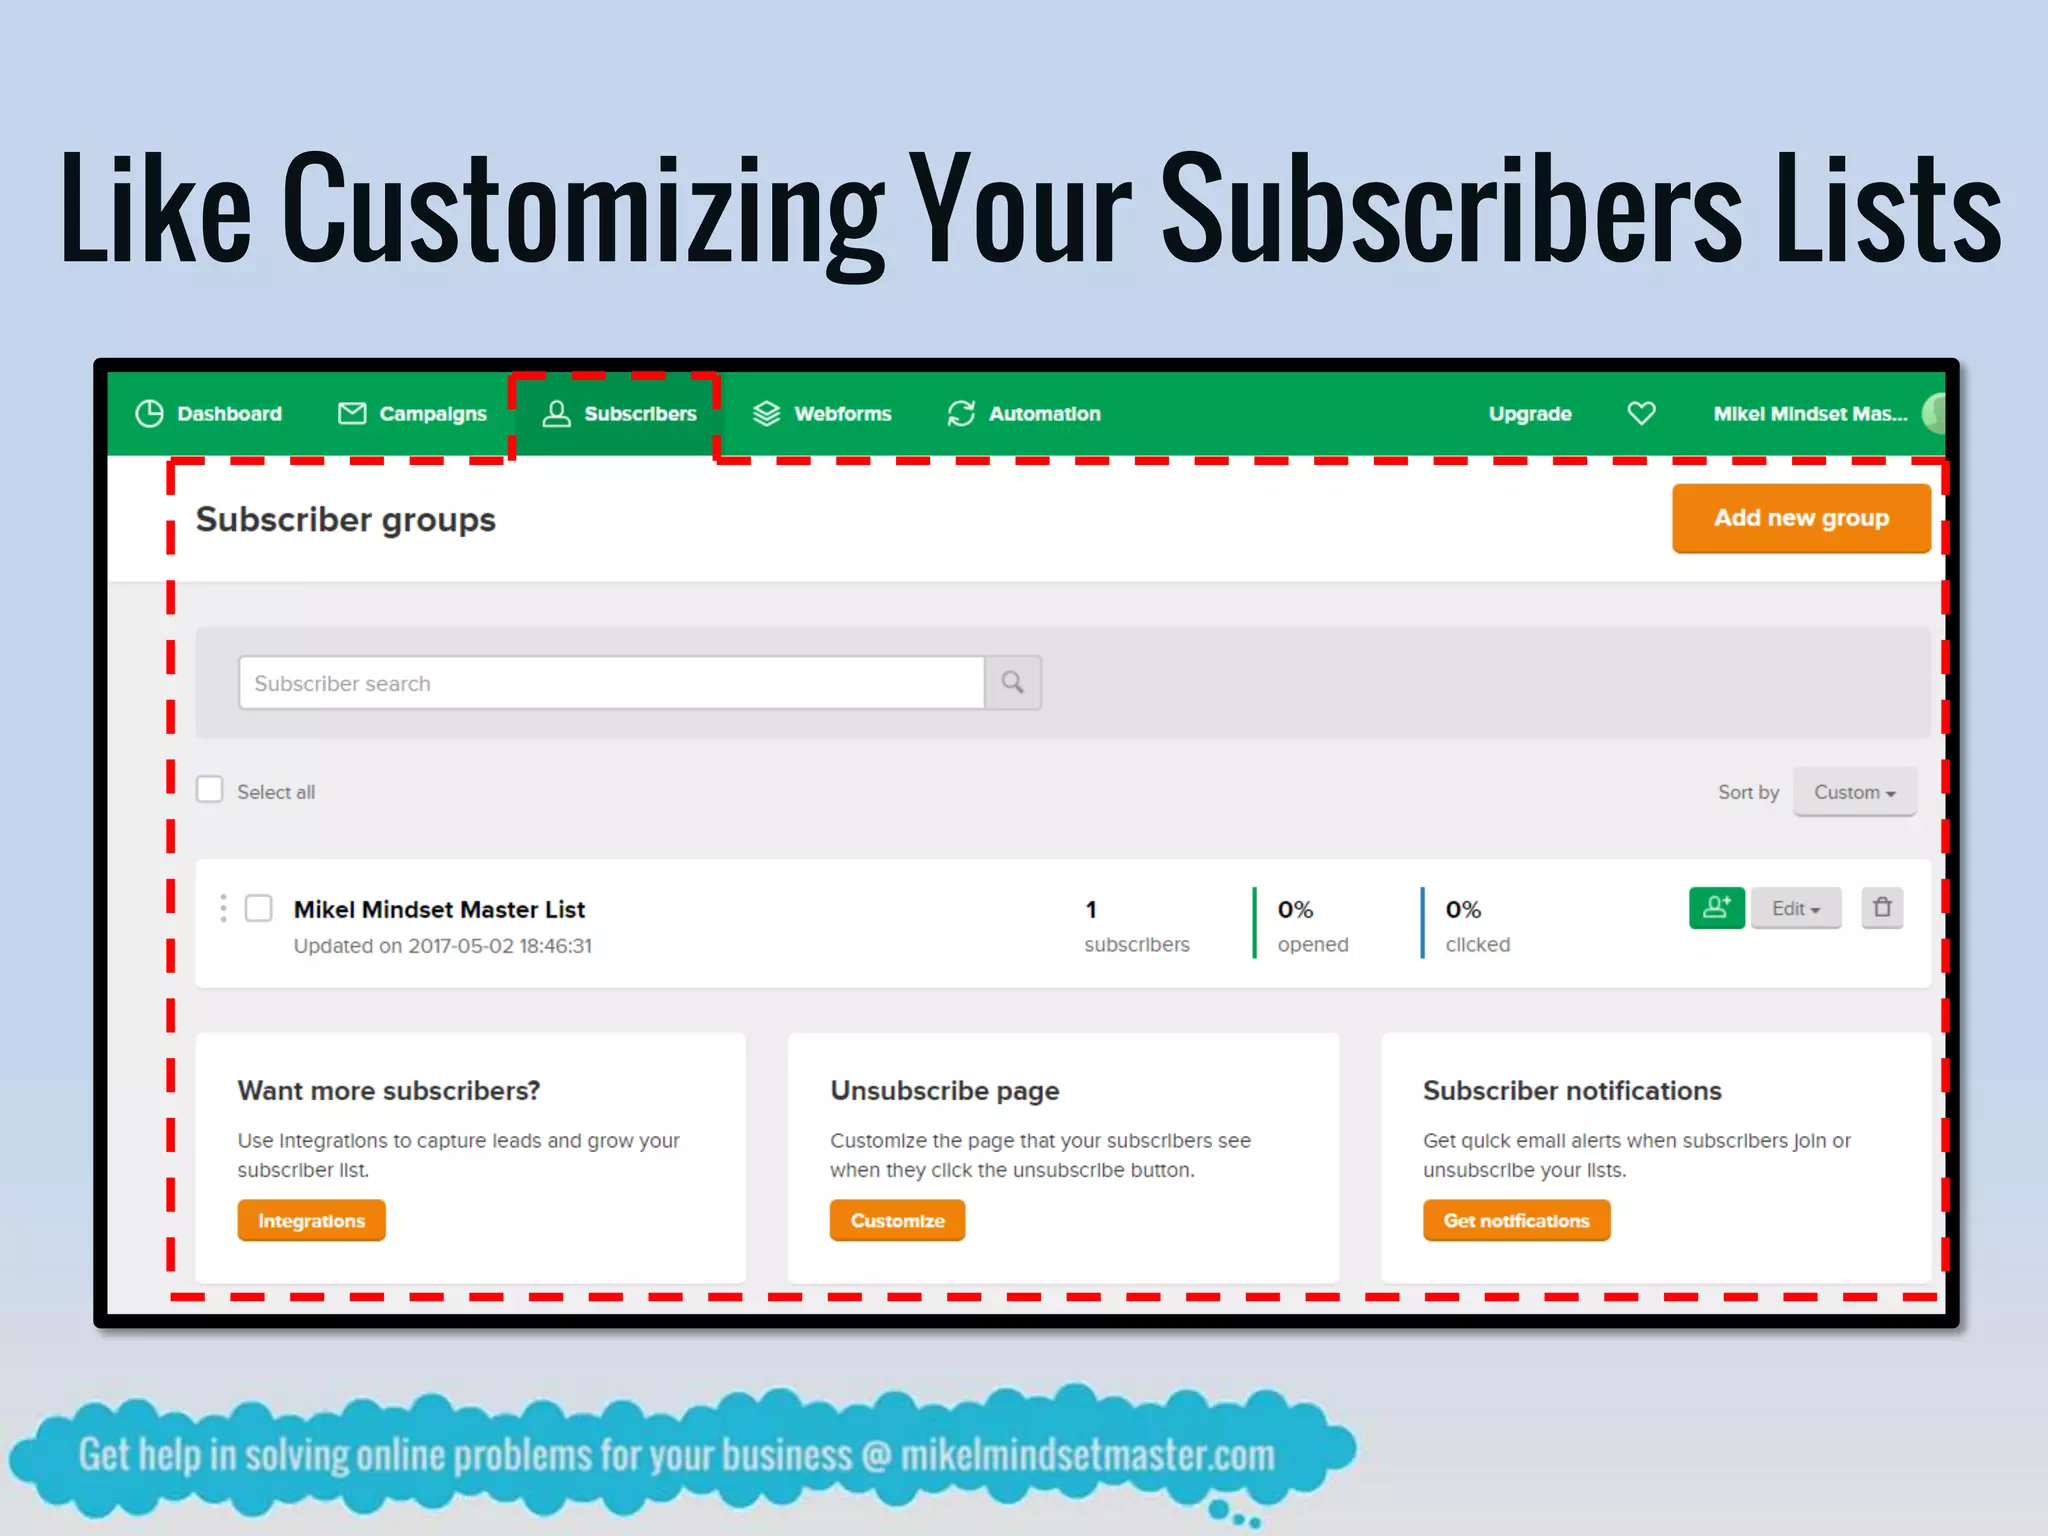

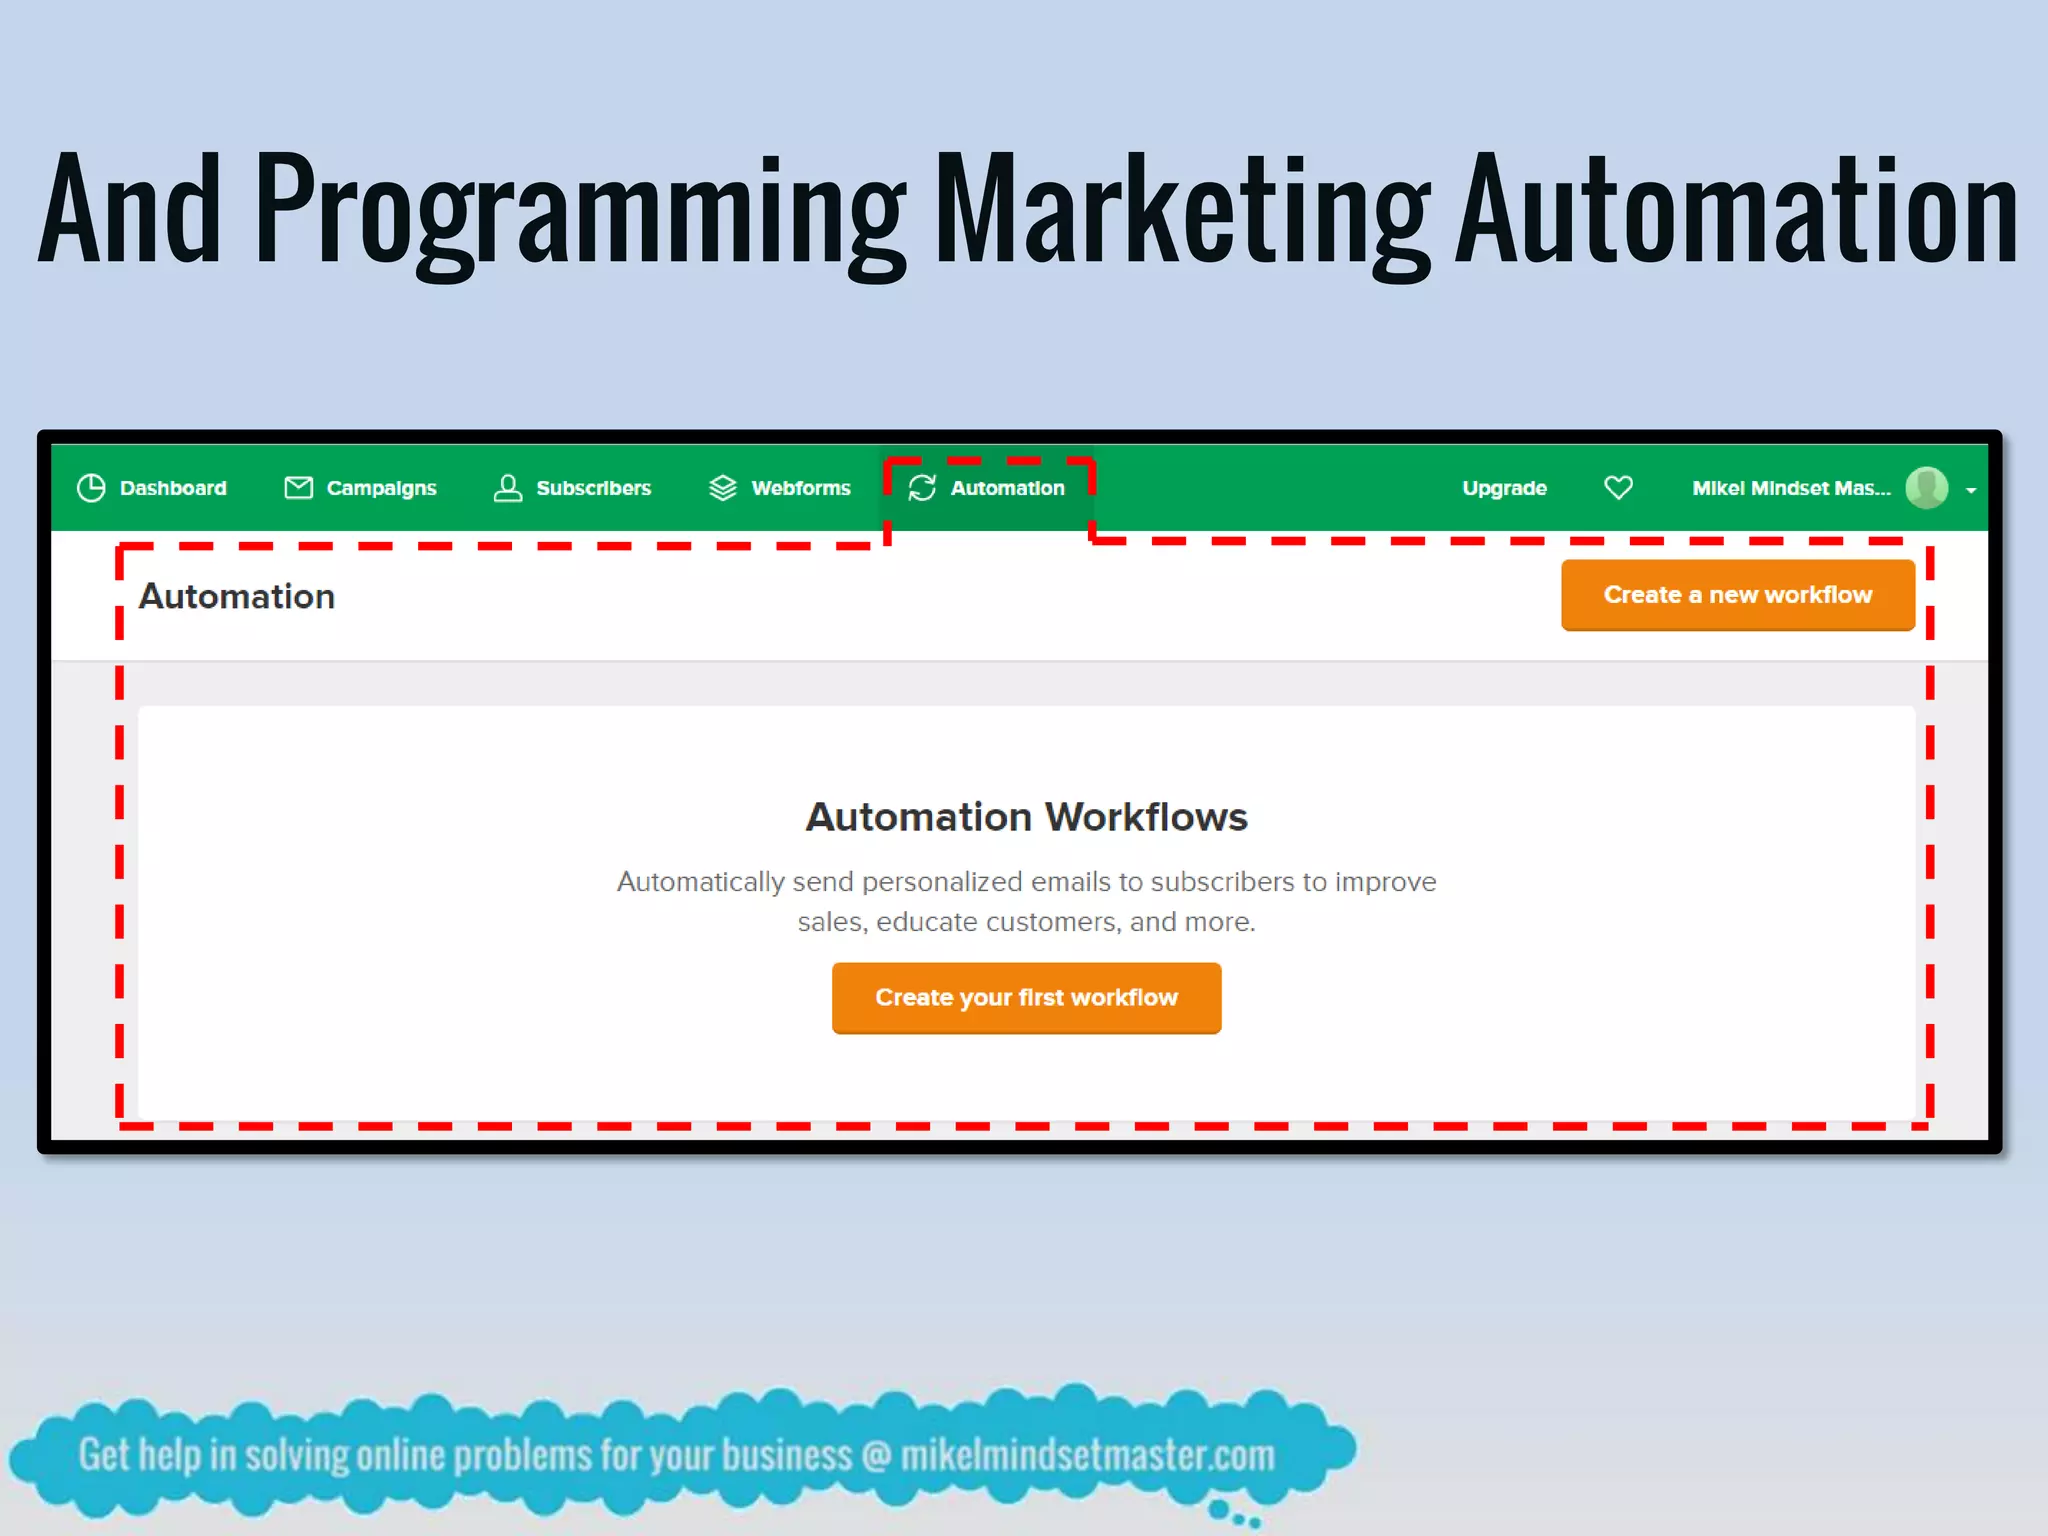


The document provides a detailed guide on using MailerLite for creating email campaigns, starting from account setup to sending emails. It explains the process of verifying a domain, selecting campaign types, creating email content, and managing subscriber lists. Additionally, it highlights MailerLite's features for enhancing email marketing, such as automation and webforms.