项目部 Linux 服务器部署标准
ComsenzProject Department Linux
Server Deployment Standard
版本: 5.1.2
Version: 5.1.2
适用操作系统: CentOS 5.2-x86_64
发布日期: 2009 年 07 月 1 日
Distribution Date: September 1, 2009
By Comsenz Victor
# init 6
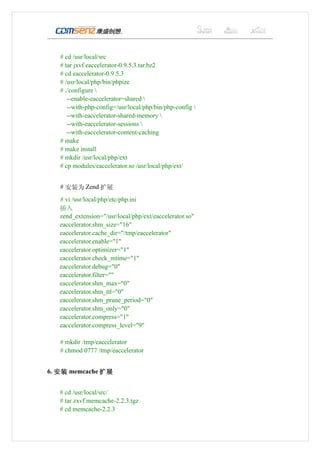
4.配置 vim
# vi /root/.bashrc
在 alias mv='mv -i' 下面添加一行:alias vi='vim' 保存退出。
# echo 'syntax on' > /root/.vimrc
# source /root/.bashrc
5. 使用 yum 对系统进行更新并且安装必要软件包
# yum update –y
安装 ntpd 以校正时间
# yum install ntp –y
注:如果安装的不是最新的操作系统版本,在连接公网的条件下,建议使用
yum 对系统更新。
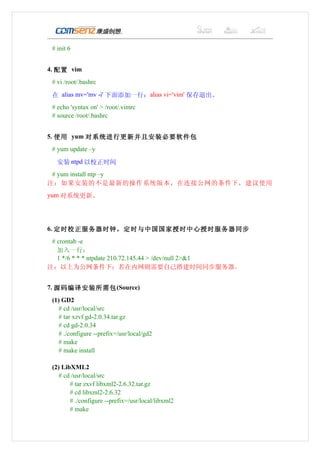
6. 定时校正服务器时钟,定时与中国国家授时中心授时服务器同步
# crontab -e
加入一行:
1 */6 * * * ntpdate 210.72.145.44 > /dev/null 2>&1
注:以上为公网条件下;若在内网则需要自己搭建时间同步服务器。
7. 源码编译安装所需包 (Source)
(1) GD2
# cd /usr/local/src
# tar xzvf gd-2.0.34.tar.gz
# cd gd-2.0.34
# ./configure --prefix=/usr/local/gd2
# make
# make install
(2) LibXML2
# cd /usr/local/src
# tar zxvf libxml2-2.6.32.tar.gz
# cd libxml2-2.6.32
# ./configure --prefix=/usr/local/libxml2
# make
4.
# make install
(3) LibMcrypt
# cd /usr/local/src
# tar xjvf libmcrypt-2.5.8.tar.bz2
# cd libmcrypt-2.5.8
# ./configure --prefix=/usr/local/libmcrypt
# make
# make install
(4) Apache 日志截断程序
# cd /usr/local/src
# tar xzvf cronolog-1.7.0-beta.tar.gz
# cd cronolog-1.7.0-beta
# ./configure --prefix=/usr/local/cronolog
# make
# make install
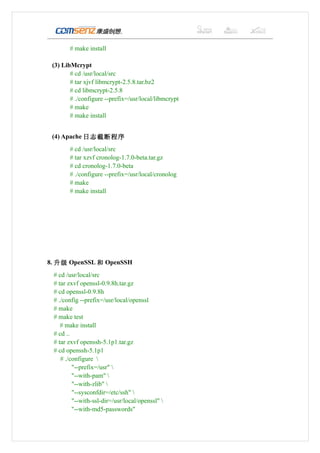
8. 升级 OpenSSL 和 OpenSSH
# cd /usr/local/src
# tar zxvf openssl-0.9.8h.tar.gz
# cd openssl-0.9.8h
# ./config --prefix=/usr/local/openssl
# make
# make test
# make install
# cd ..
# tar zxvf openssh-5.1p1.tar.gz
# cd openssh-5.1p1
# ./configure
"--prefix=/usr"
"--with-pam"
"--with-zlib"
"--sysconfdir=/etc/ssh"
"--with-ssl-dir=/usr/local/openssl"
"--with-md5-passwords"
5.
# make
#make install
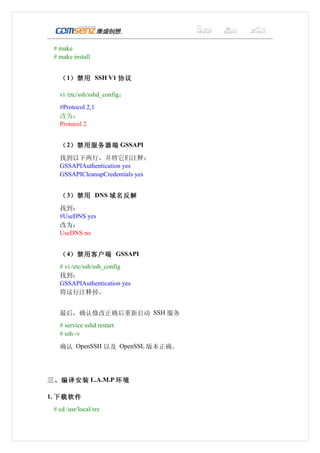
( 1)禁用 SSH V1 协议
vi /etc/ssh/sshd_config:
#Protocol 2,1
改为:
Protocol 2
( 2)禁用服务器端 GSSAPI
找到以下两行,并将它们注释:
GSSAPIAuthentication yes
GSSAPICleanupCredentials yes
( 3)禁用 DNS 域名反解
找到:
#UseDNS yes
改为:
UseDNS no
( 4)禁用客户端 GSSAPI
# vi /etc/ssh/ssh_config
找到:
GSSAPIAuthentication yes
将这行注释掉。
最后,确认修改正确后重新启动 SSH 服务
# service sshd restart
# ssh -v
确认 OpenSSH 以及 OpenSSL 版本正确。
三、编译安装 L.A.M.P 环境
1. 下载软件
# cd /usr/local/src

![httpd-2.2.11.tar.gz
mysql-5.1.34-linux-x86_64-icc-glibc23.tar.gz
php-5.2.8.tar.bz2
eaccelerator-0.9.5.3.tar.bz2
memcache-2.2.3.tgz
ZendOptimizer-3.3.3-linux-glibc23-x86_64.tar.gz
2. 安装 MySQL
# tar xzvf mysql-5.1.34-rc-linux-x86_64-icc-glibc23.tar.gz
# mv mysql-5.1.34-rc-linux-x86_64-icc-glibc23 /usr/local/
# ln –s /usr/local/ mysql-5.1.34-rc-linux-x86_64-icc-glibc23 /usr/local/mysql
# useradd mysql –s /sbin/nologin
# chown -R mysql:root /usr/local/mysql/
# cd /usr/local/mysql
# ./scripts/mysql_install_db --user=mysql
# cp ./support-files/mysql.server /etc/rc.d/init.d/mysqld
# chown root:root /etc/rc.d/init.d/mysqld
# chmod 755 /etc/rc.d/init.d/mysqld
# chkconfig --add mysqld
# chkconfig --level 3 mysqld on
# cp ./support-files/my-huge.cnf /etc/my.cnf
# mv /usr/local/mysql/data /data/mysql
# chown -R mysql:mysql /data/mysql/
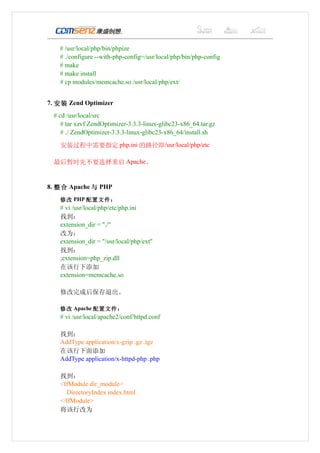
# vi /etc/my.cnf 修改以下内容:
在 [mysqld] 段 增 加 或 修 改 :
datadir = /data/mysql
skip-innodb
wait-timeout = 5
max_connections = 512
max_connect_errors = 10000000
thread_concurrency = CPU 个 数 ×2
将 log-bin 注释(如果需要使用 mysql 的主从备份功能,需要 log-
bin 参数打开,不能注释)
# bin/mysqladmin -u root password 'password_for_root'
(注:password_for_root 为 mysql 的 root 帐户的密码,用户自行设定)](https://image.slidesharecdn.com/linux-110305085401-phpapp01/85/Linux-6-320.jpg)
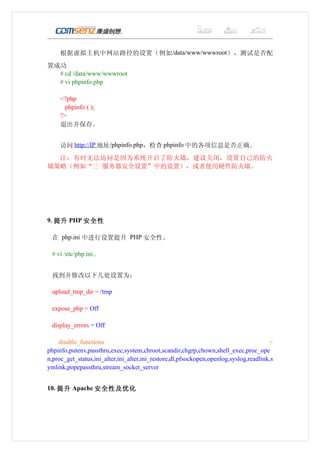
![针对大型用户 mysql 优化的参数设置 (供参考 ):
[mysqld]
port = 3306
socket = /tmp/mysql.sock
datadir = /data/mysql
skip-locking
skip-name-resolve
skip-innodb
skip-symbolic-links
local-infile=0
low_priority_updates=1
back_log = 300
key_buffer = 256M
max_allowed_packet = 16M
thread_stack = 128K
table_cache = 1024
sort_buffer_size = 4M
read_buffer_size = 256K
join_buffer_size = 4M
record_buffer = 2M
read_rnd_buffer_size = 4M
myisam_sort_buffer_size = 64M
thread_cache_size = 64
query_cache_size = 32M
tmp_table_size = 196M
max_connections = 1600
max_connect_errors = 10000000000000
wait_timeout = 5
thread_concurrency=16
long_query_time = 1
log-slow-queries = /data/mysql/slow.log
3. 编译安装 Apache
# cd /usr/local/src
# tar xjvf httpd-2.2.11.tar.bz2
# cd httpd-2.2.11
# ./configure](https://image.slidesharecdn.com/linux-110305085401-phpapp01/85/Linux-7-320.jpg)